


March 27, 2019
Scupper 110
Wednesday
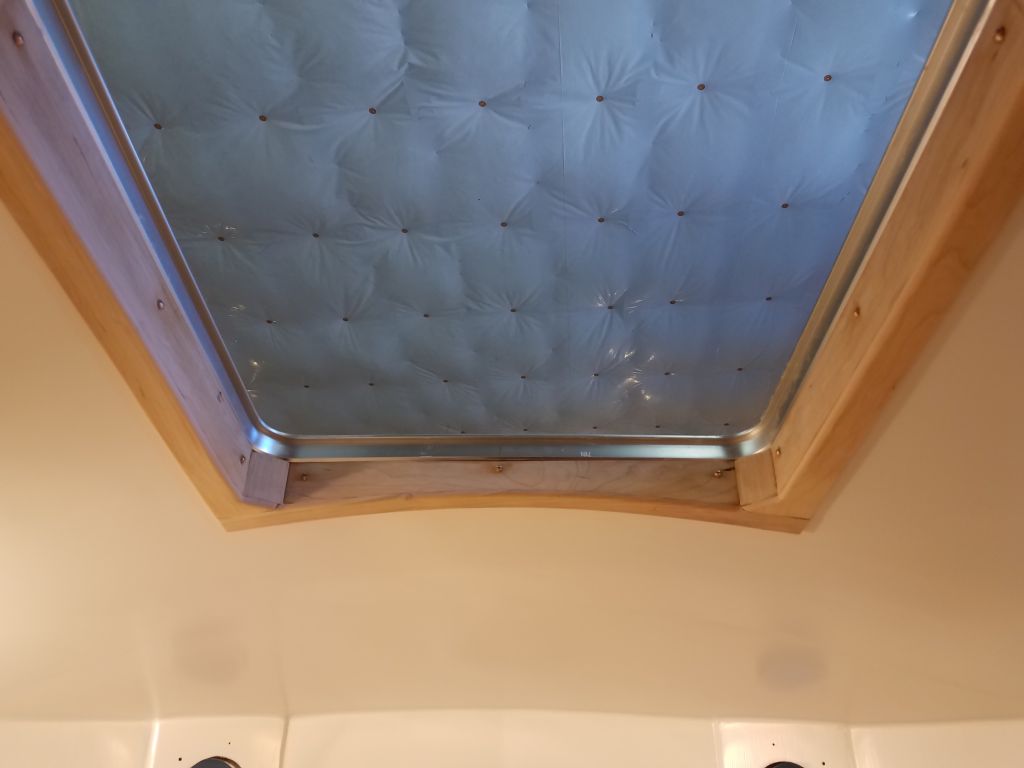
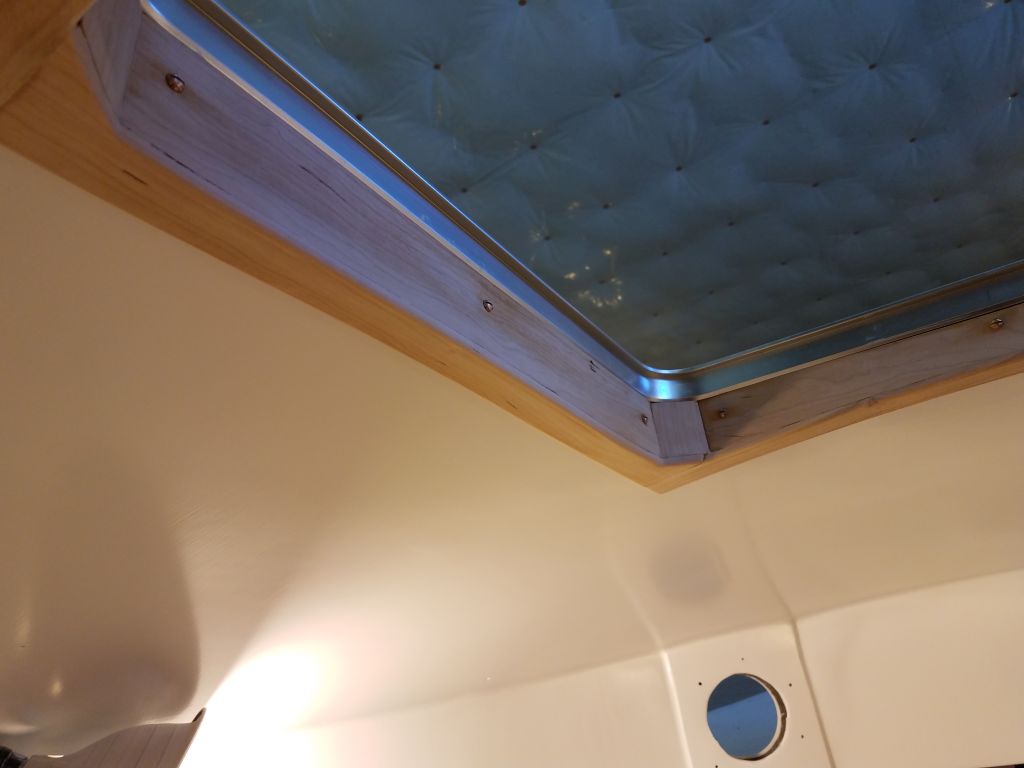
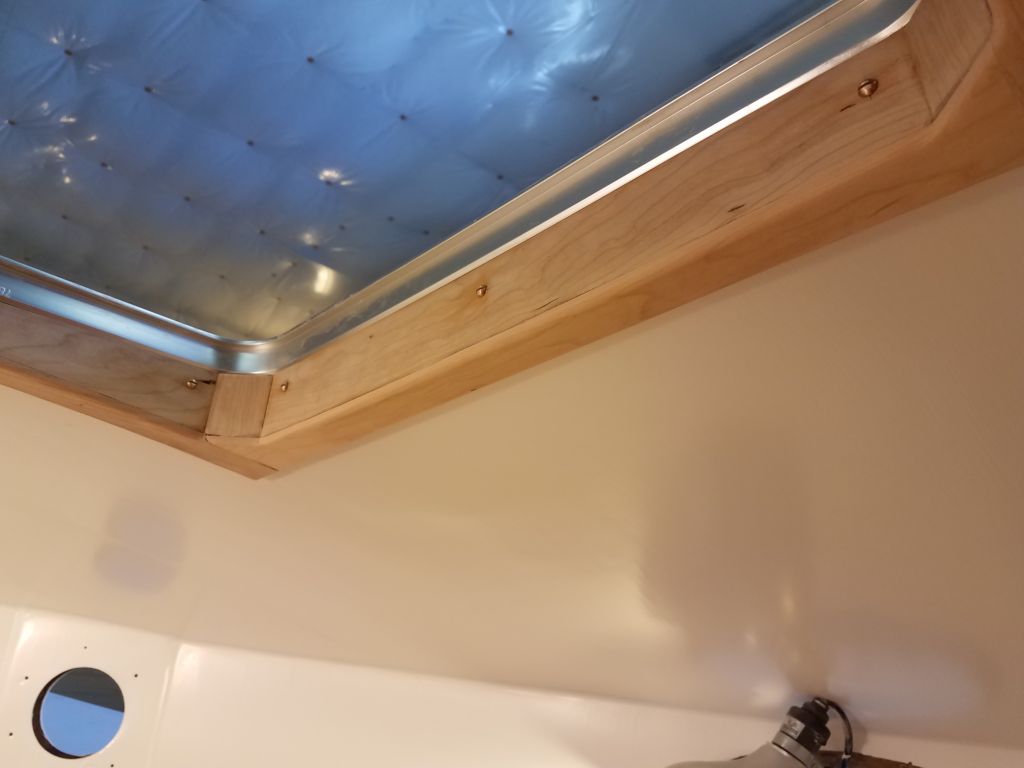
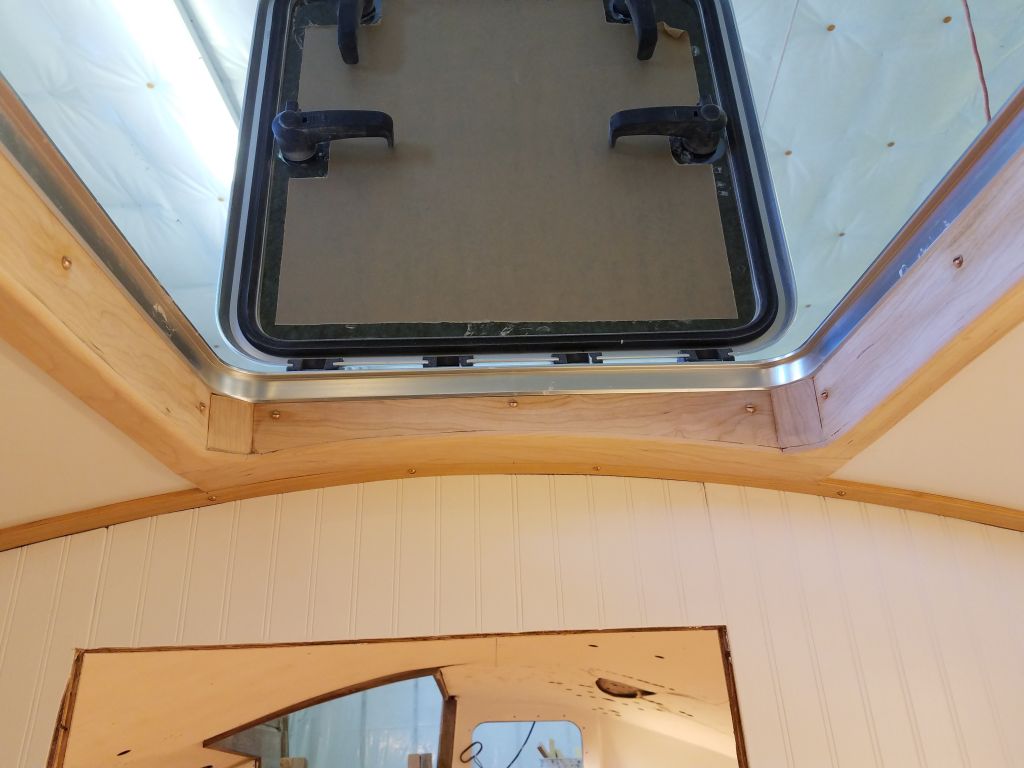
After unclamping the trim around the forward hatch, I cleaned up the overlaps where the pieces of trim met, sanding these areas smooth and lightly rounding the corners for a clean appearance. Once that was done, I finished up the installation with screws on the horizontal trim pieces.
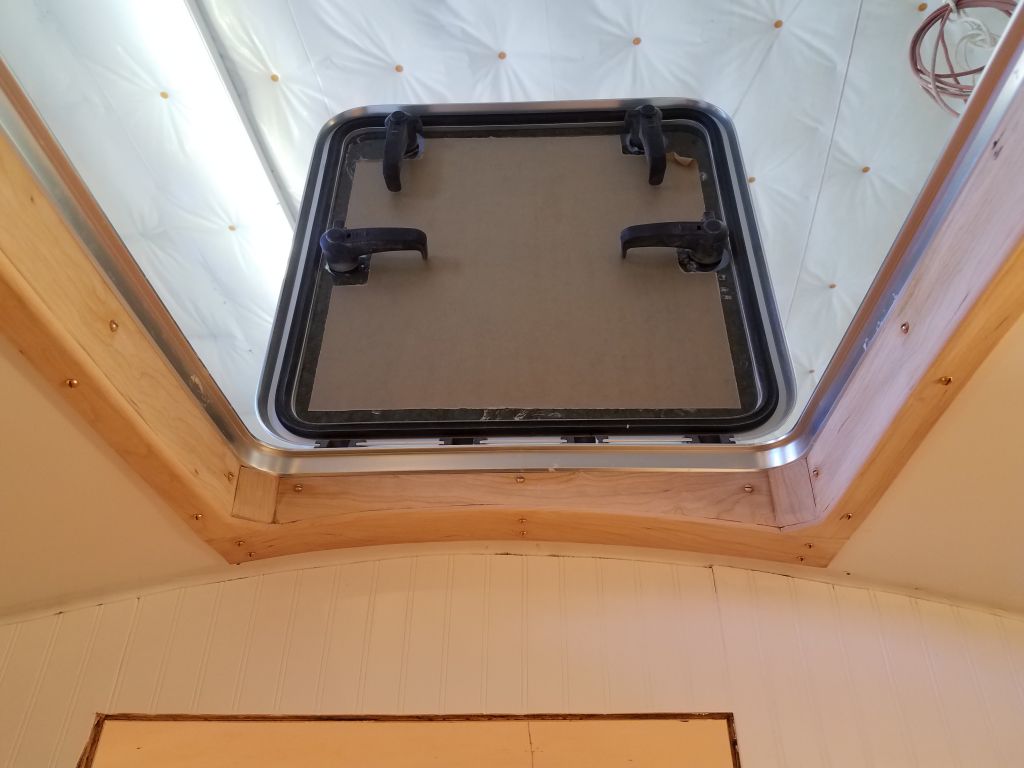
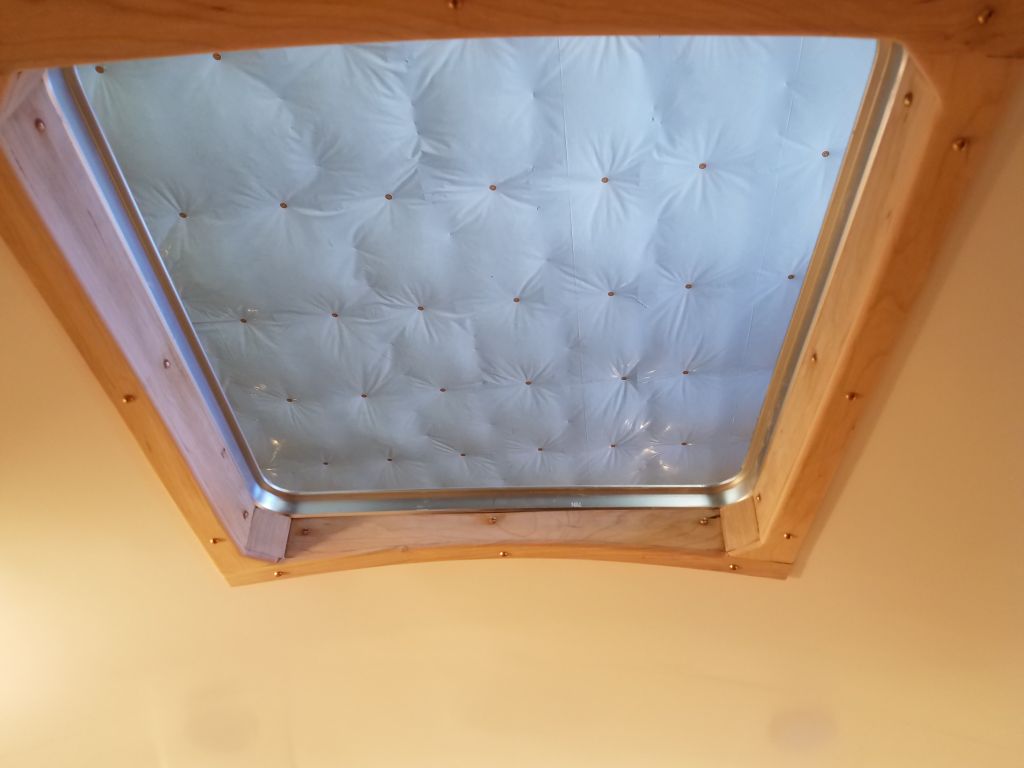
I removed the bulkhead trim pieces from the forward cabin and, down in the shop, lightly sanded them and rounded the exposed corners, then prepared them for the first of several coats of varnish–gloss for the base coats, then a final coat or two of satin–that I’d complete with the trim pieces out of the boat.

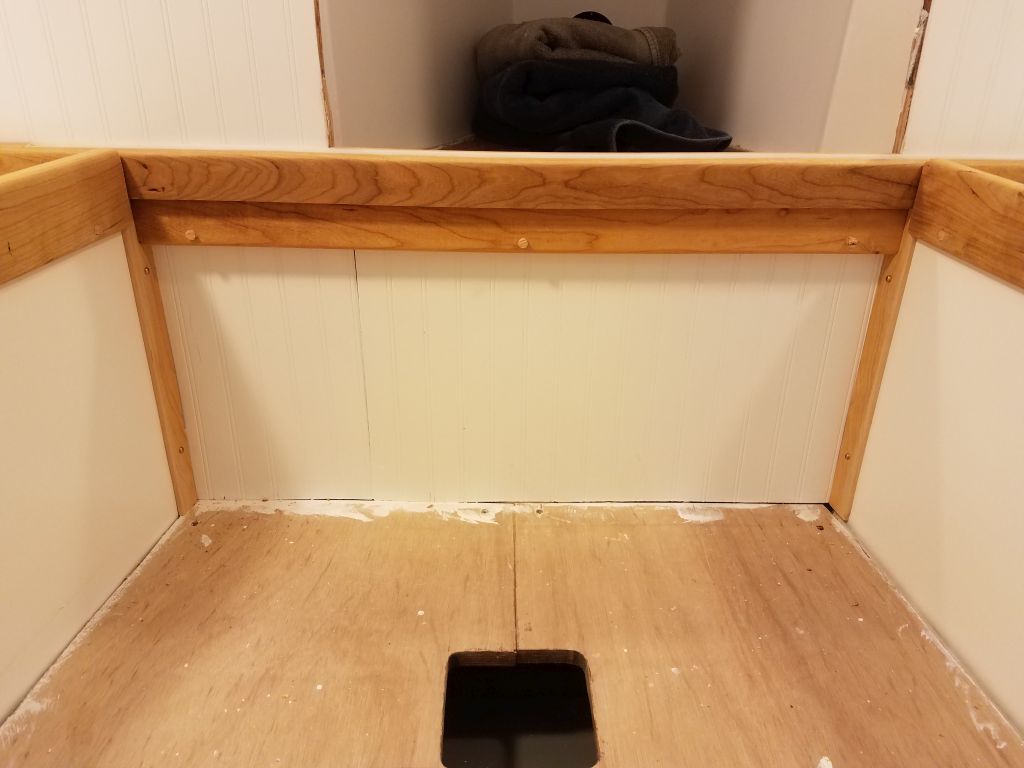
I continued work on the trim at the forward end of the saloon. The new piece I’d prepared for beneath the transverse door trim was ready, but I decided it would look better and be easier if I first installed the thin vertical trim along the bulkheads between the cabin sole and the door trim, then installed the other trim inside of it, so I cut and shaped these trims as needed and, after slightly shortening the new apron trim accordingly, installed it as well. Then I bunged the various screw holes in this area as needed.
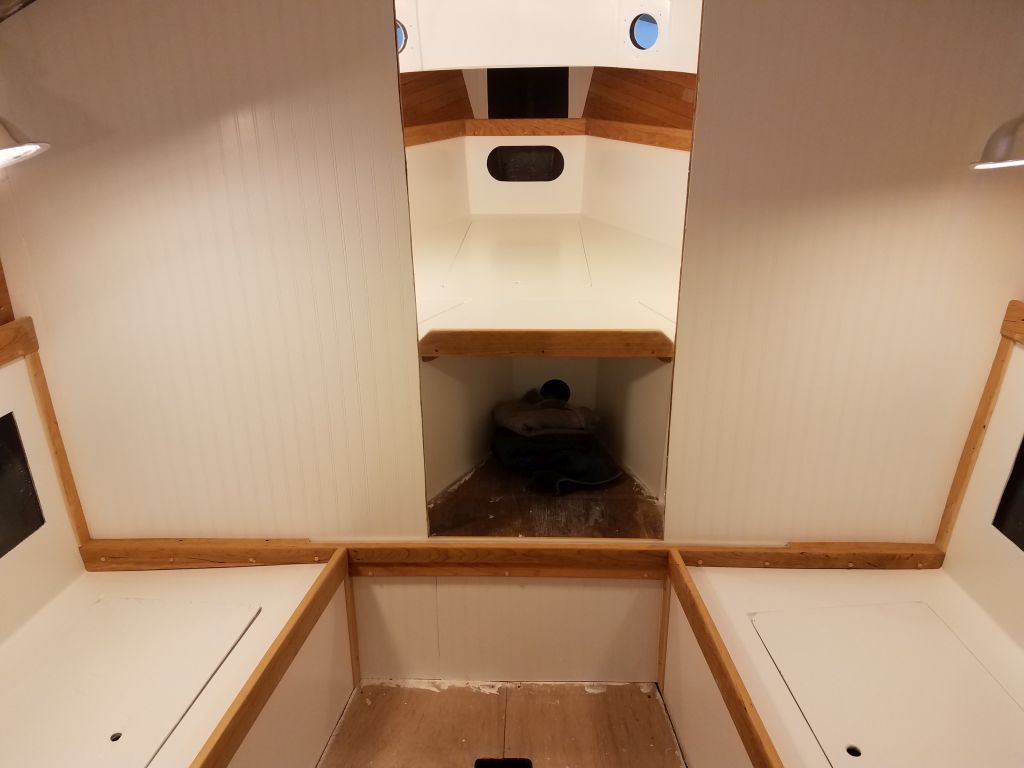
I received a call from Jason, the upholstery contractor I use, and he’d recently been in touch with the owner about some of the interior details. With these resolved to everyone’s satisfaction, he was ready to come and template the berths for the new cushions, and, since it was also a good time for me, we arranged for him to come this very afternoon, so with the time left in the morning I prepared the cabin a bit, cleaning up the berths and removing tools and supplies out of the way. I also temporarily installed the fiddle trim on the v-berth filler piece, which wasn’t complete yet with another coat of paint to go, but this way we could ensure that the pattern for the forward cabin could be accurate.
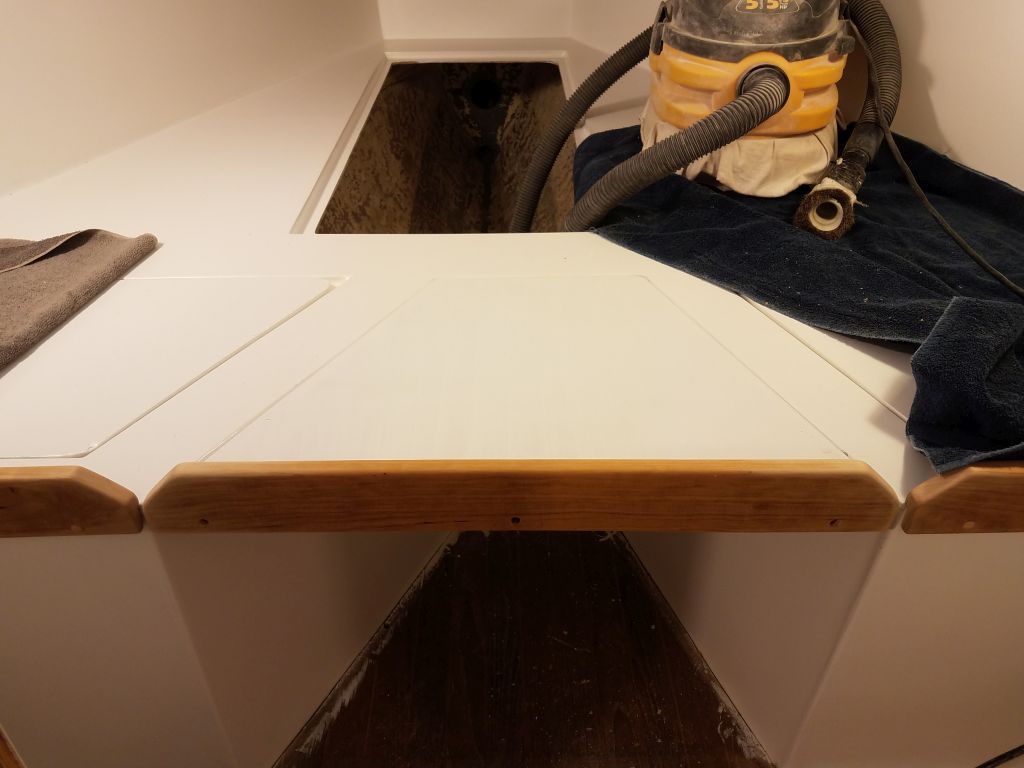
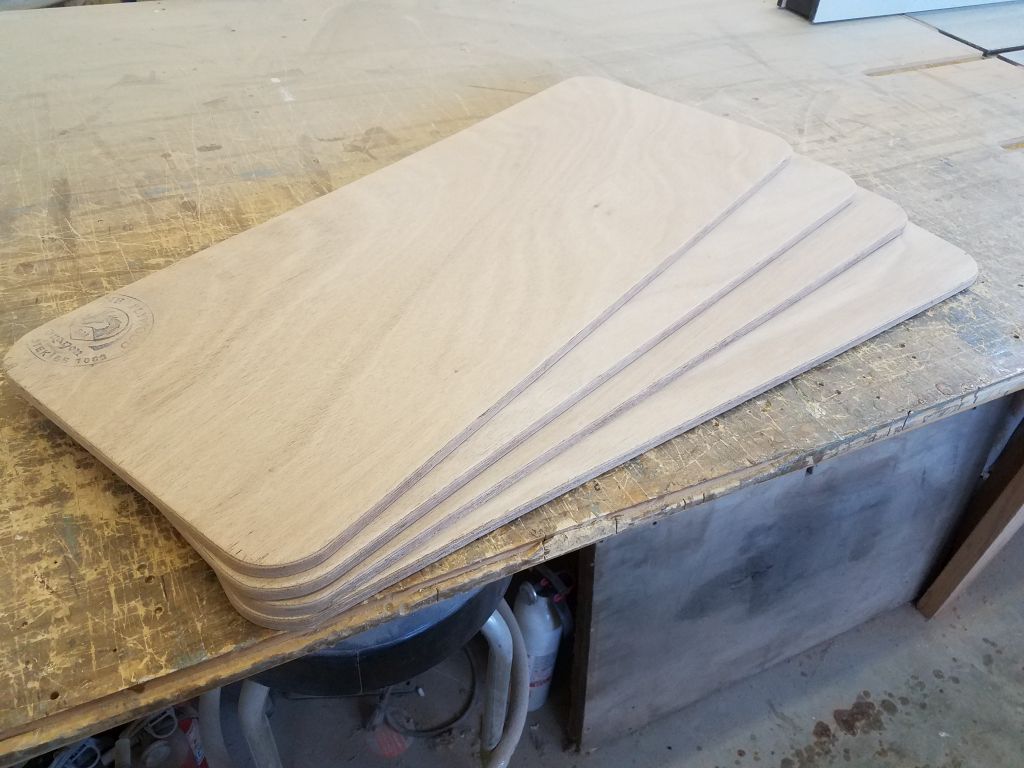
When he arrived and got to work, after some final discussion with him about the settee backrest cushions (which would also be the locker doors), I made up four new plywood panels for the purpose, which would accept his new upholstery and cushions as needed. I cut the 12mm plywood to overlap the openings by an inch on all sides, and cut 2″ radius corners so Jason could wrap his fabric and welting easily and cleanly around the corners, at his request. I milled a 1/4″ roundover on one side of the panel, and just eased the sharp edge on the other with light sanding to complete the new panels in time for him to take them back to his own shop for the upholstery work.
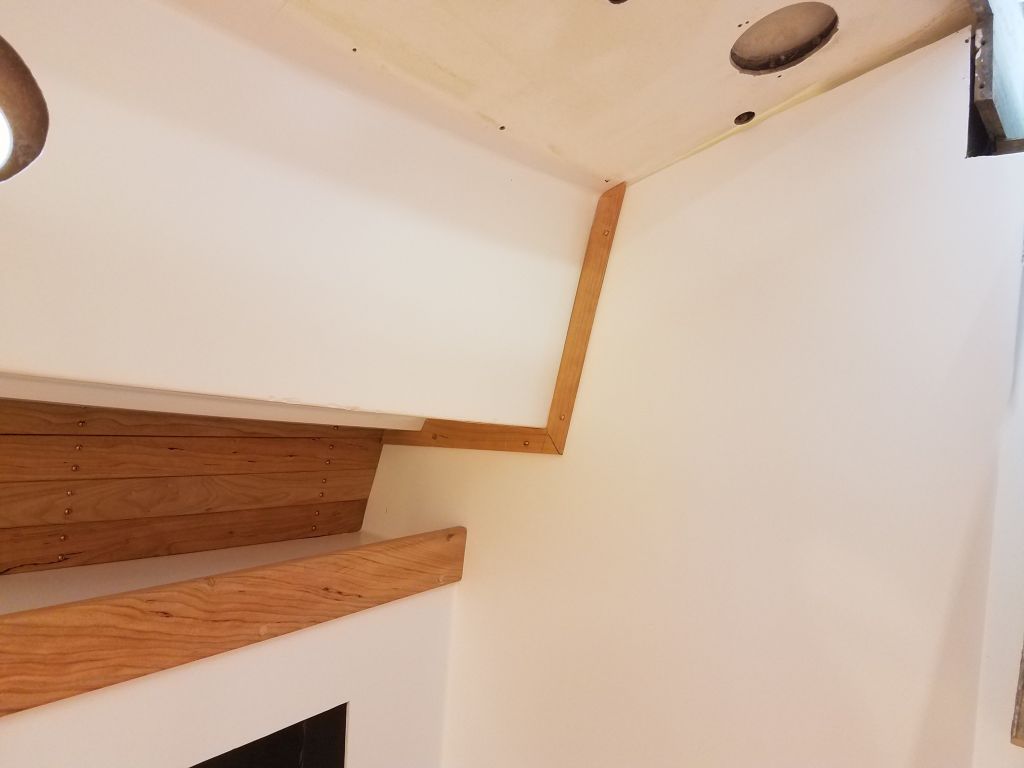
Once I had the boat back to myself, I spent the remainder of the day on more trim in the saloon, mainly the trim around the bulkheads and cabin sides at the main and after bulkheads, where there were gaps either between the beadboard and the sides (forward), or, at the aft bulkhead to starboard, a wide open space between the two molded interior liner components.
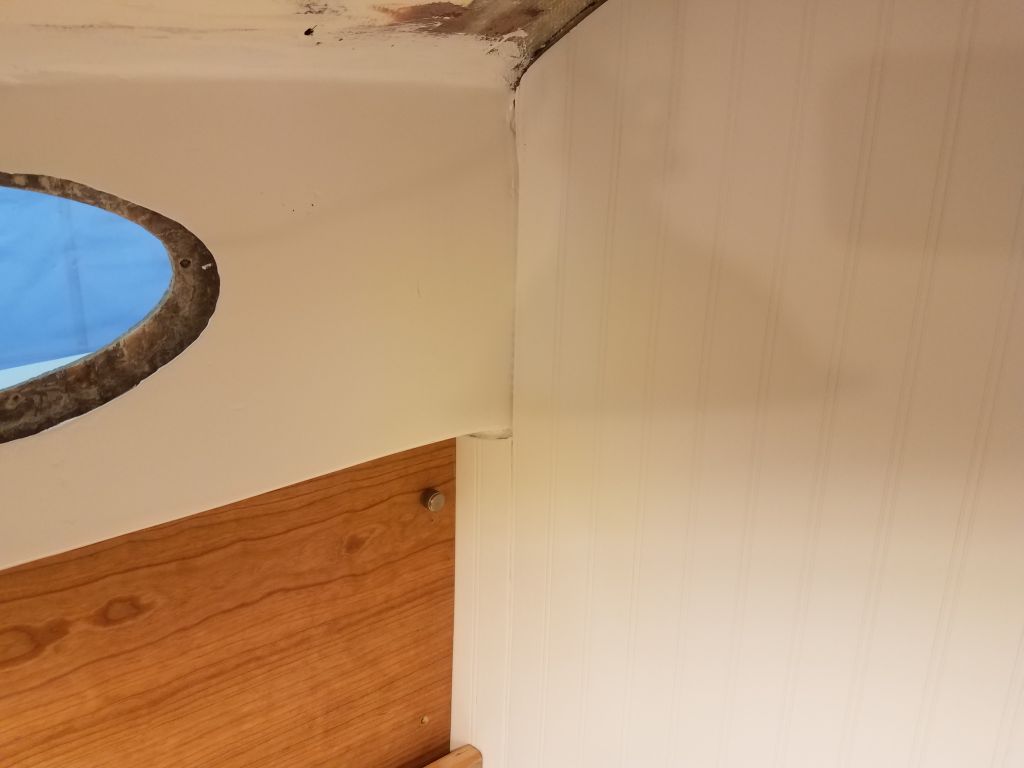

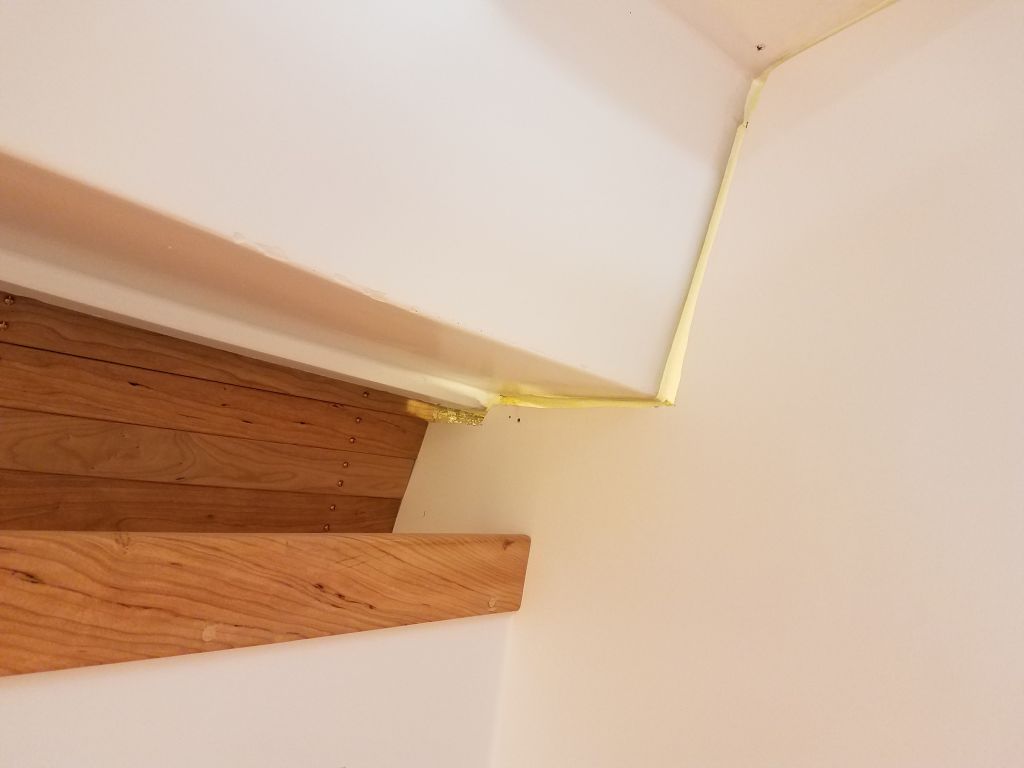
These trims were basic in concept, but the realities of the surfaces meant that they were (un)suprisingly fussy. At the main bulkhead, I also had to relieve the front top corners of the new electrical locker panels to fit around the bulkhead trim, since those panels were meant to be removable and therefore had to fit around the trim, rather than allow the trim to butt up against the panels. At the overhead, I fit the trim to the existing shape, but since there would later (soon) be a 1/4″ plywood overhead panel to cover the original, badly damaged fiberglass overhead in the main cabin, I might have to change the top edge of the trim later; plus, there’d also later be an additional piece of trim across the top edge of the bulkhead once the new overhead was in place.
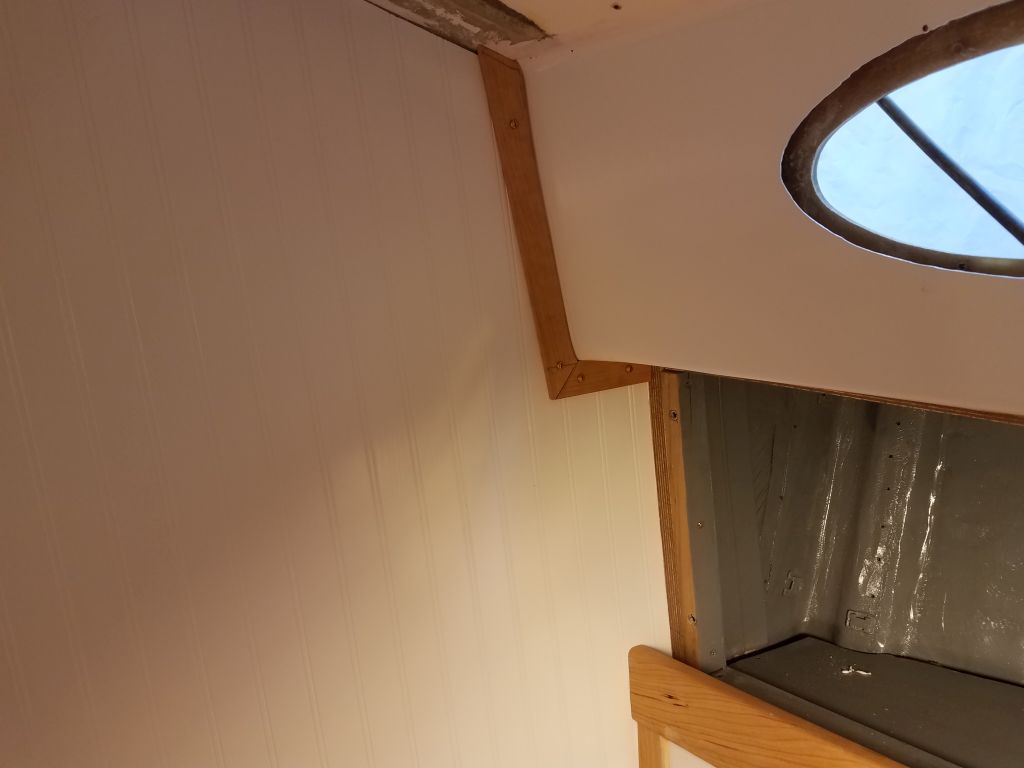

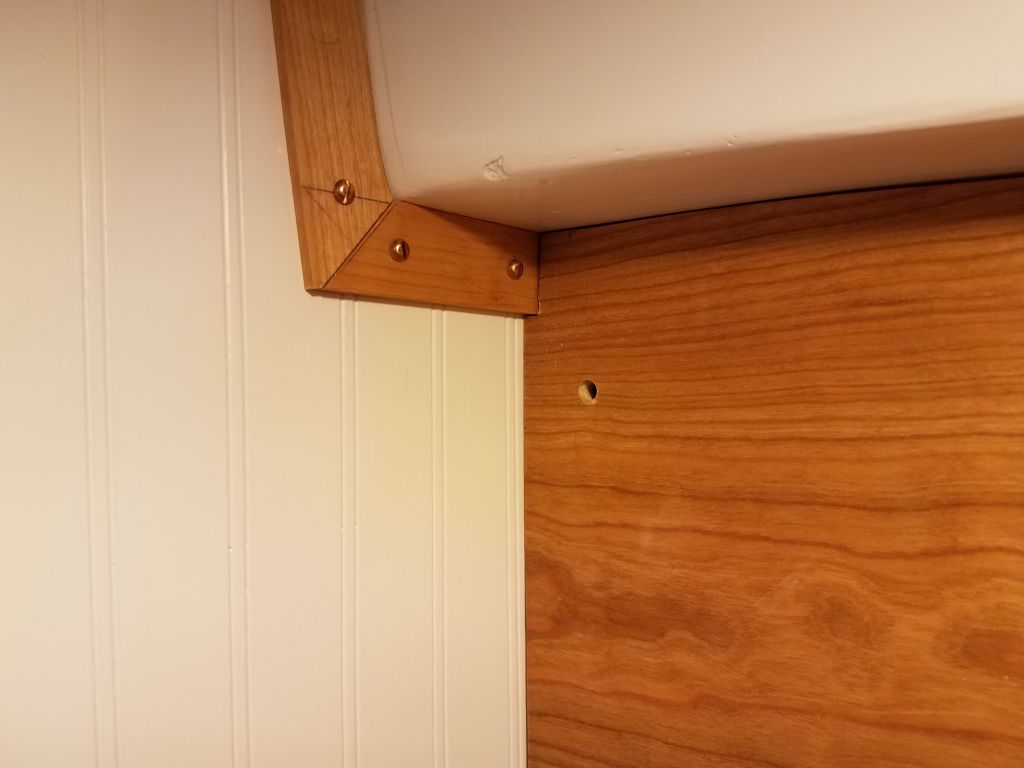

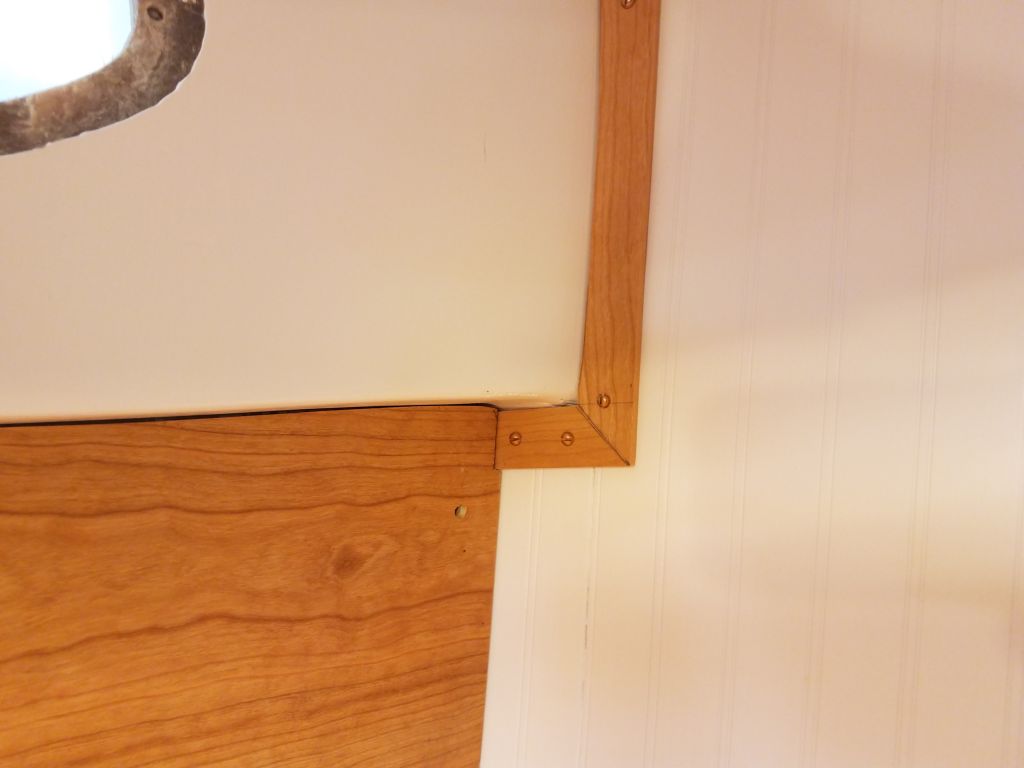
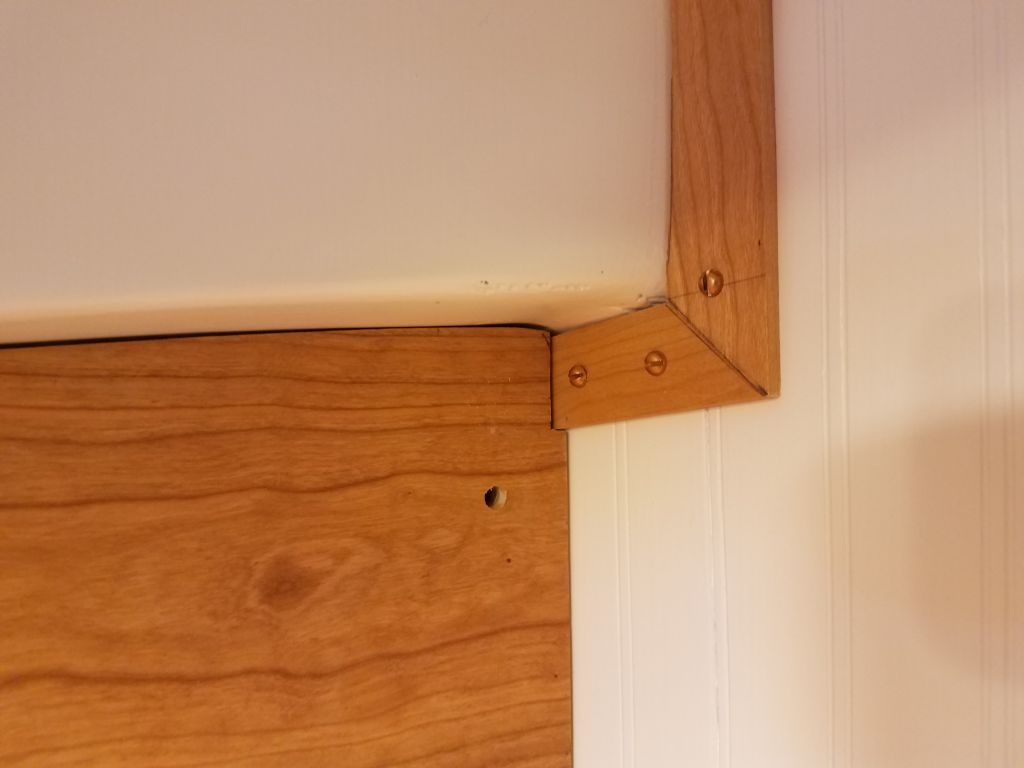
At the starboard aft bulkhead, I had to start with a wider piece of trim for the bottom piece (below the sidedeck), since this trim had to incorporate a stepped shape in the liner at the outboard side. This posed no problem, but once I had the top shape properly scribed to fit, I trimmed the bottom edge of the over-wide piece to the final dimension intended (1-1/4″, to match the other trim), forgetting at the time that the gap between the molded fiberglass pieces was so wide, so the narrower trim I’d just cut didn’t cover the gap. Fortunately, it was not a lot of work to cut a new piece of trim using the first one as a guide, and by angling the cutline on the lower edge I could properly cover the gap at the outboard side, while still reducing the trim to the required 1-1/4″ at the inboard edge, where it met the vertical piece in a miter cut. I didn’t trim the top edge of this bulkhead at this point because, like at the forward end, there’d soon be a new overhead cover panel here, so I’d complete the trim once that was fitted.
Total time billed on this job today: 8.5 hours
0600 Weather observation: 12°, clear. Forecast for the day: Sunny, 43°