


March 19, 2018
Scupper 9
Monday
After finishing up some work on an unrelated small project in the woodshop, I got started on Scupper again by setting up cords and lighting, and collecting some tools so I could work on preparing the boat for the substantial work list ahead. During an earlier brief work session some months before, I’d removed most of the deck hardware, but there was plenty of dismantling remaining before I could get into the repairs and surface preparation required during this phase of the project.
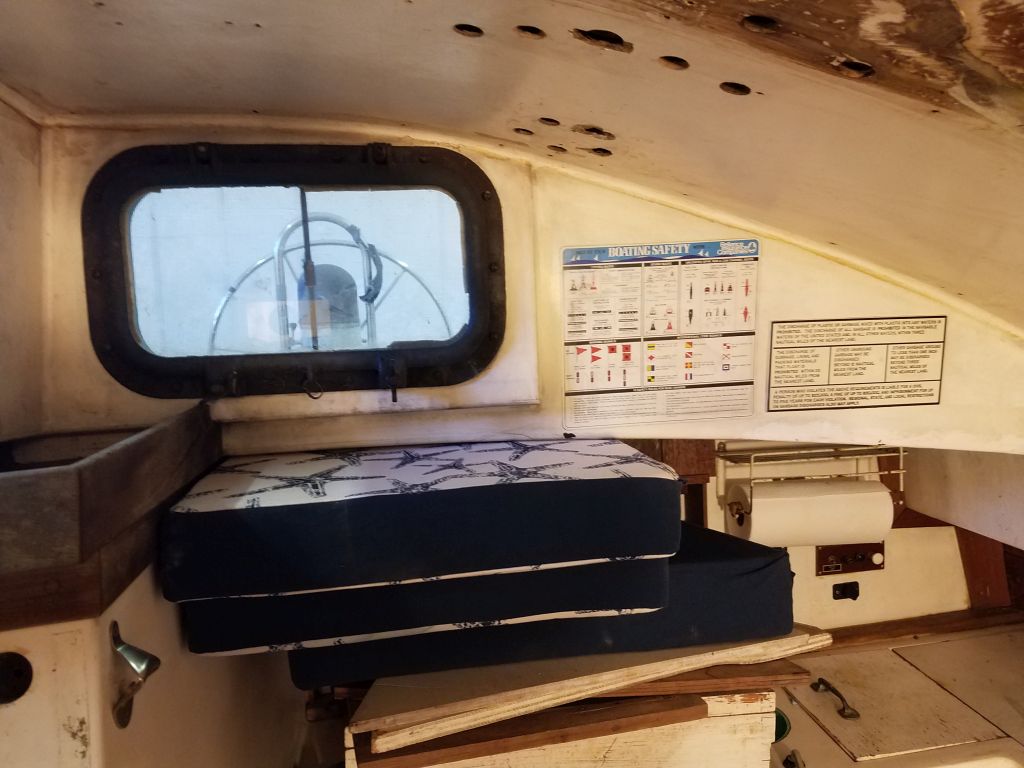
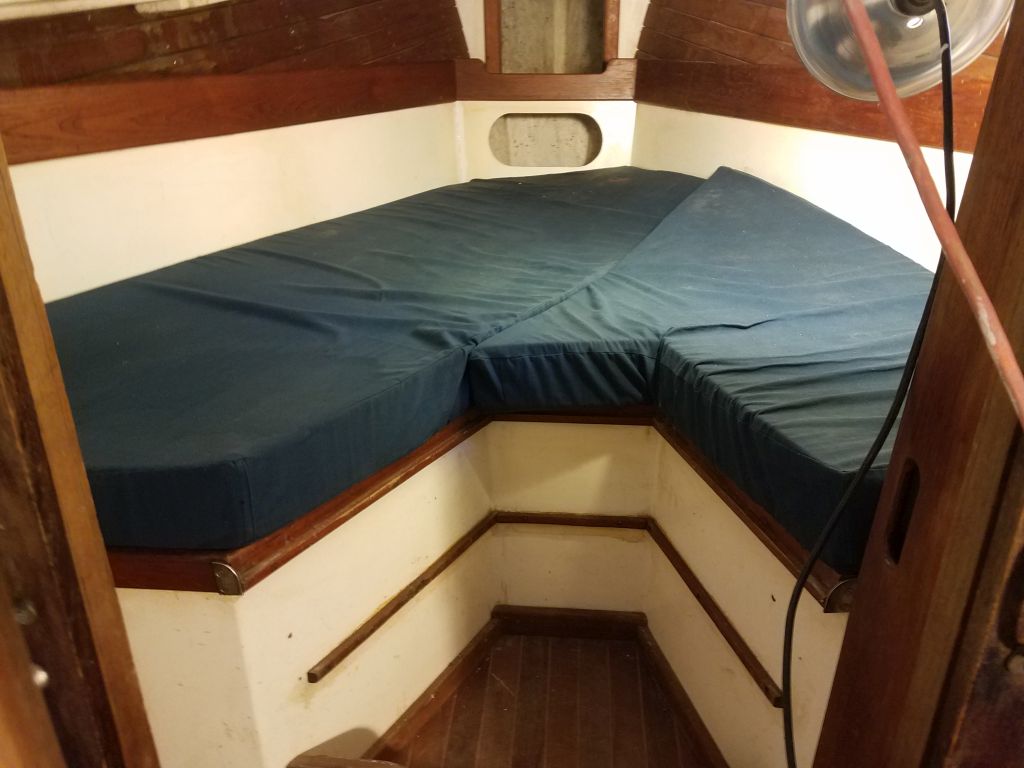
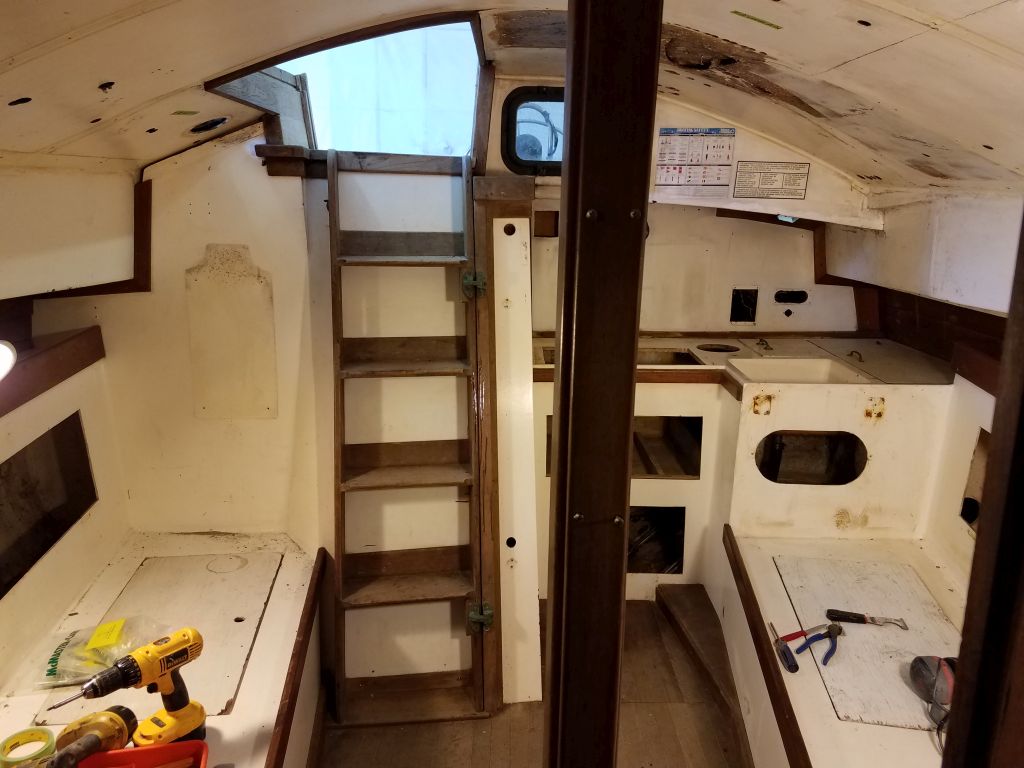
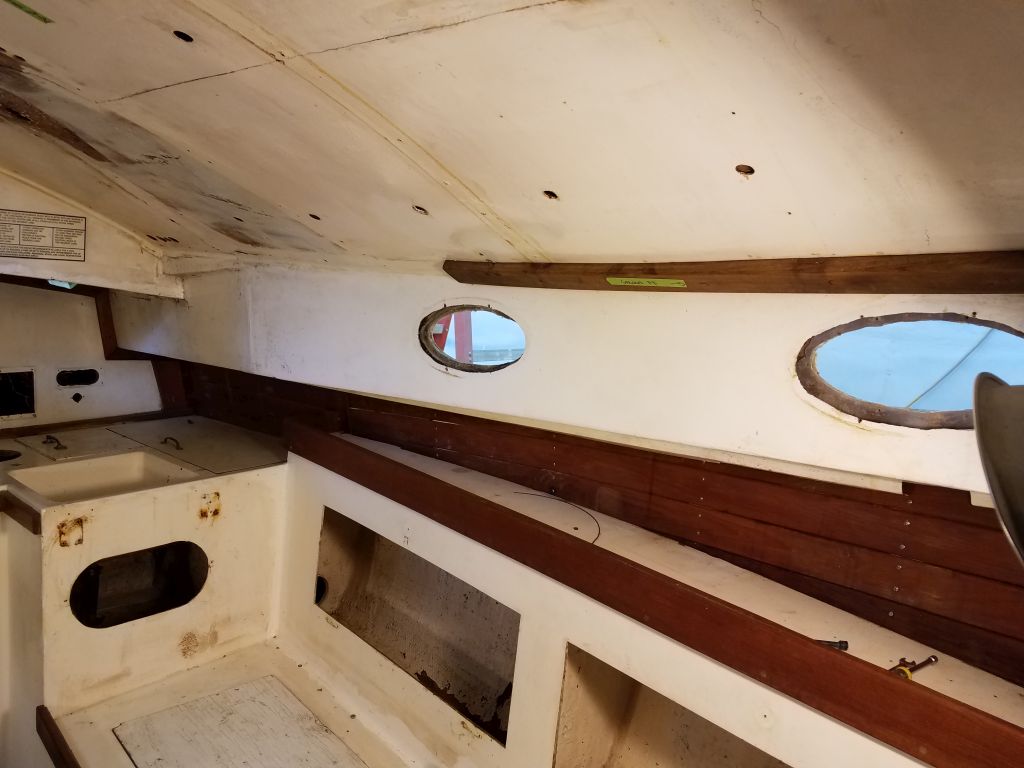
I’d not done much in the cabin, other than crawling around to remove the deck hardware, so things were pretty much as I left them, and showcased the boat’s existing condition, at least on the surface. The interior was worn and tired, though to a far lesser outward extent than the decks and hull. Still, work here would be comprehensive, as all surfaces would ultimately require refinishing and more. Most of the cabin structures were part of a molded interior liner, including the galley, settees, and forward cabin, offset with teak trim. The owner didn’t anticipate much in the way of major changes to the layout or function of the cabin.
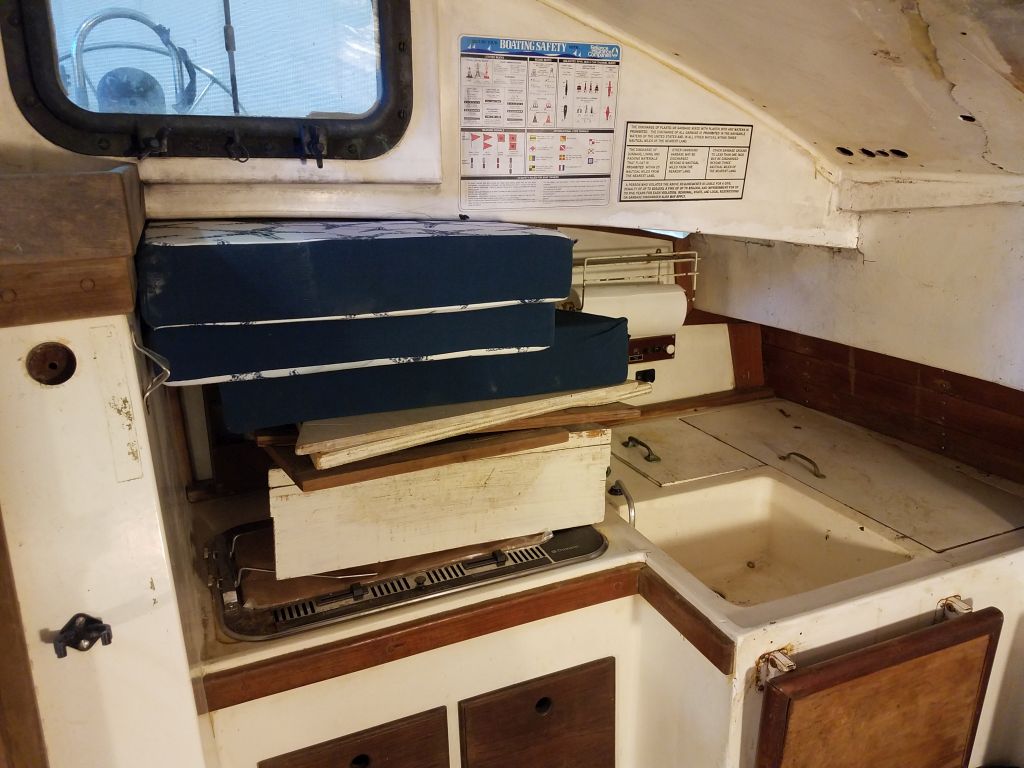
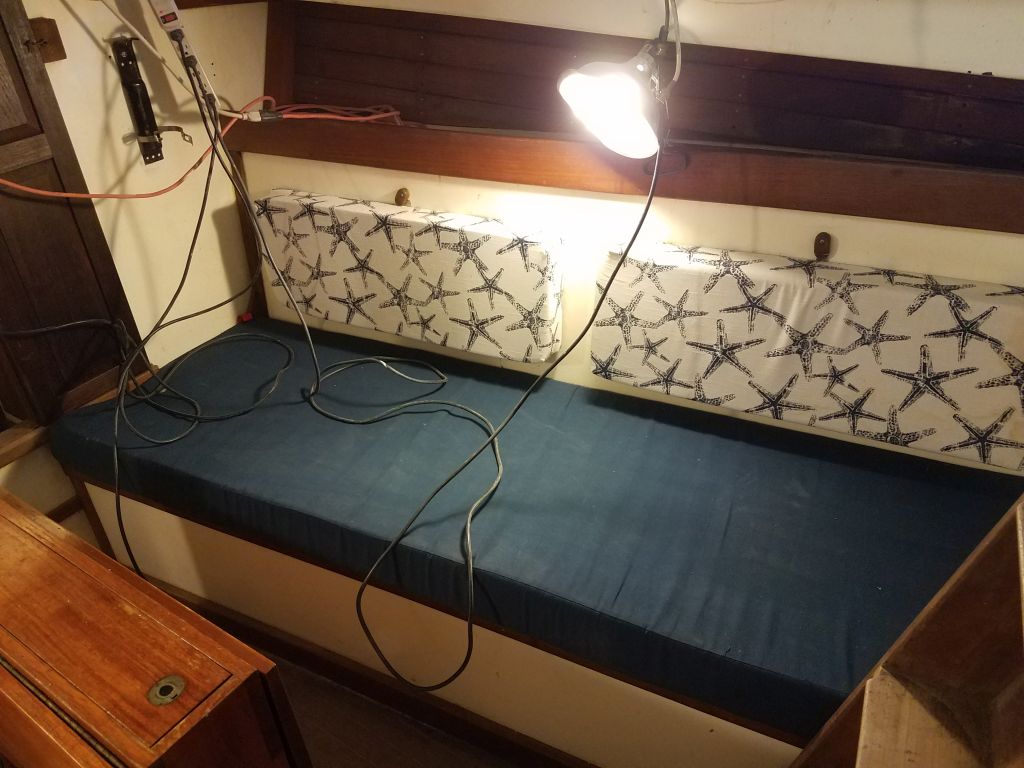
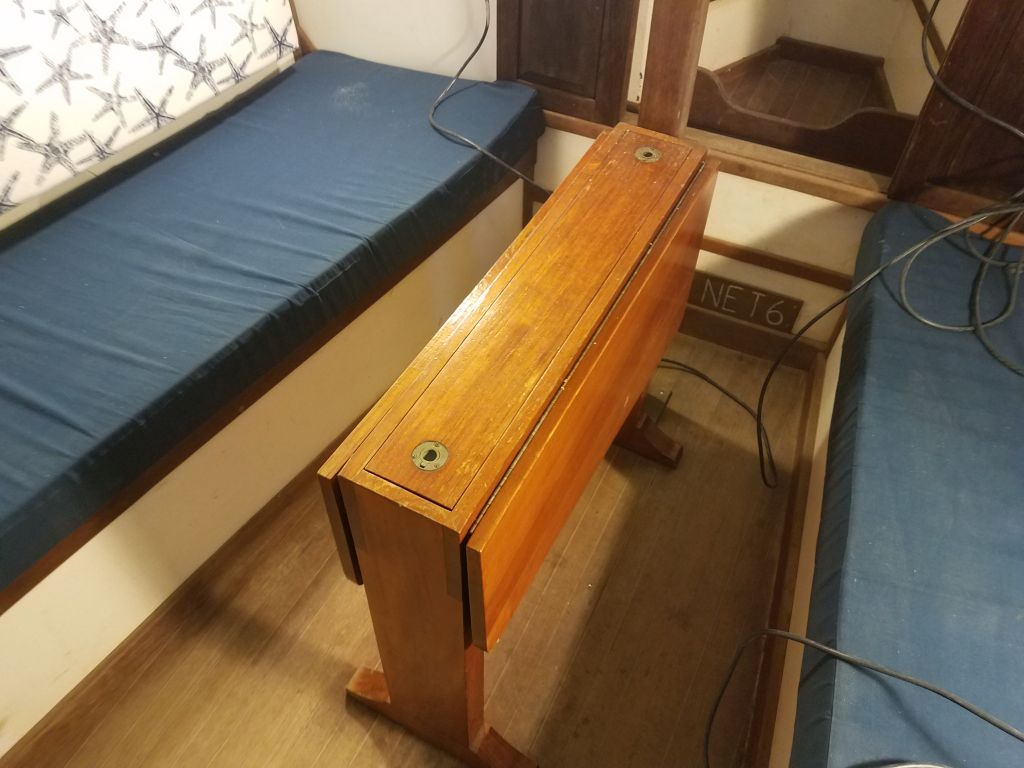
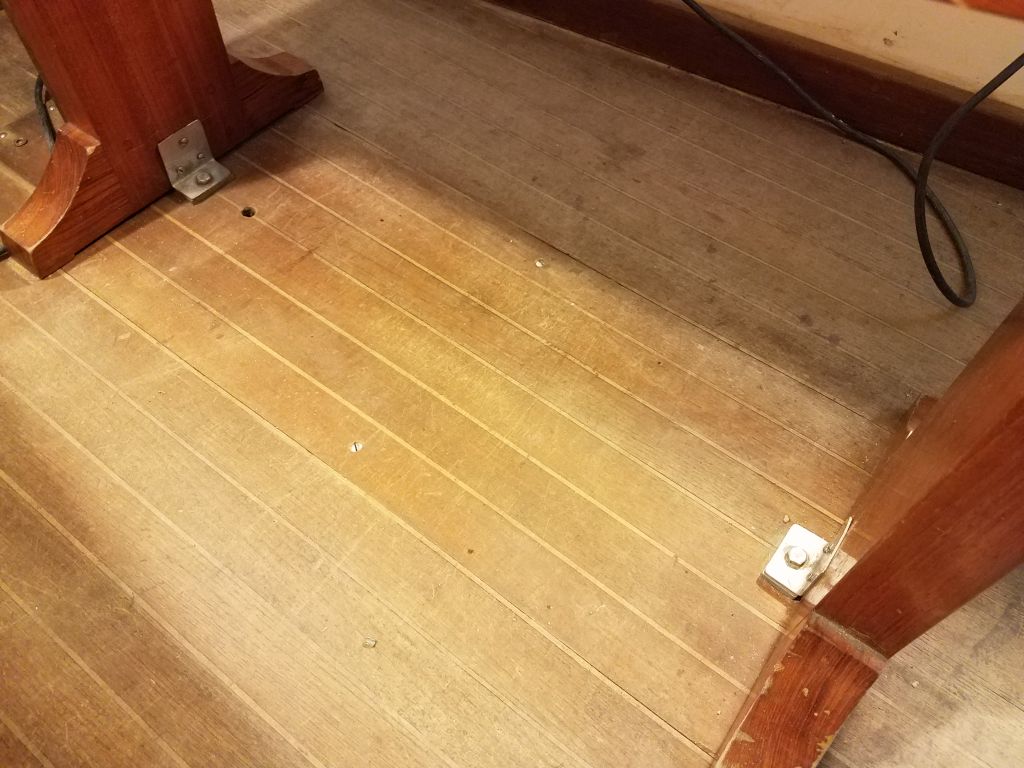
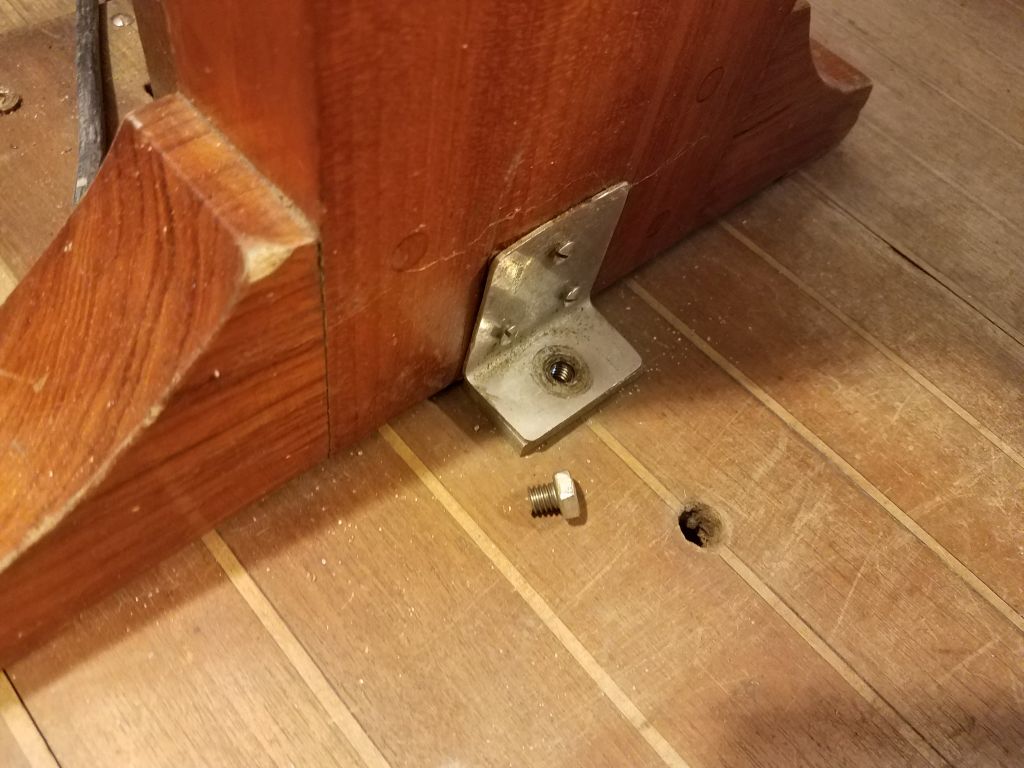
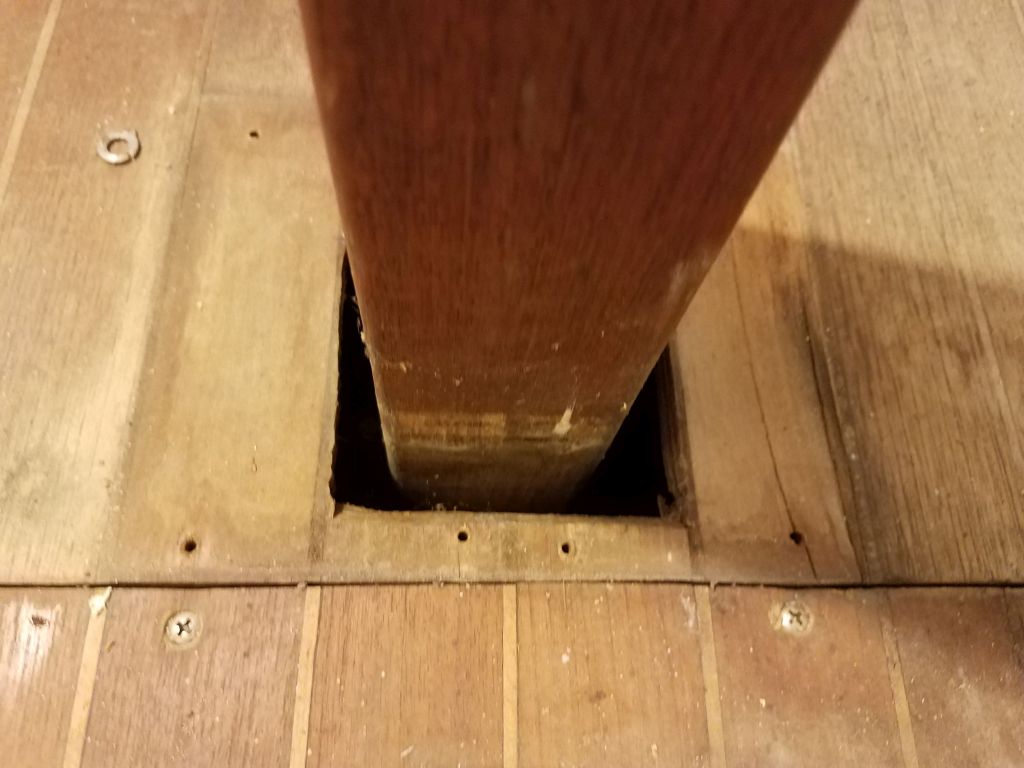
Everything easily removable had to go to open up the space and provide access to all the lockers and outer surfaces for preparation and refinishing, and in any event most of the accoutrements here were junky and needed to be removed regardless. Starting in the main cabin, I began to systematically strip the interior, removing the settee backrests (attached with hinges to access the lockers behind) and any loose gear that remained in those lockers. The main cabin table was secured with two bolts to the cabin sole, and I removed it to improve access throughout the space as well as to gain access to a screwed-in bilge access panel beneath.

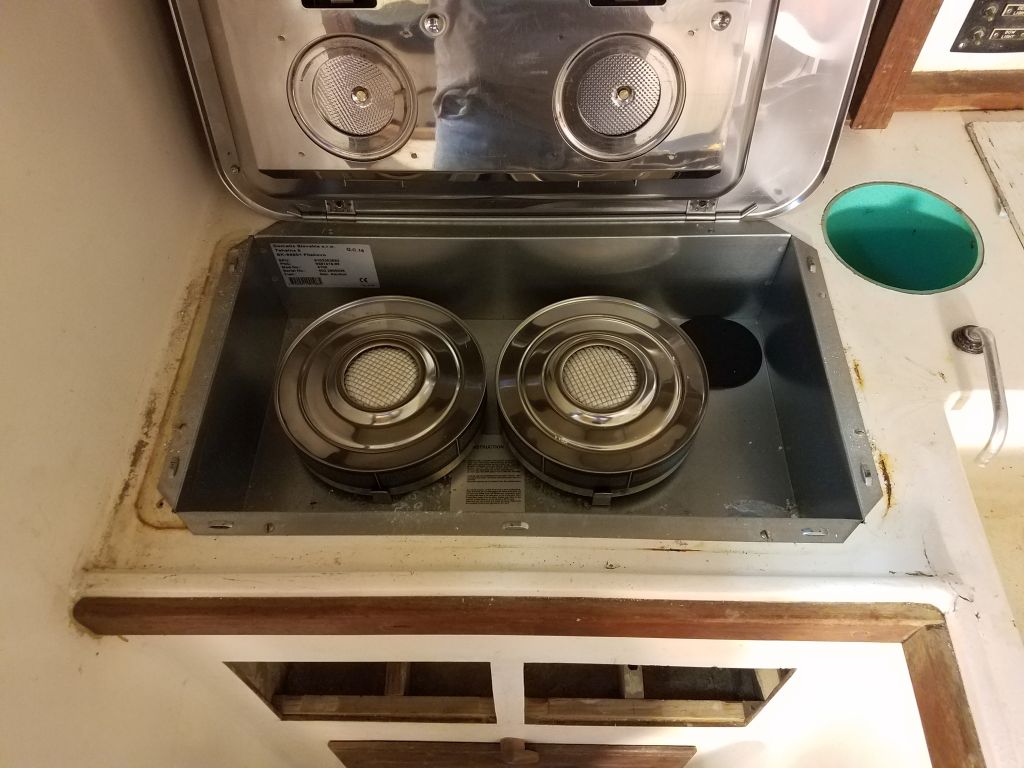
In the galley, it looked like previous owners had replaced the flush stovetop and never used it, as it looked brand-new other than some rust staining from a drip somewhere or another. I removed the stove for safekeeping and access.

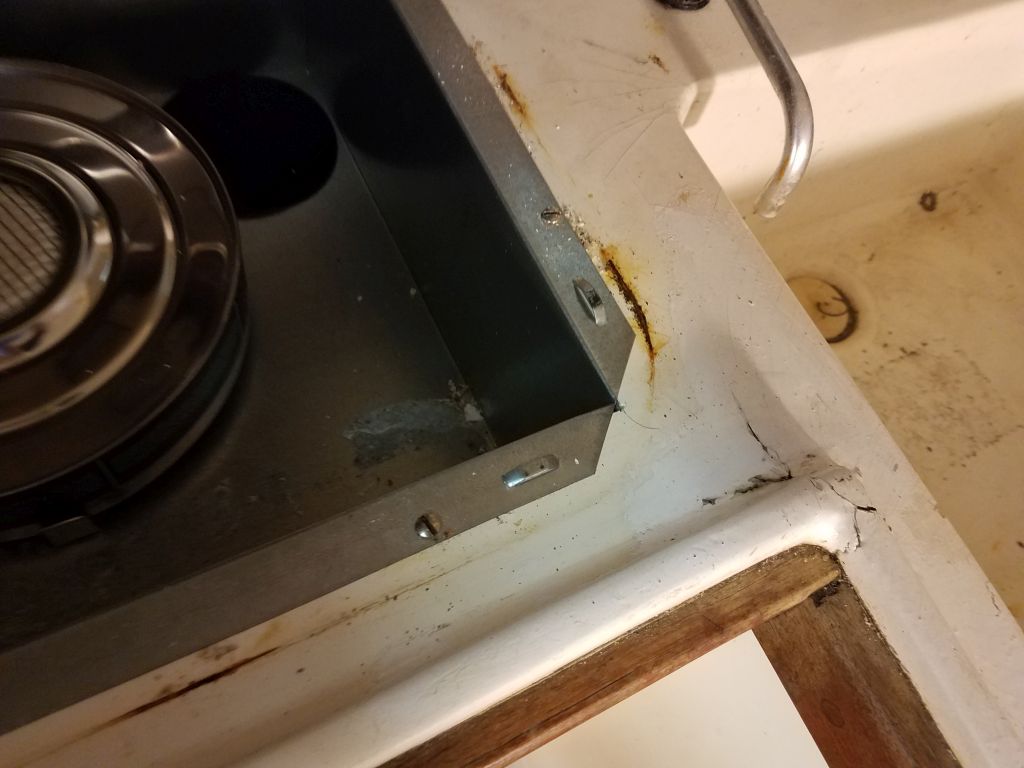
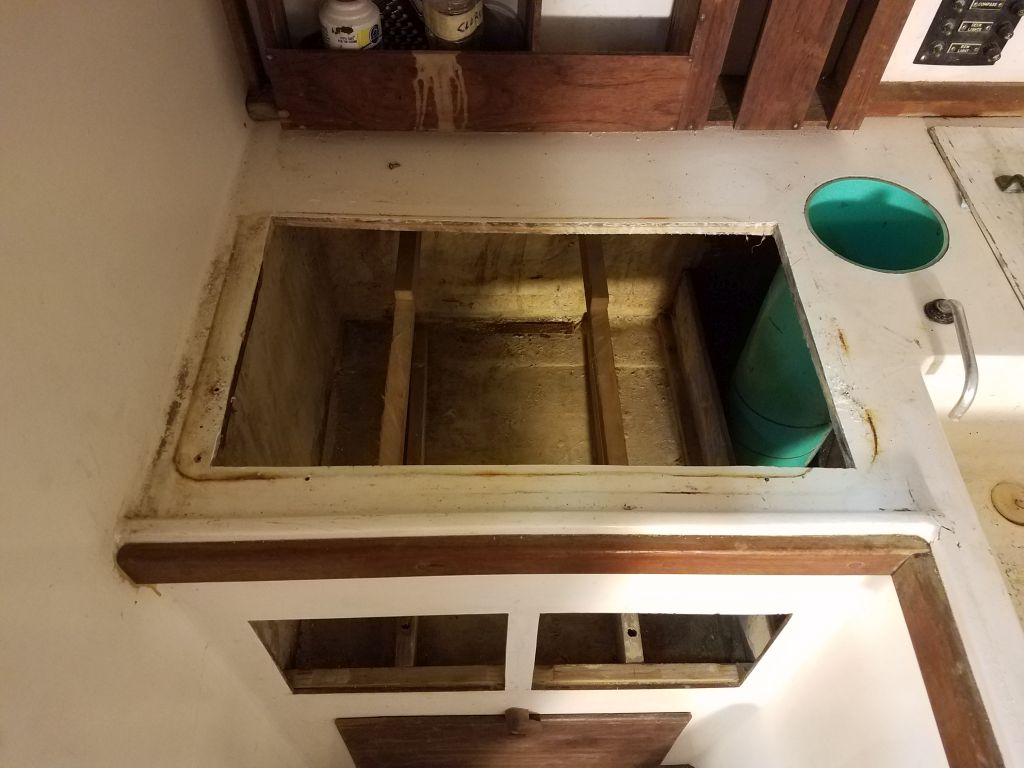
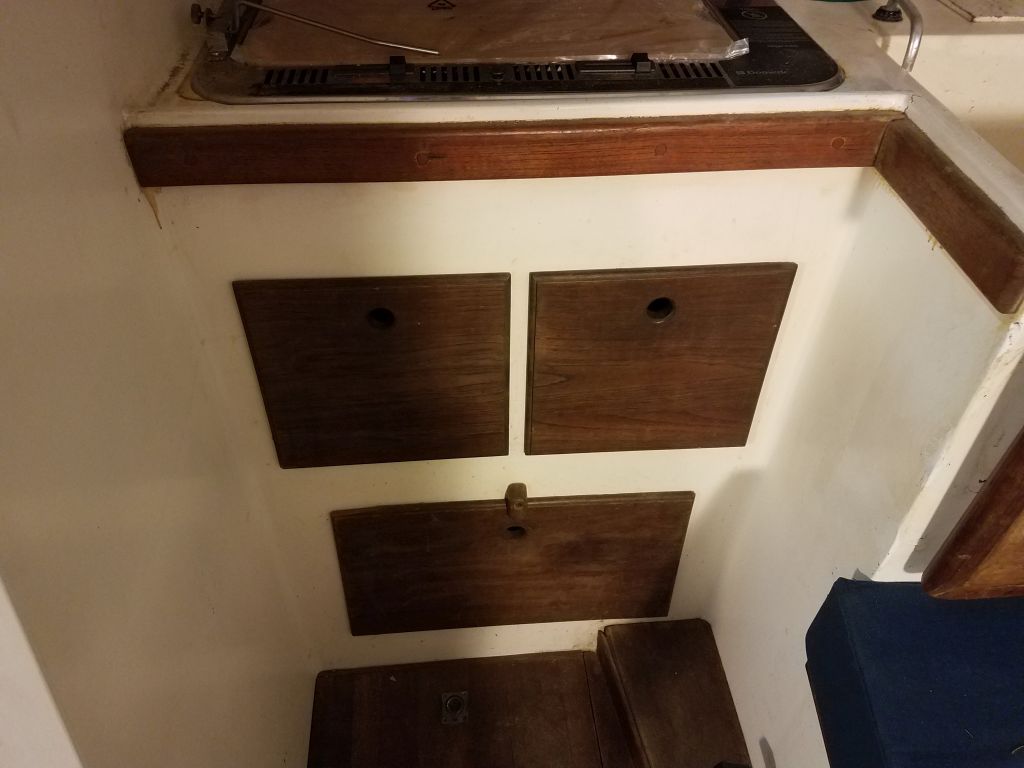
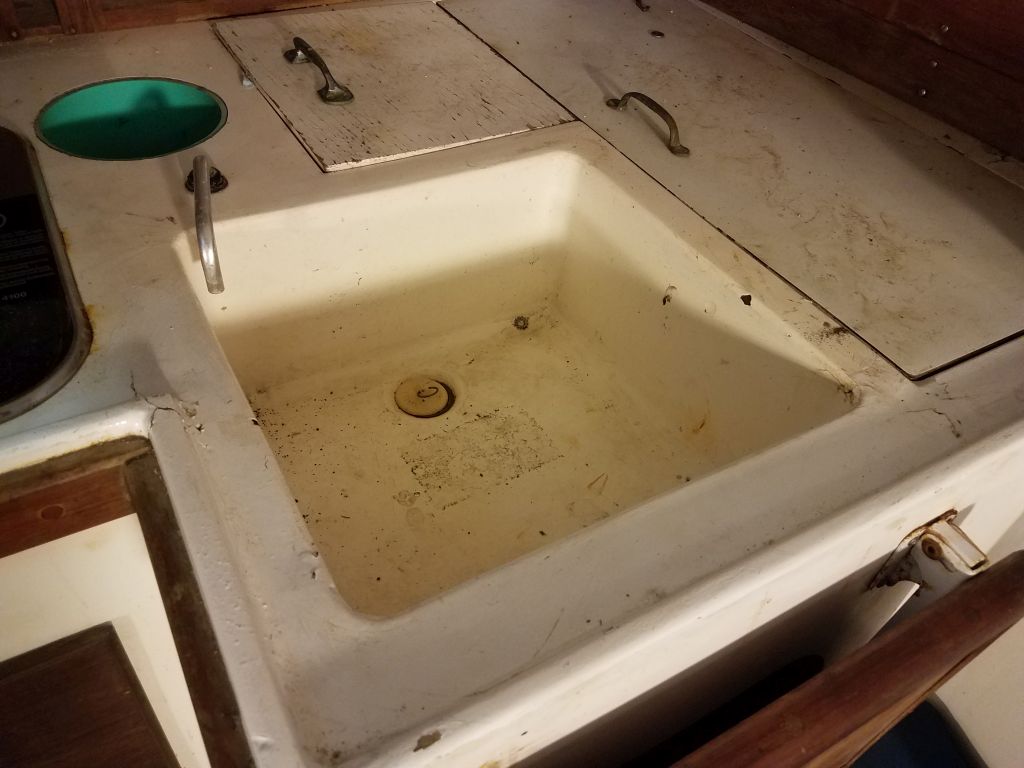
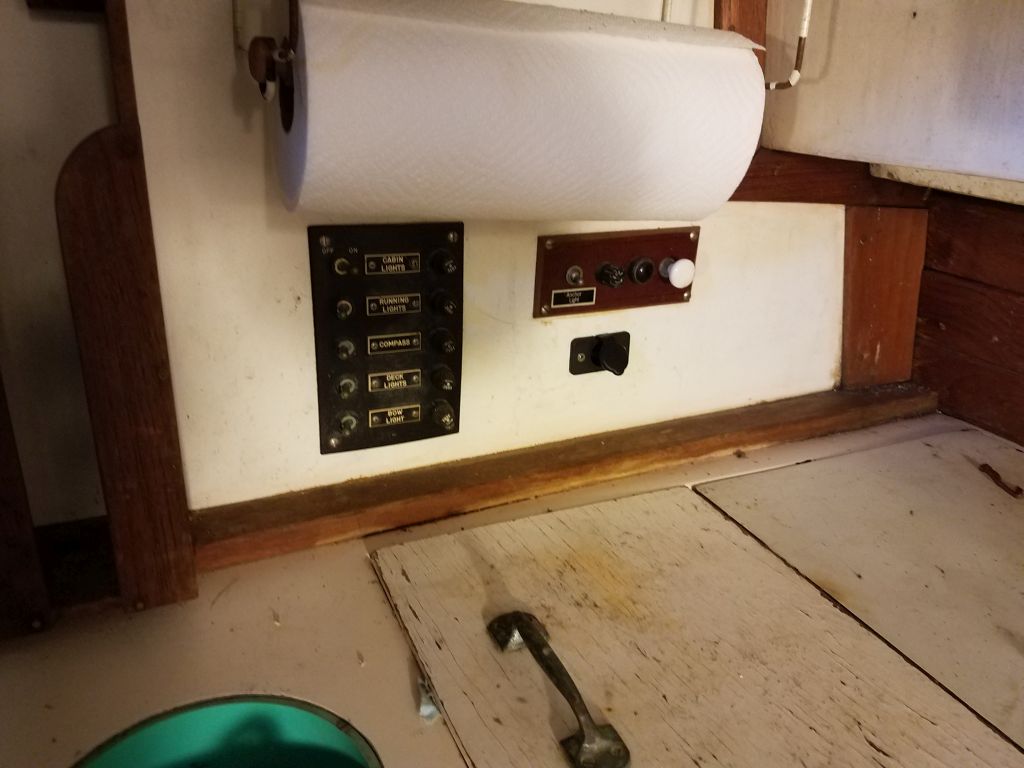
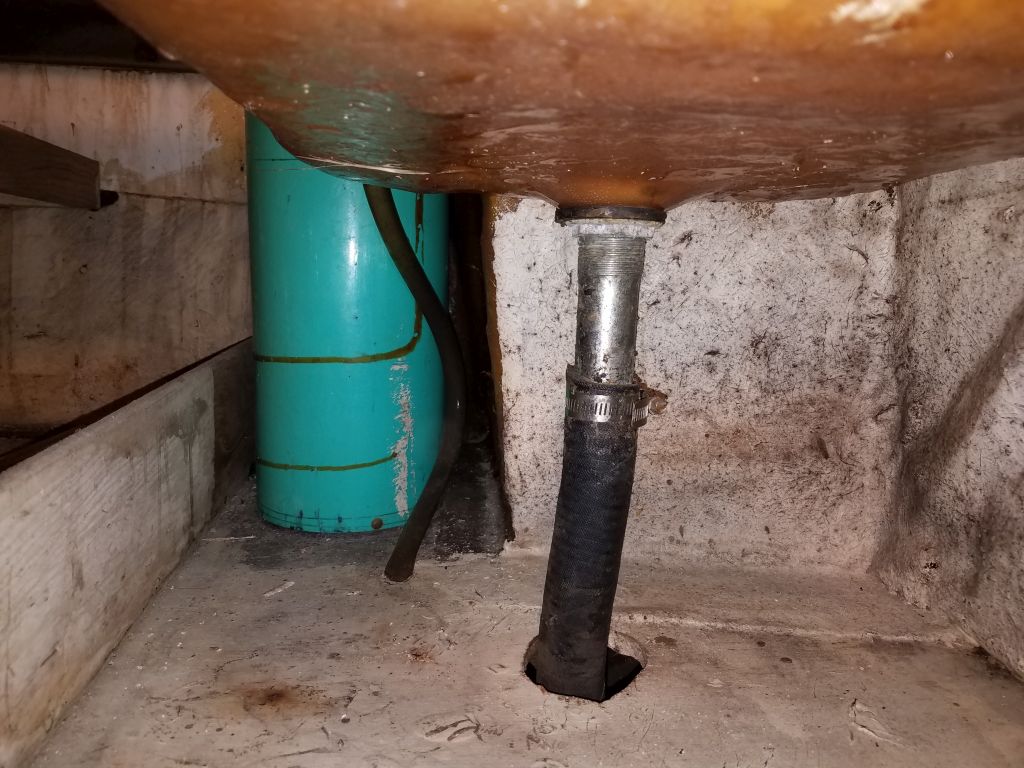
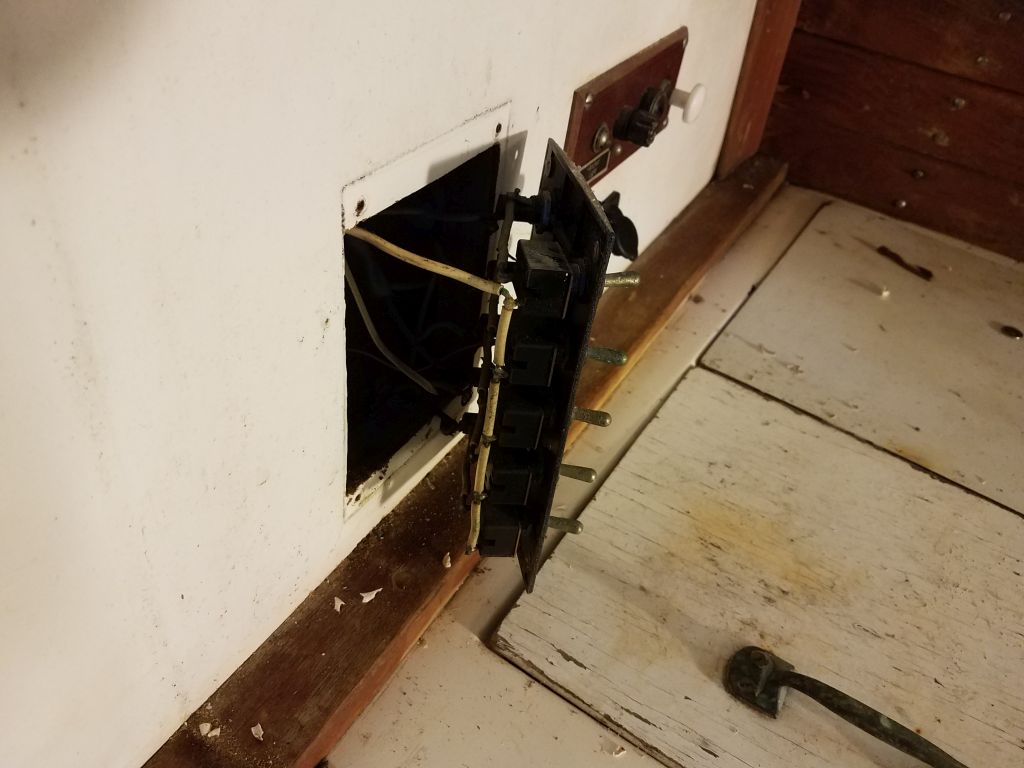
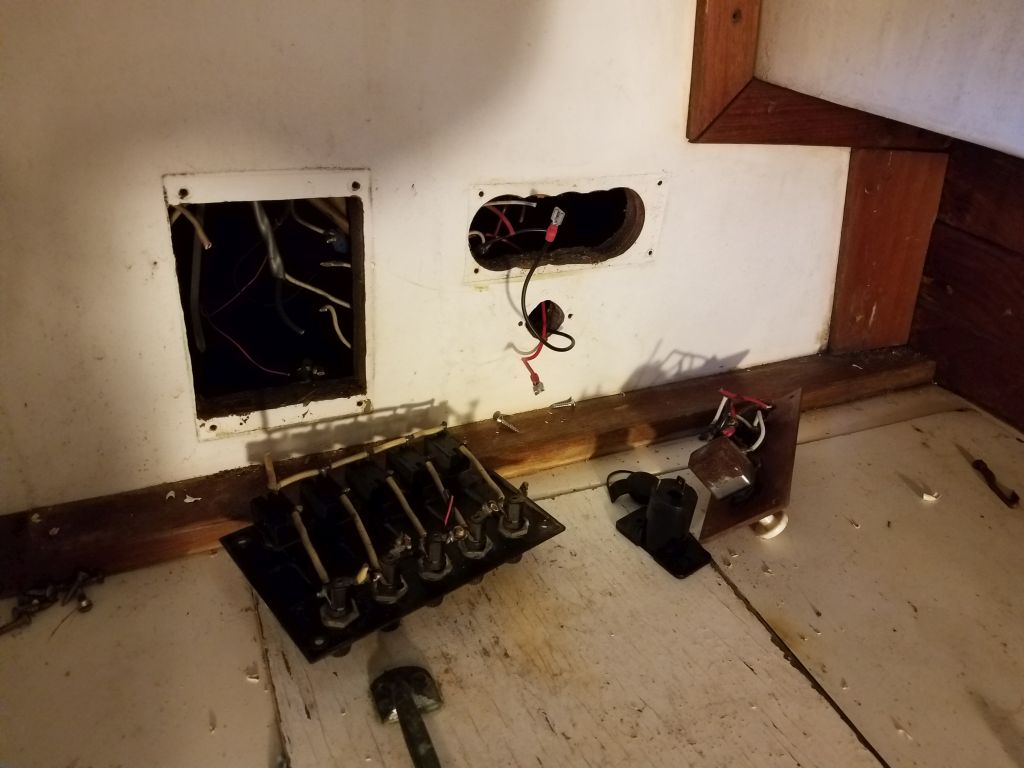
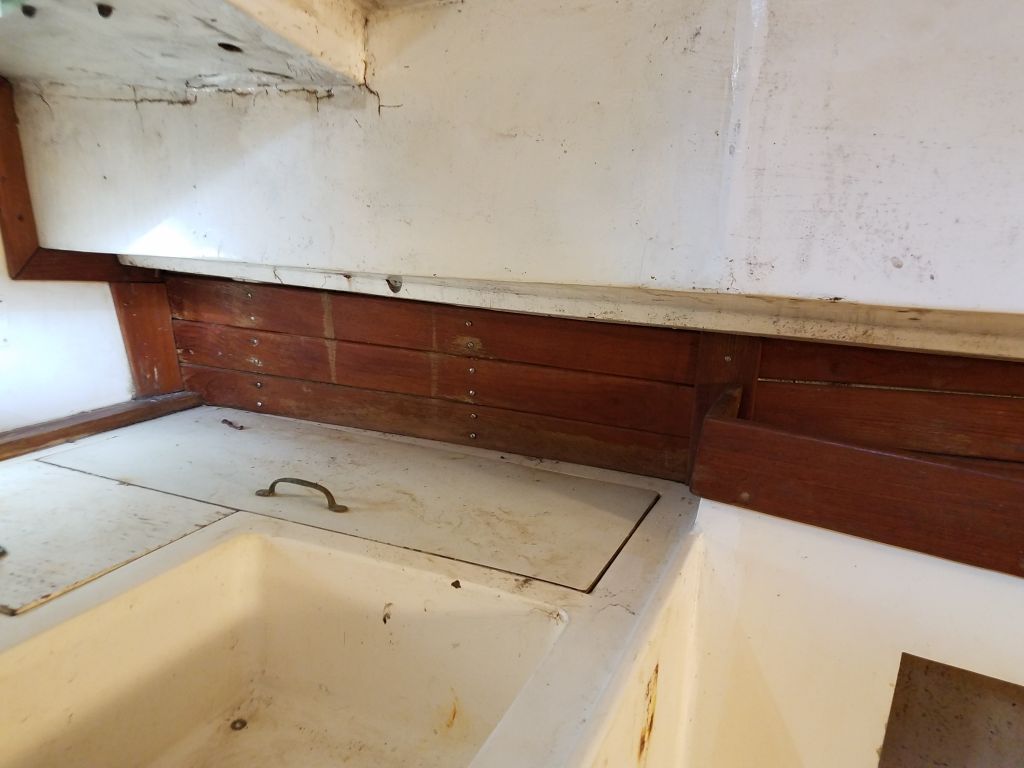
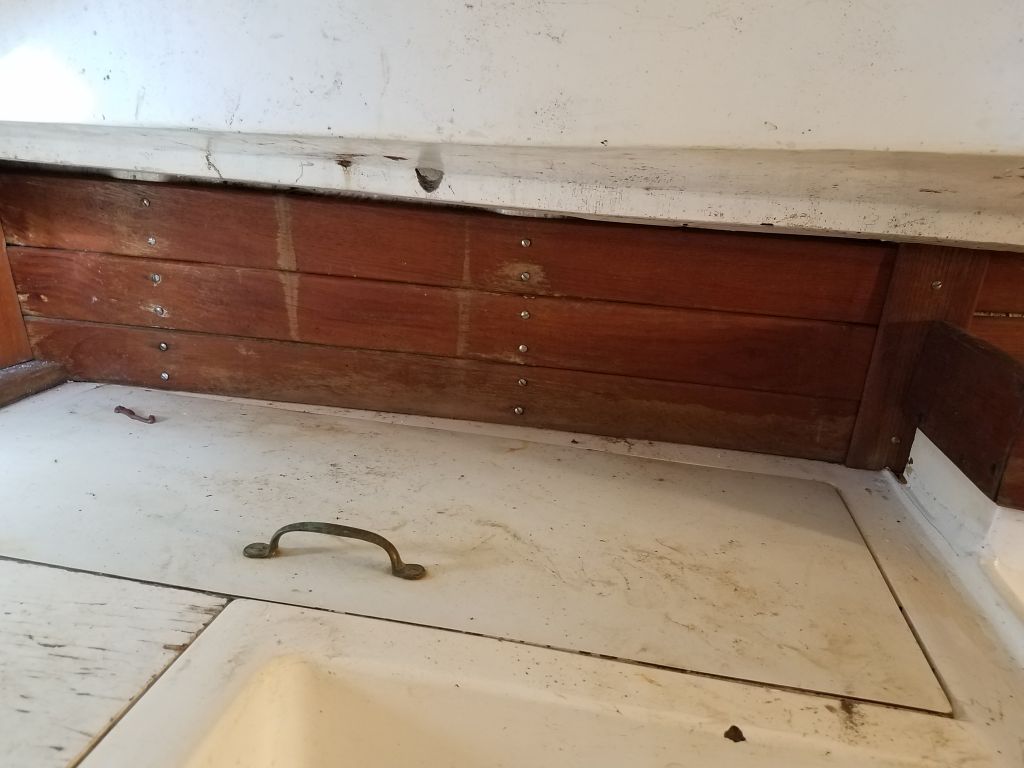
I stripped the rest of the galley, removing drawers and locker covers, a rusty old folding countertop extension, a rickety storage unit, and the old electrical panels, along with that green pipe (function unknown) and some of the plumbing and wiring beneath the area. The icebox was half full of dirty water and I’d have to pump that out soon. All the locker spaces were disgusting, with years of the dirt/water/salt/oil/grunge/mold buildup that is de rigueur with neglected boats. Any remnants of the old systems would be removed just a bit later in the process. I removed various trim pieces as I went and if the situation called for it.
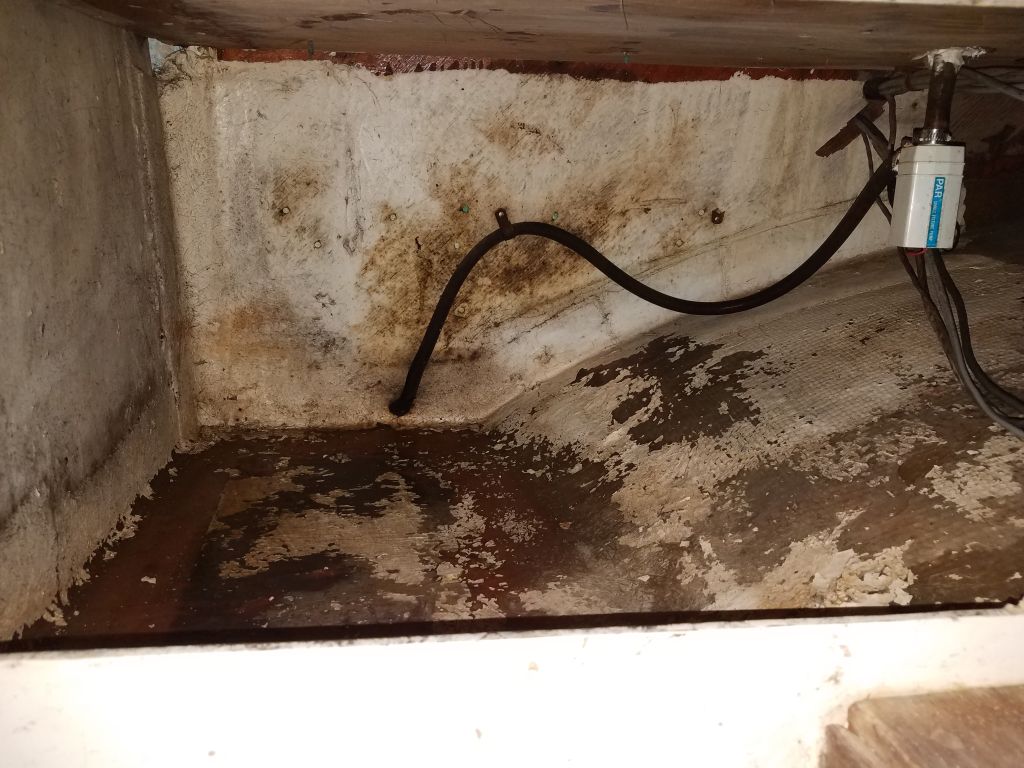
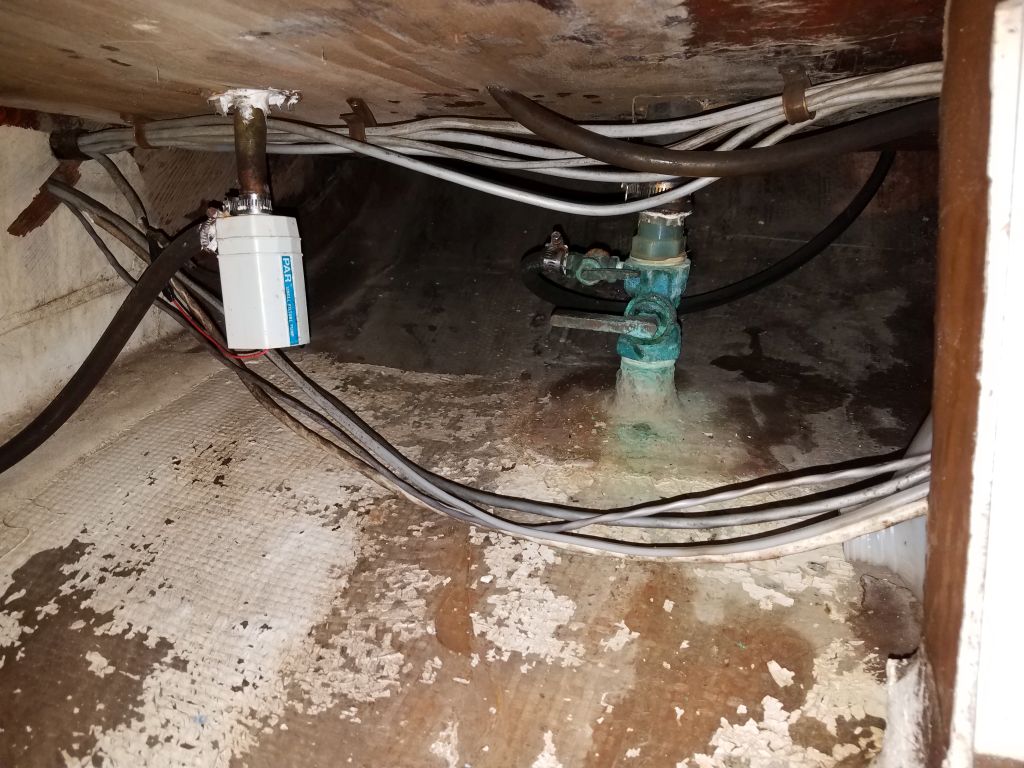


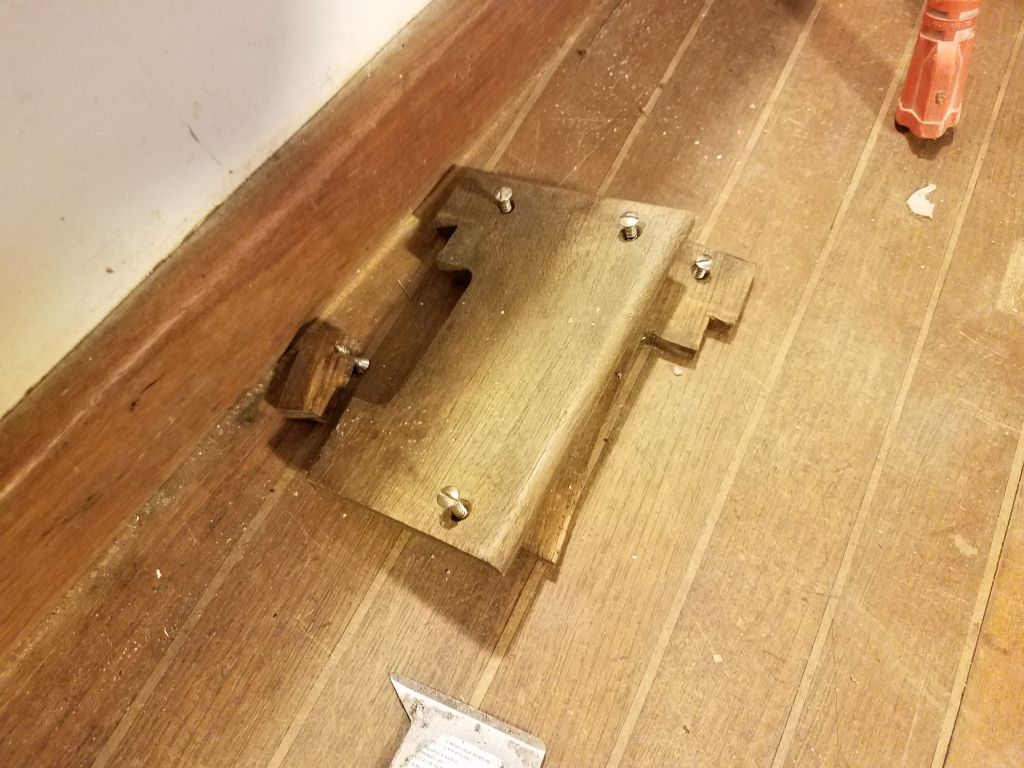
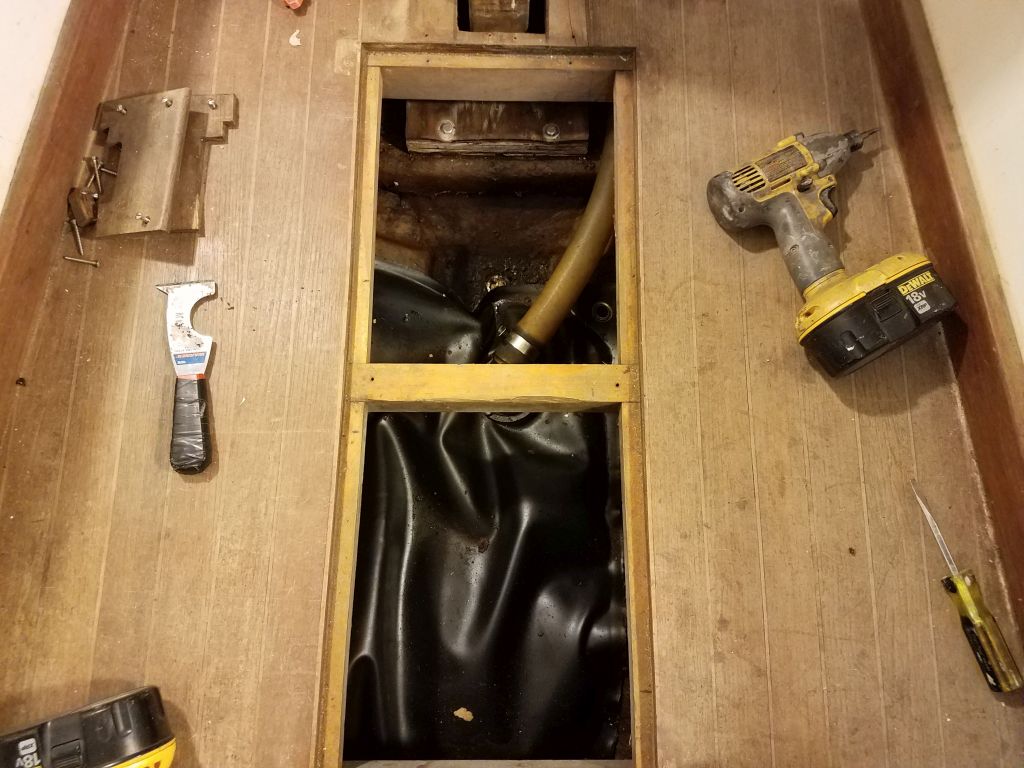
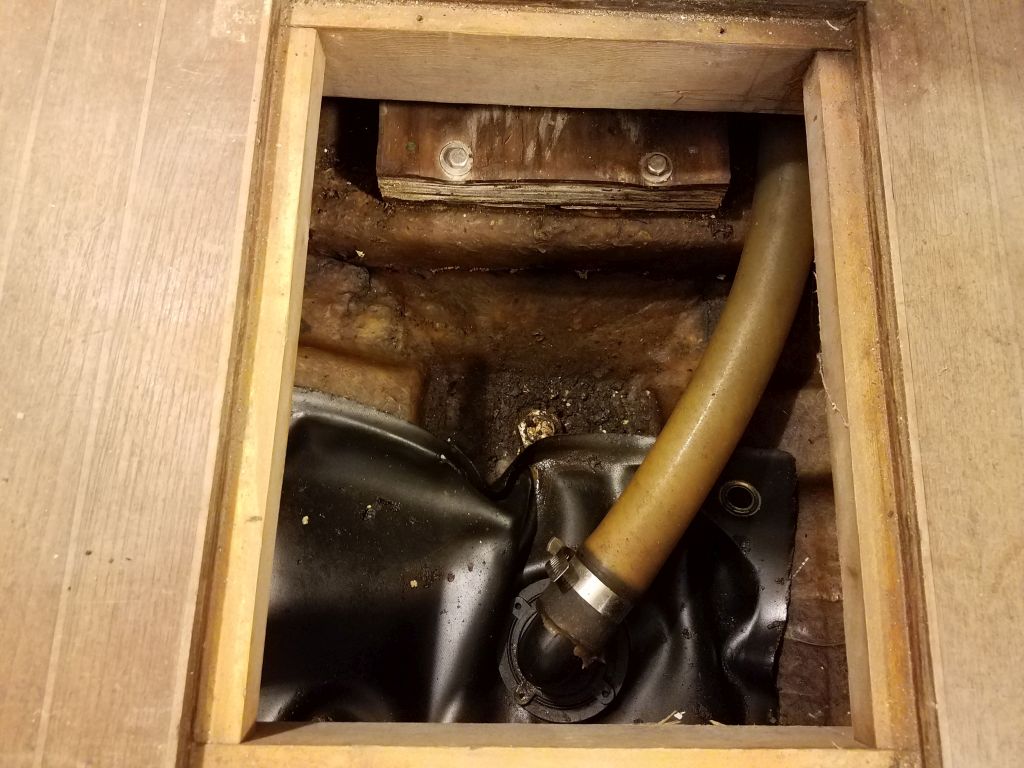
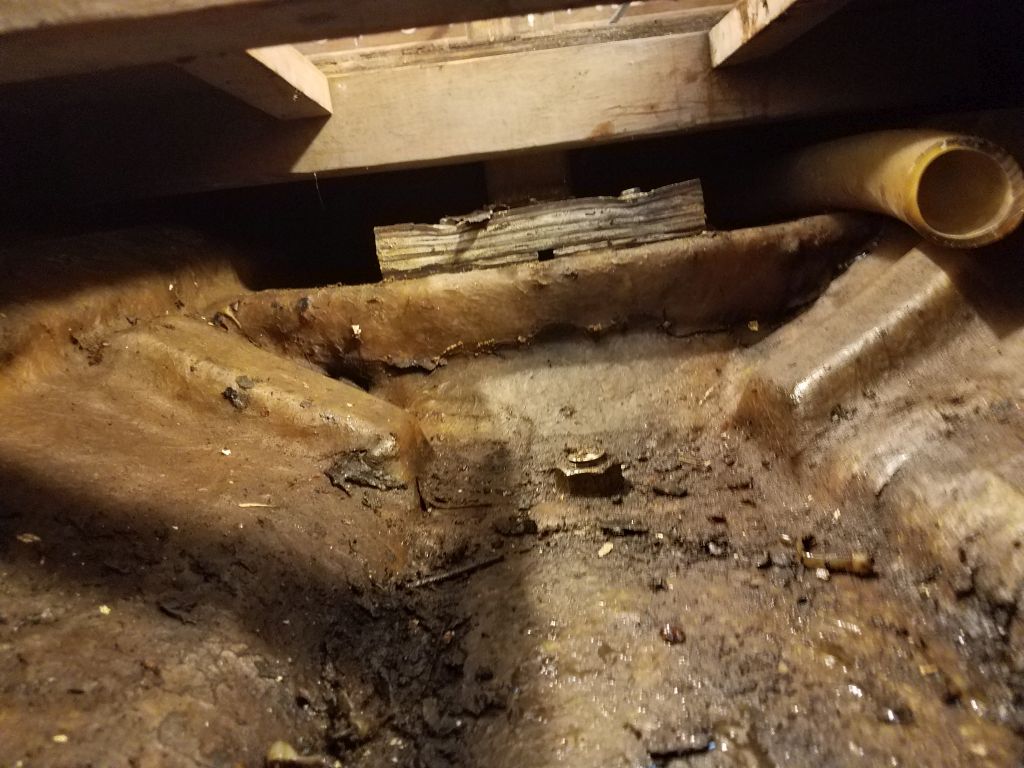
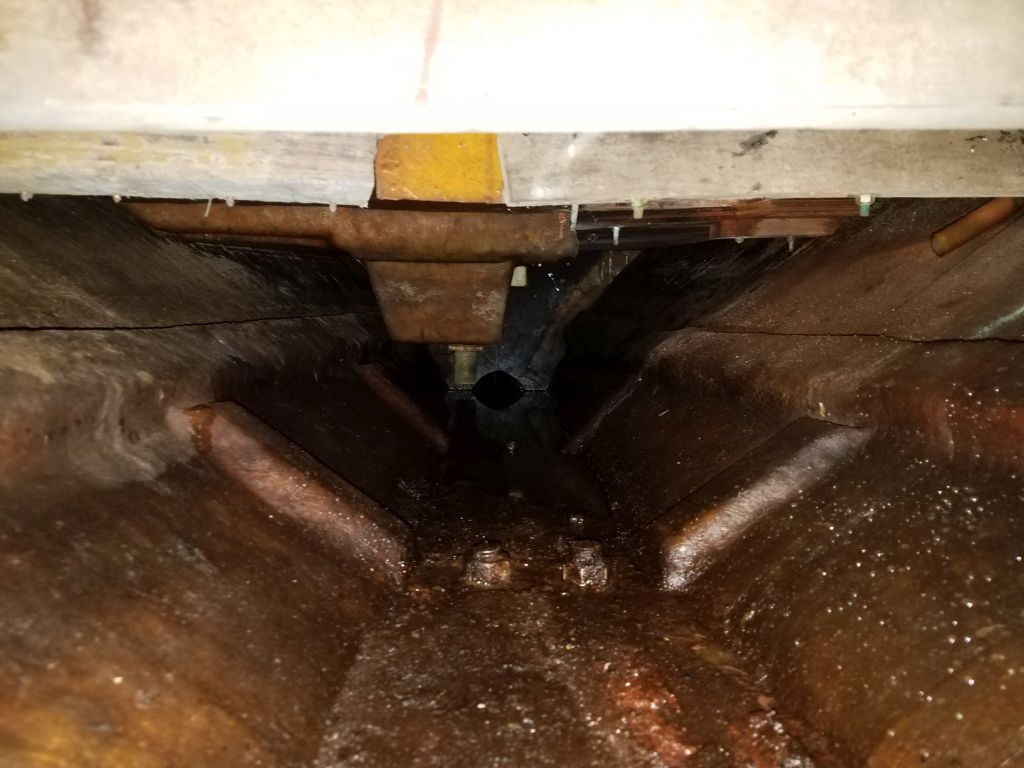
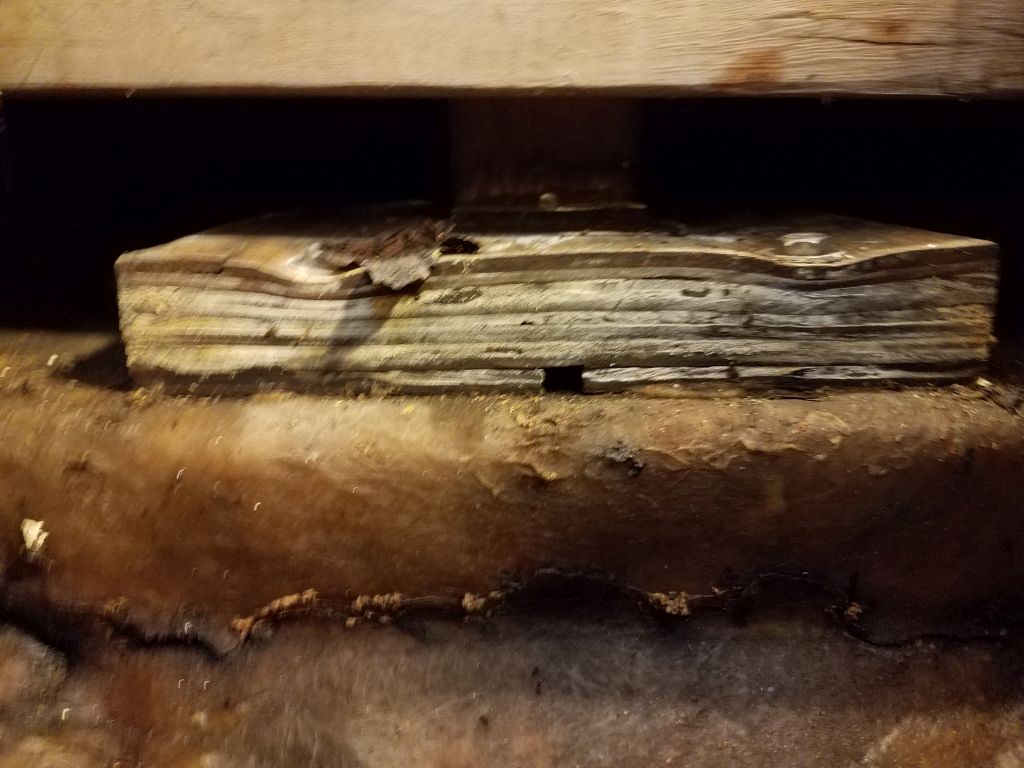
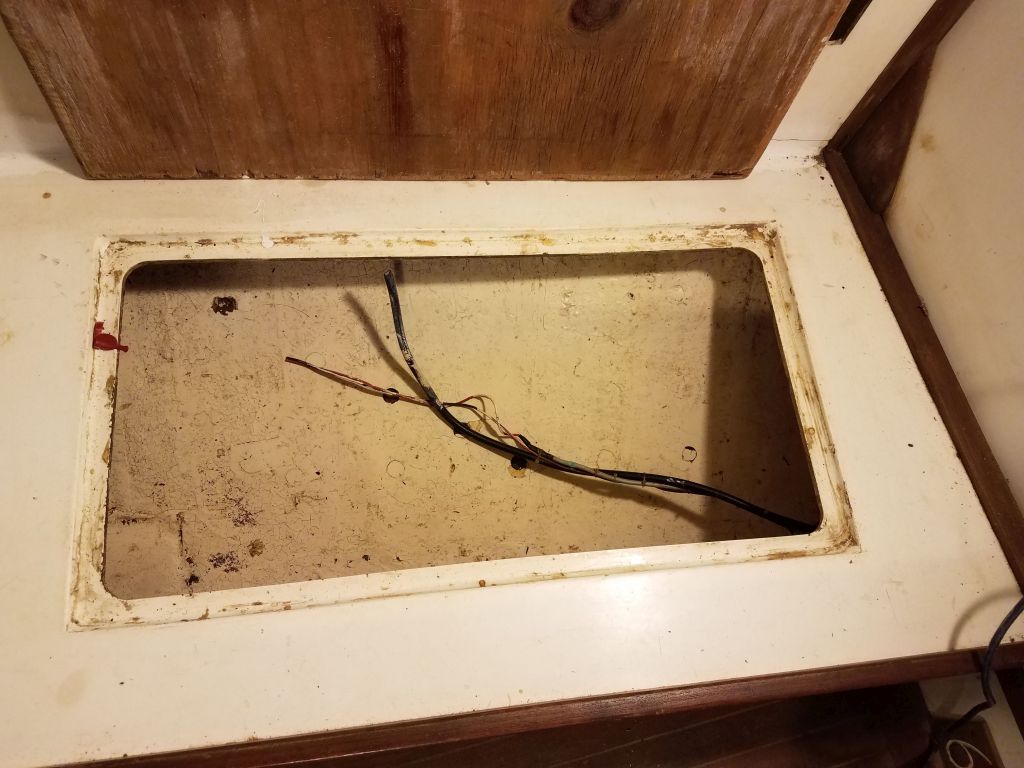
Now I opened up the bilge access panel that had been beneath the cabin table, and another access hatch in the galley, providing the first view of the bilge. There was a flexible water tank located in the main bilge, which I promptly and messily removed and threw away (the bilge was, of course, filthy). This revealed the tops of the keel bolts, various internal structures, and the mast step beneath the compression post above. The mast step, built of plywood, would require thorough inspection later; there was certainly plenty of compression of the plywood around the lag screws securing it in place, but whether I’d have to rebuild it remained to be seen, though it seemed likely. I didn’t see any other immediate issues in the main bilge, though the first order of business there–and everywhere–would be to thoroughly clean it up once I got through with the basic dismantling.


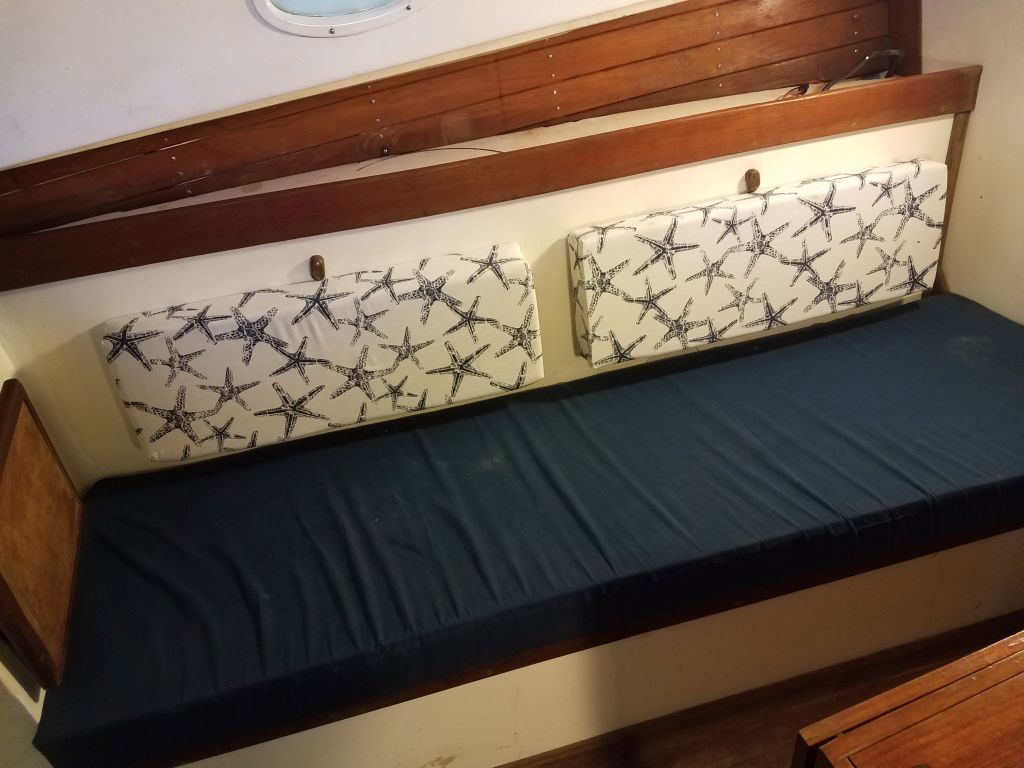
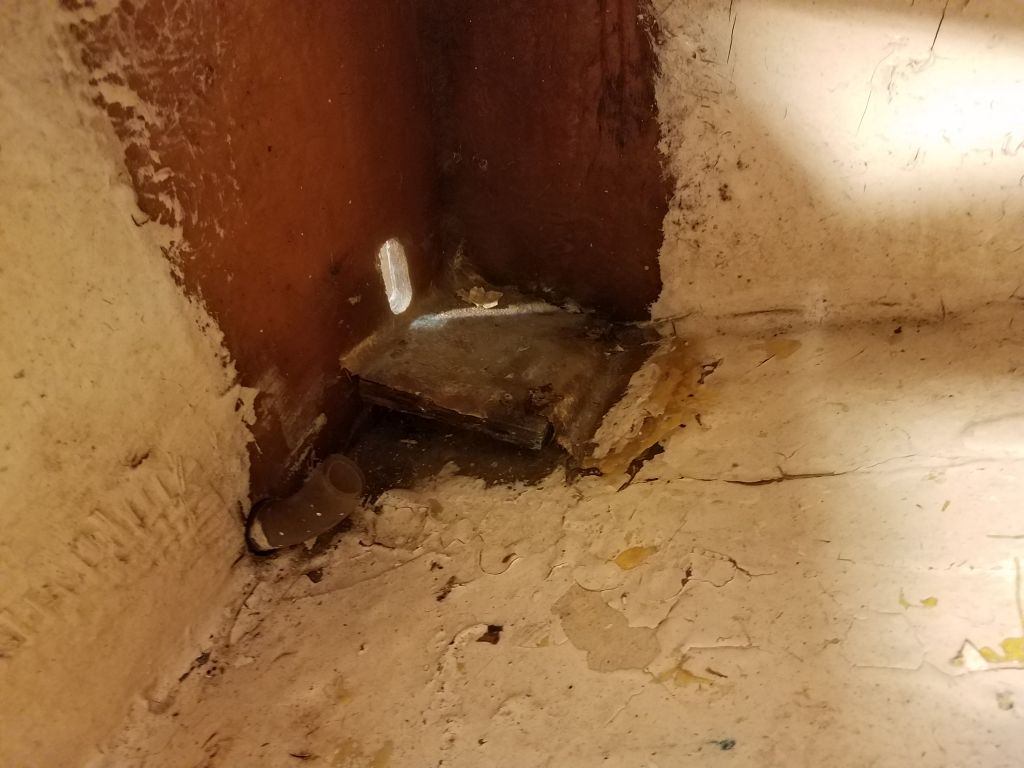
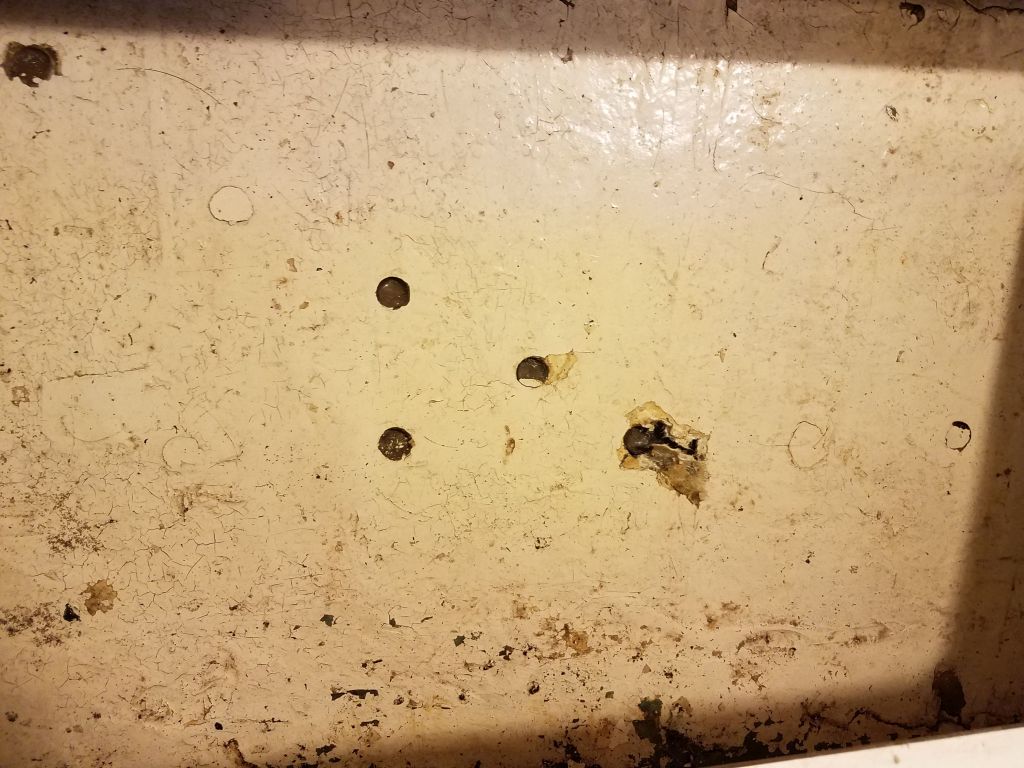
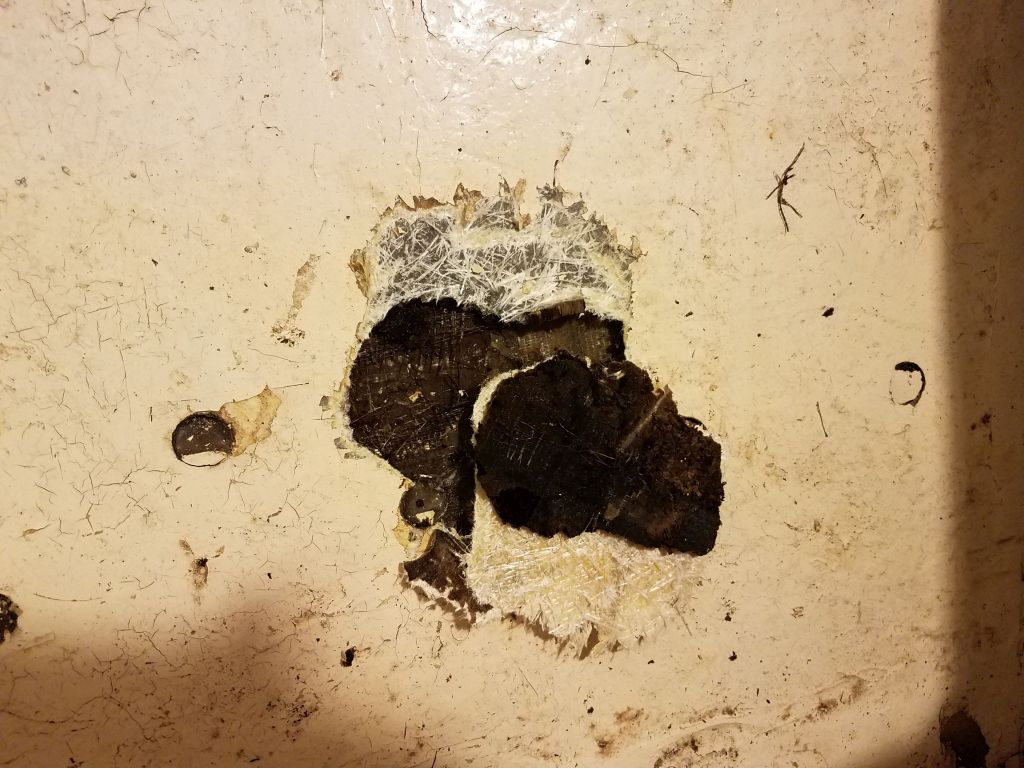
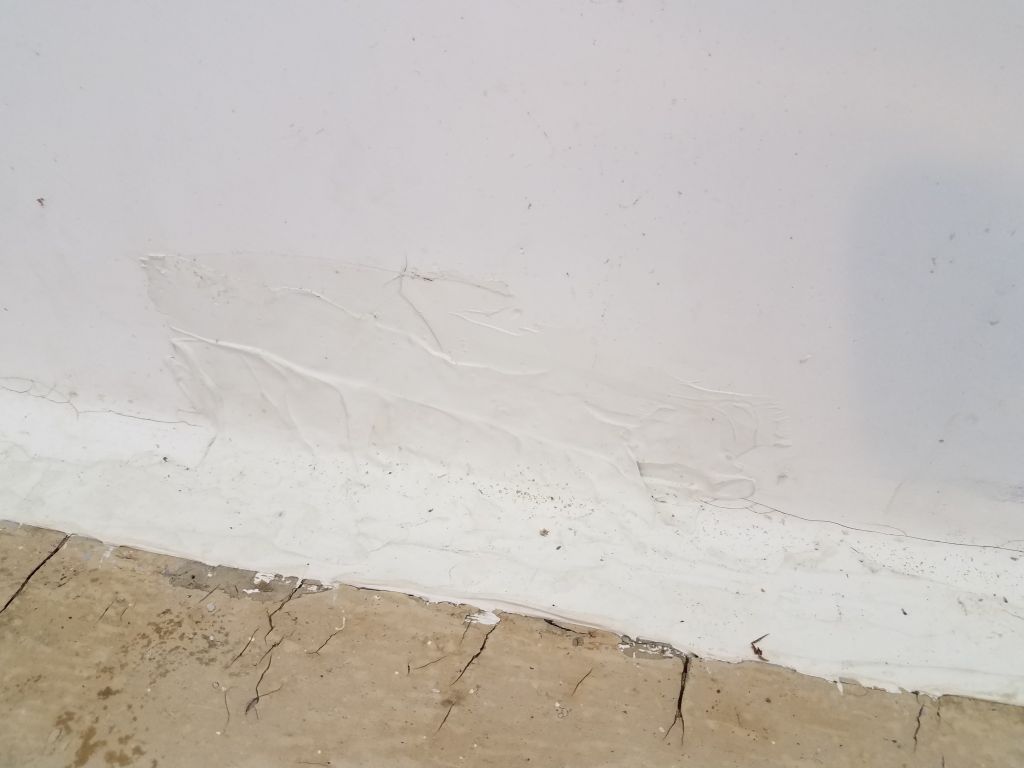
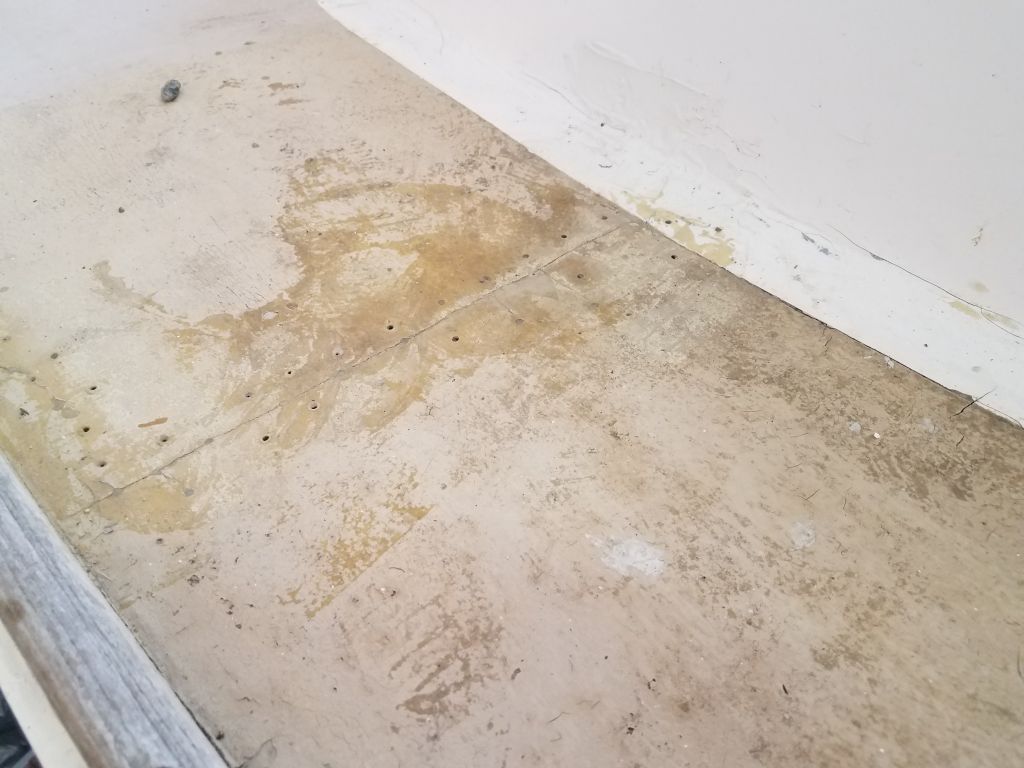
Moving on and working inside the settee base lockers, I had to halt dismantling progress for a while so I could investigate a seeming (and hopeful) quirk in the construction. While removing part of a wiring harness on the port side, I noticed several resin-filled holes in the bottom of the locker, and further investigation quickly revealed that the lockers on both sides were lined with a cored bottom, which of course was ruined and worthless on both sides. I could easily rip away some of the laminate on the port side, revealing blackened (ruined but dry-ish at this point) core beneath.
My consternation here, requiring immediate investigation, was whether or not this cored area was part of an overall cored structure in the hull or just something in these lockers, so I inspected other areas of the boat where I had access to the hull to look for signs of coring anywhere else, and sounded the outside of the hull in way of the lockers, hoping I’d not get the same dull thud of death that I’d found inside the lockers.
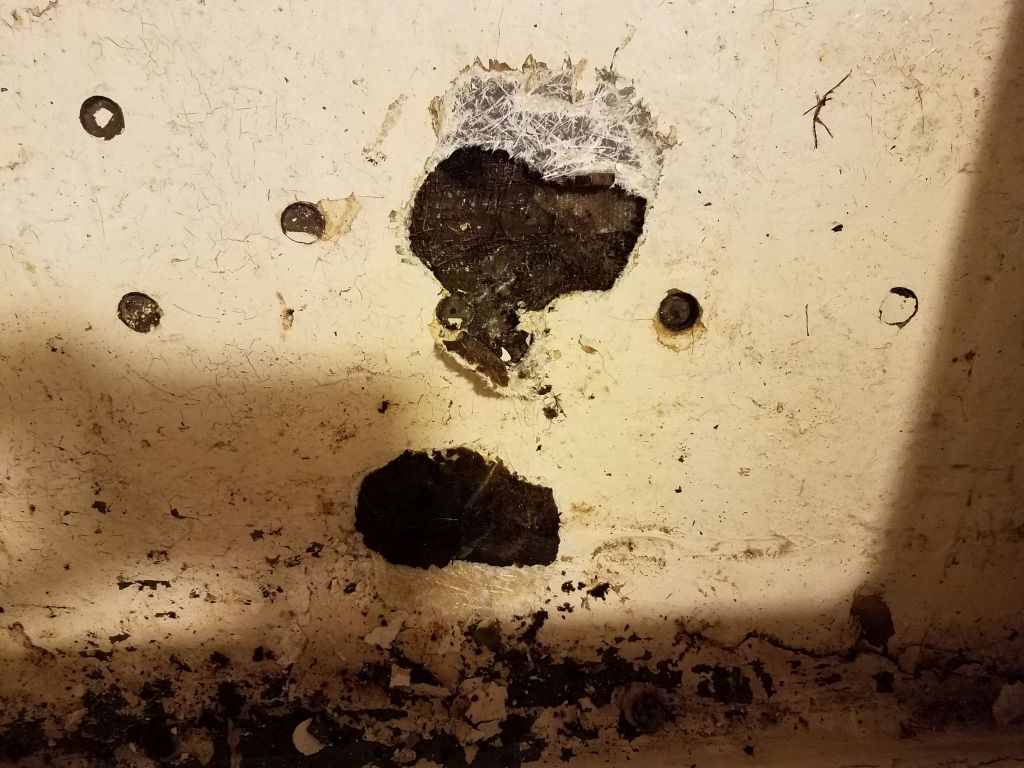


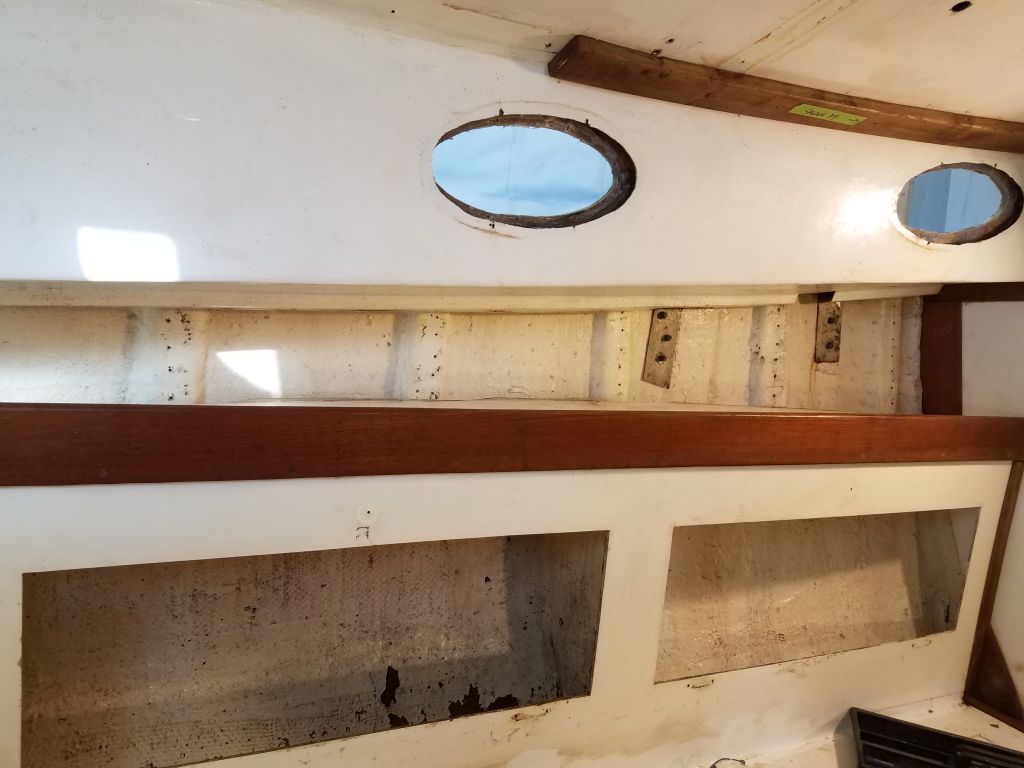
While these locker bottoms were ill-constructed and would require removal, fortunately they seemed to be just that: liners, perhaps to help insulate the hull and reduce condensation and ruining the locker contents. Who knows. The boundaries of this cored area on each side were clear to see, running from just below the settee top down to the bottom edge of the locker (top edge seen in the final photo above, just above the shadow line where I’m pointing).
In the event, I decided that, while this problem would require some extra work later, I could move on for now and continue my dismantling.
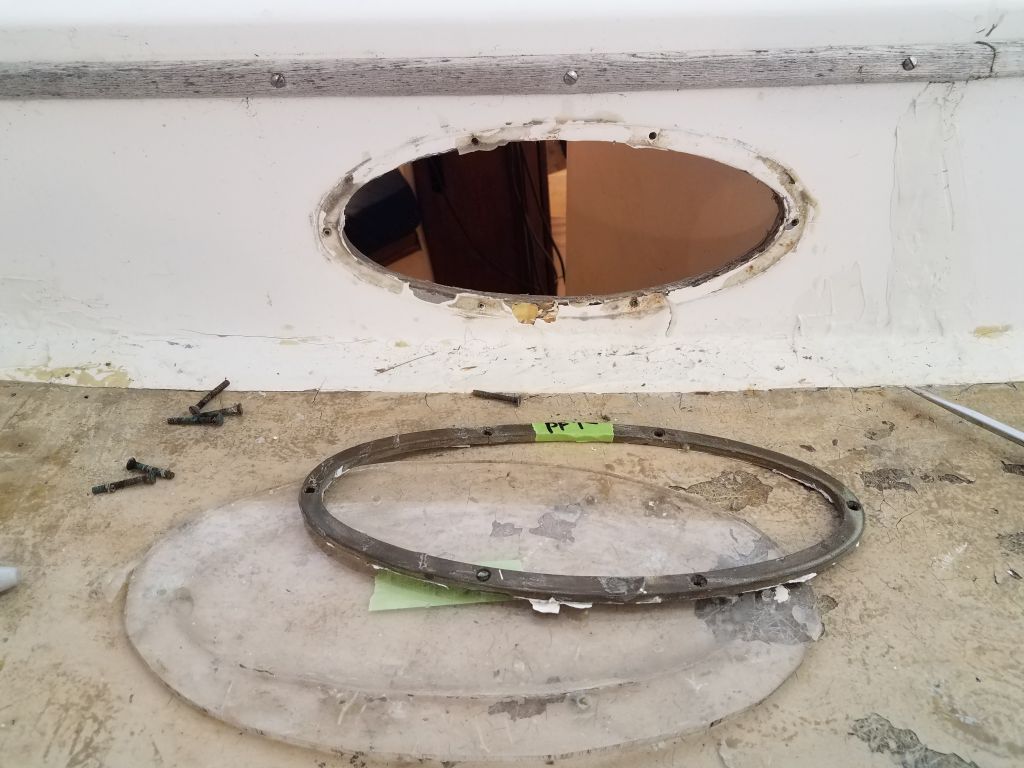
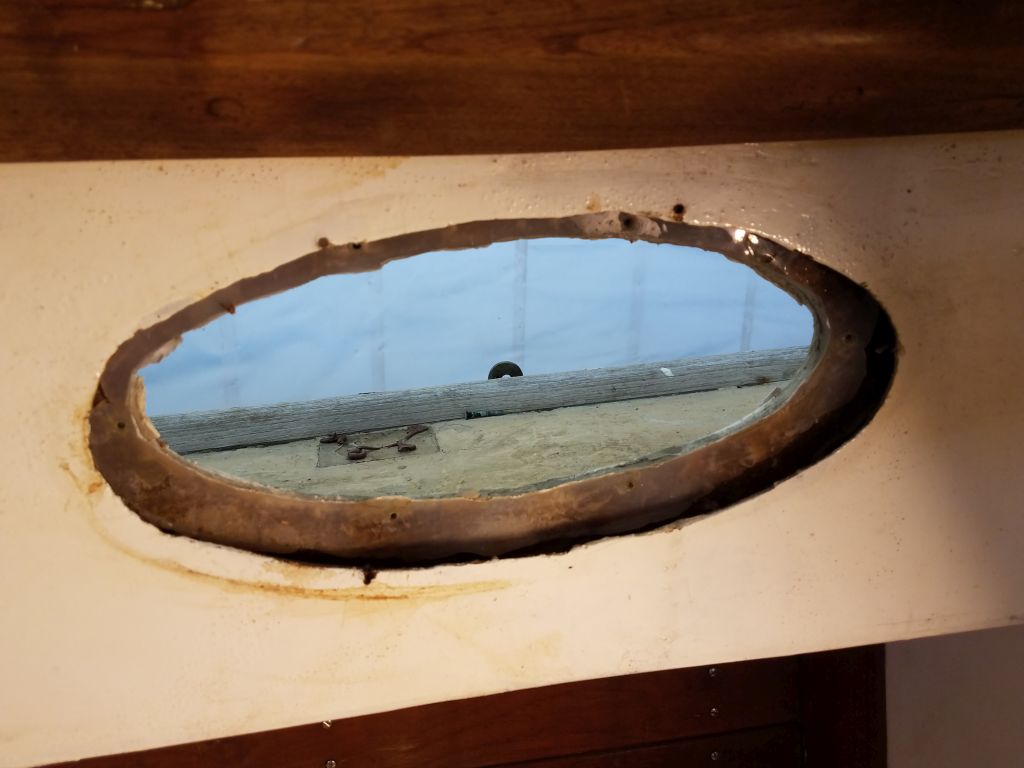
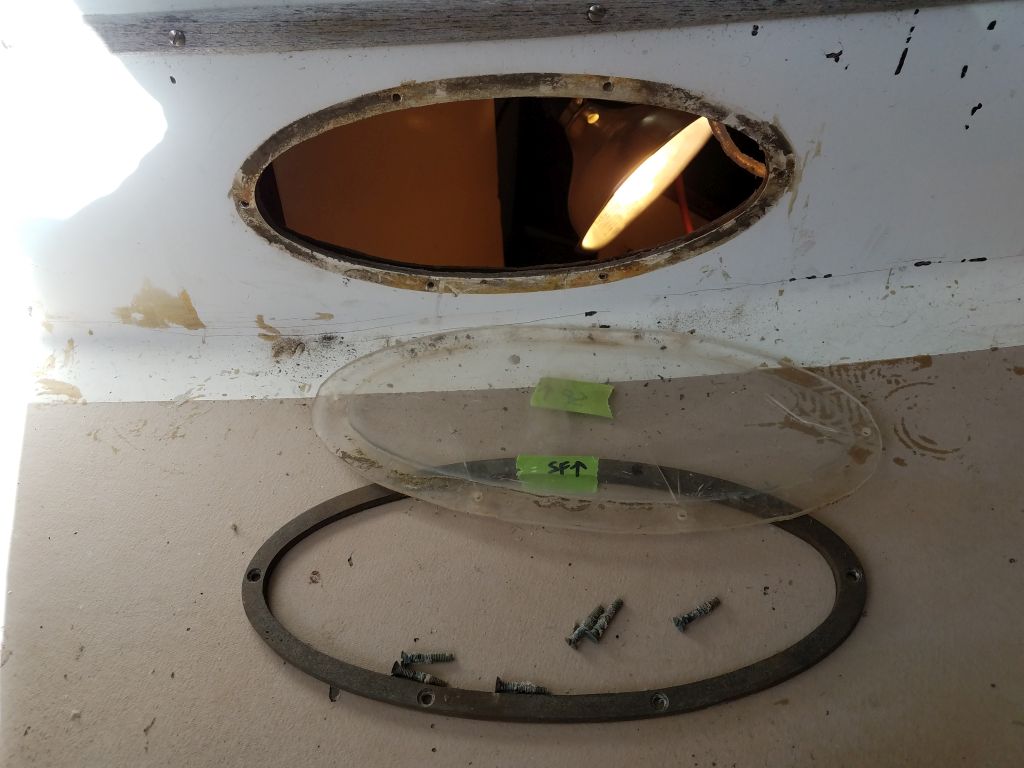
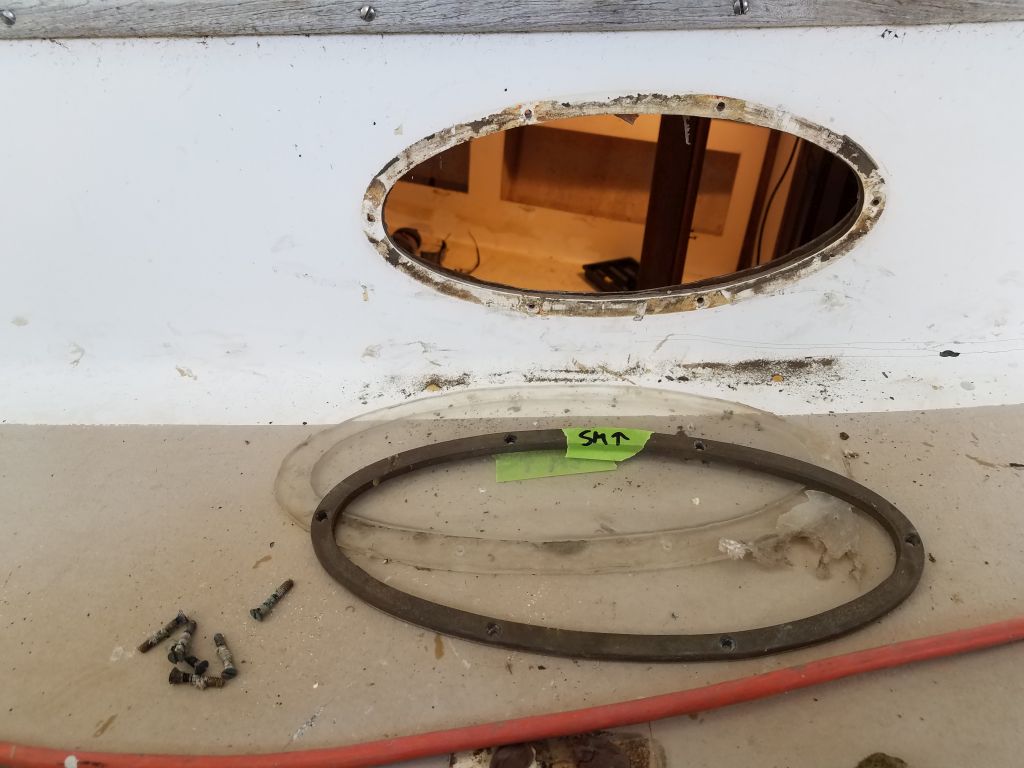
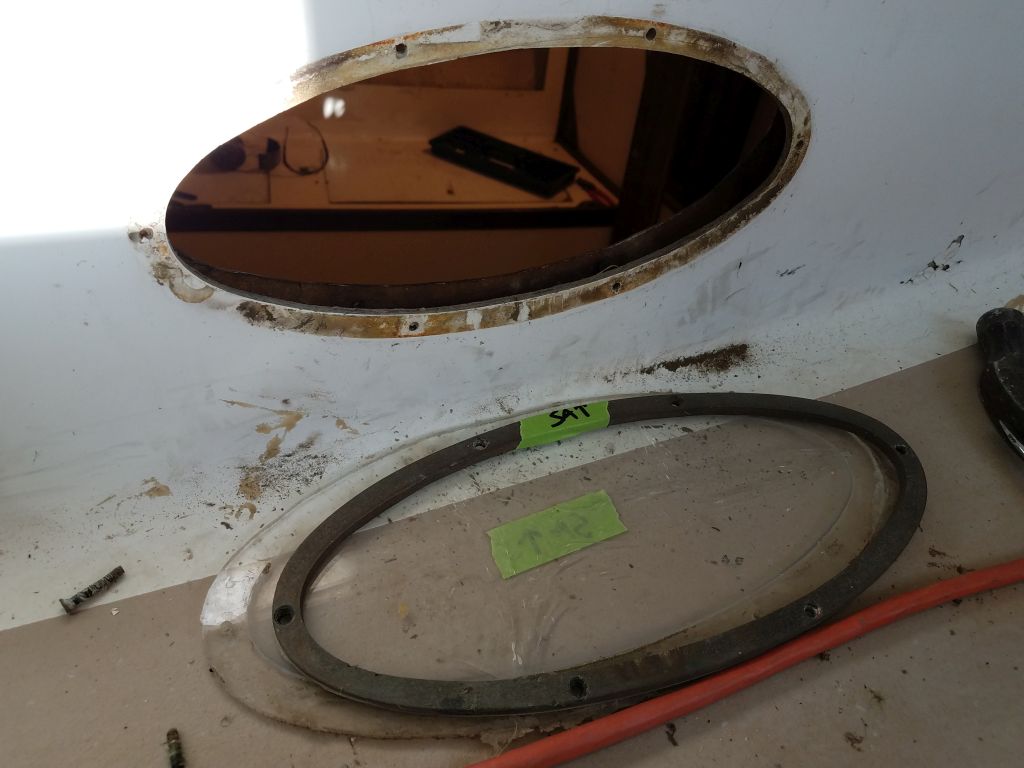
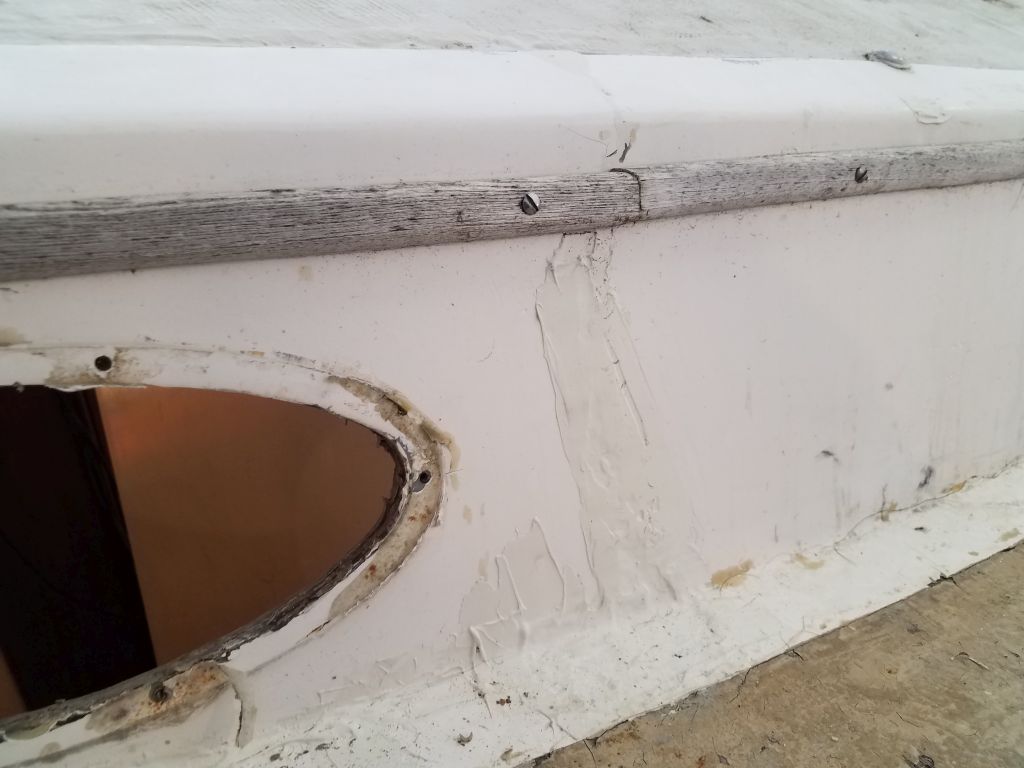
Continuing mainly in the main cabin now, I turned to the ports, or deadlights if you prefer. These featured fiberglass trim rings on the inside, which I removed first. Because the openings in the cabin liner were not exactly aligned with the openings in the molded cabin side, and for other reasons, some of the screws securing these trim rings were backed with little bits of wood in the gap between the liner and cabin side.

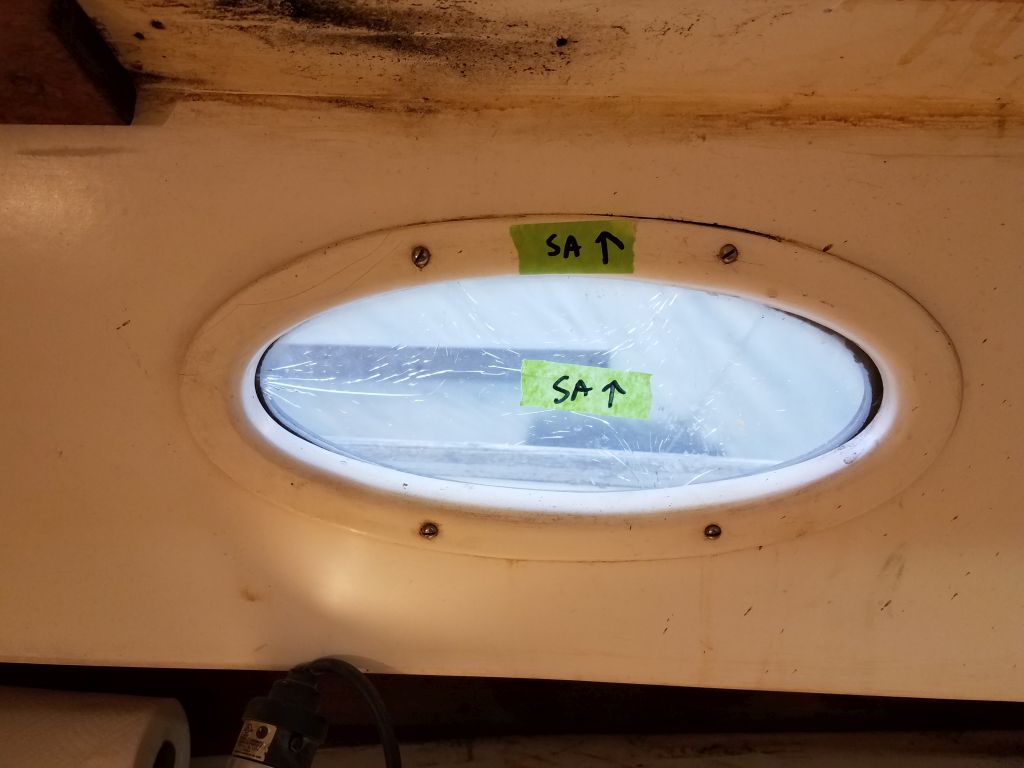
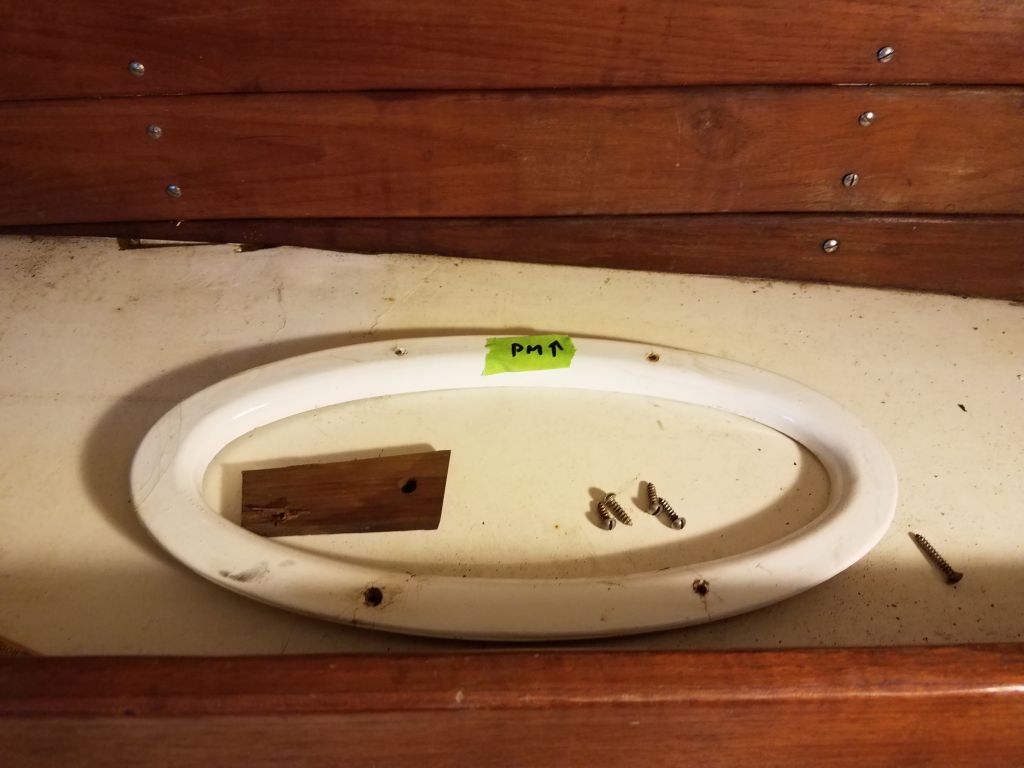
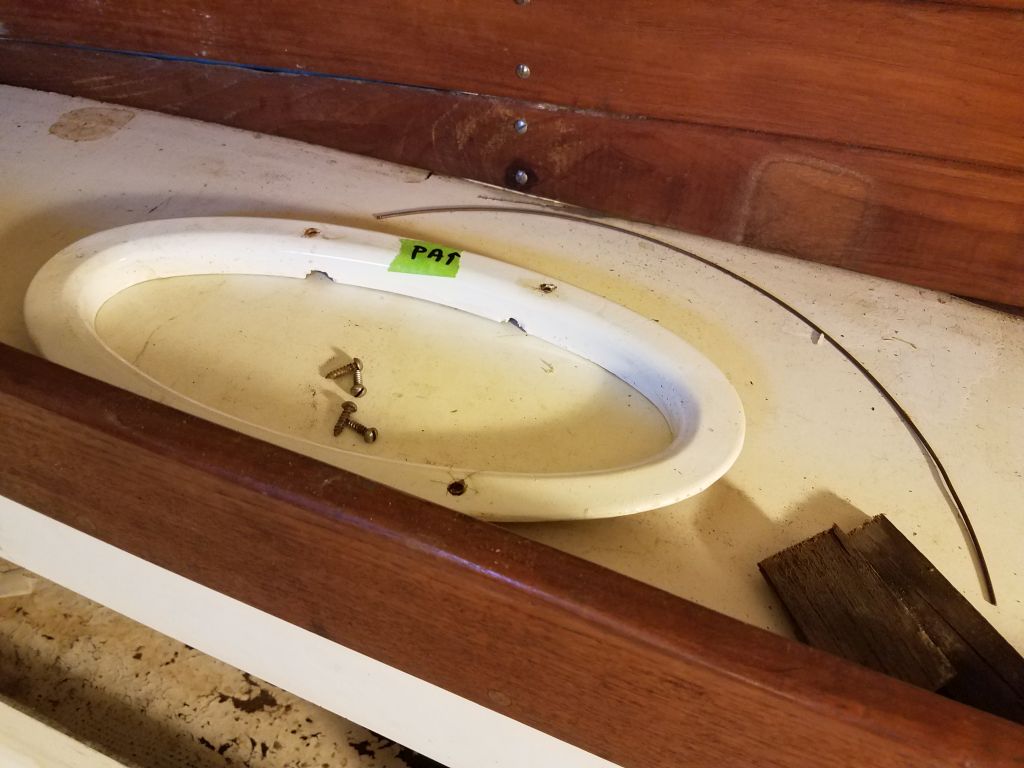
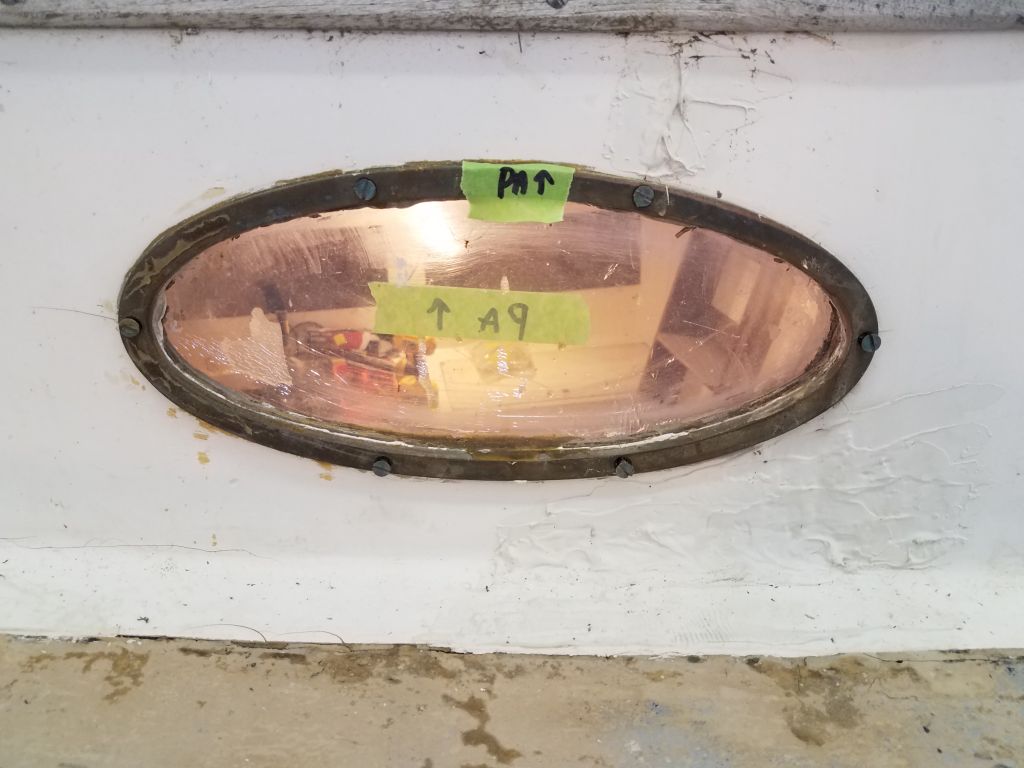
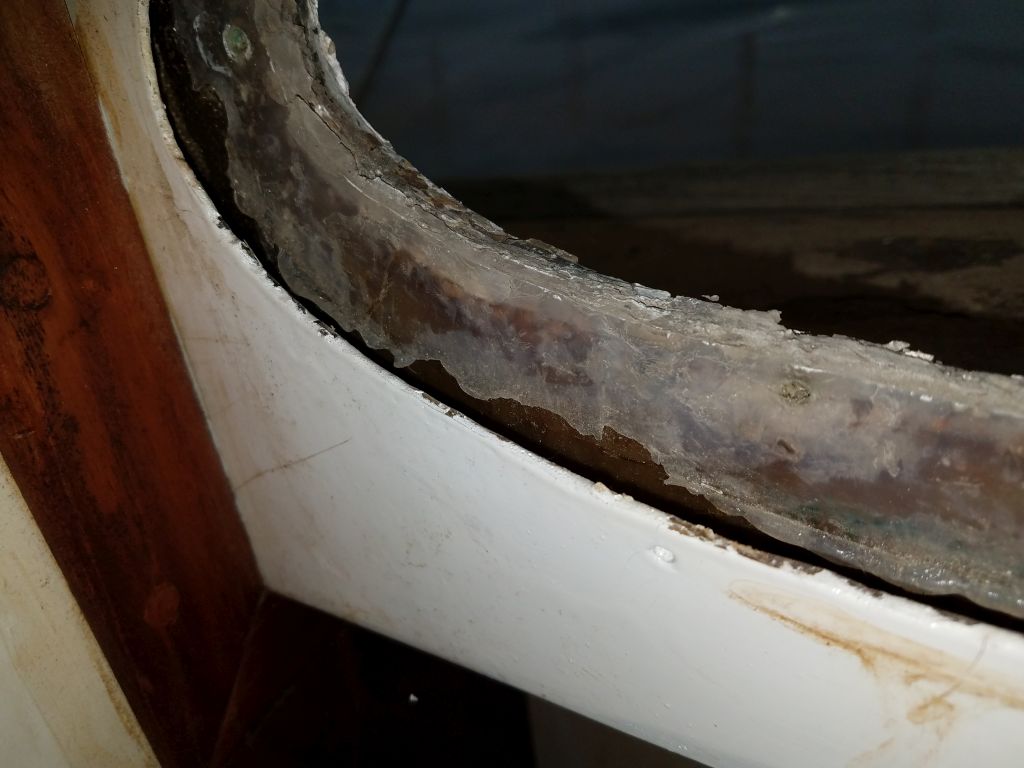
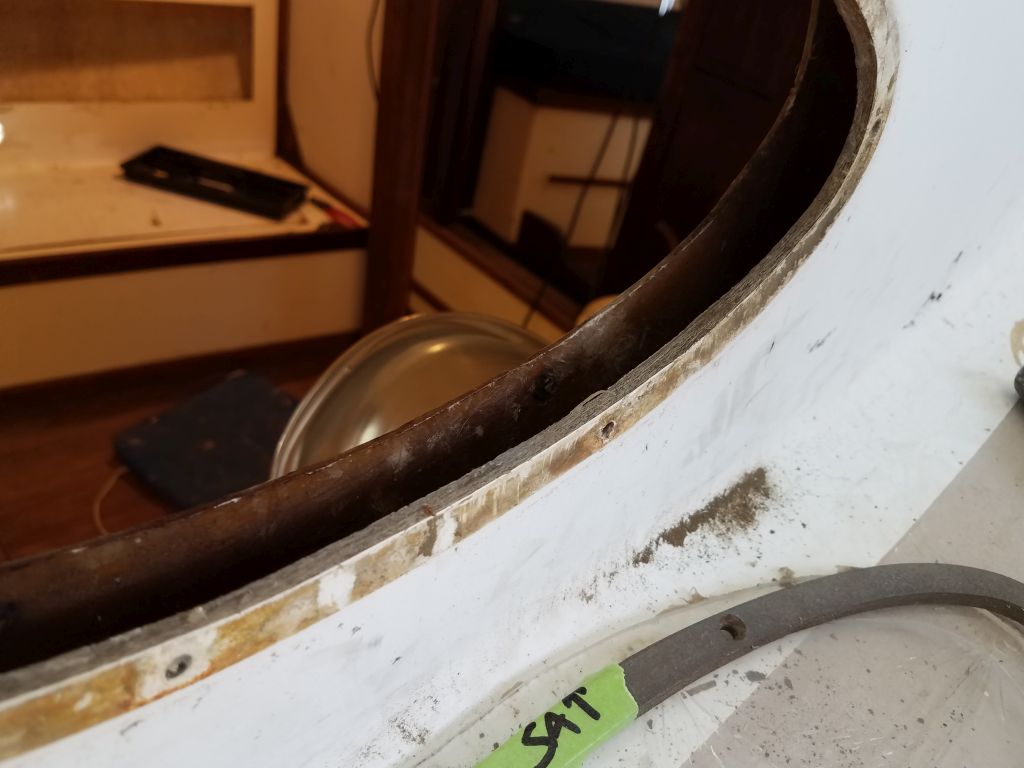
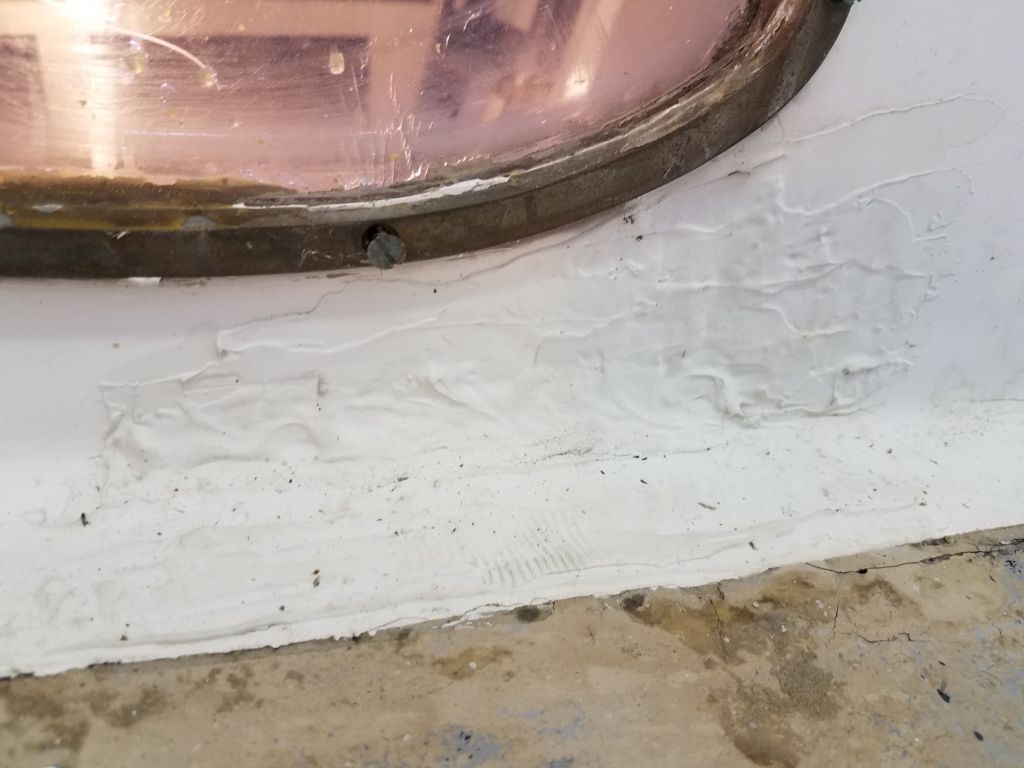
The lenses themselves were secured to the cabin side with sealant (silicone) and through-bolts from the outside, where there were slim bronze trim rings. These elliptical ports were handsome and important to the overall appearance of the vessel, but the installation was strange–but the one constant in old boats is that there seems no end to the variety of installation techniques.
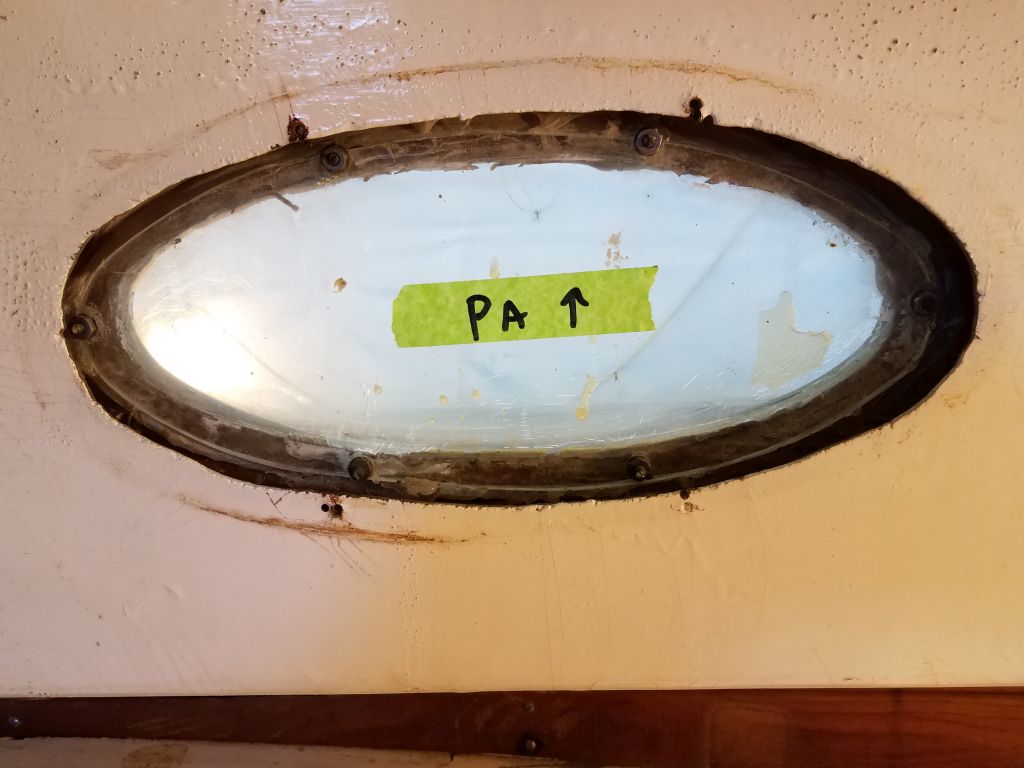
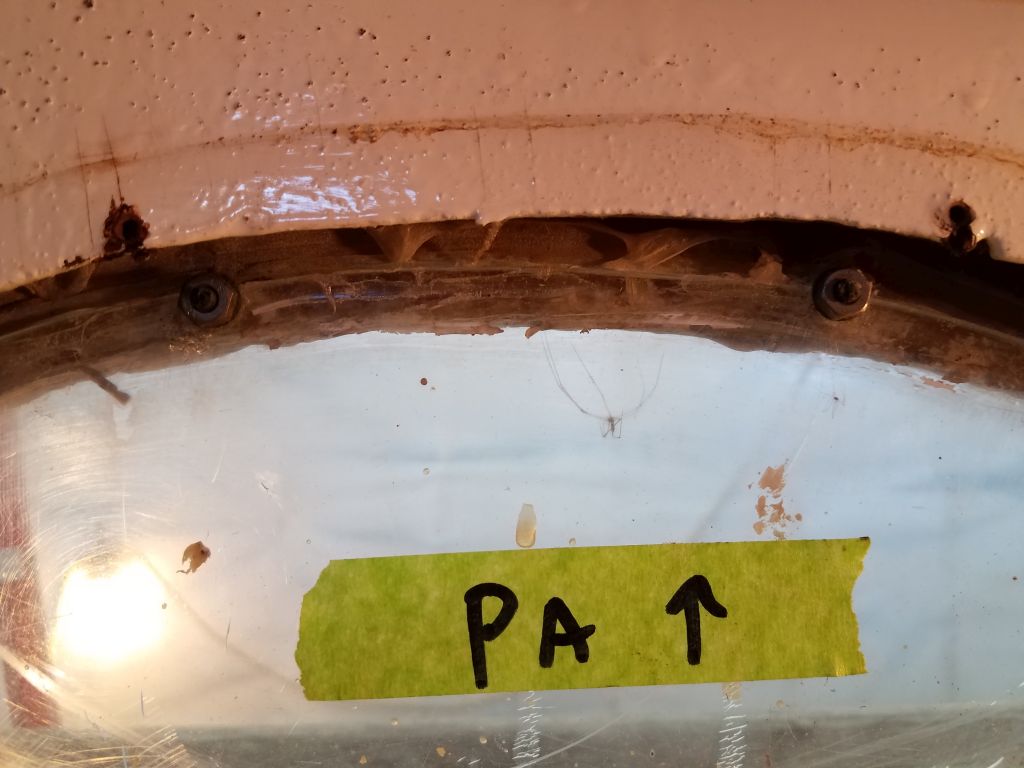

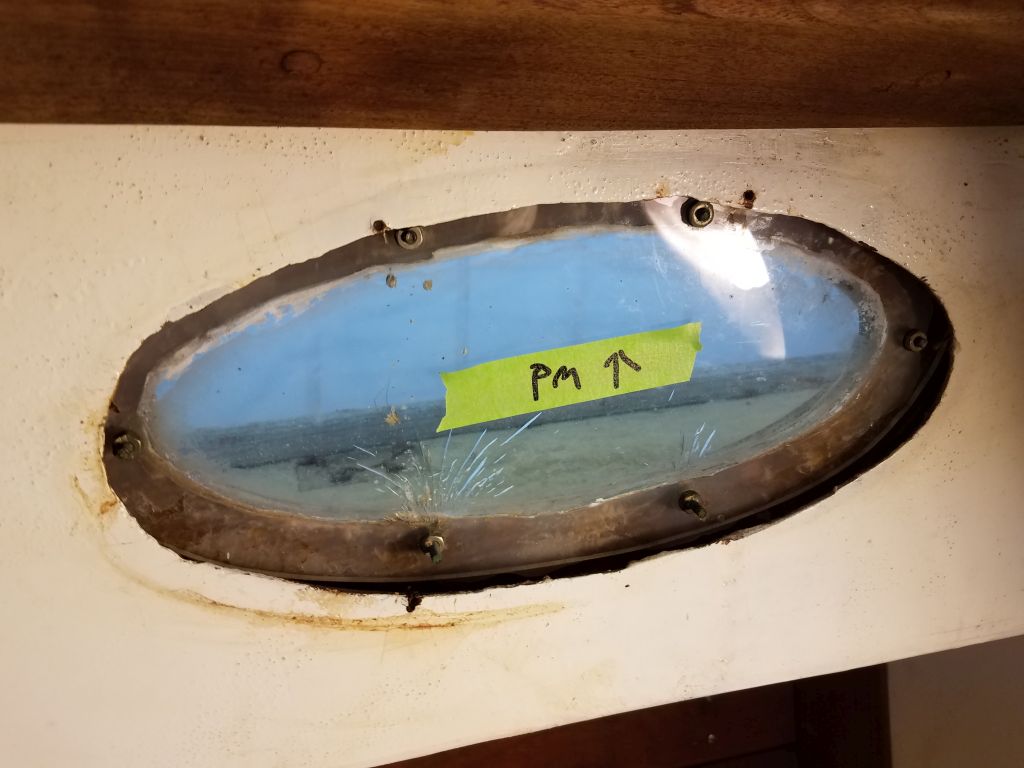
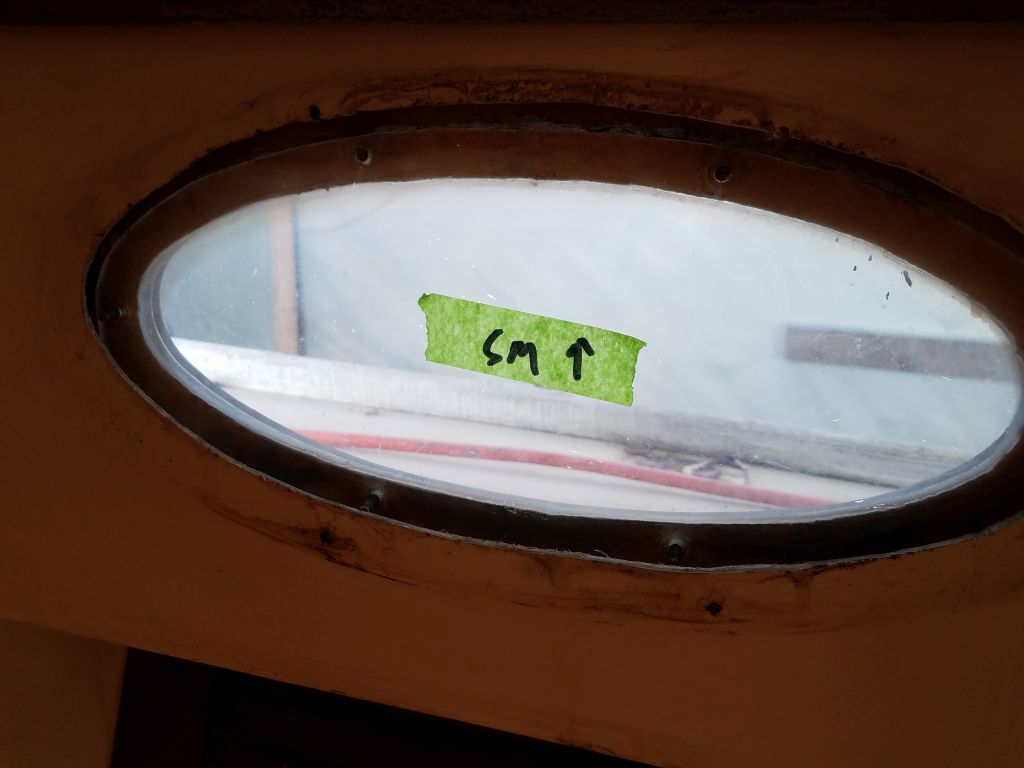
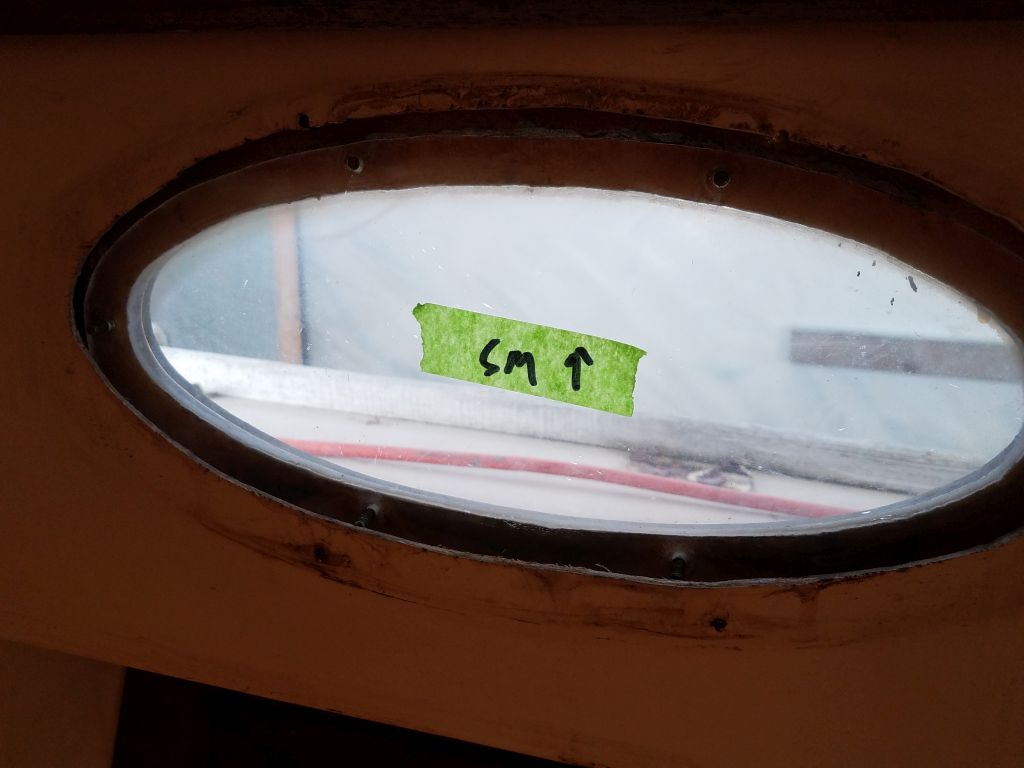
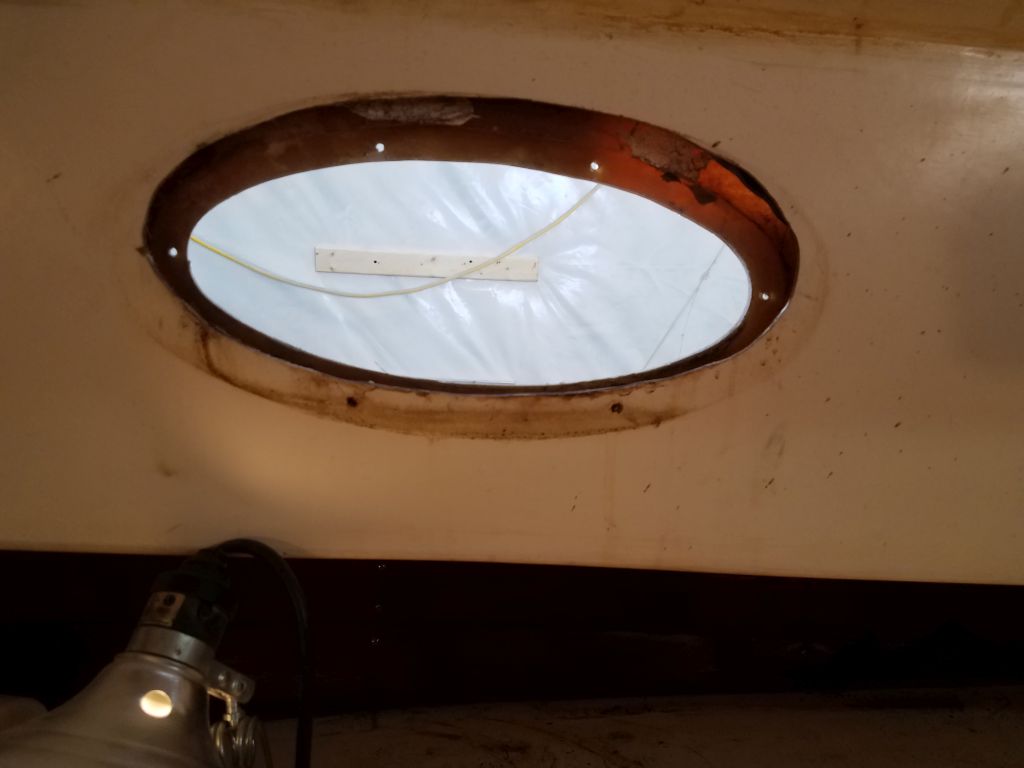
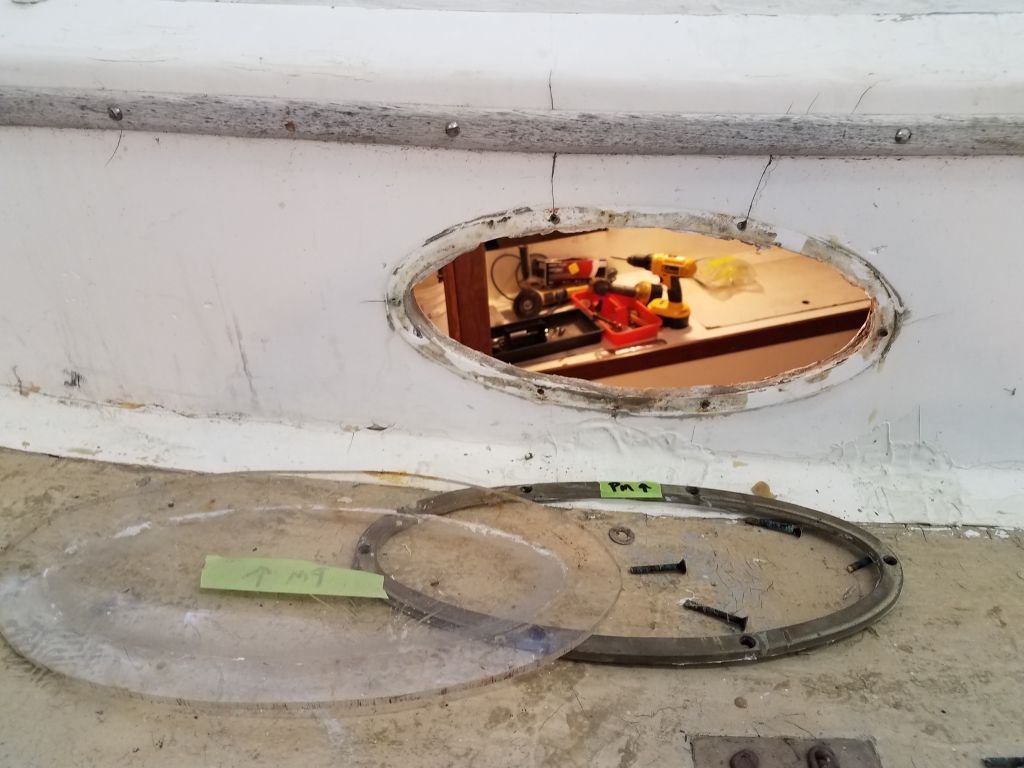
The misalignment of the openings in the liner and cabin side meant that some of the nuts securing the lenses (and outer trim rings) were easily accessible, while others were partially or fully eclipsed by the interior liner. I used a nut driver (9mm) where I could to easily remove most of the nuts, but the ones below the edges required laborious turning with an open-end wrench, since there was no direct access for a driver or socket. But with minimal difficulty, if not free from frustration, I removed all the nuts inside, and moved outside to remove the screws, outer trim rings, and lenses.
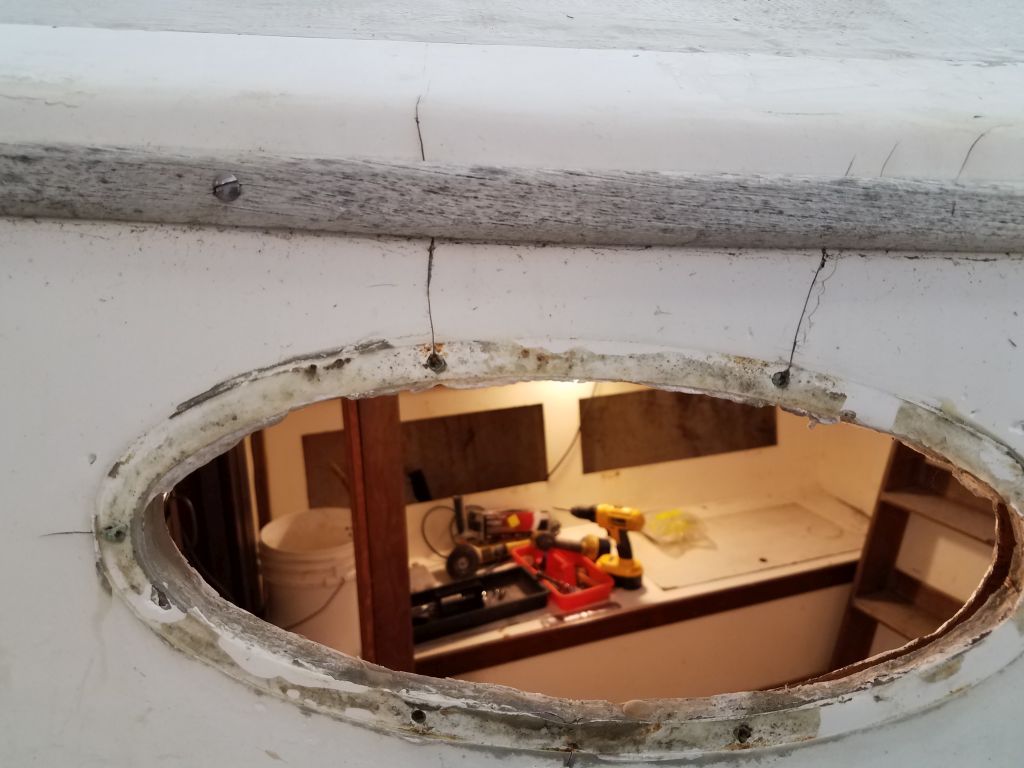
By the end of the day I’d removed all six ports, lenses, and trim rings. The smooth silicone residue left behind after I removed the lenses looked like it’d be enjoyable to remove later, especially given the tight access in the space. The lenses, once broken free from their sealant, had to be jockeyed around inside the space between cabin and liner till I could angle them out appropriately and remove them; one of them, the port forward, was quite difficult to remove in this way, though I eventually succeeded.


Working on the sidedecks highlighted the general condition of the deck areas, particularly on the port side, which seemed to have been just savaged by some previous person armed and ready with cheap gelcoat paste and a putty knife but devoid of any inkling of talent, among other issues. The challenge–and therefore the fun–in projects like this is taking something so awful and turning it back into something nice (or maybe even better than nice) again.

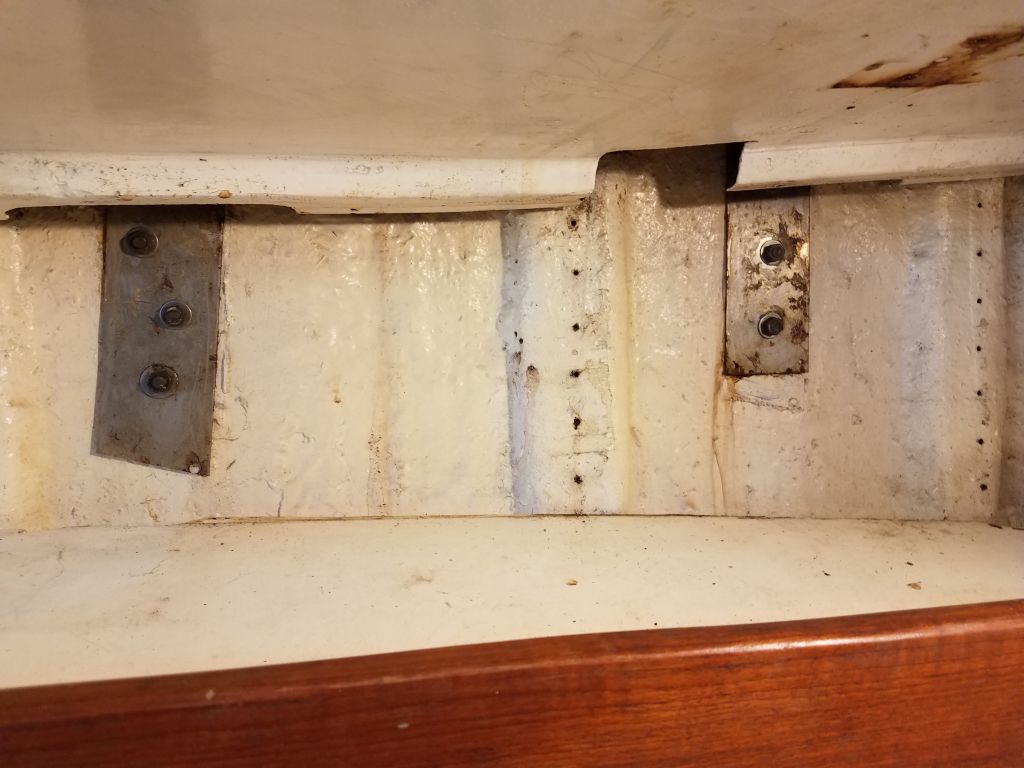
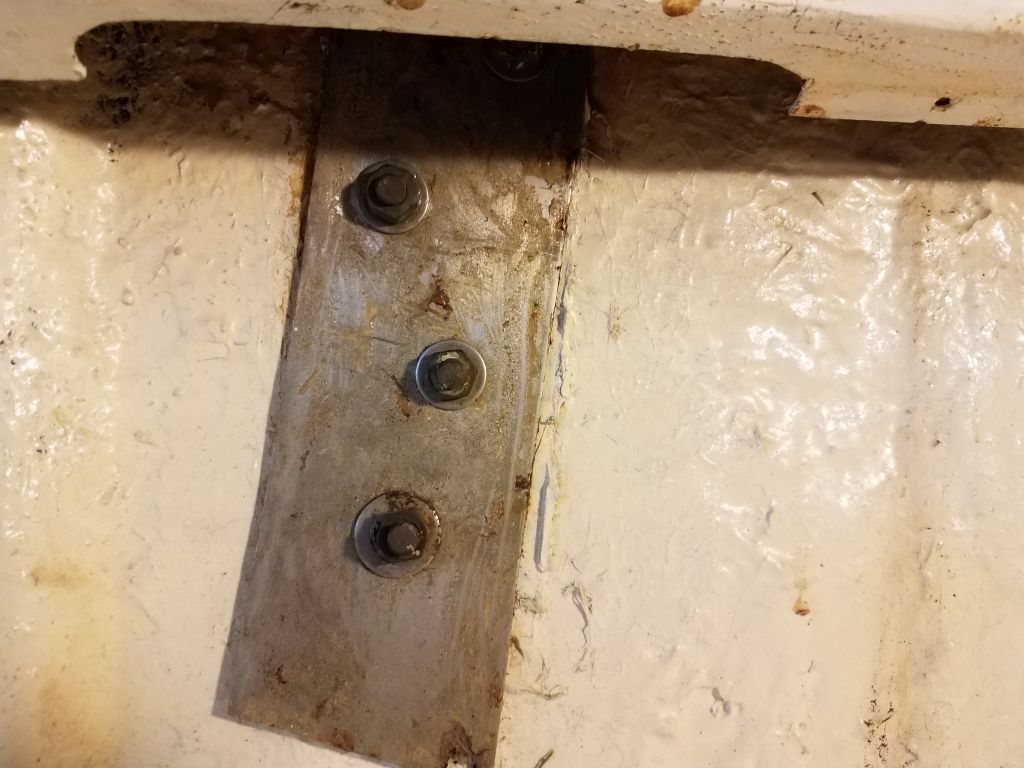
Finally, to round out the day, I removed the trim and ceiling strips (hull liner) from the port side above the galley and settee. This exposed the after two main chainplate fasteners (the chainplates were bronze mounted externally to the hull), with slim stainless steel backing plates.


Total time billed on this job today: 6 hours
0600 Weather Observation: 2°, clear. Forecast for the day: Sunny, 30°