


April 11, 2019
Scupper 121
Wednesday
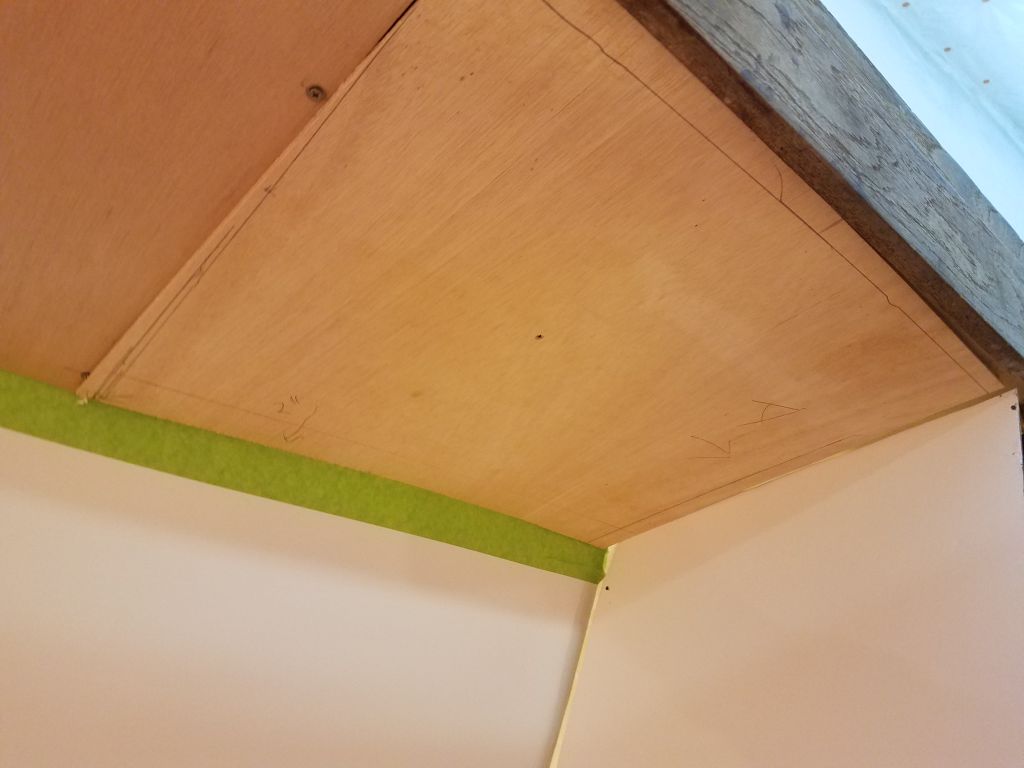
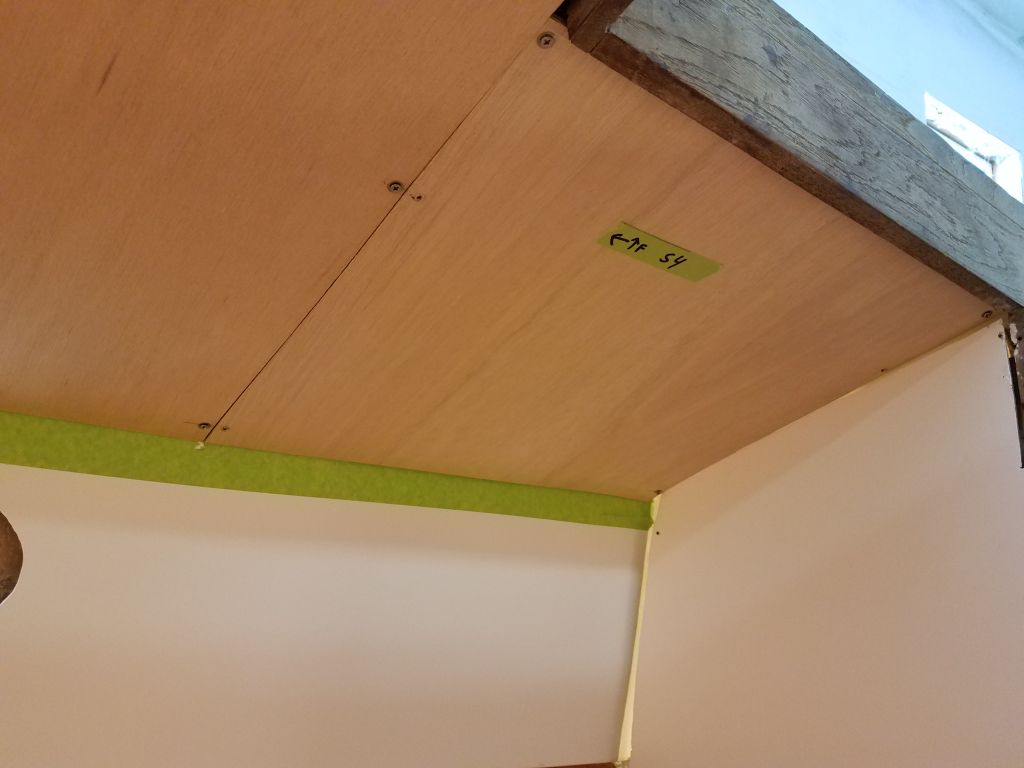
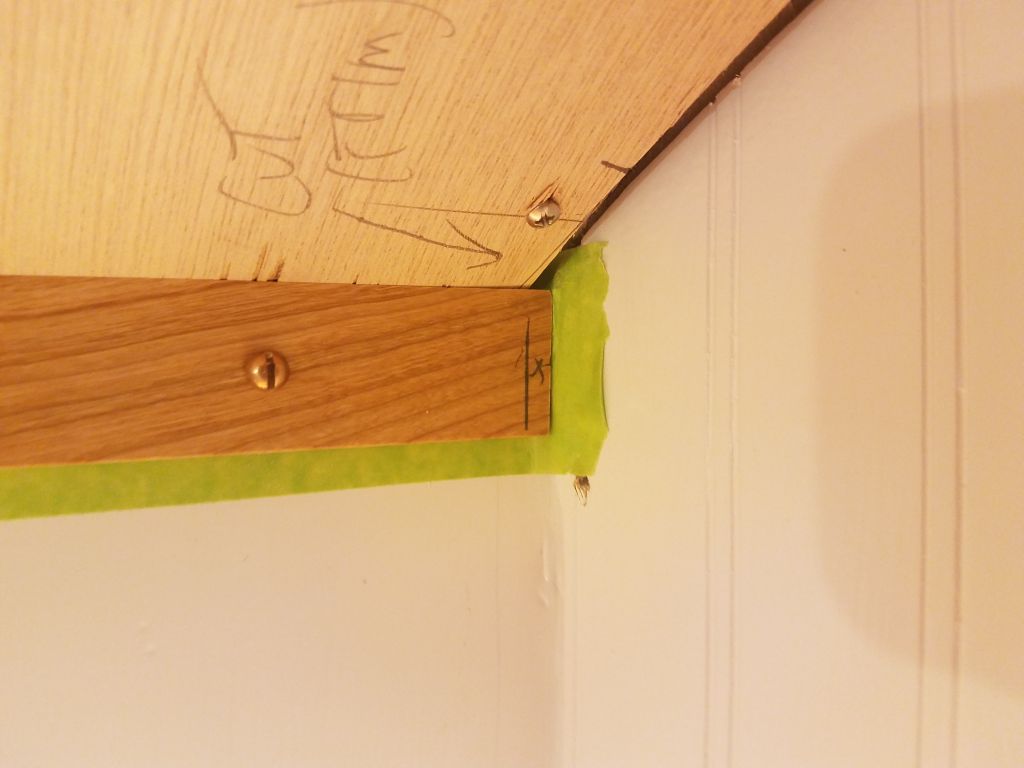
First thing, I finished up the last little piece of the overhead paneling, starting with a rough template made from measurements I’d recorded the day before, and cut from pattern plywood. With the template temporarily secured with one screw (the deadman didn’t fit in the aft corner), I used straightedges to mark the actual shape of the space on the template, and then transferred this to the final 6mm plywood.

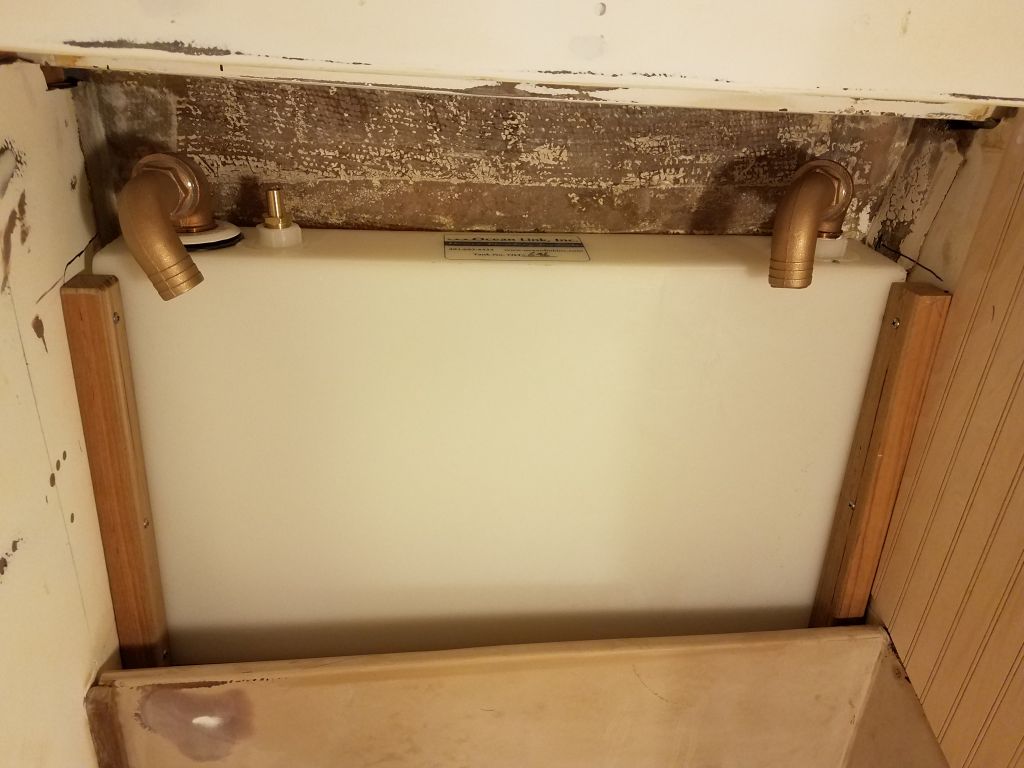
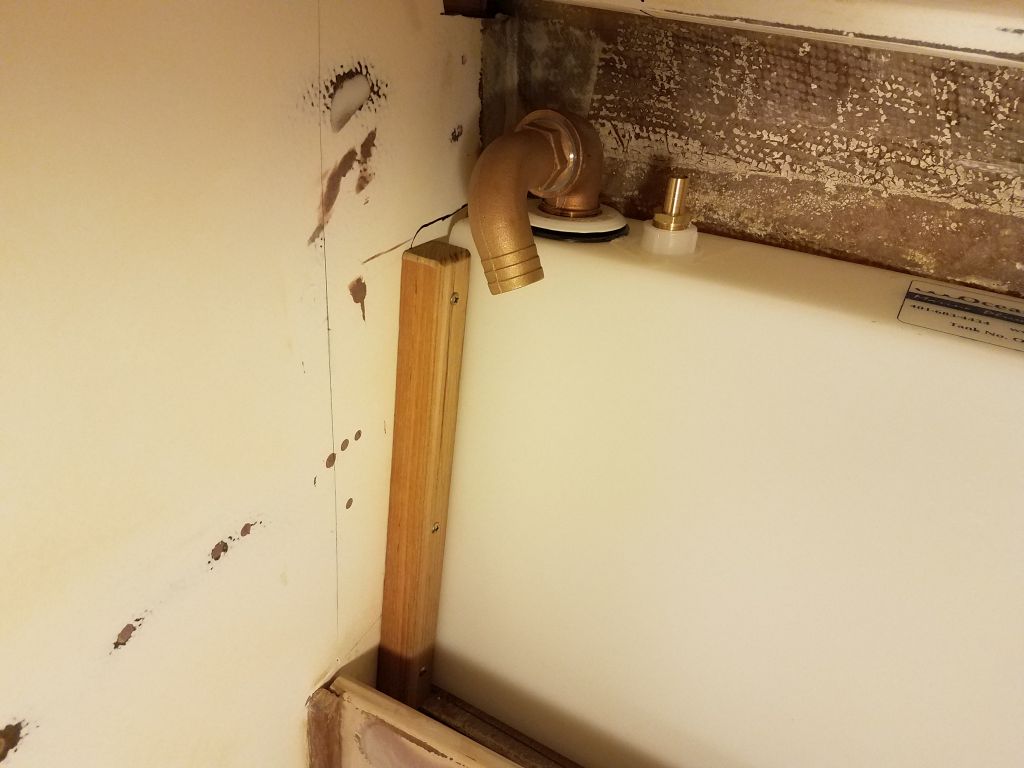
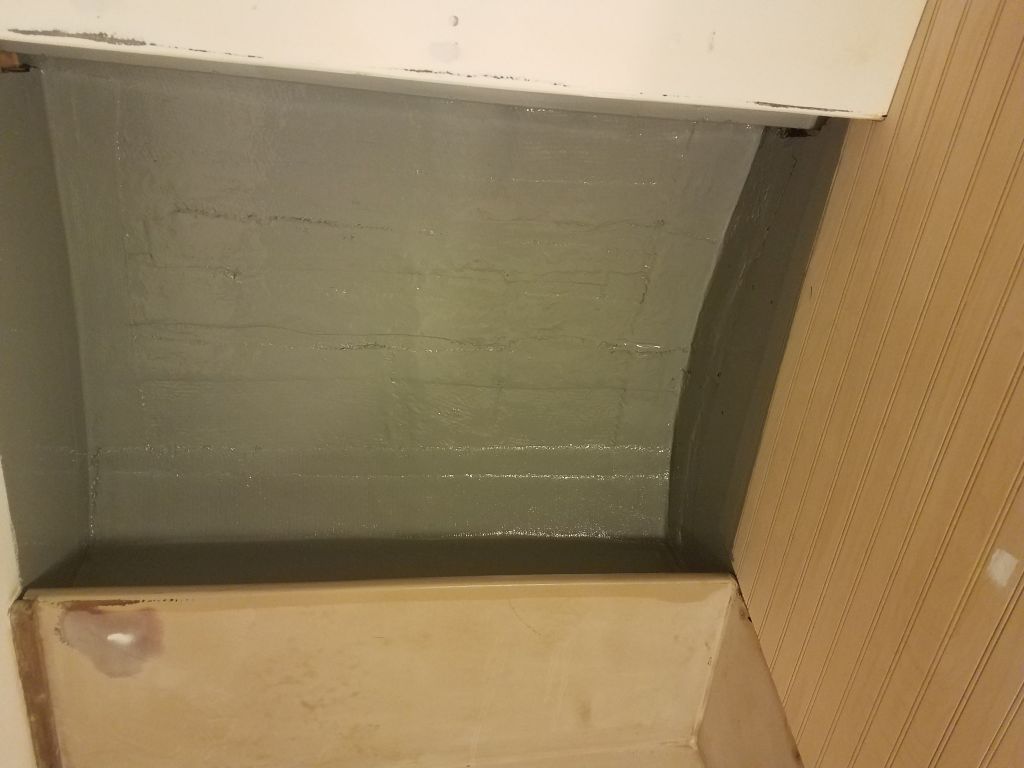
I’d get back to the overhead presently, but for the moment one of the day’s priorities was to complete the preparations in the head and holding tank space, so that I could finish up the holding tank installation later in the week. I now had the additional plumbing fittings that I needed on hand, so I installed them on the tank while the tank was still loose, which made the job easier. Space and hose run constraints required the use of elbows for both inlet (aft, or to the right in the photo) and outlet, and these fittings always seem to present installation challenges since they require quite a bit of “spinning space” to thread in. The discharge side would later be split into two sections: One leg leading to a deck pumpout fitting; the other leg to the overboard tank pumpout for those times it was legal. (That bronze fitting near the bottom of the tank is acting as a wedge to hold the tank in place, as the weight of the bronze fittings on the top of the tank made it want to tip out of the space on its own.)

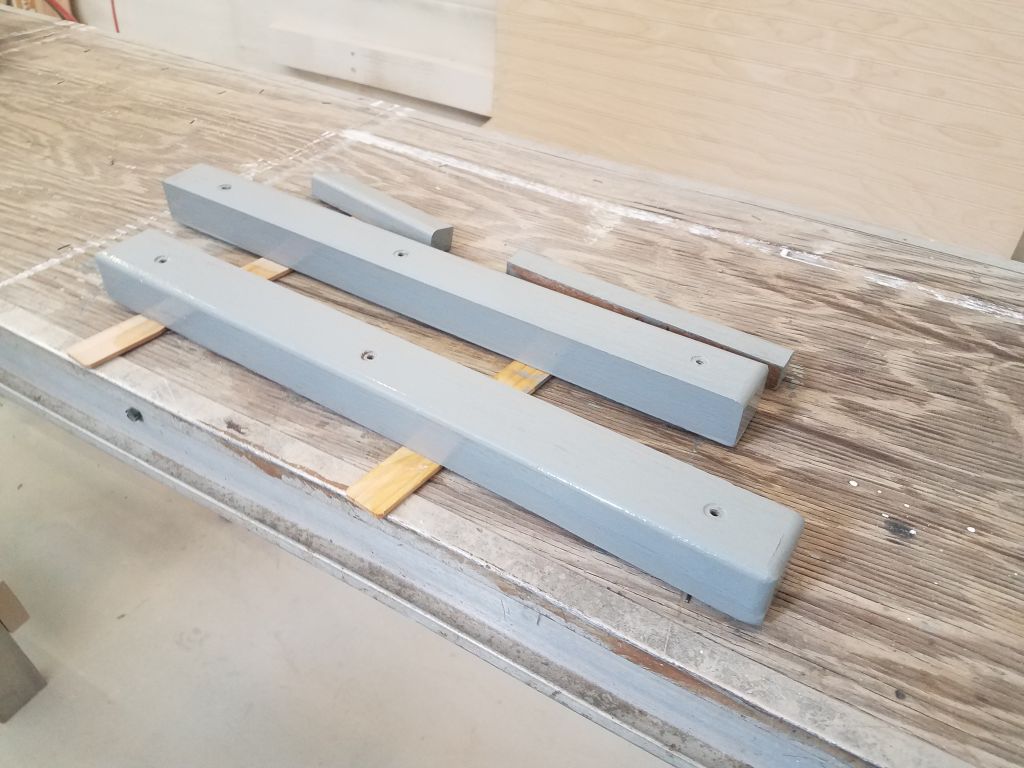
To secure the tank (just temporarily for now), I milled a pair of hardwood cleats and secured them to the bulkheads on either side, basically pinning the tank in place between the cleats and the hull. I also milled, but did not yet install, additional cleats to secure the top edge of the tank and prevent any up-and-down movement. With the cleats cut and fit, I could then remove them, and the tank itself, and, after final preparations, painted out the space in and around the tank, the last impediment to final installation.

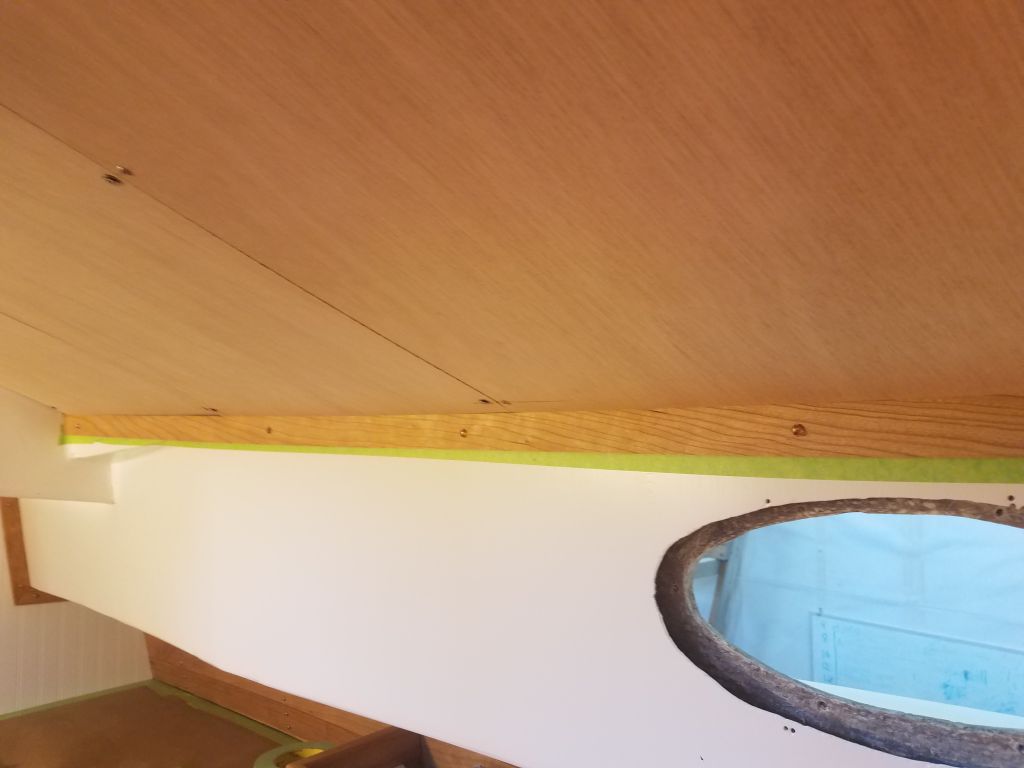
With that crucial step behind me, I returned to the overhead. After much thought throughout the panels’ installation, I’d decided to cut and install all the overhead trim now while all the panels were still in place, so that once complete I could remove all the trim and overhead sections for final finishing (varnish on the trim, paint on the panels), and to leave the cabin overhead exposed for upcoming hardware installations later in the project as needed.
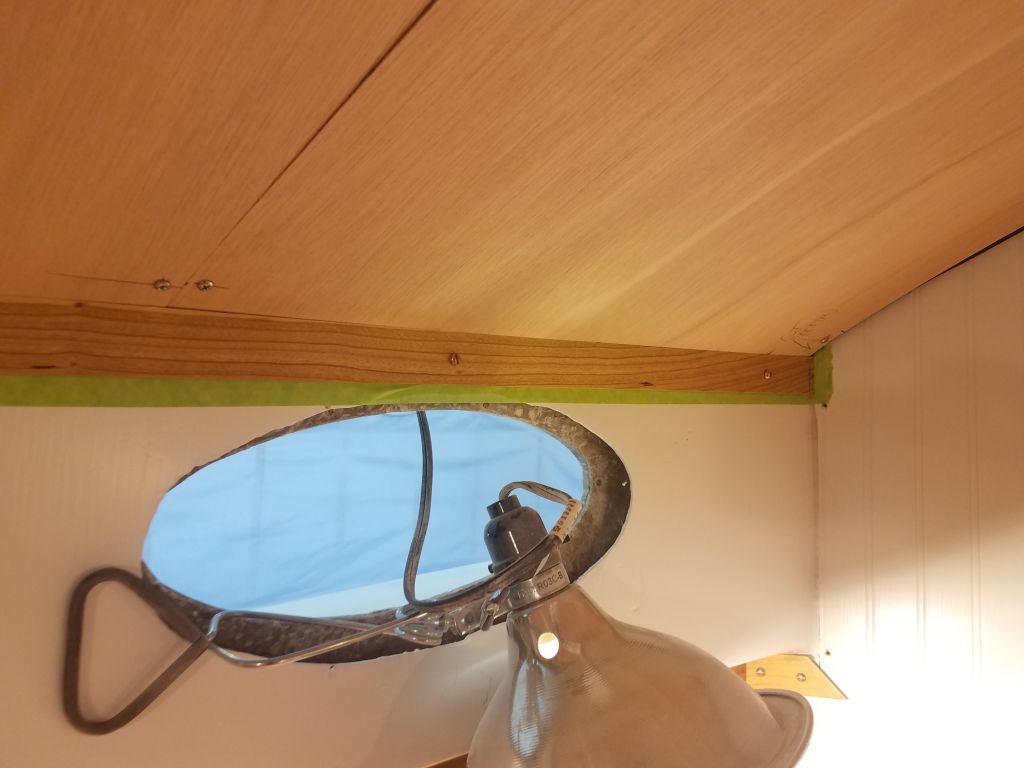
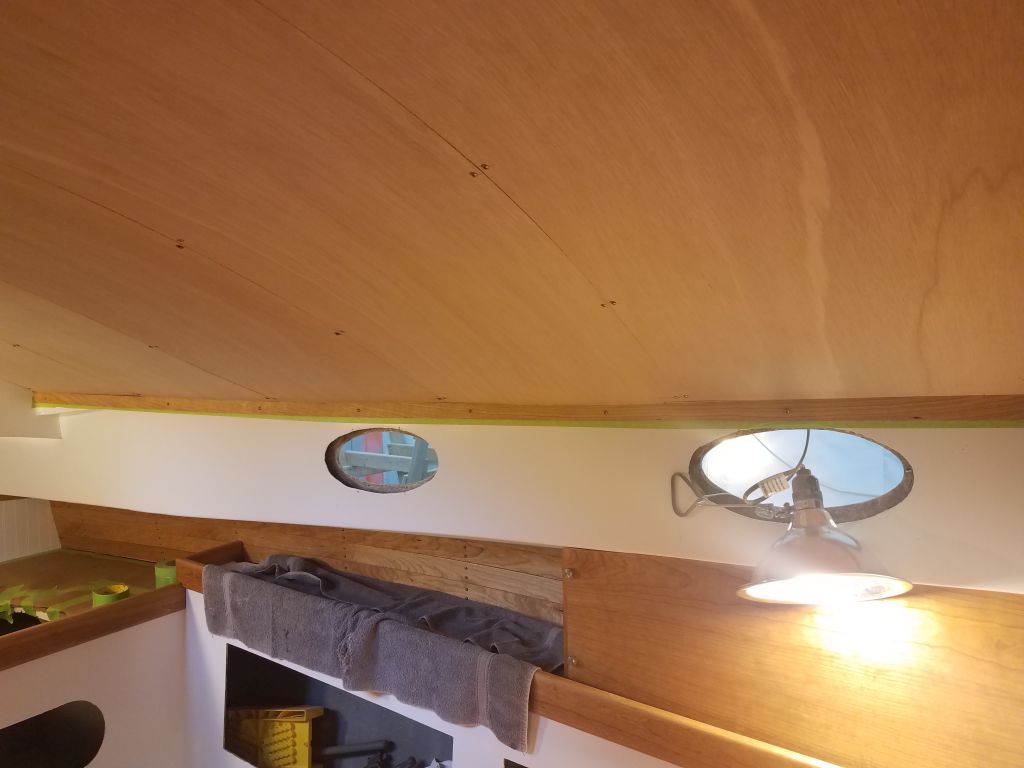
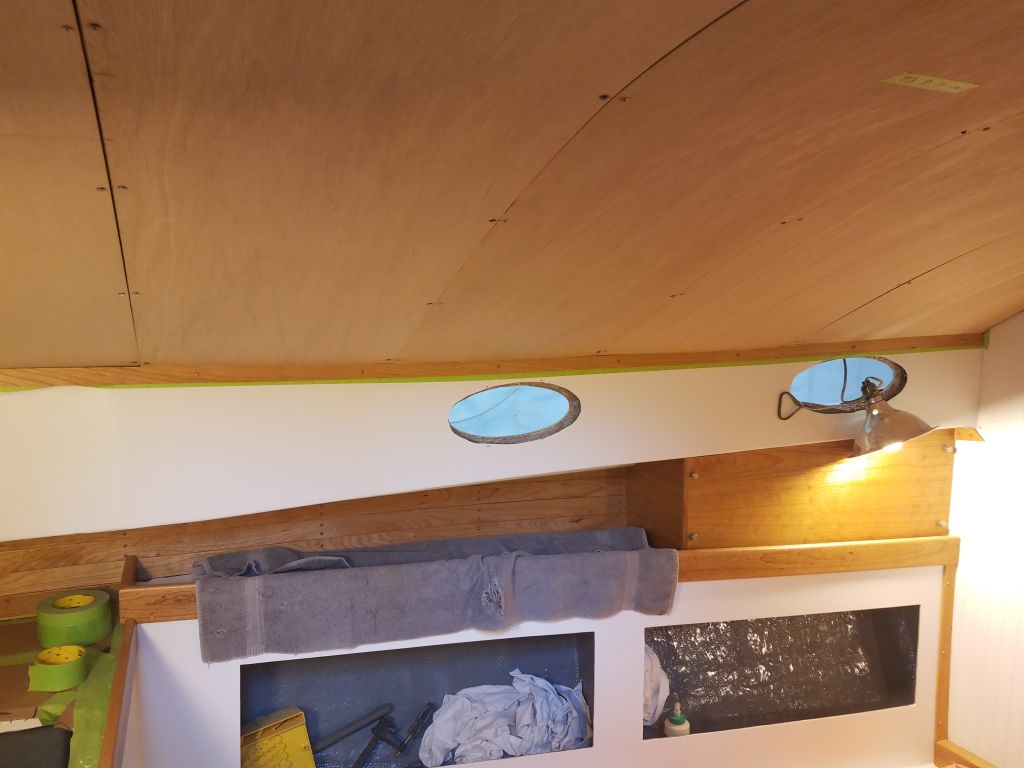
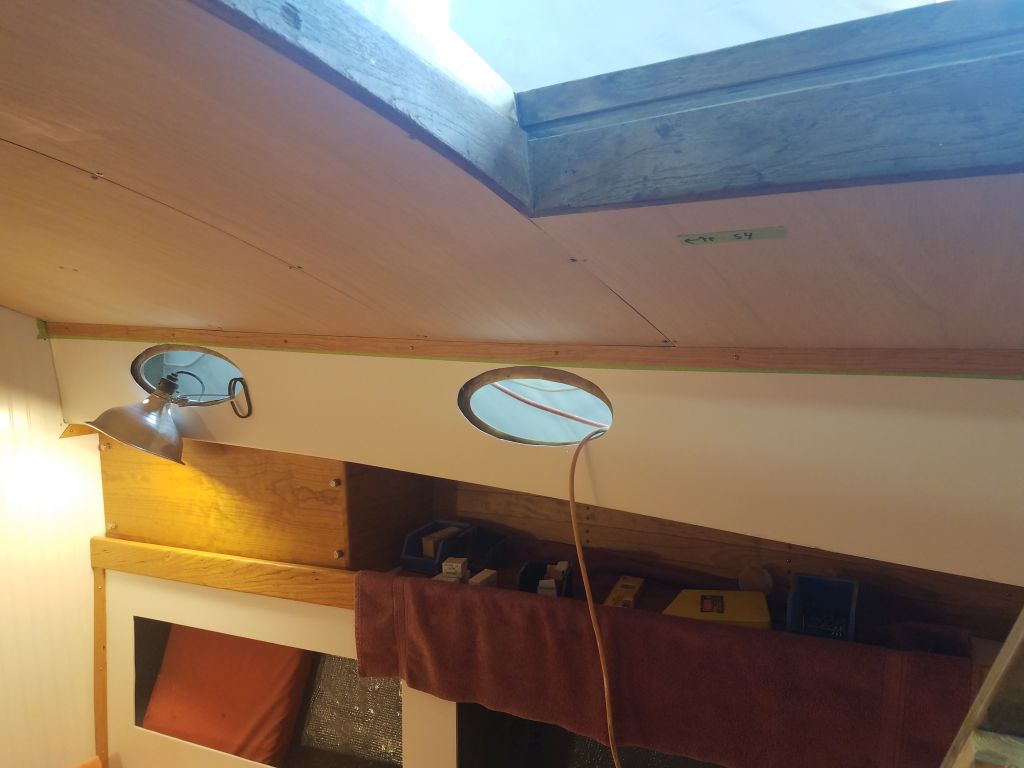
I started with some trim at the outboard edges of the overhead, to cover the ends of the panels where they met the cabin trunk and at the same time add a nice bit of wood trim to break up what would, in the final appearance, be a lot of white surface. I had two pieces of 1-1/4″ trim available for this task, and, after milling an angle on one edge of the trim to match the overhead camber, I cut and fit these pieces in place at the top edge of the cabin trunk, securing them with my bronze trim screws. At the ends, I marked where the existing (but temporarily removed) bulkhead trim would pass, so I could later cut the new overhead trim accordingly.
At the forward (at least) deadlight locations, it looked like I’d later need to trim the trim to fit around the inside port trim rings; I’d dig these out of storage and make some marks before I removed the trim for finishing later.


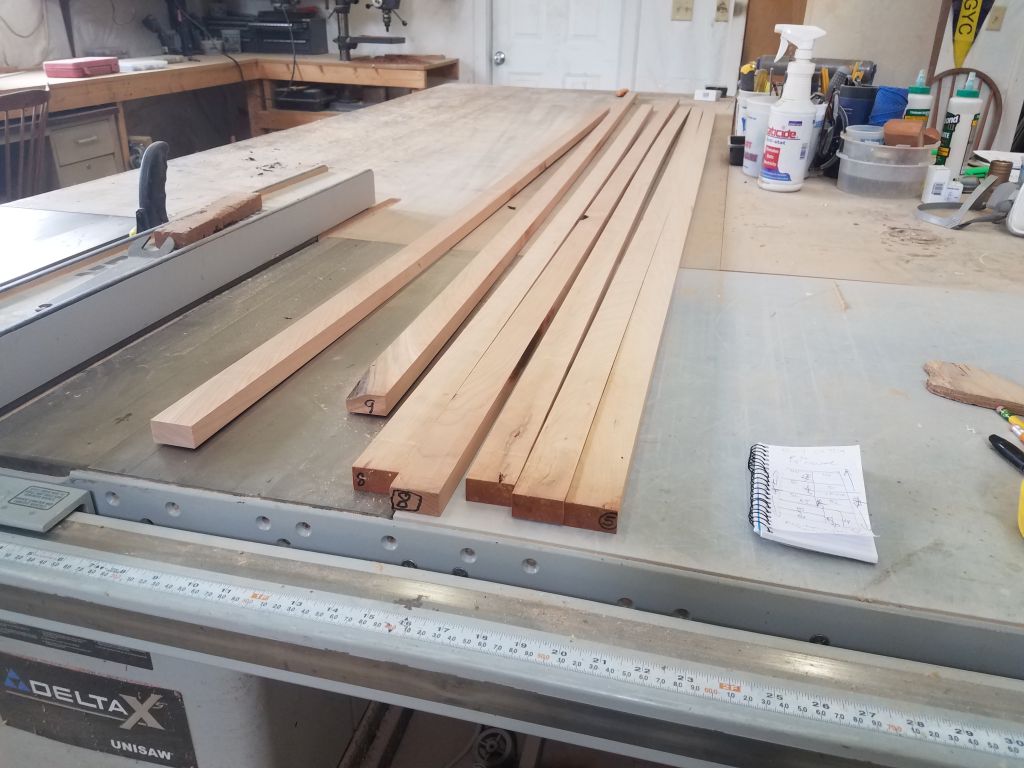
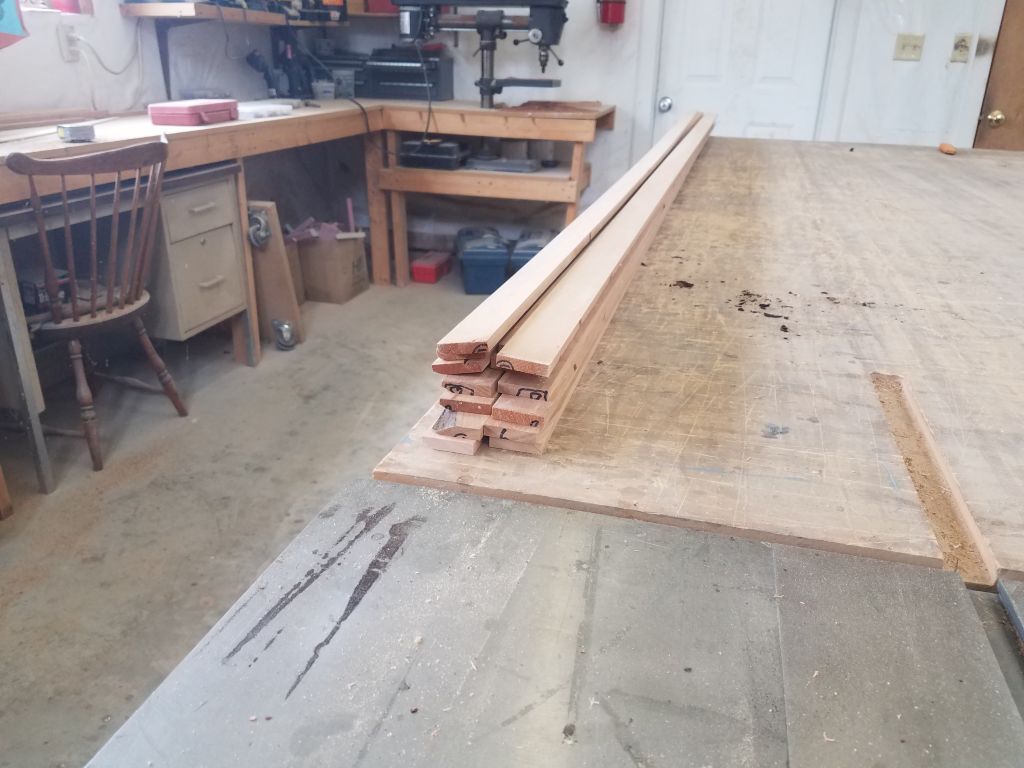
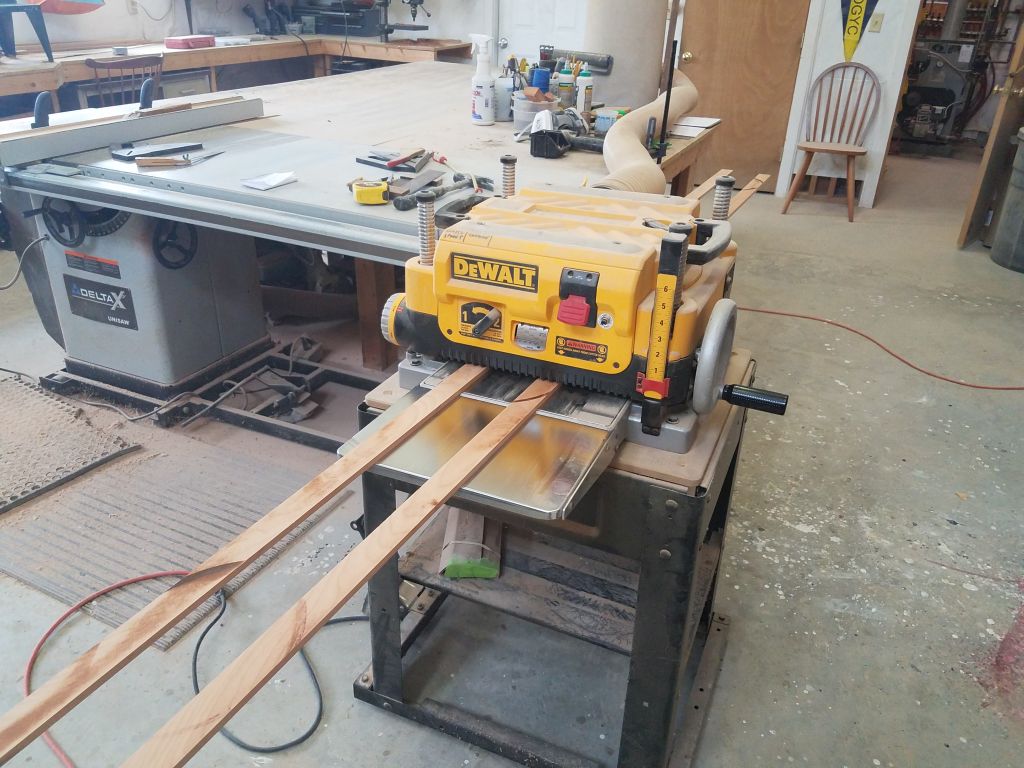
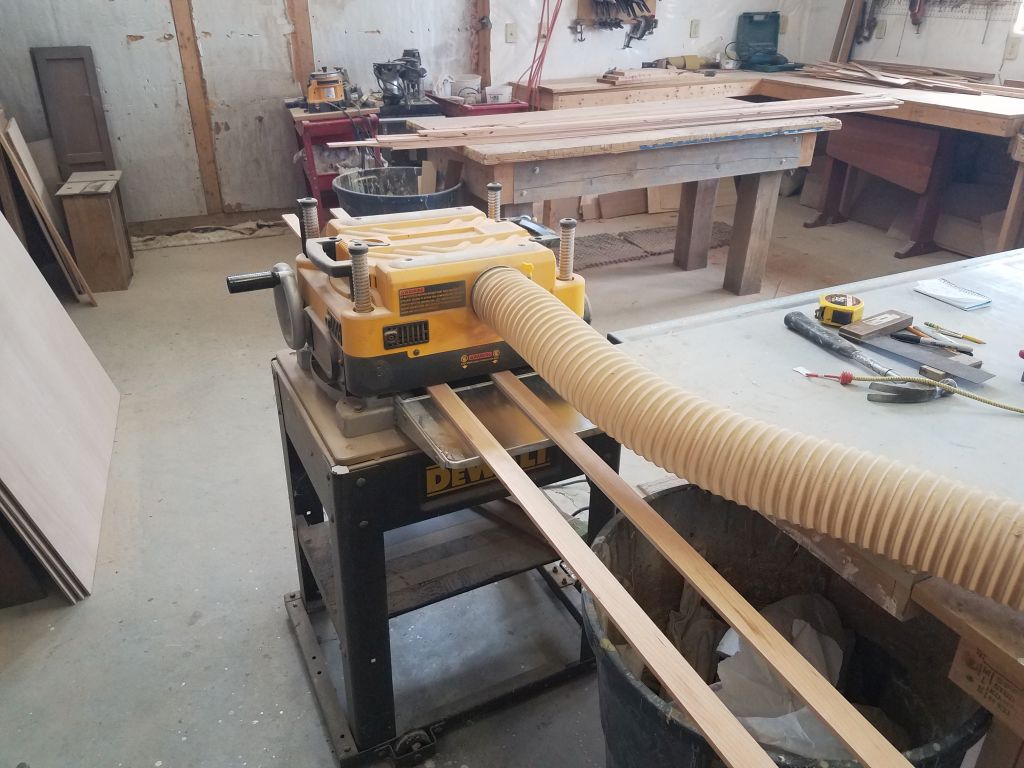
To finish up the overhead trim, I needed to mill a series of 1-1/2″ wide, 1/4″ thick pieces for the task, so after measuring up a basic list of the required pieces, I used some of my last cherry boards to mill the trim, taking the usual several steps to dimension, resaw, and plane to final thickness enough pieces for the job. This set me up well for next time, but with another commitment I had to depart once the milling work was complete.

Total time billed on this job today: 5.5 hours
0600 Weather observation: 32°, cloudy, snow, another inch or so from overnight. (Where was all this snow when it was actually wanted?) Forecast for the day: Snow showers ending, then cloudy, 42°