


January 17, 2020
Scupper 222
Friday
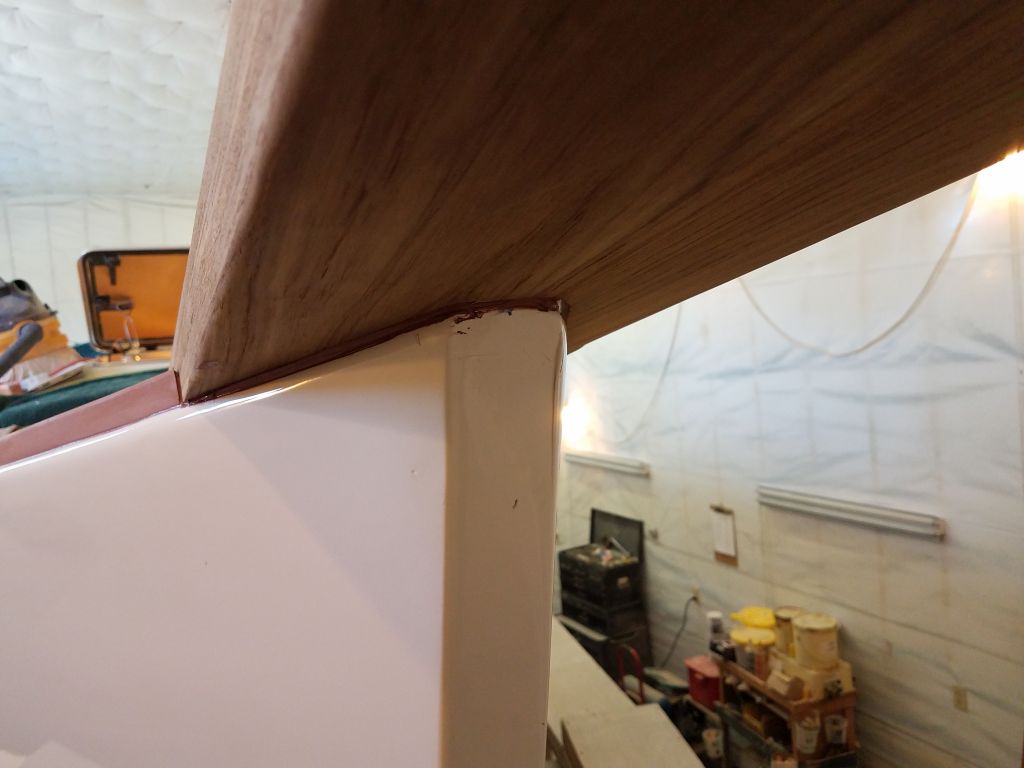
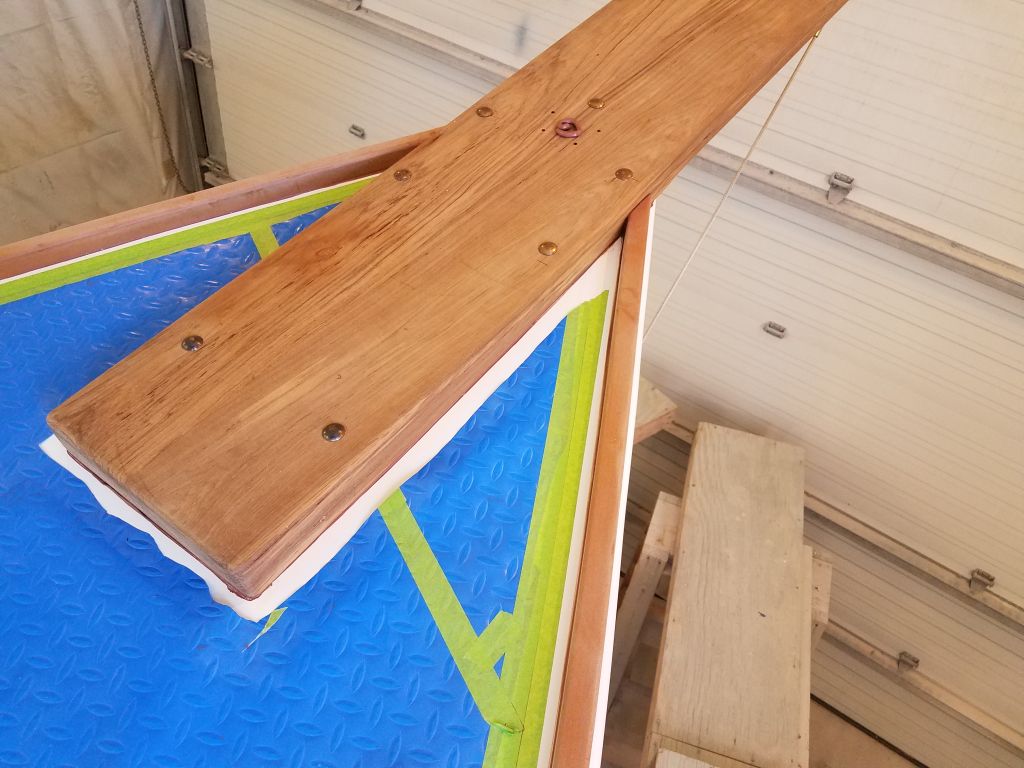
After replacing the bowsprit on the foredeck and aligning it properly with the forward bolts, I drilled down through the after two bolt locations to ream out the holes in the deck where I’d omitted the core and filled with epoxy. Removing the bowsprit again–or at least moving it to the side–I finished up the new holes with my habitual small chamfer at deck level.

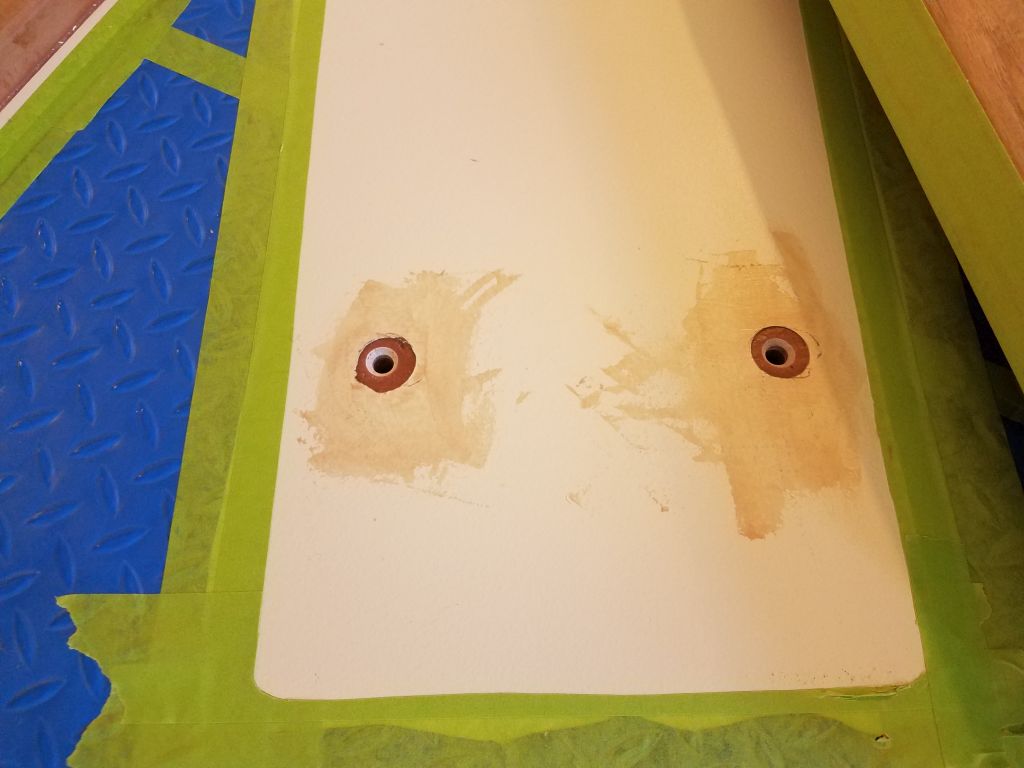
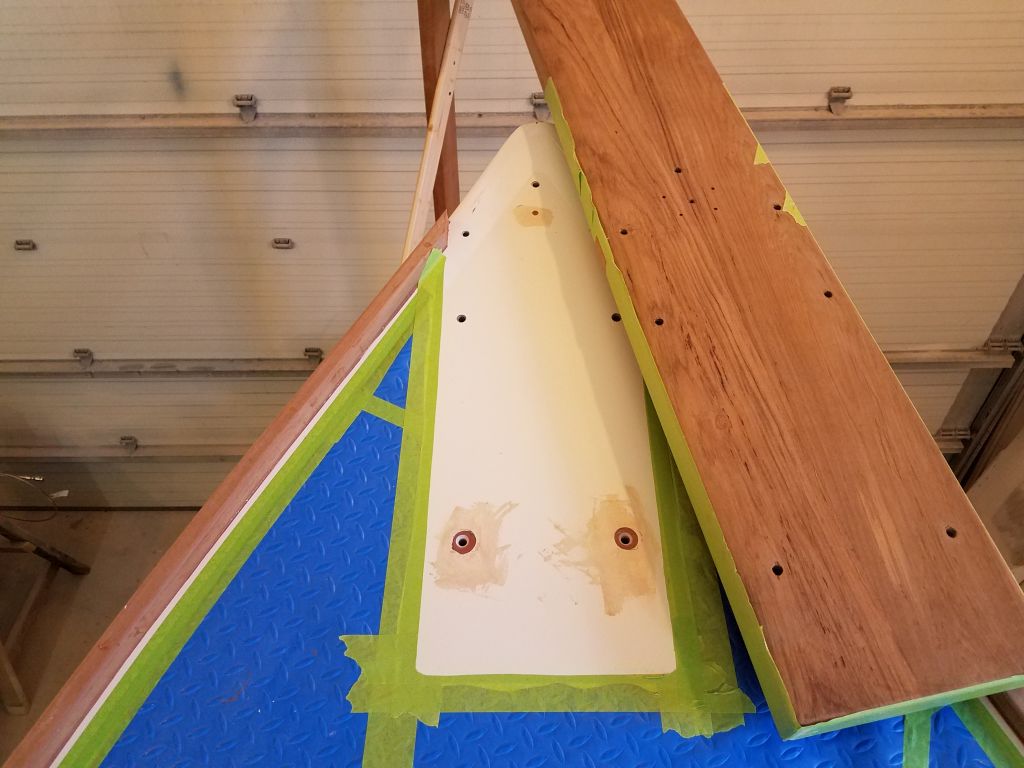
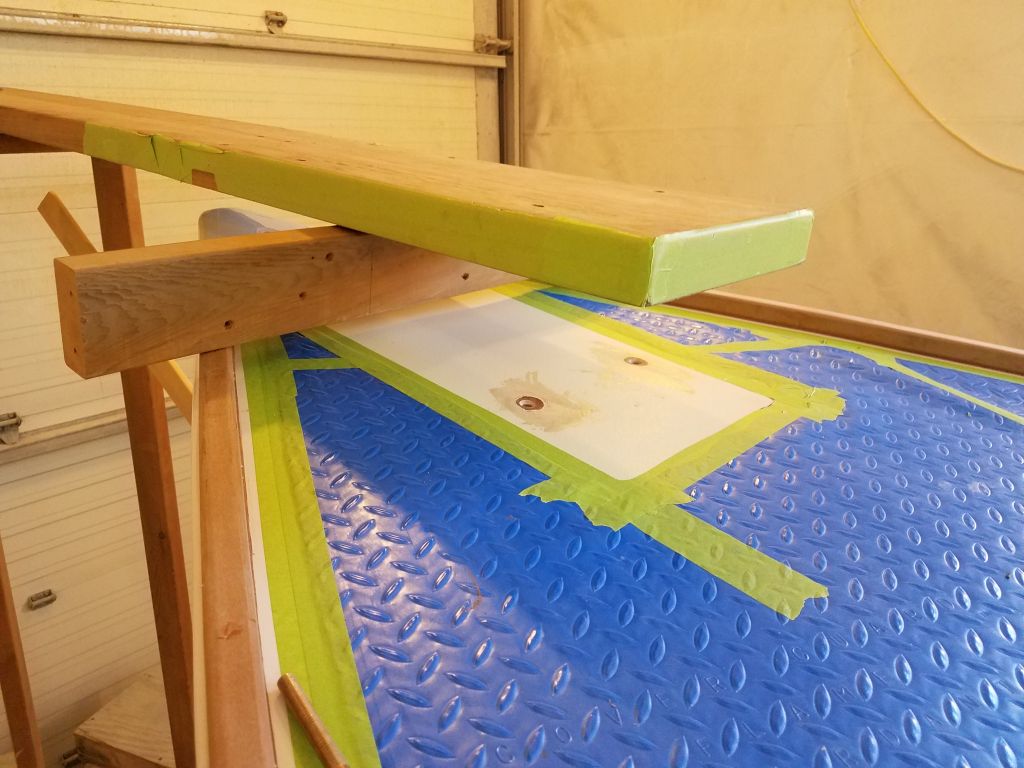
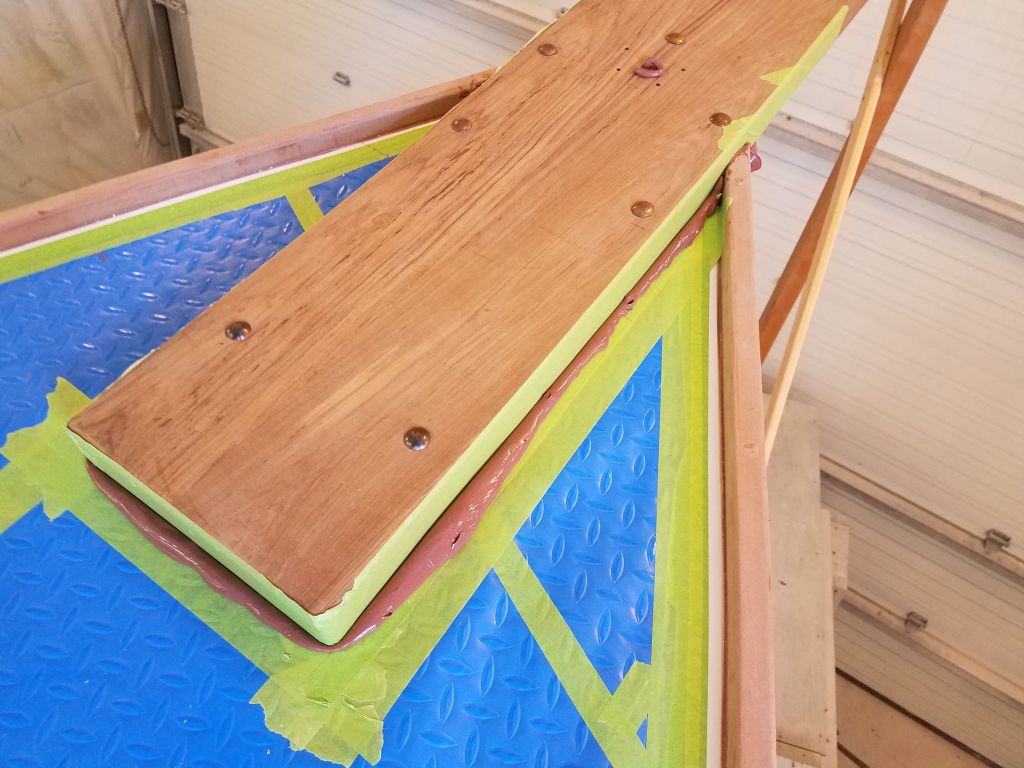
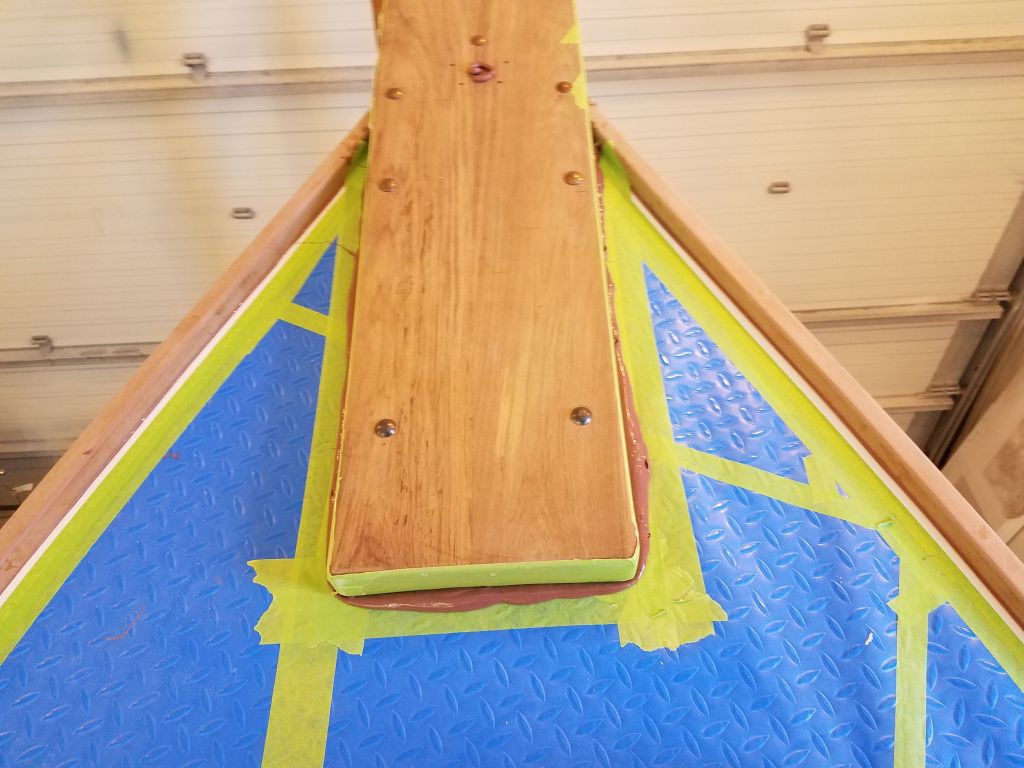
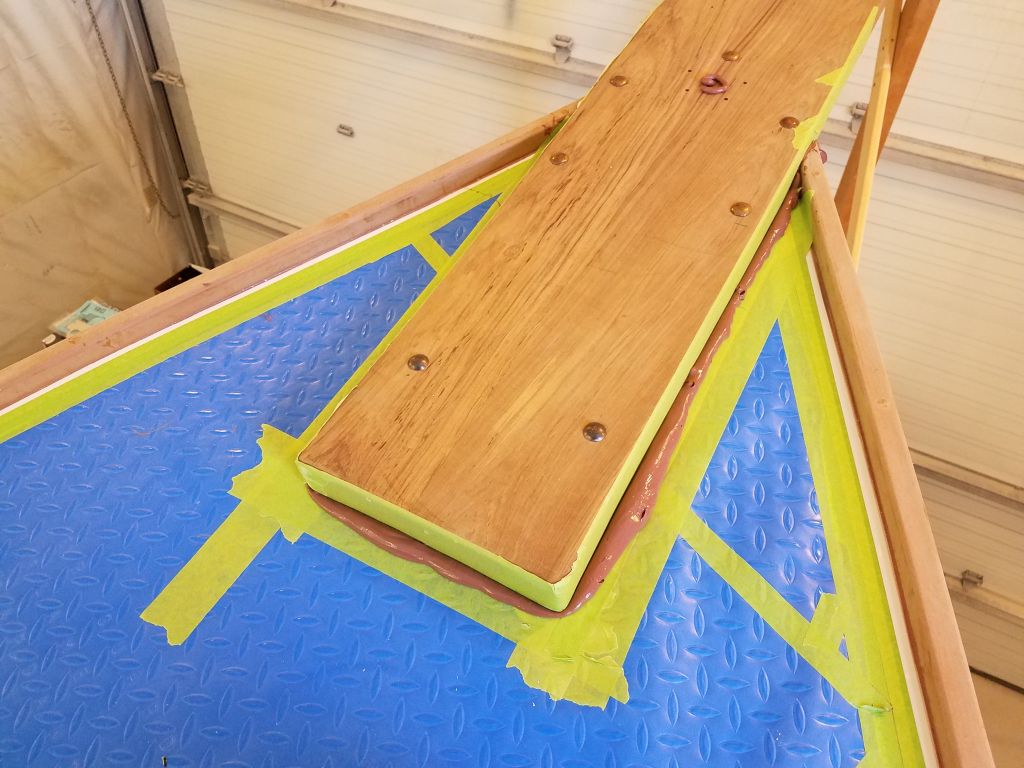
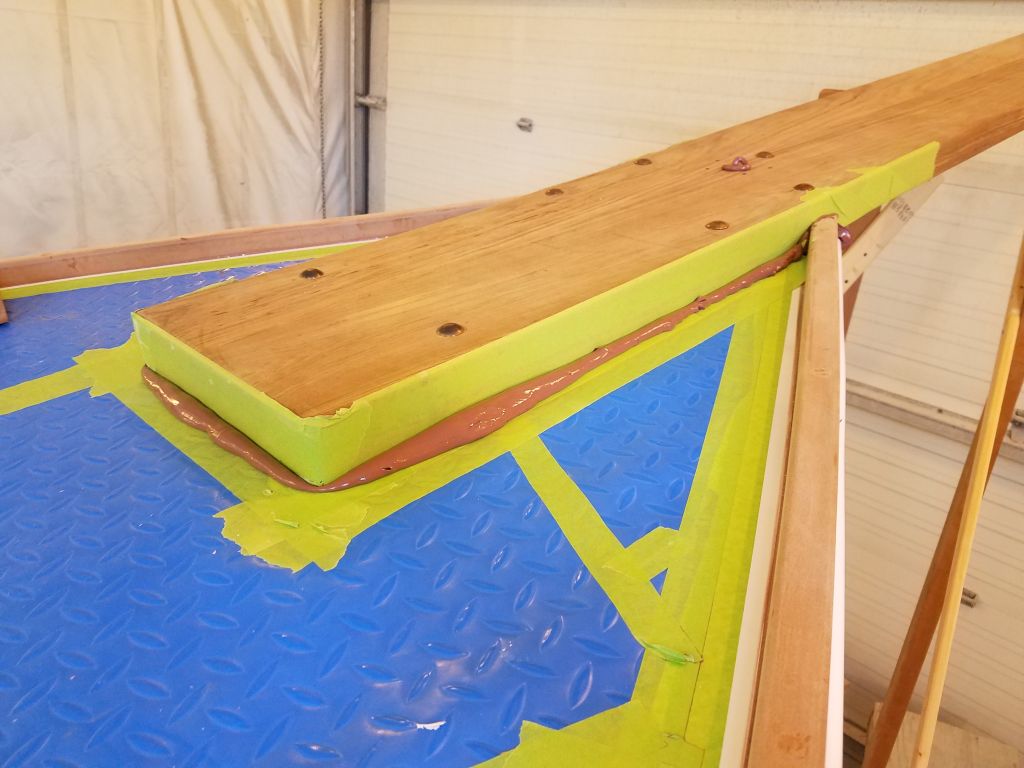
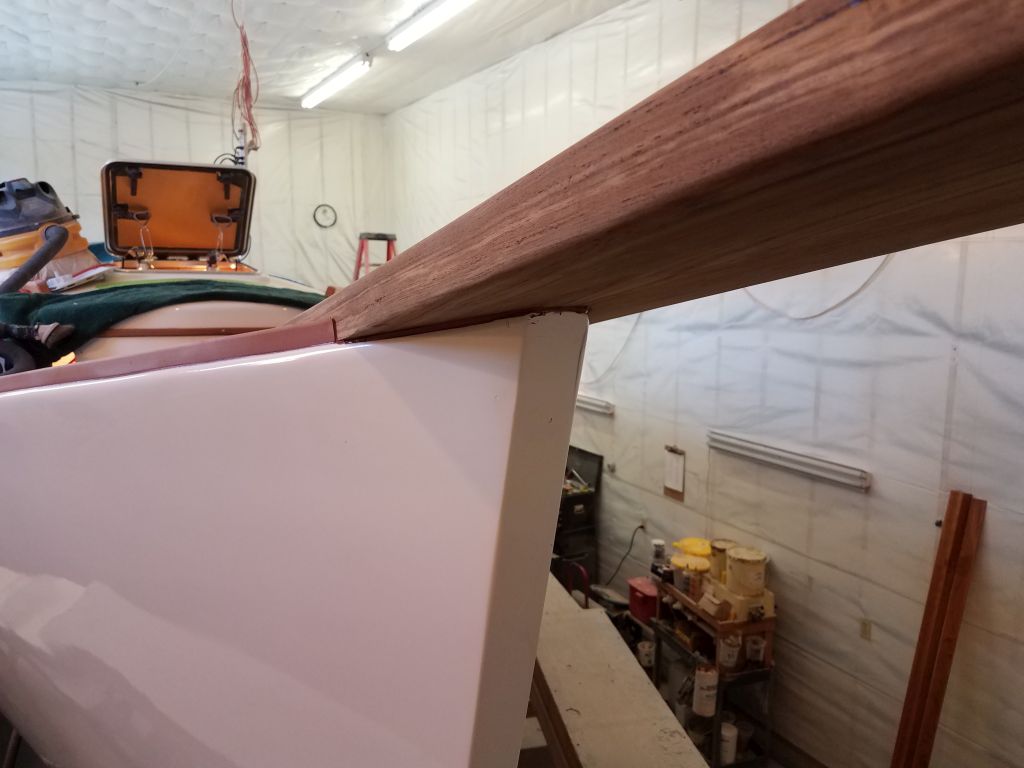
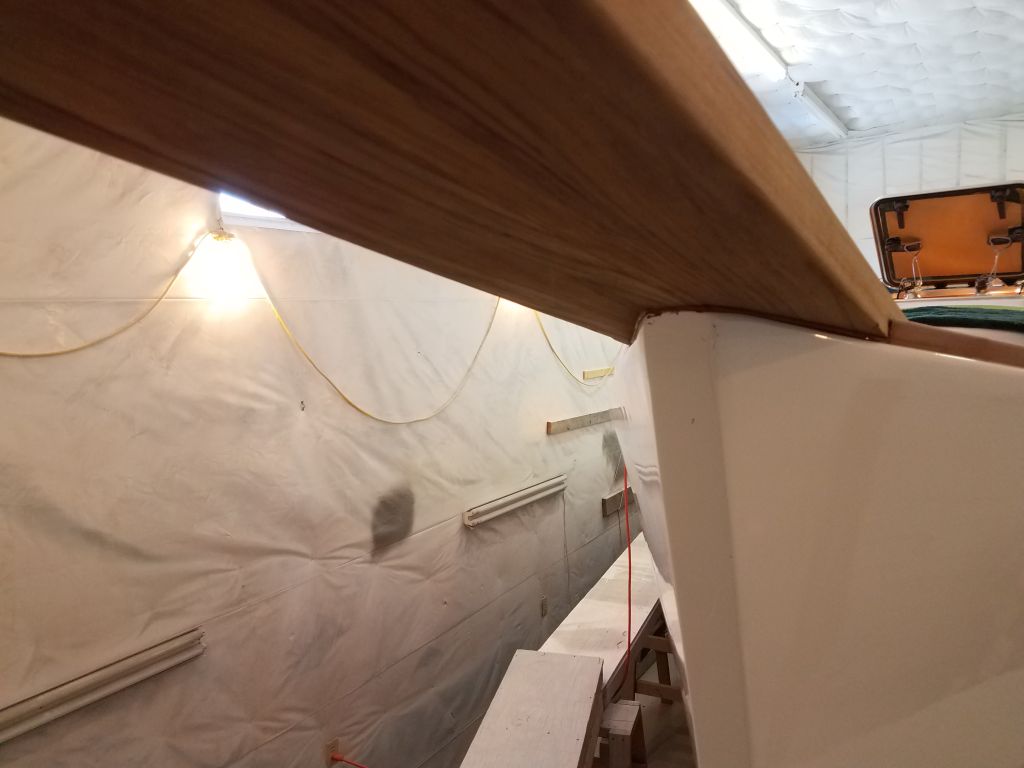
After cleaning up, I supported the bowsprit just above the deck with some scrap lumber, leaving it mostly aligned with its deck position but allowing me room beneath to apply the sealant, which I did next. I applied heavy beads of the sealant (two full tubes) to the deck area, particularly around the bolt locations and the edges of the platform. Then, I could remove the spacer, press the bowsprit into place, and install the bronze carriage bolts.

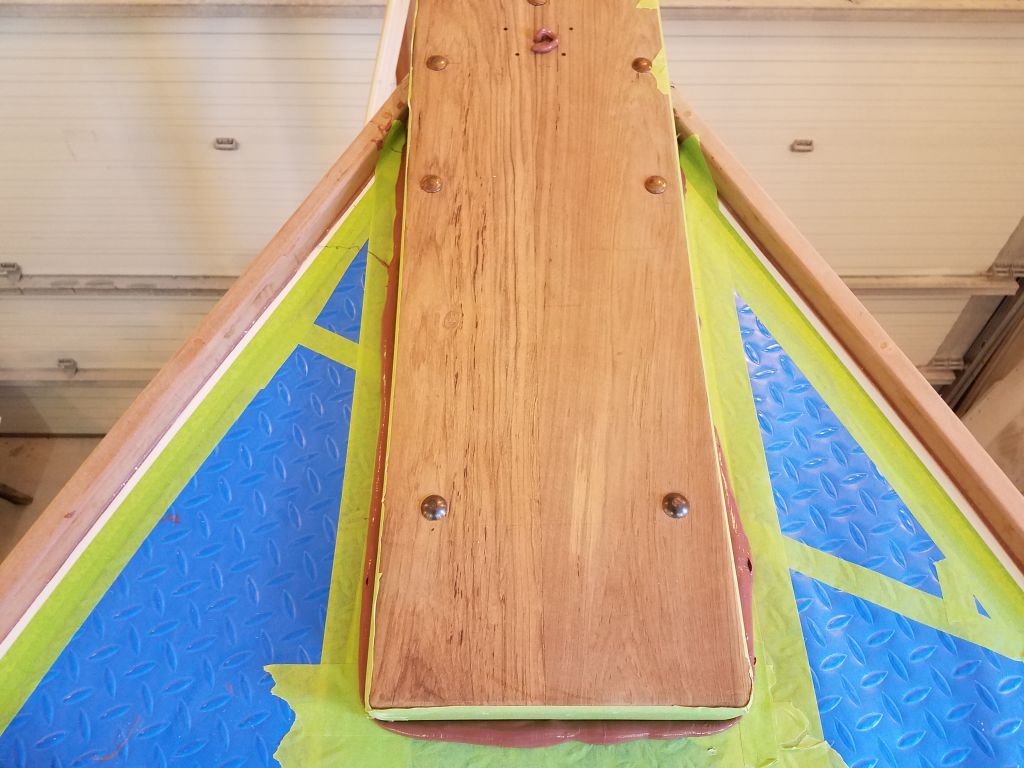
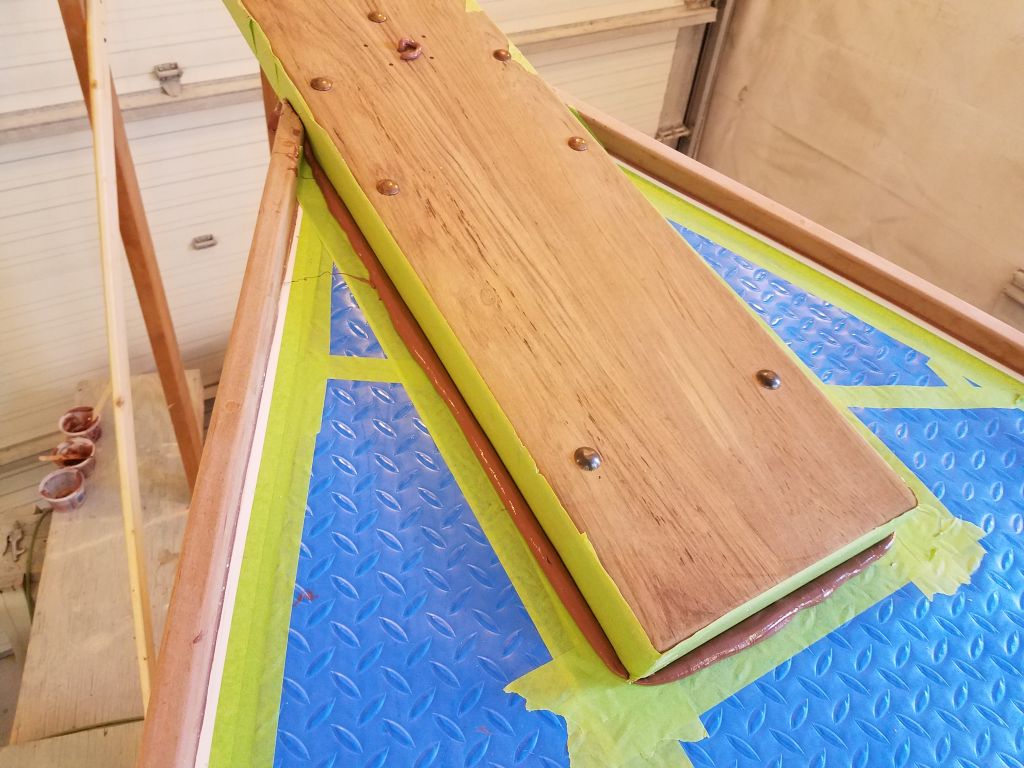
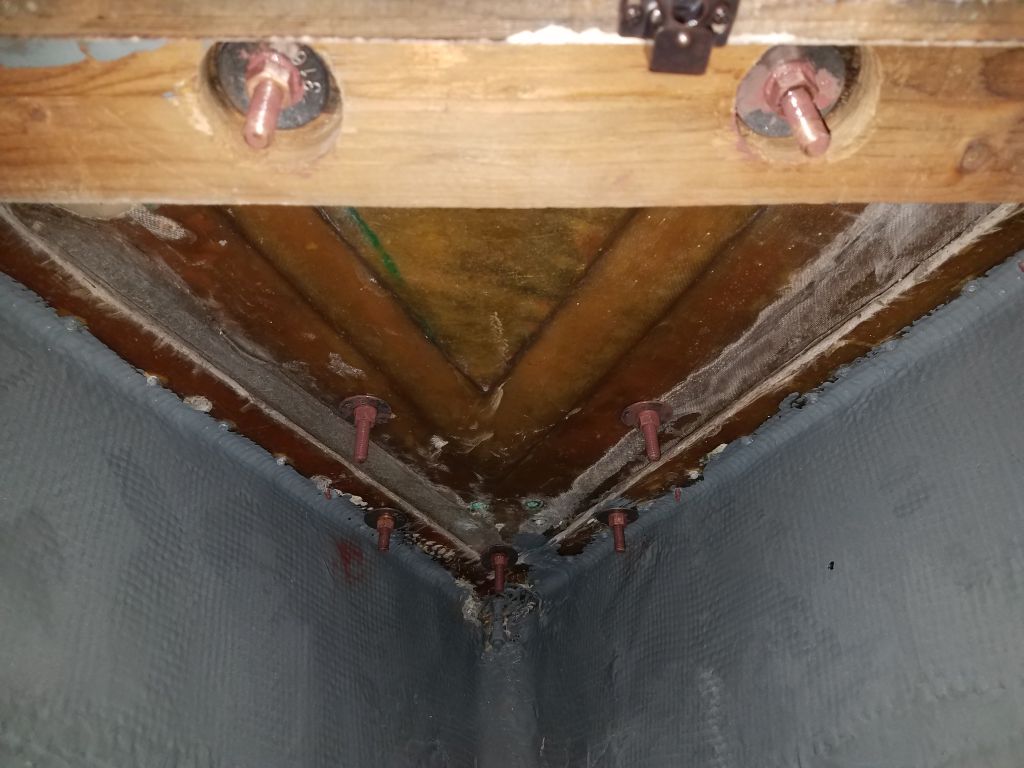
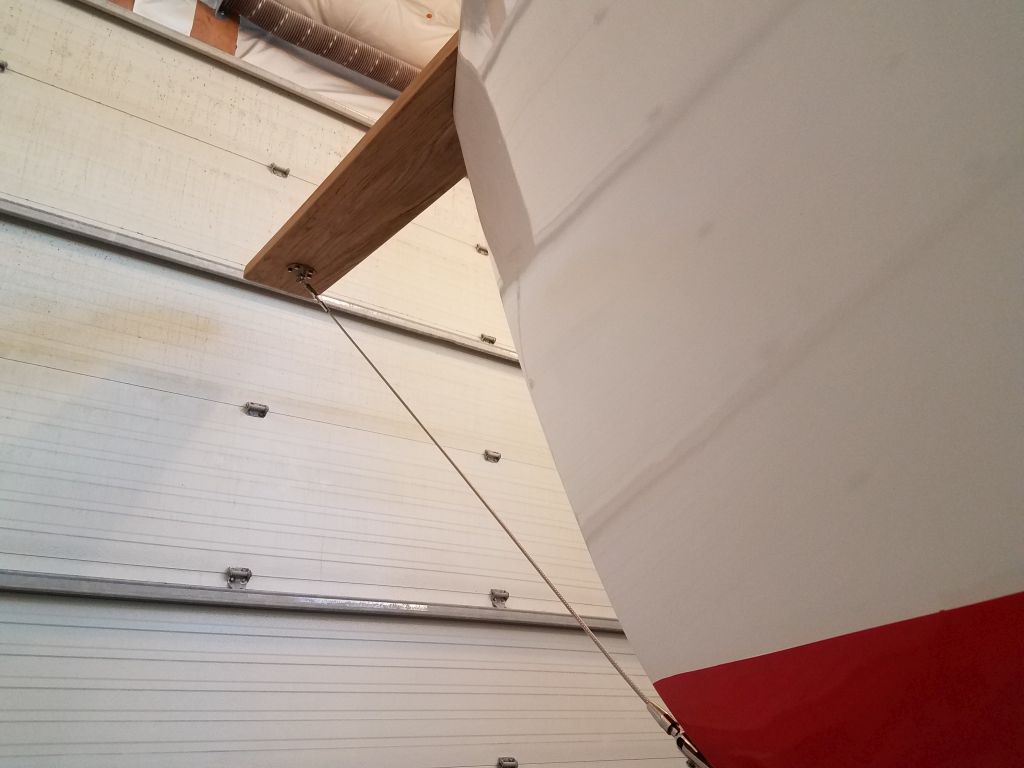
Down in the chainlocker, I installed fender washers, lock washers, and nuts at all bolt locations, and tightened them securely. This was not fun and took a long time. Access to the chainlocker was tight, and the stepped design of the forward part of the v-berth made this an awkward and uncomfortable proposition. Installing the nuts and washers on the after pair of bolts, which led through the wooden beam forward of the bulkhead, was simple enough, but the forward sets were out of easy reach, and the opening so small that I could only fit my head and one shoulder through by lying on my back above the shelf and fiddle aft of the opening, and those bolts were at the maximum extent of my arm’s reach. Needless to say, this was a job I was happy, at length, to have behind me.
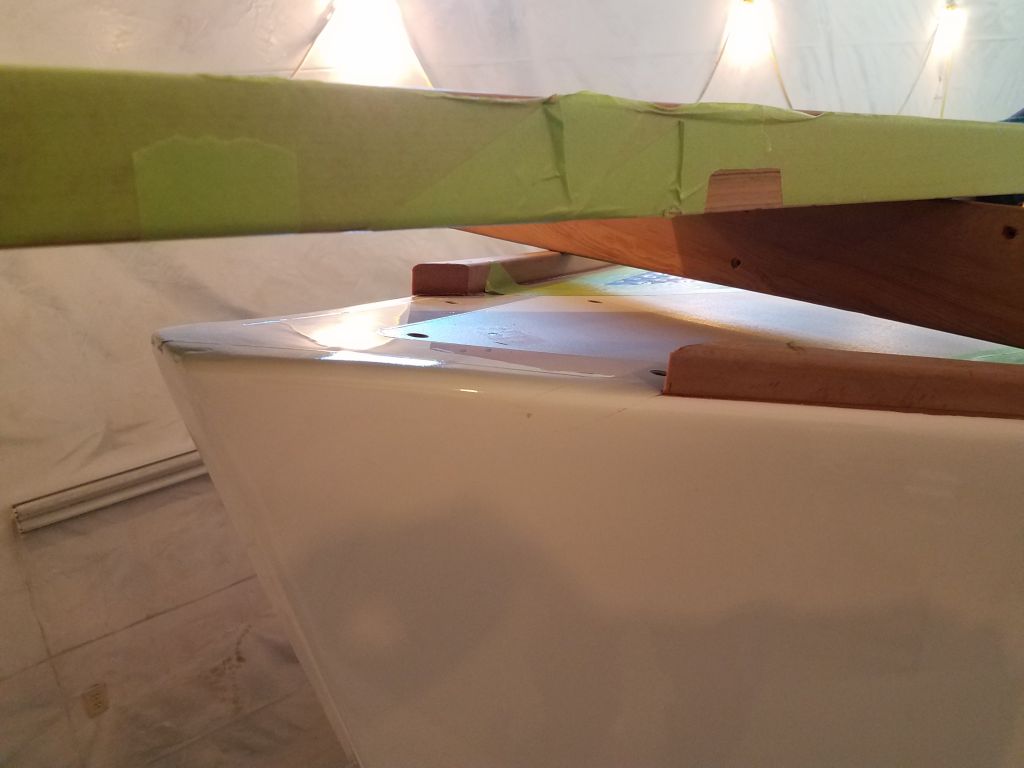
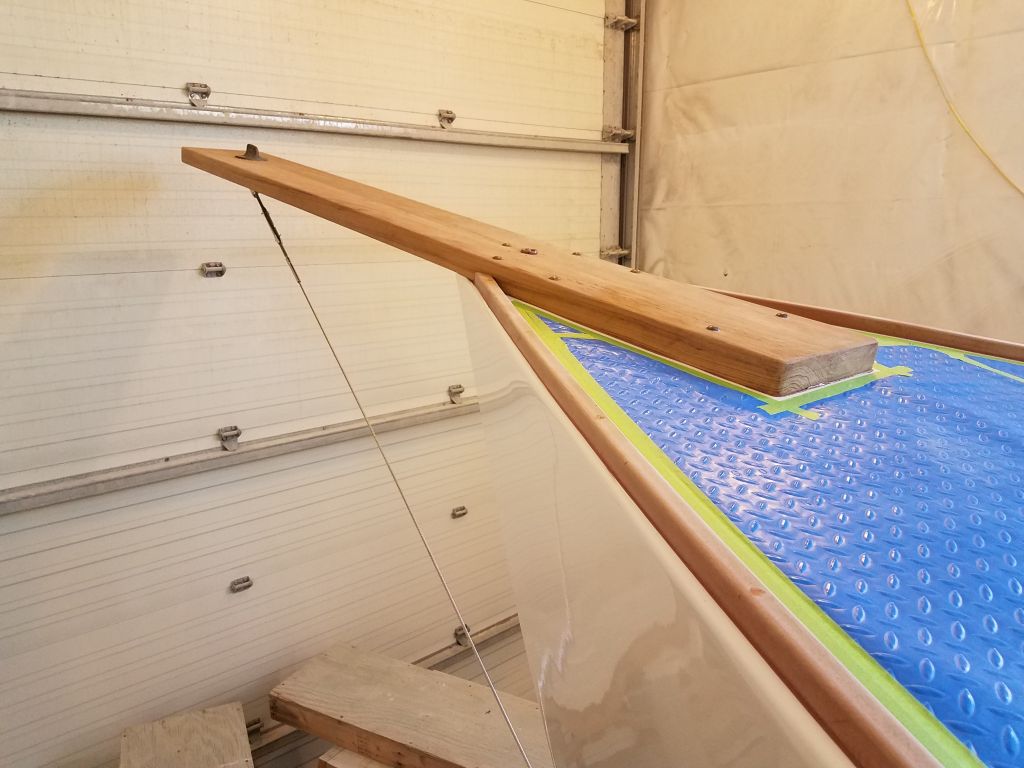
With the bolts securely tightened from below, the bowsprit squooched nicely into the sealant, and also raised the platform just slightly above the support I’d built, which was good because I’d actually gone forward to check and remove the shim from beneath to ensure that the platform was not being artificially supported in a way that could affect how it sat on the deck.
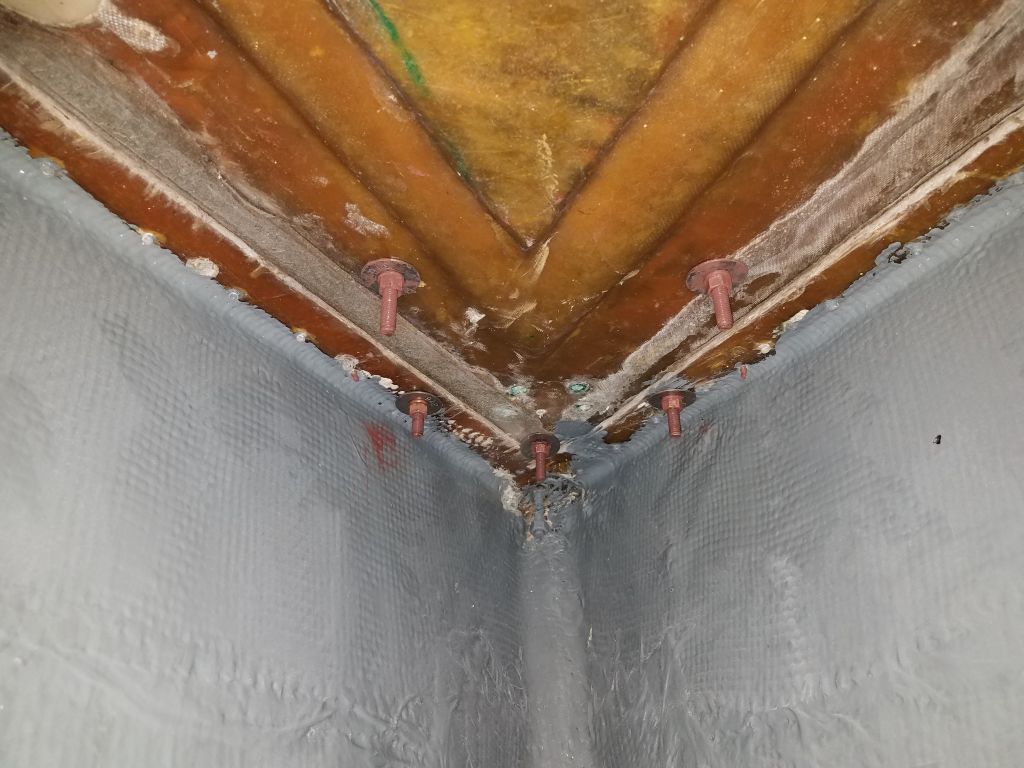
Normally I would have liked to clean up the sealant from the nuts and bolts belowdecks, but given the challenge it had been to simply install them, I’d had more than enough of the contortionist act and they’d just have to live the way they were. It’d be bad enough forcing my way back in there a little later to install the bolts for the inner forestay tang, so I reserved my well-being for that future requirement.
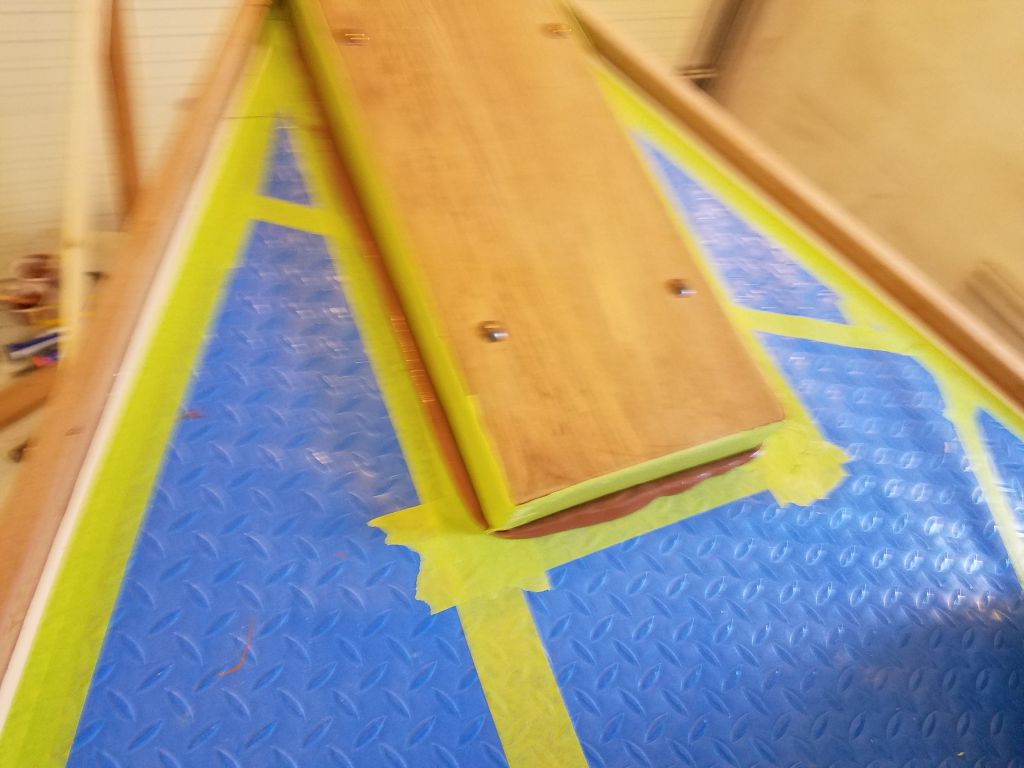

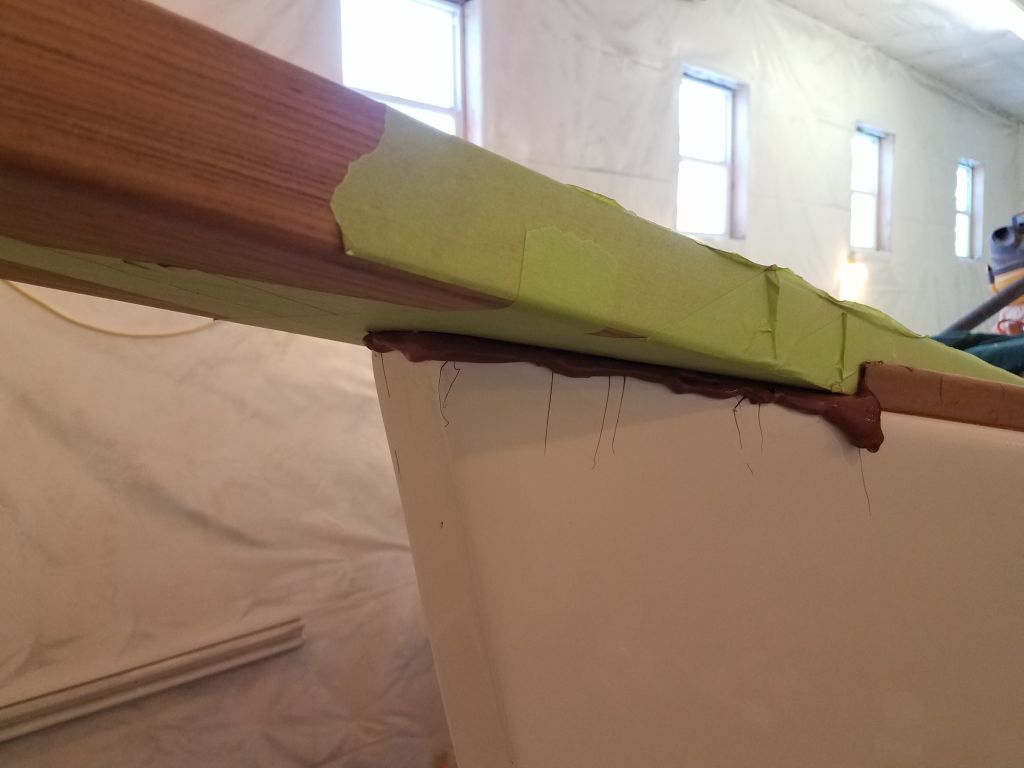
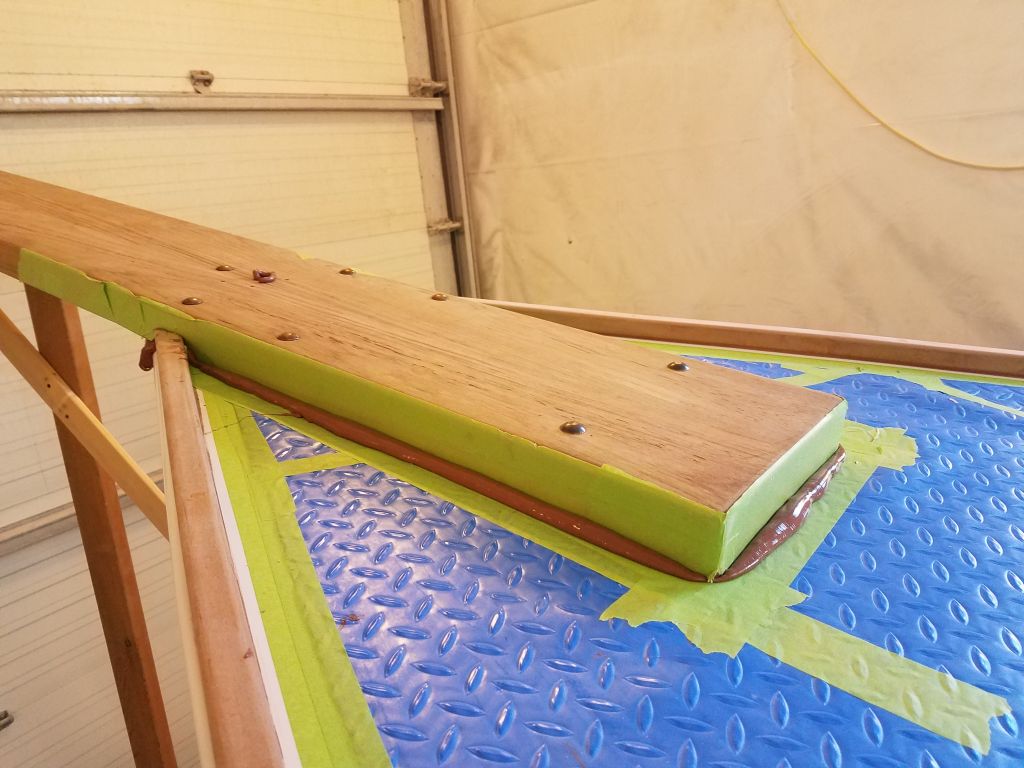
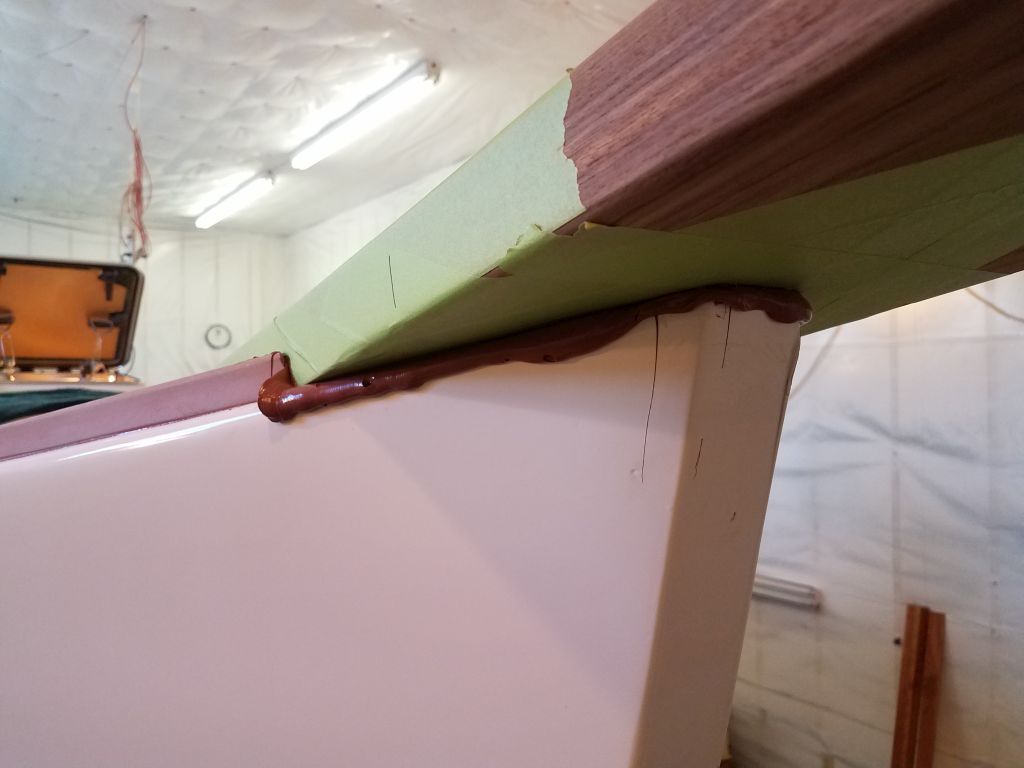

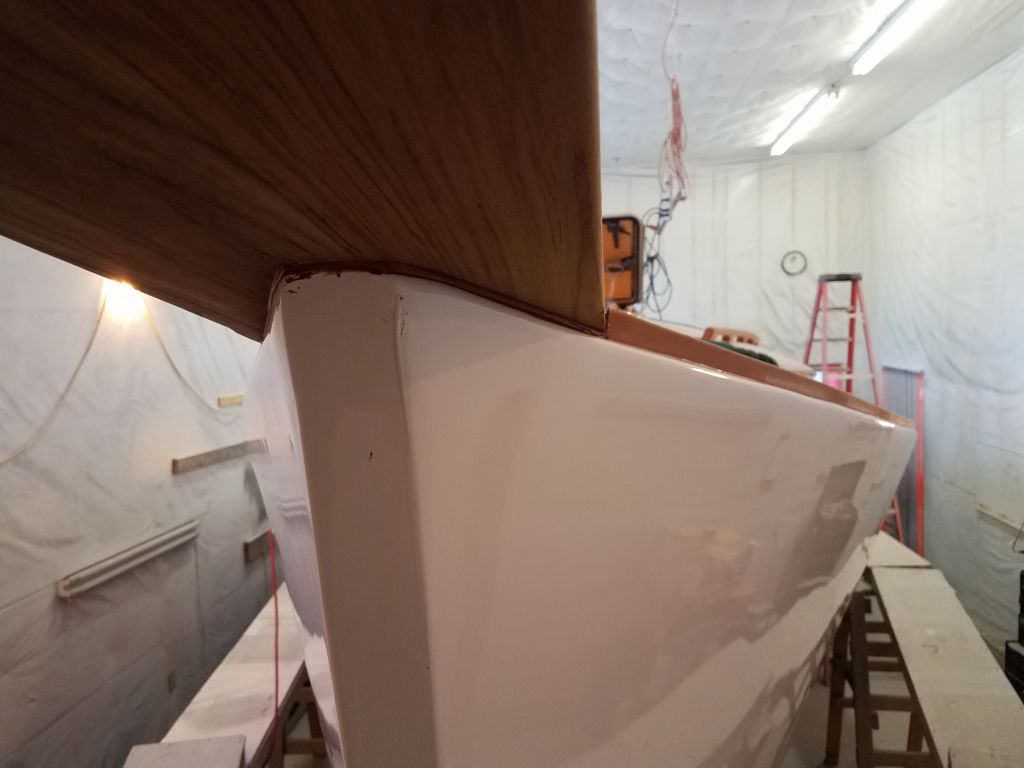
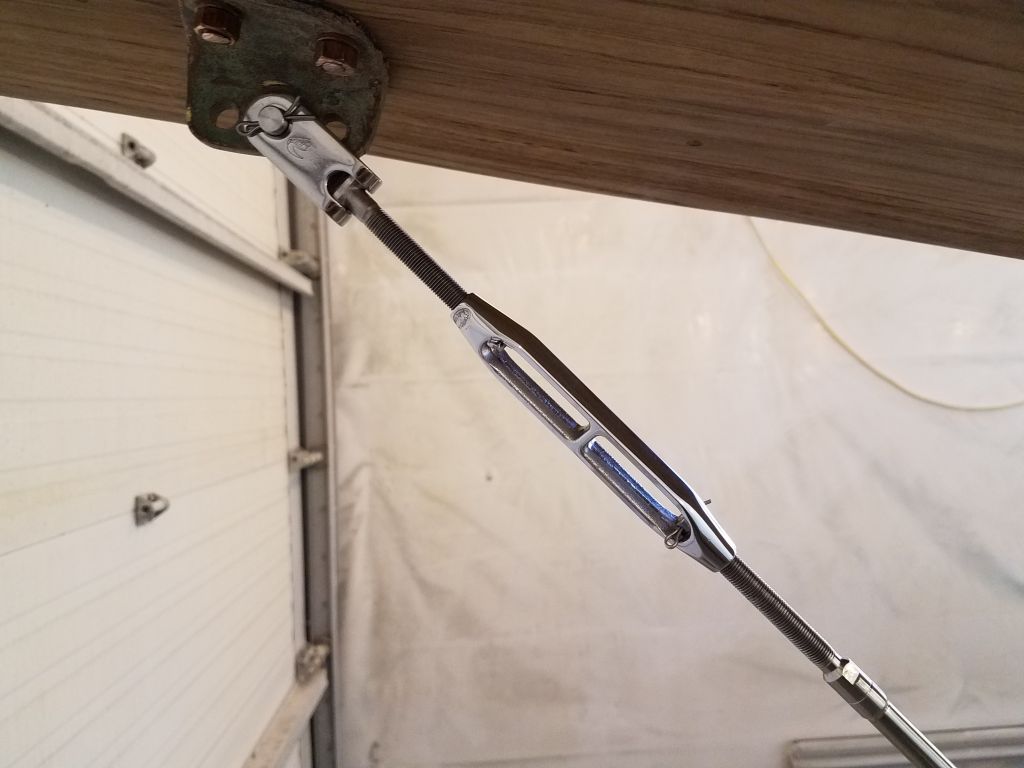
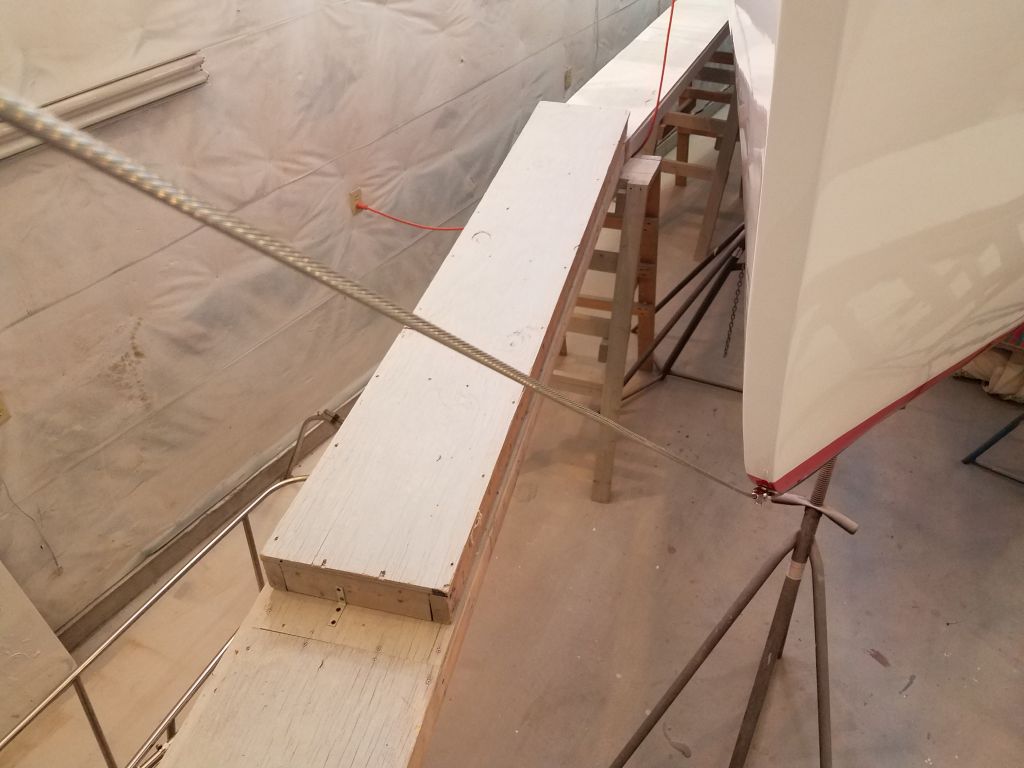
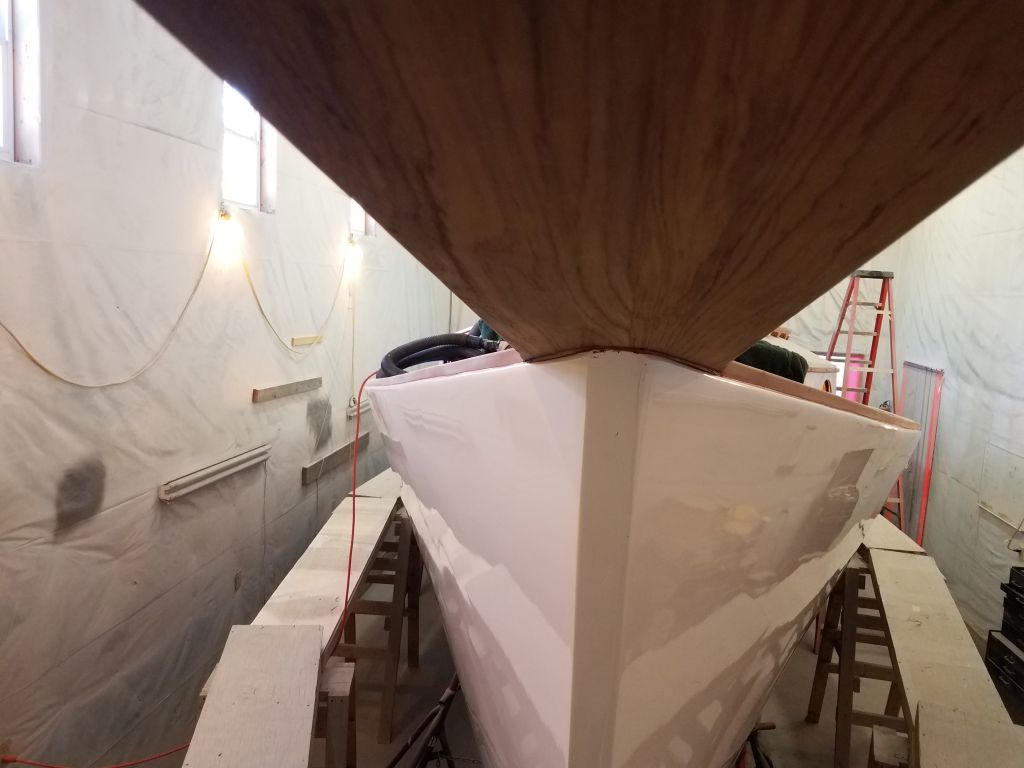
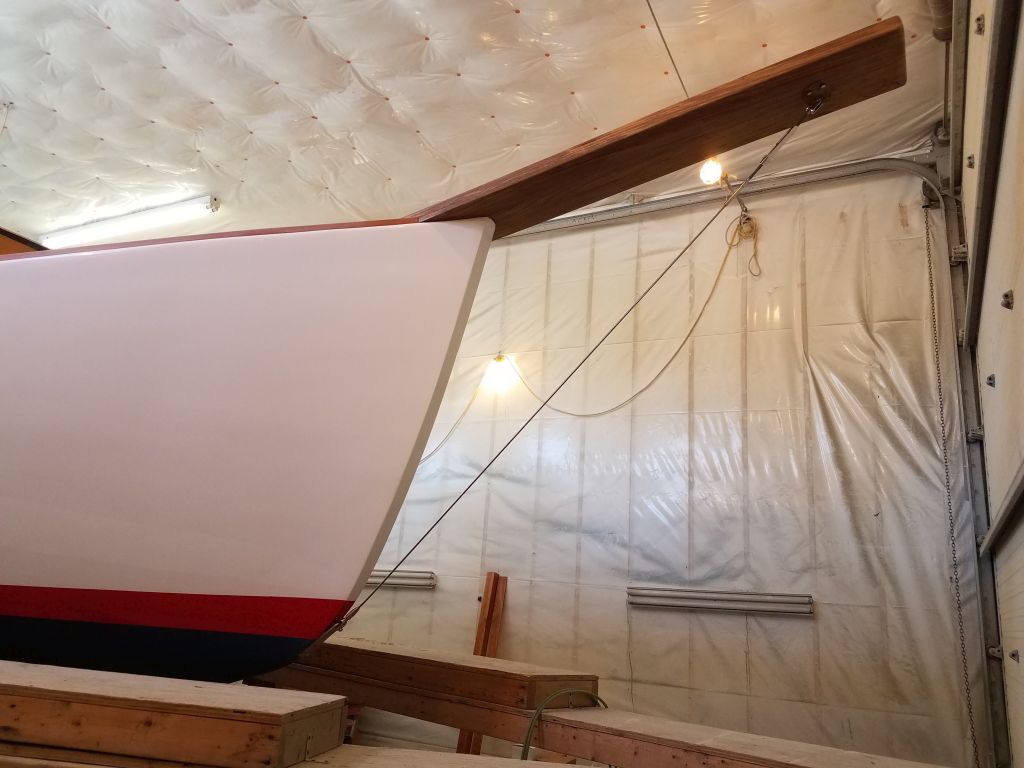
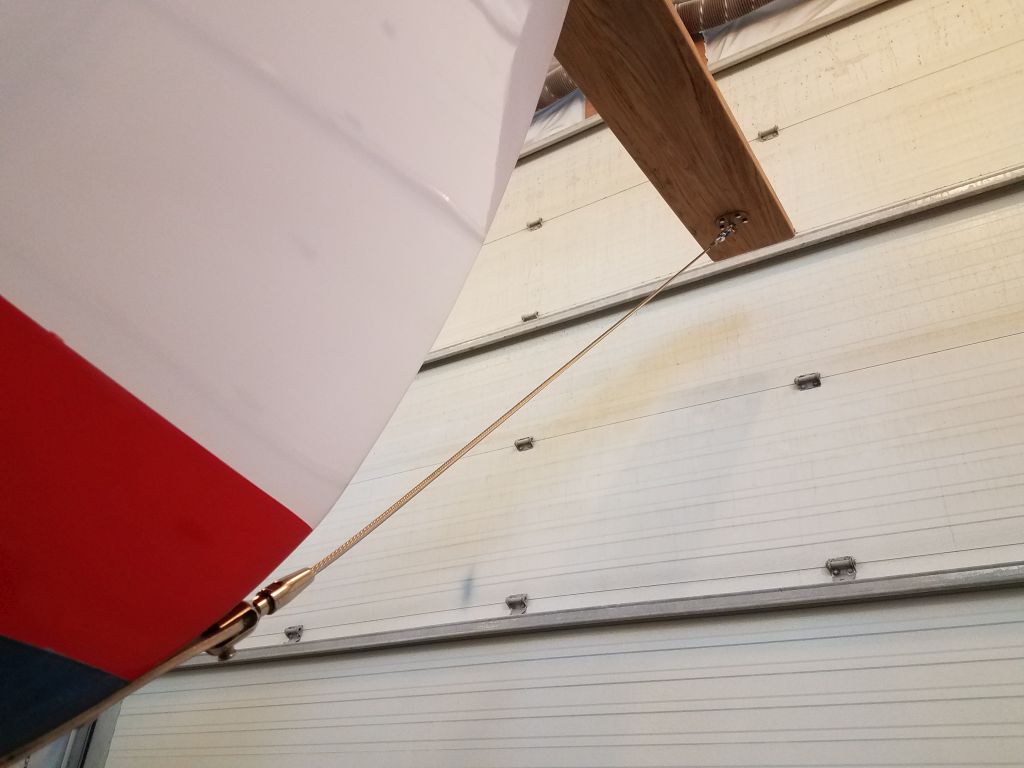
Back on deck, I cleaned up the excess sealant (I left a blob that had pressed up through my temporary bolt hole forward for removal once cured) and removed the masking tape, and then removed the forward support. Afterwards, I installed the replacement bobstay I’d just received from the riggers. The bowsprit was an important feature of this boat and it was nice to have it back in place after so long without one.


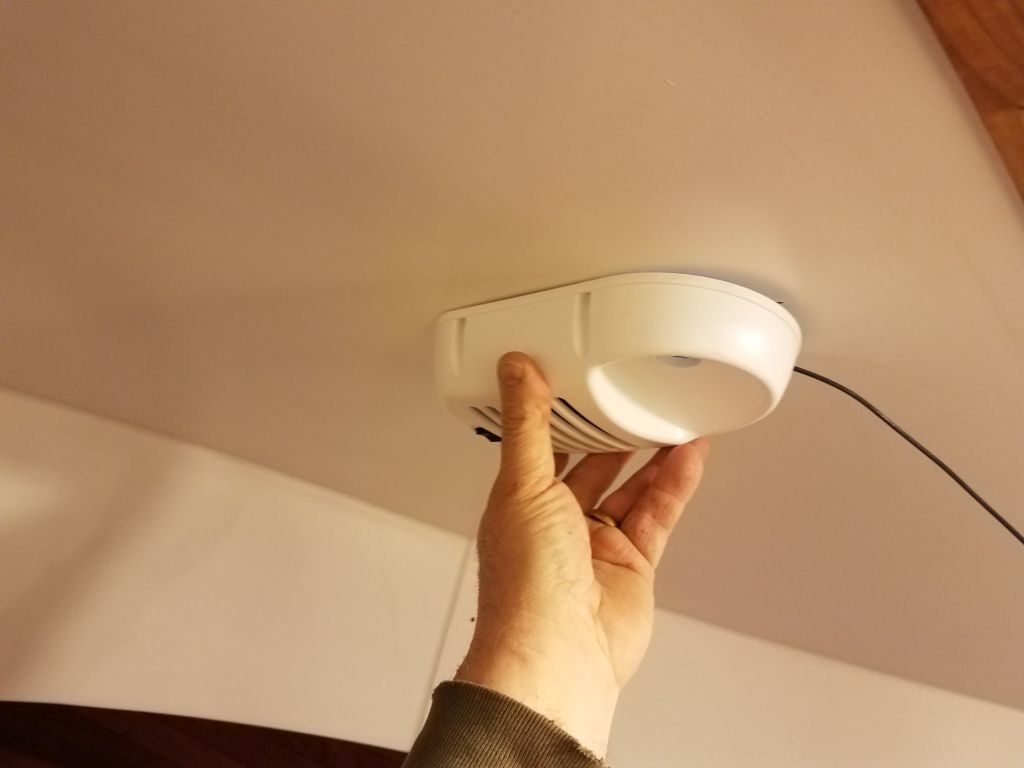
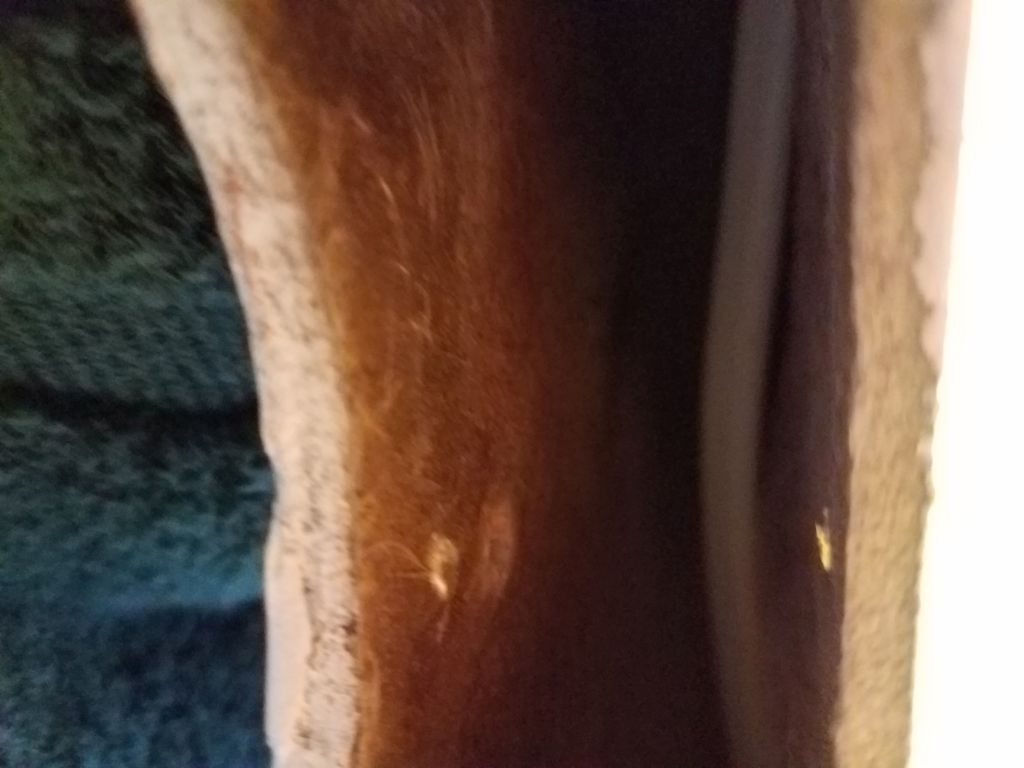
I continued with prepwork for the new forward air vent on the coachroof. Before continuing with the dry-fit and installation prep, I wanted to address some new wiring for a little interior fan unit that came with the vent to circulate air inside the boat regardless of wind conditions. I had been thinking about how to run wiring to this new fan, which was in the middle of an otherwise blank area of the finished interior overhead in the forward cabin, and there was no immediately clear or acceptable way to run the wiring through a conduit. Knowing there was a wide gap between the liner and the underside of the deck in this part of the boat, I hoped that perhaps I could get a snake through there, at least from the new vent location to one of the forward opening port openings, and at least minimize any exposed wiring.
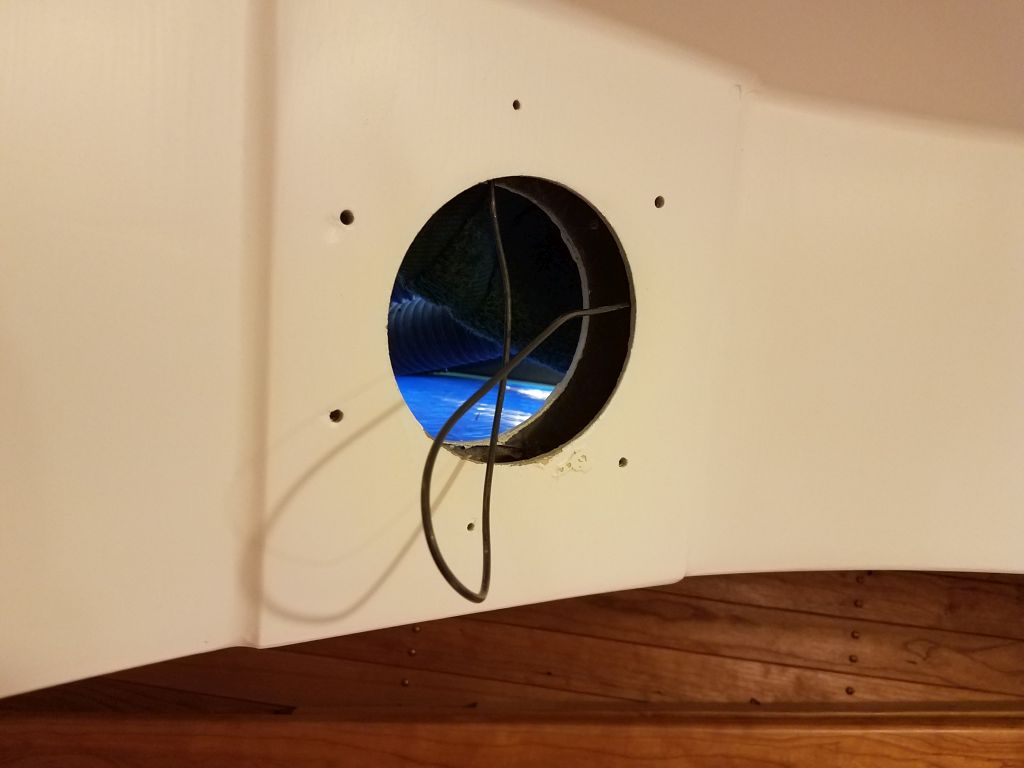
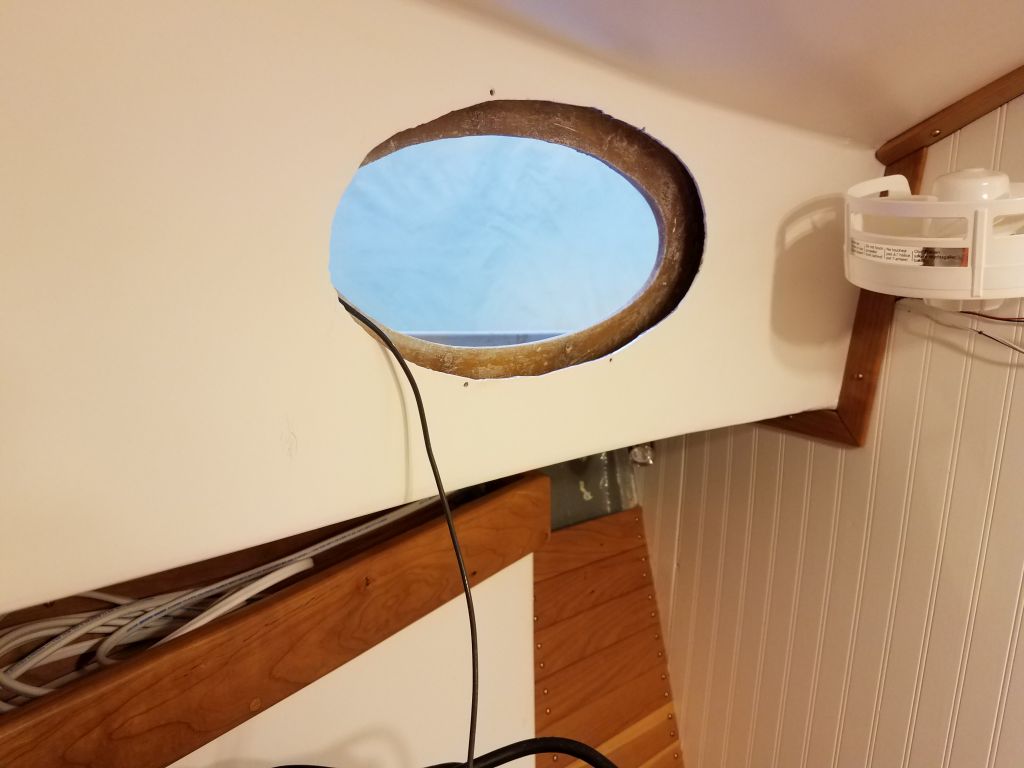
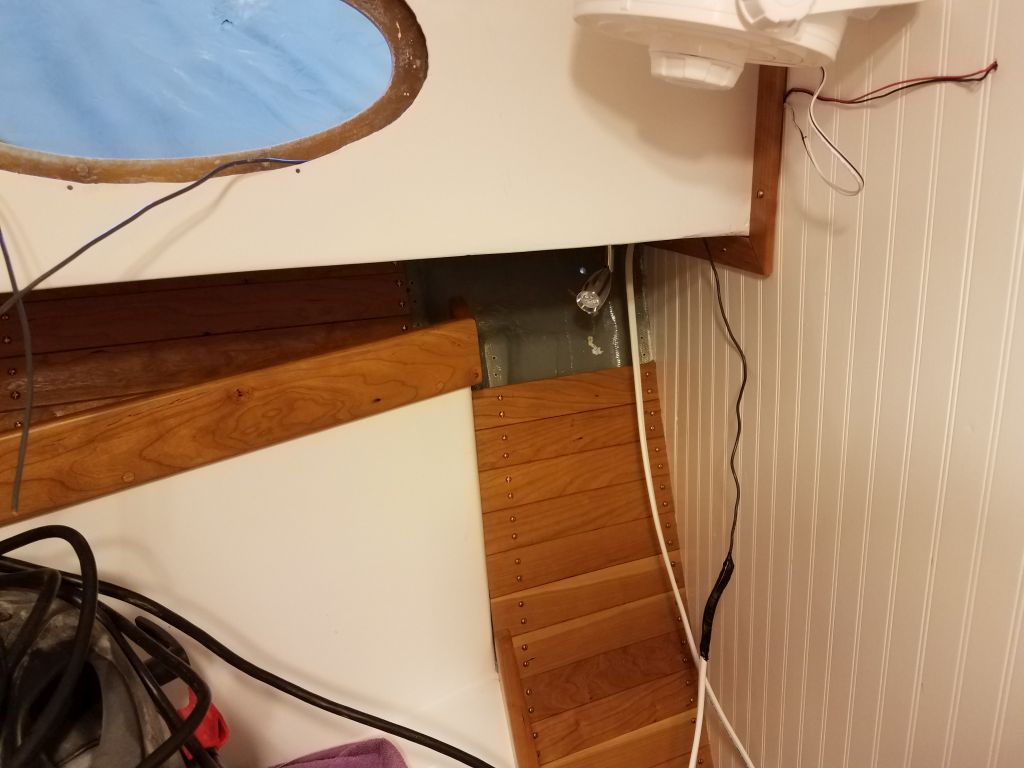
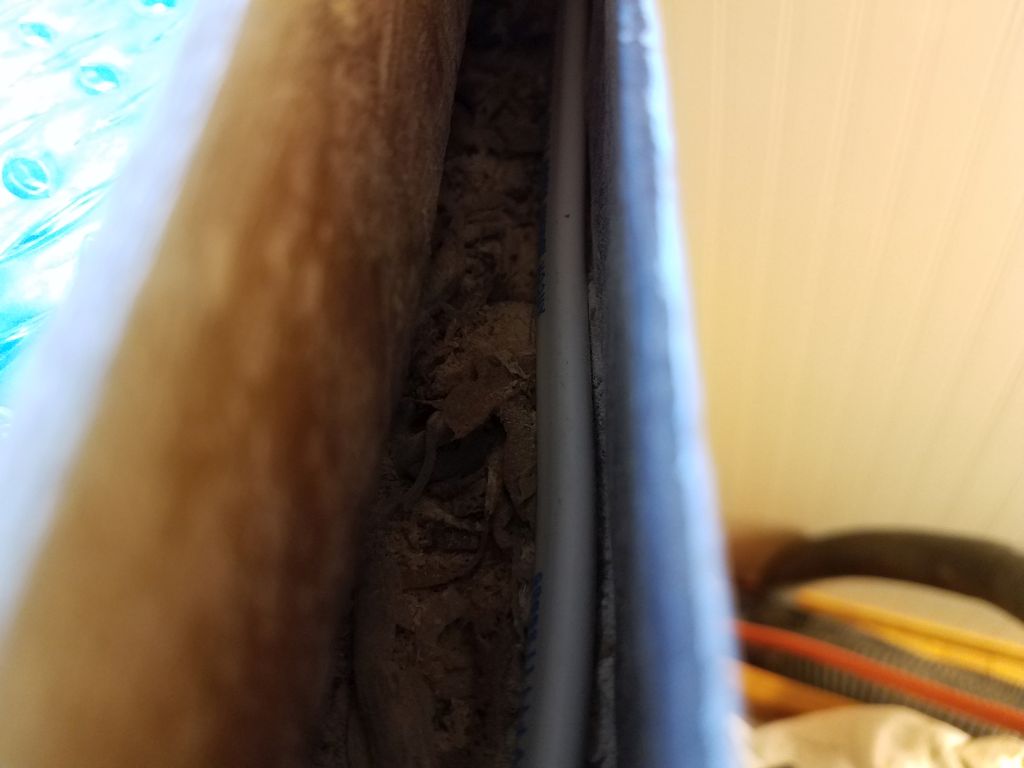
Using a stiff length of wire as a snake, I had a pretty easy time getting from the new vent opening to the starboard port opening at the forward end of the cabin trunk, but from there I had trouble trying to get the wire out beneath the sidedeck, which was my initial hope, since I kept running into (what must be) unseen gobs of adhesive holding the liner in place beneath the deck. After multiple tries, and running out of the reasonable amount of time I’d allotted for what could be a fool’s errand, I quite by accident forced the wire out through the forward elliptical port on the starboard side, and this gave me the idea to lead the wire up into the liner from beneath the sidedeck just forward of the main bulkhead, which would reduce exposed wiring to just a short 12″ or so in an inconspicuous place.
I drilled a hole in the desired entrance/exit point in the liner, hoping against hope that this plan succeeded now that I was defacing the boat, and eventually got the stiff wire to snake through, after which there was much rejoicing.


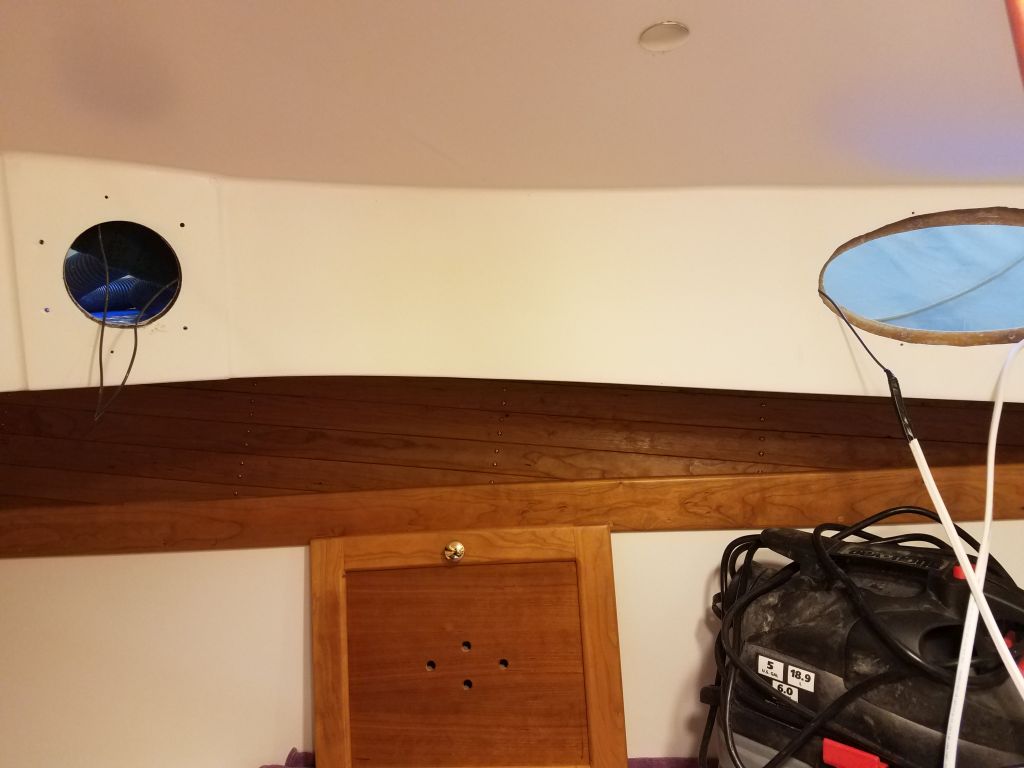
Now it was quite straightforward to pull in the length of 14/2 wire I’d just recently run into the forward cabin for this purpose (since I only received the vent from the owner a short while ago). At the vent hole in the overhead, I drilled a wiring exit hole just forward, where it would be hidden by the fan to which it would also connect. I erred a bit too close to the vent opening with this wiring exit, since the space was a little tight and I was concerned I might not be able to get the wire through if the hole was too far forward, but I had to make a slight modification to the inside vent housing to allow the wire free passage–not a concern since the fan unit would later cover this all anyway.
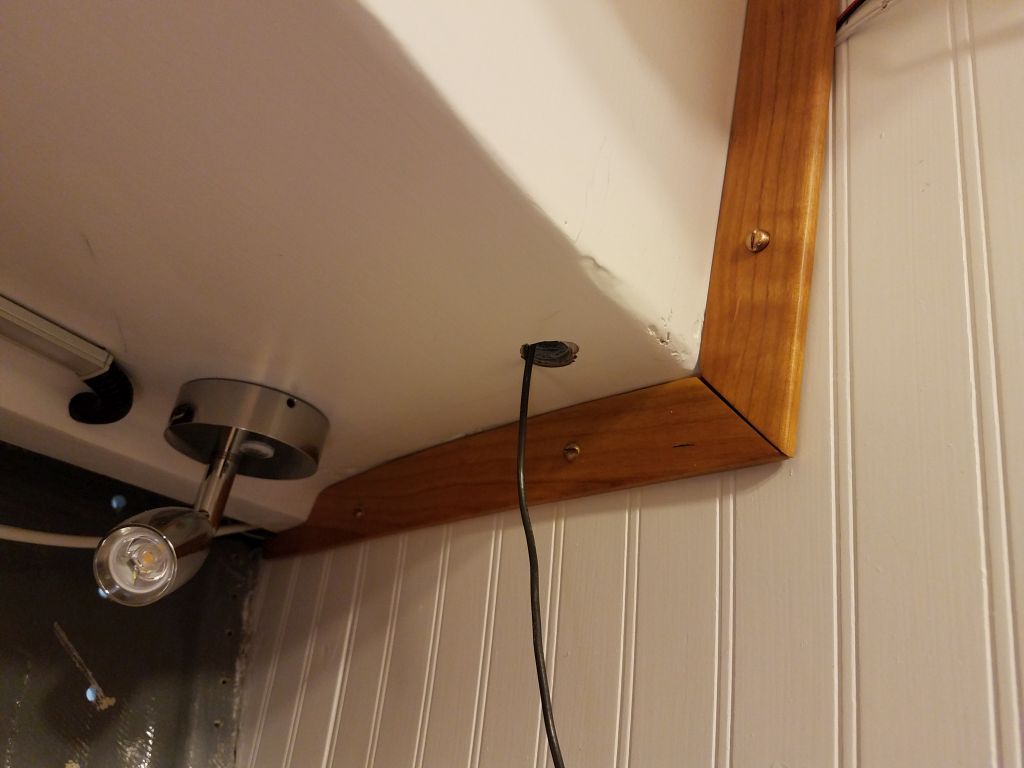
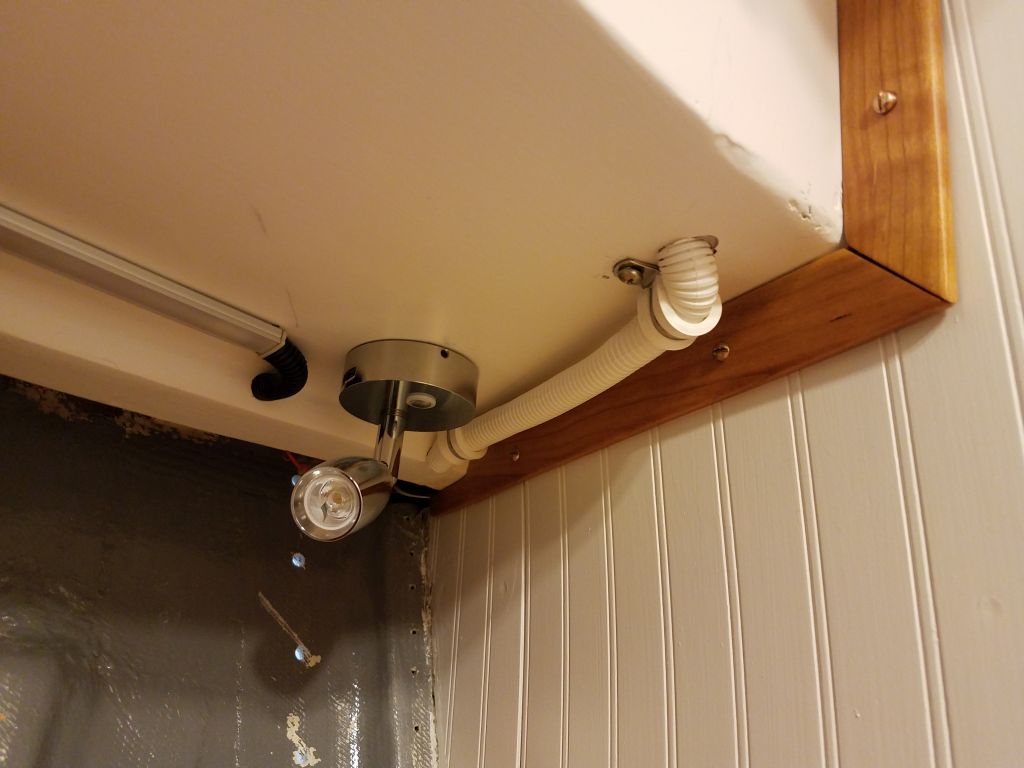
When I conceived of this idea a while back, I frankly never thought it would succeed, but I was greatly pleased with the results. To finish things up, I installed some white flexible conduit and wire clamps to secure the little bit of exposed cable near the bulkhead.


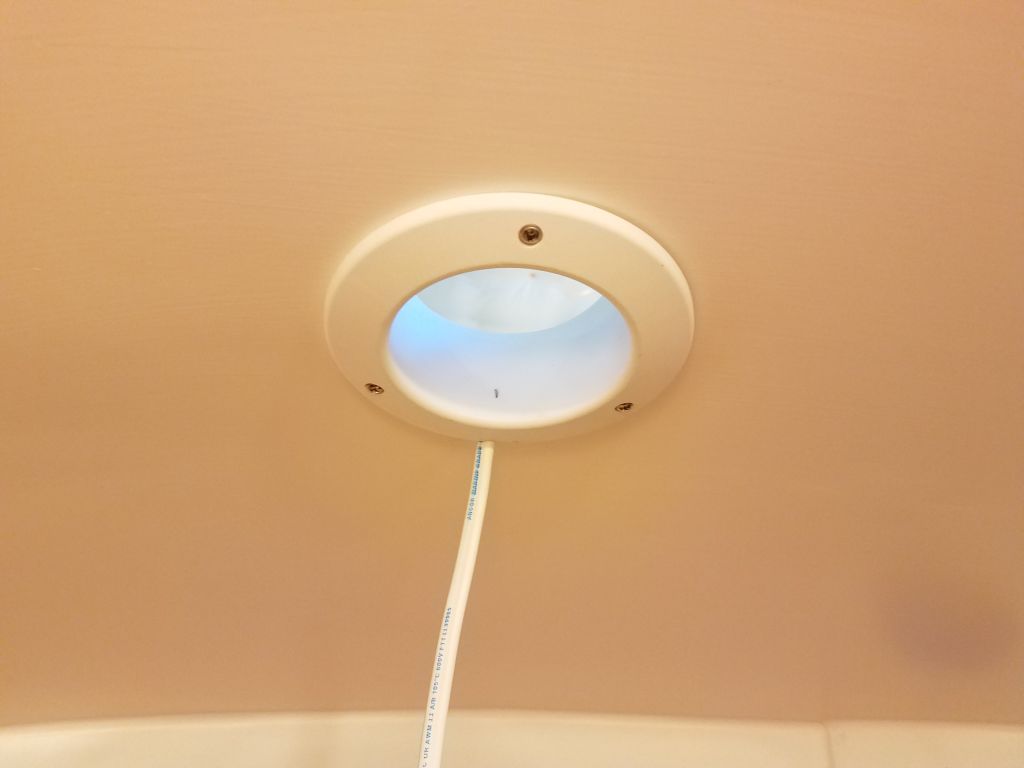
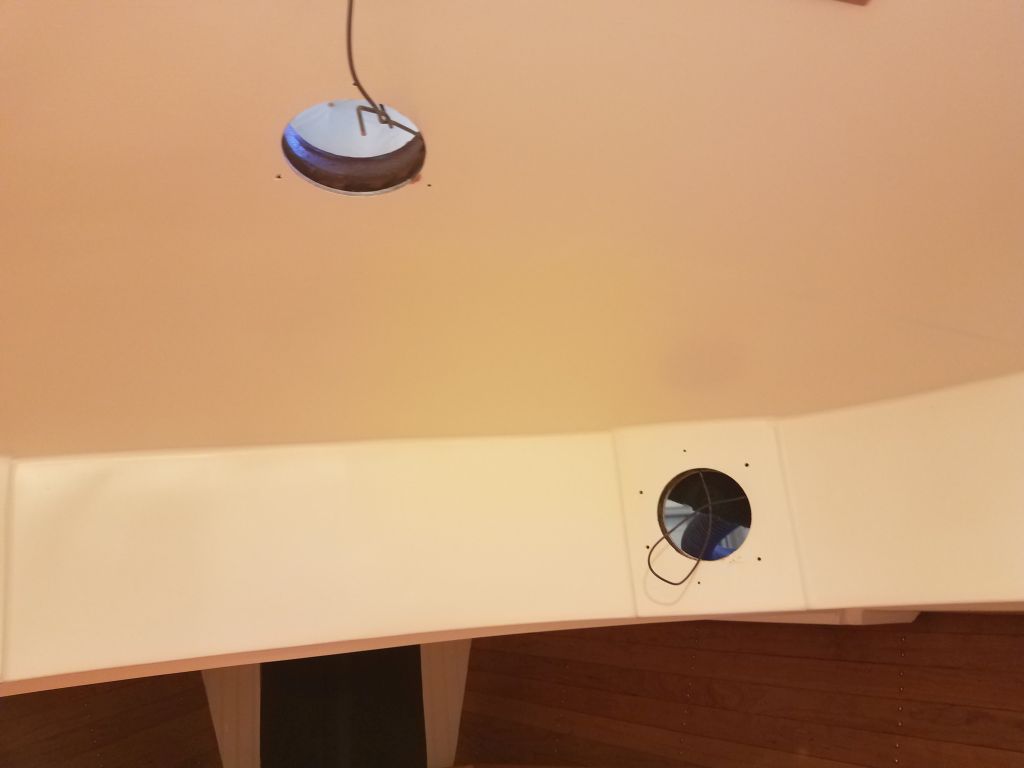
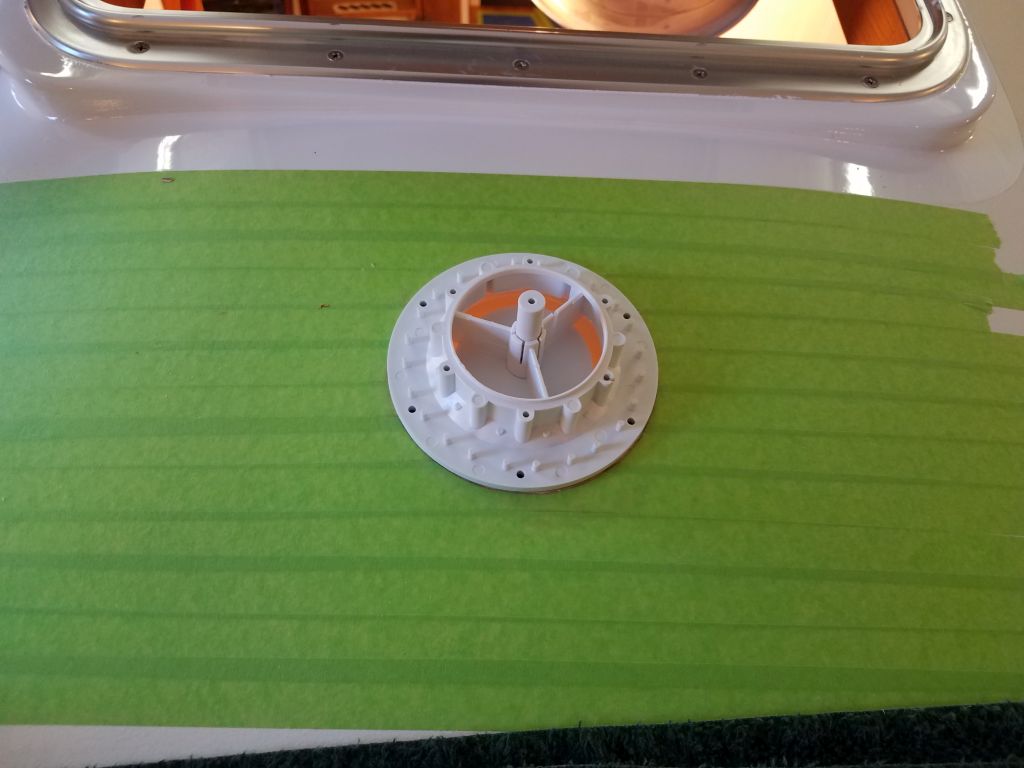
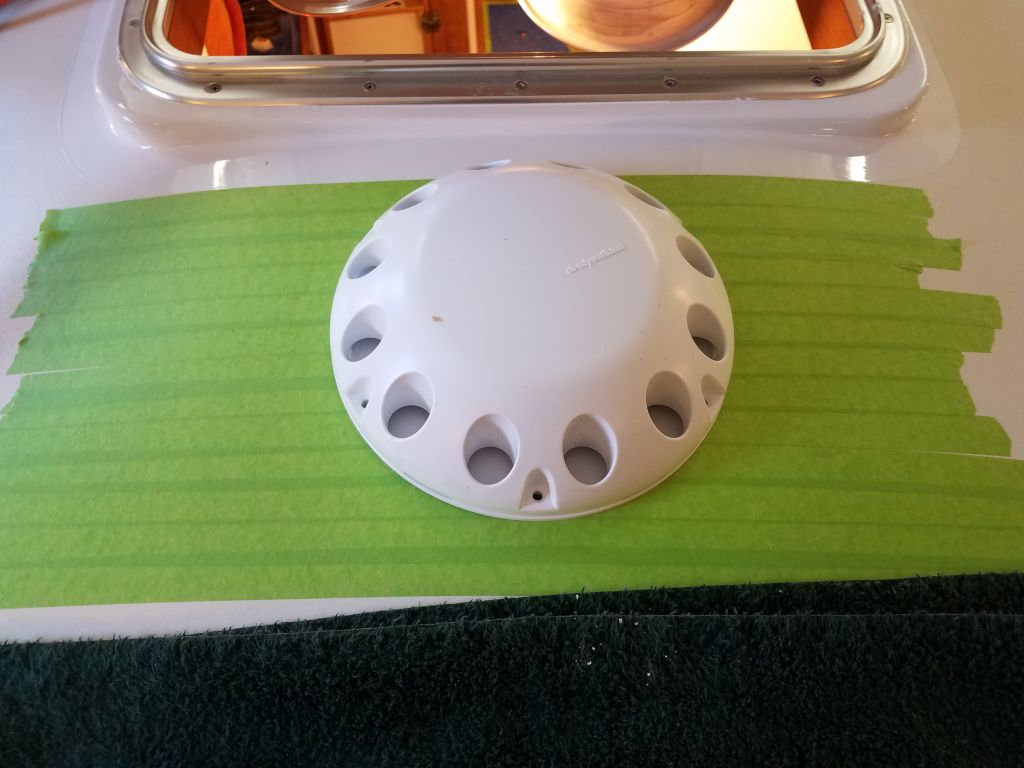
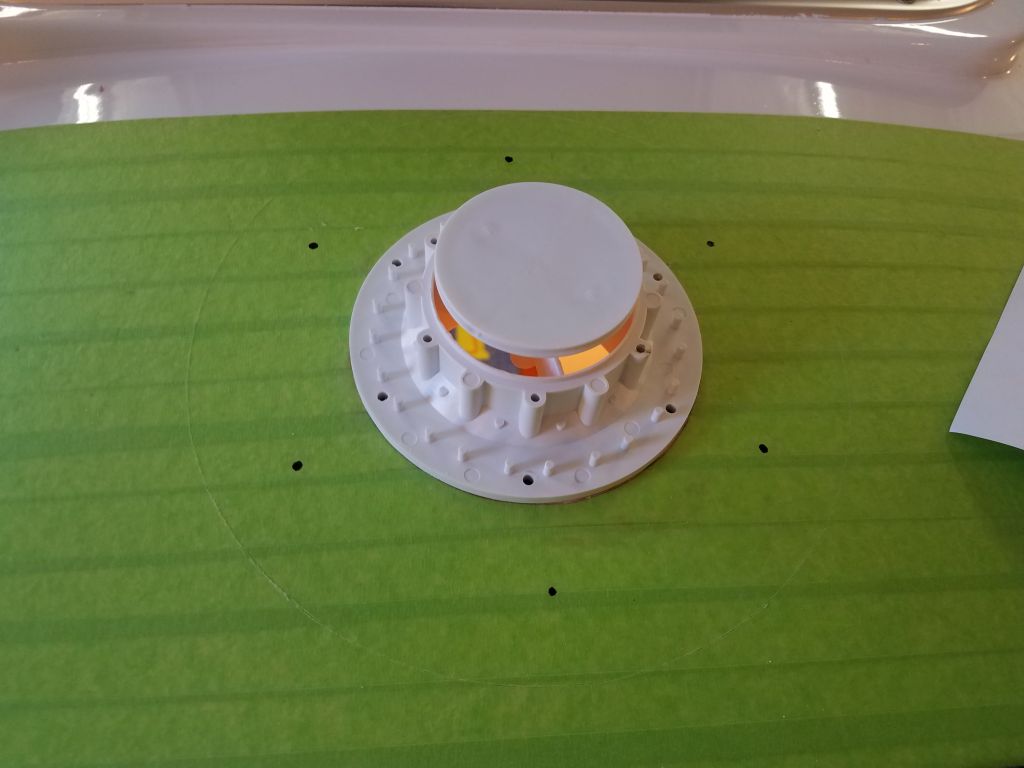
With that little bit of wiring complete (it had to be before I could move on with the final installation of the vent), and the first set of epoxy-filled holes on deck cured, I marked and drilled them for fasteners, and then temporarily installed the first portion of the vent. Note that in the first series of photos, the little vent closure (the flat white disc in the center) is upside down, as this is how the assembly came out of the box, but later I realized this and inserted the closure the correct way, which might be seen in later photos.


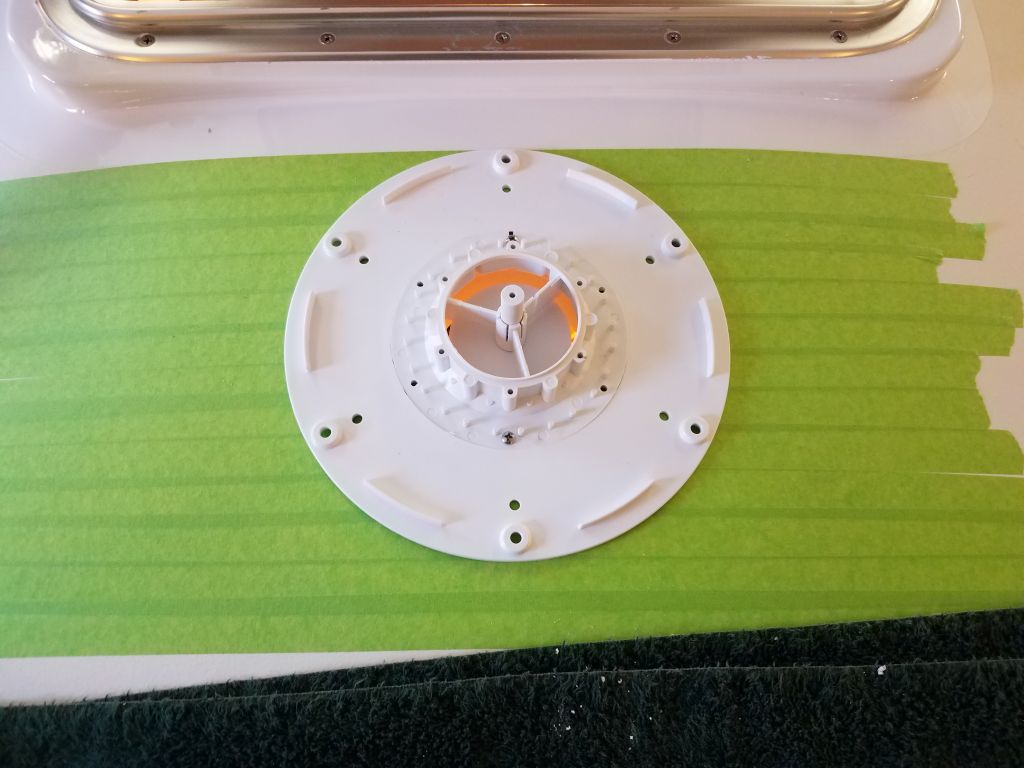
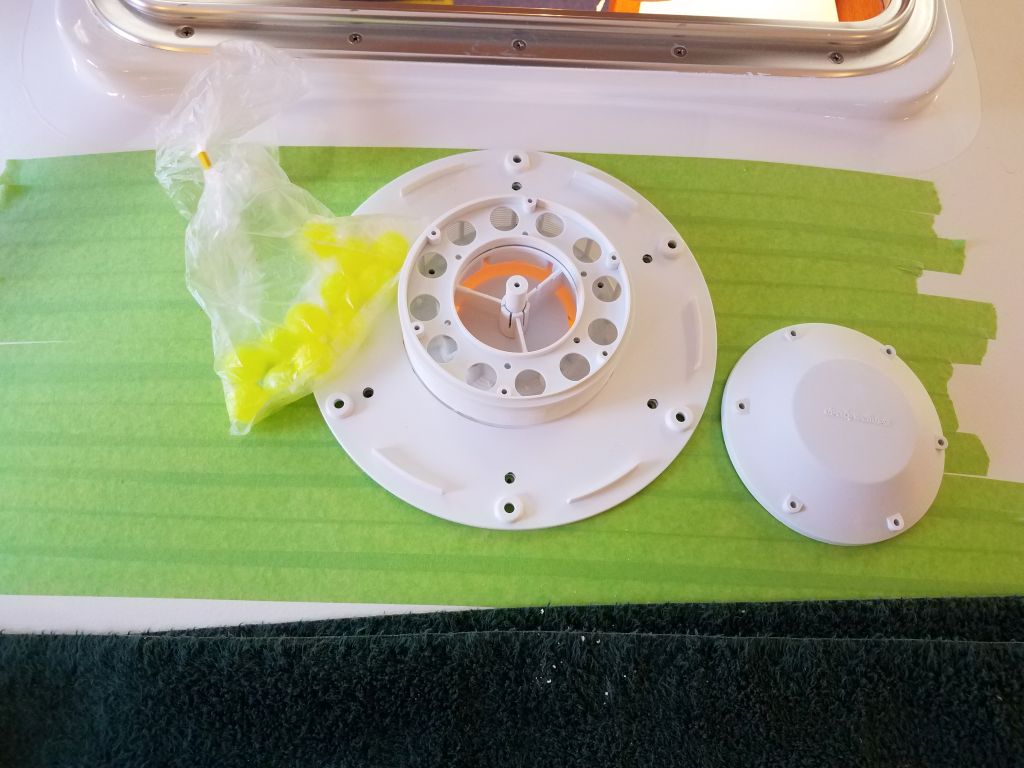
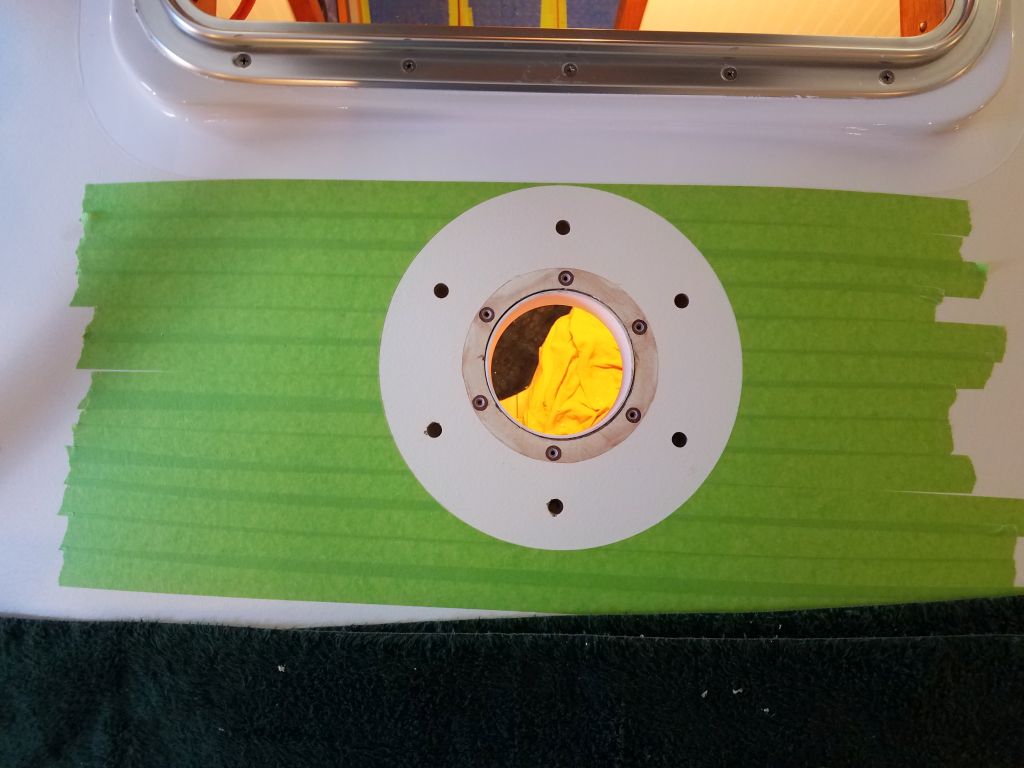
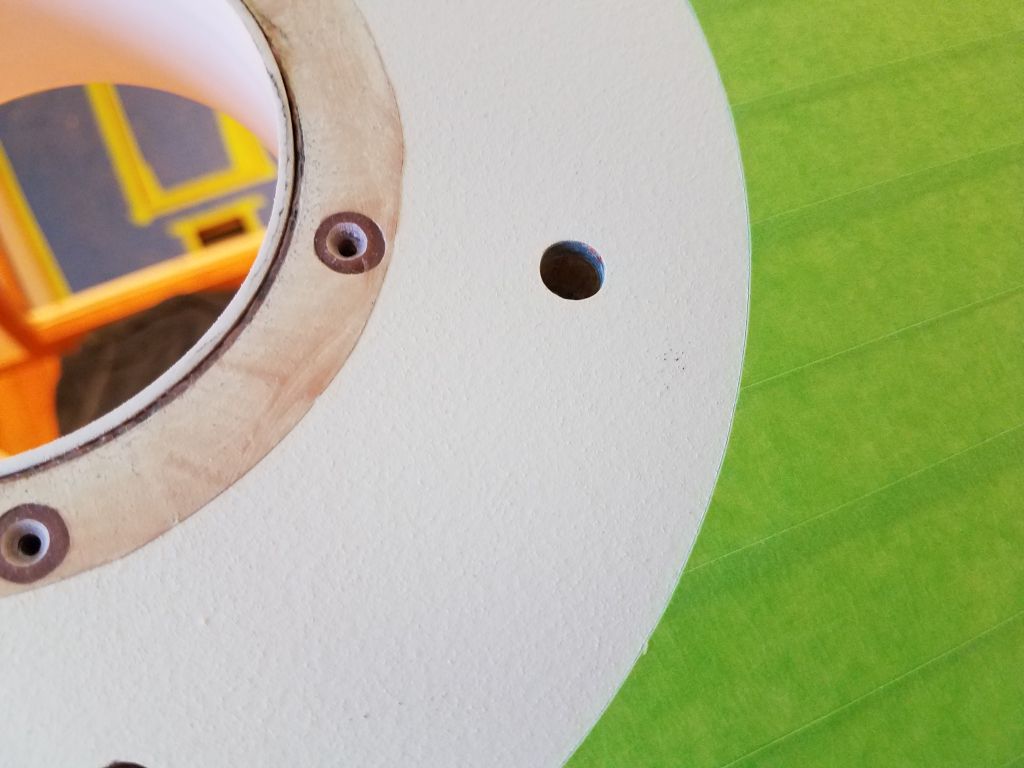
I fitted over the large base for the vent housing, which was a tight fit around the smaller internal housing, then marked for its own screw holes and cut away the masking tape around its perimeter before overboring the holes and filling the resulting core voids with more epoxy. It’s a lot of holes, but that’s how it is. For illustrative purposes here, I have shown photos of the various components of this vent system in order, which includes a series of little balls (Schweddy balls?) that are designed to float up if water enters the vent, thus sealing off the air holes. This is the kitsch of this particular vent, which the owner ordered (I was unfamiliar with it till now) and which arrived to me direct from Ukraine (Giuliani was not involved in this negotiation to the best of my knowledge).


With that bit of prepwork complete, I’d be able to do the final installation of this vent next time.
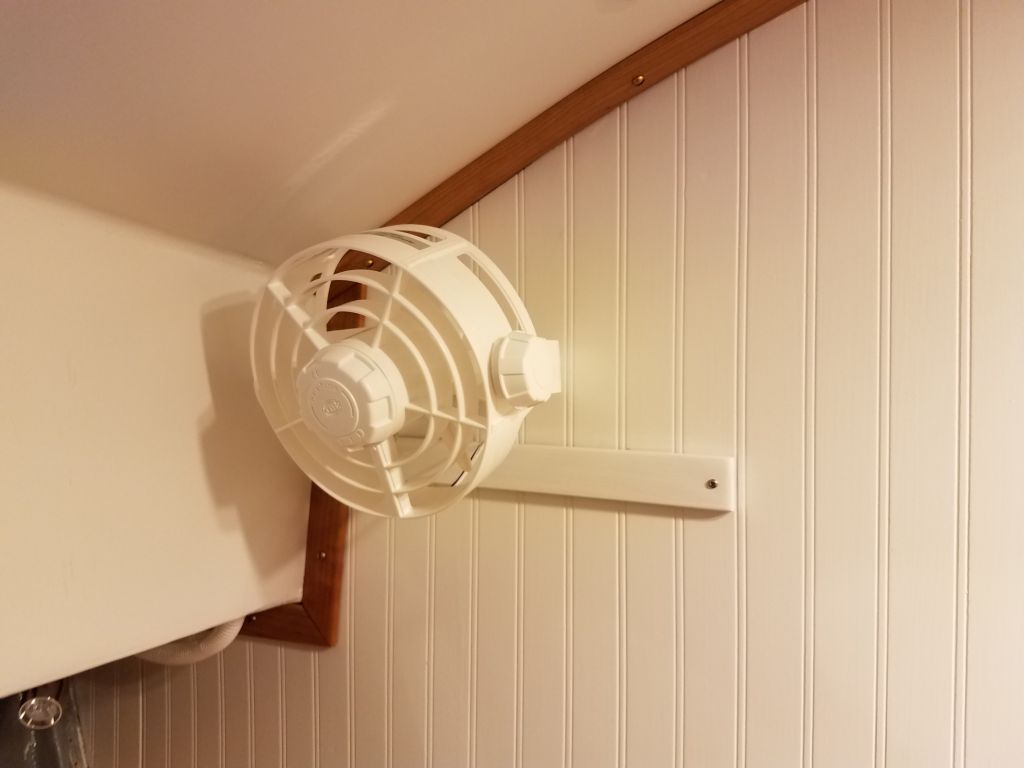
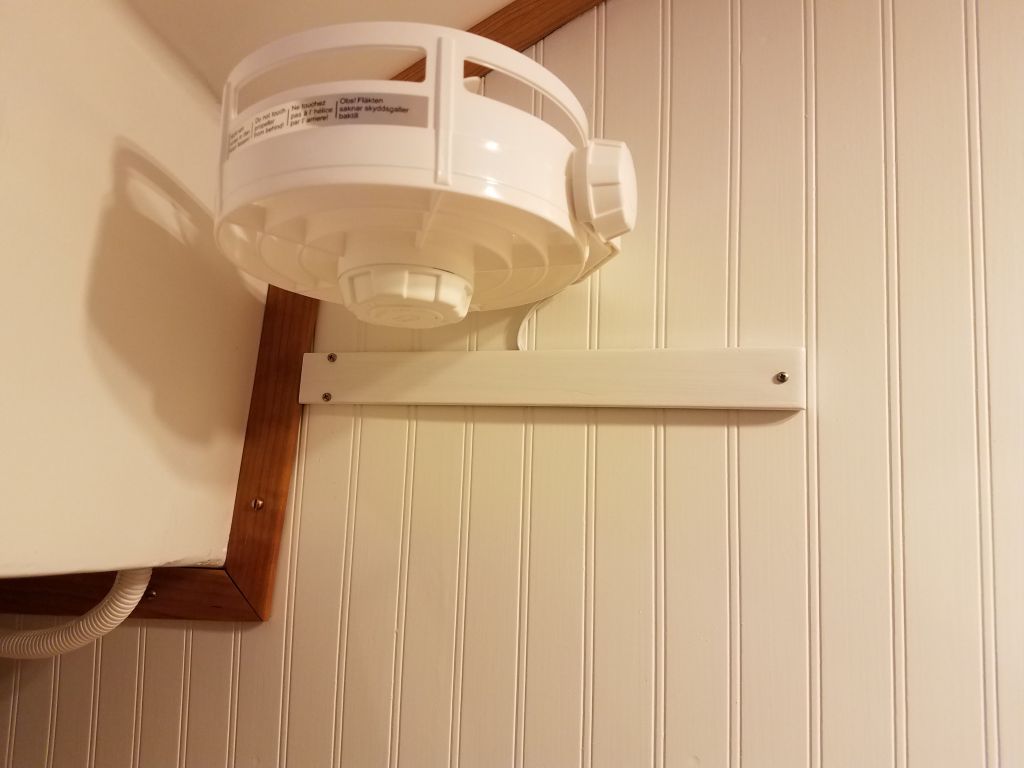
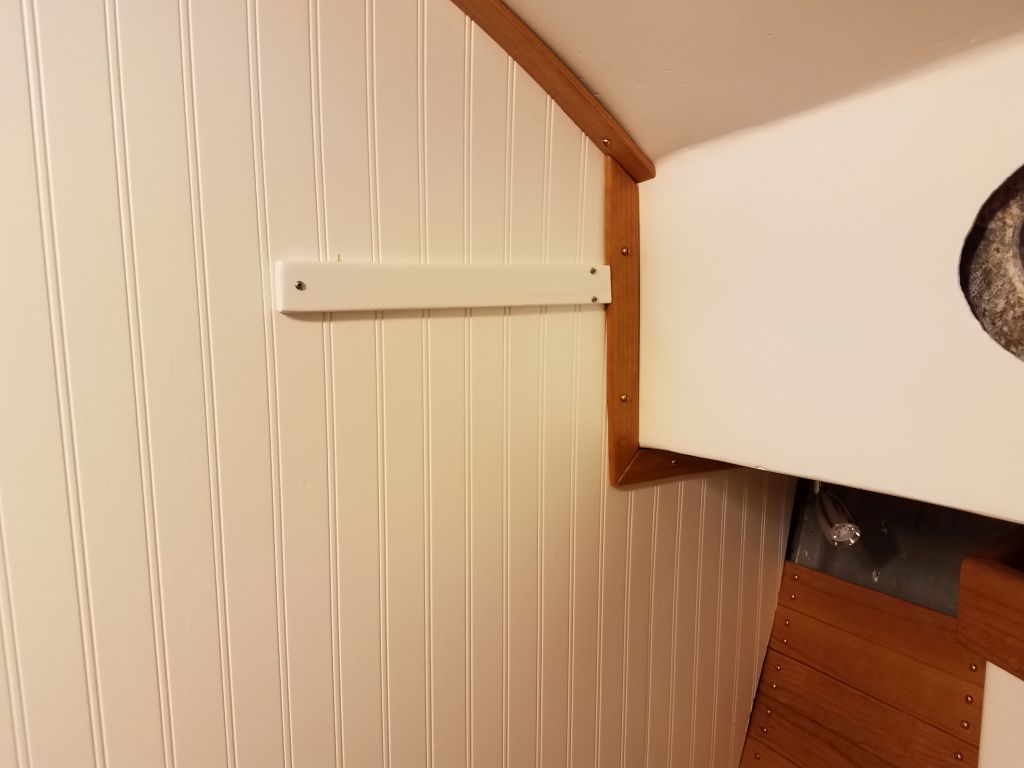
In the forward cabin, I took a few minutes to cut to length and install some painted wooden trim pieces over the exposed lighting and fan wiring on the bulkhead. These were version 2.0 of the trims, as the first ones I’d made a while back were a bit too delicate to install, and I remade the trim in some spare moments over the past weeks.
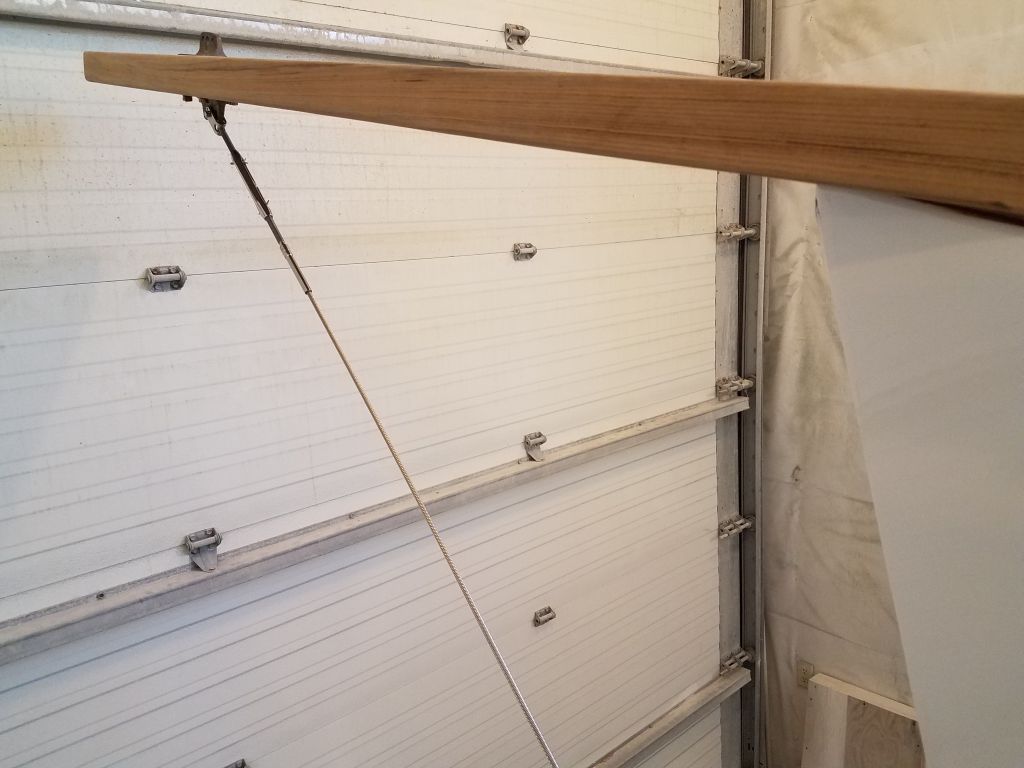
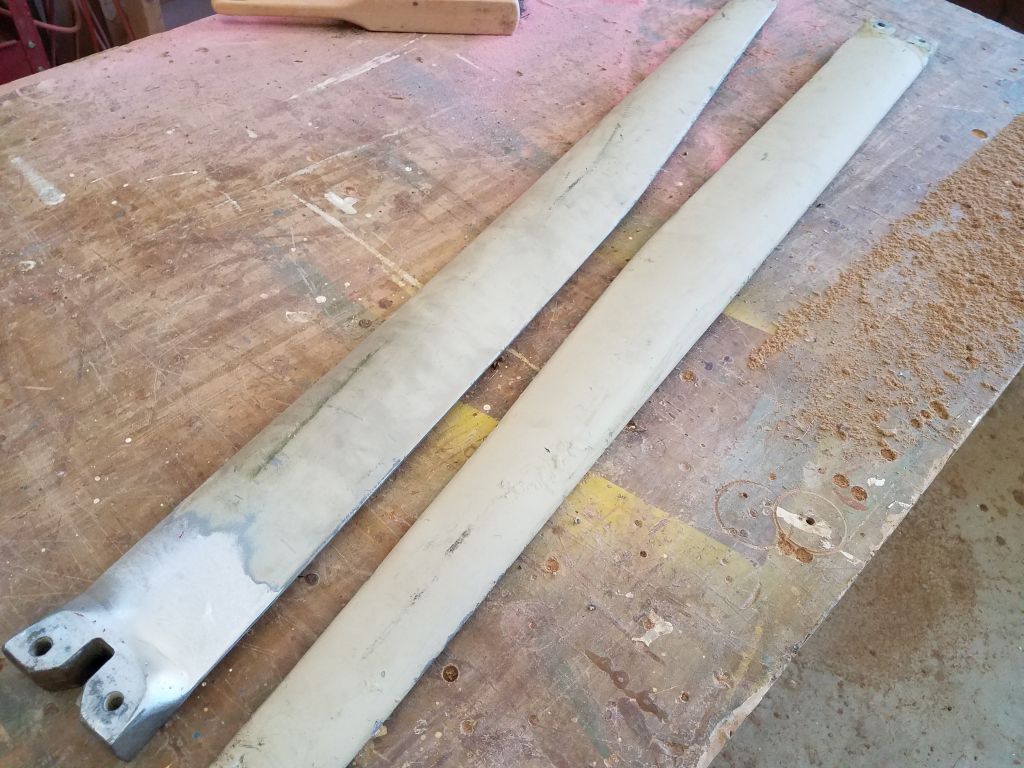
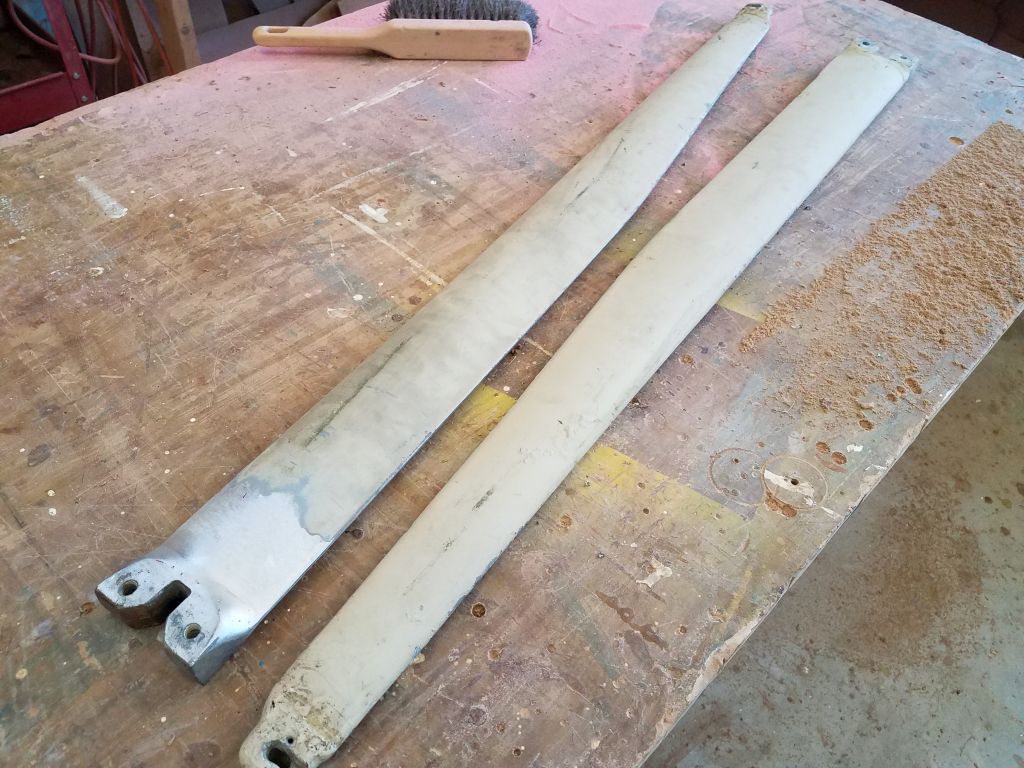
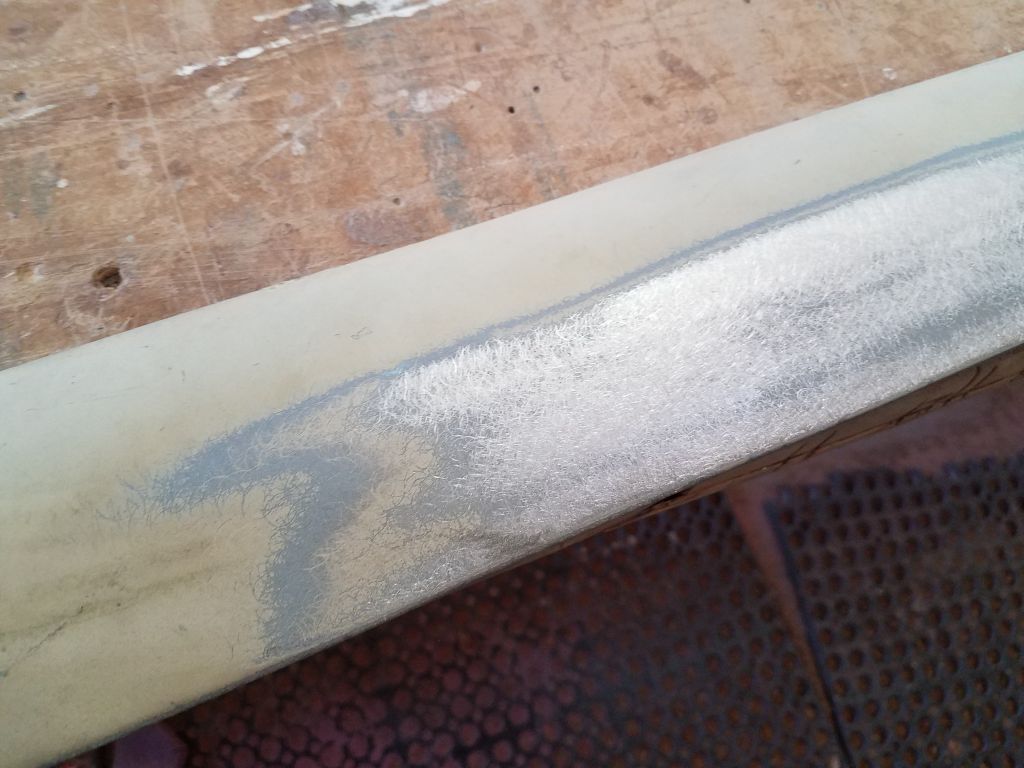
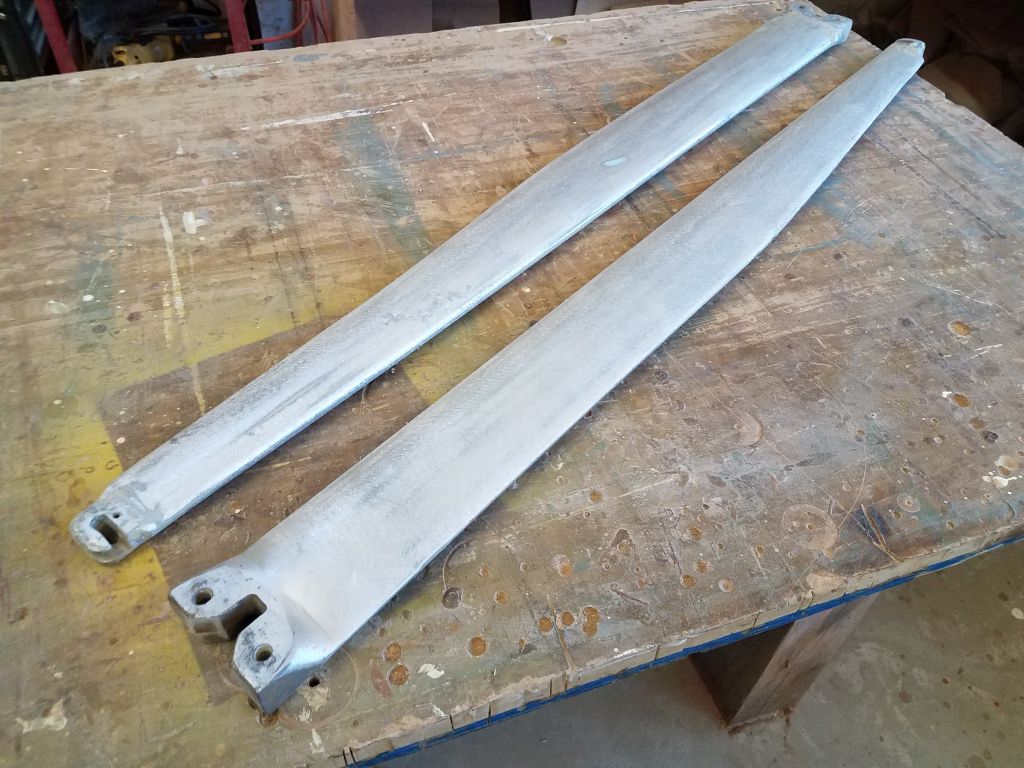
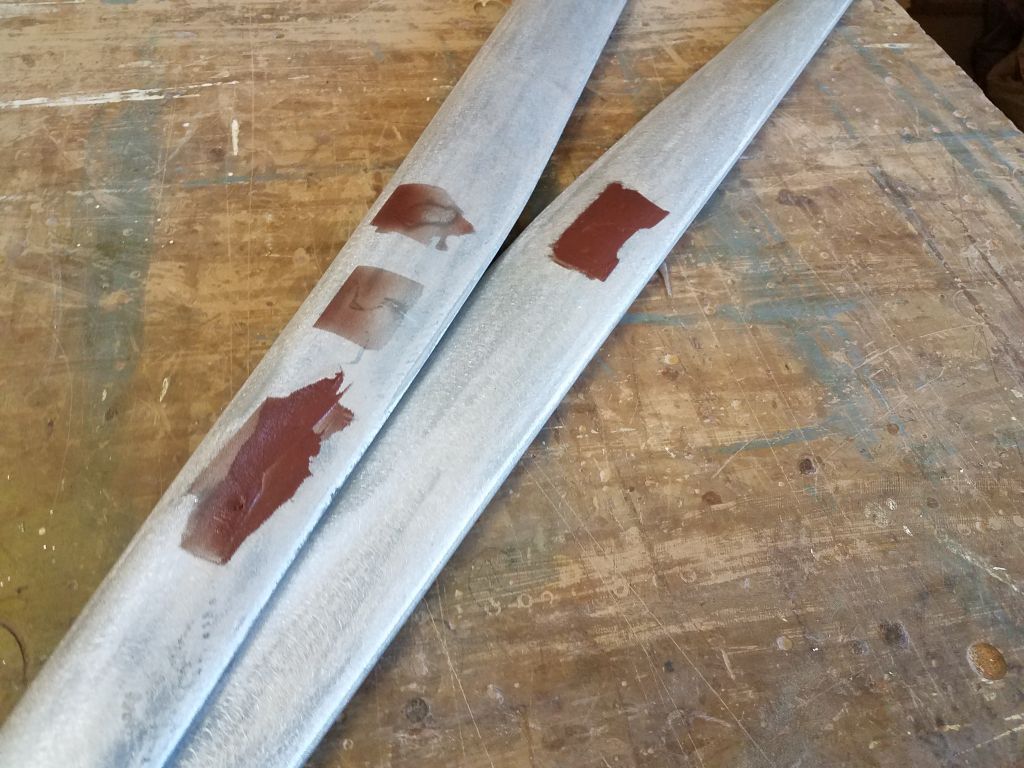
I recently received back from the riggers the spreaders, one of which had been damaged somewhere in the boat’s checkered past and required repair to the butt end. The new repair looked great, but the spreaders, still in their old paint coating, looked simply awful, and it seemed a good time to get going on the paint stripping so I could refinish these to match the mast. So as with the spars, I used coarse sandpaper to remove all the old paint from the spreaders, and afterwards I filled with epoxy a couple old fastener holes and some previous scratches and dents that had become evident after stripping. I’d finish up the sanding and primer prep later when I was ready to apply the primer.


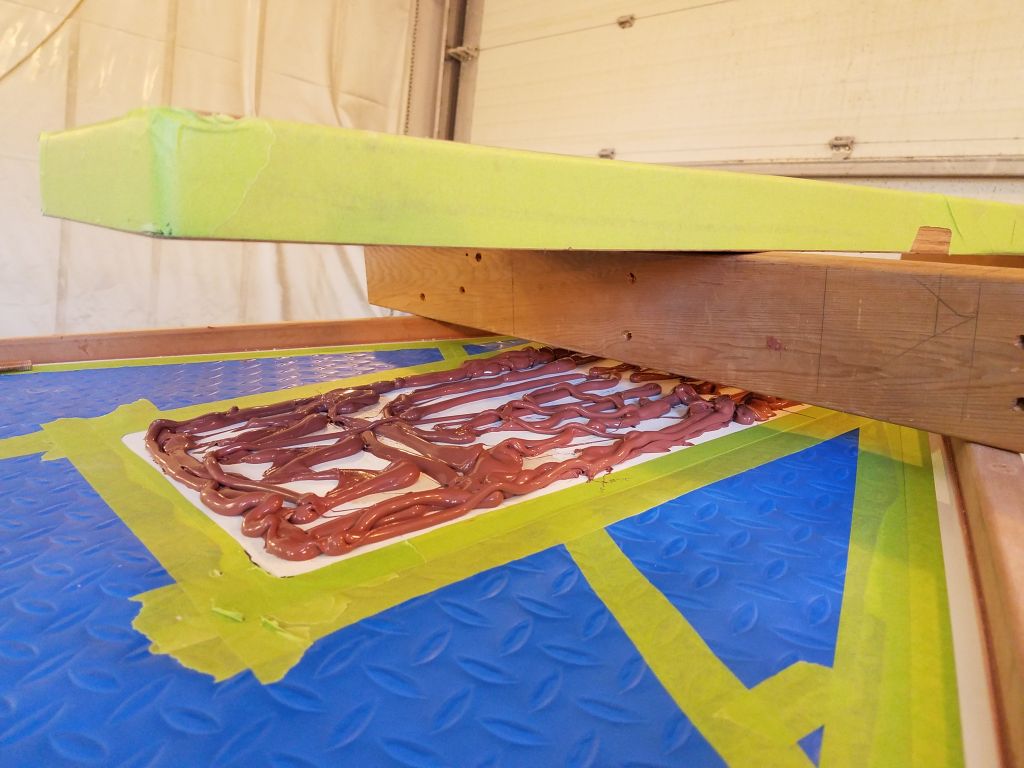
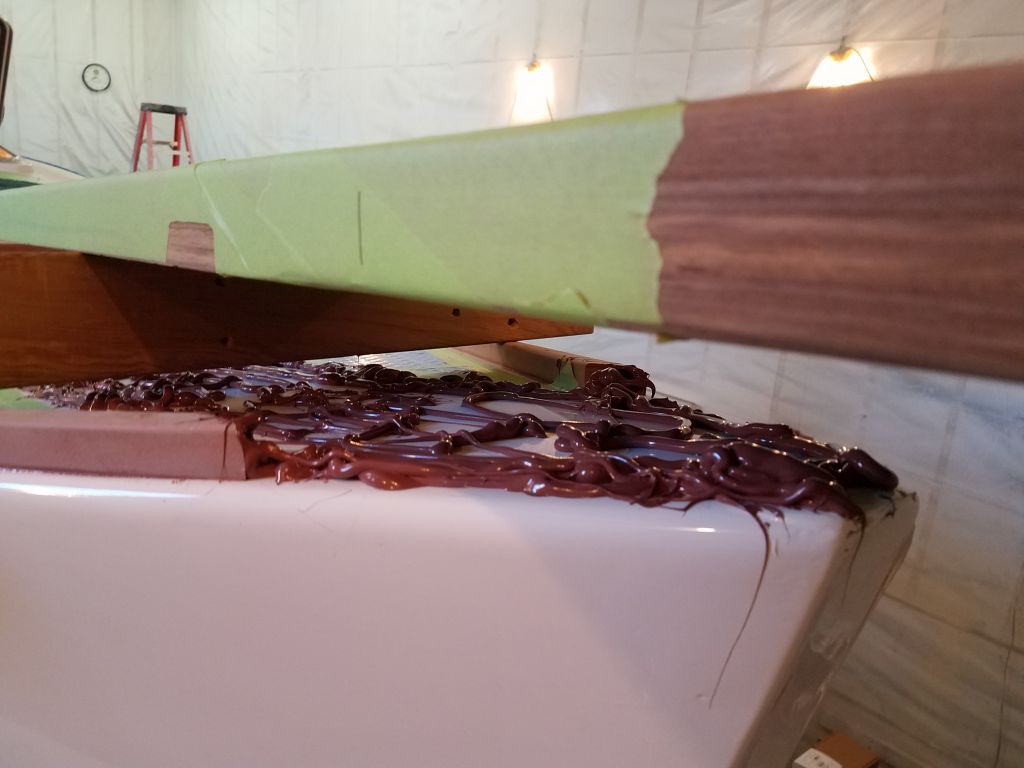
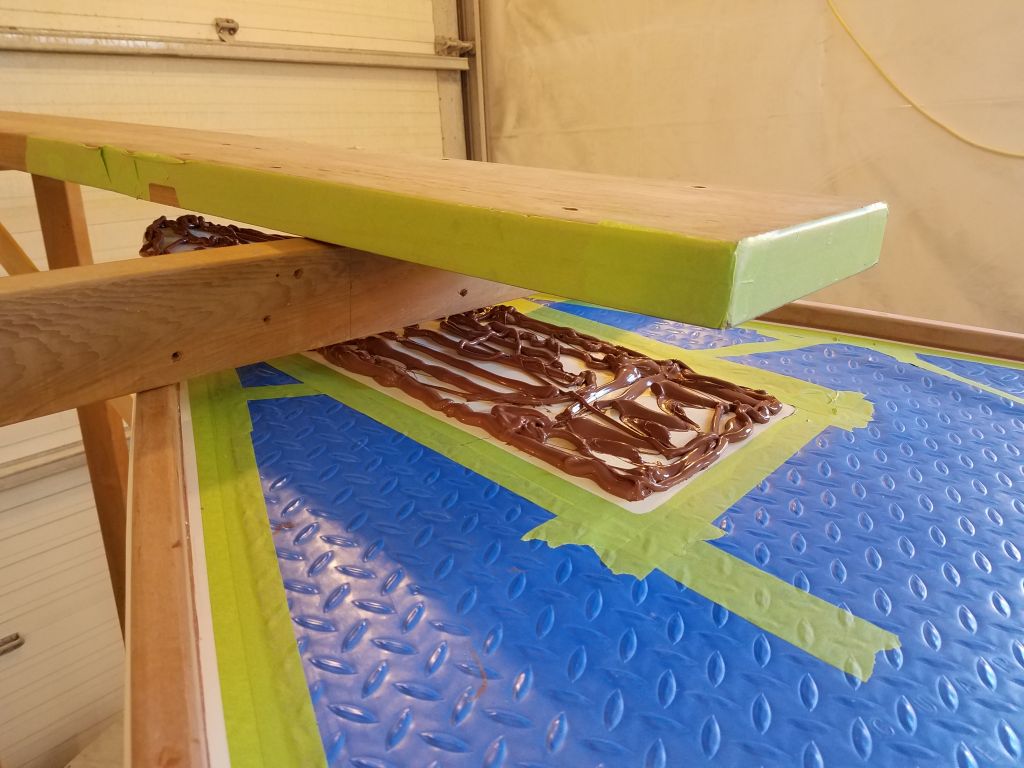
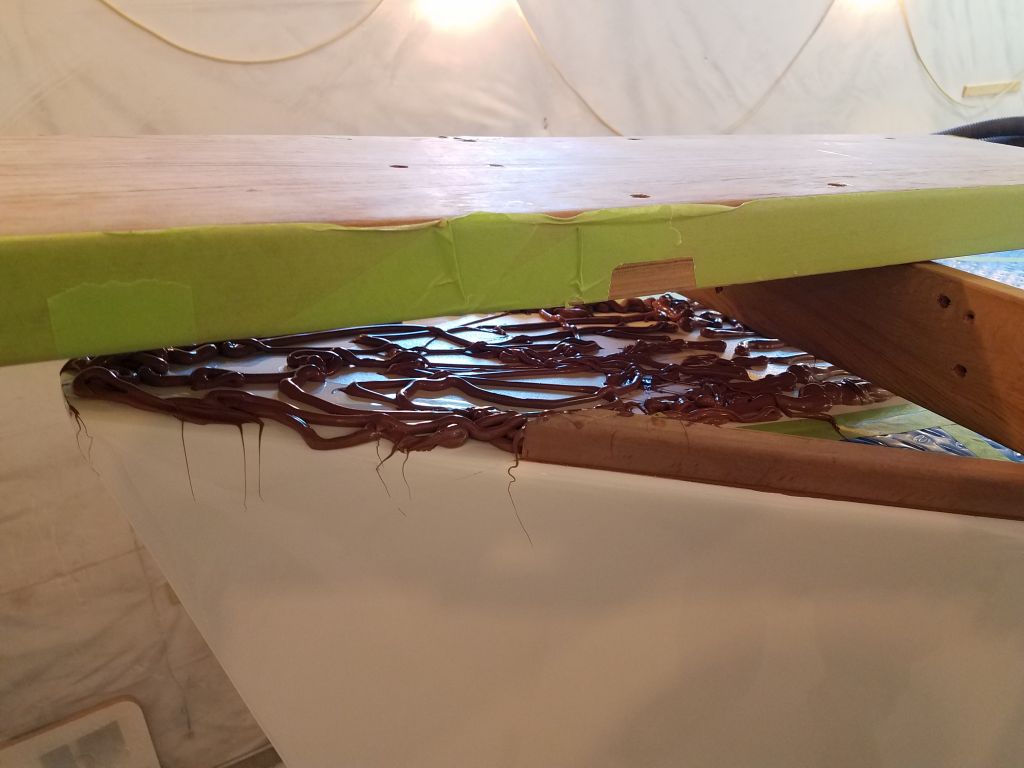
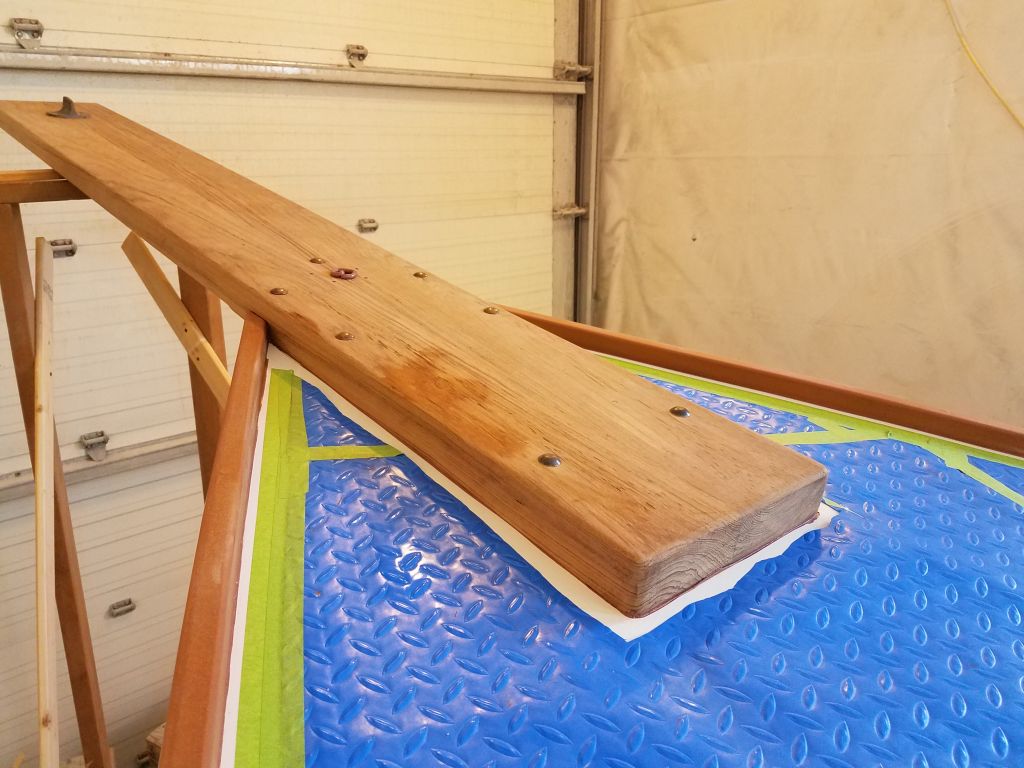
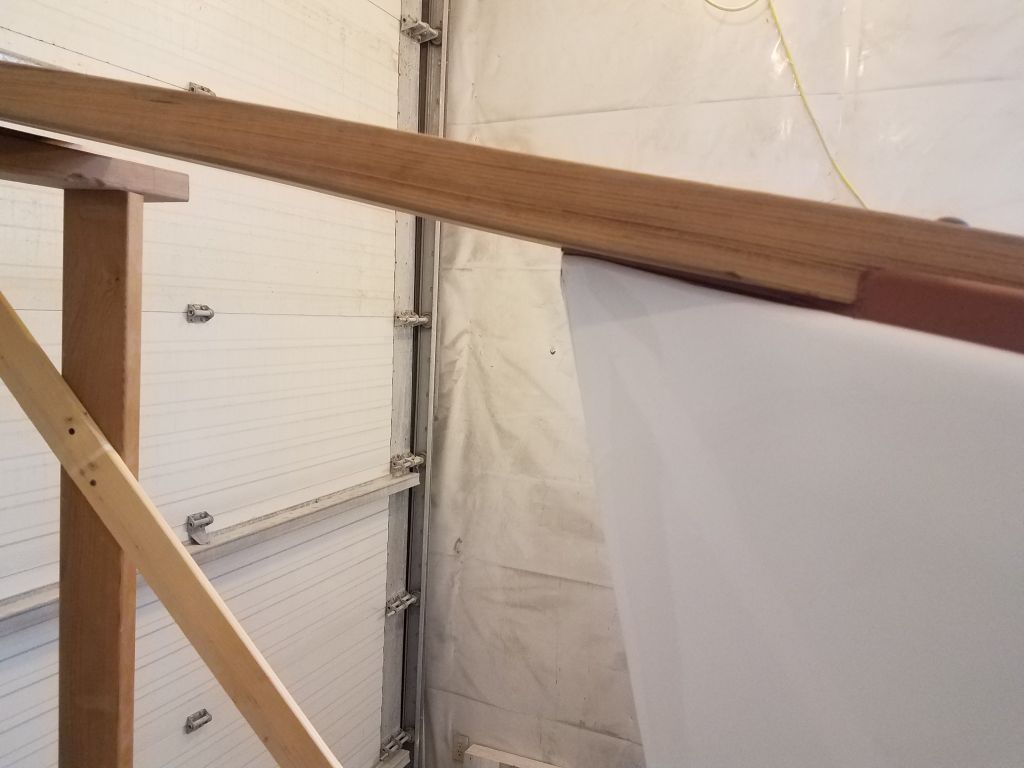
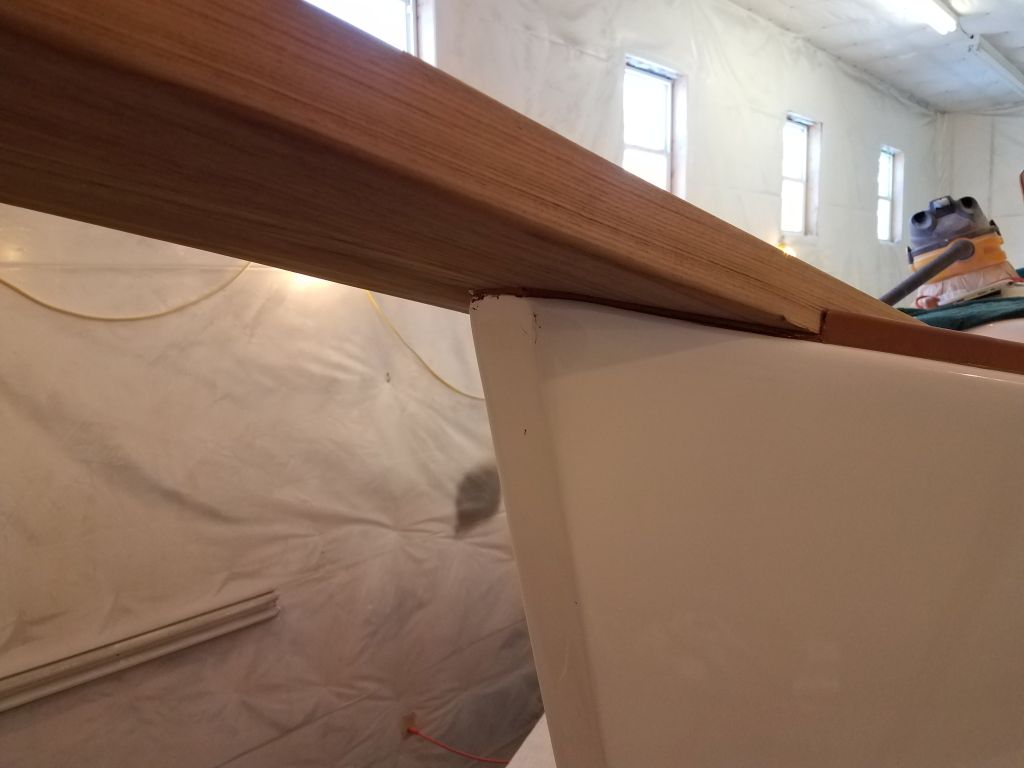
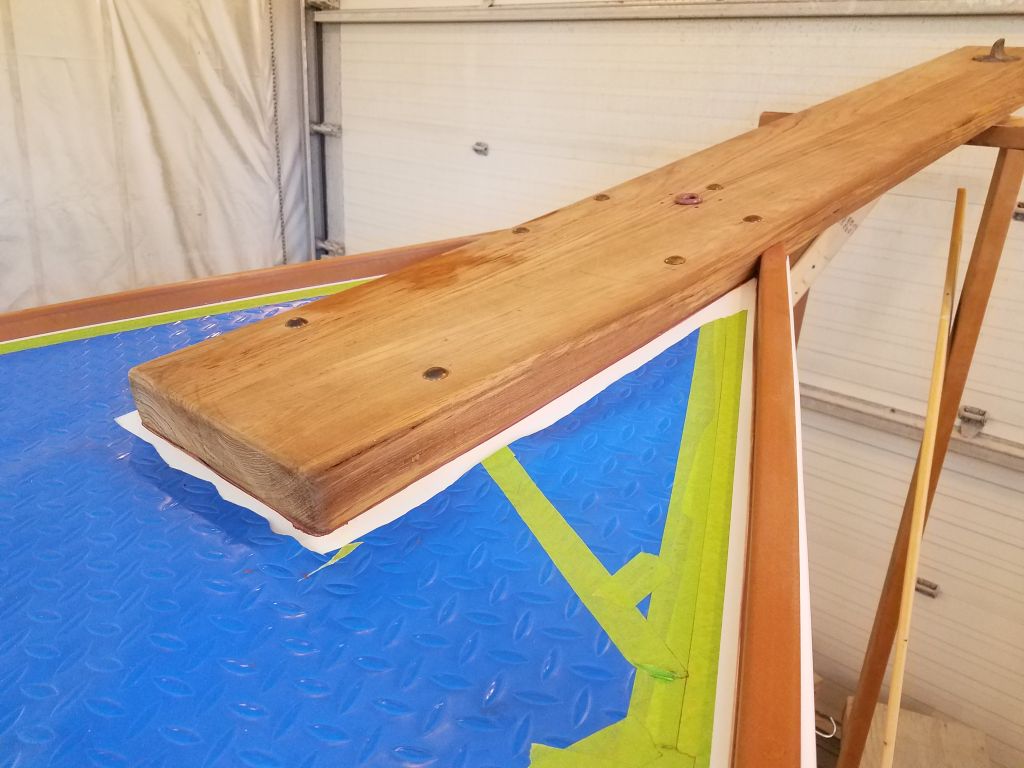
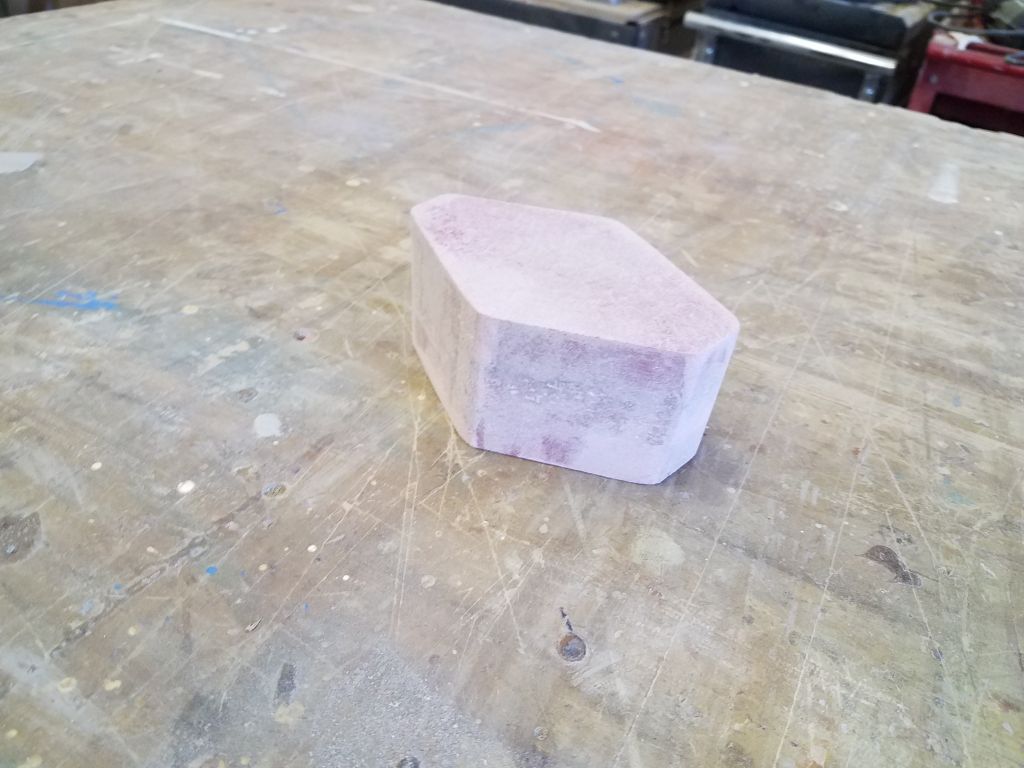
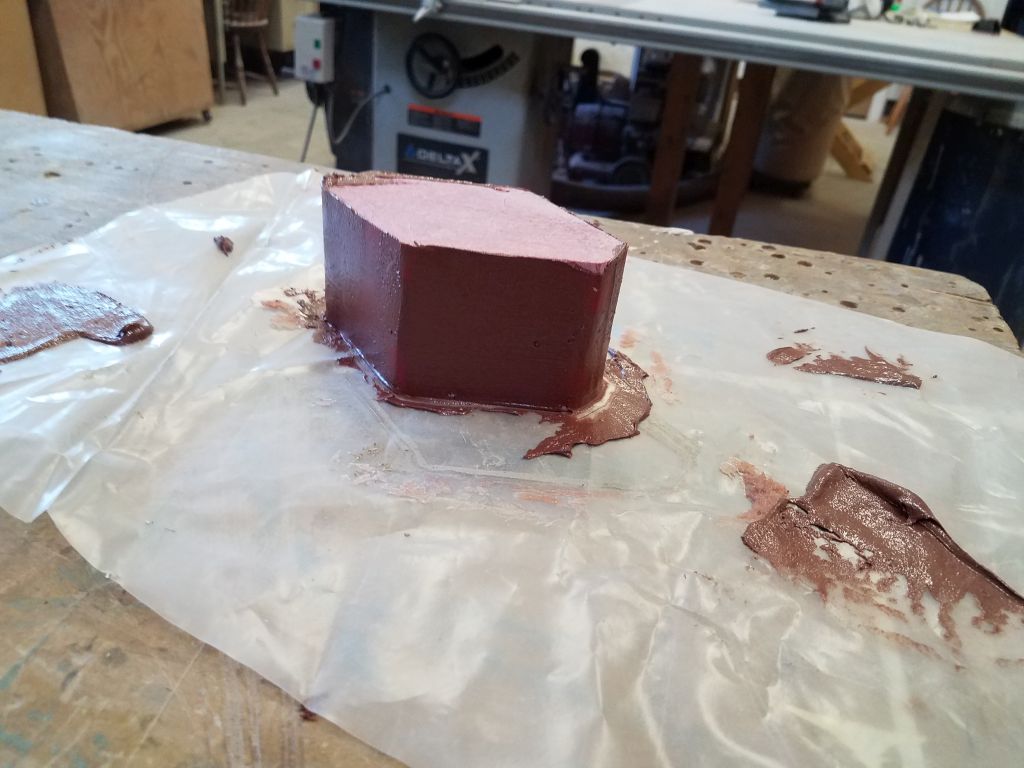
Finally, I sanded the new mainsheet riser block, and applied a coat of fairing compound over the edges to bring them hopefully to their final contours before shaping and priming.

Total time billed on this job today: 7.5 hours
0600 Weather Observation: 5°, clear. Forecast for the day: Sunny, 15°