


March 26, 2019
Scupper 109
Tuesday
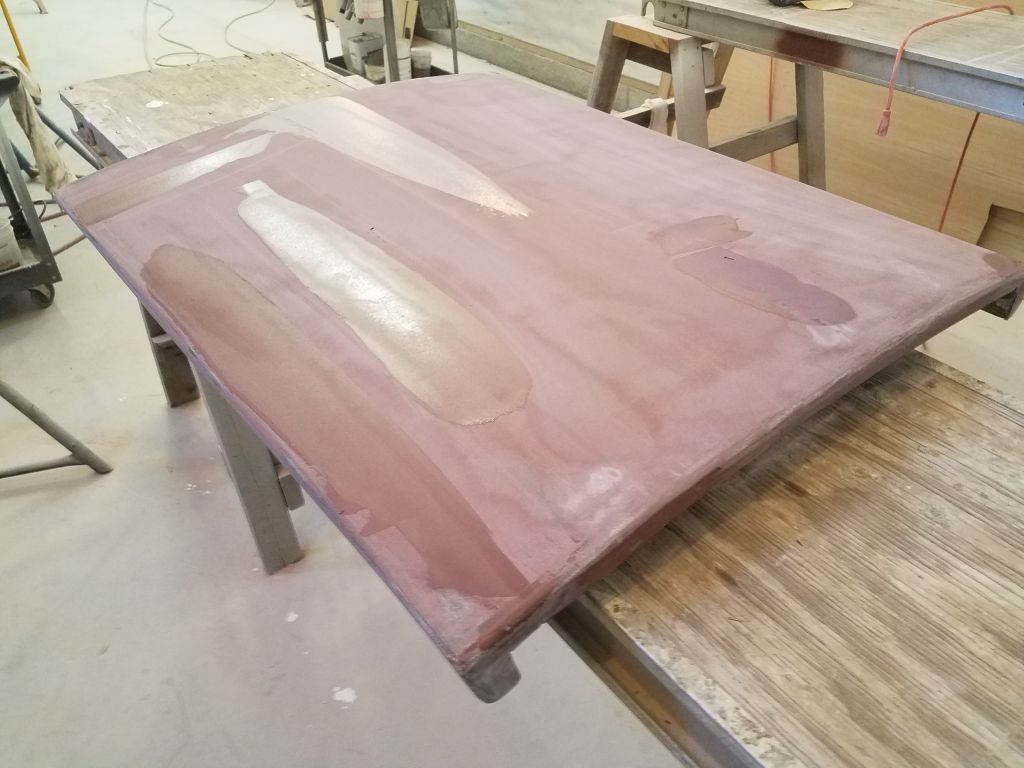
To start, I finished up another round of light sanding and spot-filling on the companionway sliding hatch, now nearly complete.


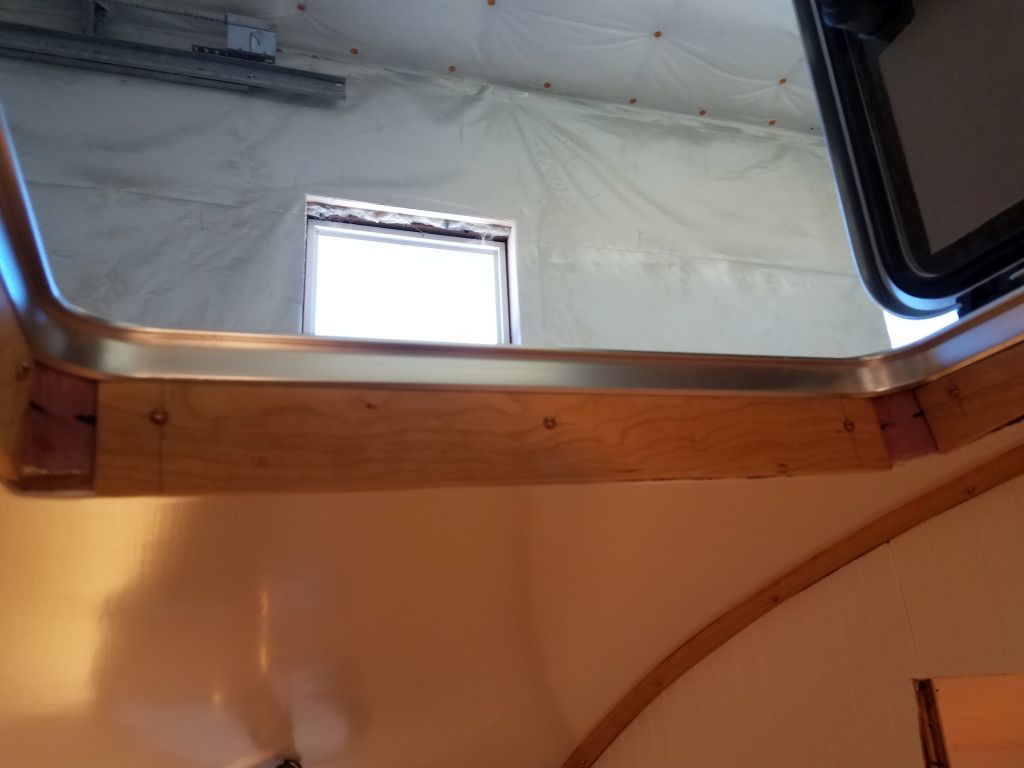
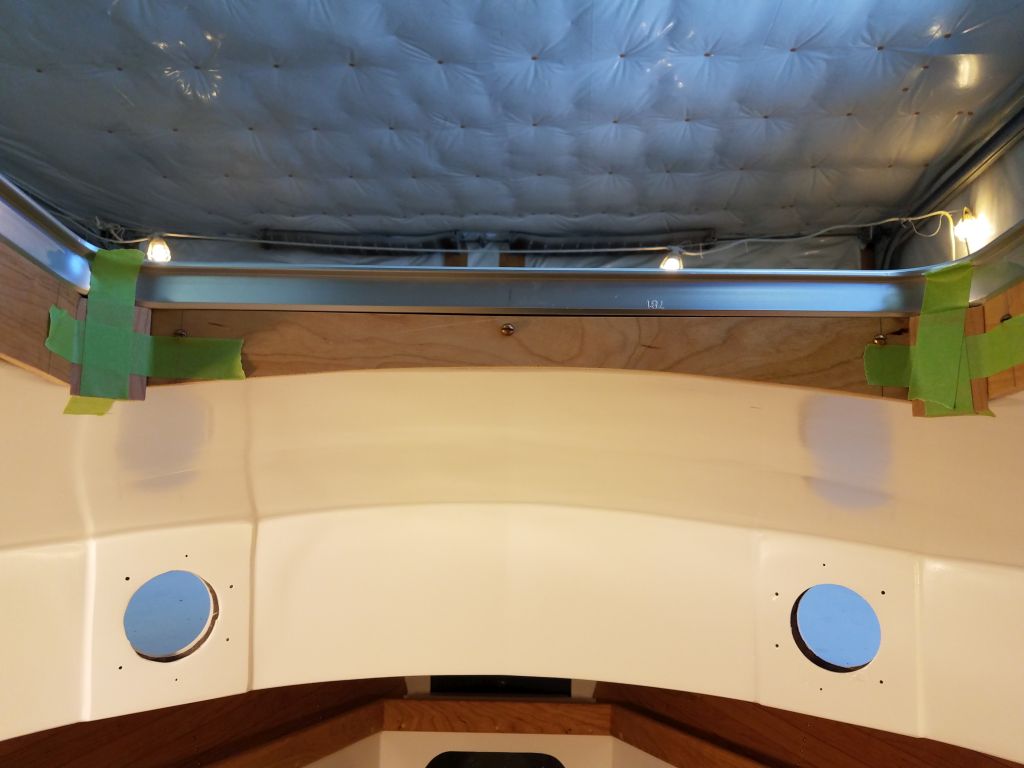
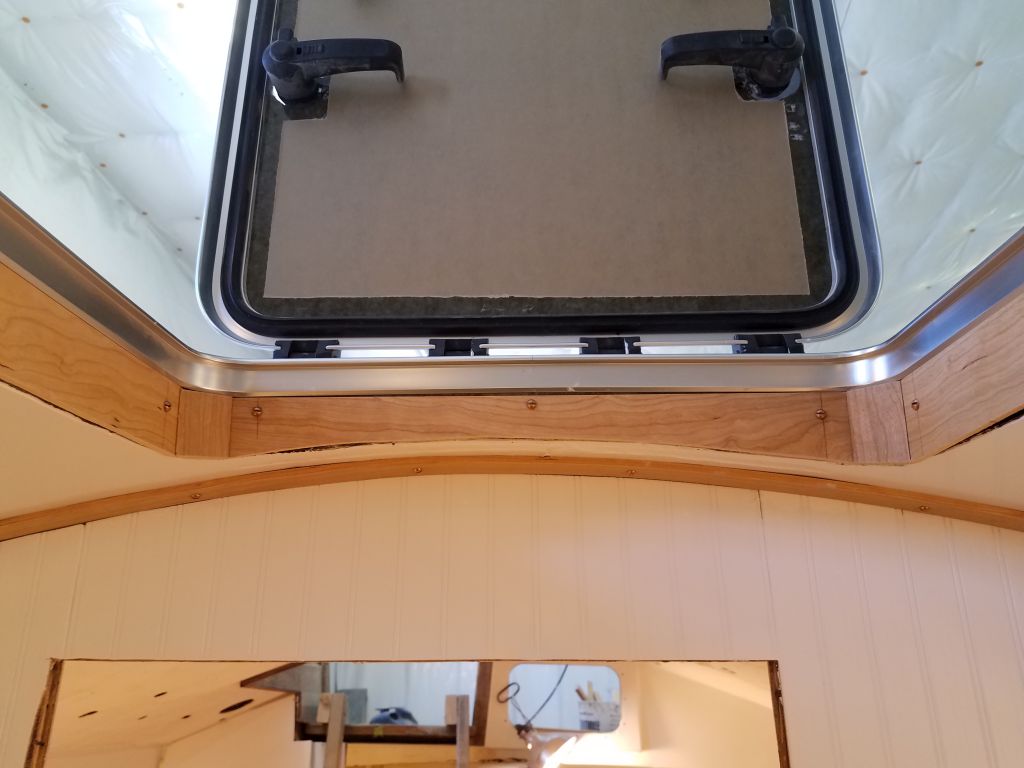
Beginning with some 3″ wide pieces of 1/4″ plywood, I made simple templates of the inside of the forward hatch frame, and used these templates to cut solid cherry to the correct lengths and angles to fit on each side of the opening, just below the hatch itself. These fit up against the angled corners of the opening, and, securing them with screws into the sides of the opening, I let them hang down below the liner for the moment.
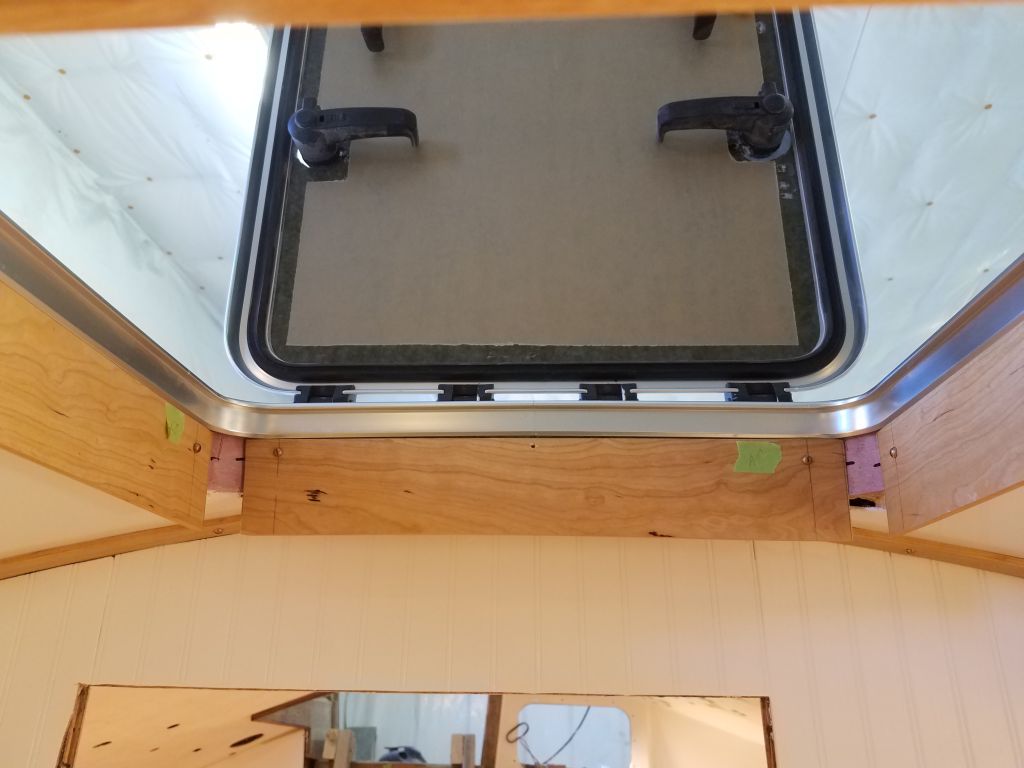

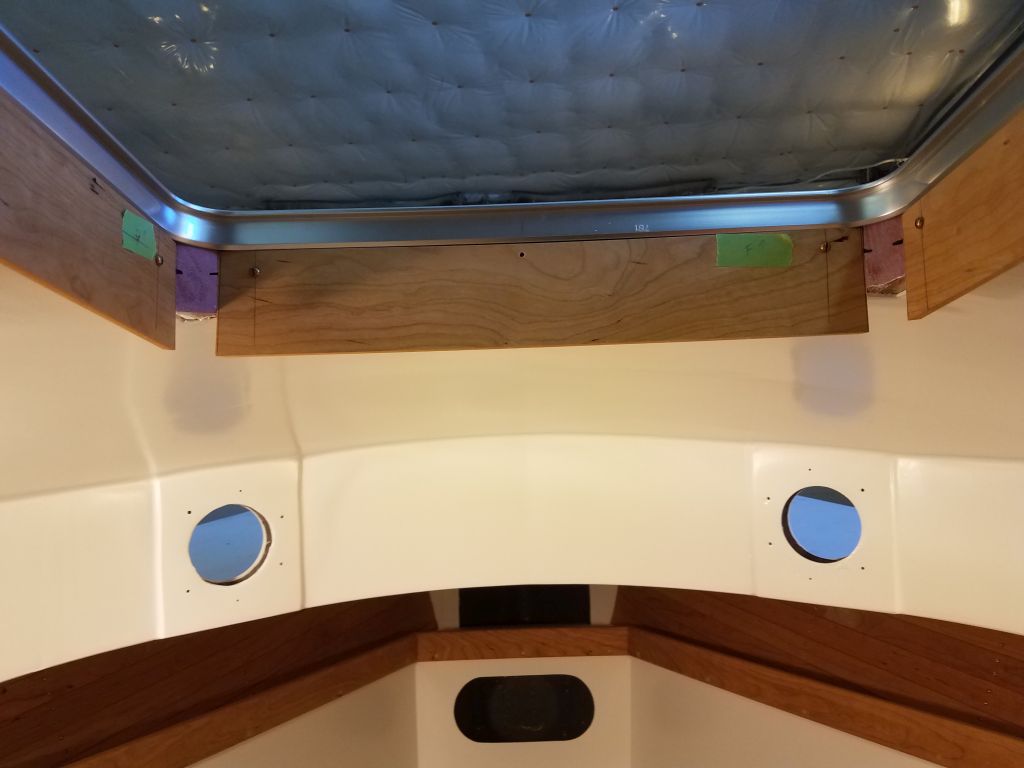
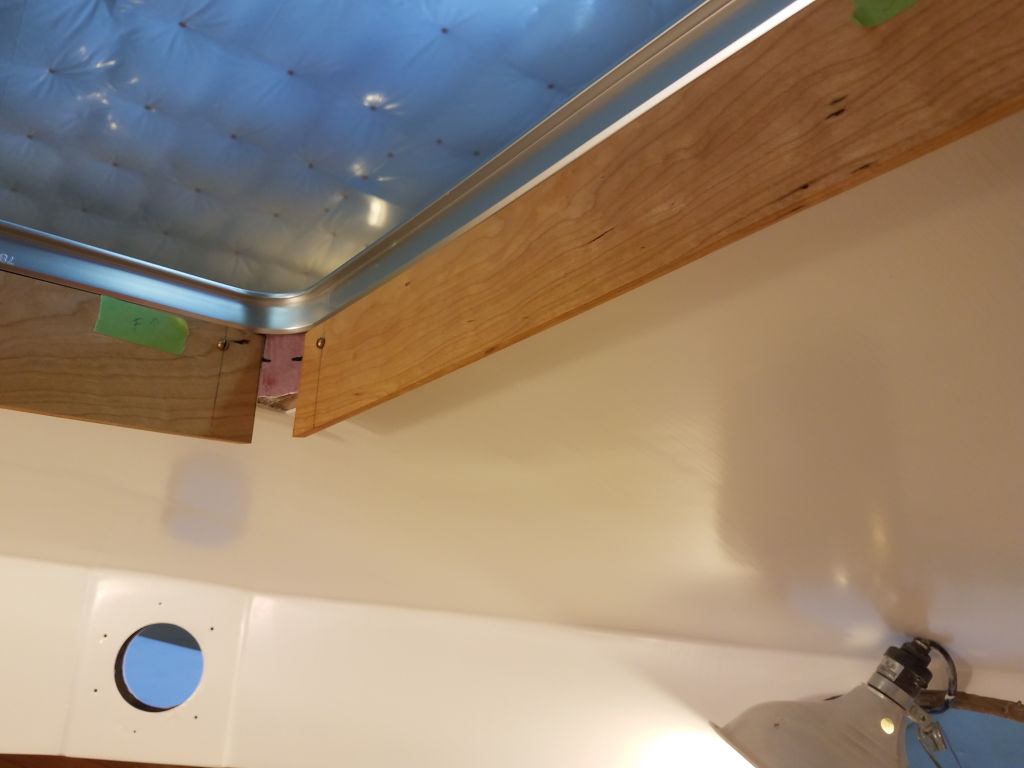
To mark the overhanging trim where it met the liner, I used a scrap of 1/4″ cherry held in place along each of the four sides to scribe a mark on the hatch trim.
I planned to let the side trim, which would cover the space between the liner and the hatch opening, run over the bottom edge of the inner trim, so after removing the four pieces, I transferred the scribe marks 1/4″ up, and made the cuts with a saw before reinstalling the trim permanently, now flush with the liner on all sides.
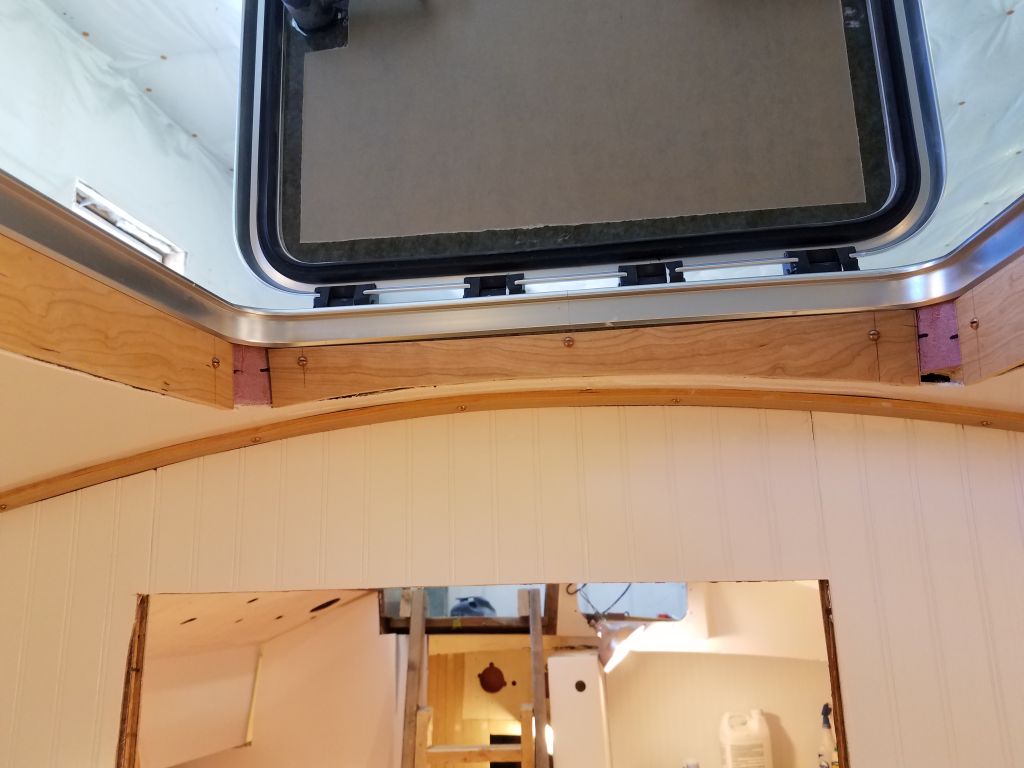
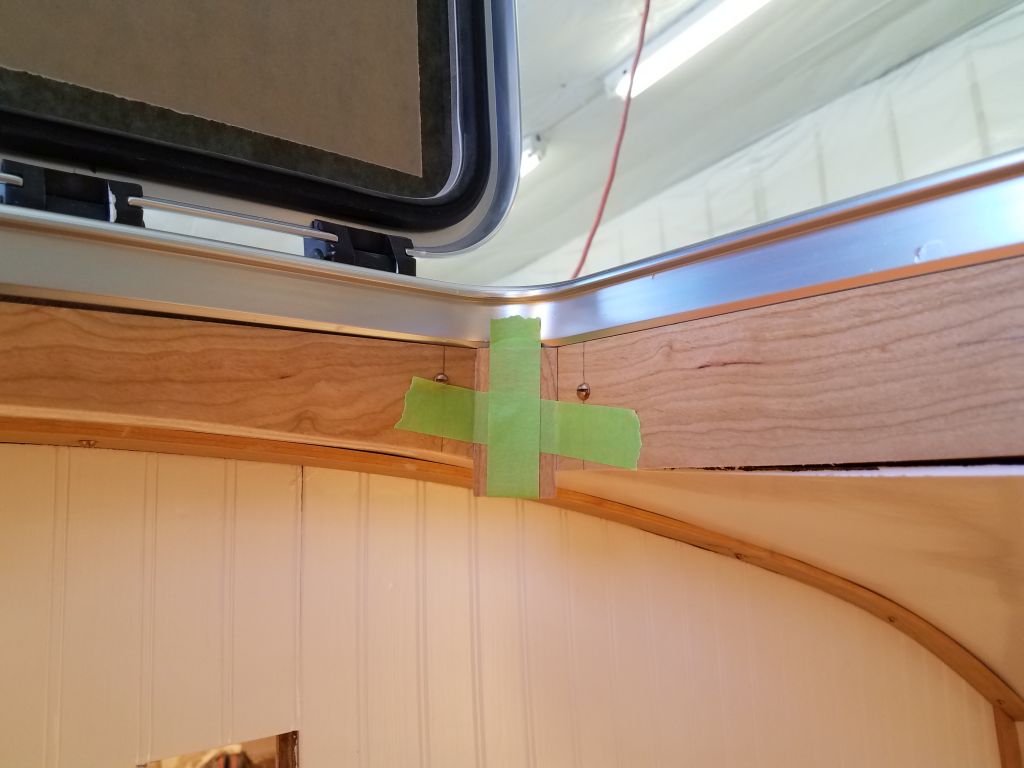
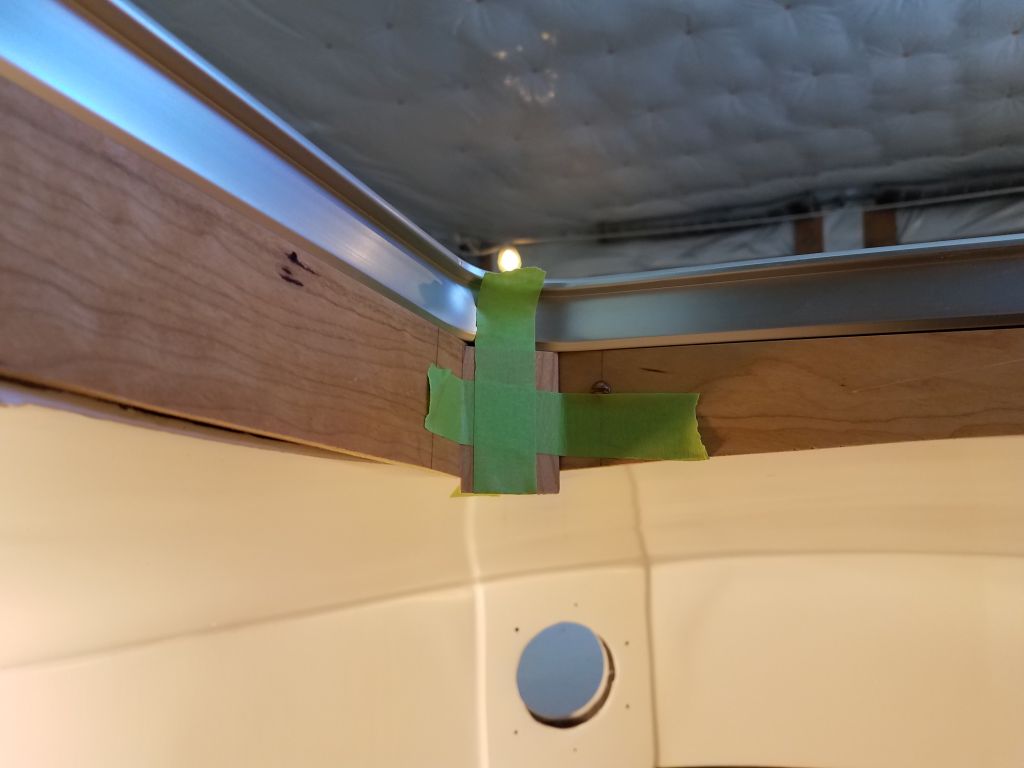
To complete the angled corners, I prepared a piece of 1/4″ stock with 45° angles on both edges, and cut small pieces to fit each corner, securing them with glue. I used tape to hold these in place while the glue set.


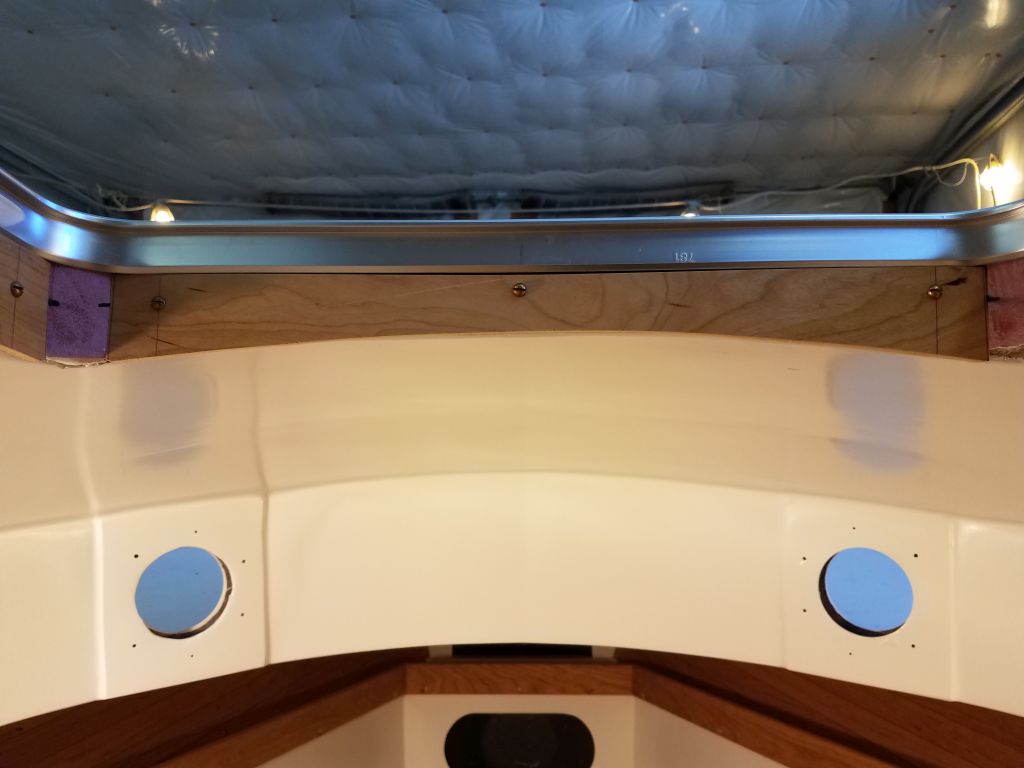
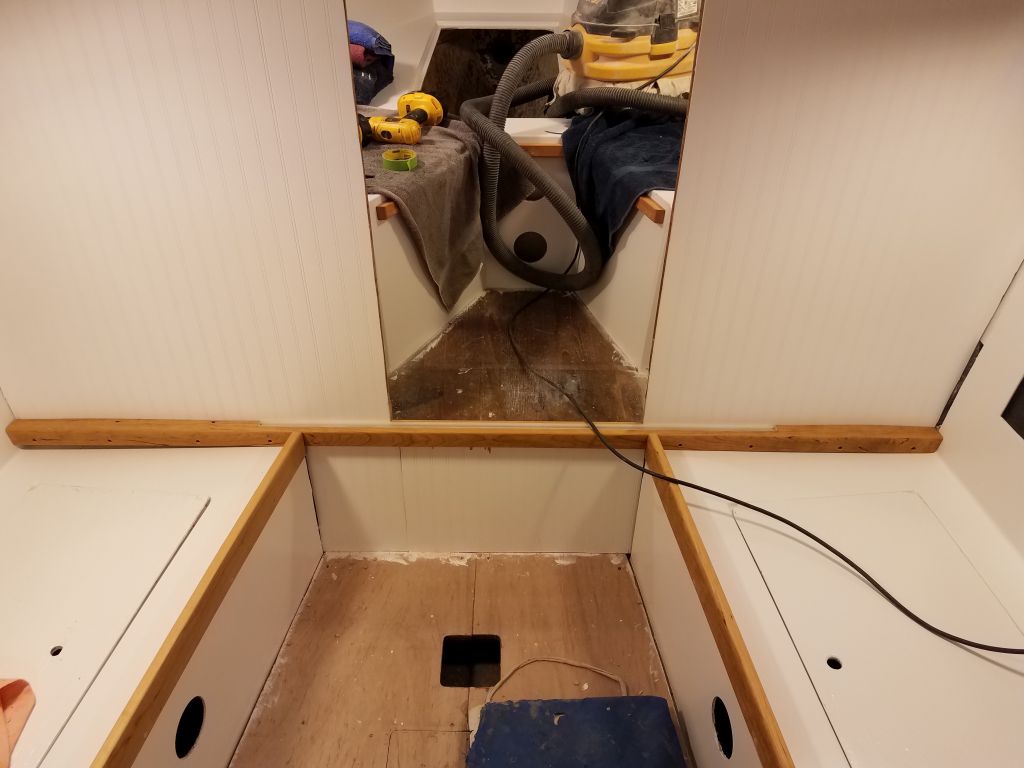
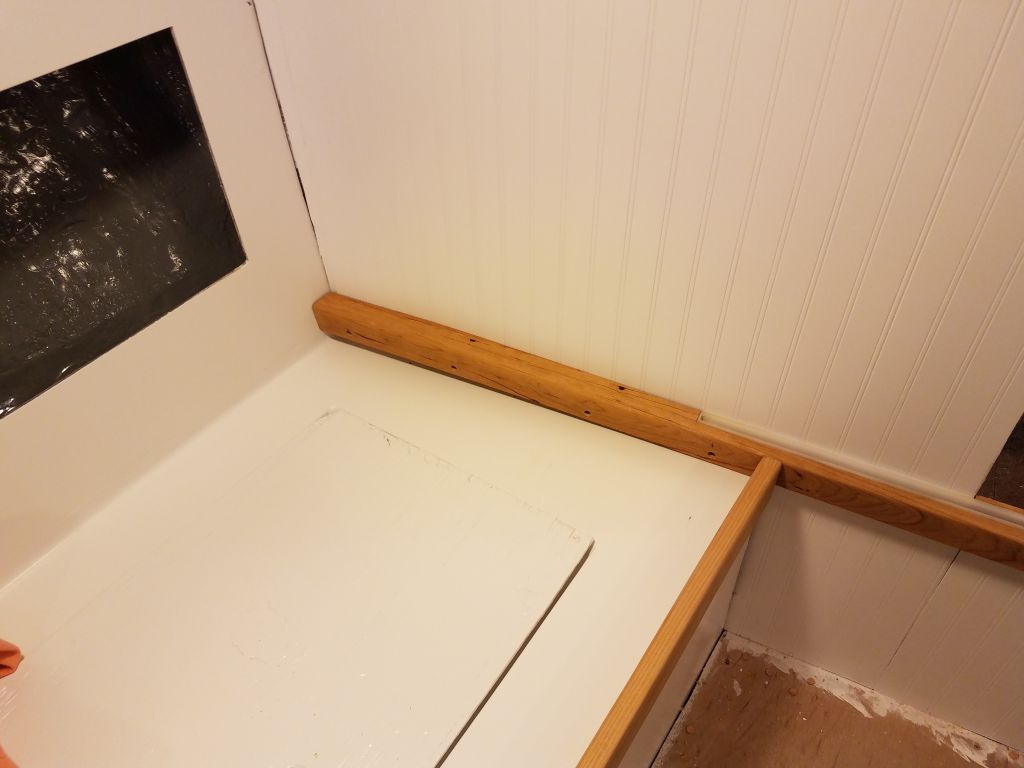
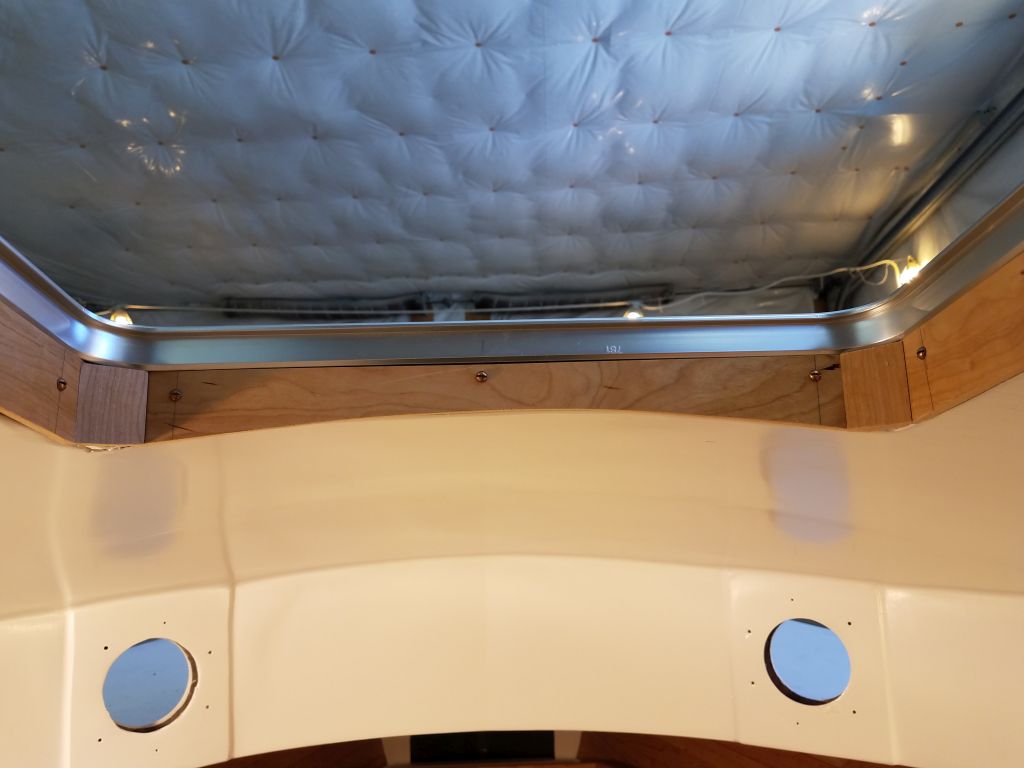
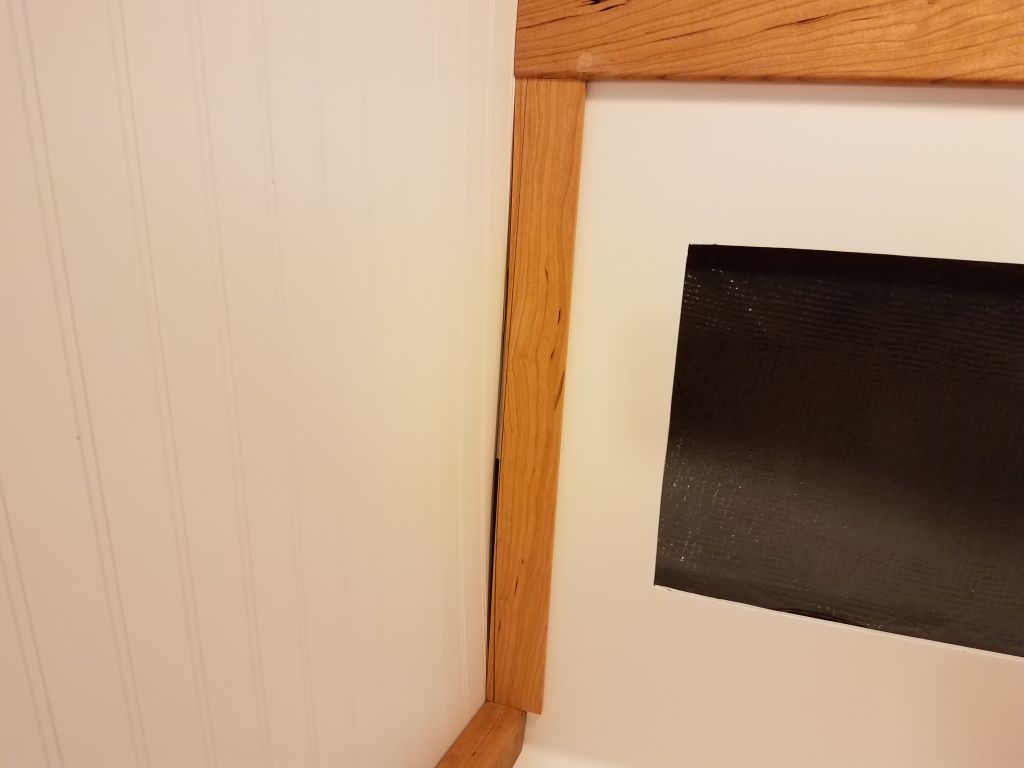
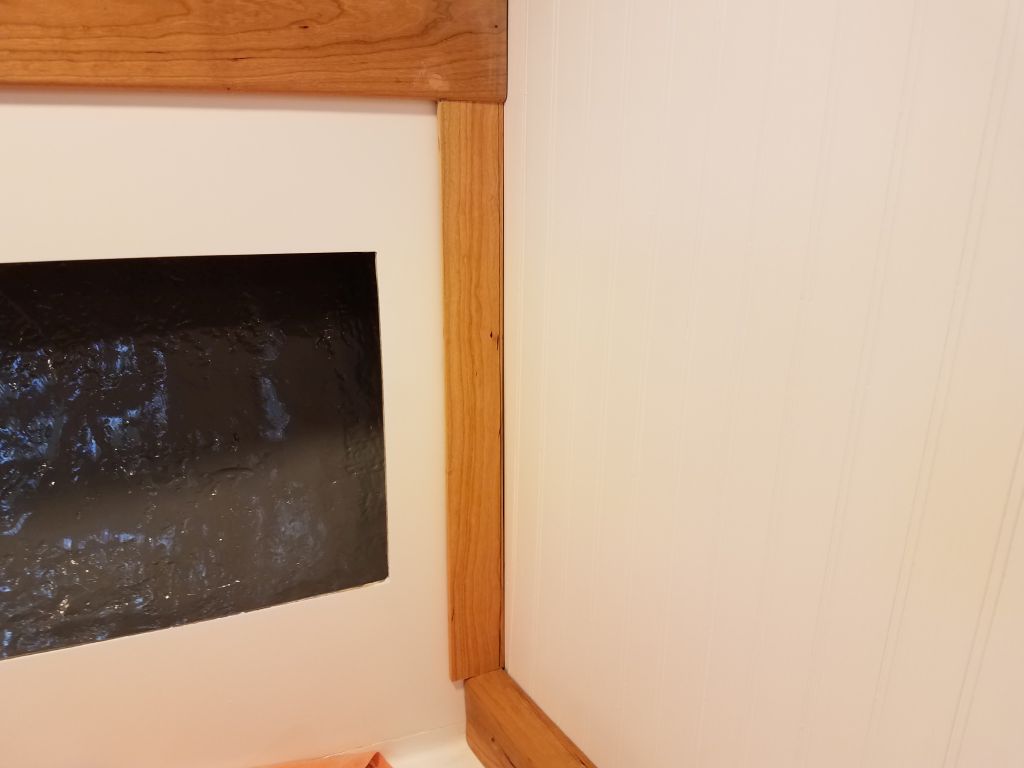
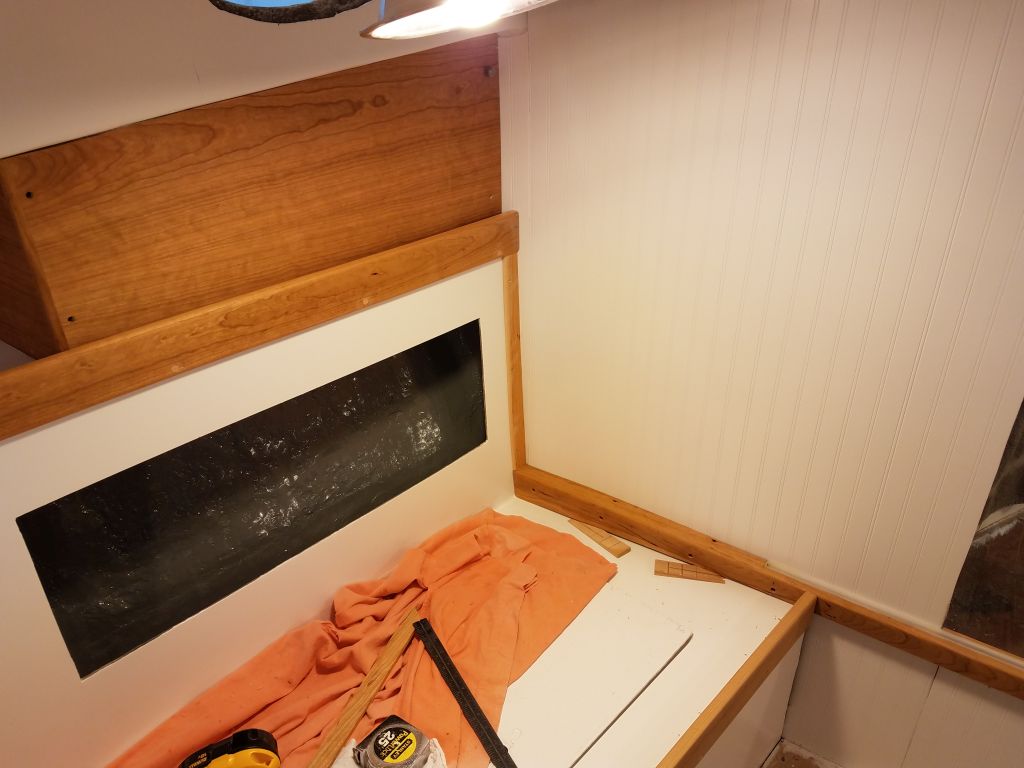
While I waited for that, I decided to install the lower door trim across the main bulkhead, at the forward ends of the settees. I secured this with four screws into the bulkhead on each side.
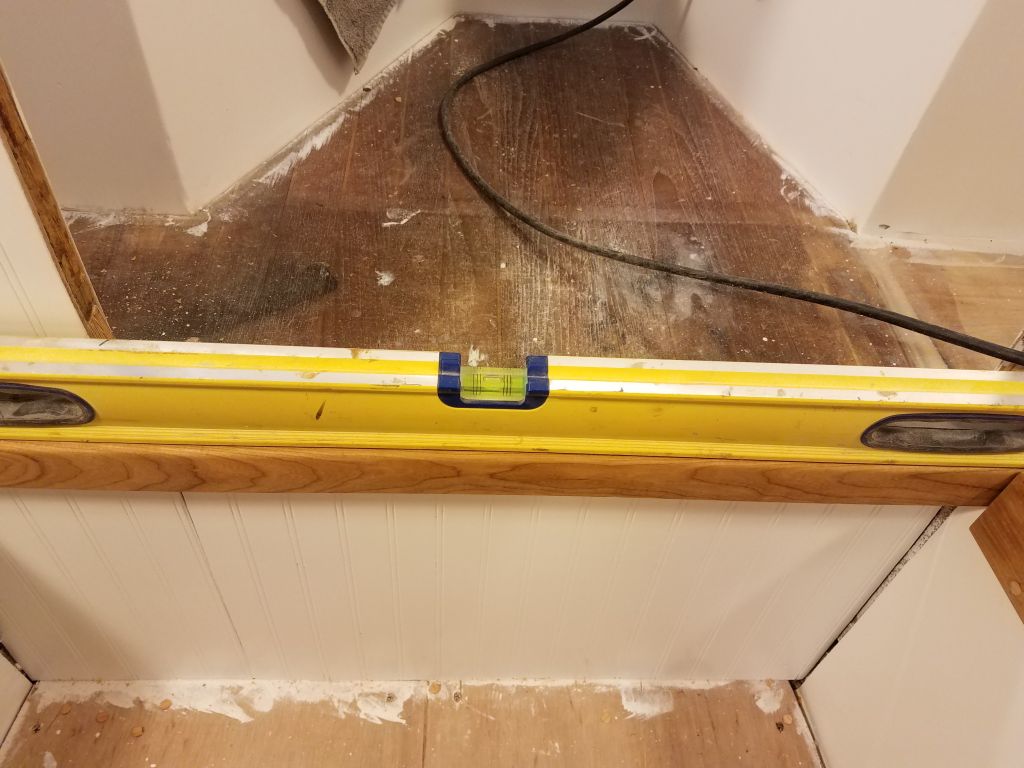
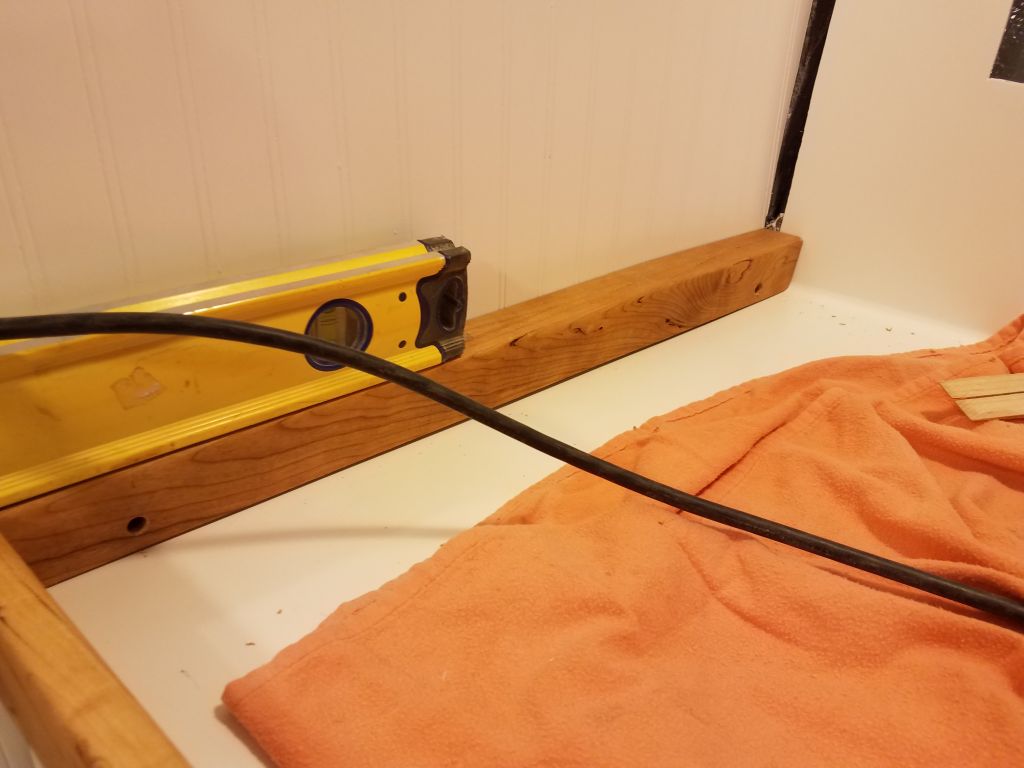
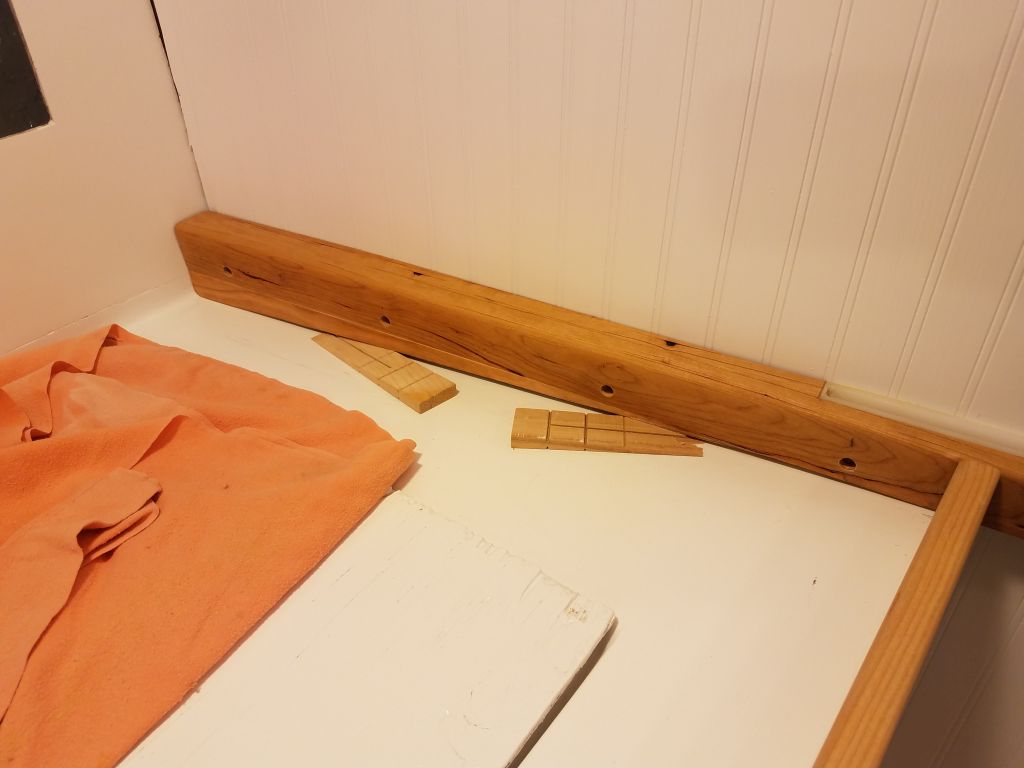
The shape of the port settee meant that with the trim level, there was a wedge-shaped gap between the bottom of the door trim and the berth top. During construction of the beam, I’d considered, then discounted, the possibility of shaping the beam itself to fit this, as it would have taken out too much of the beam material, and since this area would be hidden by the interior cushions, I decided I could trim it out later. Later was now, and I cut a small piece of trim to fit inside the gap and glued it in place, holding it up with some wedges from beneath while the glue cured. The starboard side fit closely and didn’t require additional work.

By now, after lunch, the corner pieces on the forward hatch were ready for more work, and I began by trimming them flush to the adjacent trims with a saw and a little sanding.
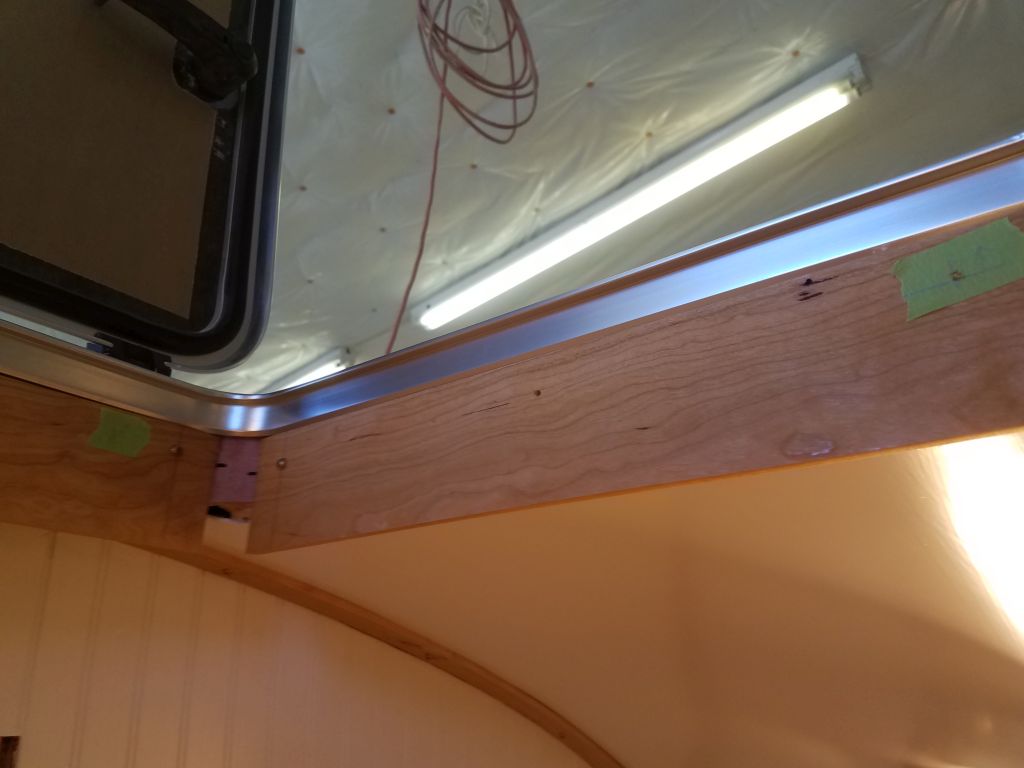
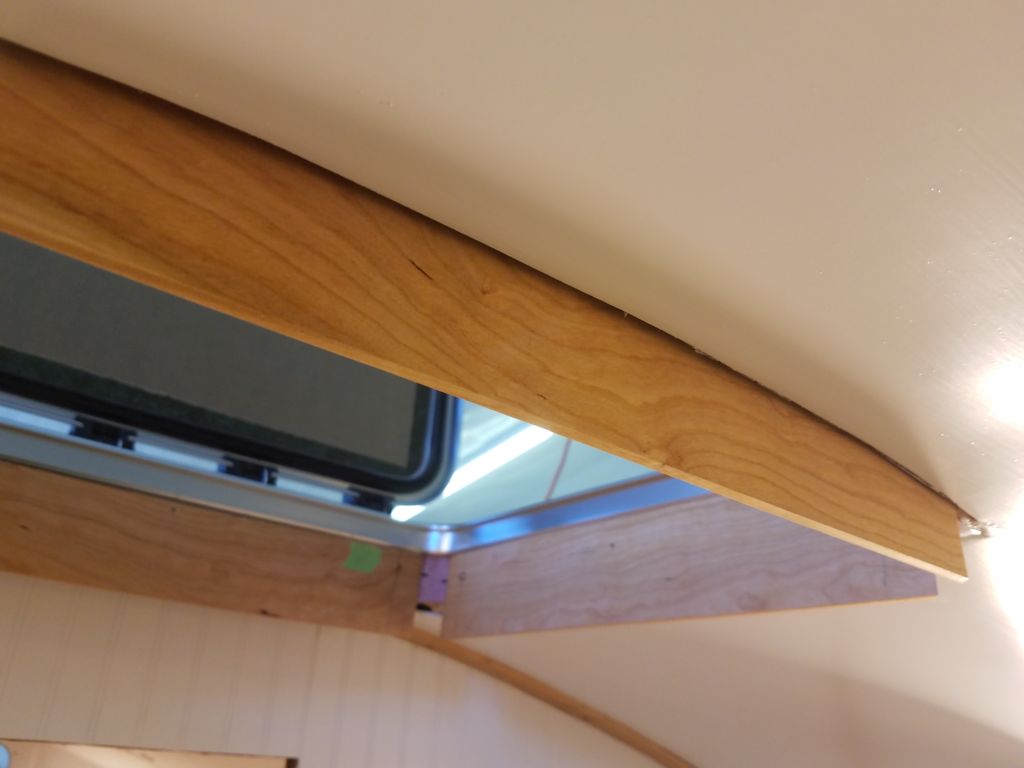
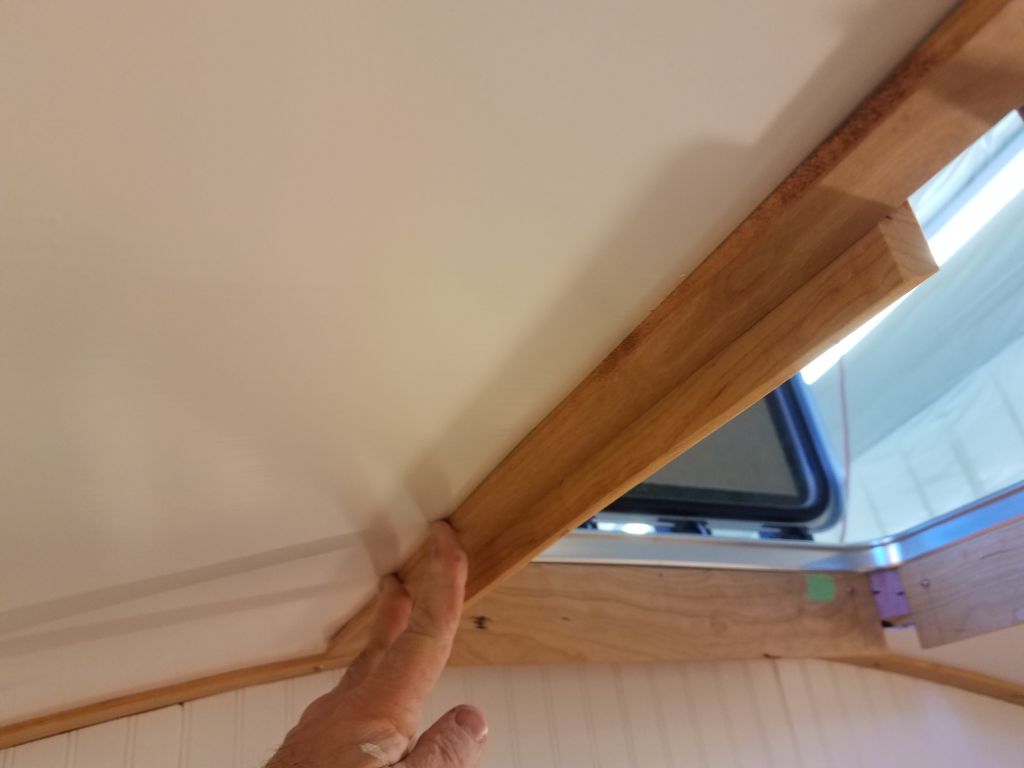
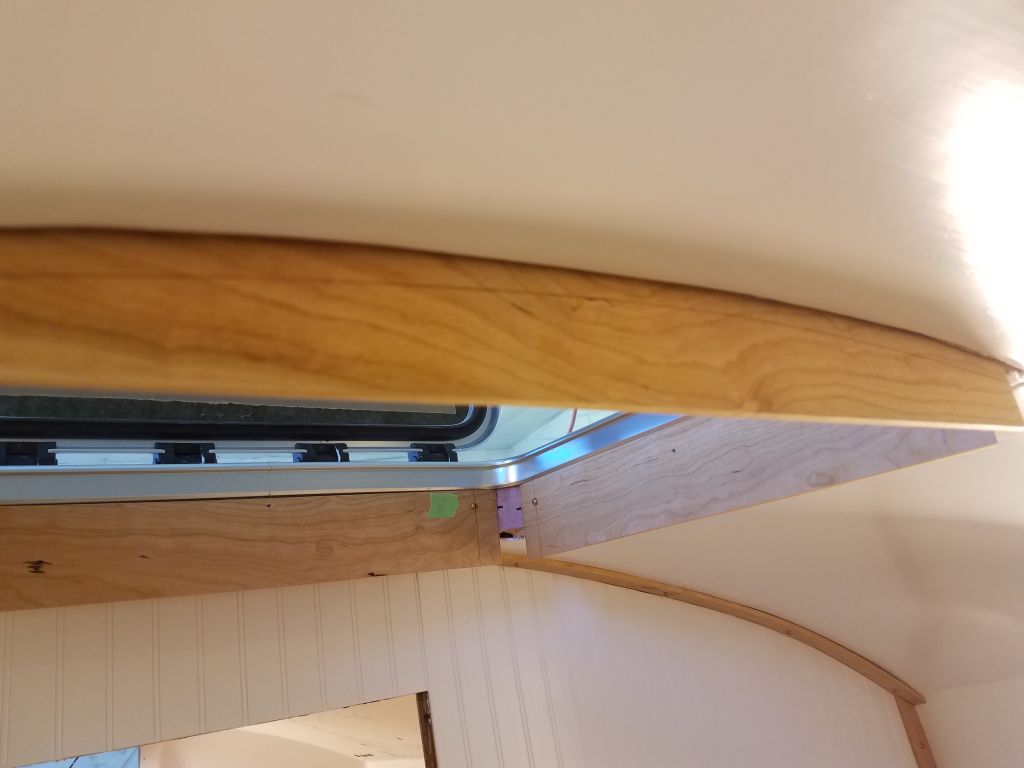
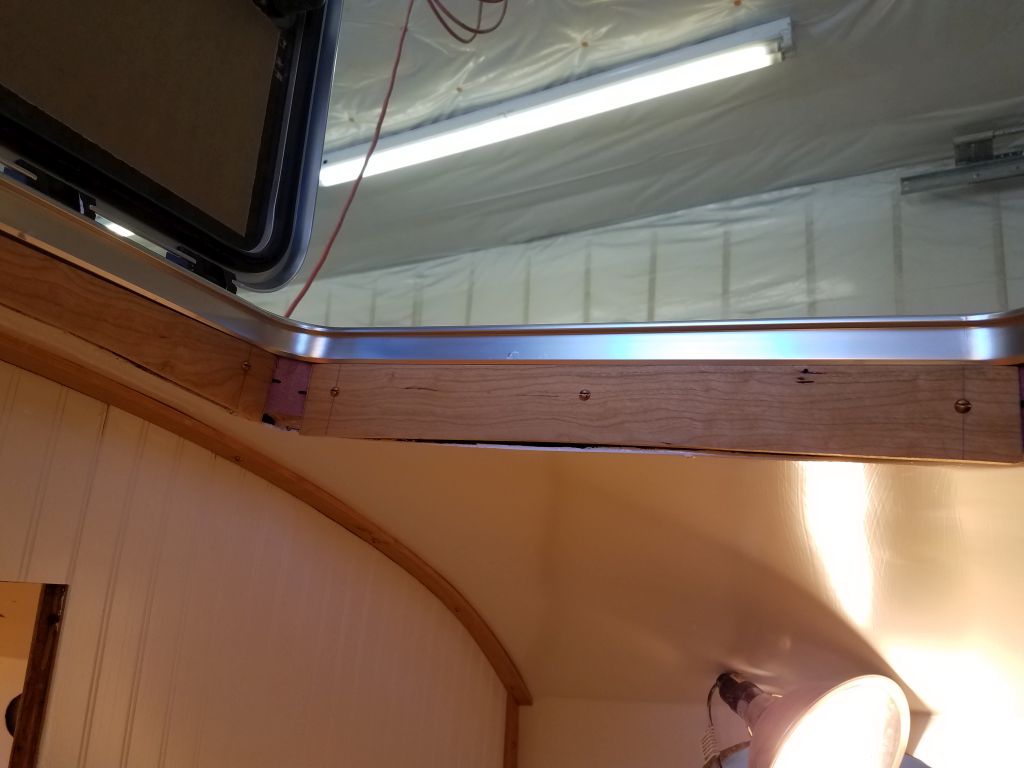
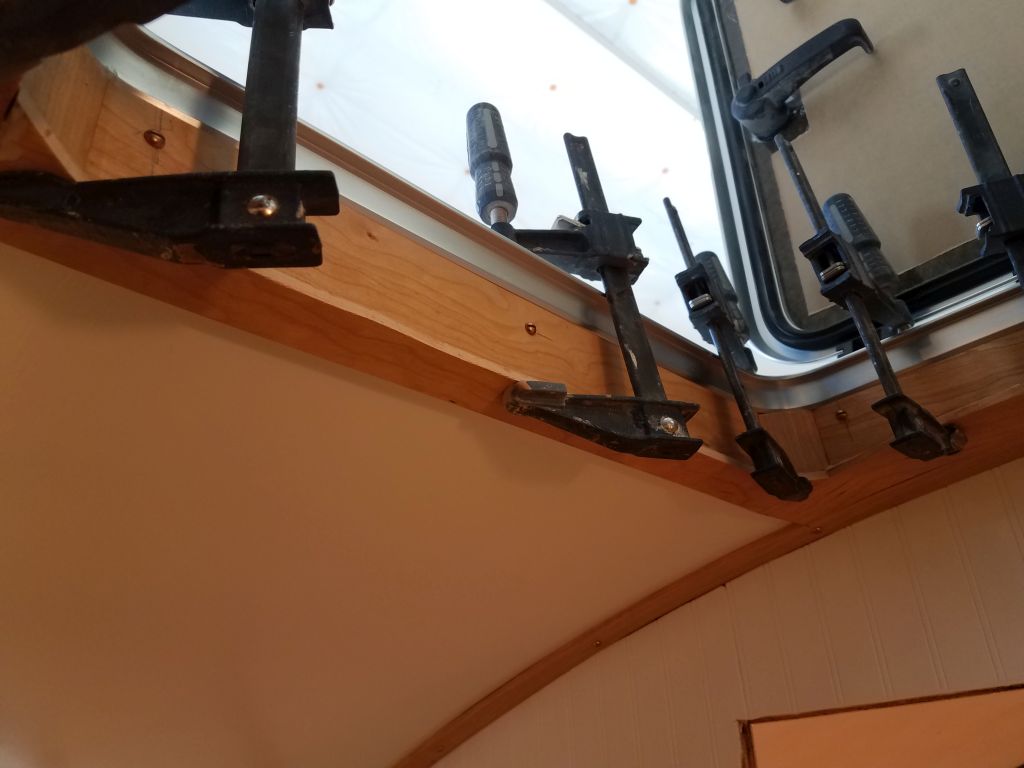
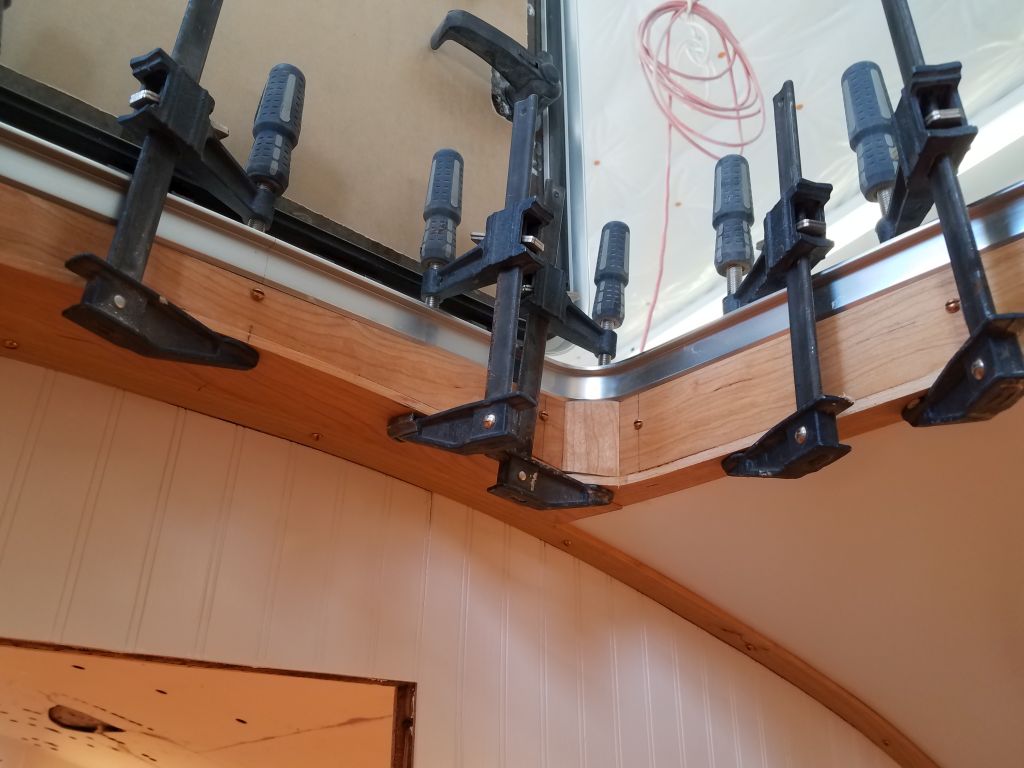
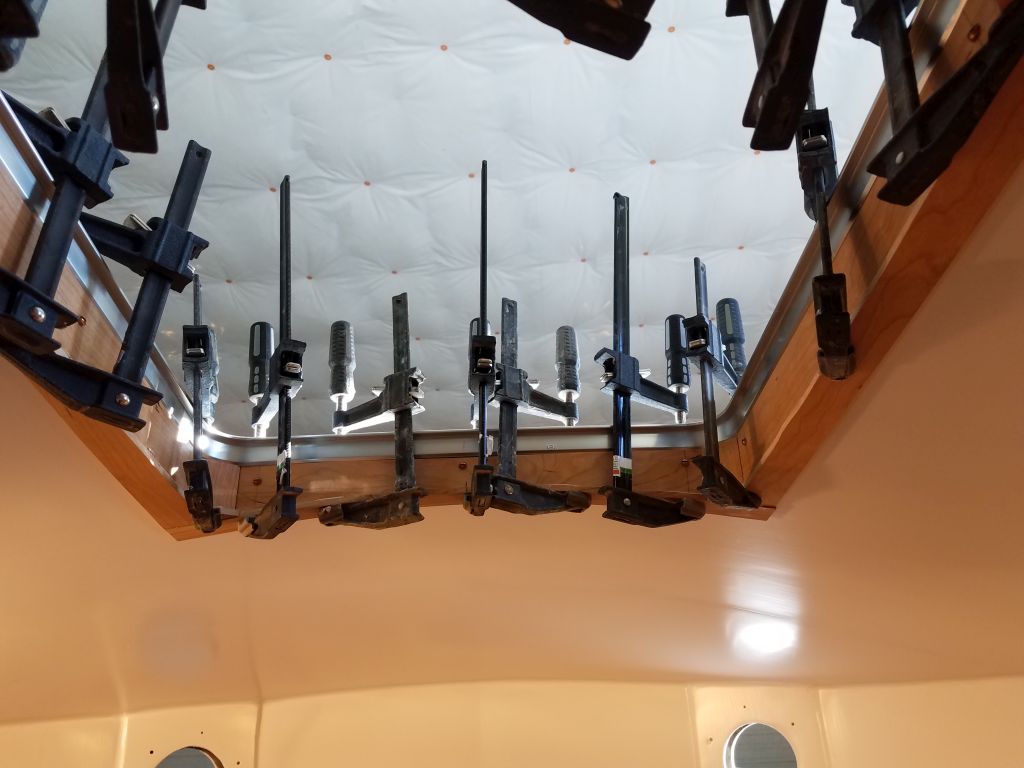
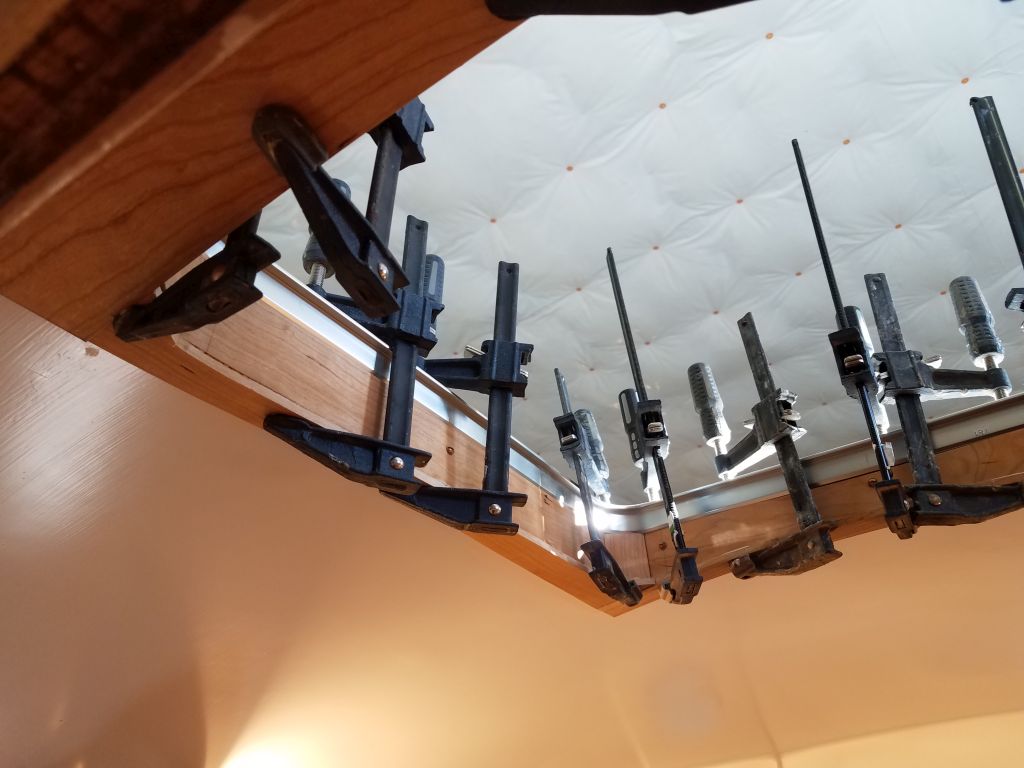
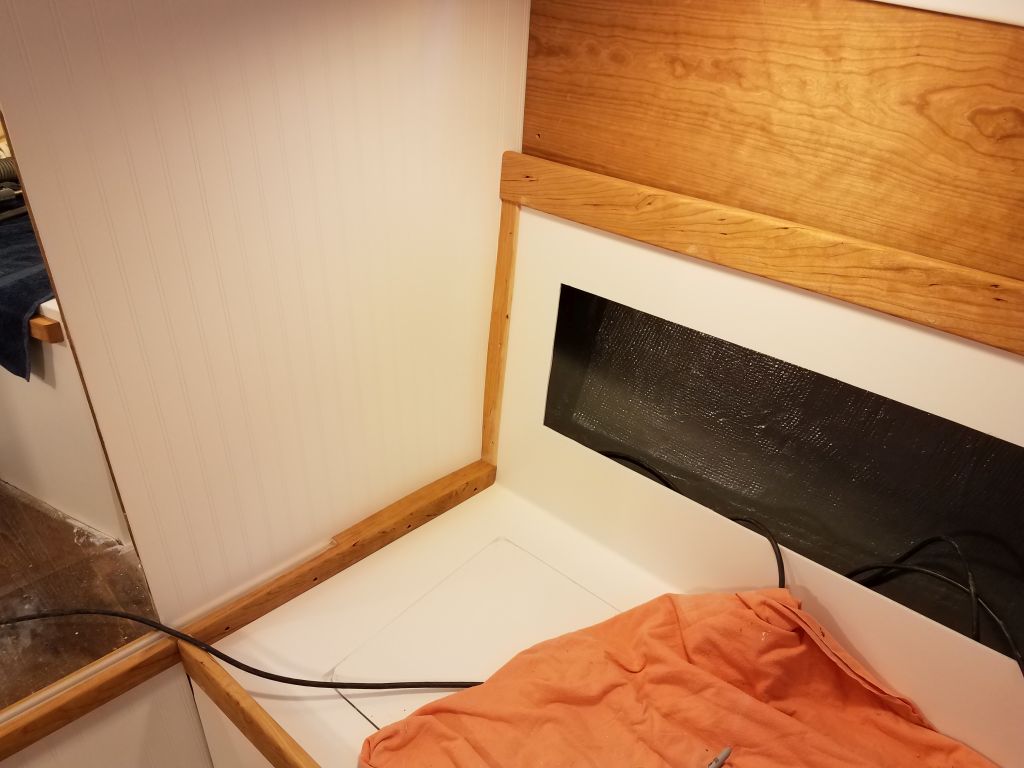
I spent most of the remainder of the day cutting and fitting the horizontal (more or less) side trim to complete the framing of the opening on all sides. I marked a distance 1-1/4″ out from the inside trim on all sides (the general size of the edge trims I was using elsewhere), and, using wider stock, marked and cut each piece, starting with the after, widest piece that butted up against the bulkhead trim I’d installed last time. I apparently didn’t take photos of the various steps, but I let the horizontal trim extend just a bit proud of the inside edges of the opening (for later flush-trimming), and glued the trim to the edge of the inside trim, holding it with clamps. For the moment, I secured these pieces with clamps only while the glue set, but later I’d add screws as well.


Throughout this cutting and fitting process, with its numerous trips back and forth, I also worked on some additional trim in the main cabin, including trim between the new lower door trim and the settee shelf fiddles, along the forward edges of the backrests on each side. These trims required scribing to the shape of the bulkhead, and then a final cut to the proper width to match that of the lower door trim. I also shaped and sanded the exposed edges, and drilled holes for eventual screws, though I didn’t bother with the screws now since I planned to remove these small bits of trim for varnishing off the boat.
I also cut to length, and to the proper angles on each side, a piece of 3/4″ x 2″ wide stock to fit below the door trim and cover the gap at the bottom of the door opening. I’d do the final installation soon, but since the piece was still bare wood, I held off till I could apply varnish to all sides.


Total time billed on this job today: 8.5 hours
0600 Weather observation: 12°, clear. Forecast for the day: Sunny, 37°