


March 4, 2020
Scupper 255
Wednesday
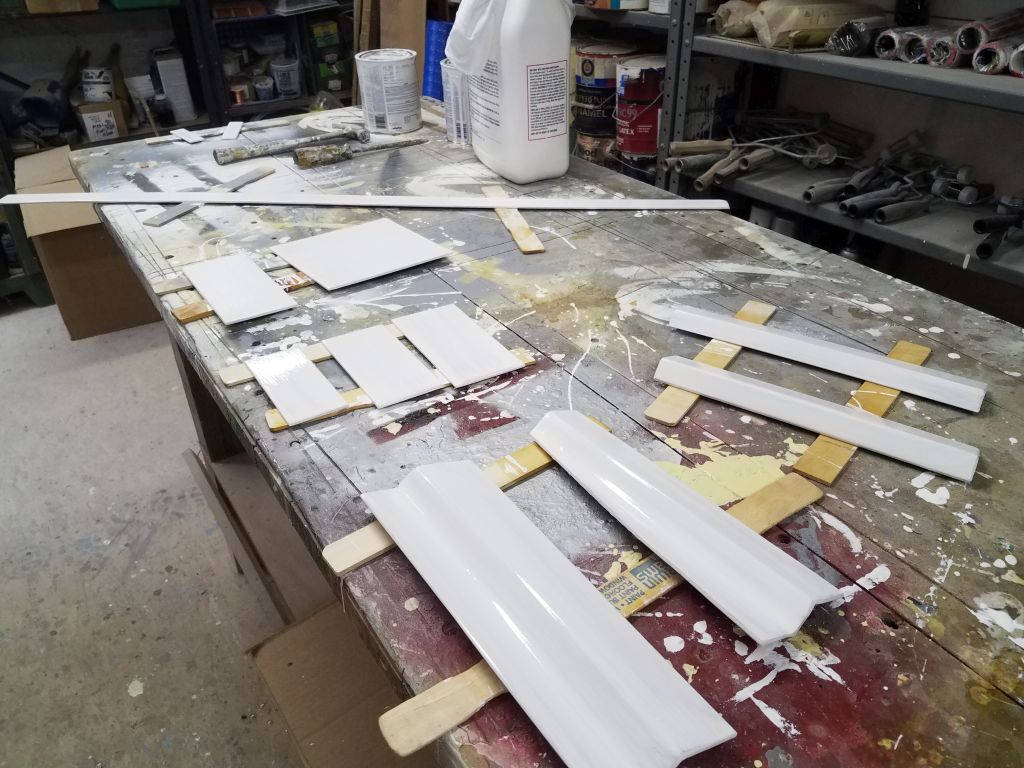
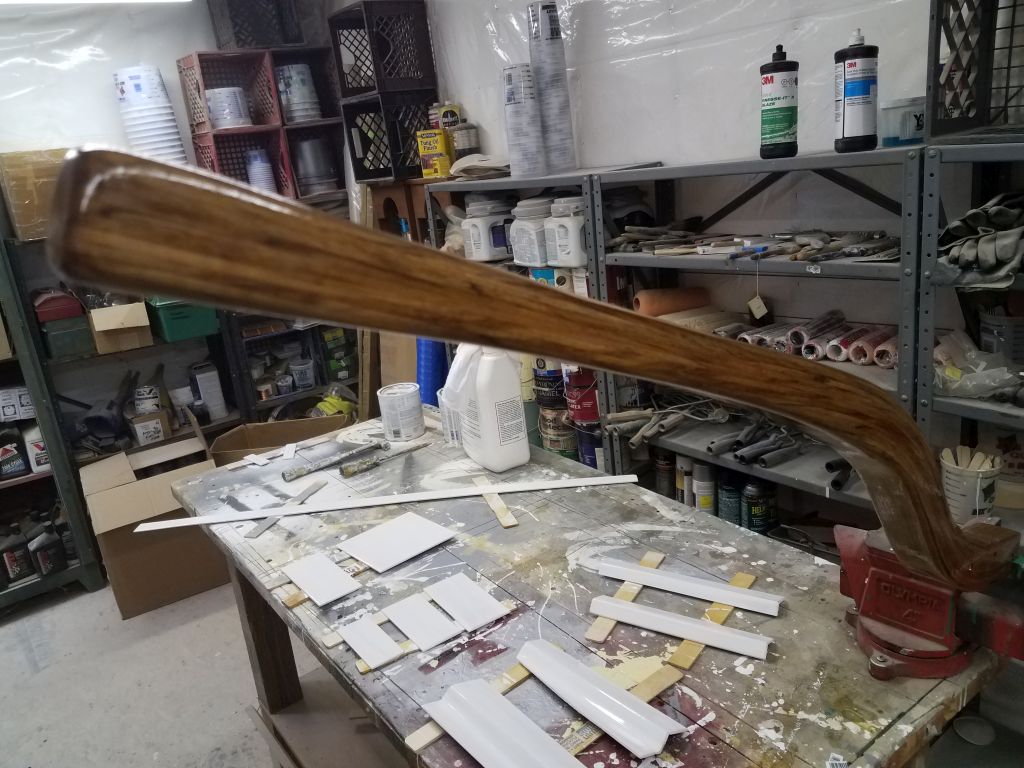
I got started with some quick sanding and another coat of paint and varnish on the liner cover plates and tiller, respectively.
The tail end of any project tends to be filled with myriad undefined chores, and I knocked several off my actual and stream-of-consciousness lists throughout the morning in and around a couple of the more concrete jobs still underway, including working with the owner and my local sign shop to begin and finalize the lettering for the transom, a process still underway as of this writing.
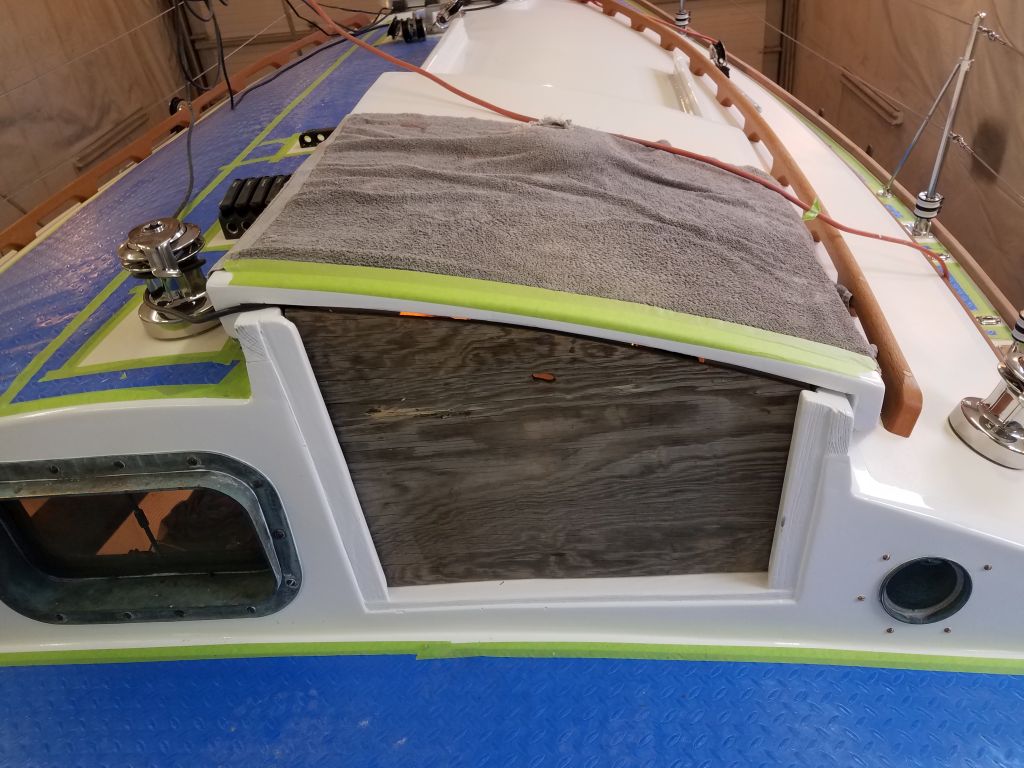
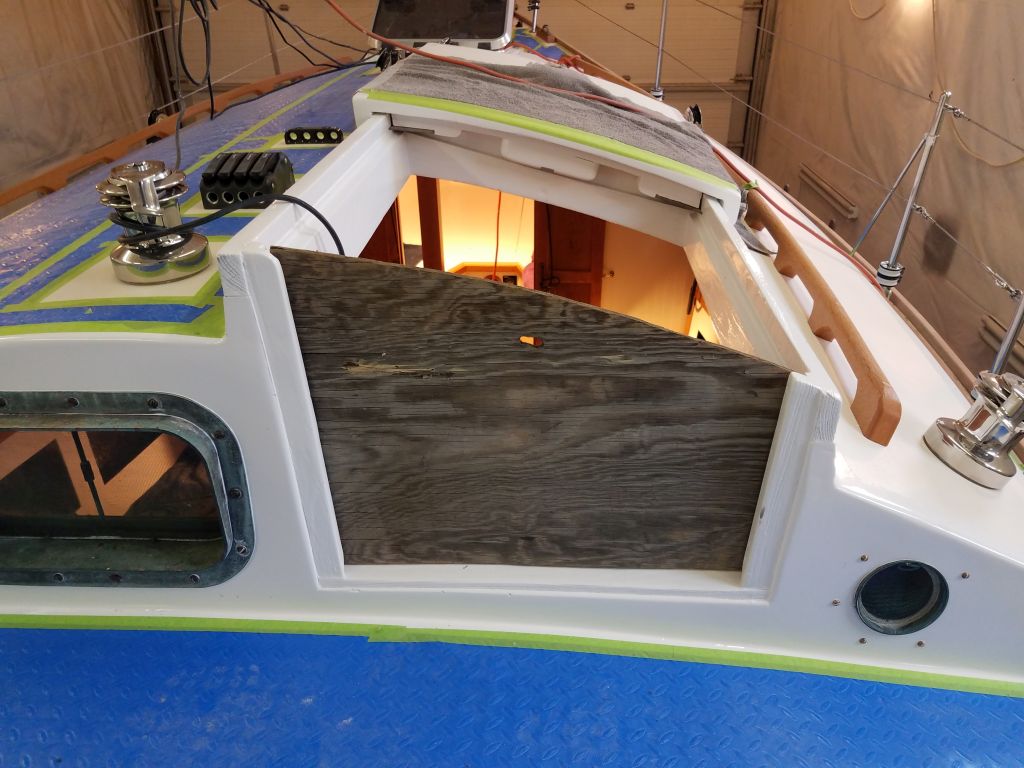
About the last “major” item on my work list, as-yet untouched, was to build new swashboards for the companionway. The boat had arrived at the shop with several different versions, all of which were in disrepair and unsuitable going forward, even if still essentially functional. I planned to build a new teak plywood version, plus a teak screen unit.
To begin, I tested the fit of one of the original boards to determine its suitability for a pattern. This old plywood board was ugly, but it worked well enough and I could use it to help pattern the new ones. From a partial sheet of teak plywood I had on hand, I cut out a replacement, matching the size and shape of the original.
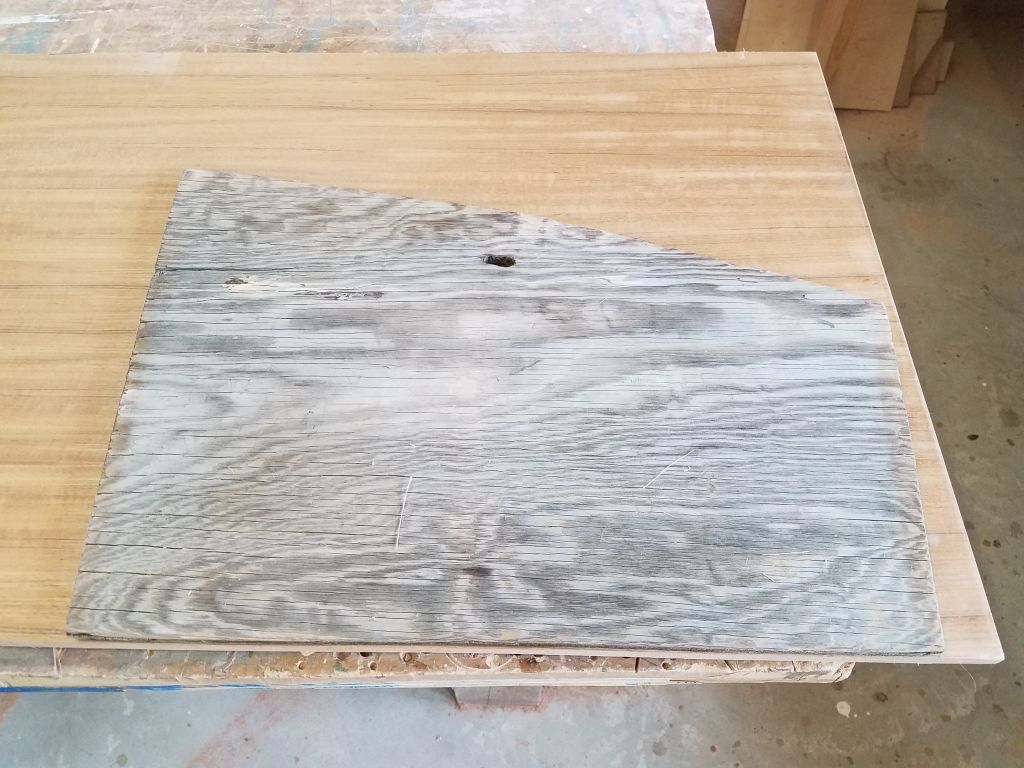

This was straightforward, but in the process it led to an unexpected job. Throughout the project, I’d basically never stepped on the starboard cockpit locker lid; I’d removed these lids early on in the first phase of the project, and they’d been set aside in the shop for most of the time since, as I used temporary plywood covers over the locker openings throughout construction. Even after I finally reinstalled the locker lids several weeks earlier, I never had much cause to walk on the starboard one since my path on and off the boat, and in and out of the cabin, kept me well clear. The port locker lid, onto which I stepped every time I got on or off the boat, had never shown any signs of weakness.
This all leads up to the fact that during my companionway work, I stepped on the lid and was most unhappy to feel softness underfoot–the first time I’d noticed this or even had any inkling, as somehow this had escaped my notice for the past two years. I did my best to pretend I hadn’t felt it, and willed it to deal with itself, but ultimately, of course, I knew it was something I had to deal with.
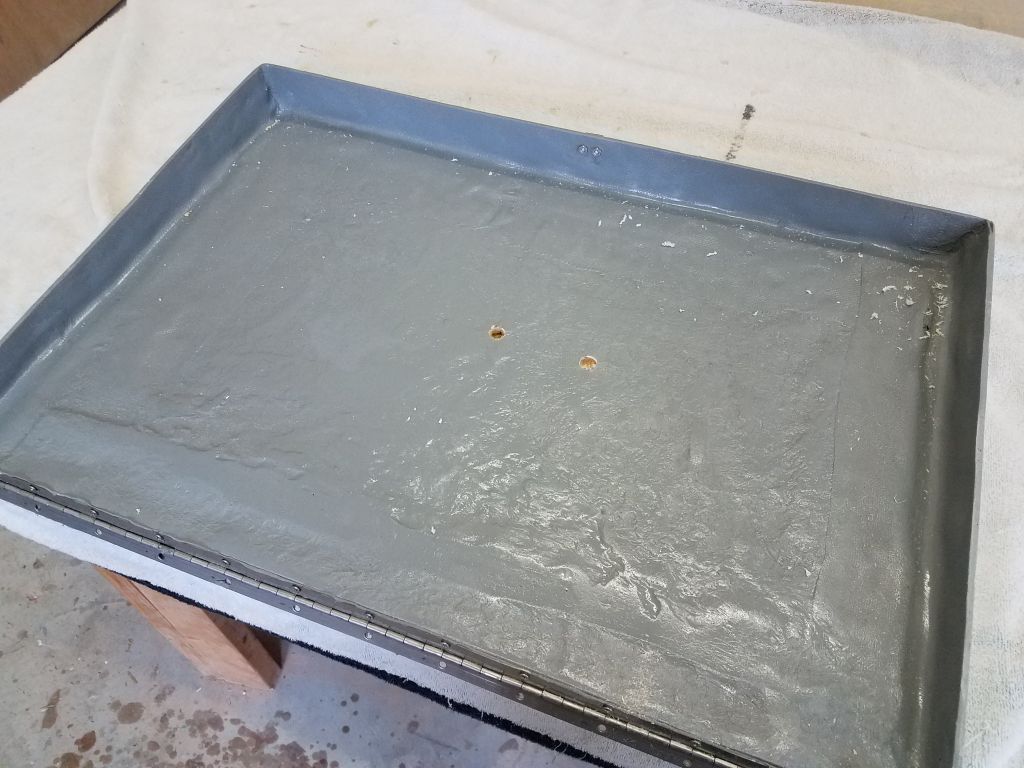
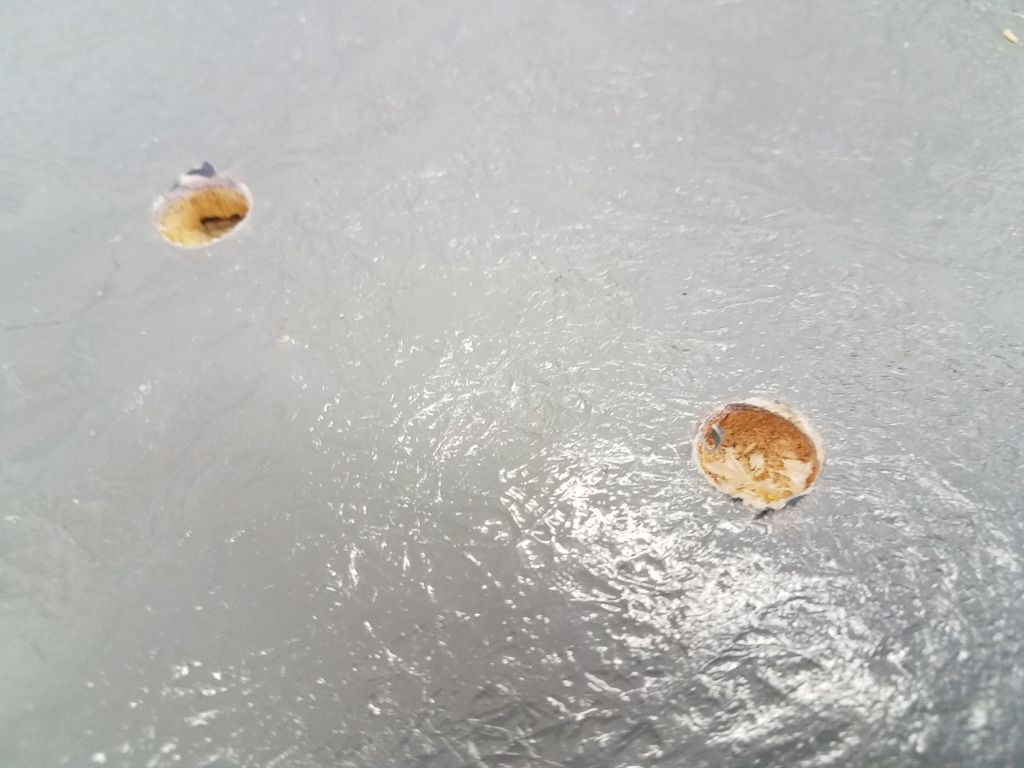
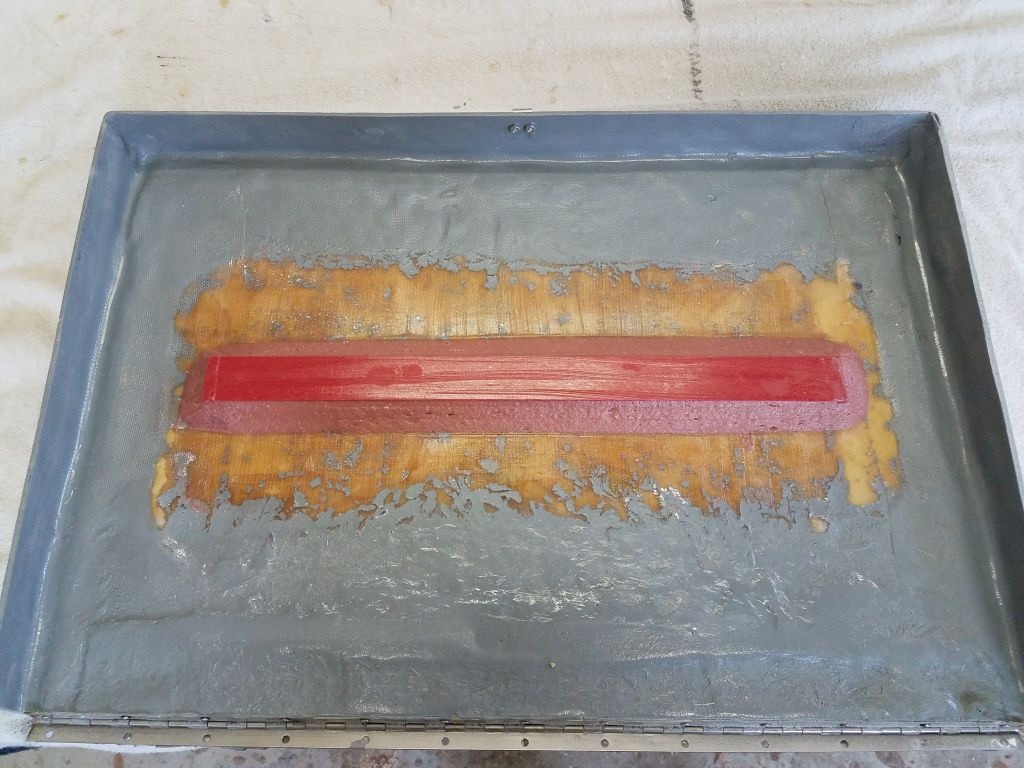
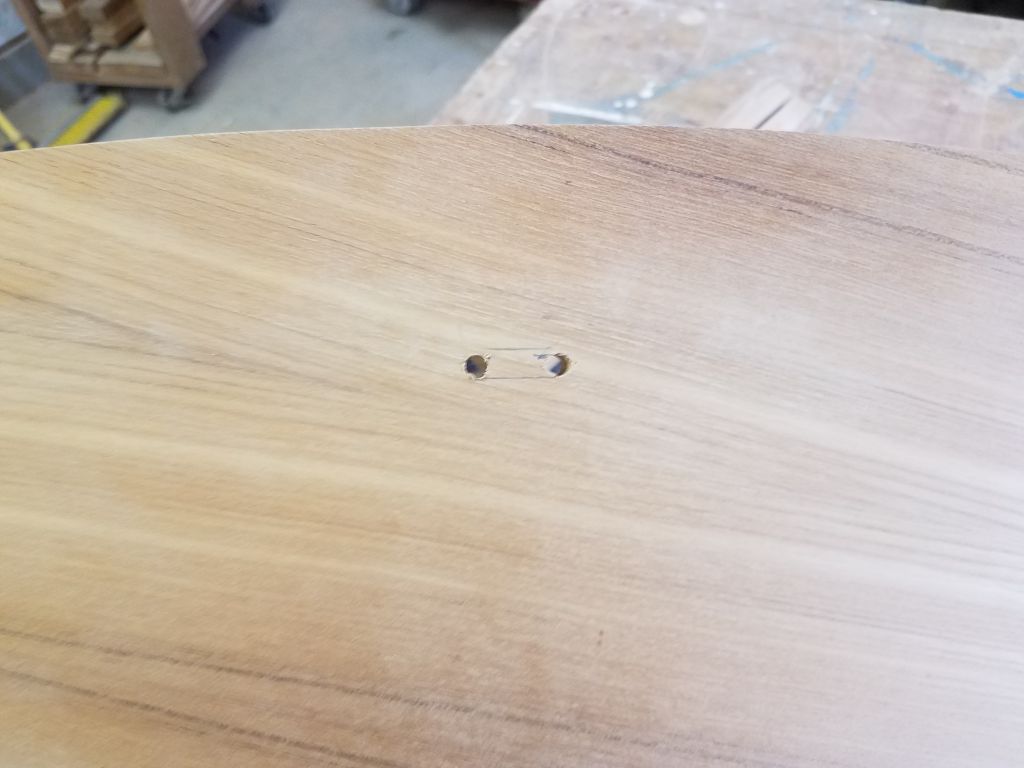
So I removed the lid from the cockpit, unscrewing the hinge, and down on the bench I did some exploratory probing with a drill bit from the underside. As expected, the lid featured a cored construction, but unexpectedly the core in all my test holes was clean and bright. I had expected it to be wet and damaged. After various additional testing and consideration, I decided that the lid was simply weak and not well-enough supported, and that it wasn’t a core problem after all.
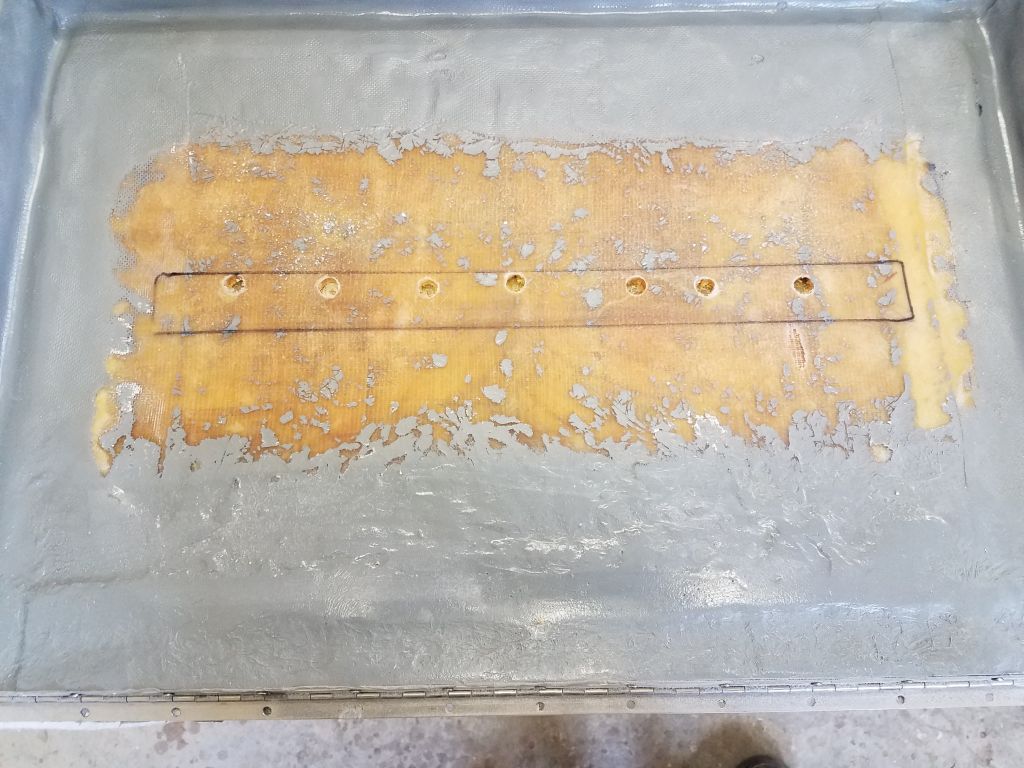
I’d been fully prepared to recore the lid, though the process could have risked damage to the finished surface of the lid, but since the core was sound, and I didn’t relish removing sound core from the top skin if it wasn’t truly necessary, I decided instead to install a stiffener/reinforcement. I sanded away the paint from a section of the middle of the lid (all on the underside), and cut a piece of prefab fiberglass as a stiffener, which I secured in place with thickened epoxy adhesive and a large fillet all around. In the process I also epoxy-filled my test holes, which in this case would double as additional reinforcement and a sort of “key” into the existing structure beneath the new reinforcement.
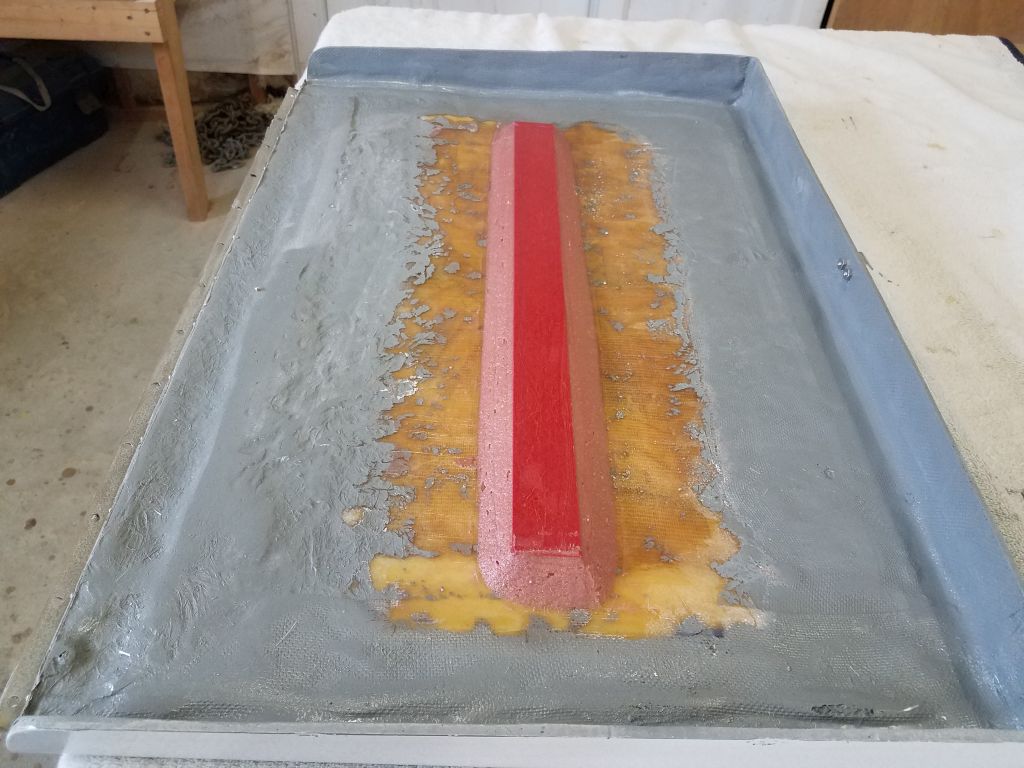
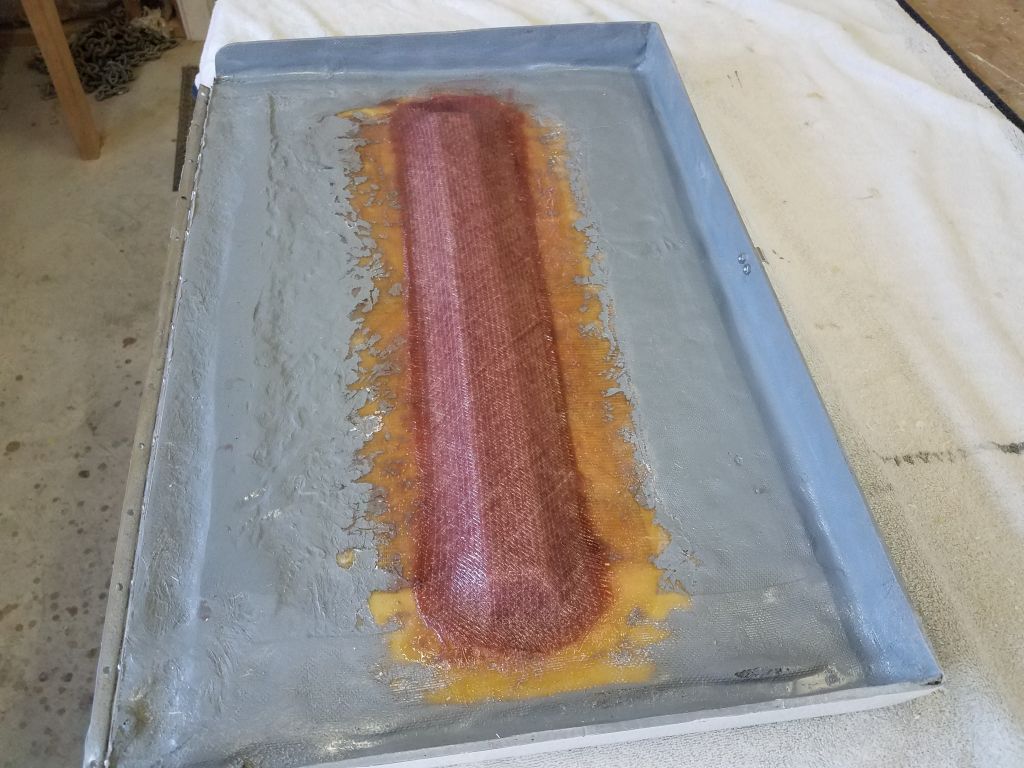
After letting the epoxy cure for a few hours while I continued work on other things (to which I’ll return shortly here), I applied a small touch-up layer of thickened epoxy to the fillets, smoothing minor imperfections from the first round, then installed two layers of 1708 fiberglass over the top of the whole arrangement to complete the reinforcement. I’d certainly not planned to be doing this at this stage of the project, but I was glad I’d noticed the problem when I did in any event.


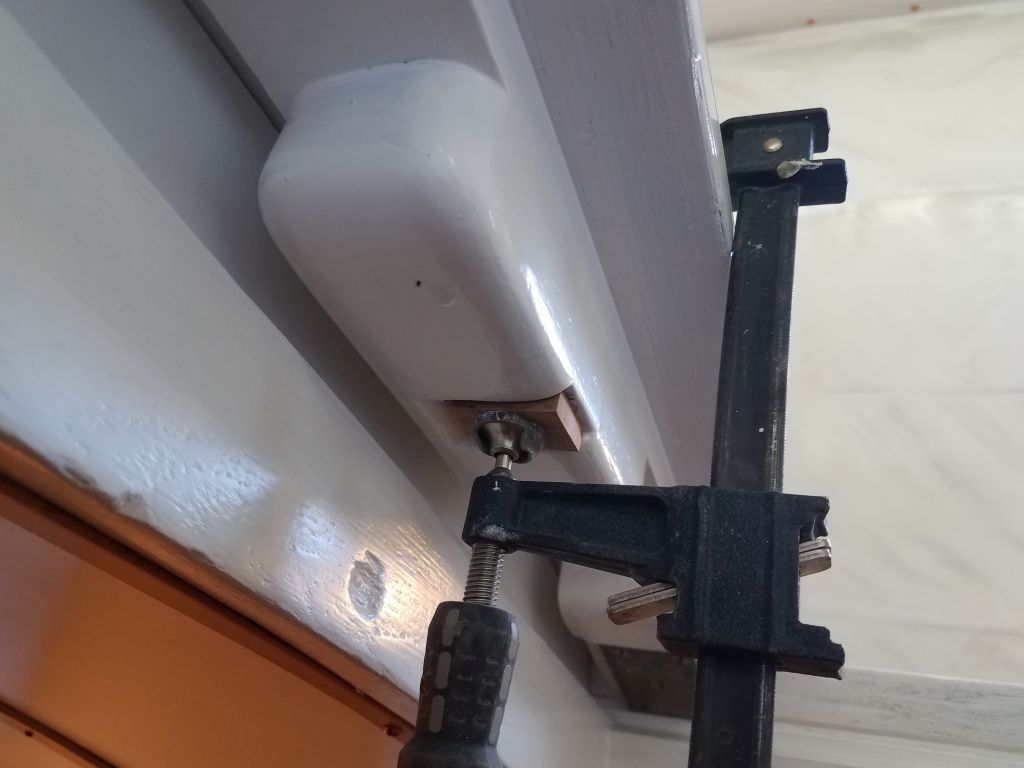
Meanwhile, I continued work on the pair of new companionway boards. With the basic plywood one cut to shape, my next step was to cut a little slot for the companionway hasp, but as with everything that required an additional step first. There’d been no hardware installed on the companionway when the boat arrived here, but there was a recess in the wooden part of the slide that fit a standard hasp tang perfectly–except that it didn’t allow the tang to rotate out of the way when the hatch was open. So I made a little teak spacer to fill the space, and glued it in place before installing the little tang through the new spacer. Then, with the hatch shut, I used the tang to mark its own slot on the back side of the new hatch board, and cut out the slot as needed.


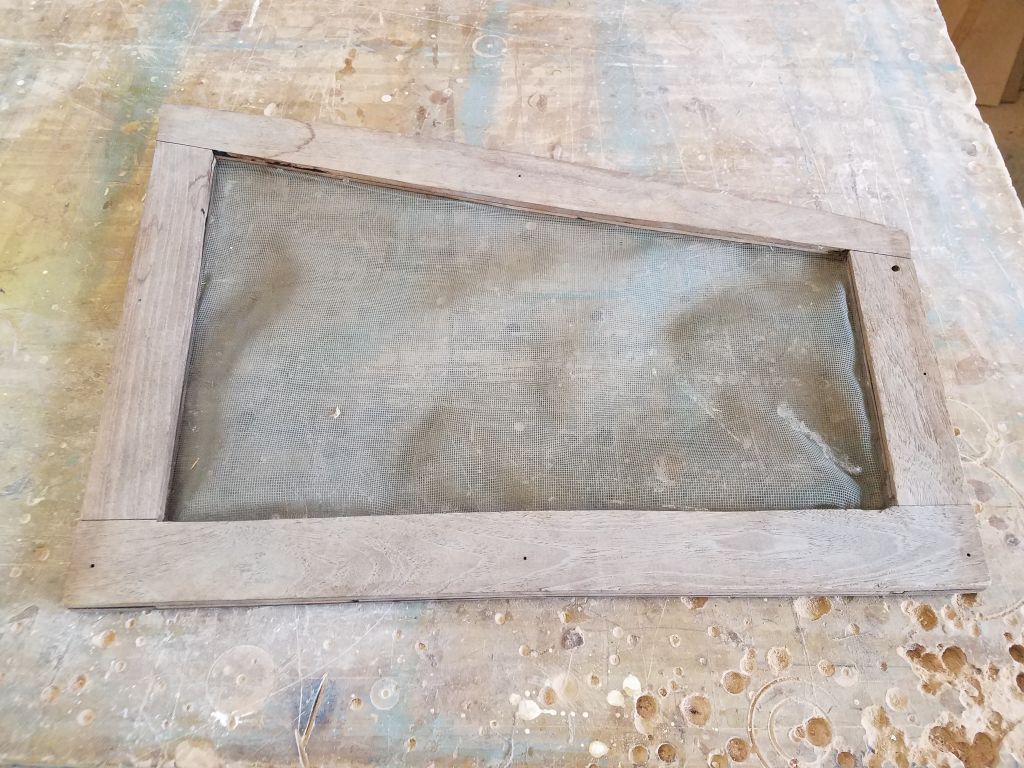
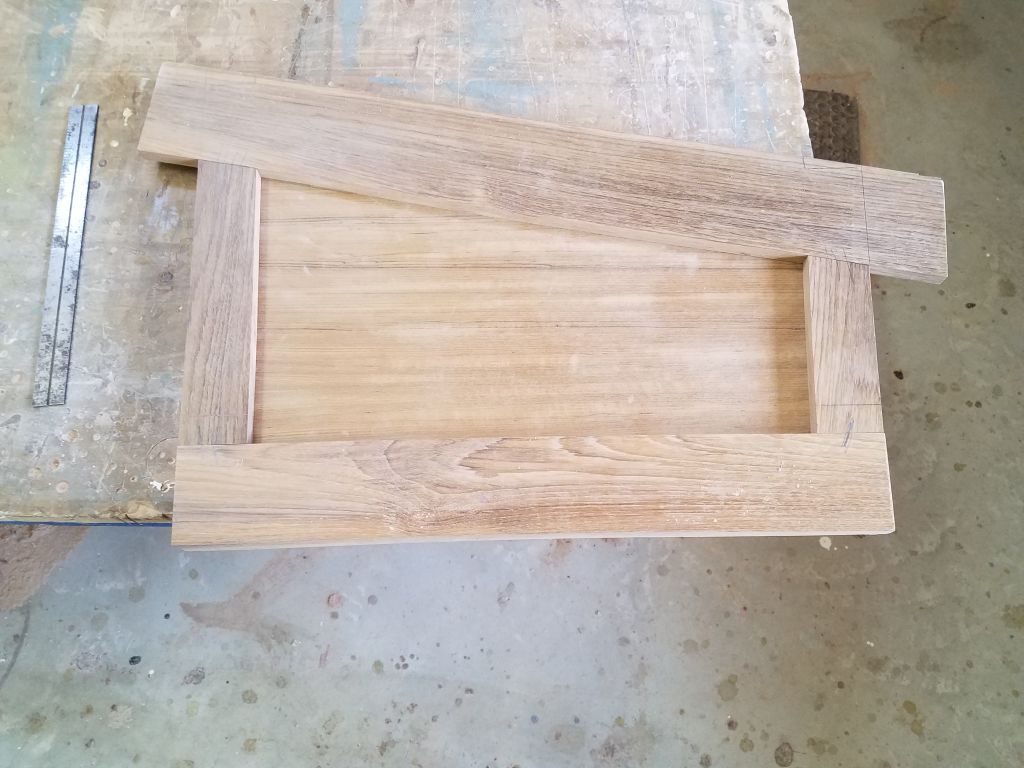
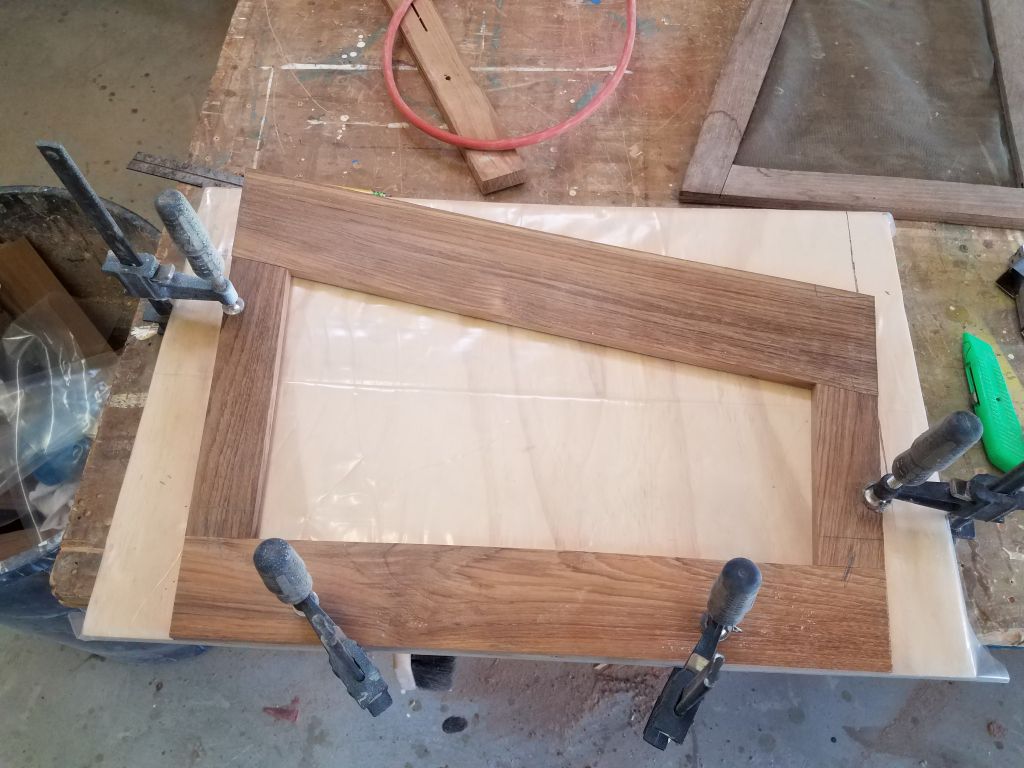
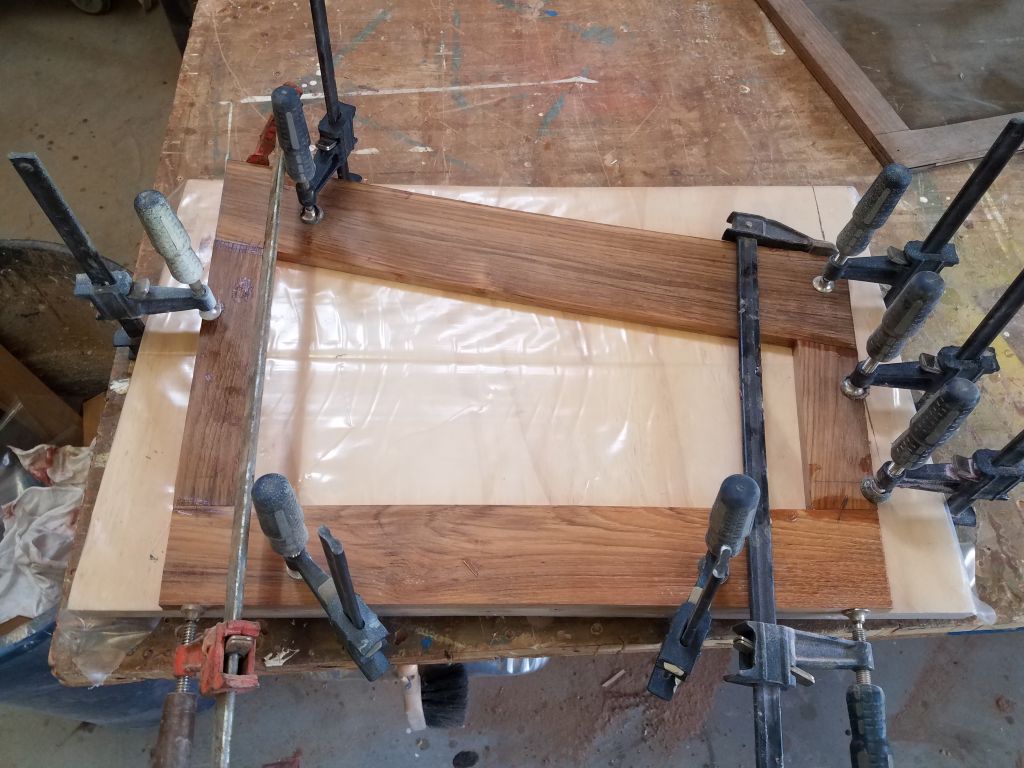
To begin the solid teak-framed screen unit, I cut several pieces of 4/4 teak to the widths I wanted (3″ for the bottom rail, 2″ for the stiles, and a wider piece for the top rail that I’d later cut into the curve required), then resawed and planed them down to a finished thickness of just under 5/8″, which fit in the slots of the companionway. Using my new plywood swashboard as a template, I laid out and cut the frame pieces for the screen, then, on a flat surface covered with plastic, clamped and glued the frame pieces together with thickened epoxy adhesive.
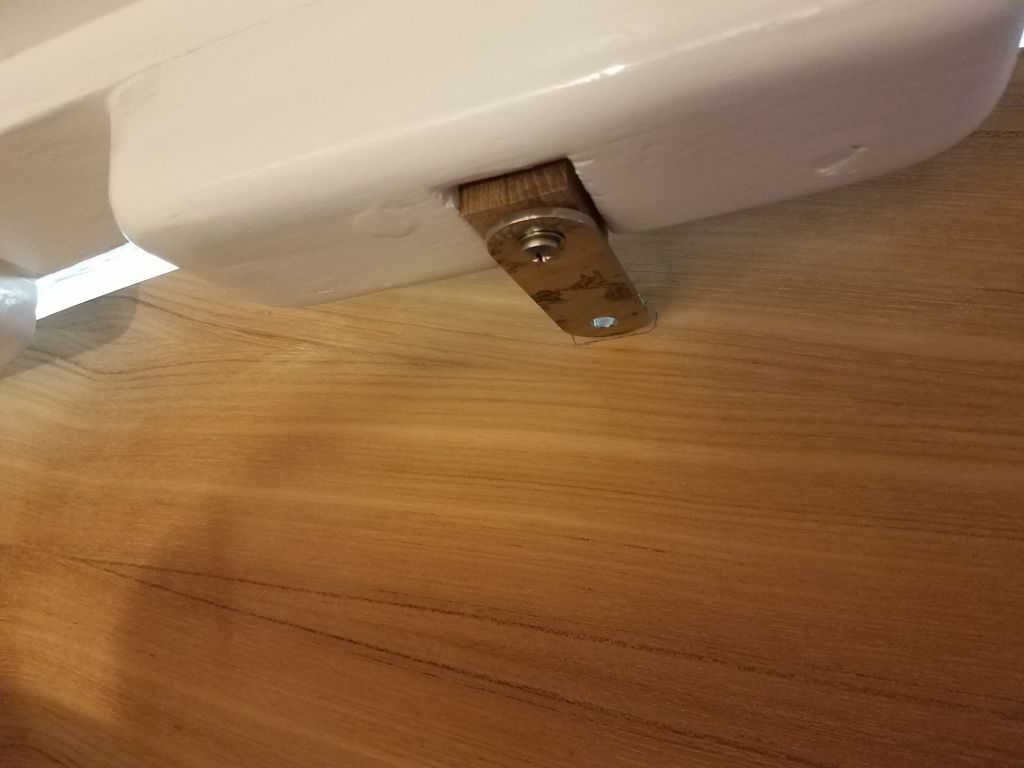
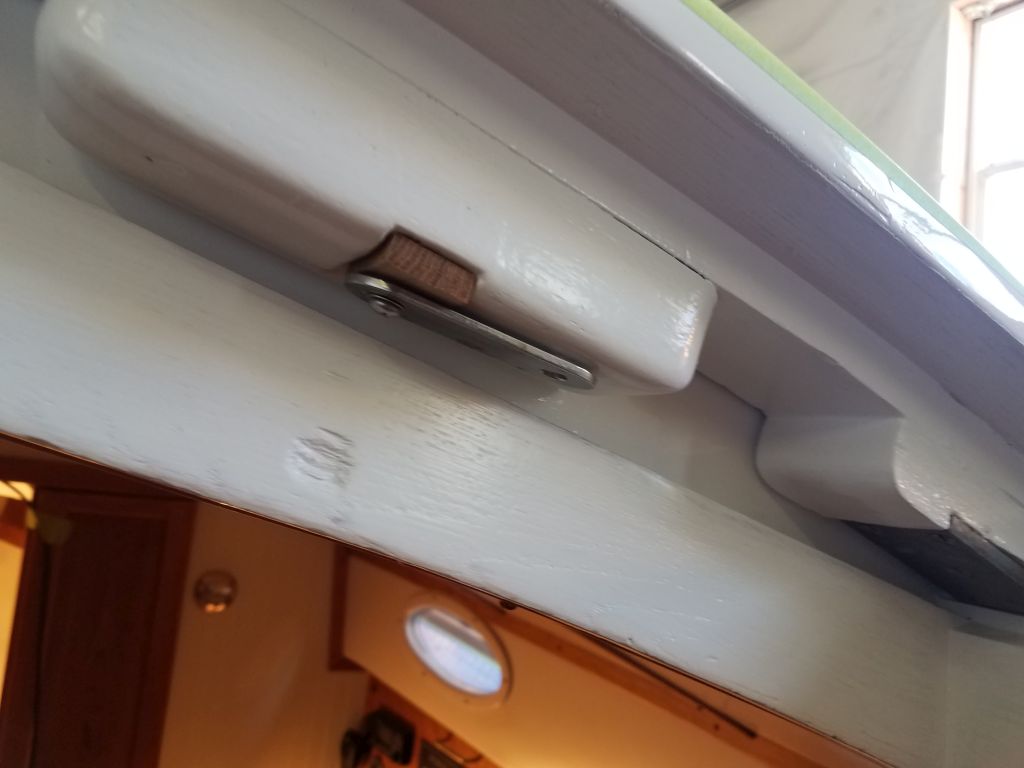
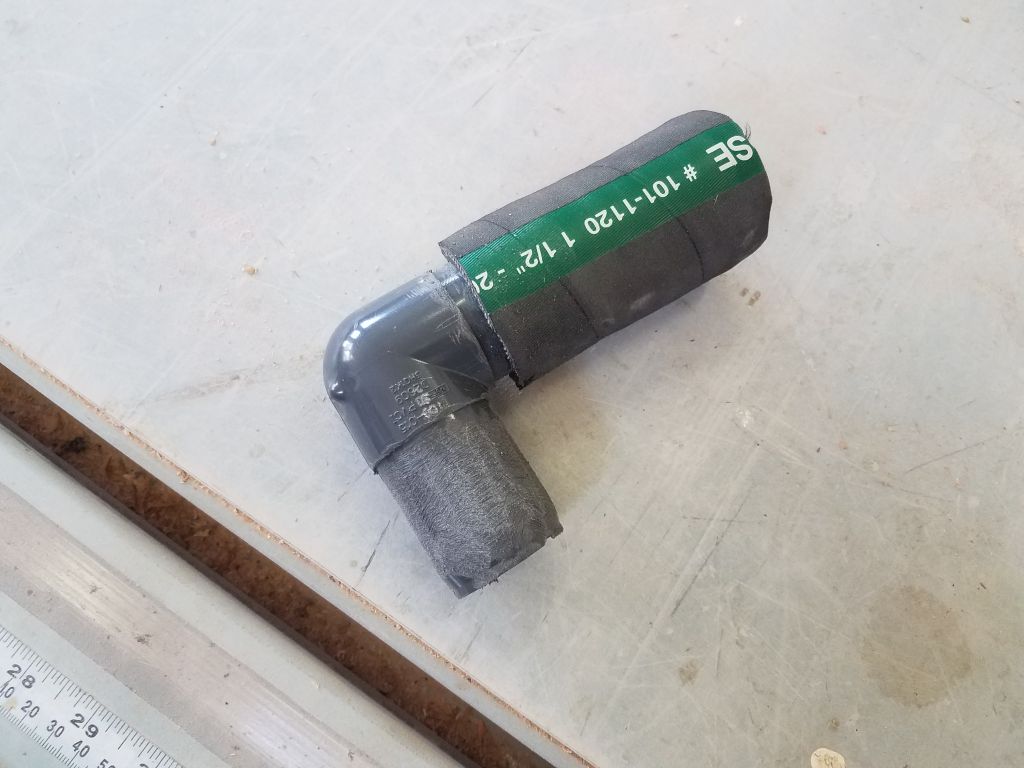
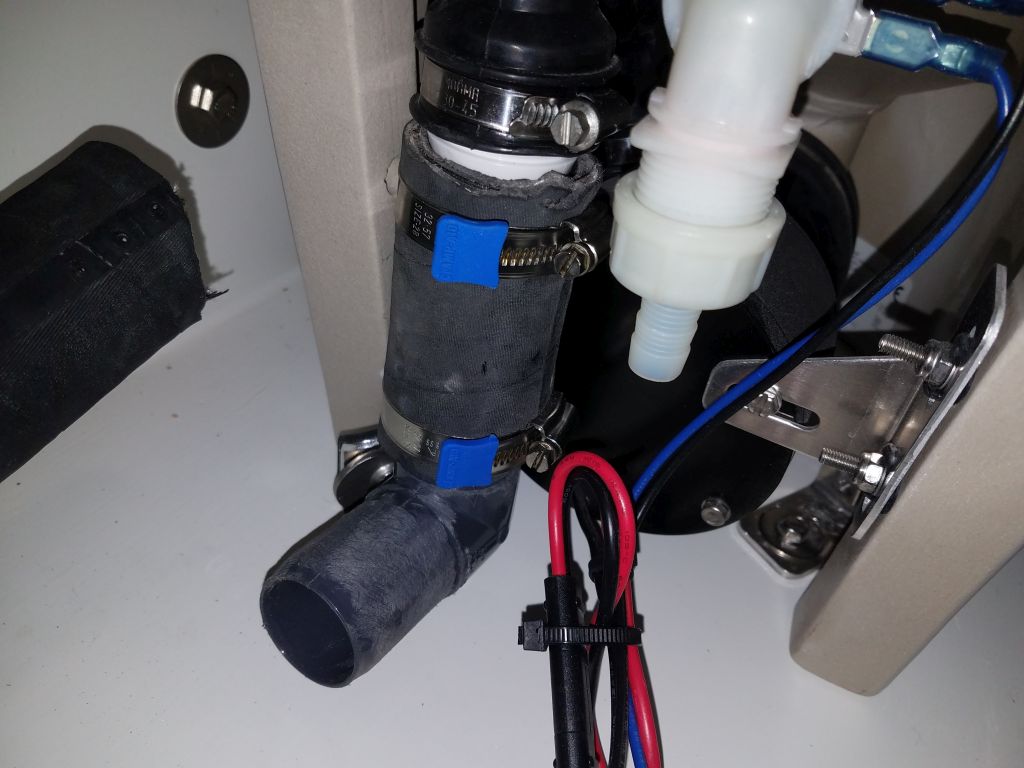
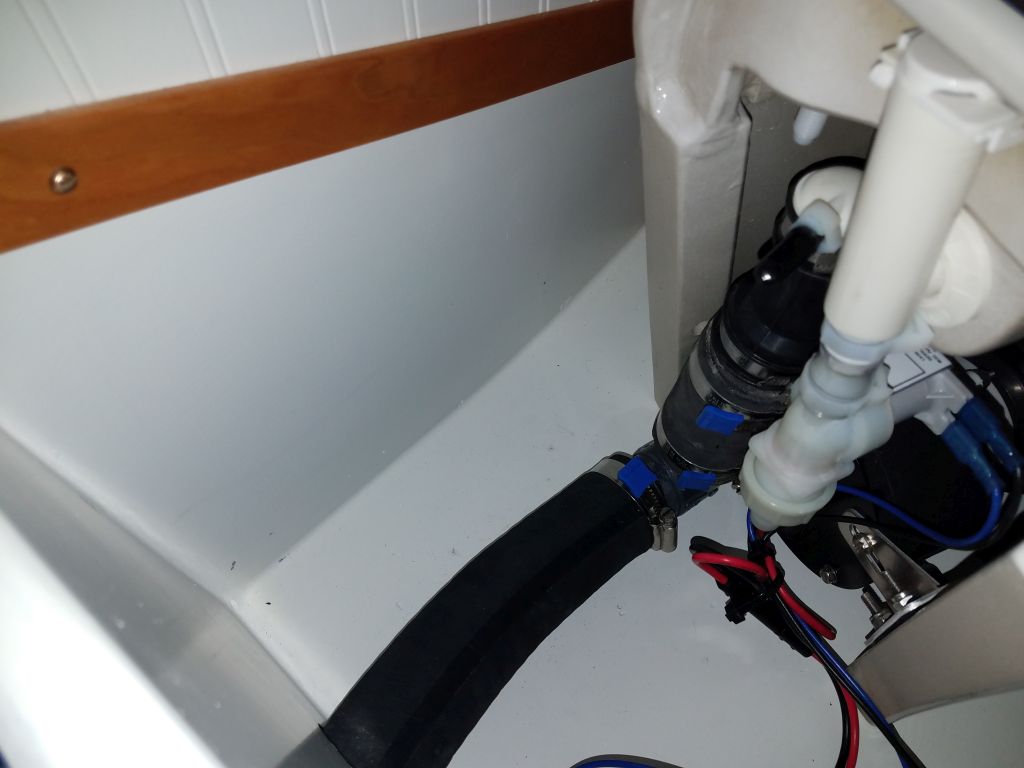
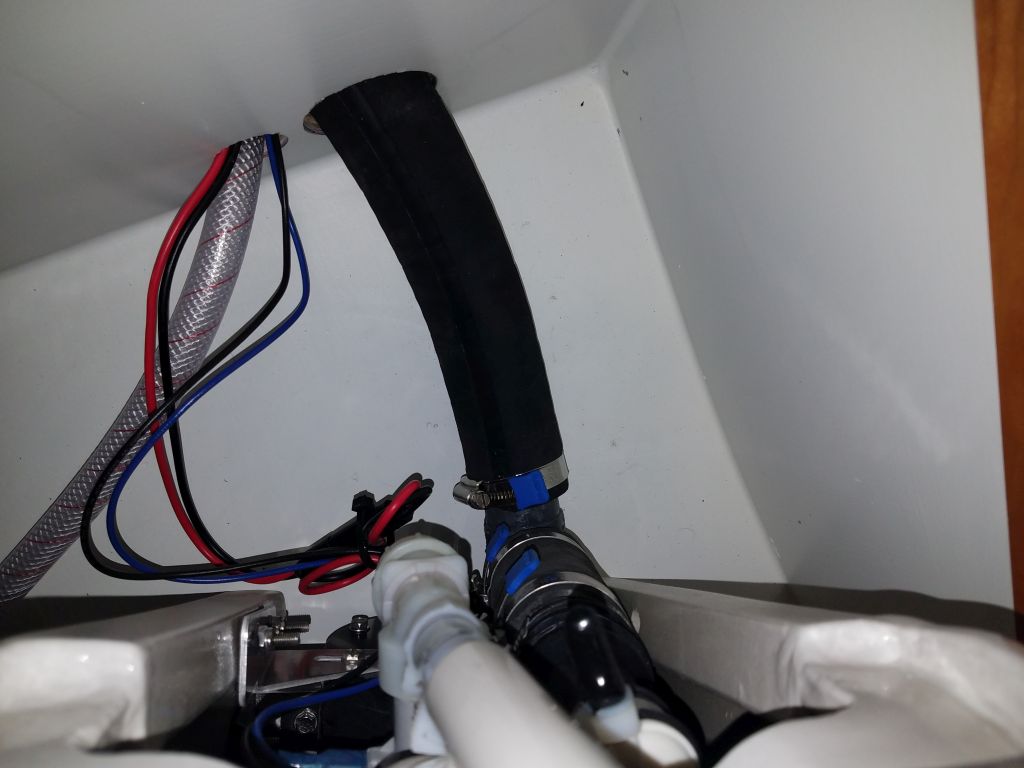
By now, it was mid-afternoon, and I’d just received the shipment containing the elbow fitting I needed for the head, so with a short stretch of time before I had to leave for the day, I thought I’d get that in place if I could. Barbed plastic plumbing fittings tend to be annoyingly oversized–this one was spec’d out at 1.61″ OD, nominally 1.5″ pipe size, but 1-1/2″ reinforced marine hose simply does not stretch enough to fit over something oversized–a fact with which I was well familiar, so my first step was to sand away the offending barbs as needed so the fitting would fit inside the hose, removing just what I needed to from both sides of the barb before pre-installing the short length of hose I needed to attach to the discharge fitting on the toilet. Then, up in the boat, I installed the new elbow and connected it to the discharge hose I’d installed earlier, bolting the toilet into its brackets in the process. It was a relief to have that done, and now all that remained to complete the head installation was to connect the intake hose, and finalize the wiring from the toilet to the control box.
Total time billed on this job today: 7 hours
0600 Weather Observation: 39°, cloudy, rain shower. Forecast for the day: Mostly cloudy with gradual clearing, windy, 46°