


January 27, 2020
Scupper 228
Monday
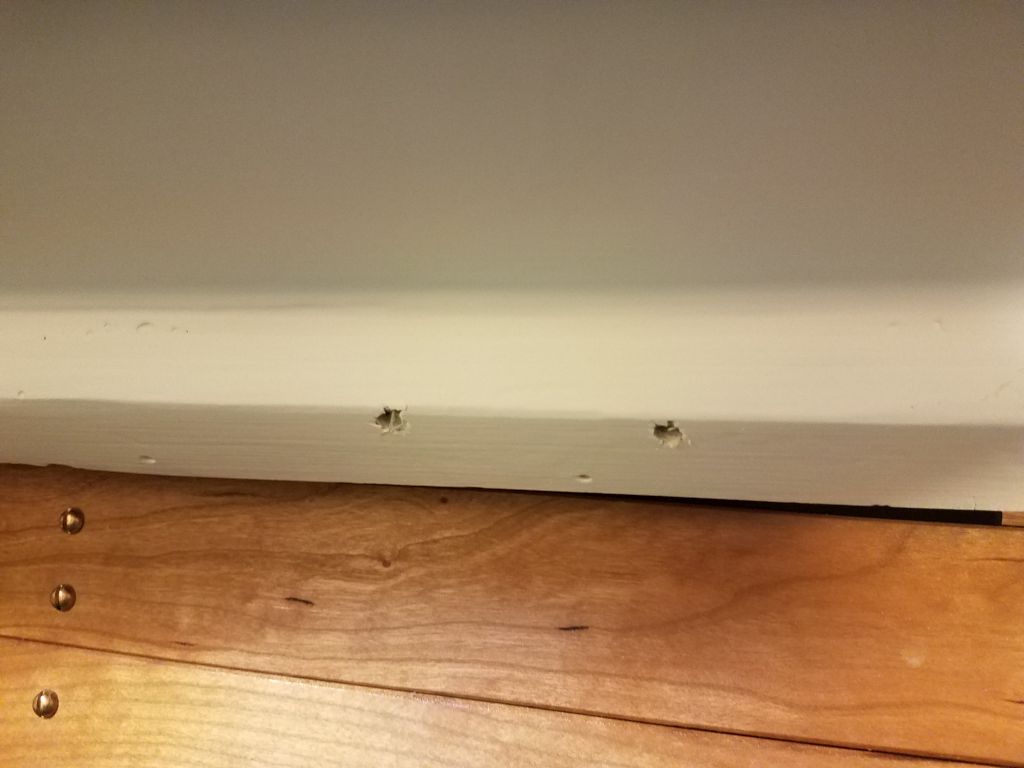
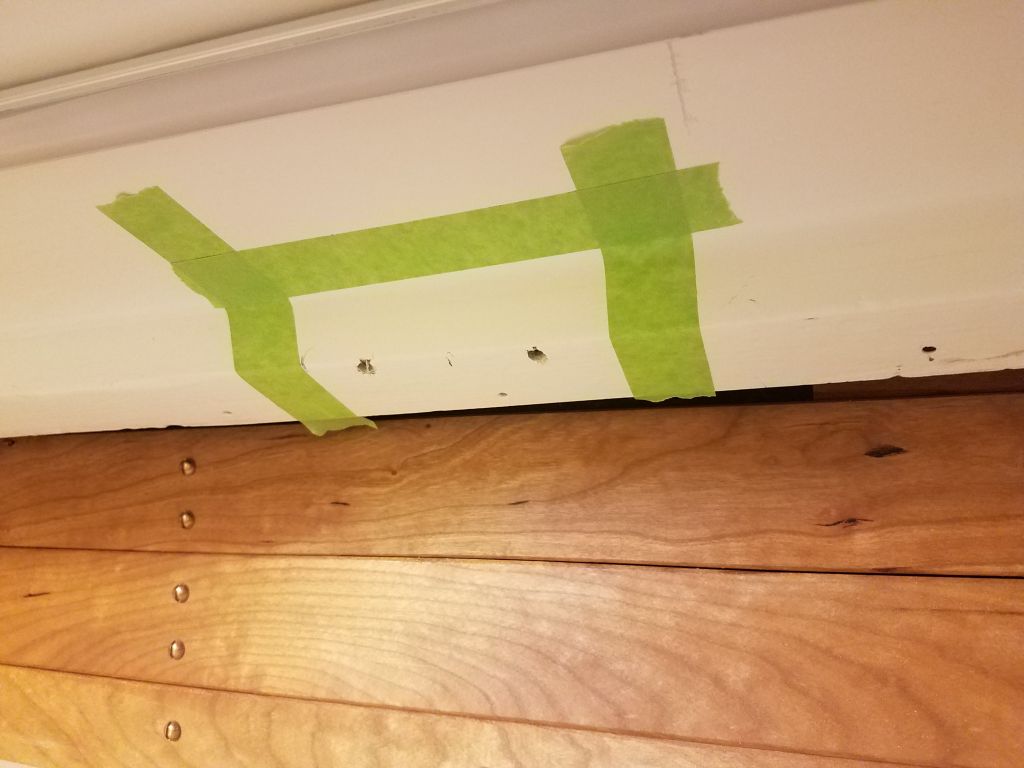
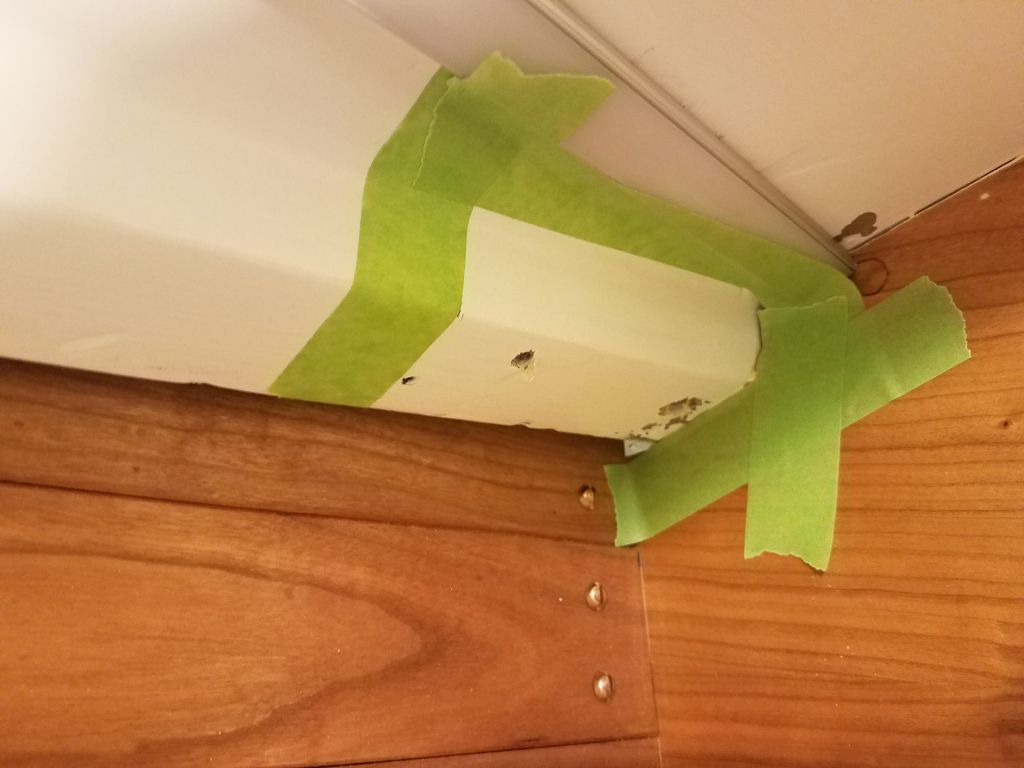
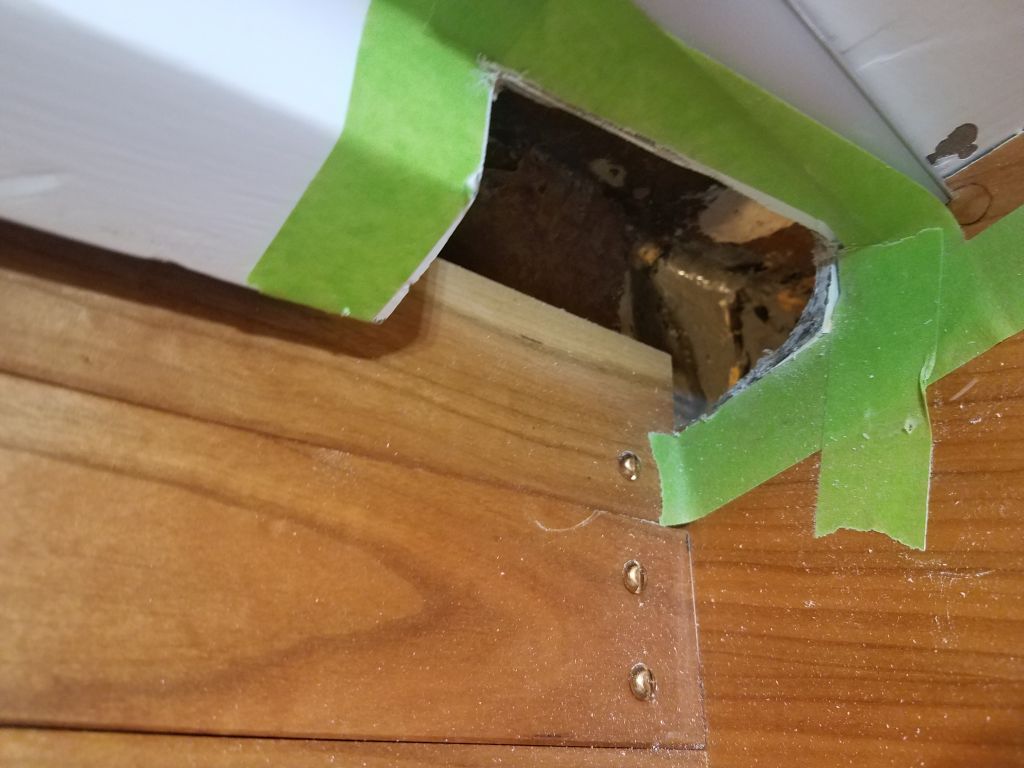
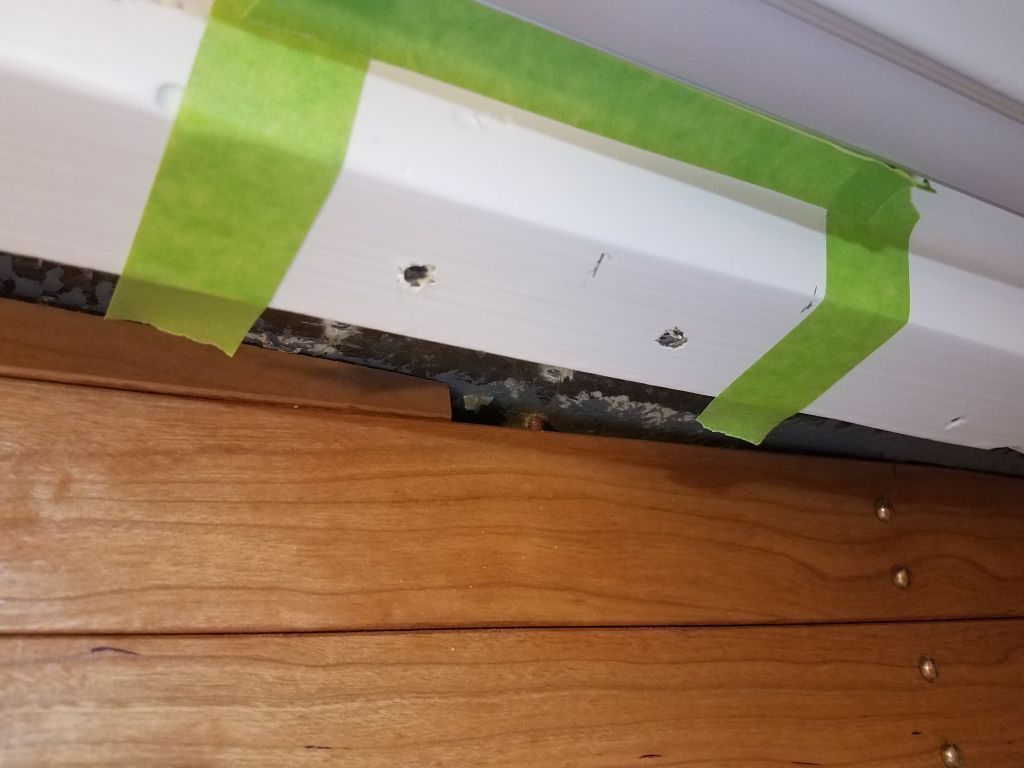
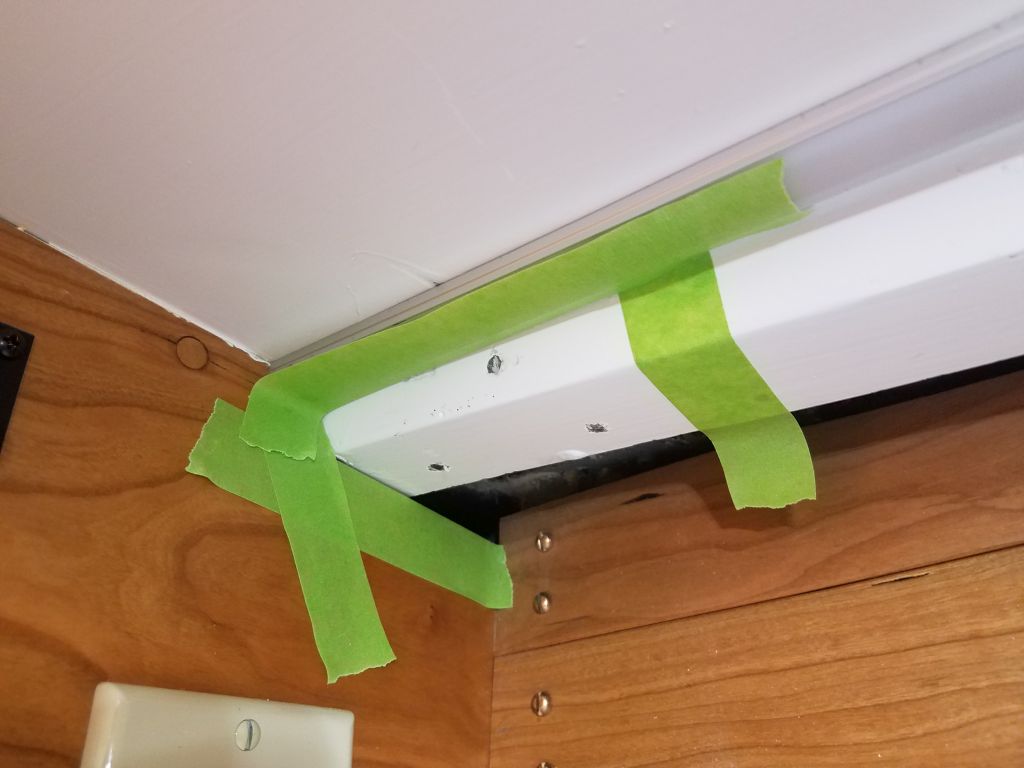
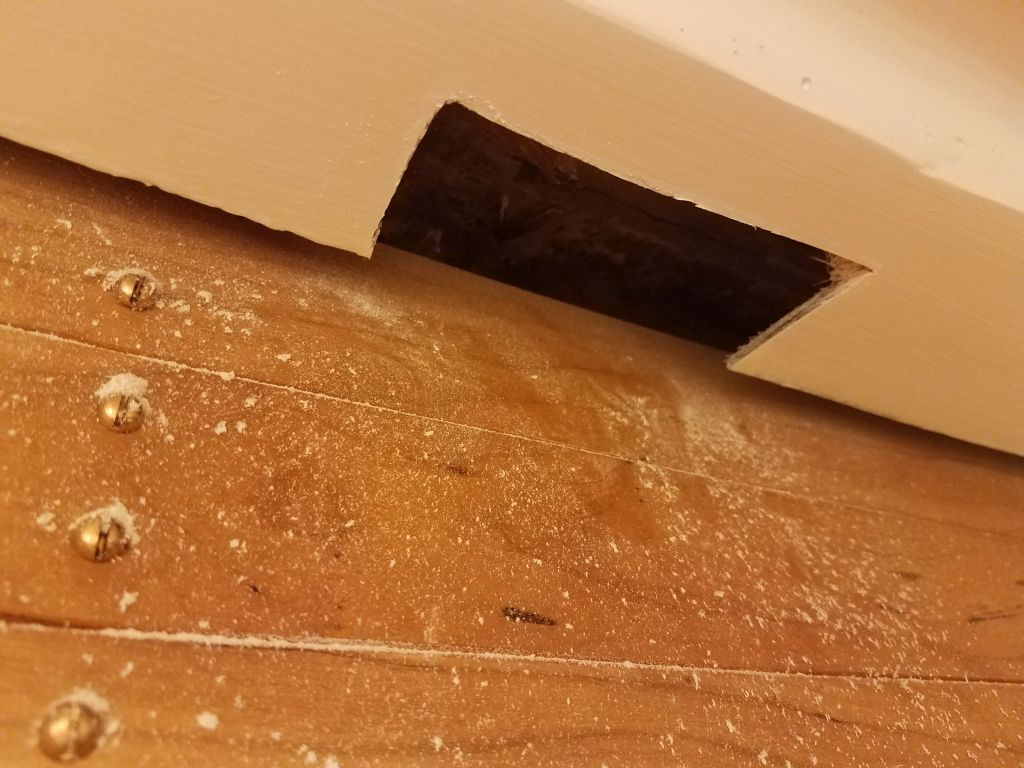
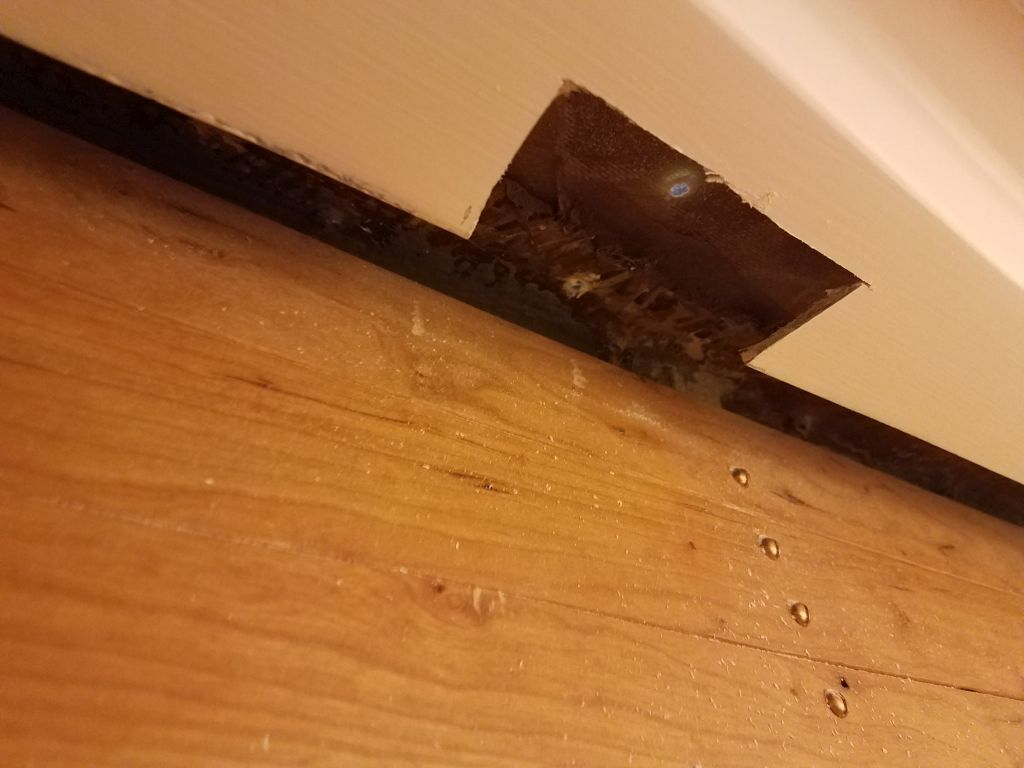
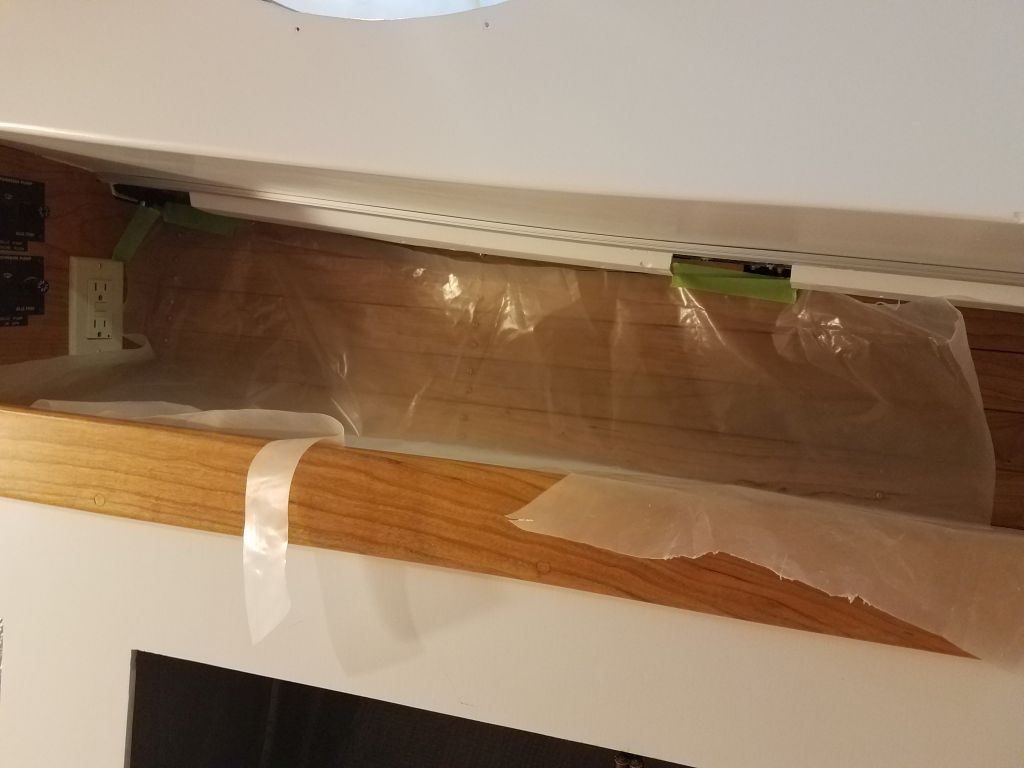
I now had on hand several of the new stanchion bases (still awaiting three), so I could get going on the installations. In the cabin, at each of the six locations (three per side), I’d purposely drilled through the liner when I’d prepared the holes on deck, and this marked the locations of the stanchions in the cabin. I needed to cut away the liner in these areas in order to access the underside of the deck for fastening. At each spot, I marked off the cutout with masking tape and removed the liner within; later I planned to make cosmetic covers for these new openings. Then, I protected the finished interior with plastic beneath each cutout to catch bits of sealant that would inevitably fall.
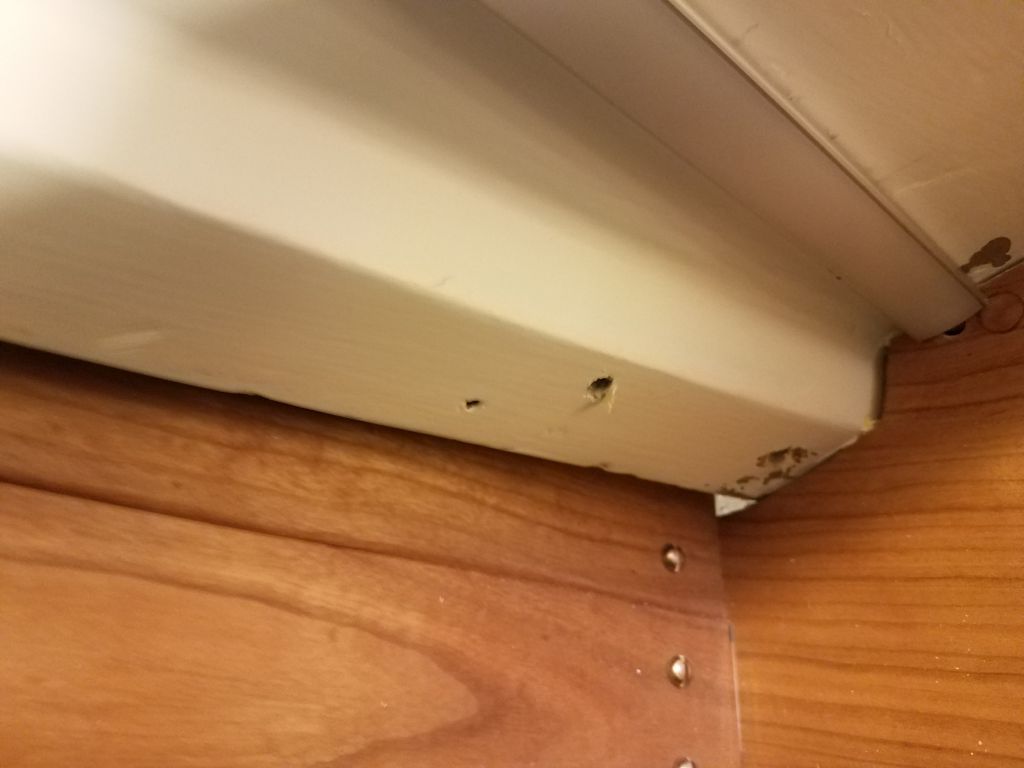
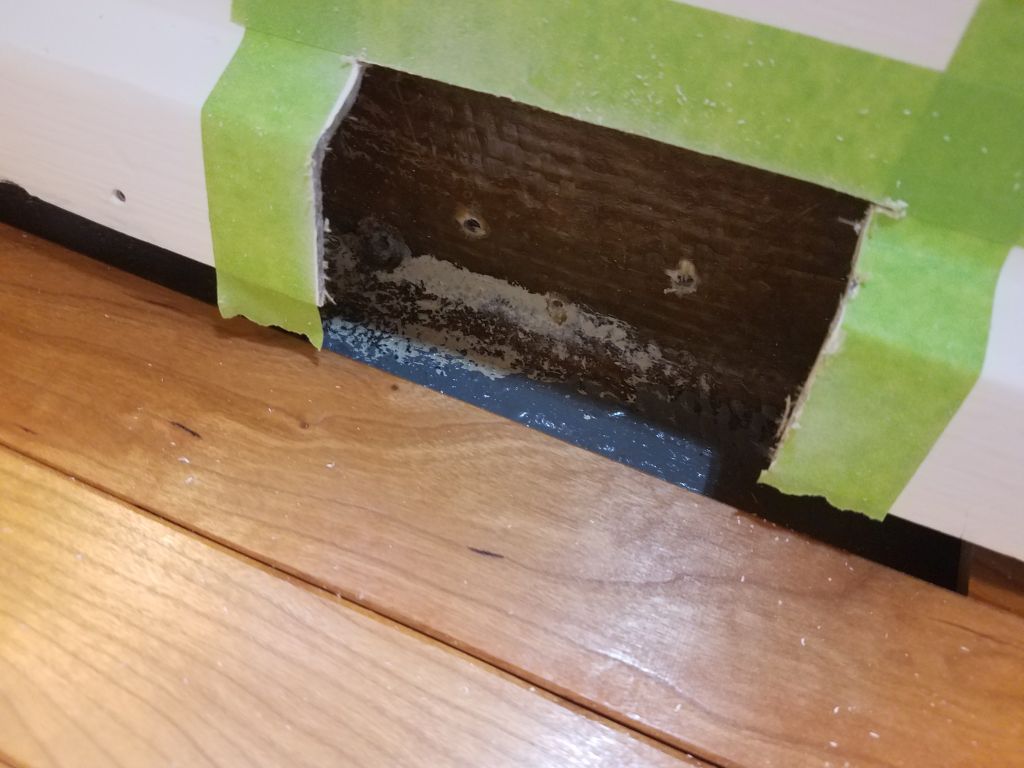
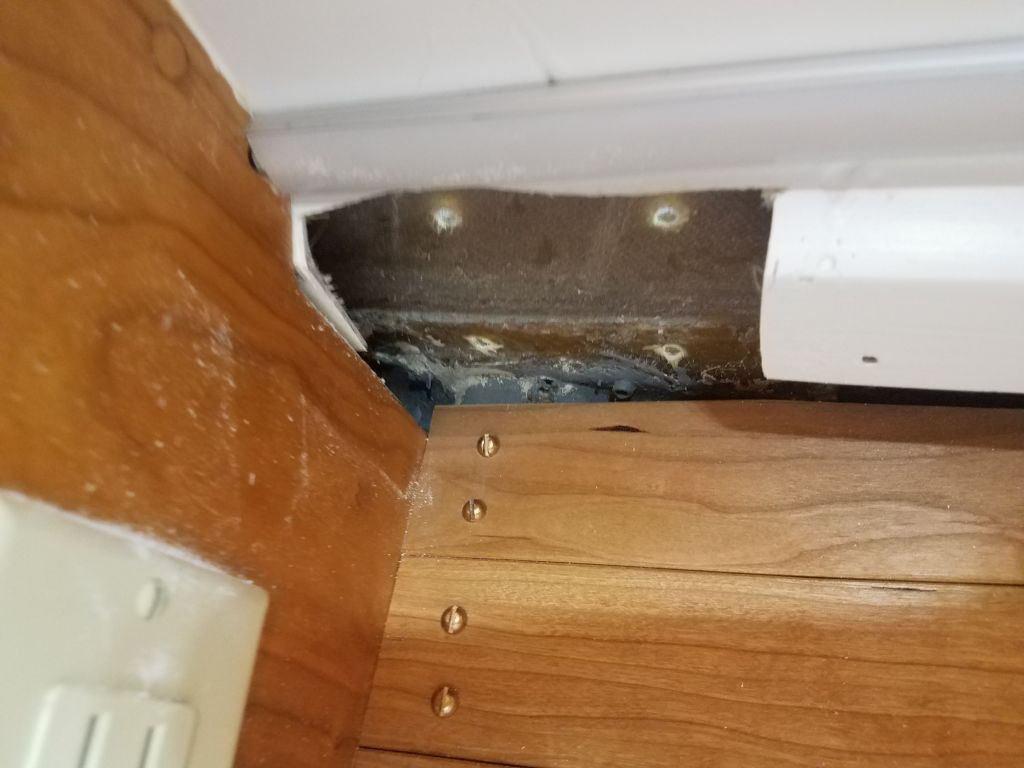


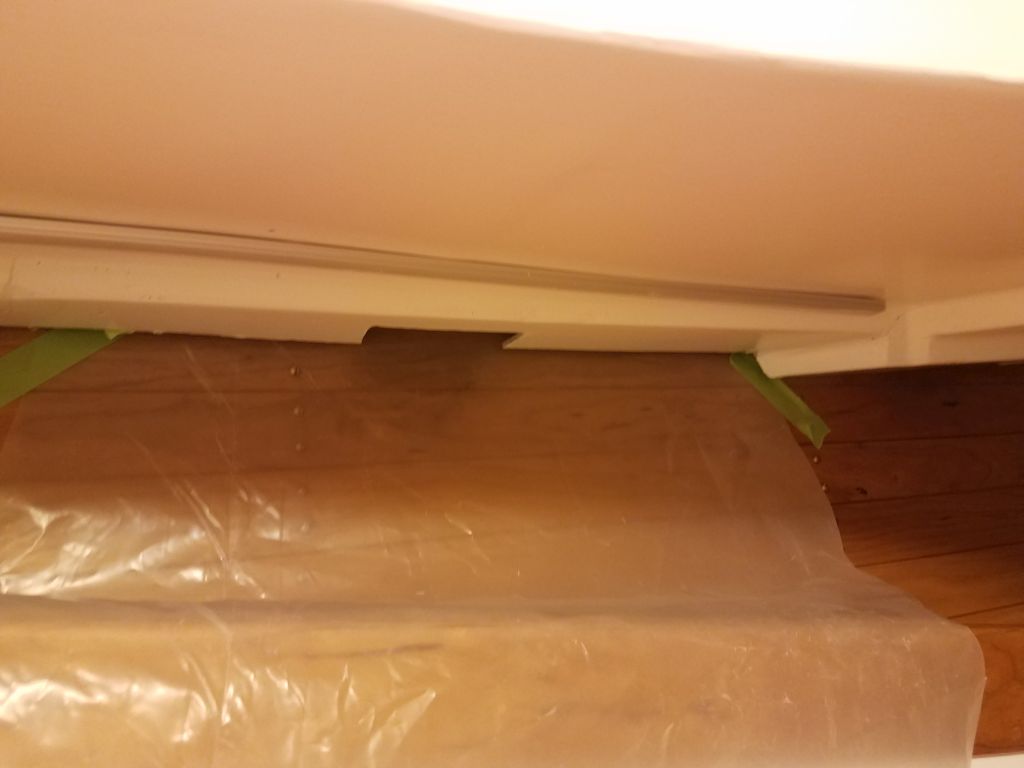

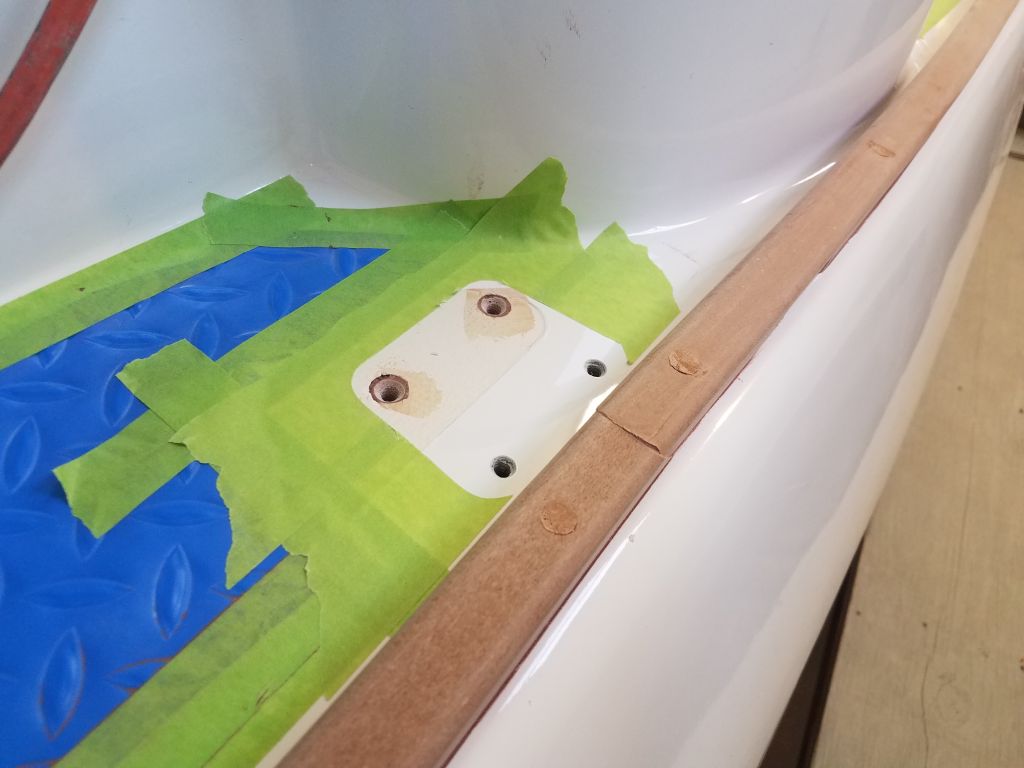
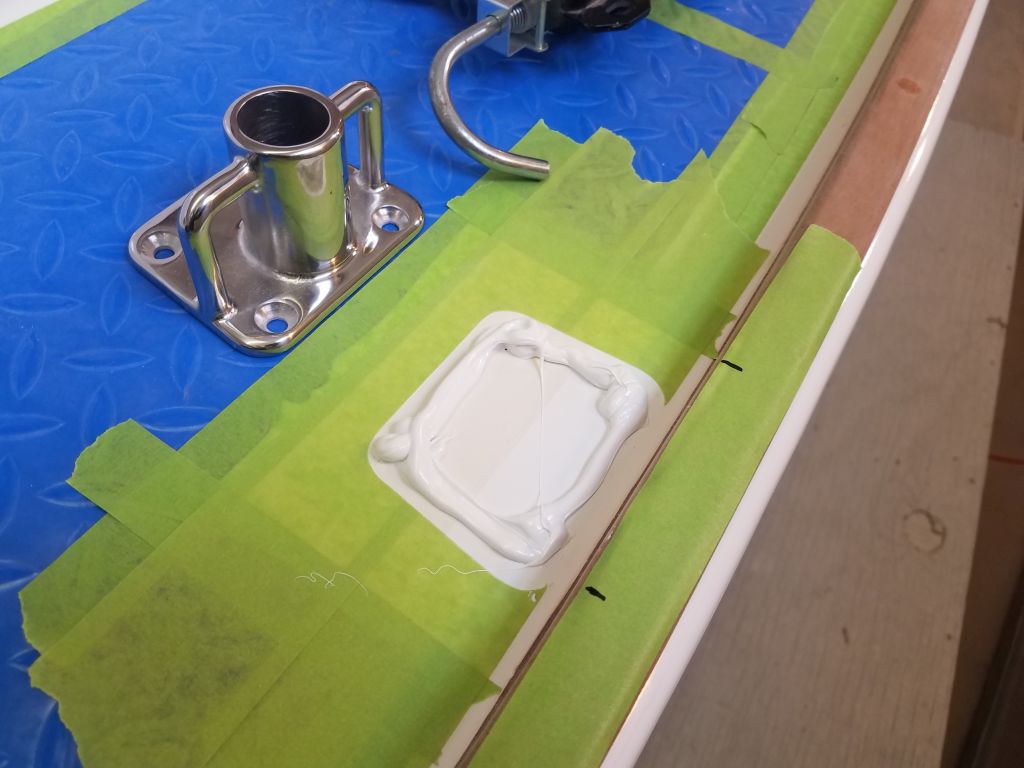
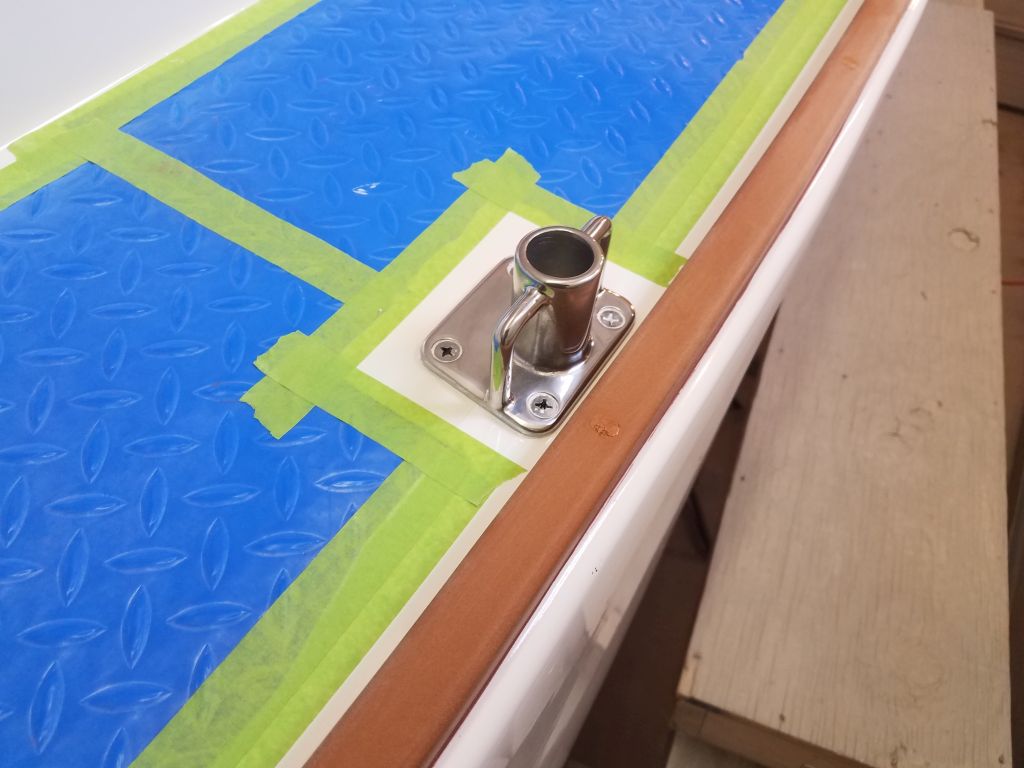
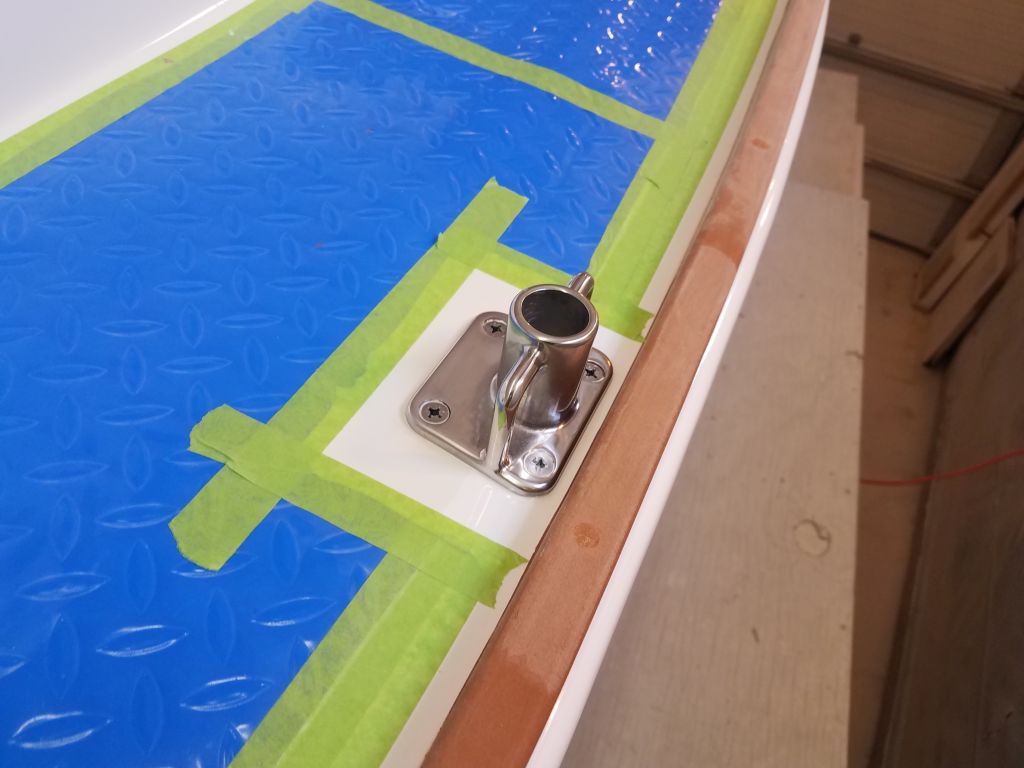
In deck, I finished preparing the fastener holes at the four stanchion locations where I’d had to overbore and epoxy-fill the inboard holes in the deck, so I went through the usual motions of drill/tap/countersink. Then, beginning with the first three stanchions on the port side, which I’d decreed “most likely to be difficult” because of the way the port liner interacted with the deck and the generally sloppy old repair work I kept running into throughout the work on this side of the boat, I applied sealant and bolts from above, then went below to install large washers and nuts.
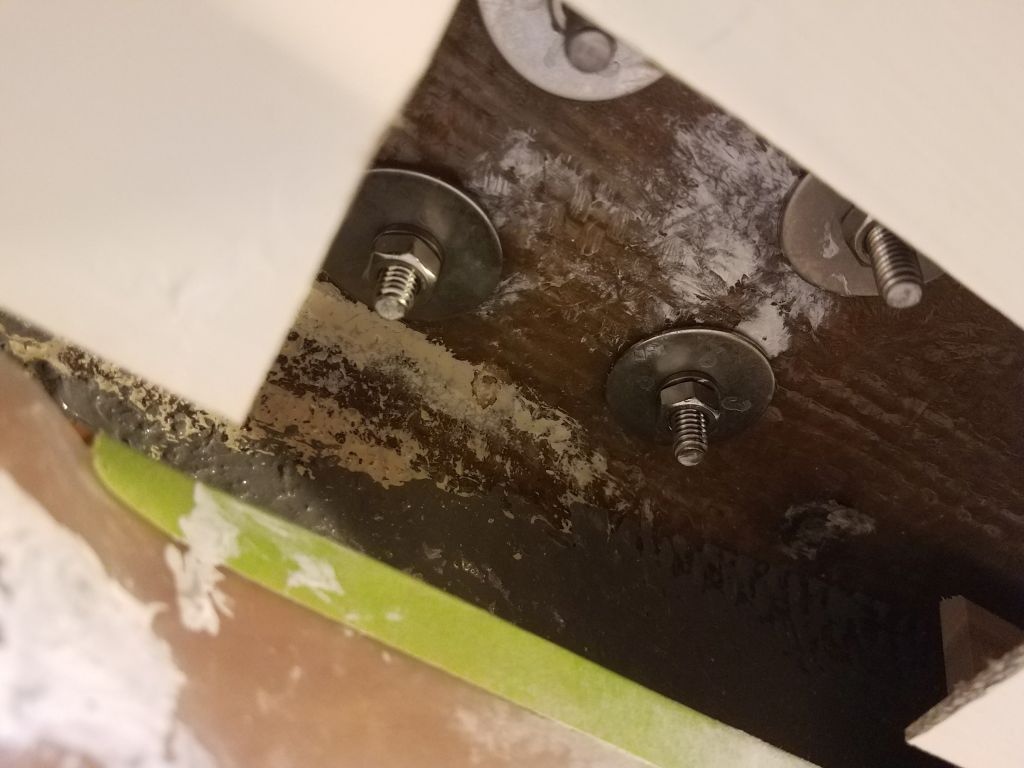
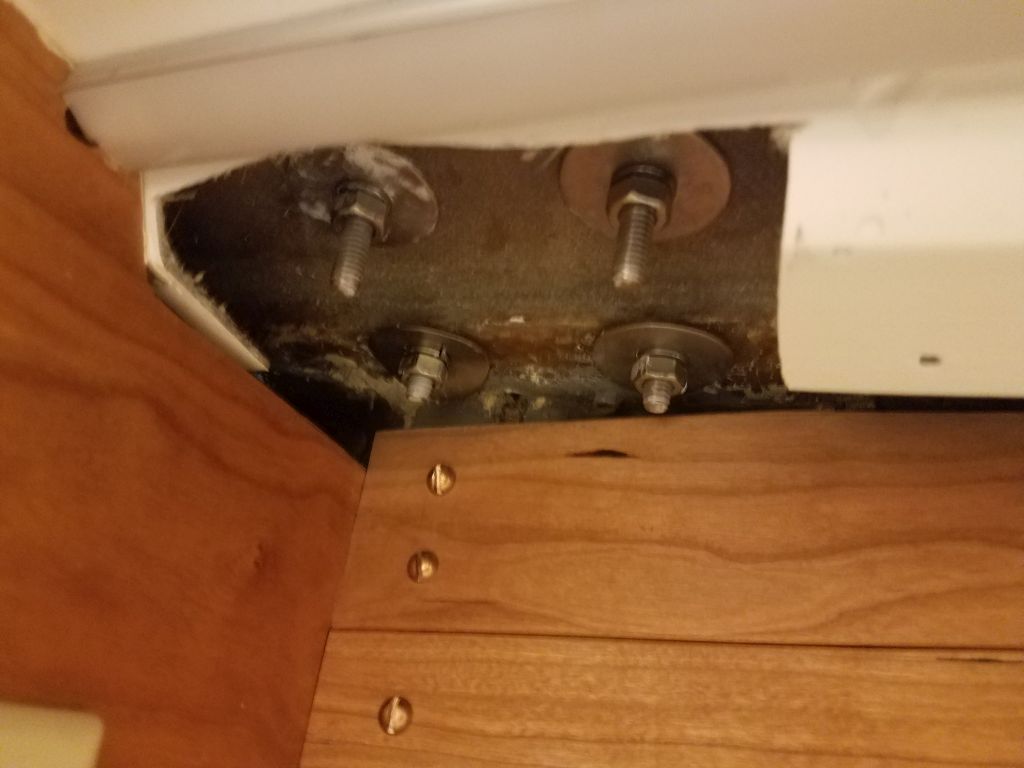
Indeed, access to these three bases was tough. The space between the liner and the deck was quite wide, but the liner extended nearly to the hull on this side, and with the stanchions close to the edge of the hull, something about this combination made it next to impossible to get a hand in there easily, so starting the washers and nuts was something of a trial. I had to open further a couple of the cuts I’d made in the liner so I could get to the innermost bolts at the two forwardmost locations, and at the foredeck location there was a mess of crusty, sloppy old fiberglass shards and related mess that I had to chisel out of the way so I could get washers in place, but eventually and at considerable length I successfully fastened all three of the bases on the port side (the fourth one, aft of the winch island, would come later), and cleaned up the excess sealant and tape on deck to complete the job.
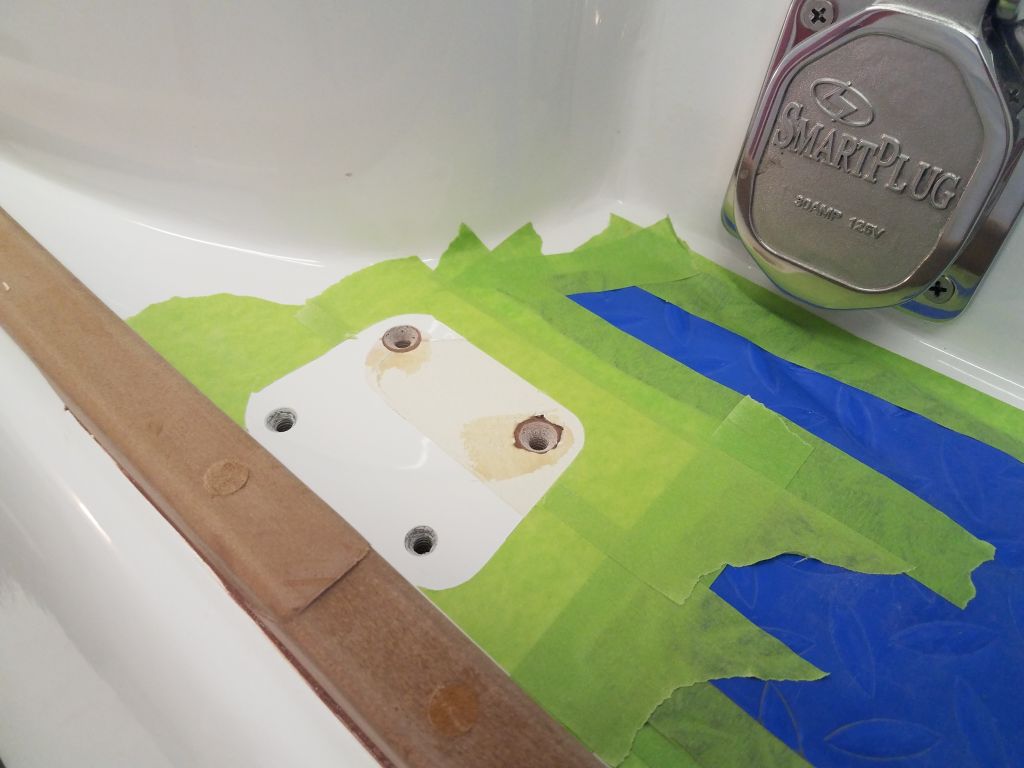

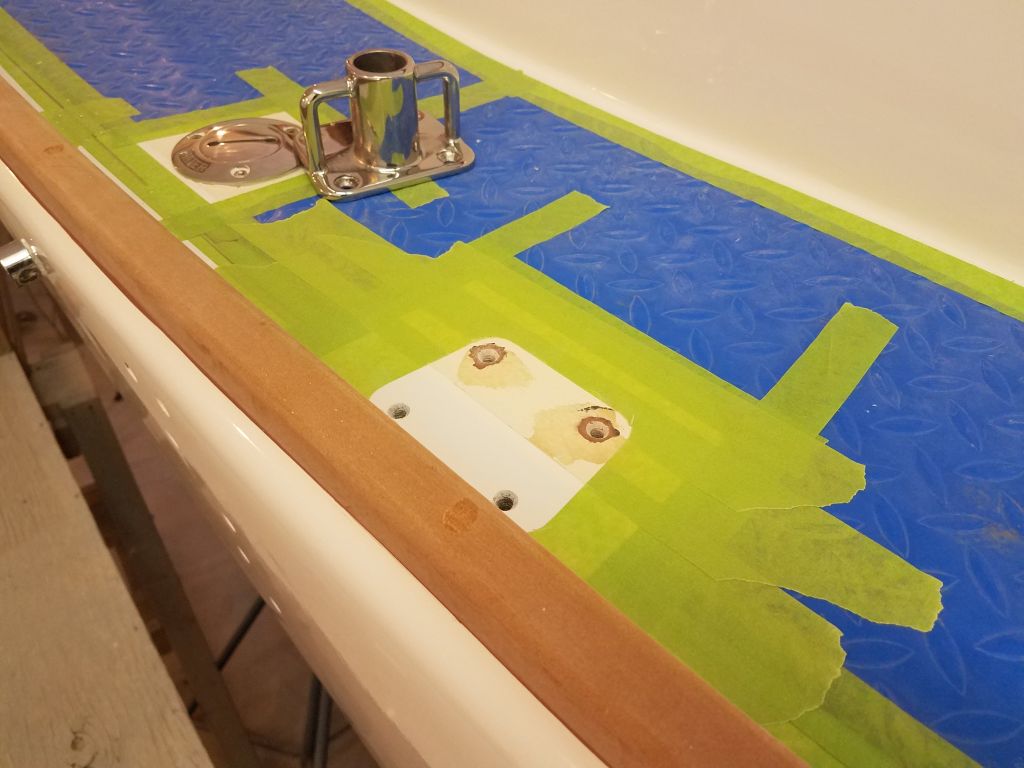
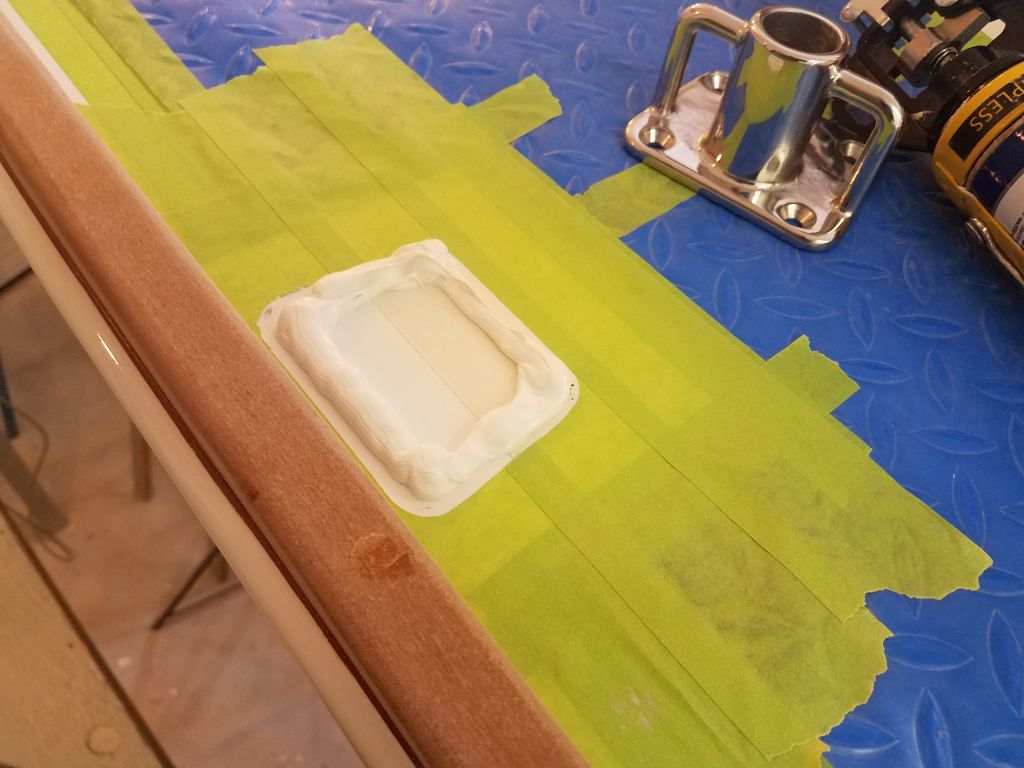
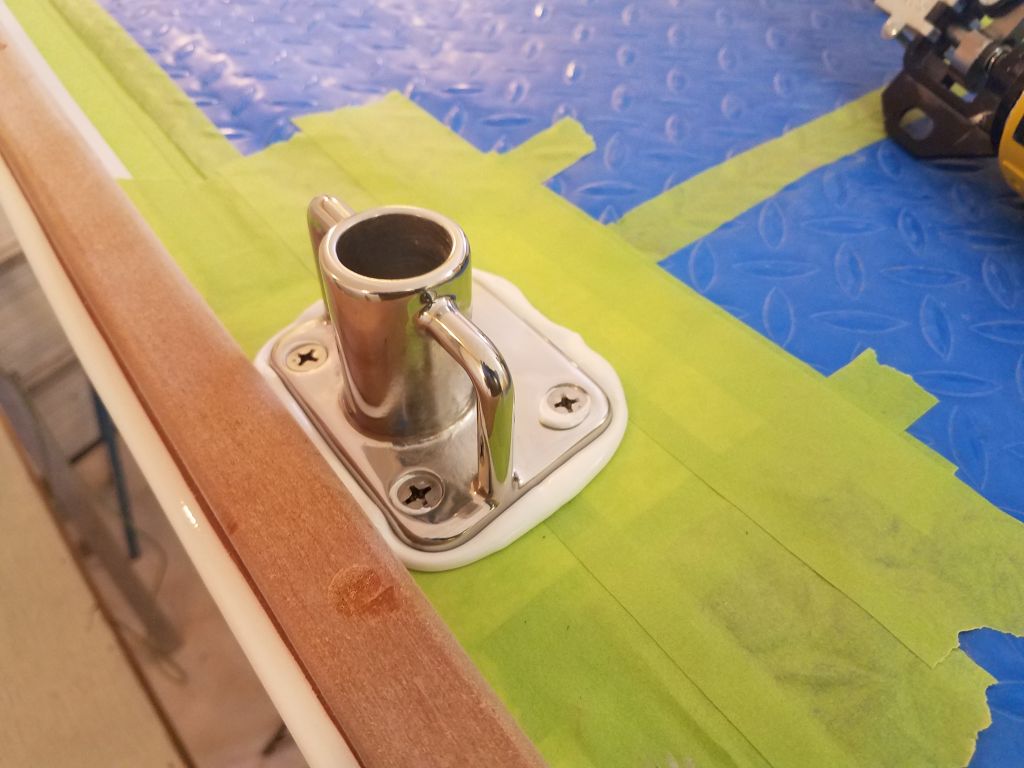

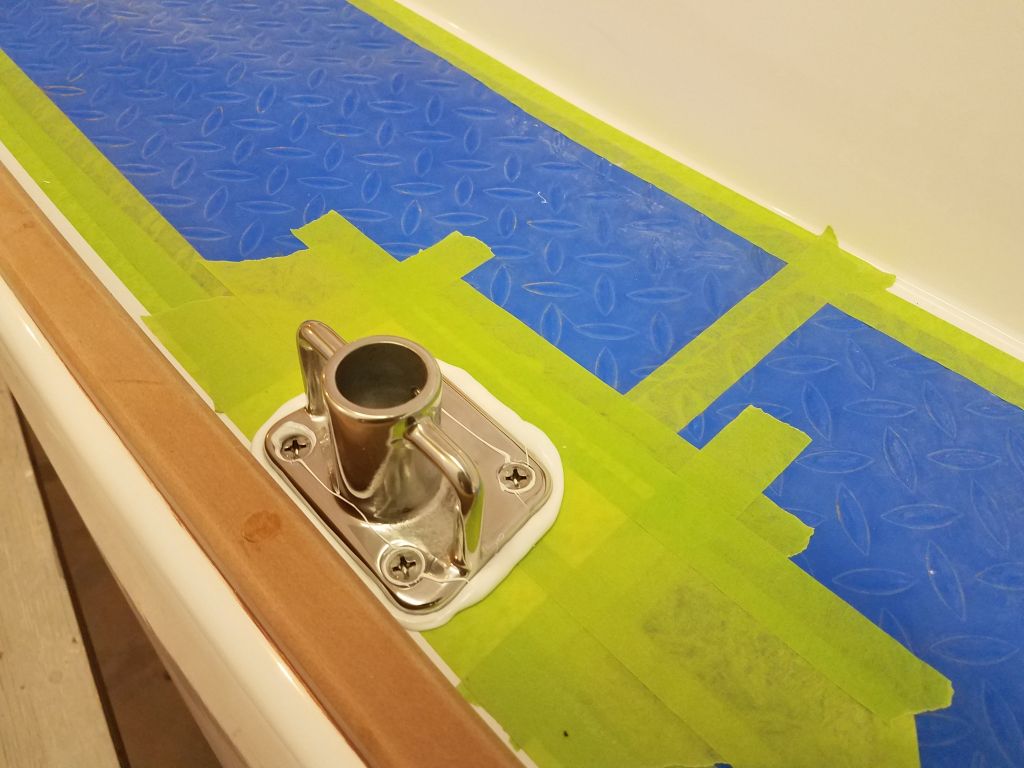
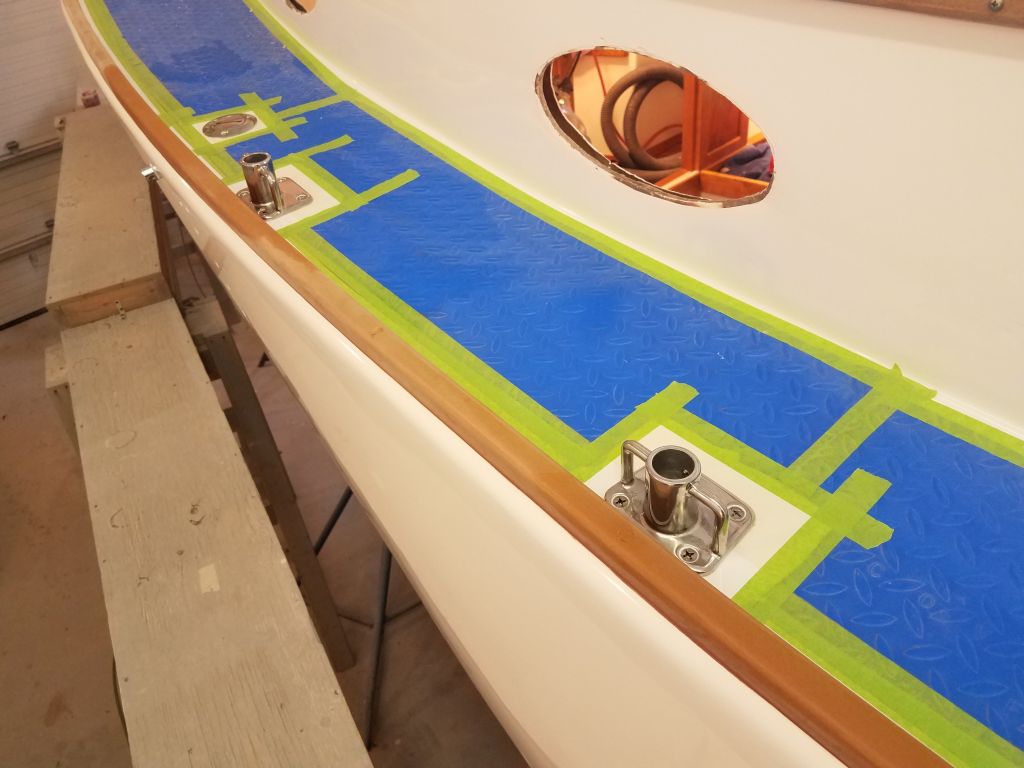

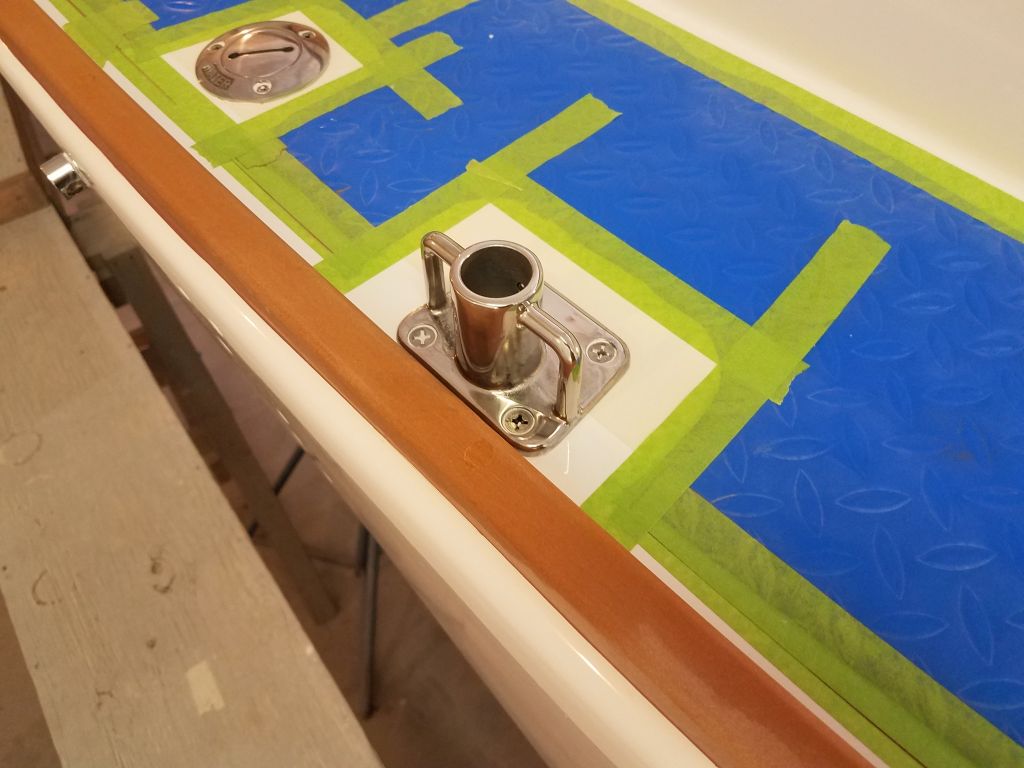
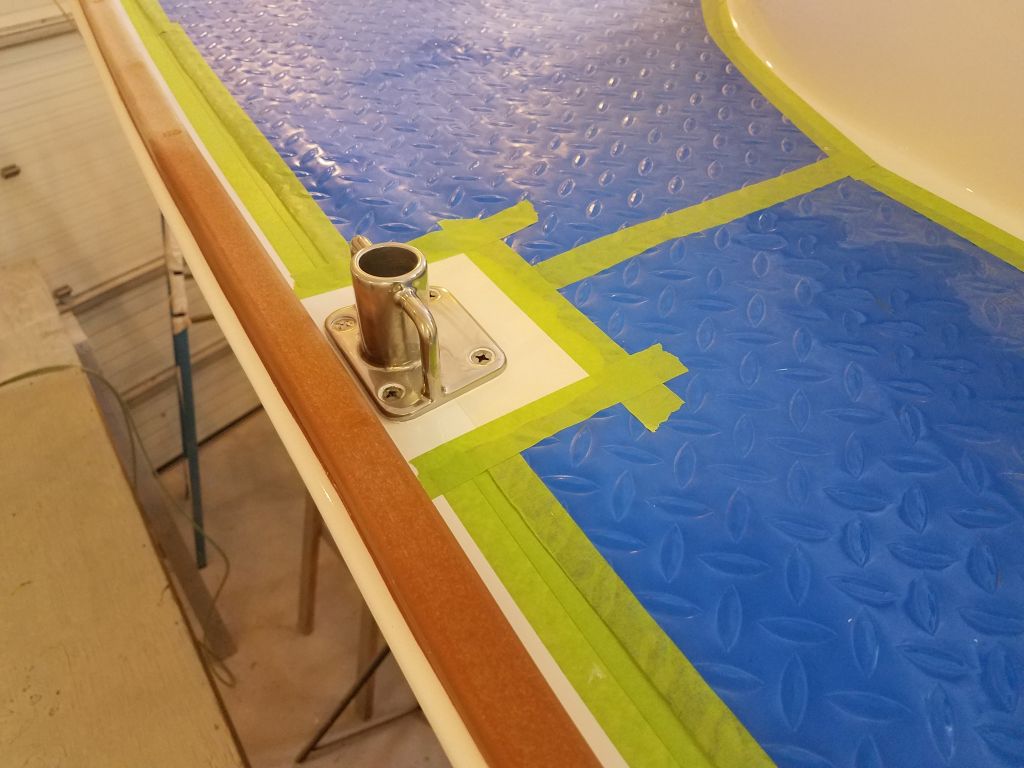
On the starboard side, I chose to install the last two bases currently on hand at the new gate location, leaving the other two for installation later, once the final sets of bases arrived. Access to the underside of the deck on this side was easier and cleaner for a couple reasons: first, the liner here was pretty much firmly attached right beneath the deck, which made accessing the holes easier; and the starboard side had thankfully been spared whatever repair shop had done the dismal work on the port side. Work on these two bases went much more quickly then theirs counterparts across the boat.


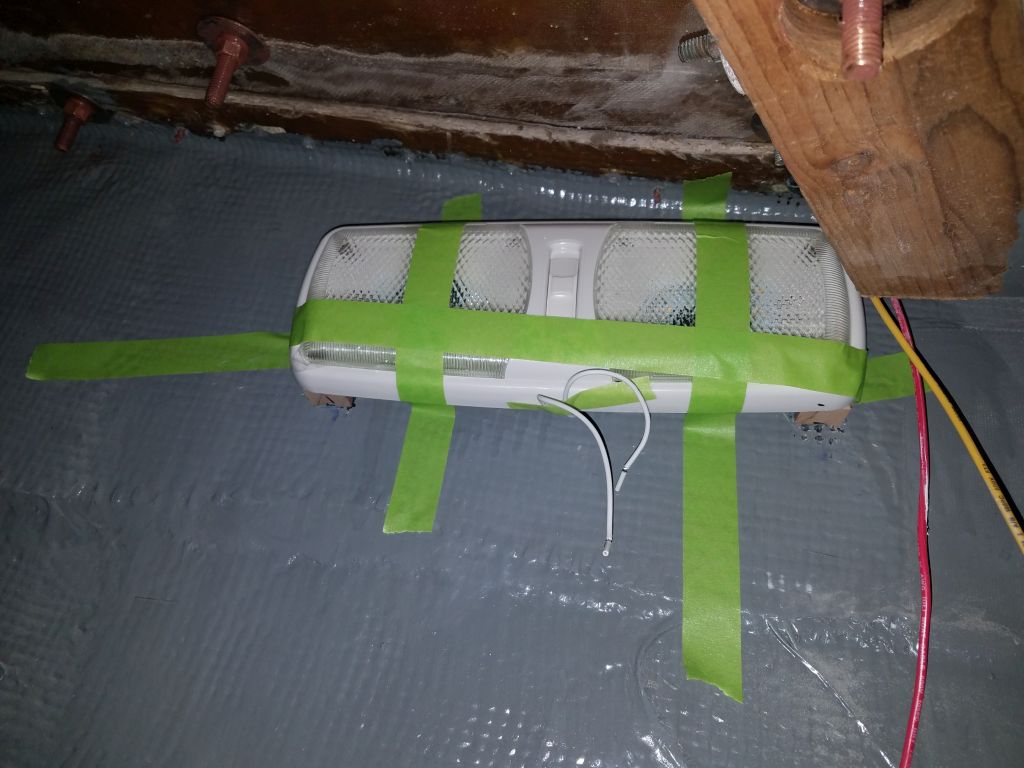
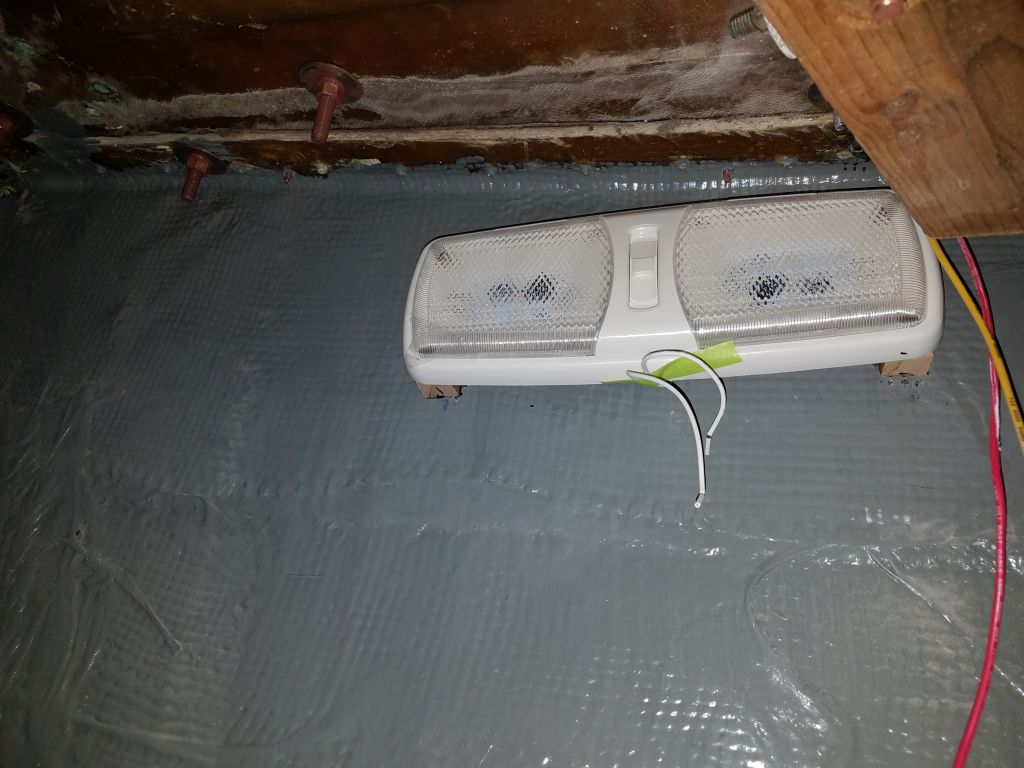
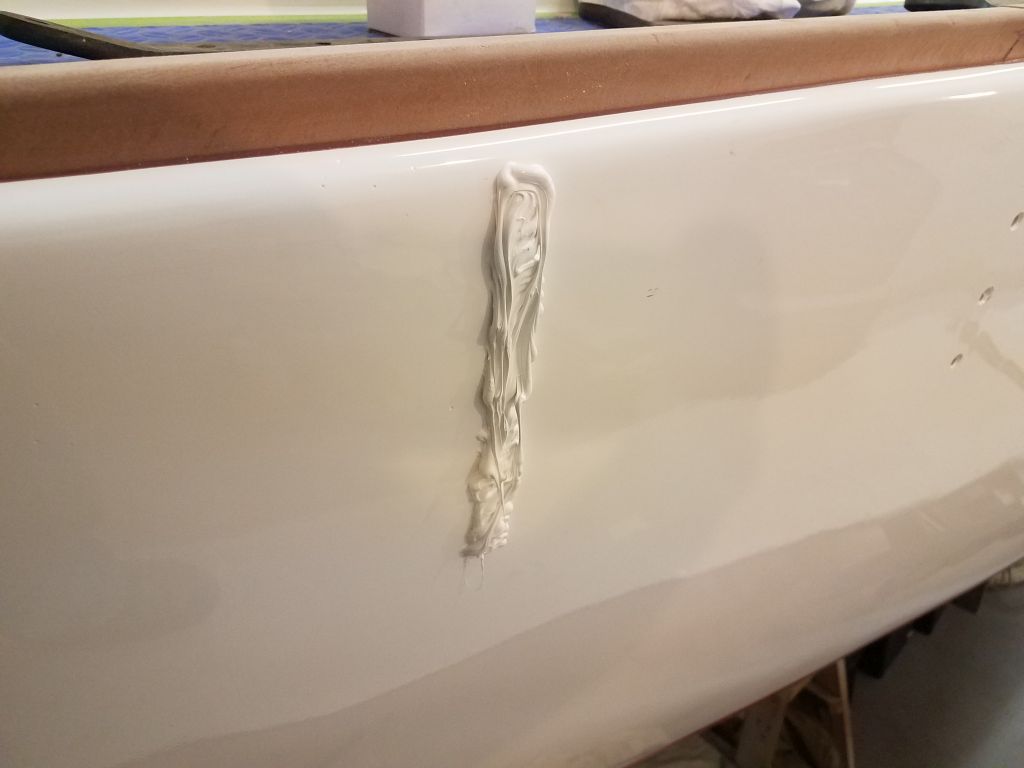
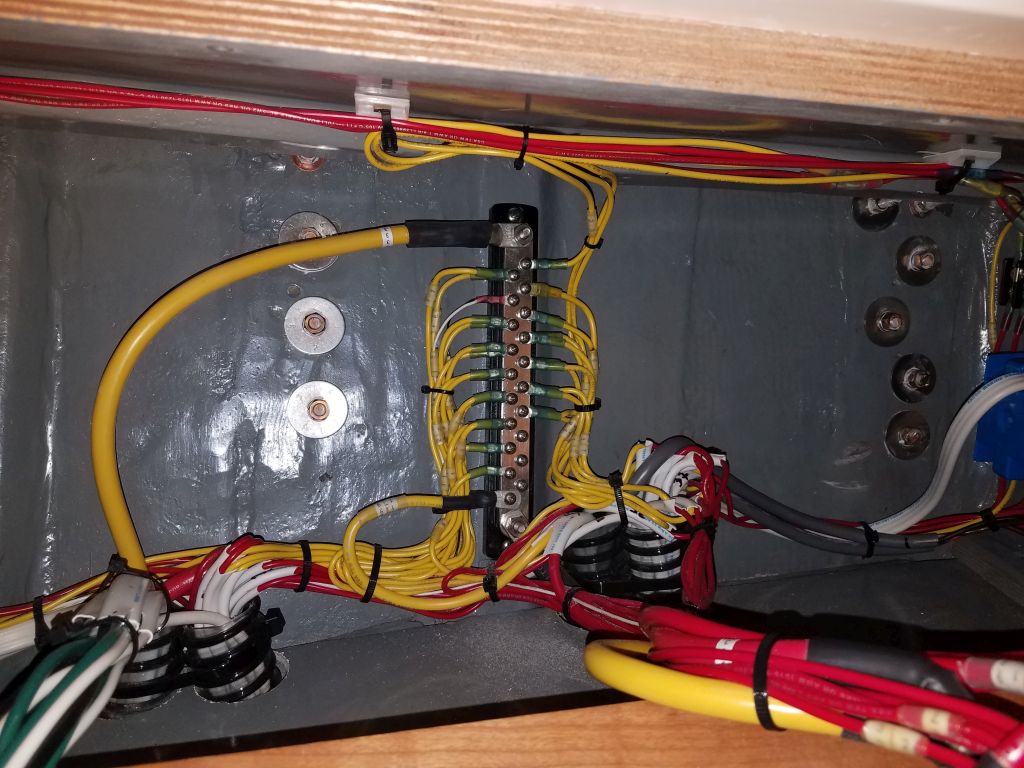
Finished with the stanchion bases for the moment, I took care of a couple small jobs before digging in for the afternoon session. As I’d been working around the forward part of the boat, I’d been considering how and where to install the utility light we had for the chainlocker, given the tight space and even tighter access to said space, not to mention the need to keep things clear for the windlass installation and anchor rode, so eventually I thought it would be best to simply attach the light to the hull itself. I pre-attached the light fixture to some wooden cleats made to fit, and then, after removing the paint in way of the cleats’ locations, secured the light to the hull with some of the acrylic adhesive I use on the wire mounts, which has proven to be strong and effective as long as it can grip wood or bare fiberglass. I used masking tape to hold the light in place while the adhesive cured, and later was able to remove the tape, leaving the light firmly affixed. Now I could finish up the wiring in the chainlocker as soon as time allowed.

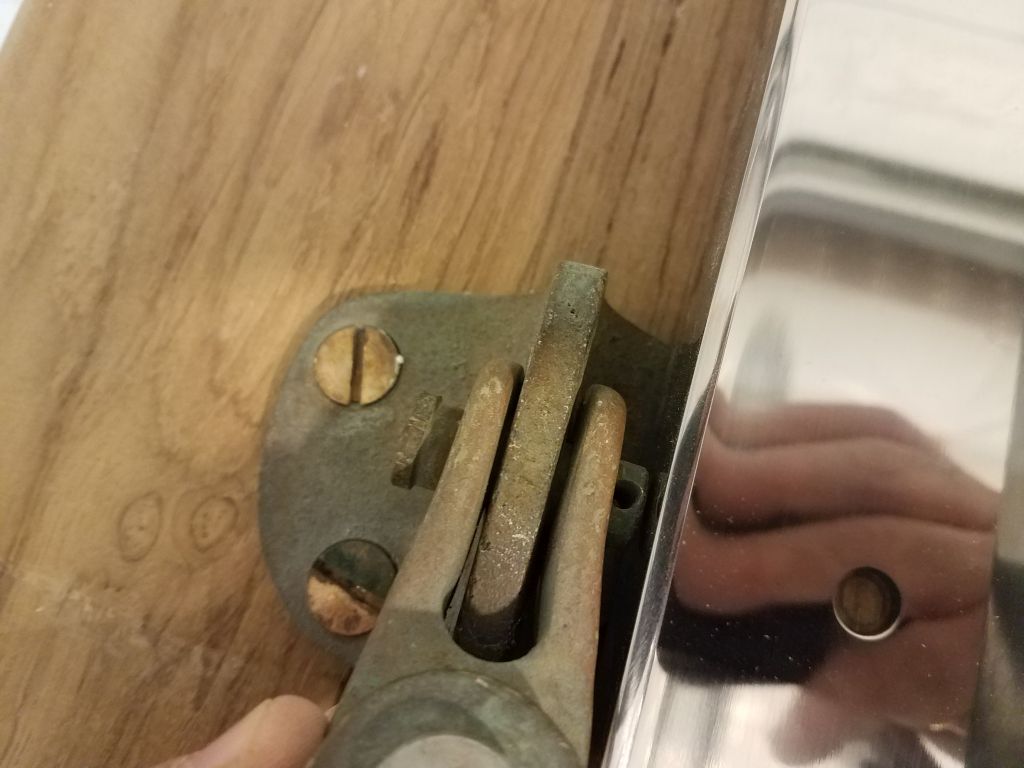
After a consultation with the rigger about that headstay toggle below the furler, I elected not to try and remove the toggle, as it appeared there would be just enough room between the anchor roller and the headstay tang to maneuver in a cotter pin once the clevis was installed from the other side. I confirmed this with a spare toggle I had lying around. Plus, the rigger had warned me away from the idea of removing the complicated lower bolt on the furler assembly, which had been my own concern as well.
While I’d no doubt some poor rigger during the mast installation later would have choice words for me at the tight situation, needs must, and with only so much room and a lot going on, this was how it was. Worst-case, the anchor roller would be easy to unbolt and remove temporarily should it be necessary, but at least there was clearance for the headstay once the initial installation throes were over with. I thought briefly of modifying the anchor roller to remove part of the side channel, but I didn’t have the tools or know-how to do that job well and wasn’t about to try.
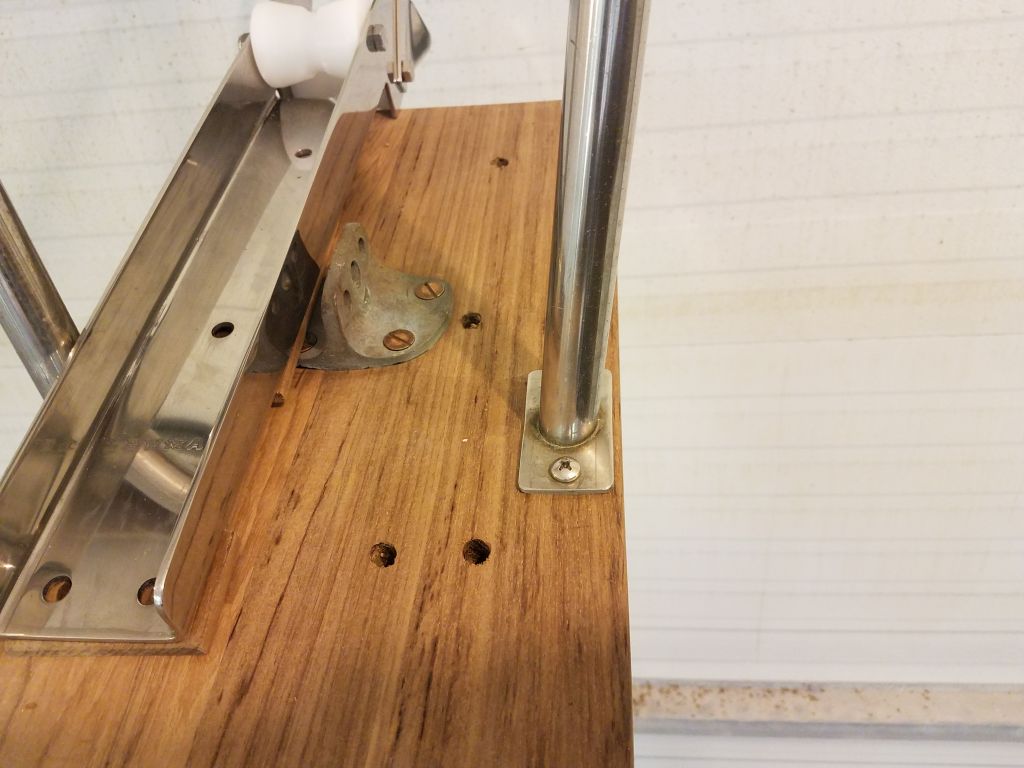
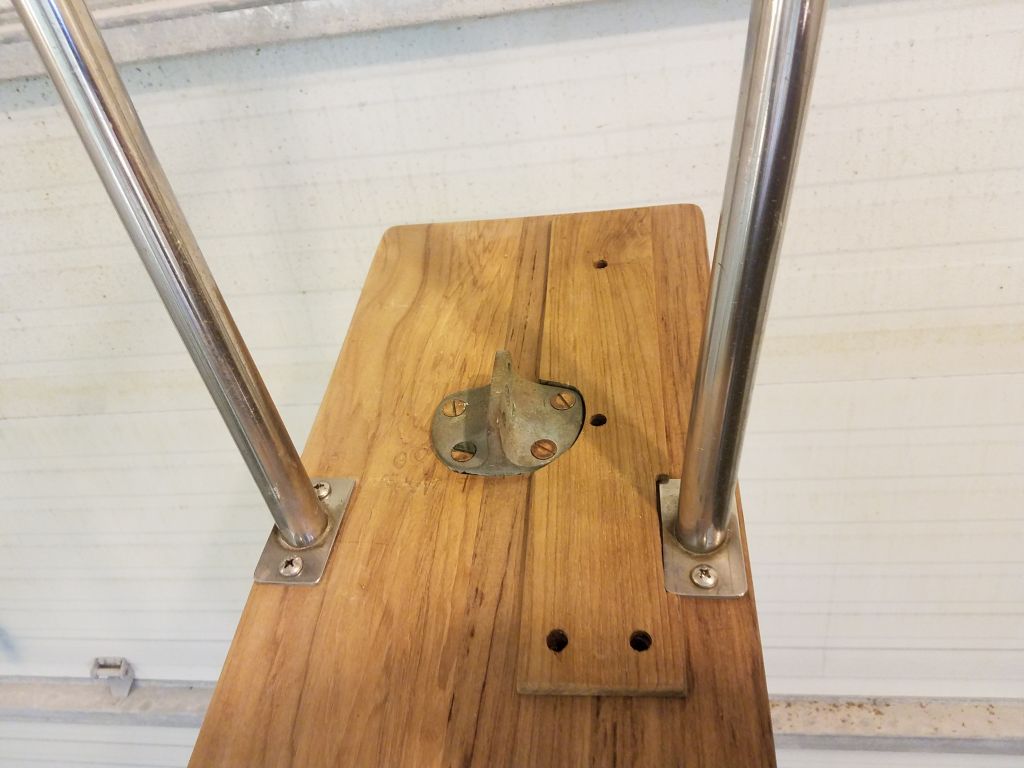
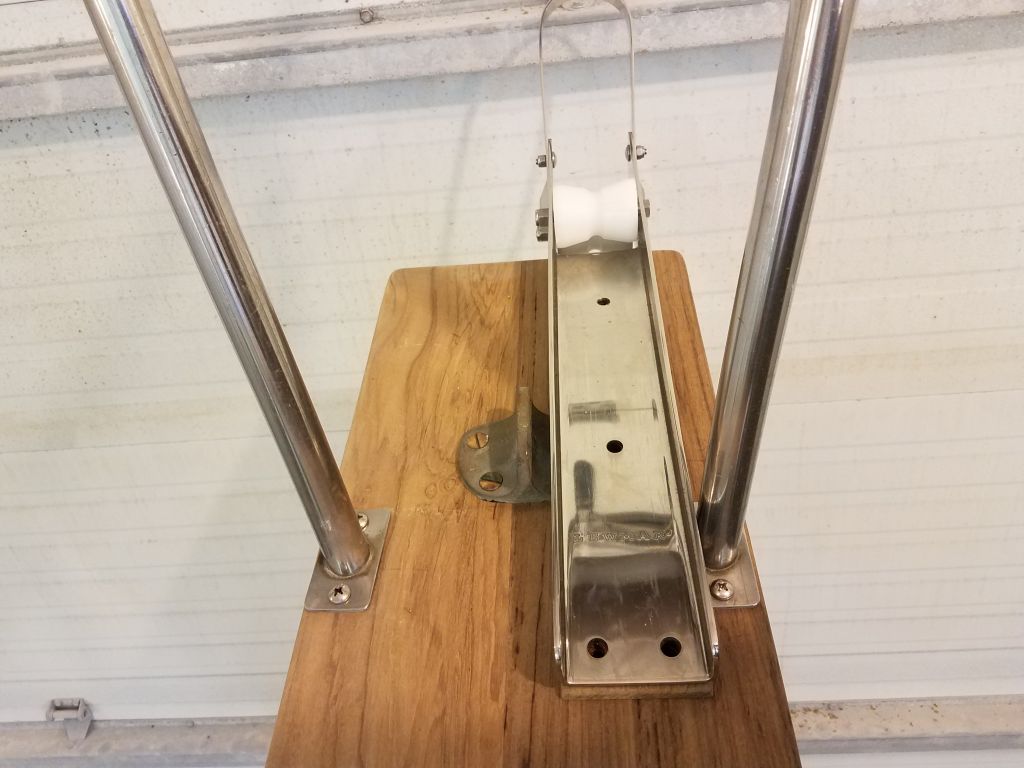
So with that issue behind me, I went ahead with final preparations for the roller installation, including drilling a 4th bolt hole closer to the forward end of the roller since it seemed like it would be helpful to secure both the roller and the little teak spacer beneath. I drilled the holes through the platform, but found I didn’t have the right bolts on hand, so final installation would await their arrival soon.
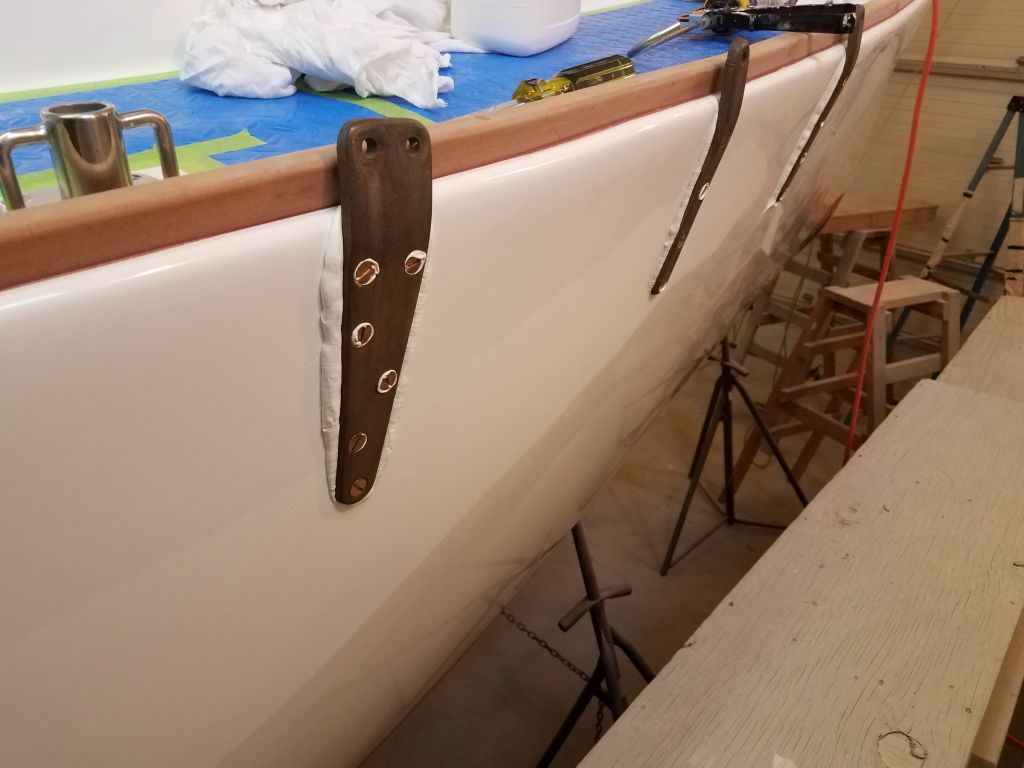
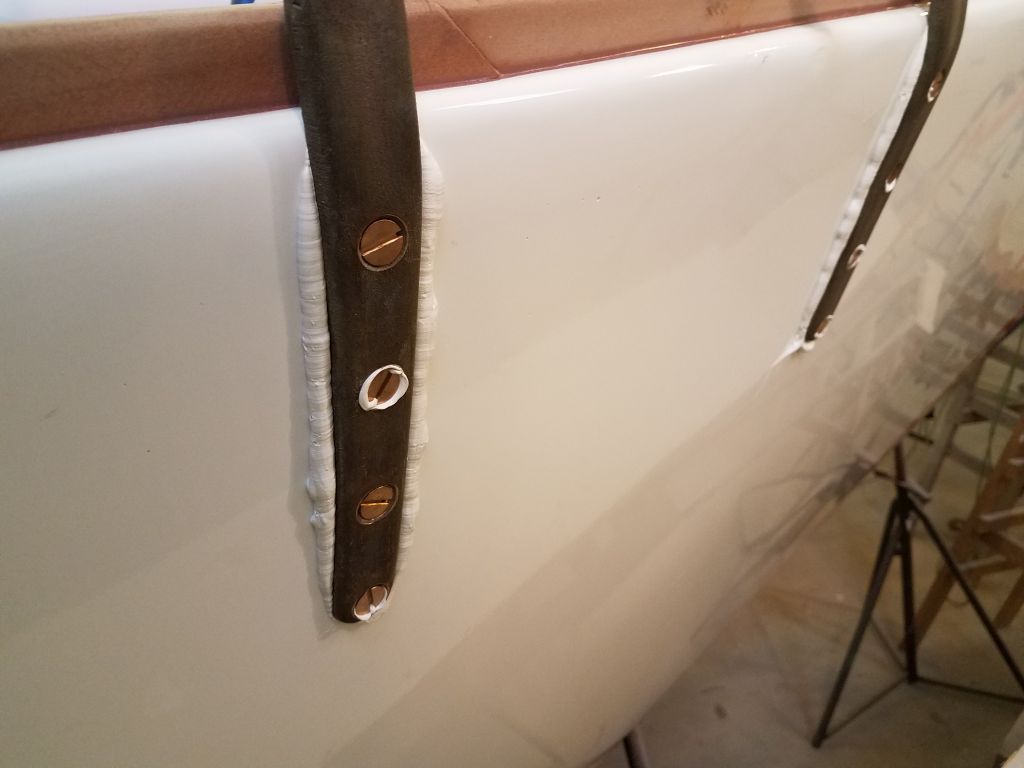
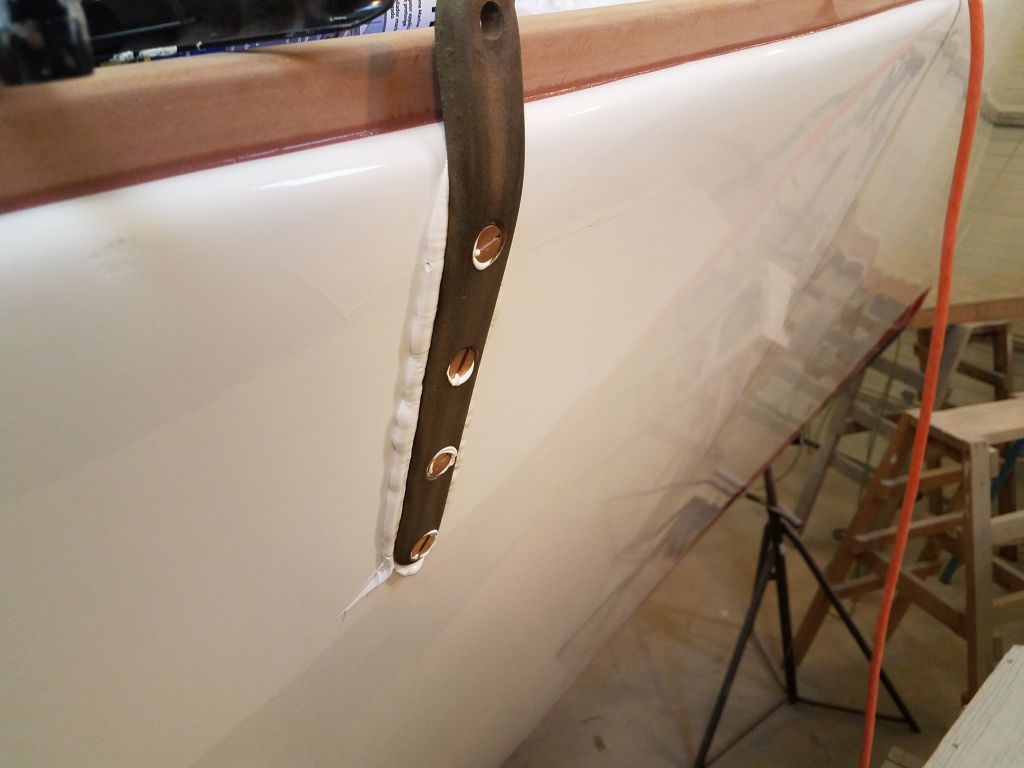
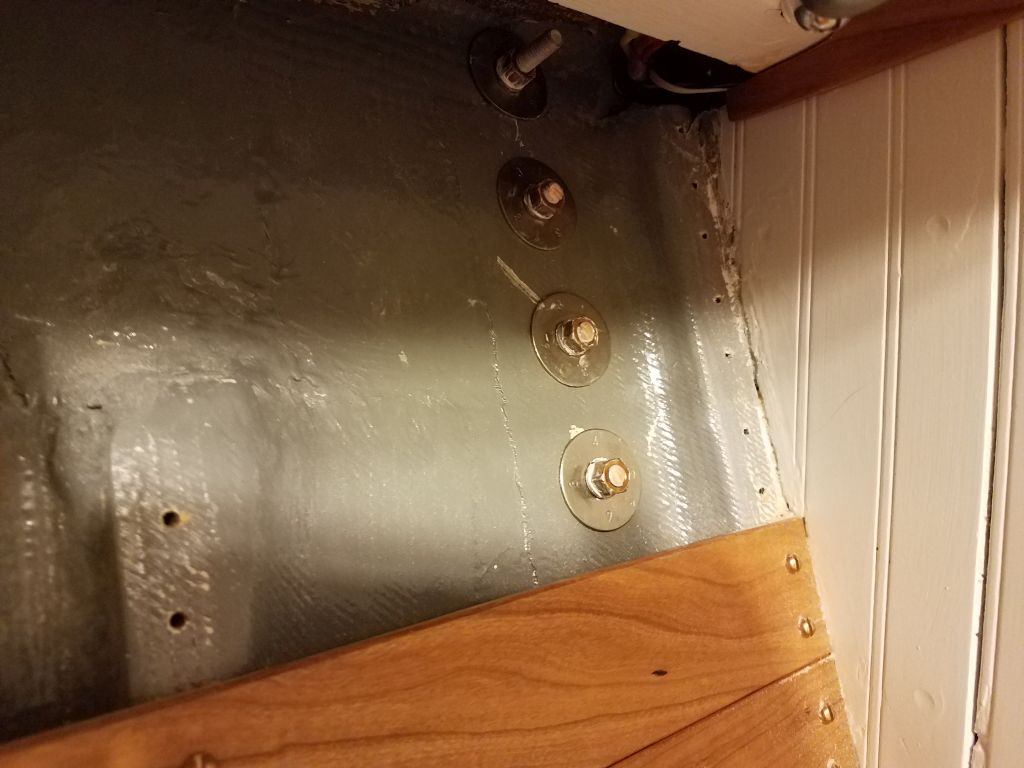
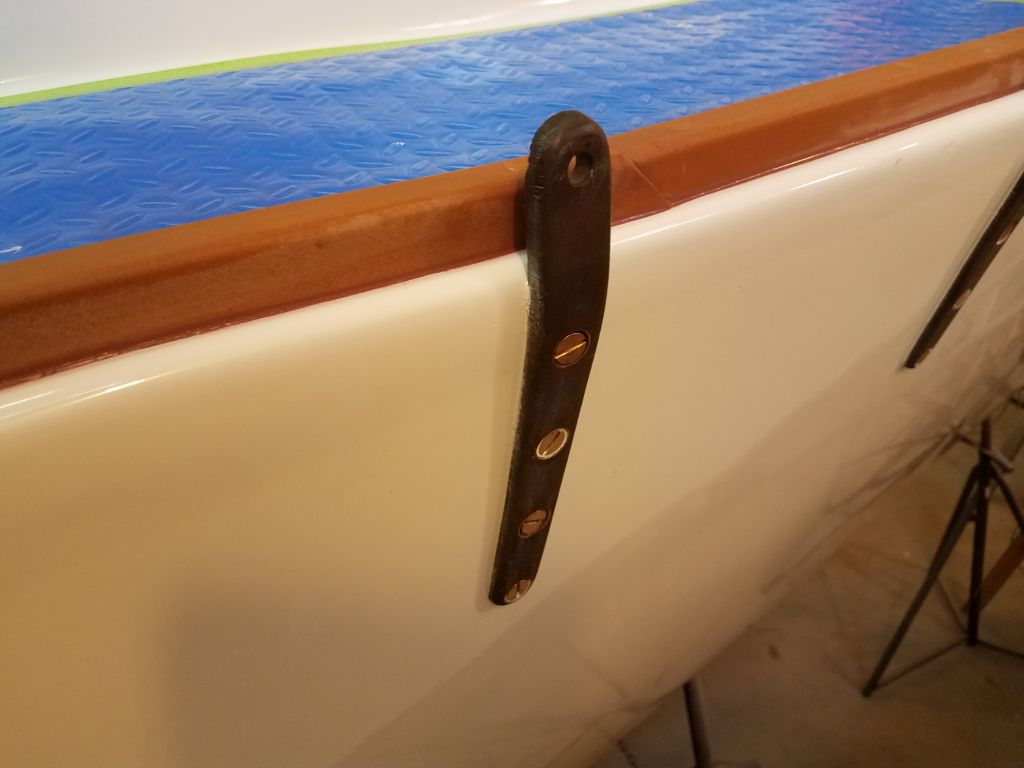
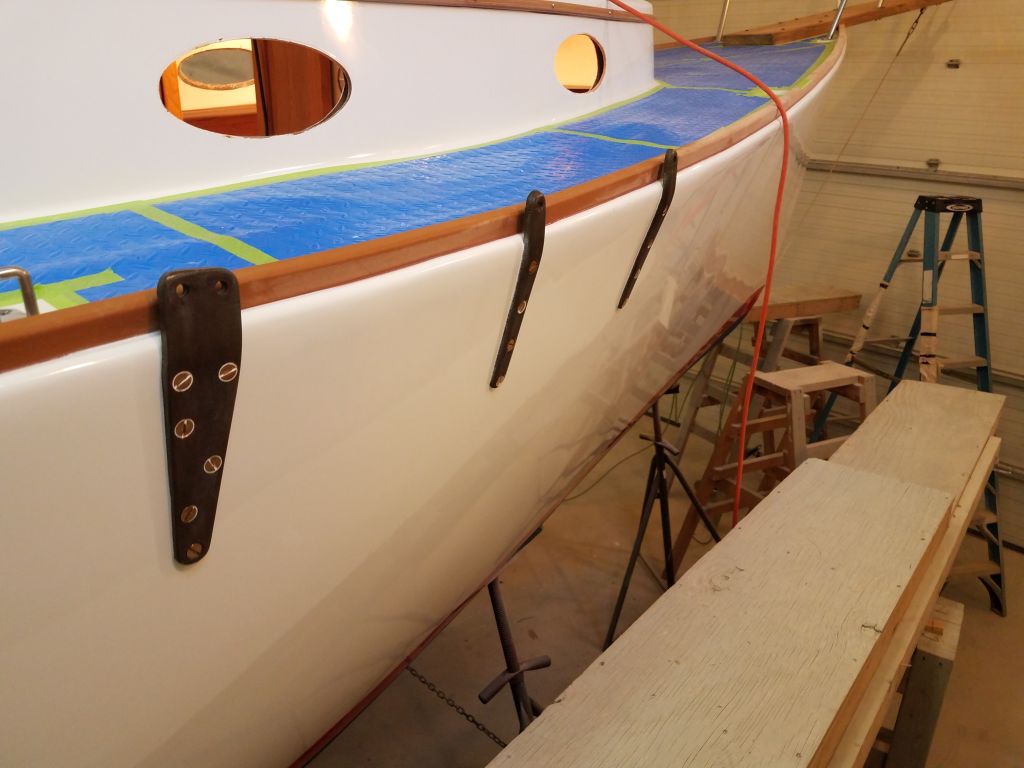
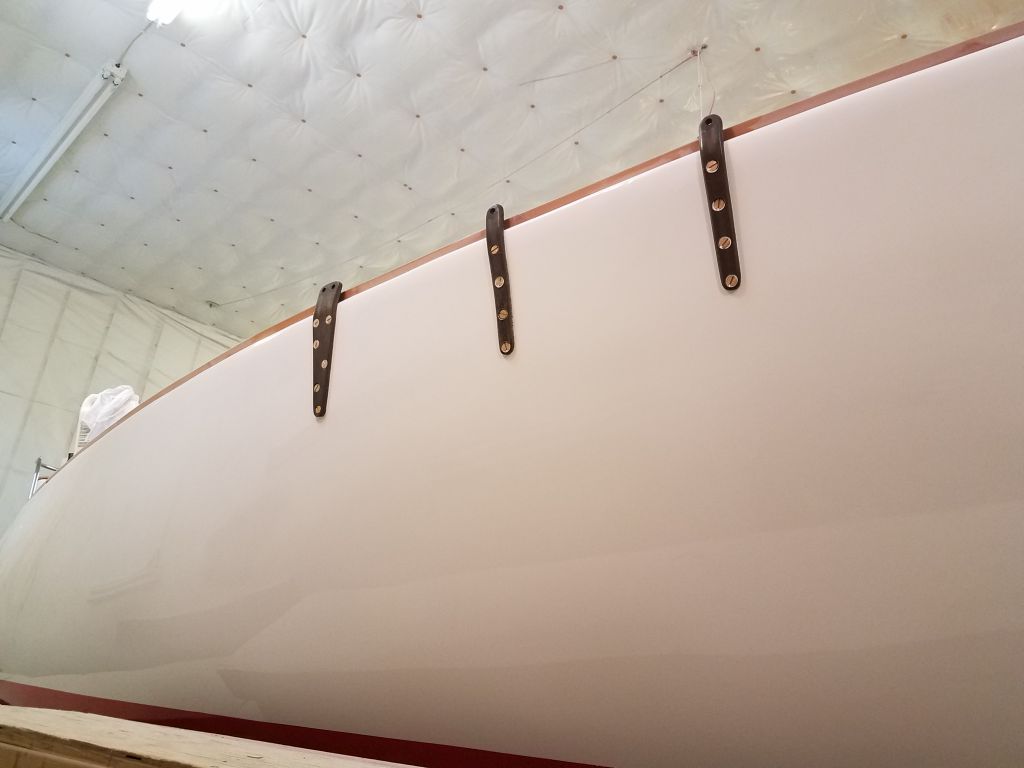
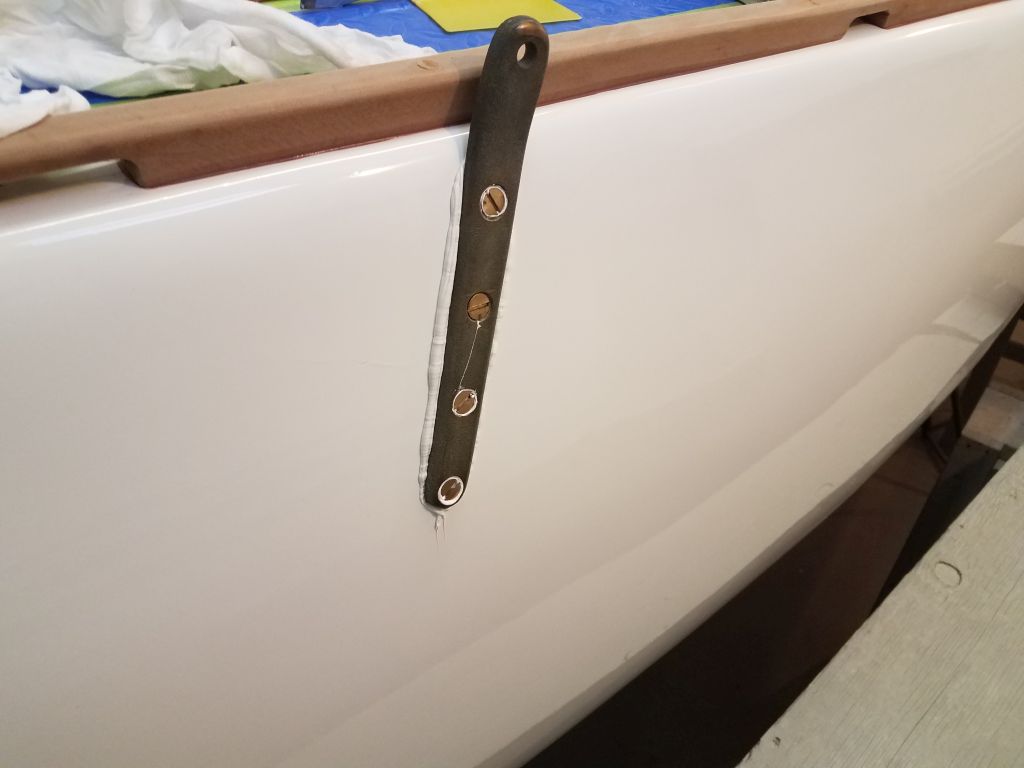
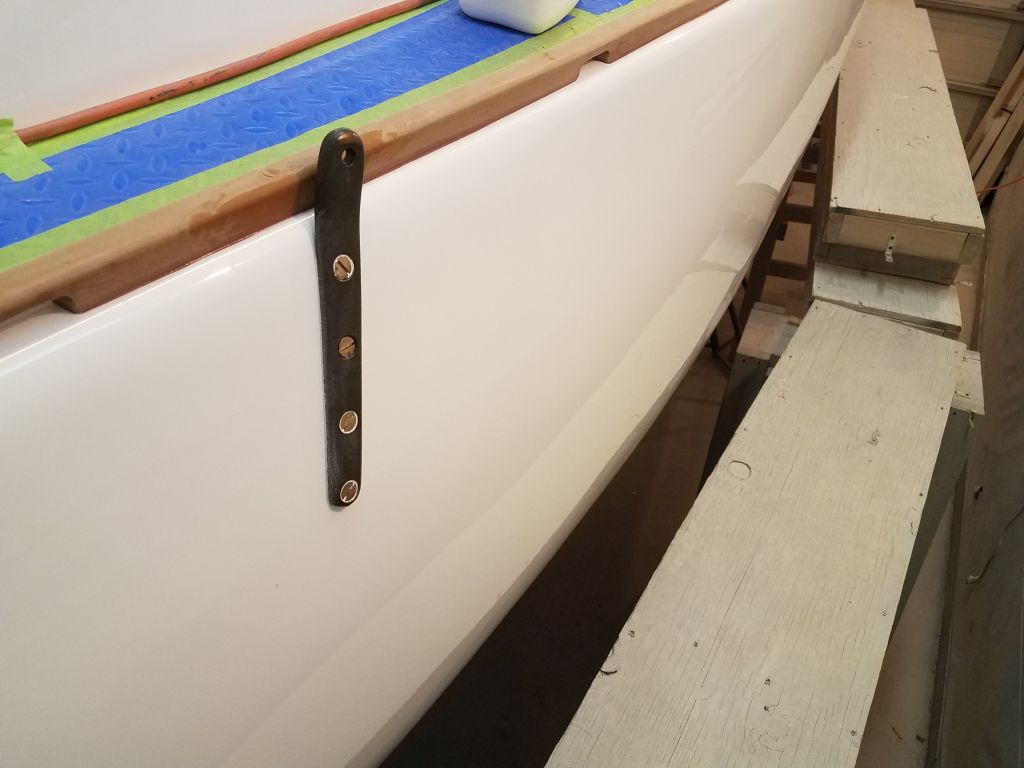
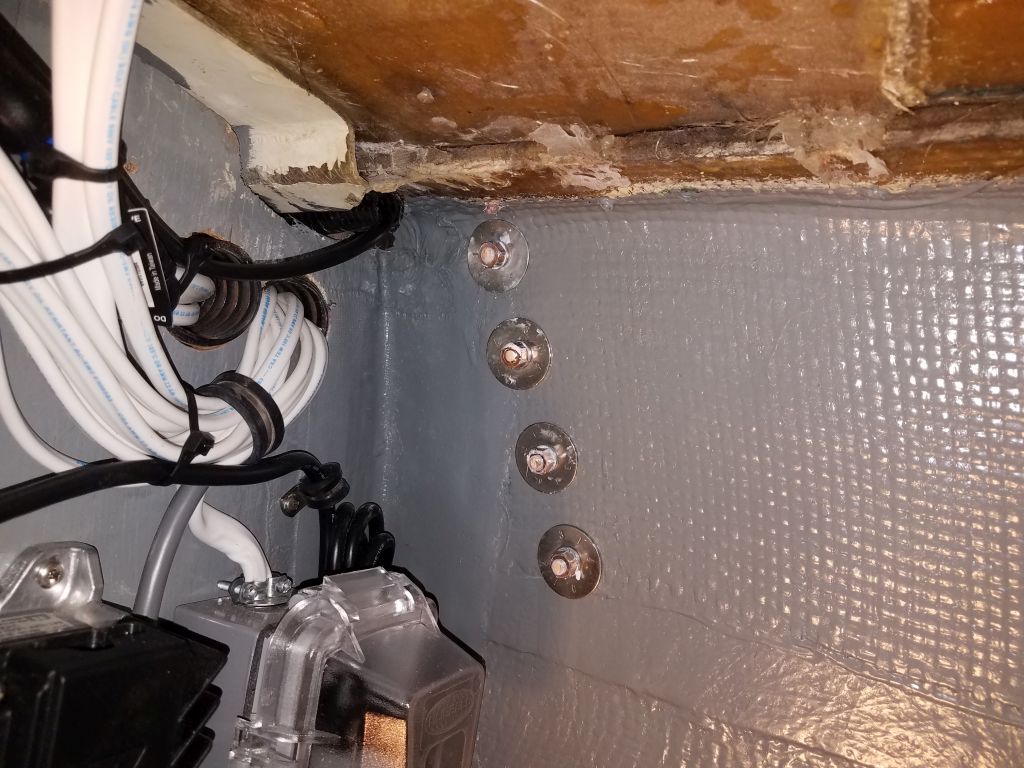
Next, I turned to the chainplates, which installation I’d frankly been postponing–intentionally or subconsciously–for quite some time. I started with my favorite port side, but found on the first chainplate that the bolts I’d ordered for the job were a bit too short for the extra-thick hull over there. I had enough longer bolts on hand to complete the first chainplate, but had to order more for the other two sets. Once more, access issues made the inherently basic task take a pretty long time, but at least it was easier than the stanchions.
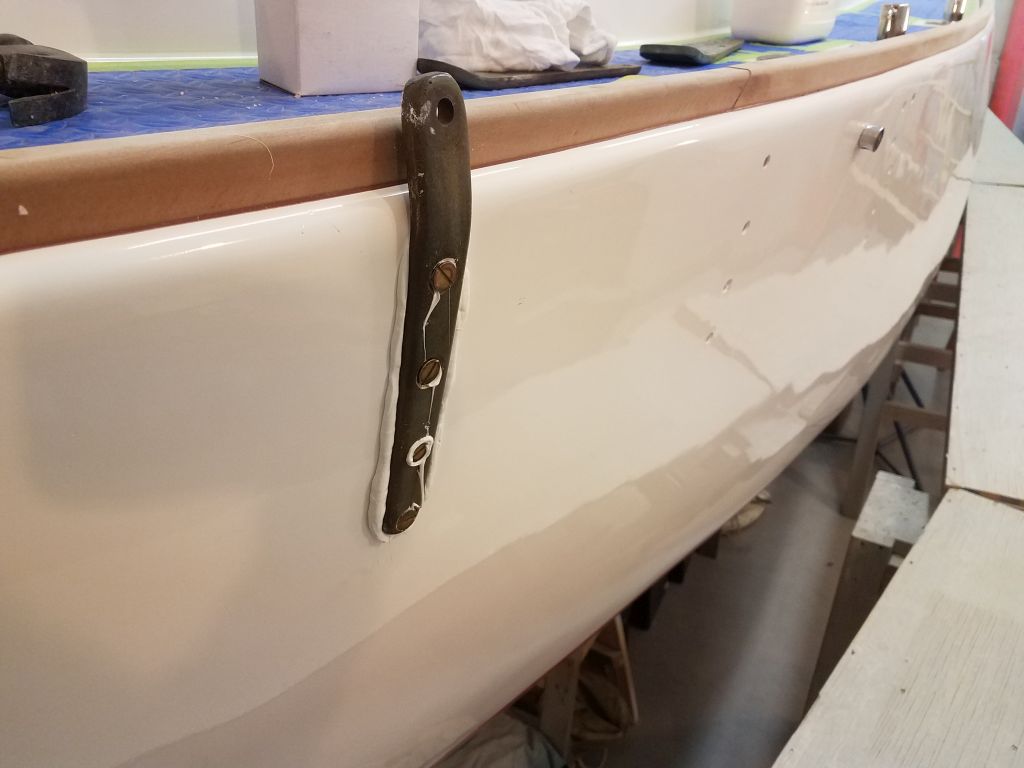
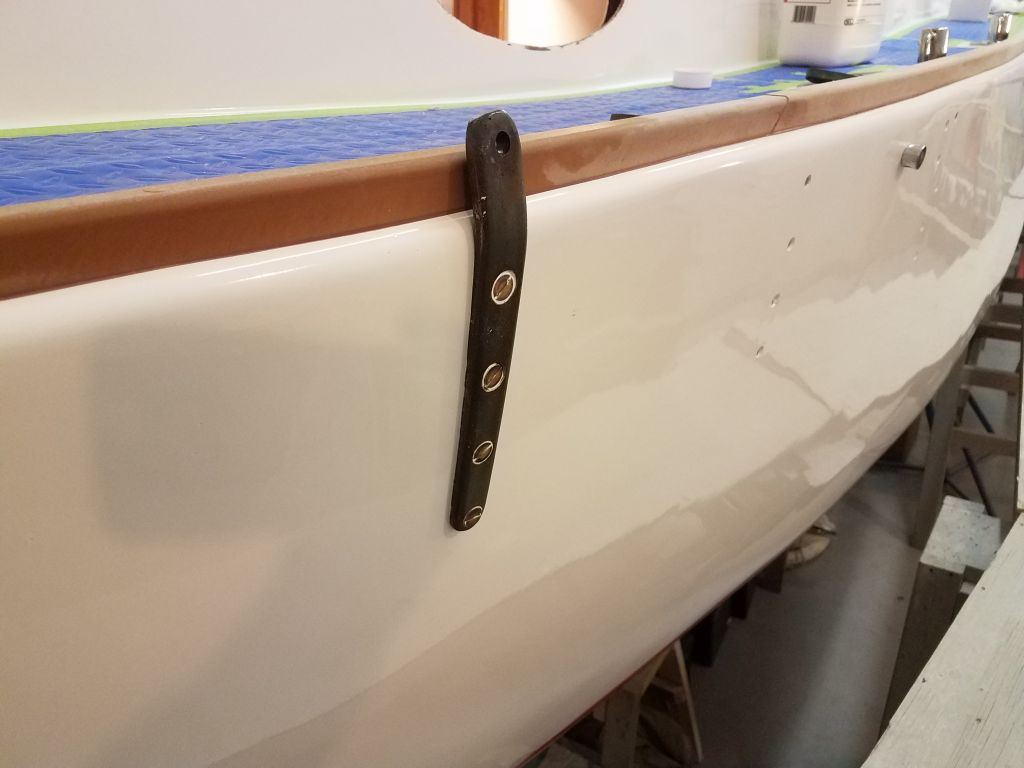

Leaving the port side for now, I double-checked the bolt length on the starboard chainplates–OK–and then installed the three main sets, plus the after chainplate just forward of the cockpit. I used “bo-koo” sealant on all the installations, and installed them with large washers, lock washers, and nuts.


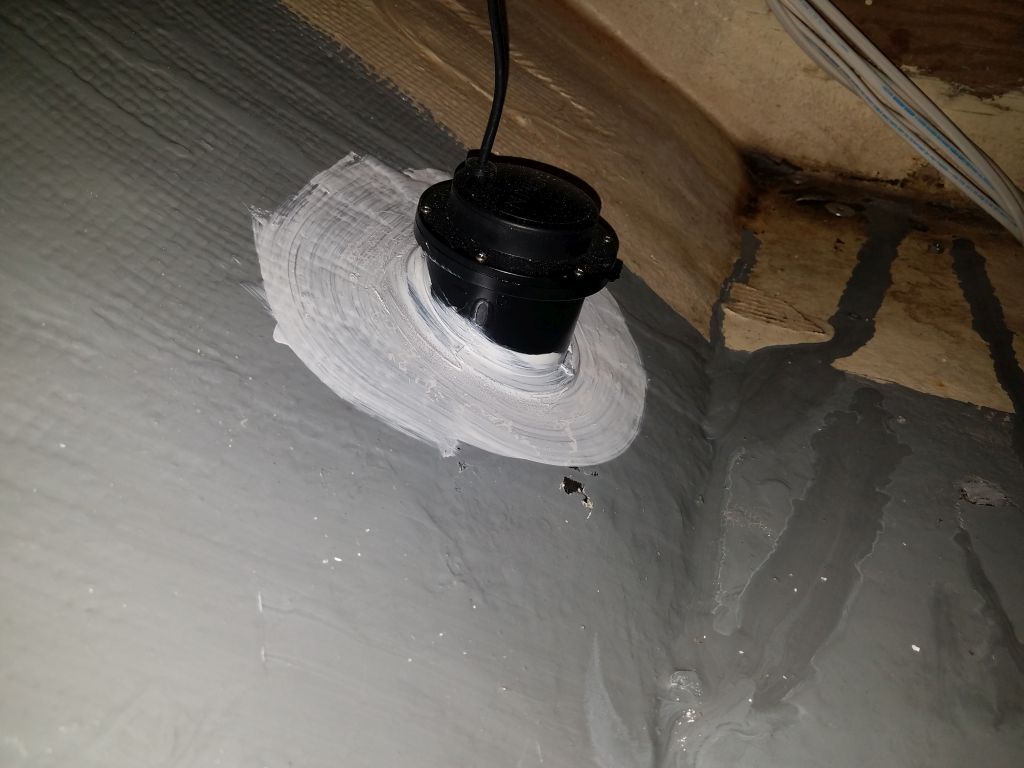
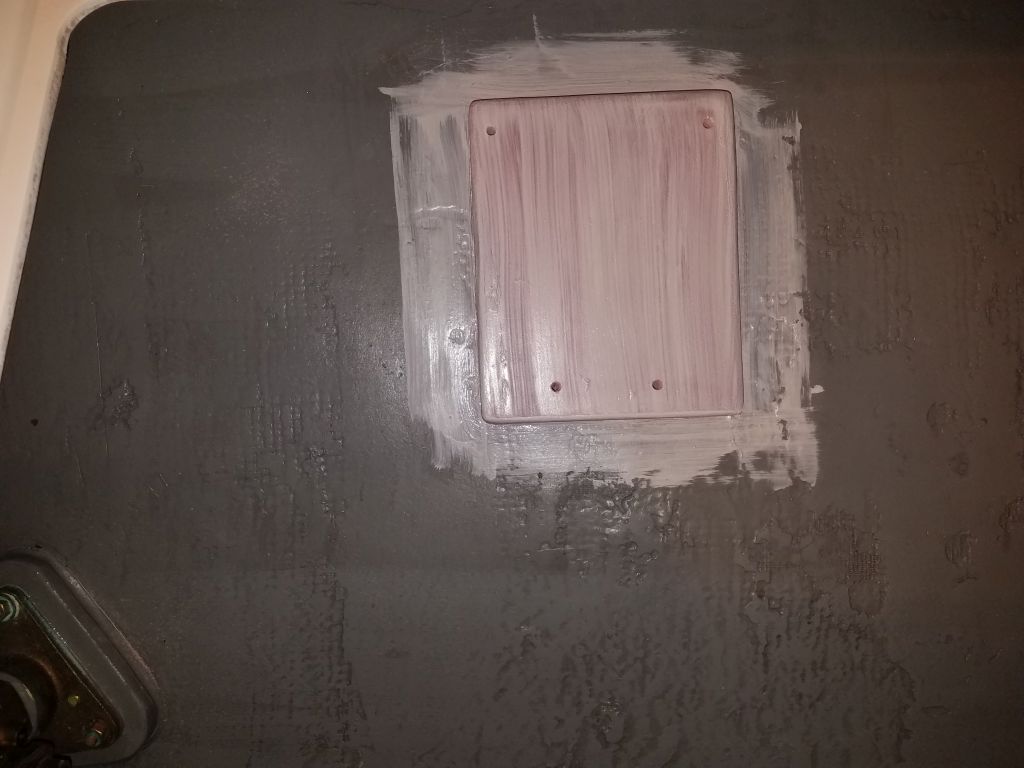
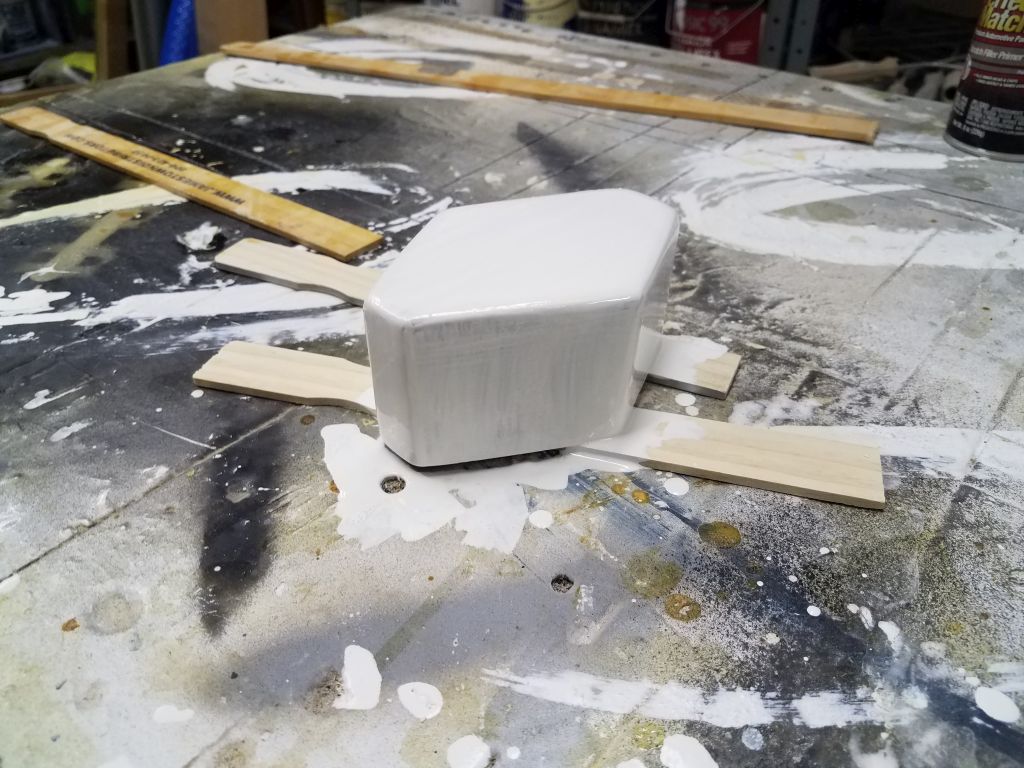
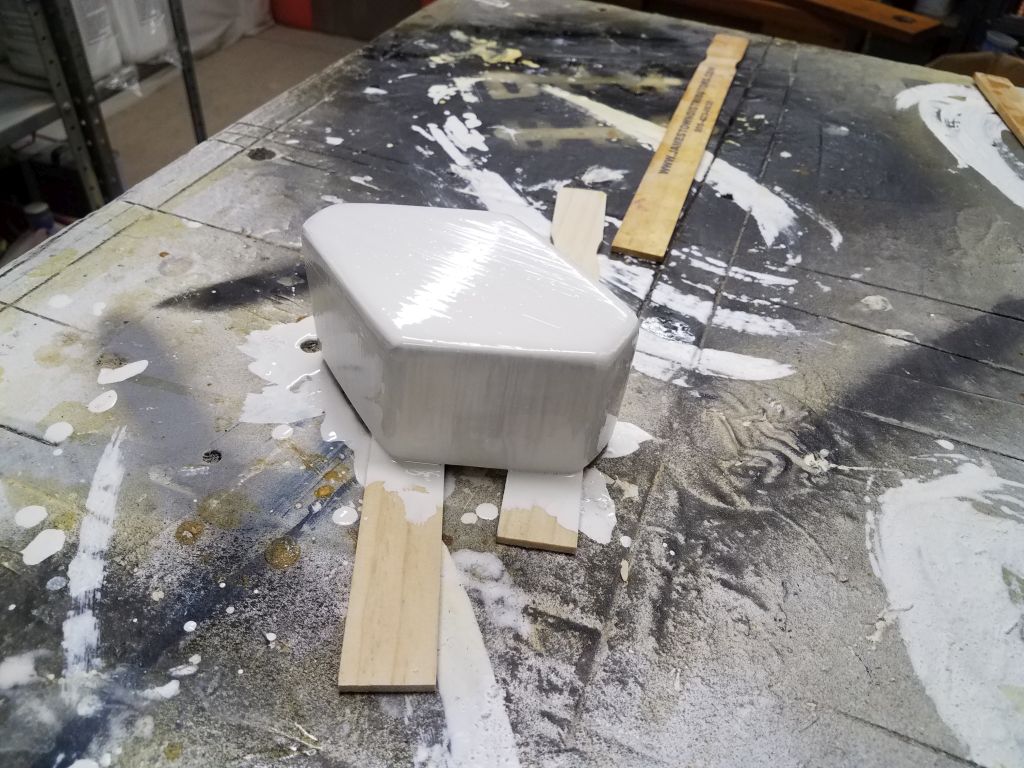
To finish up the day, I mixed up a small batch of epoxy-based primer and applied it to the new epoxy work securing the sanitation pump mount and around the depth transducer, where it would act as a tie-coat to prevent curing problems with the one-part gray bilge paint that would be the final finish in these areas. I also applied a couple coats of the primer to the new mainsheet riser. The primer would cure overnight and allow me to finish up the paint work in the immediate future.
Total time billed on this job today: 8.25 hours
0600 Weather Observation: 30°, mostly cloudy. Forecast for the day: Partly sunny, 45°