


December 3, 2019
Scupper 194
Tuesday
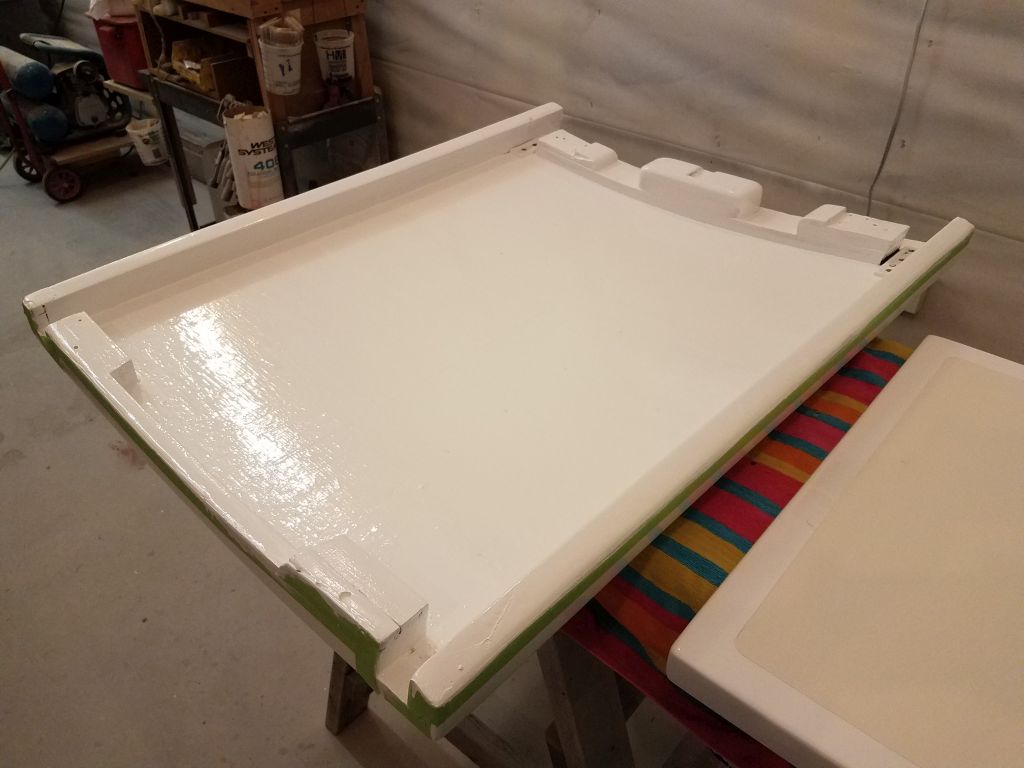
The companionway hatch required a third and final coat of the semi-gloss white enamel, which I took care of first thing.
Preparing ahead for the reinstallation of various hardware, as well as the four bronze opening ports and the six elliptical deadlights, I determined what fasteners I’d need and ordered them, and also ordered a scraping attachment that I could use to remove some of the stubborn old silicone sealant from inside the deadlight openings in the cabin, in the little space between the liner and the cabin trunk itself.
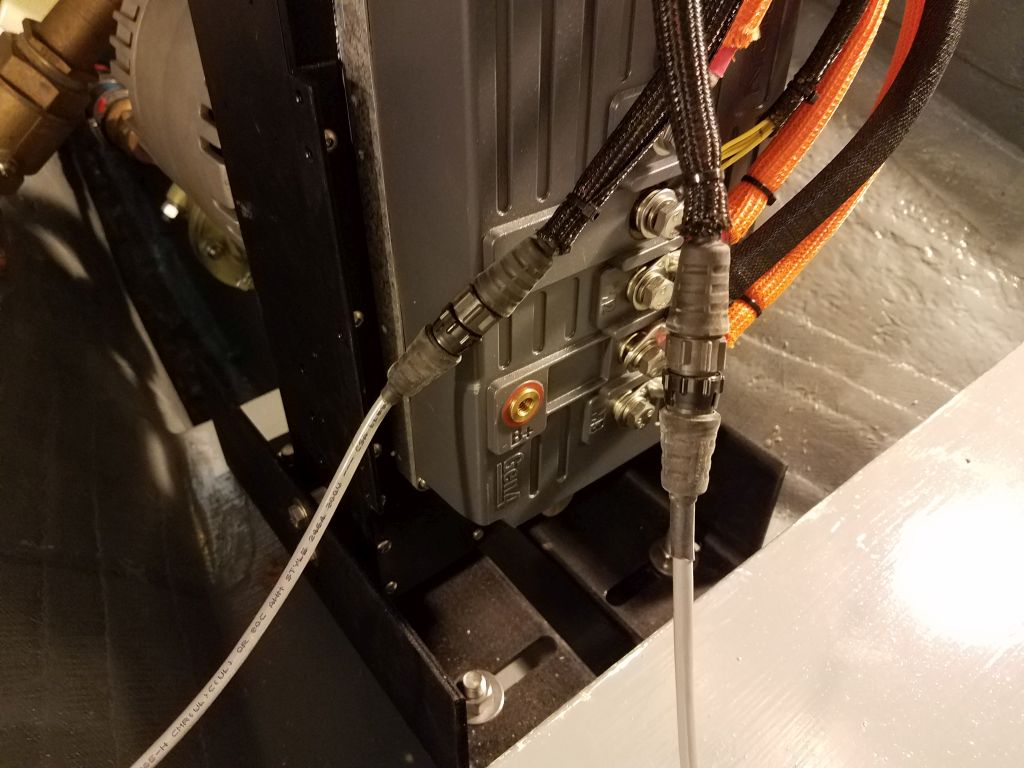
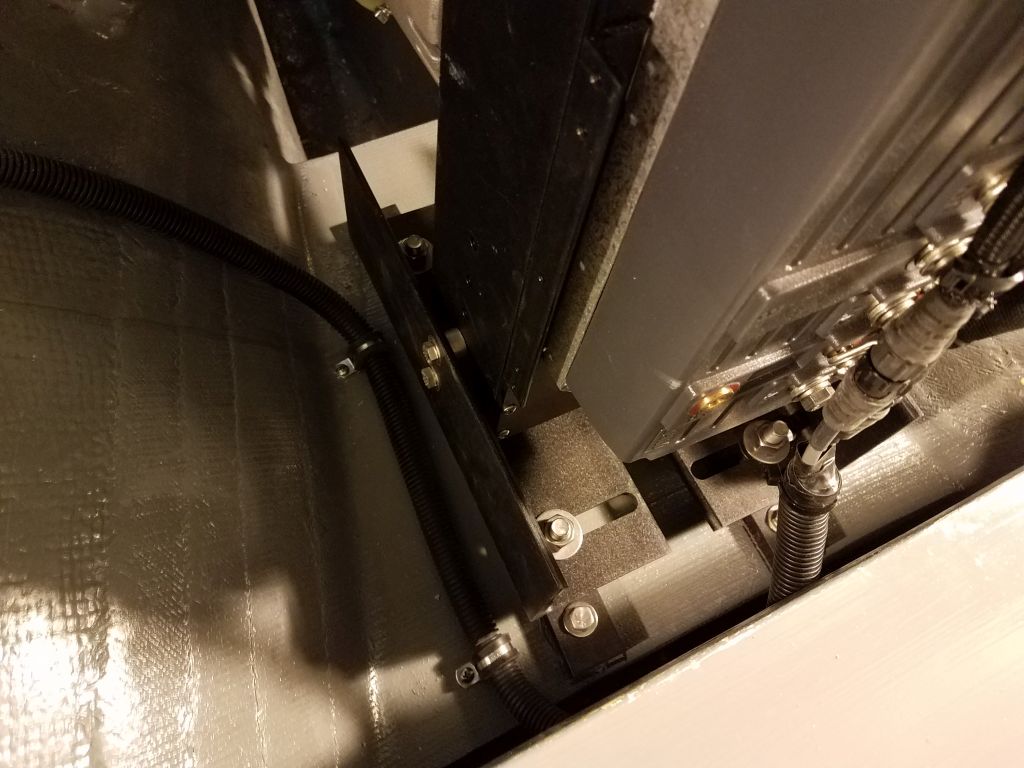
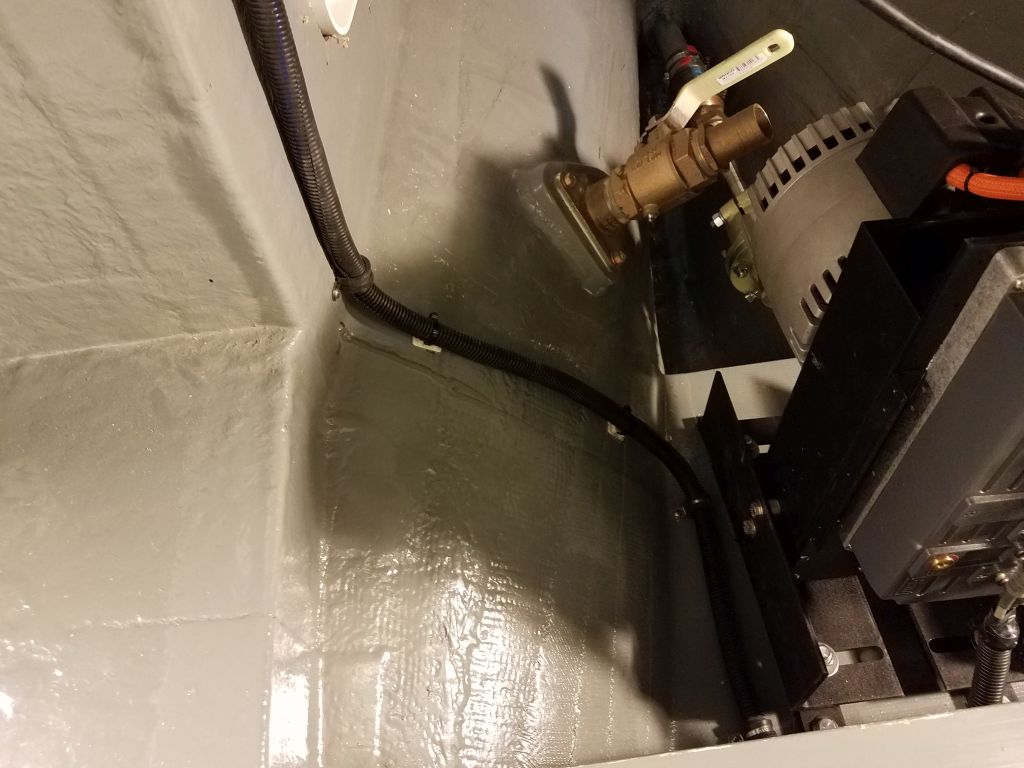
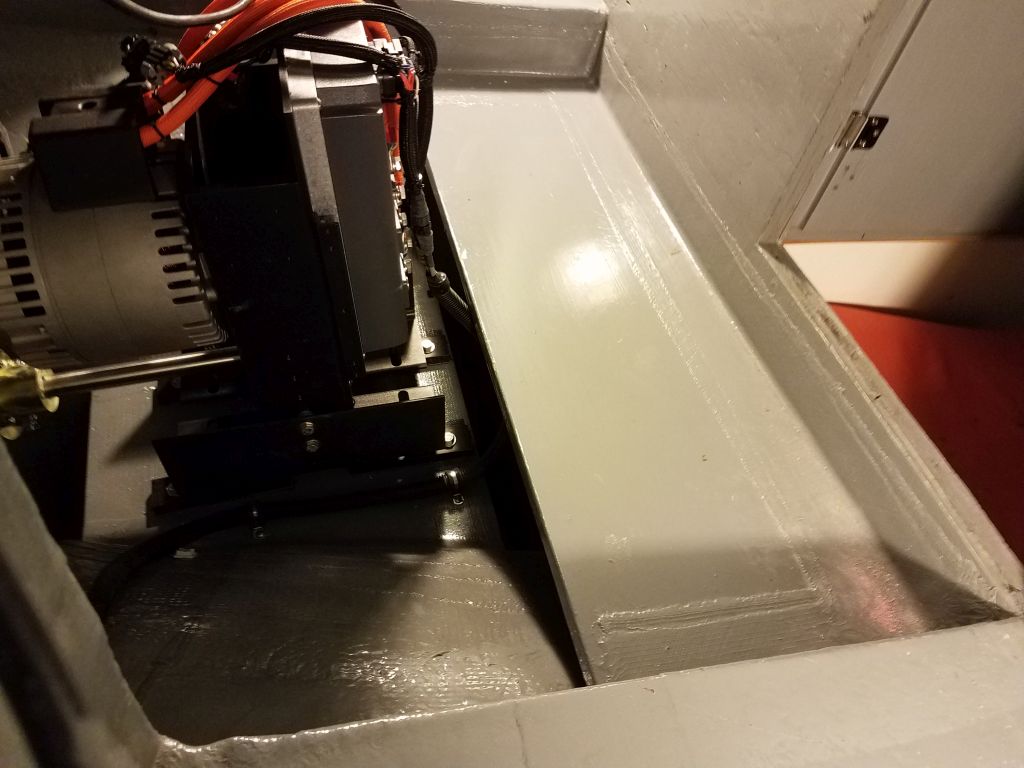
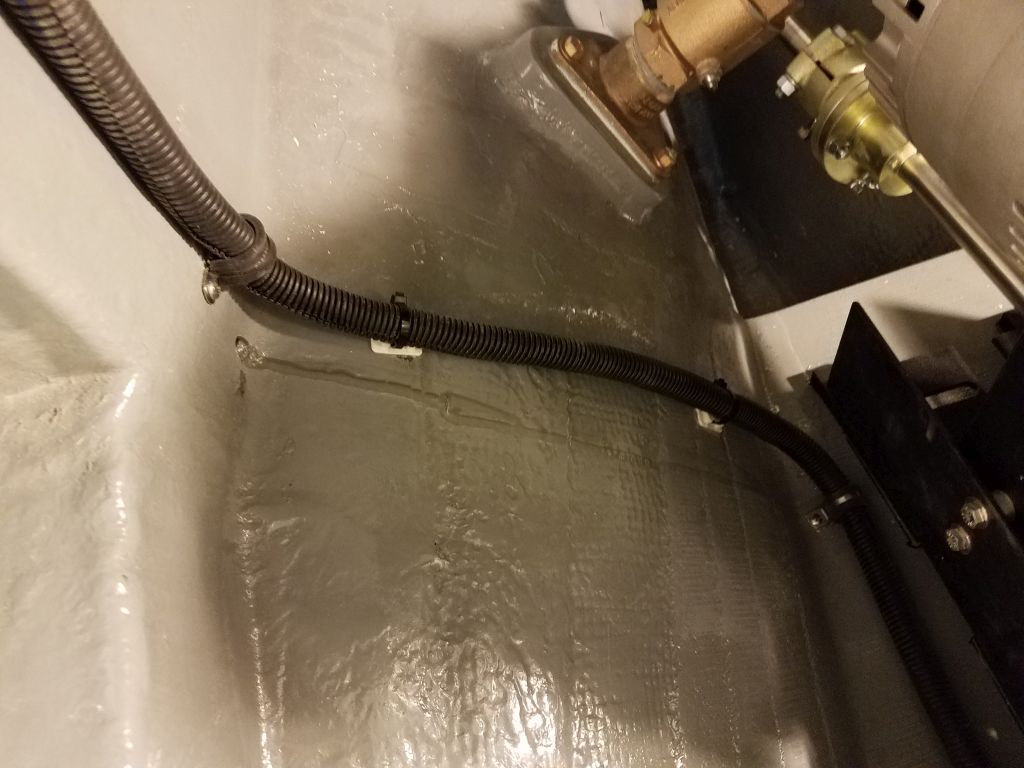
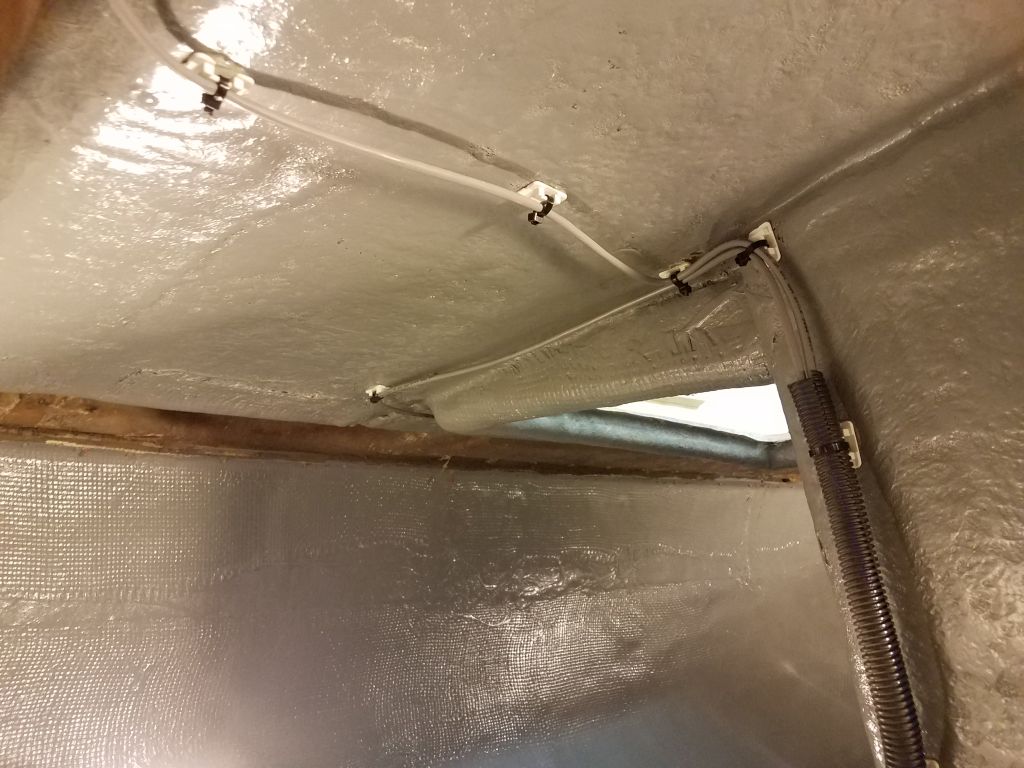
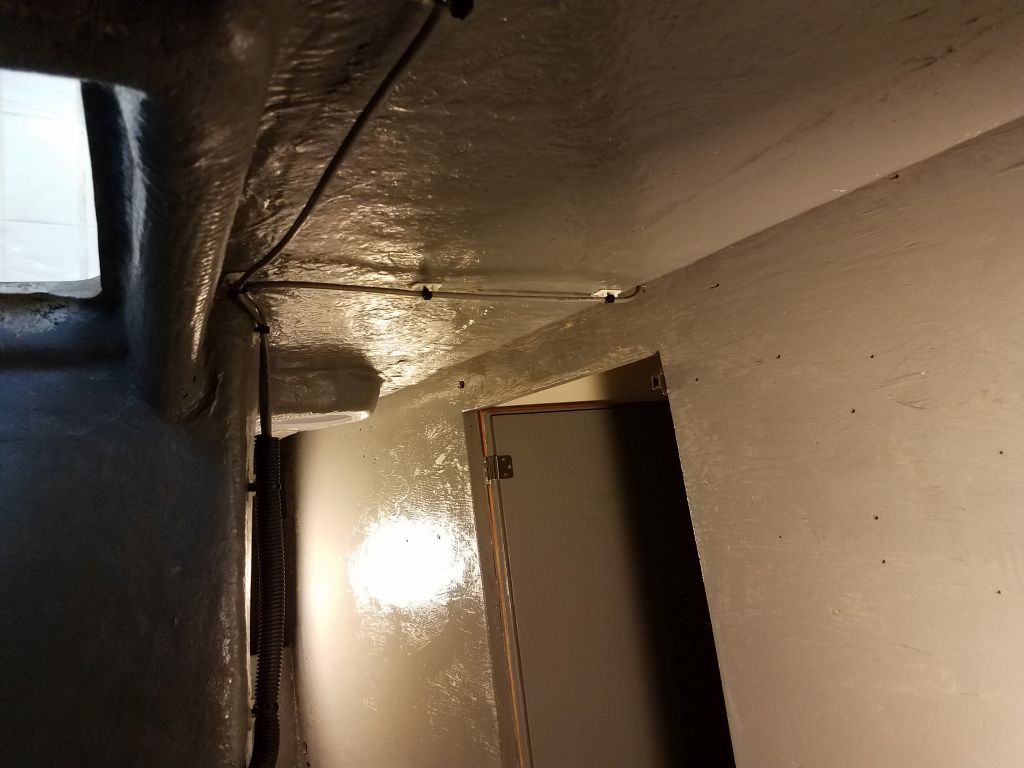
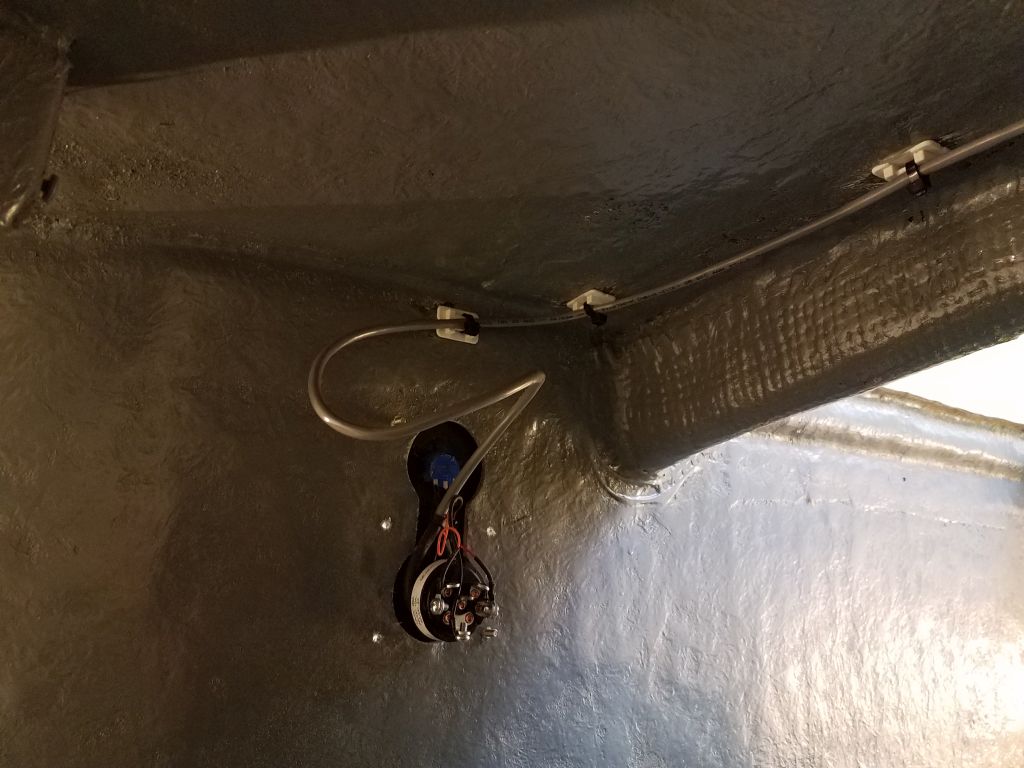
With yet another fairly extensive administration and ordering session completed, I continued work on the cables from the electric motor control and battery monitor. Now that the new wire mounts were ready to use, I could clean up and secure the cables permanently. I ended up routing the two cables away from the engine in a different way than I thought I might, leading them down and then aft along the engine foundation to avoid any conflict with the motor cover, which wasn’t in place now but would later cover all the wiring connections to the electric motor itself. I led the two cables through some flexible conduit in the engine room. At the back of the battery monitor, I bundled and secured the excess cable; there was only just a little extra cable at the throttle control, and for the moment I left it unsecured pending final installation of the control and any wiring changes I might need to make there.

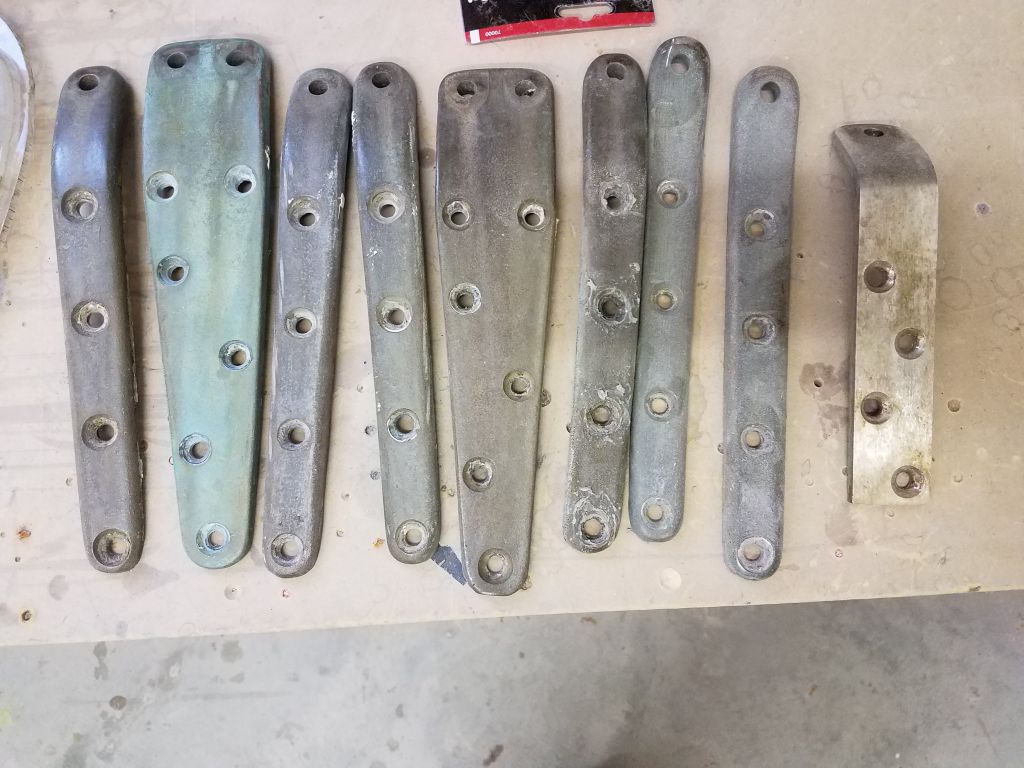
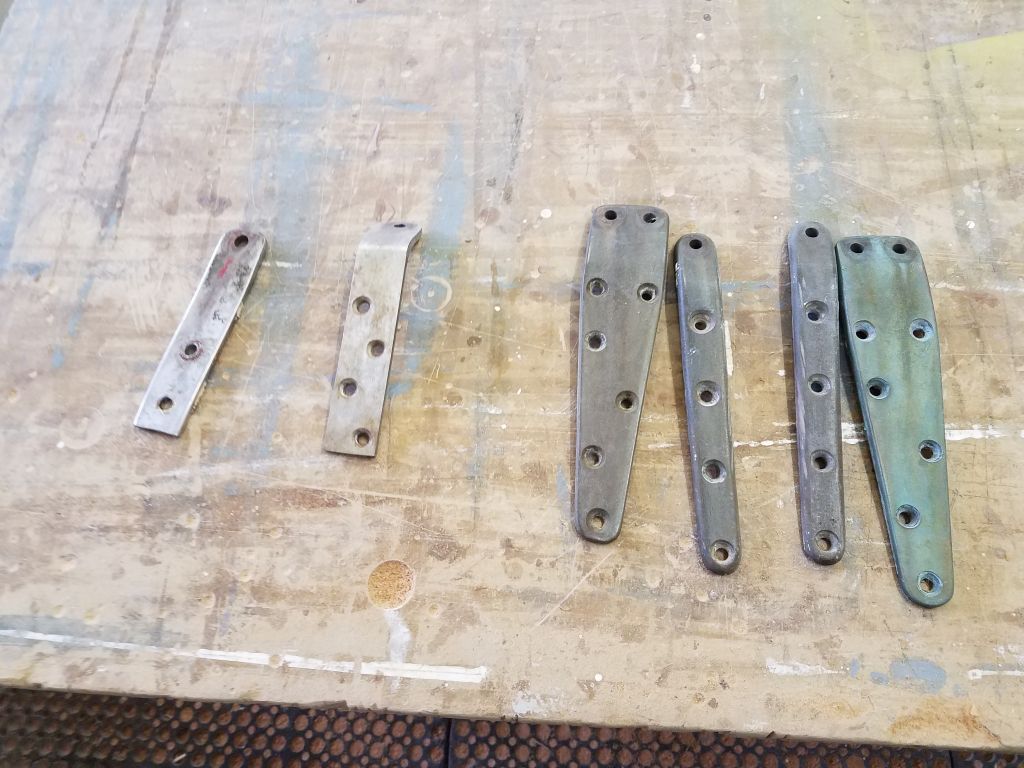
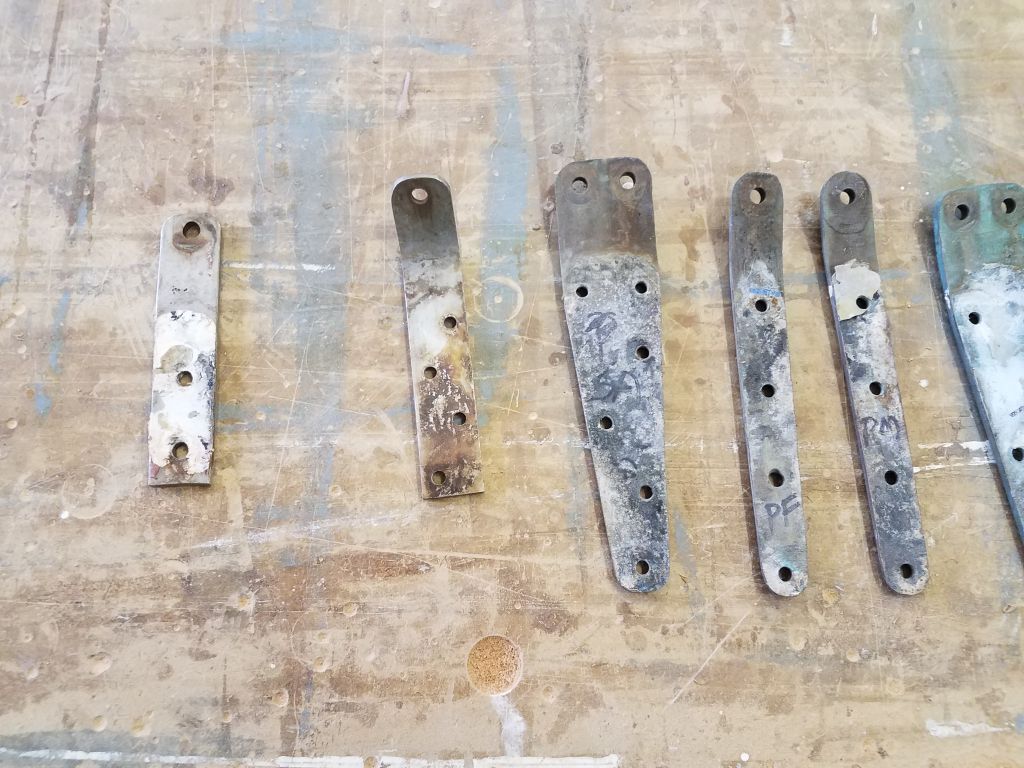
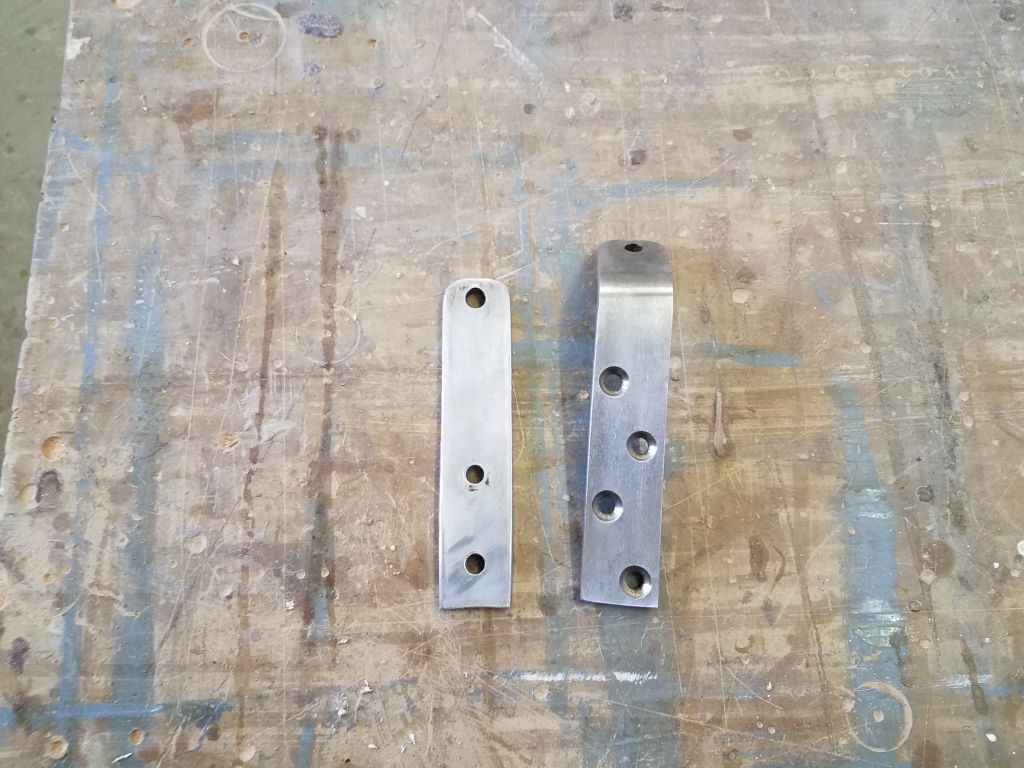
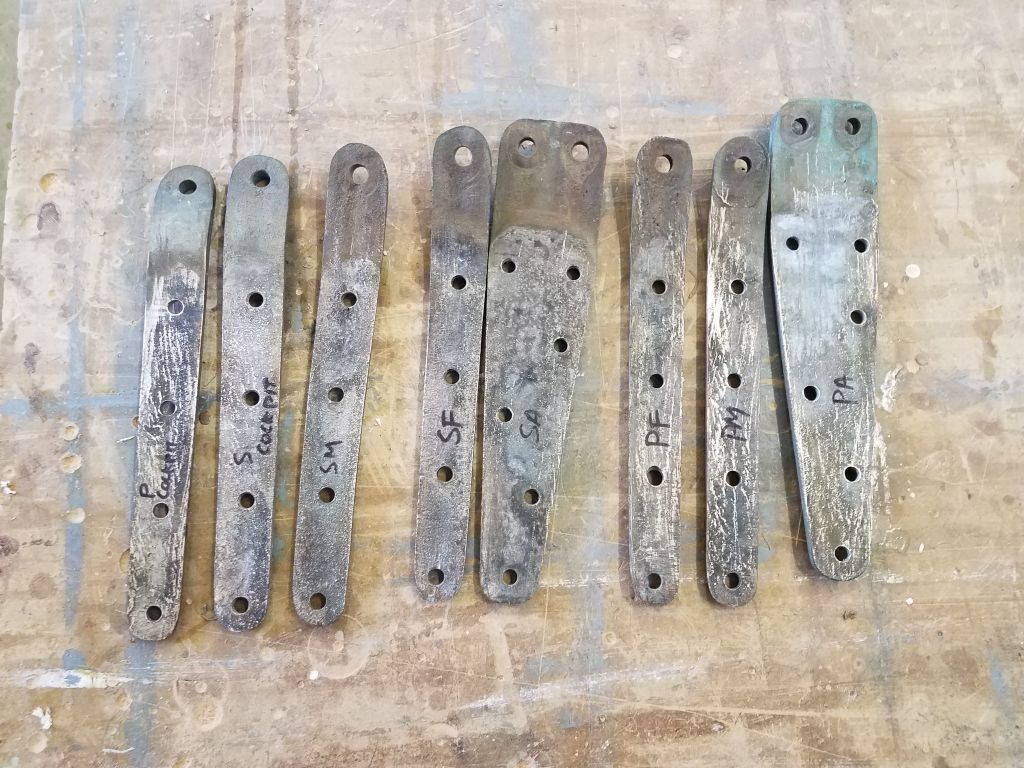
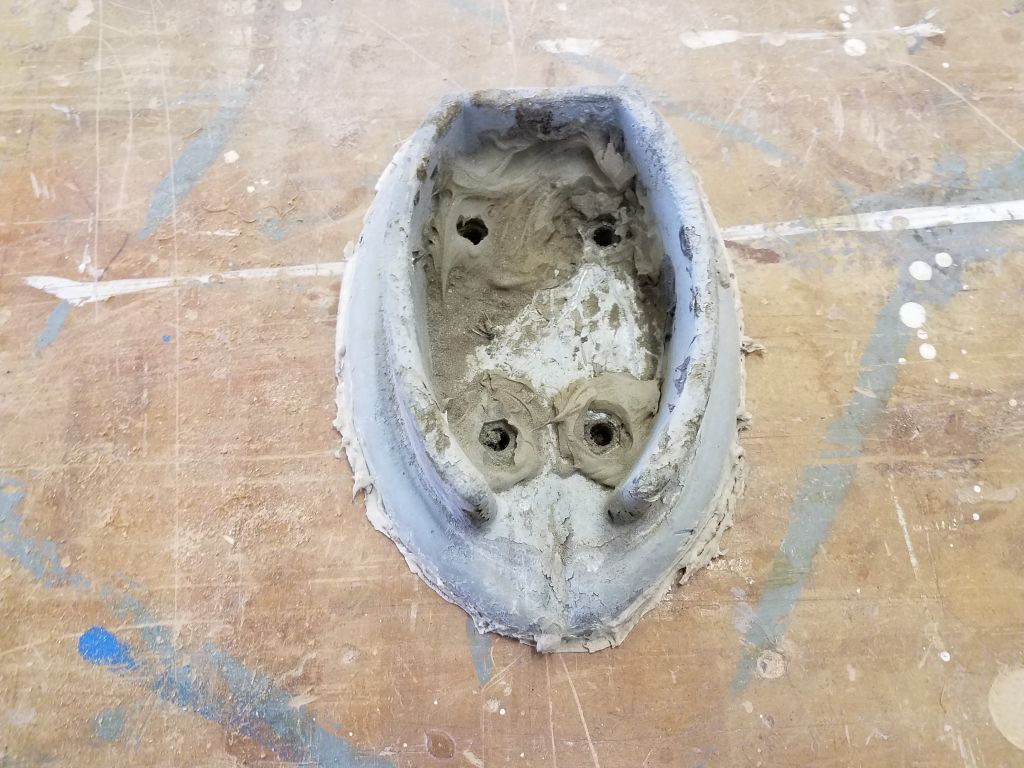
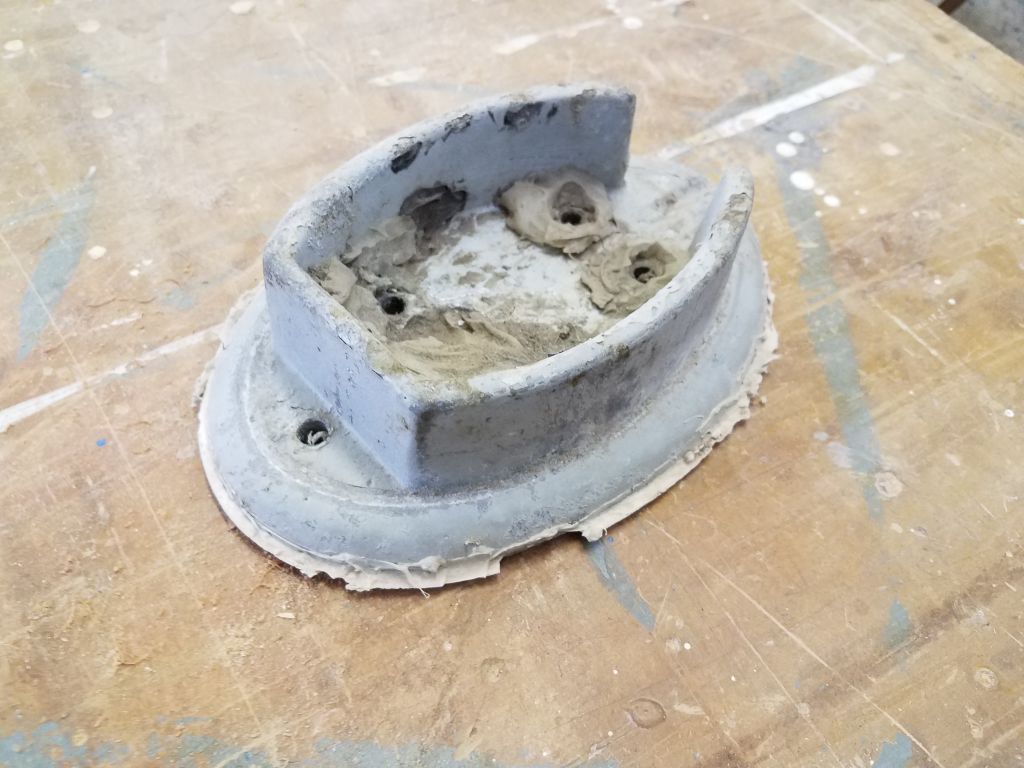
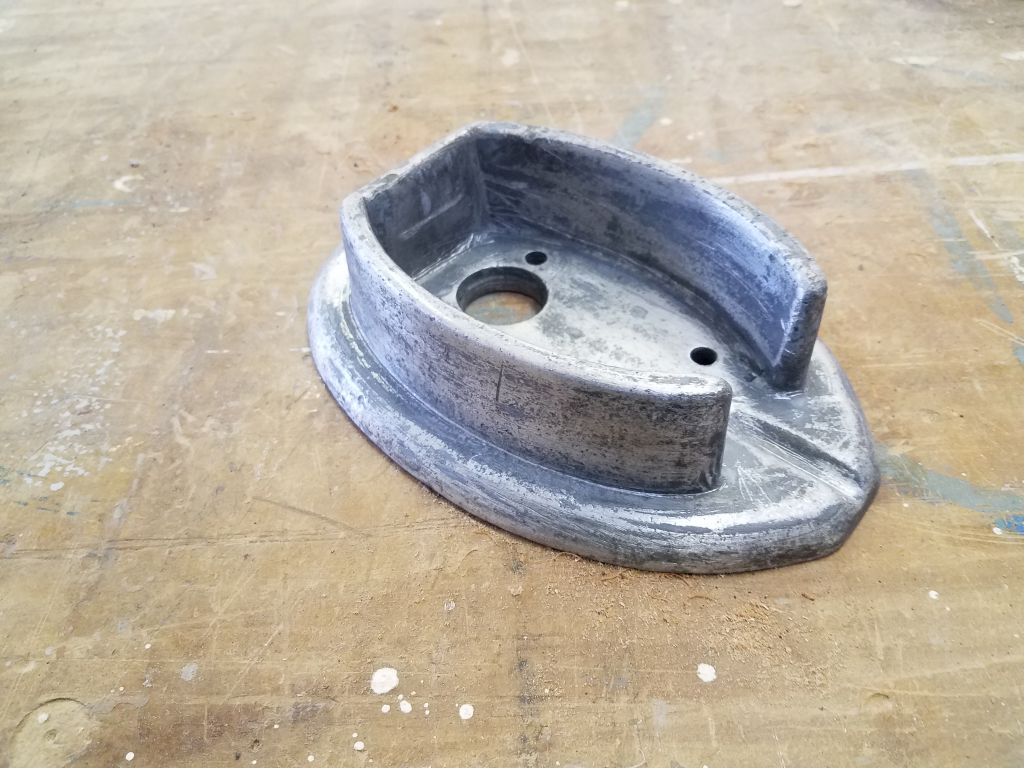
I’d soon continue work on some of the electric motor cabling, but was awaiting newly-ordered materials, namely the 2/0 battery cable required for the job, so instead I got to work cleaning up the chainplates, bobstay tank, and mast step to prepare them all for installation in the near future. The external bronze chainplates were in good condition and nicely weathered, and I concentrated on removing any remnants of old sealant and stuck paint on the back sides, but otherwise left the surfaces as is.
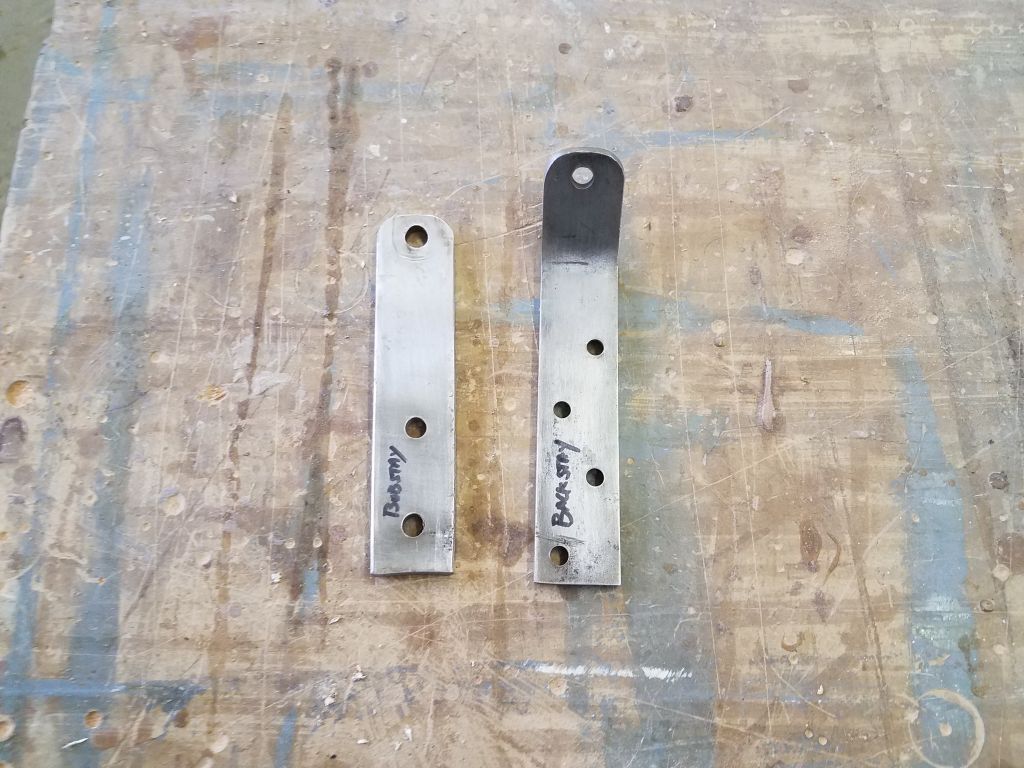
The backstay chainplate and bobstay tang were stainless steel, and in good condition other than some surface corrosion that I removed easily.


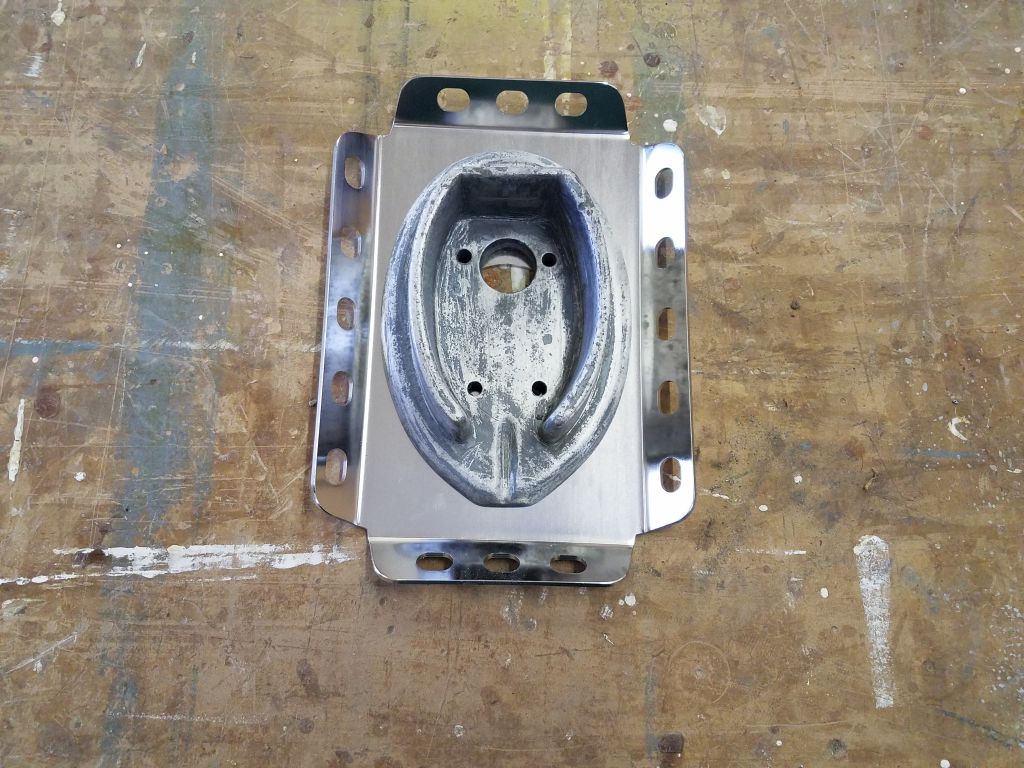
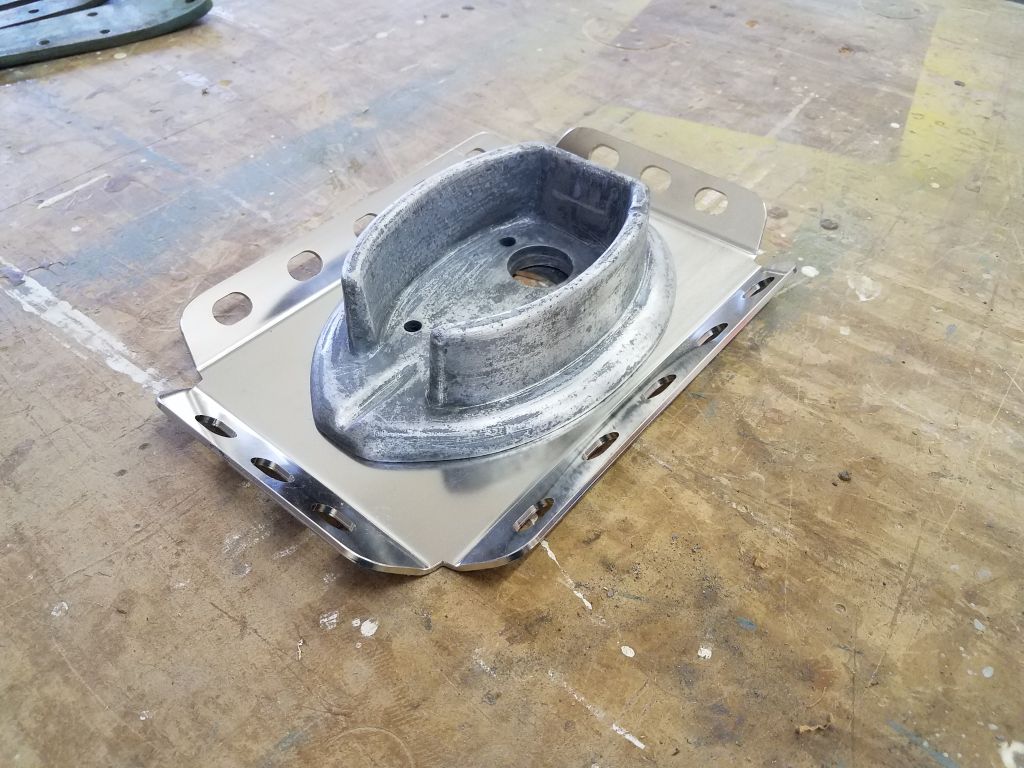
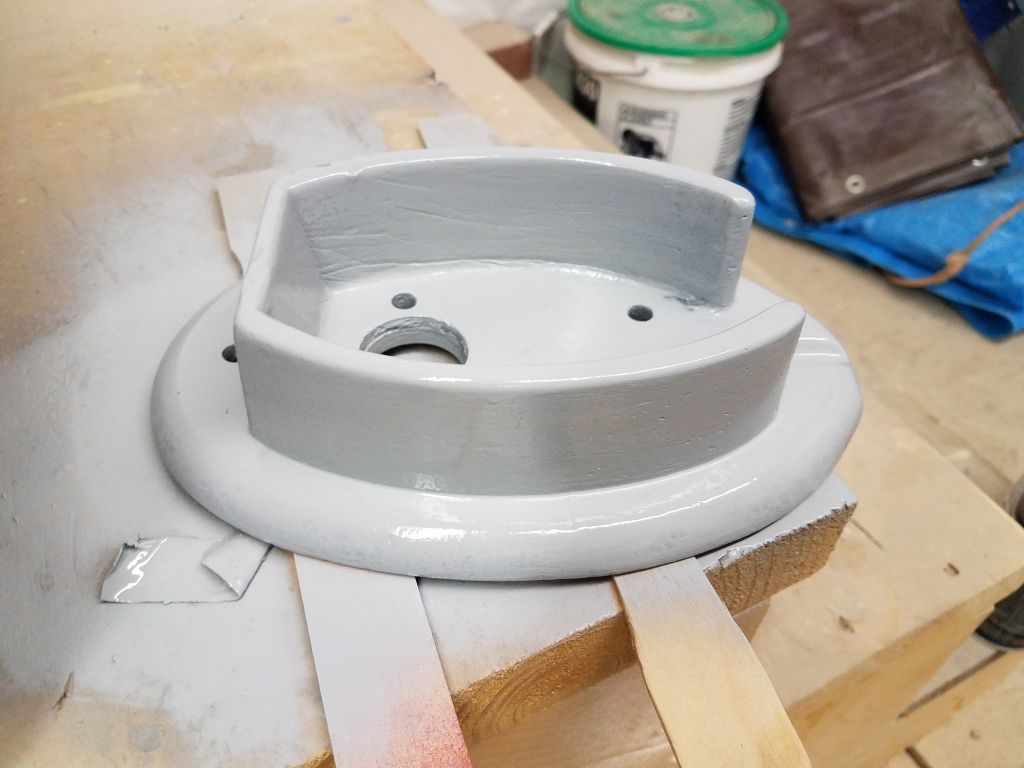
The aluminum mast step was covered in old gunk and silicone, and at length I scraped and wire-brushed it away, also removing most of an old coating of (tough) paint and back to bare aluminum, which later I sprayed with primer to prepare it for new paint.
I planned to install the step above a new stainless steel mast organizer plate that would allow easy attachment of turning blocks to lead various control lines aft as desired.


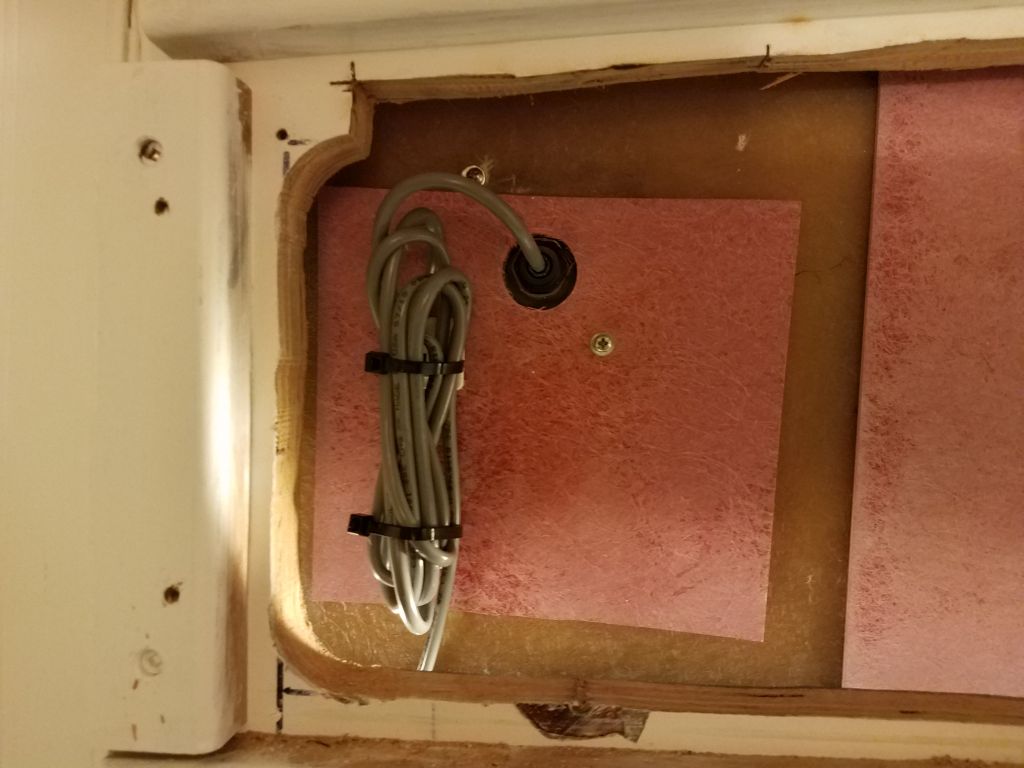
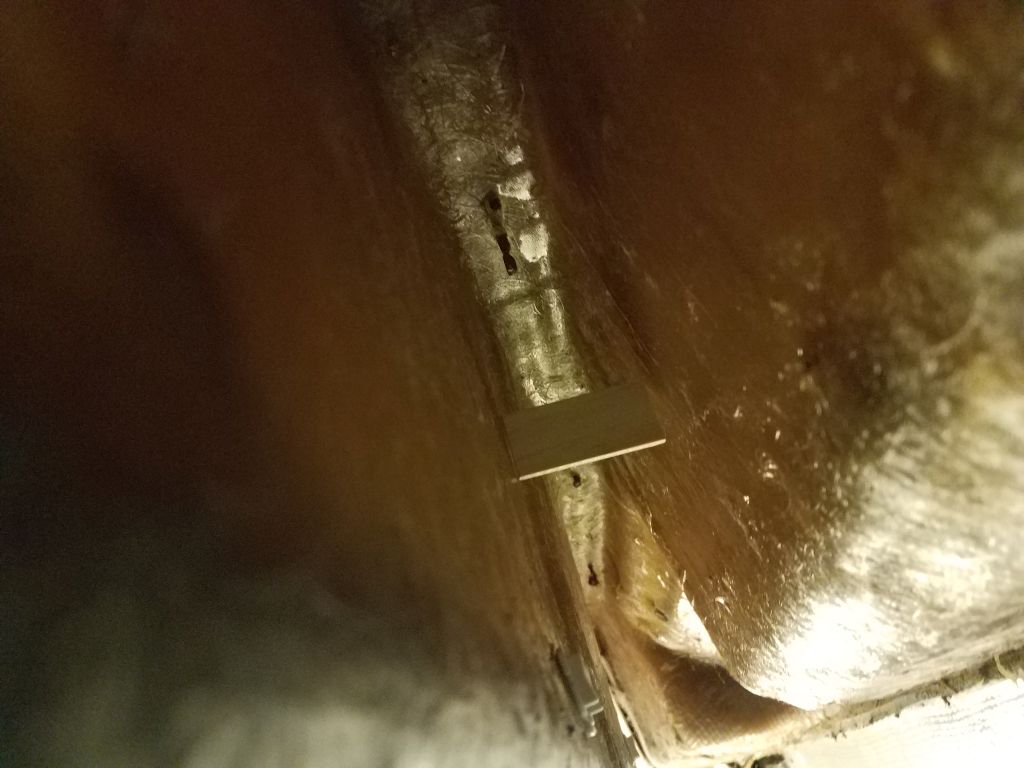
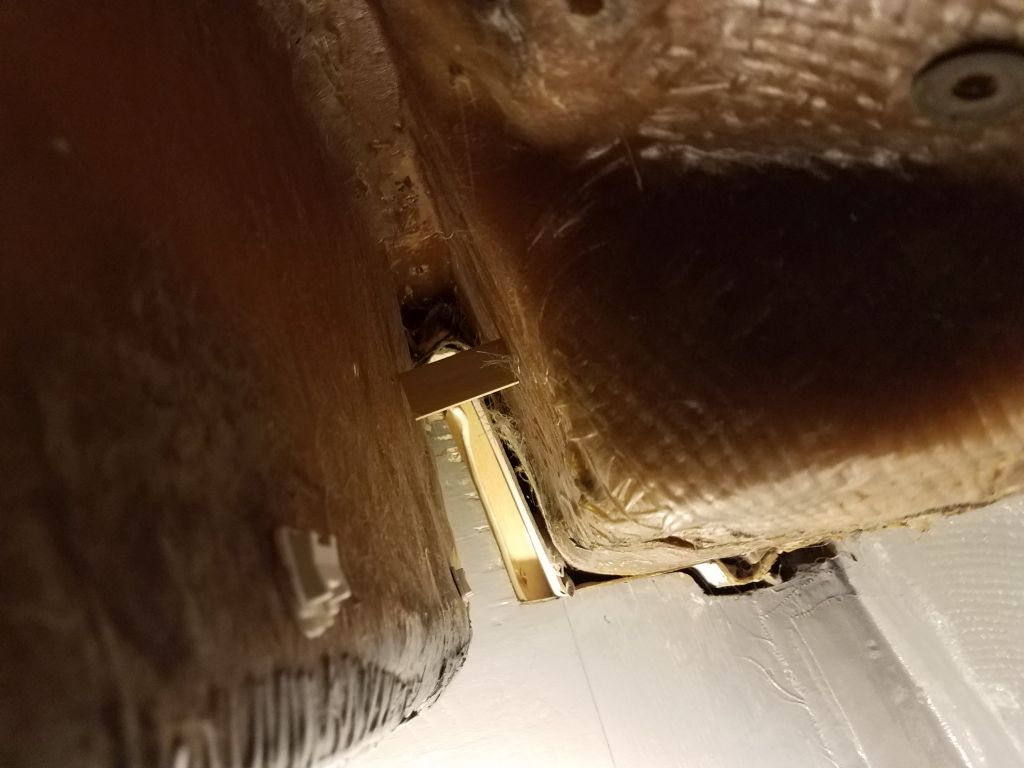
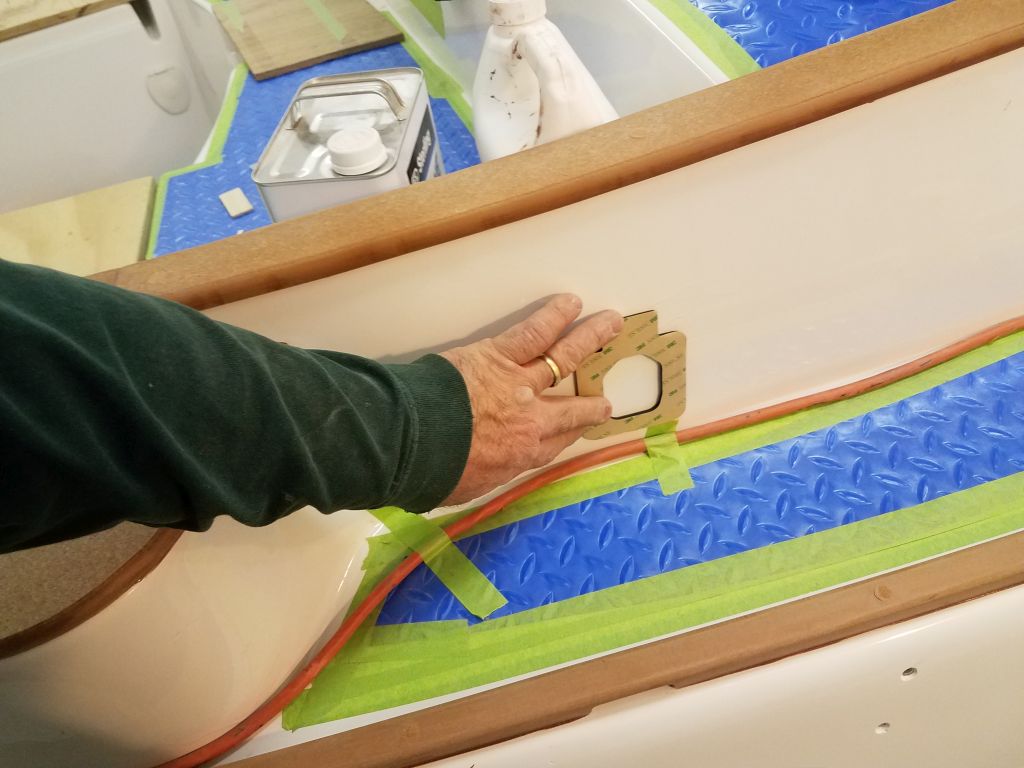
One of the things I’d been discussing with the owner was potential locations for the shore power inlet, which would power battery chargers and a basic AC electrical system on board. The owner preferred not to have the plug somewhere in the cockpit well, as the cable can be a nuisance, but this did limit the other possibilities. At issue was whether the plug could be installed on the outside of the molded coaming, which was hollow and accessible from within but fairly narrow. With the inlet plug now on hand, I made a little wooden template of the maximum depth required within the coaming (disallowing the thickness of the coaming laminate itself, which in this case would only increase interior clearance) and used it in a few places from beneath the coaming to check clearance. This particular plug would be wired from the sides of the housing, so as long as the entire housing and its wiring cover backing could fit as is, the installation would be workable.
At the aft side of the cockpit coaming, my little template fit to a point, but the tapered shape of the coaming limited the potential height, which, based on the deck height outside, would be too low to allow the plug to be installed properly.


Further forward on the starboard side, there was good clearance on either side of the winch island, and the required depth within the coaming would be high enough to allow installation of the receptacle in either location, with ample room for the plug housing within at a height that would work given the overall size of the plug itself.

Total time billed on this job today: 7.25 hours
0600 Weather Observation: 26°, snow and sleet just started. Forecast for the day: Snow, 4-8″ forecast, 30°