


December 17, 2019
Scupper 204
Tuesday
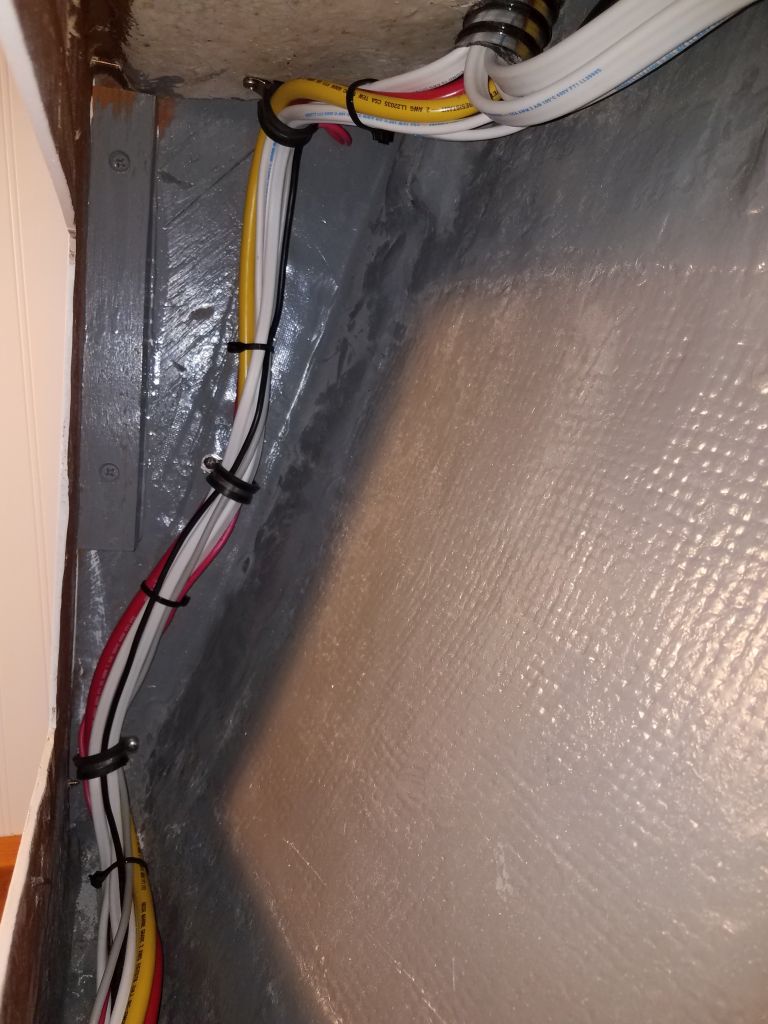
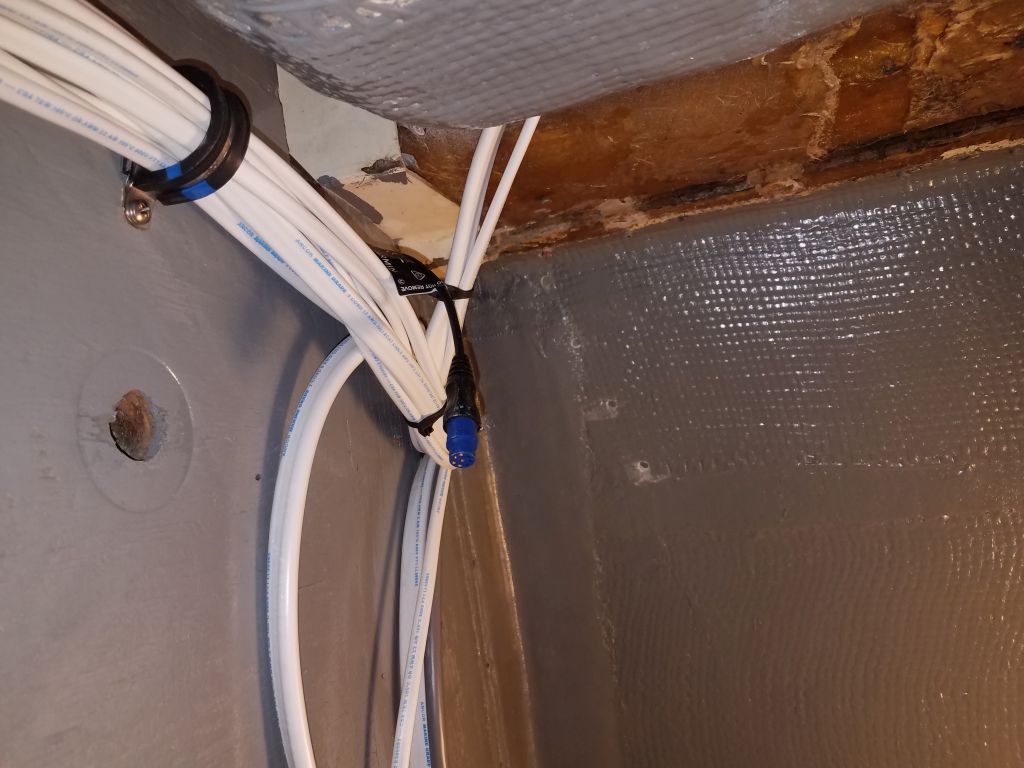
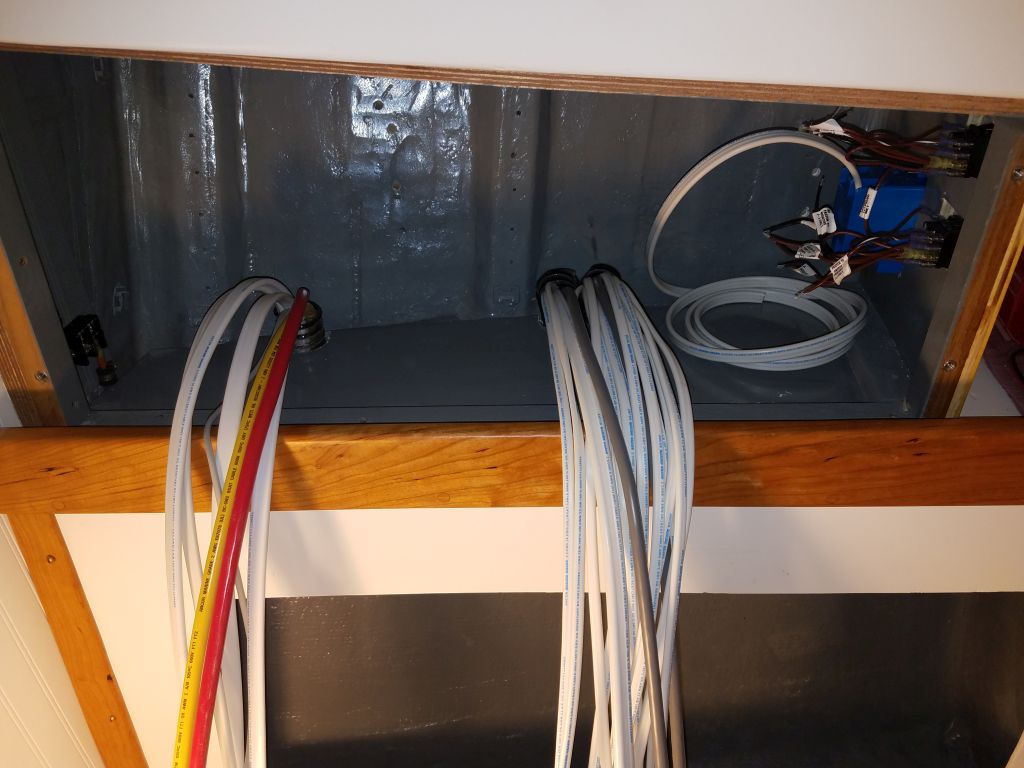
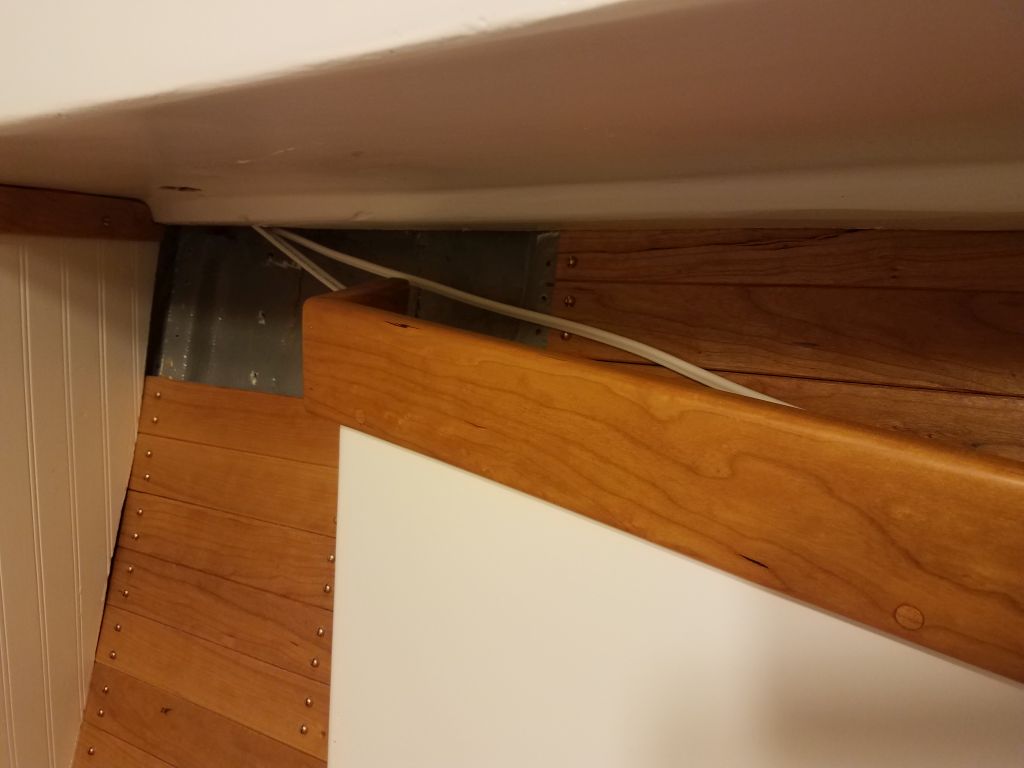
Working my way from the starboard settee up through the backrest and into the electrical locker above, I finished securing the cables and wires running from the forward part of the boat–a fair challenge given the narrow space and tough access and the bulk of the cables.
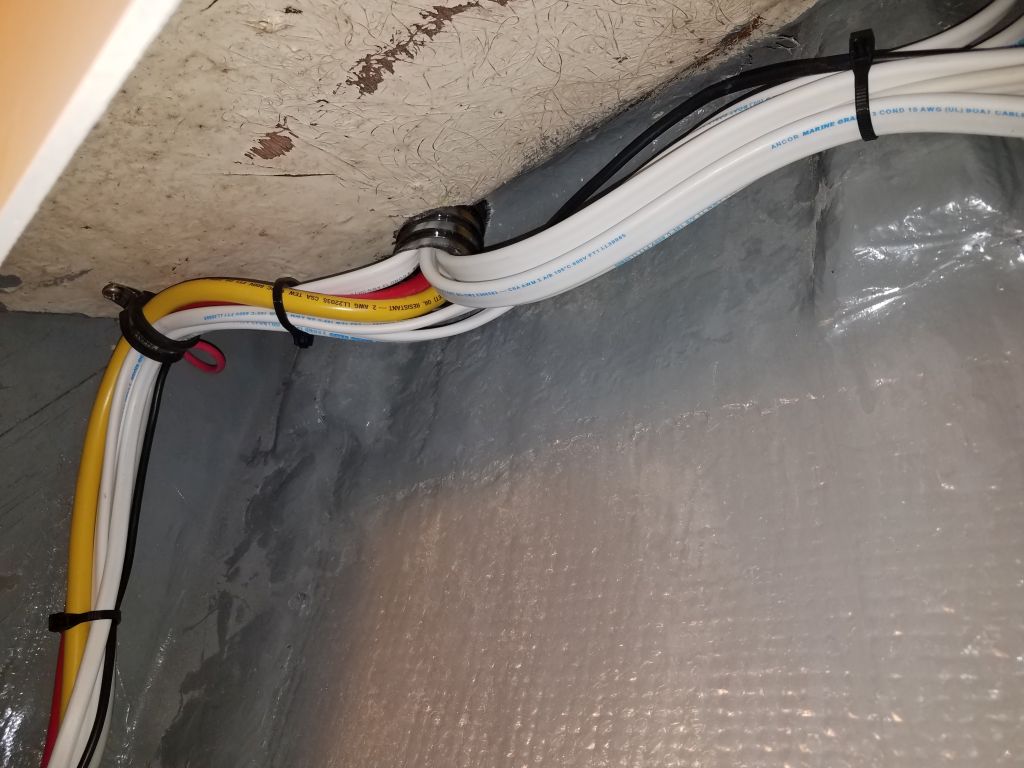
Next, starting just forward of the engine room in the head and working my way forward to the electrical locker, I tightened, straightened, and secured the wires I’d recently run aft to and through the engine room. This included the transducer cable, which I actually had to tighten and secure in the opposite direction (starting forward, but it ended up making it just into the engine room, where I left it to await its extension cable that would take it the rest of the way to the GPS/sounder display.
This finalized the wiring on the starboard side aft of the electrical locker, and greatly improved the related disarray.
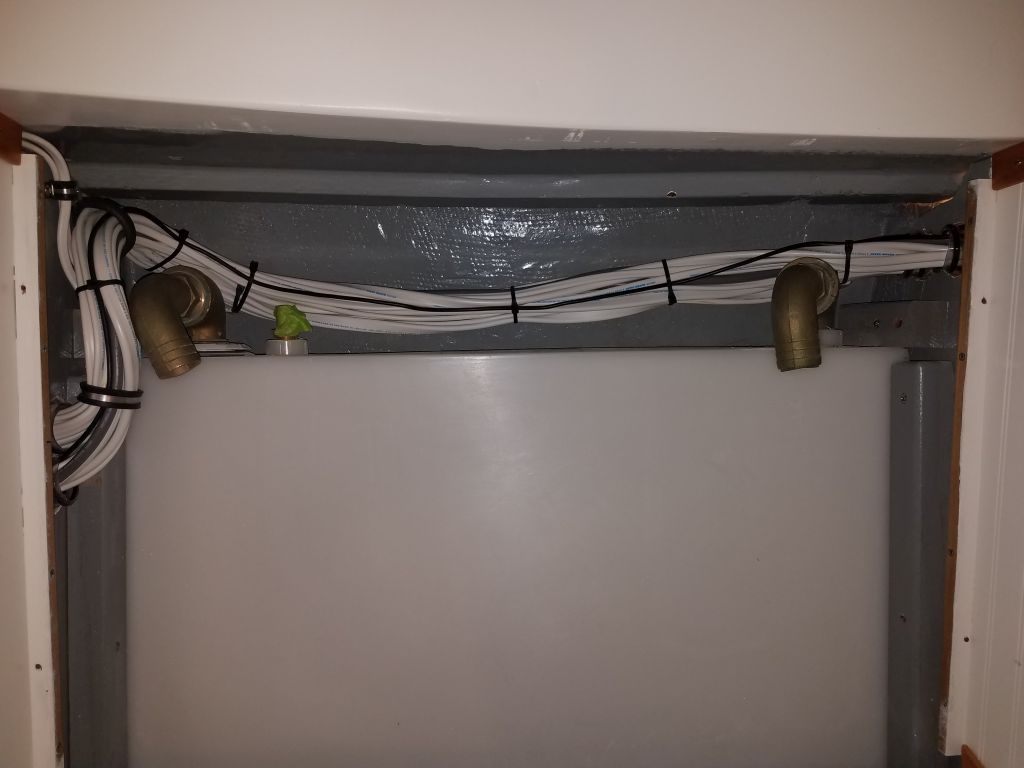

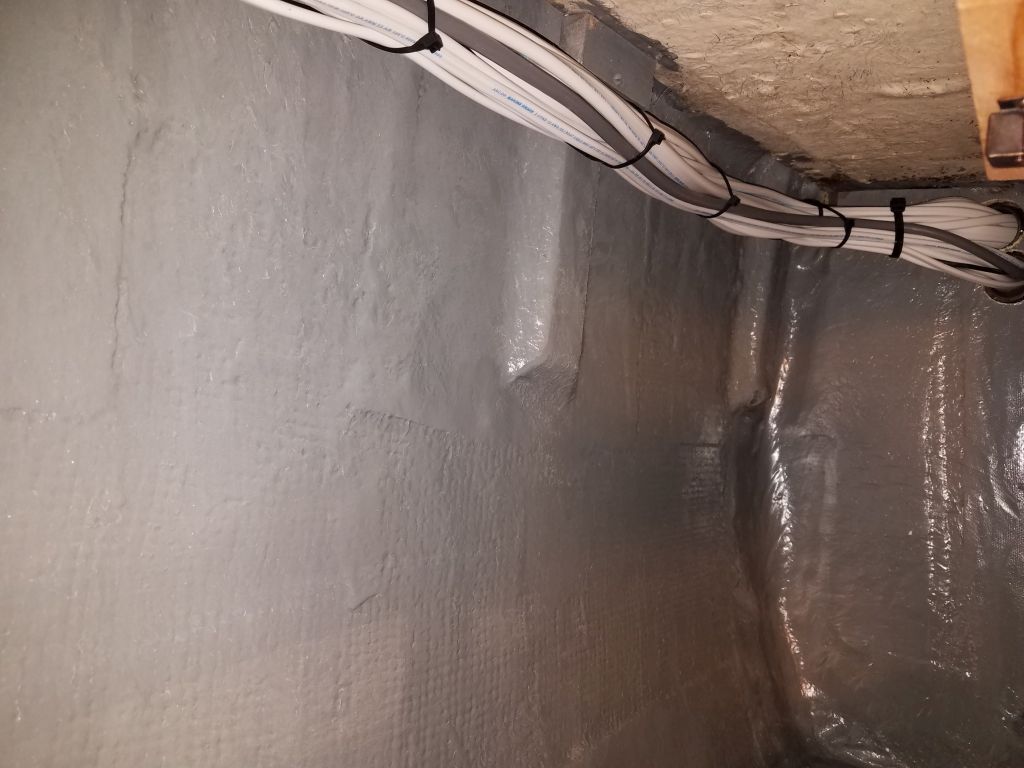
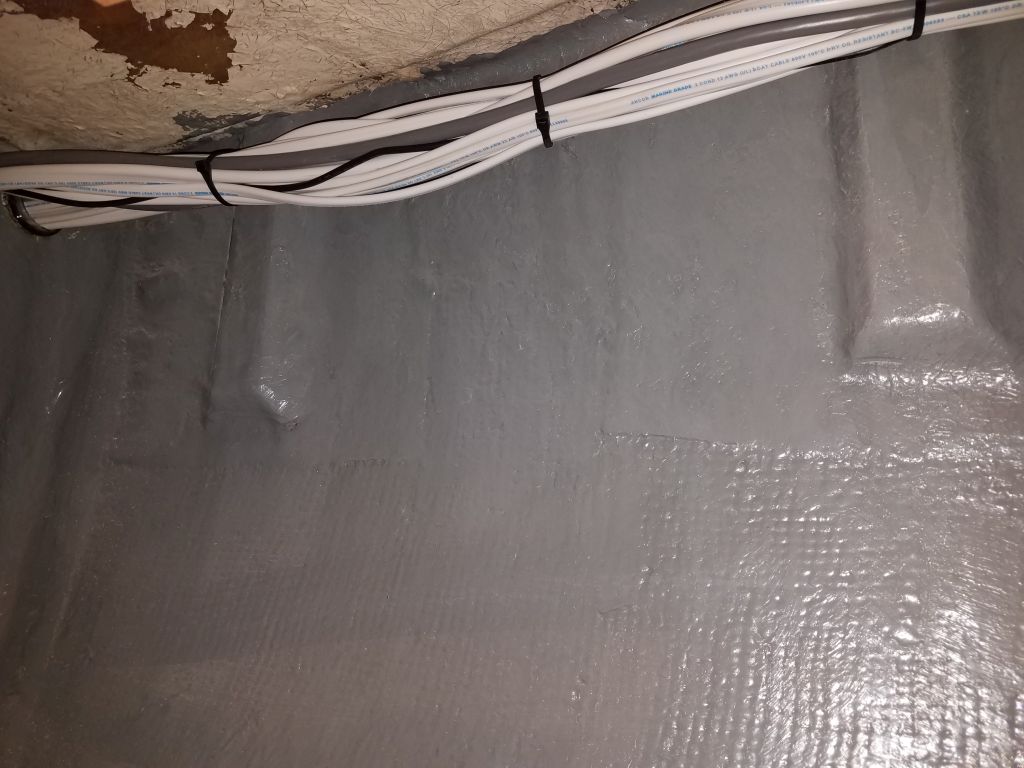
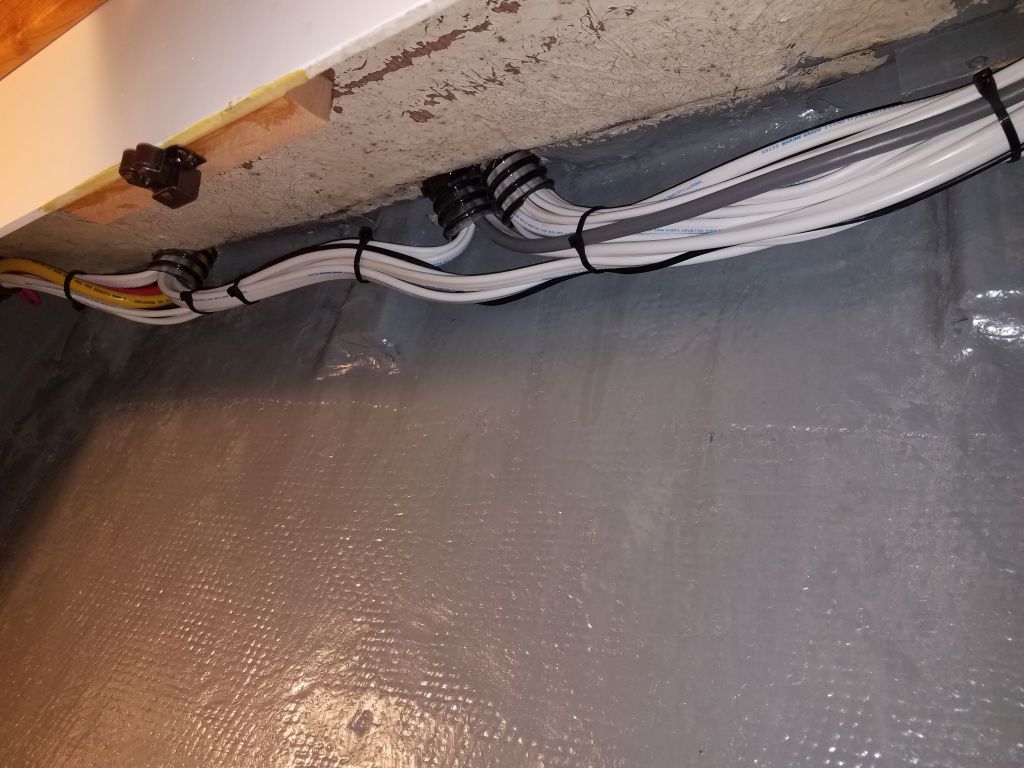
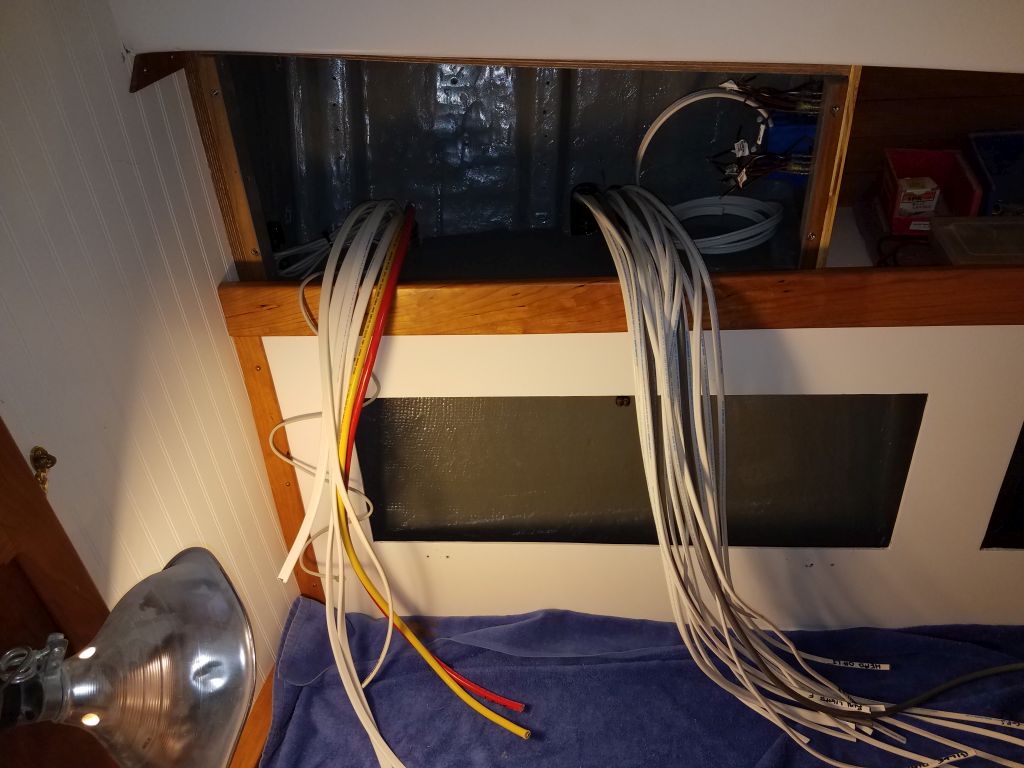
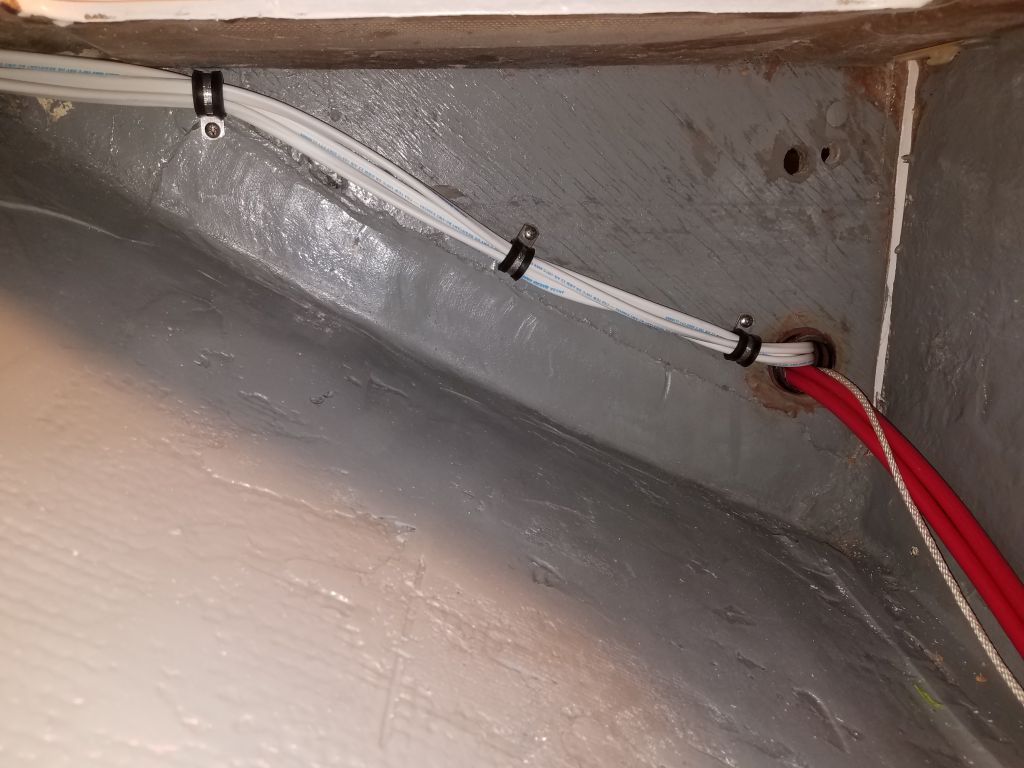
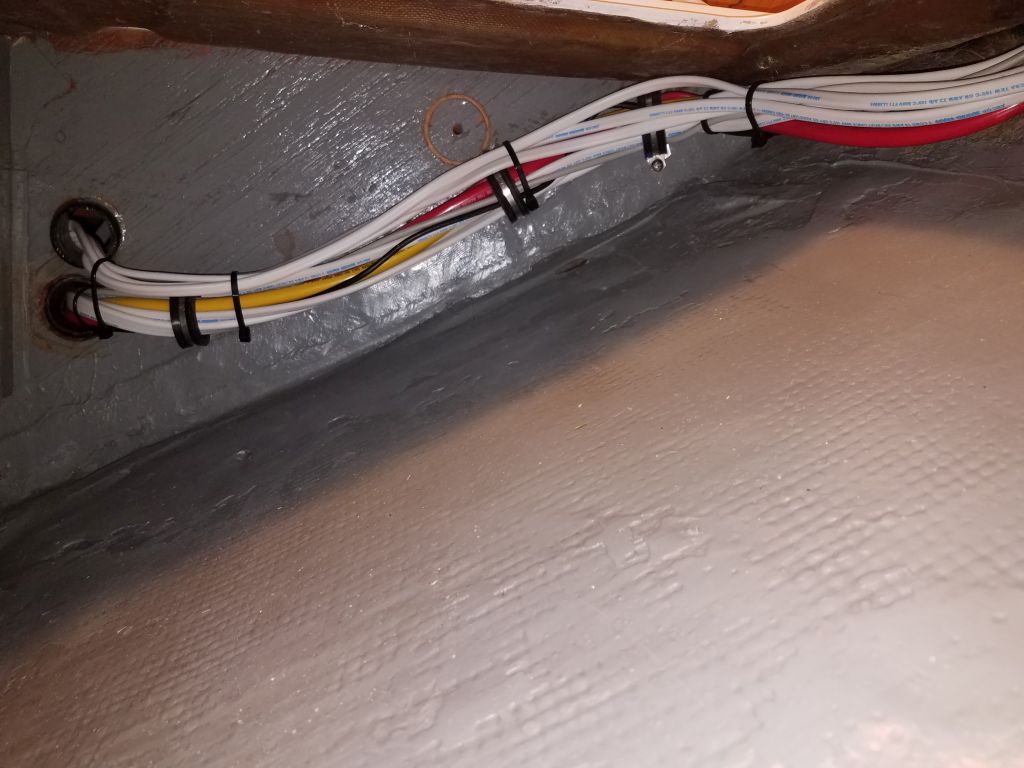
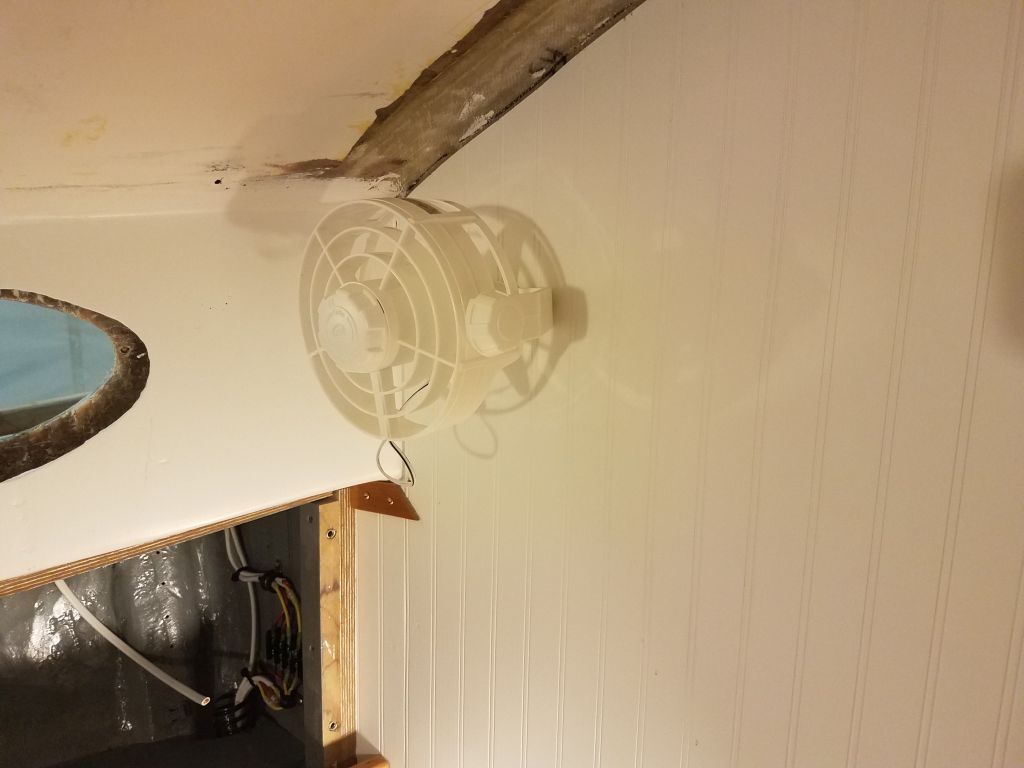
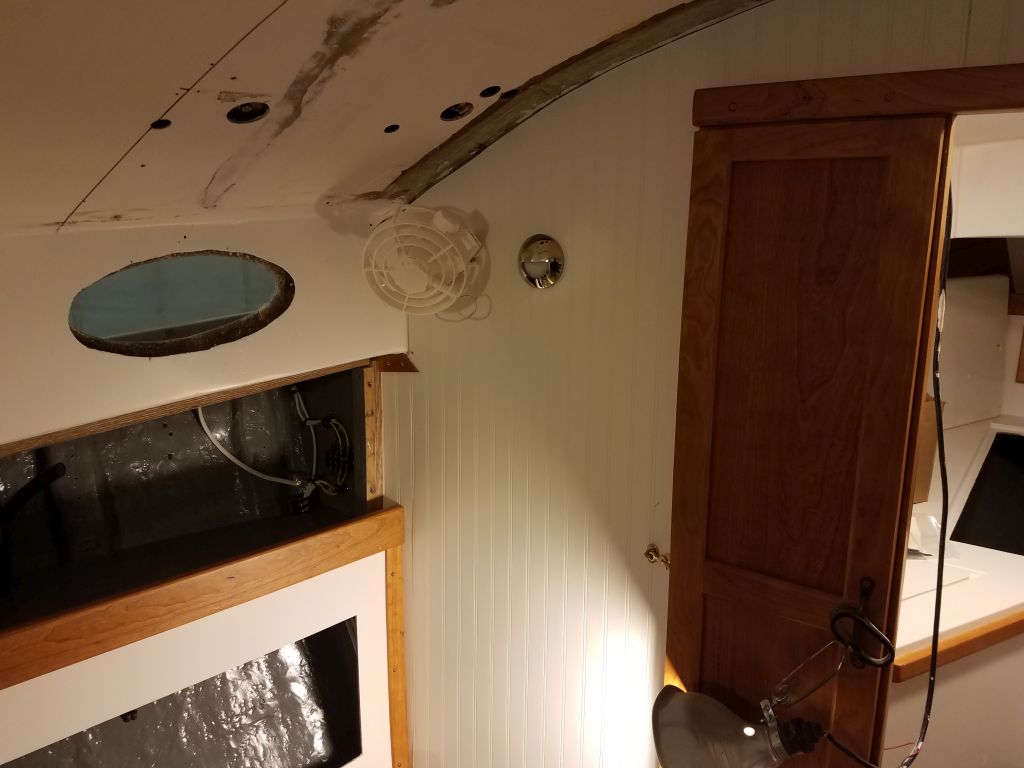
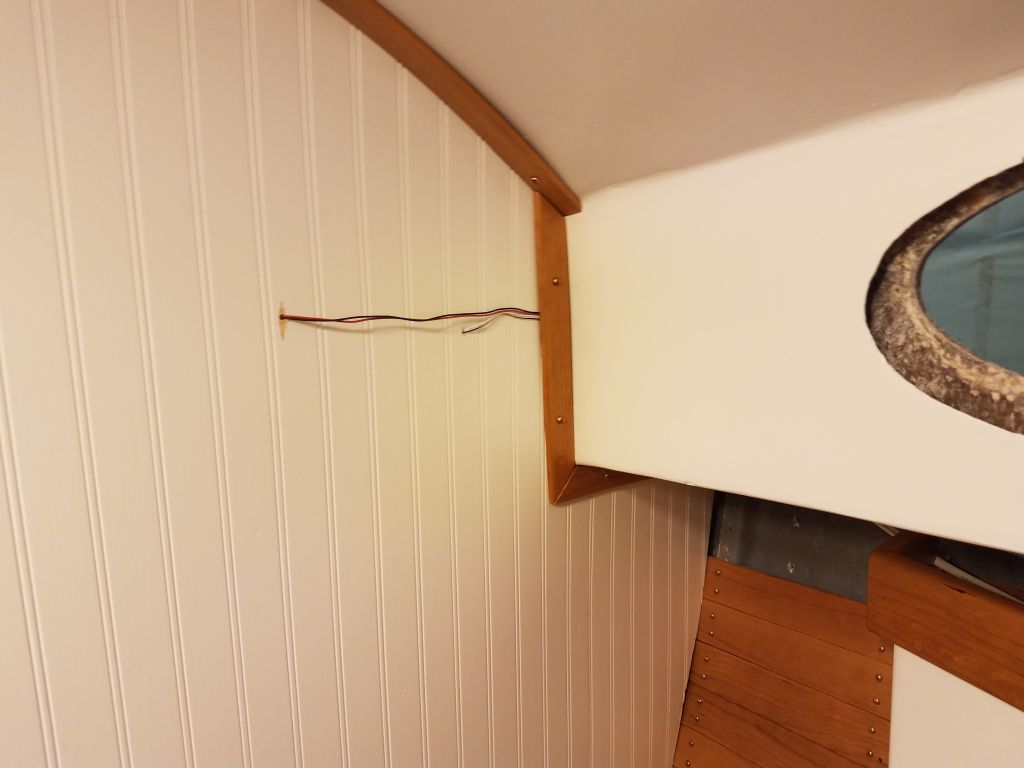
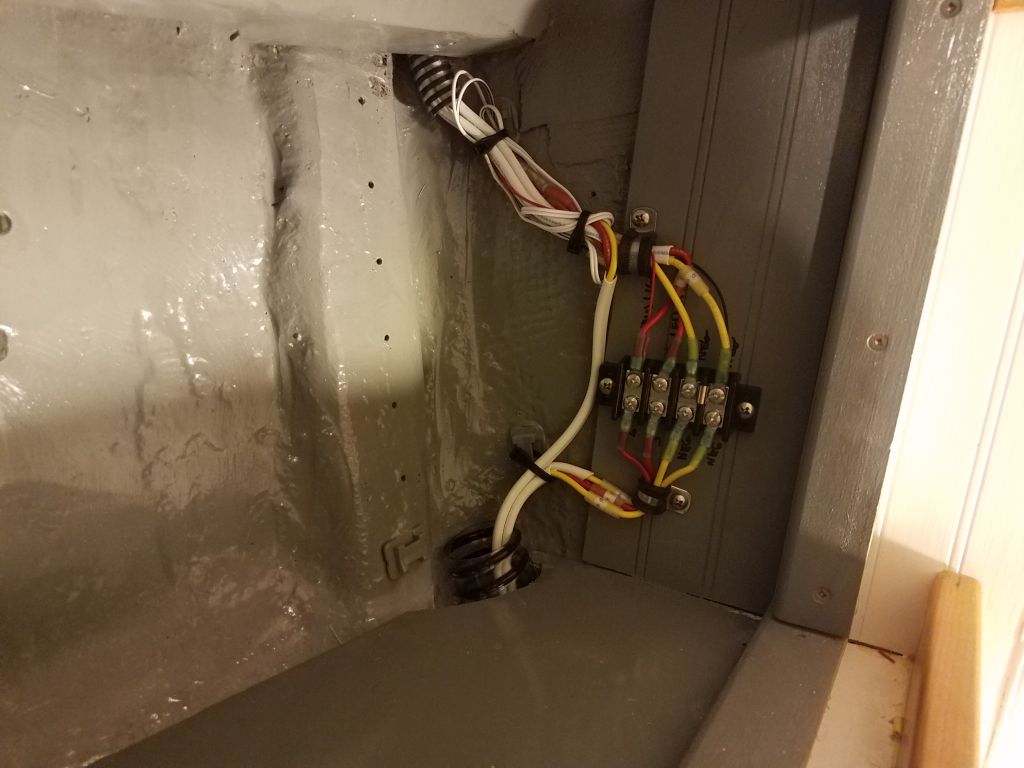
Next, I turned to the wiring for the lighting and fan circuits required on the port side. To streamline the wiring and minimize wiring bulk, I led in three separate wire pairs (circuits): one each for the cabin lights and under-deck secondary lighting (LED strips–on order); and one for the fan to be mounted on the port bulkhead in the main cabin. Another fan would be mounted in the forward cabin, but on the starboard side. I led these wires from the starboard electrical locker, through the space below the forward cabin, and then through the port settee and settee back into the port locker, where I terminated the two lighting circuits in a terminal block that would make it easy to connect two cabin lights (a berth light forward and a bulkhead light in the main cabin) and the two sets of under-deck lighting (main cabin and forward cabin). I used short lengths of cable to then lead forward from the new terminal block and into the forward cabin, where I left the ends for now pending installation of the underdeck and berth lights.
Then, I could clean up the wiring through the spaces and back to the electrical locker. On the starboard side, there’d soon be more wiring running through these spaces (leading to the mast), so for now I considered the current result temporary in nature.


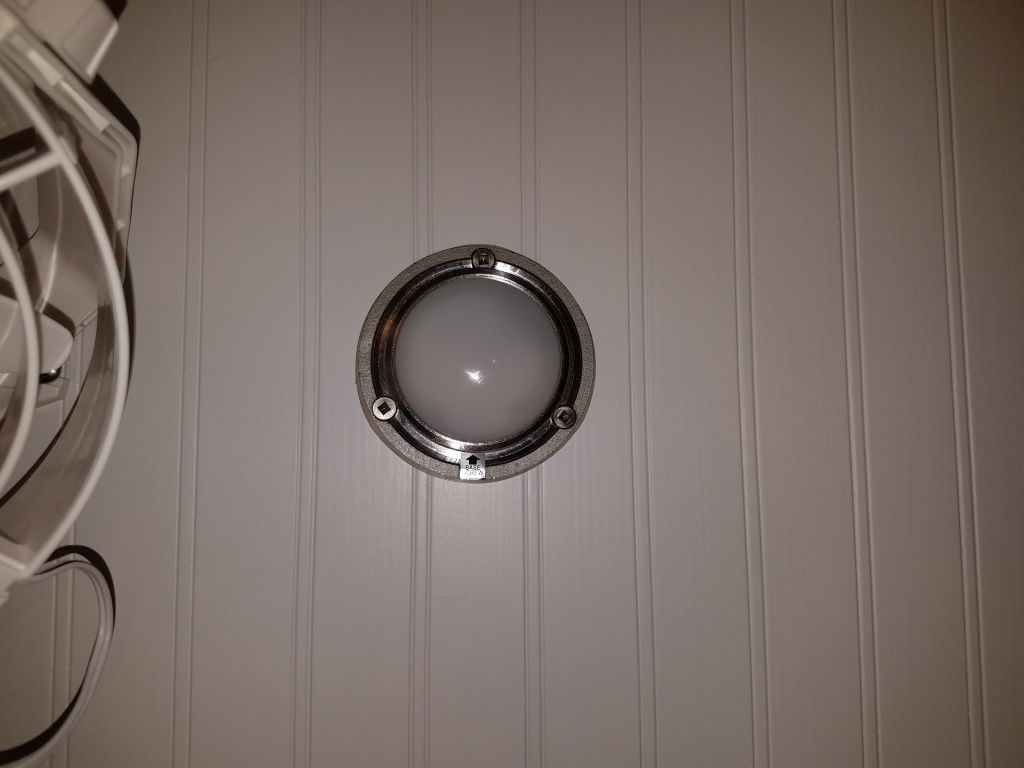
The owner had selected and purchased the various light fixtures and fans (one on hand) for the boat, and with no time like the present I decided to go ahead and install the fixtures on the port bulkhead in the main cabin, starting with the fan. After dry-fitting in several locations, and ensuring full rotation of the fan housing in all directions, I chose the location near the upper port corner, in an attempt to keep the fan out of the way as much as possible. I led the wire through the bulkhead into the forward cabin.
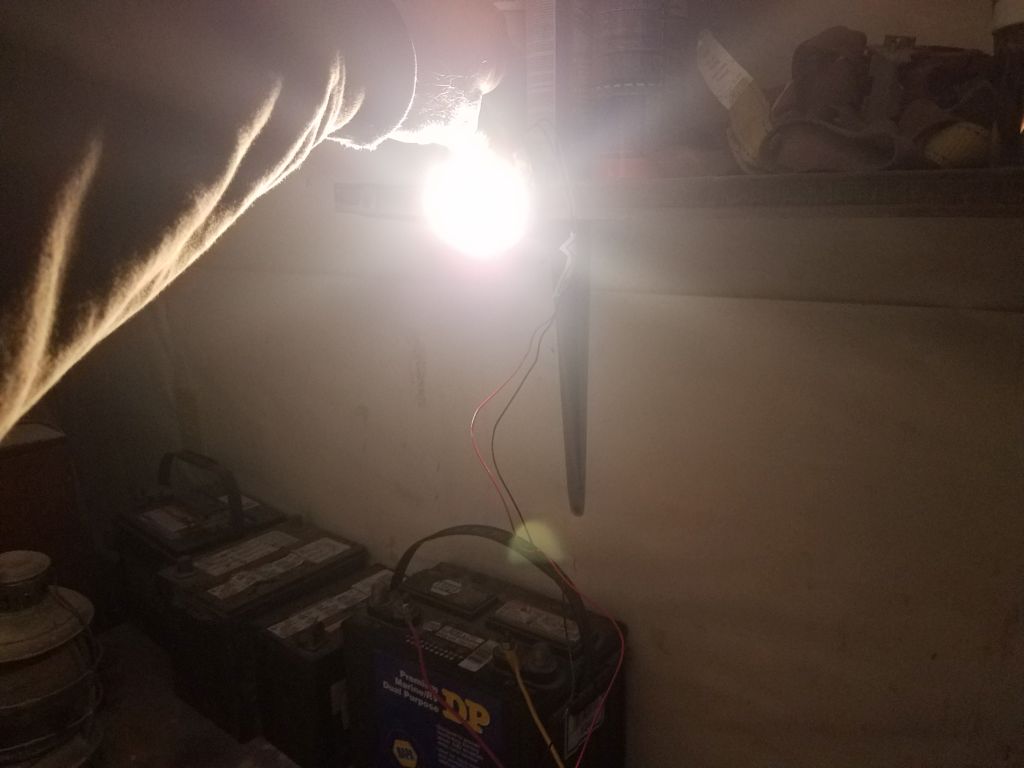
The LED light fixture destined for this space was a small domed, downward-facing unit with which I was unfamilar, so to ensure its eventual location would properly light the berth below, I temporarily hooked it up to a battery in a dim space. The light was quite bright, and easily illuminated the bench below my test area.

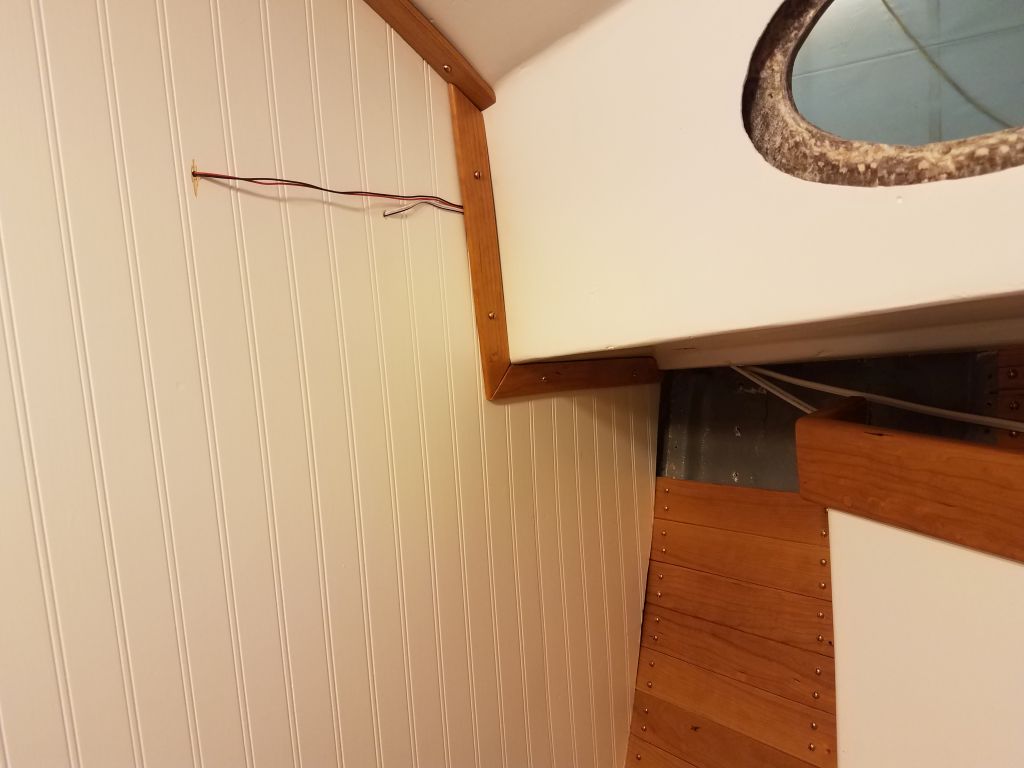
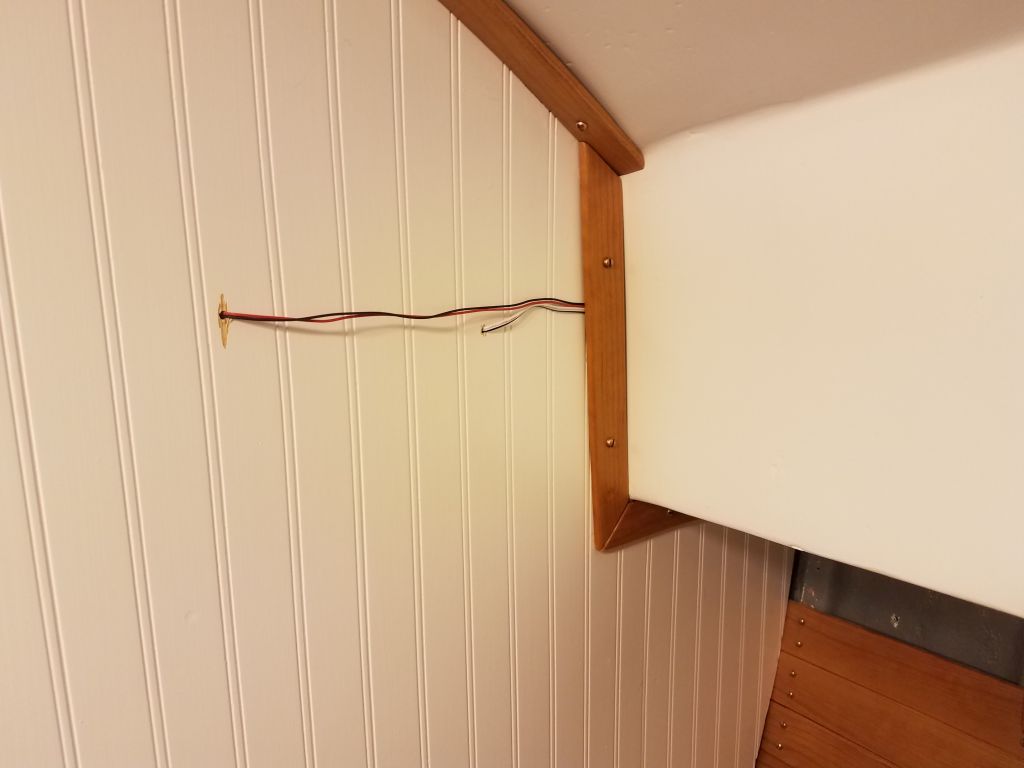
I chose to mount the fixture near the fan and at the same level, and more or less centered directly above the berth below. Installation was a simple surface mount, with the wire leading out through the bulkhead to the forward side, where I’d have to secure and hide it as best as possible.
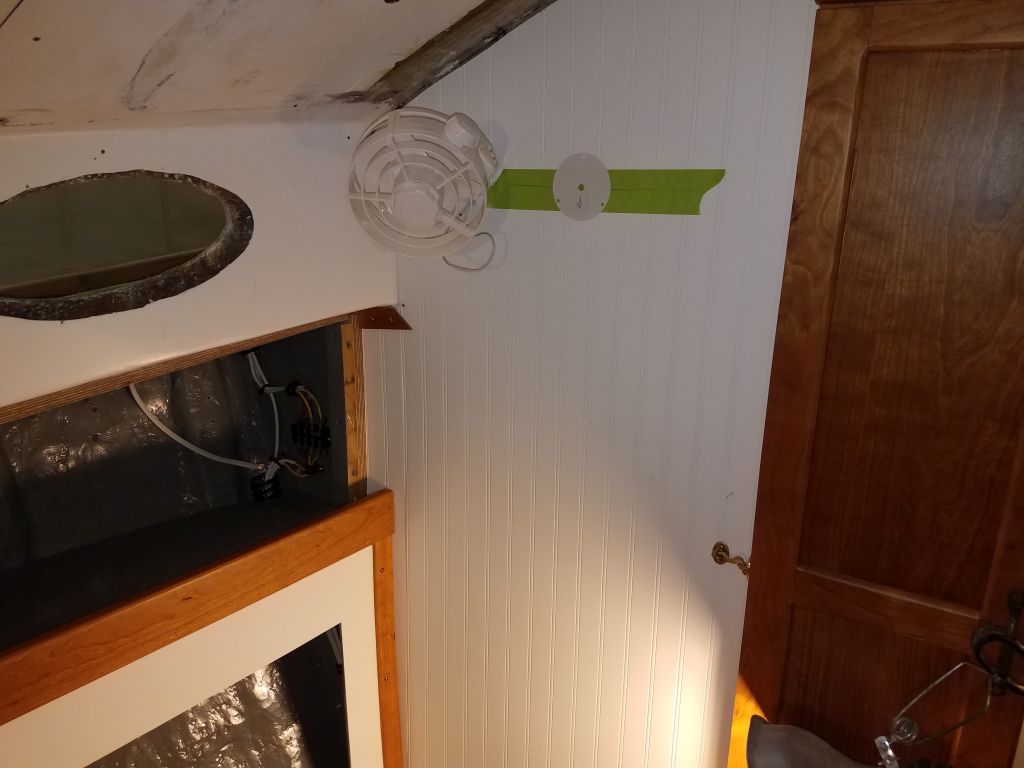

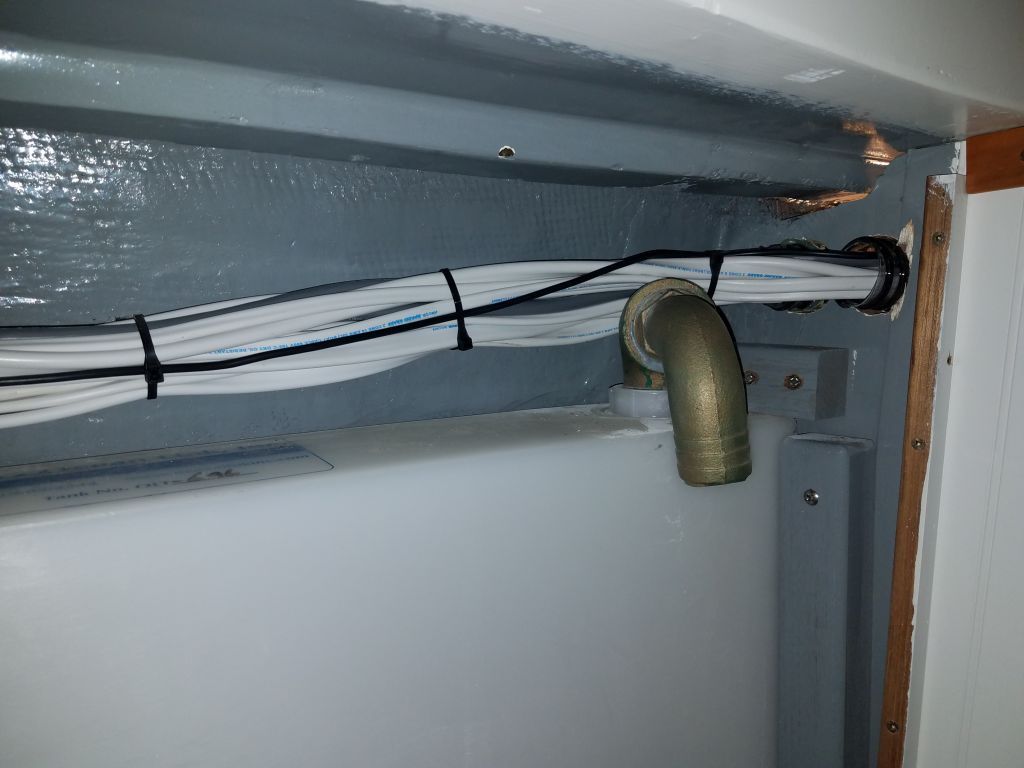
The light fixture came with a good length of wire attached (as did the fan), and it looked like these wires would be long enough to run along the forward bulkhead and back to the aft side, where the lighting terminal block was located. This also meant I could dispense with the 14/2 wire pair I’d run forward for the fan circuit, so I removed that. Both sets of wires from these fixtures were quite small, and I thought I could hide them beneath the existing trim pieces at the edges of the bulkhead in the forward cabin, which turned out to work pretty well. I’d have to mill a piece of trim to cover the wires where they were still exposed across the bulkhead, but I’d get to that a little later.
This meant I could go ahead and make up the wiring for the bulkhead light on the terminal block (cabin lights circuit), as well as the fan on its own separate circuit. There’d be more wiring here soon when I added the final wiring for the underdeck lights in the saloon, but for now I secured the wires a bit pending some changes later when all the wiring here was finished.
Total time billed on this job today: 7.25 hours
0600 Weather Observation: 22°, cloudy. Forecast for the day: Snow, 2-4″ expected, 28°