


February 26, 2019
Scupper 88
Tuesday
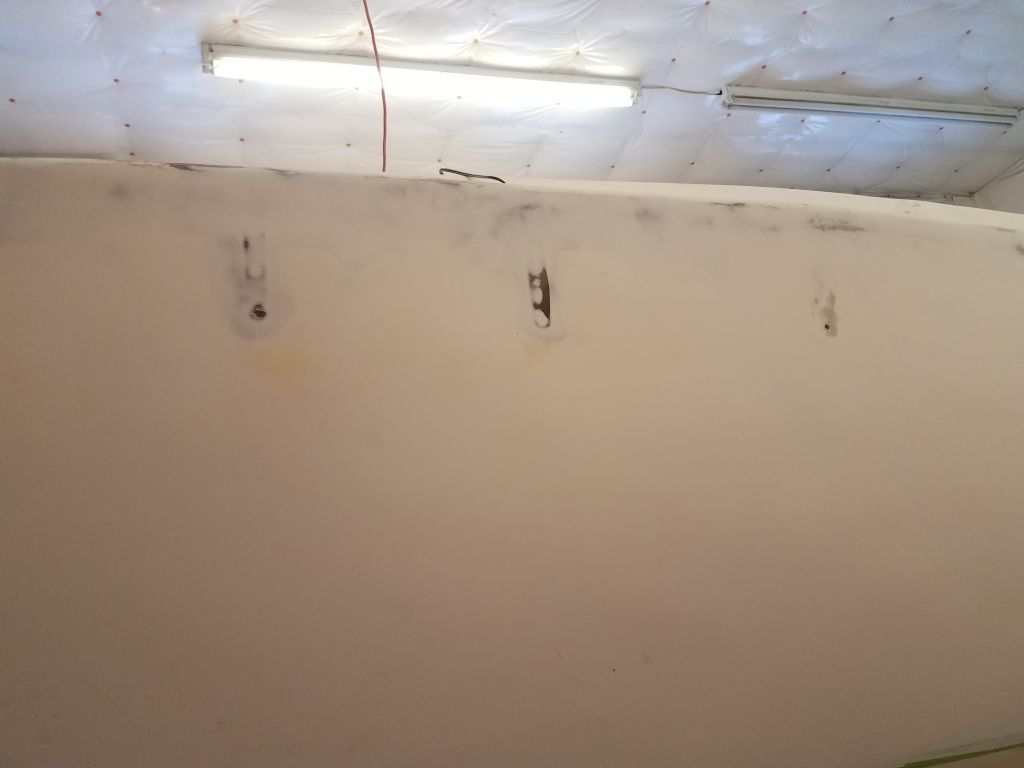
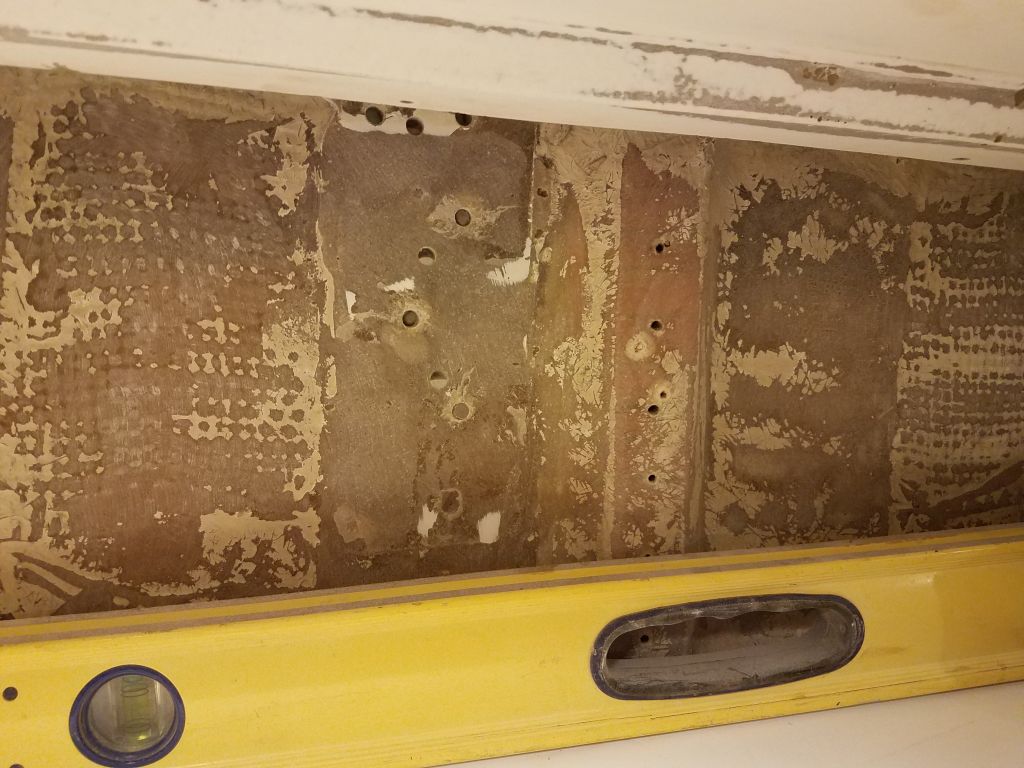
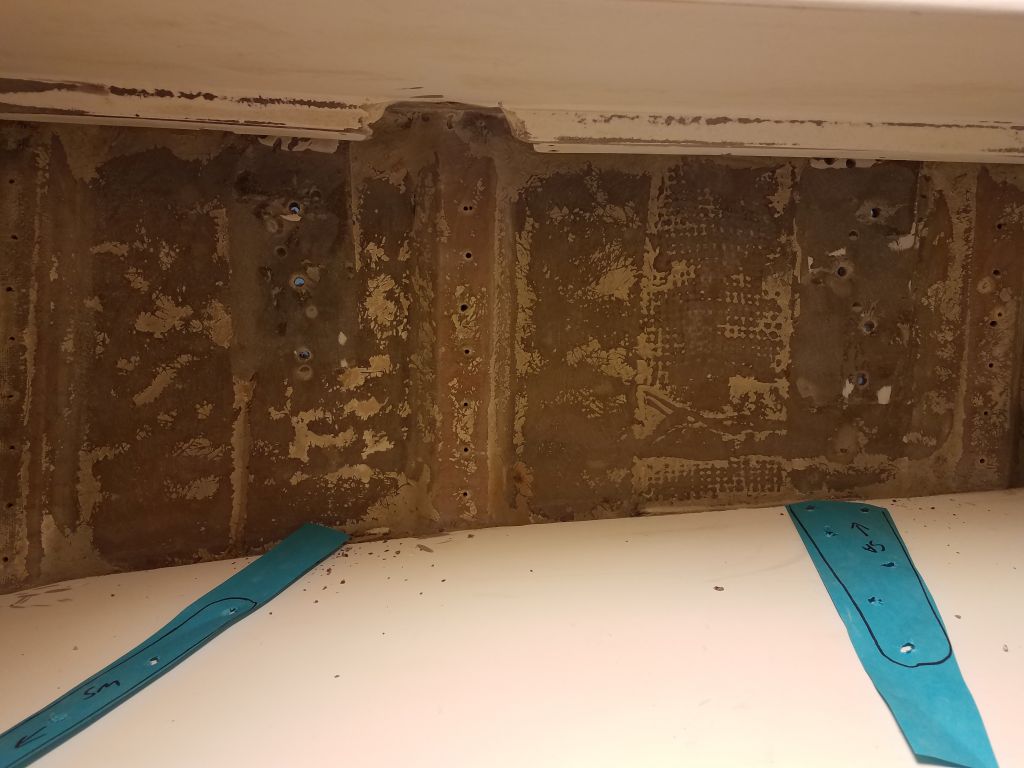
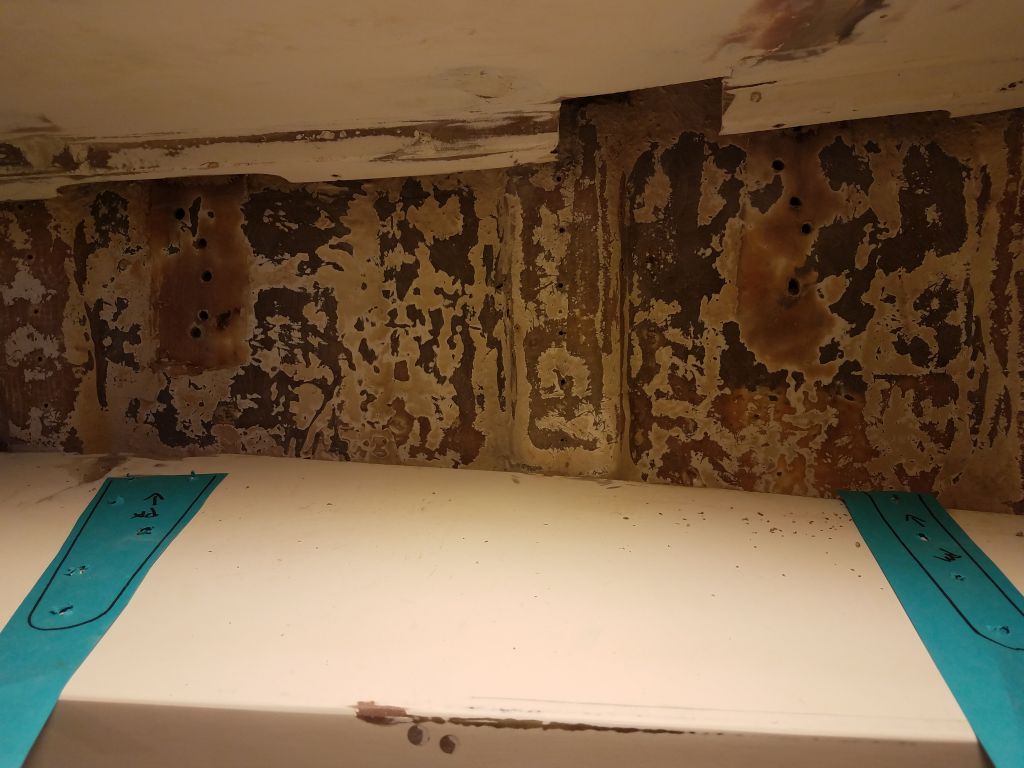
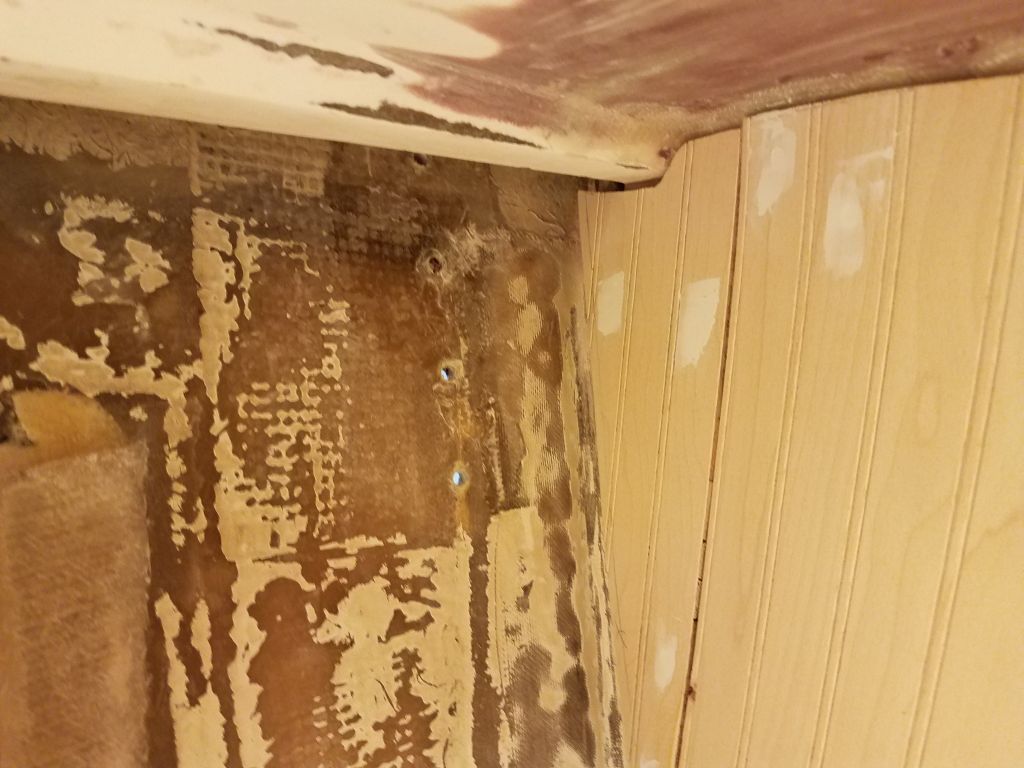
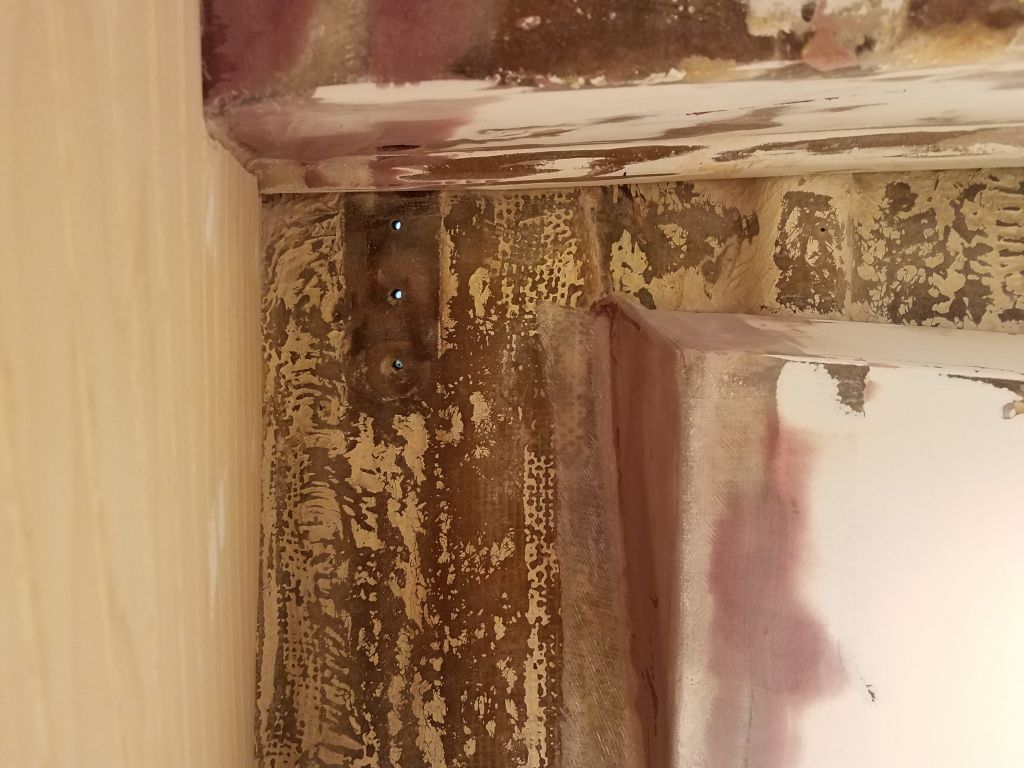
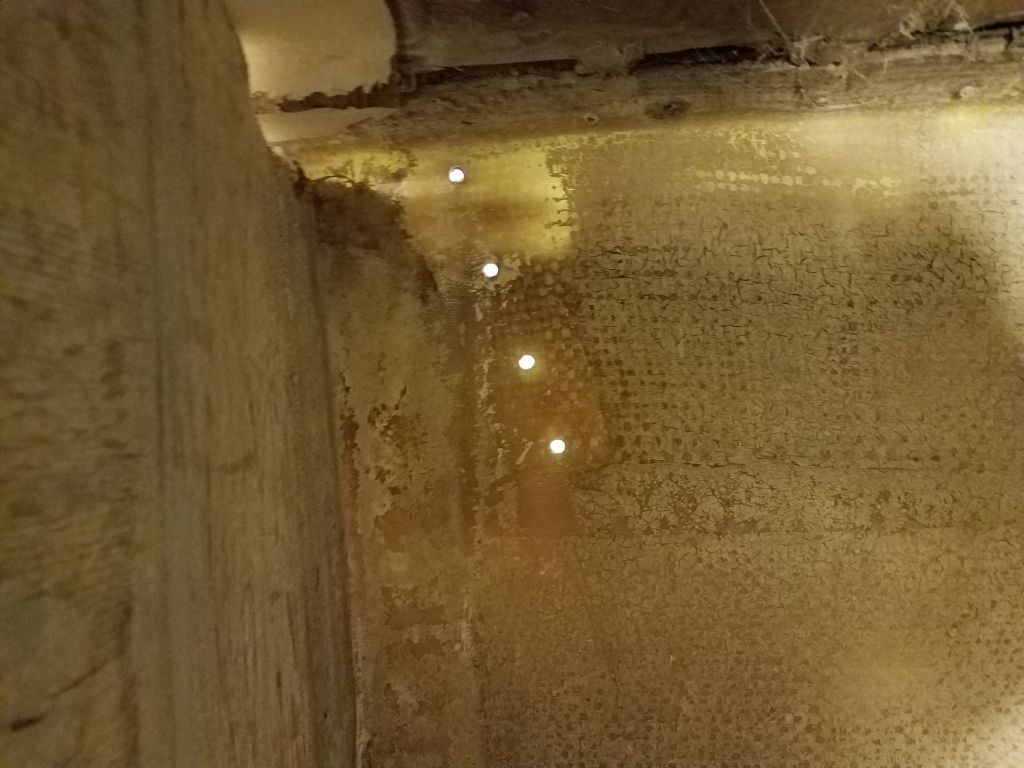
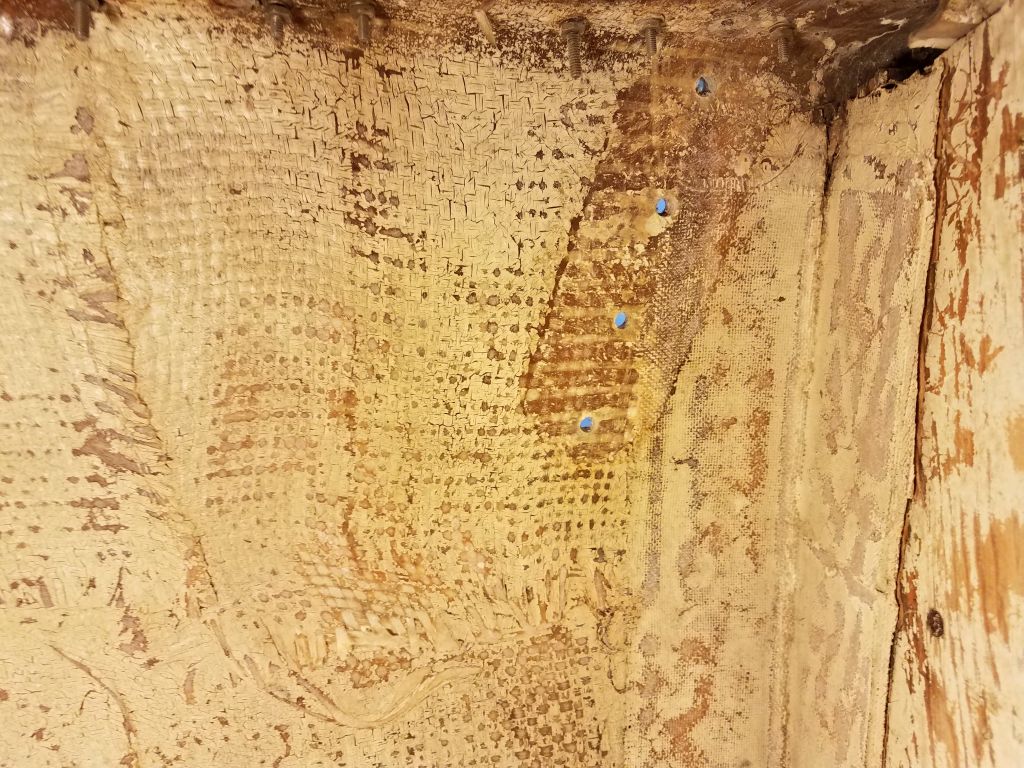
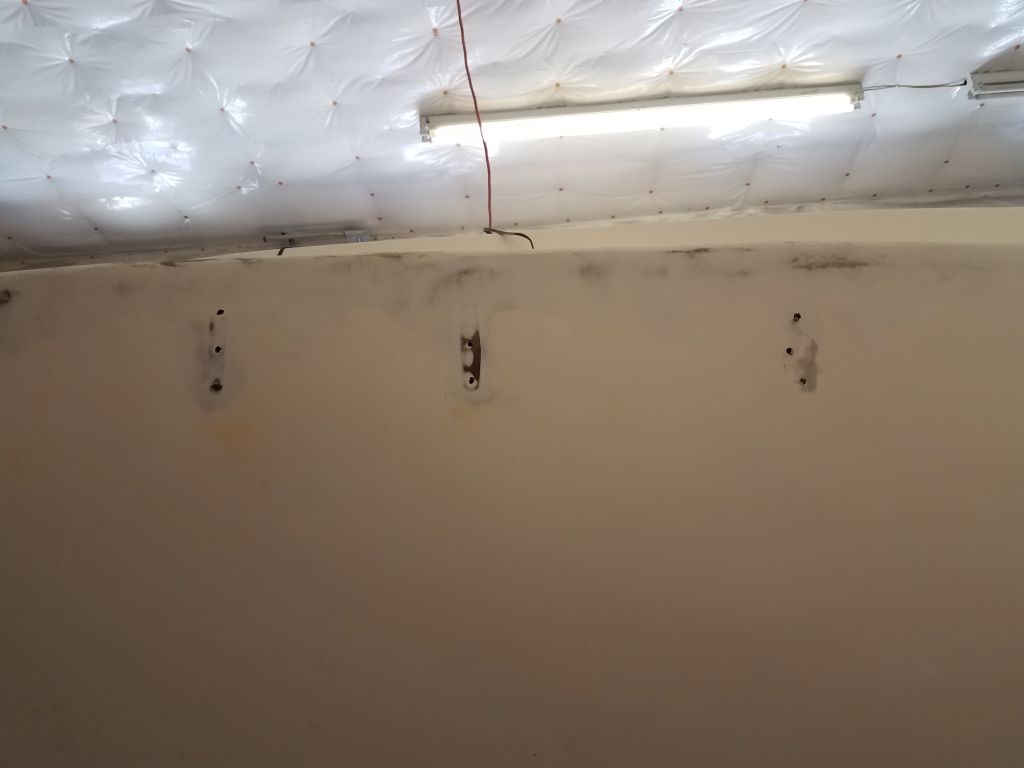
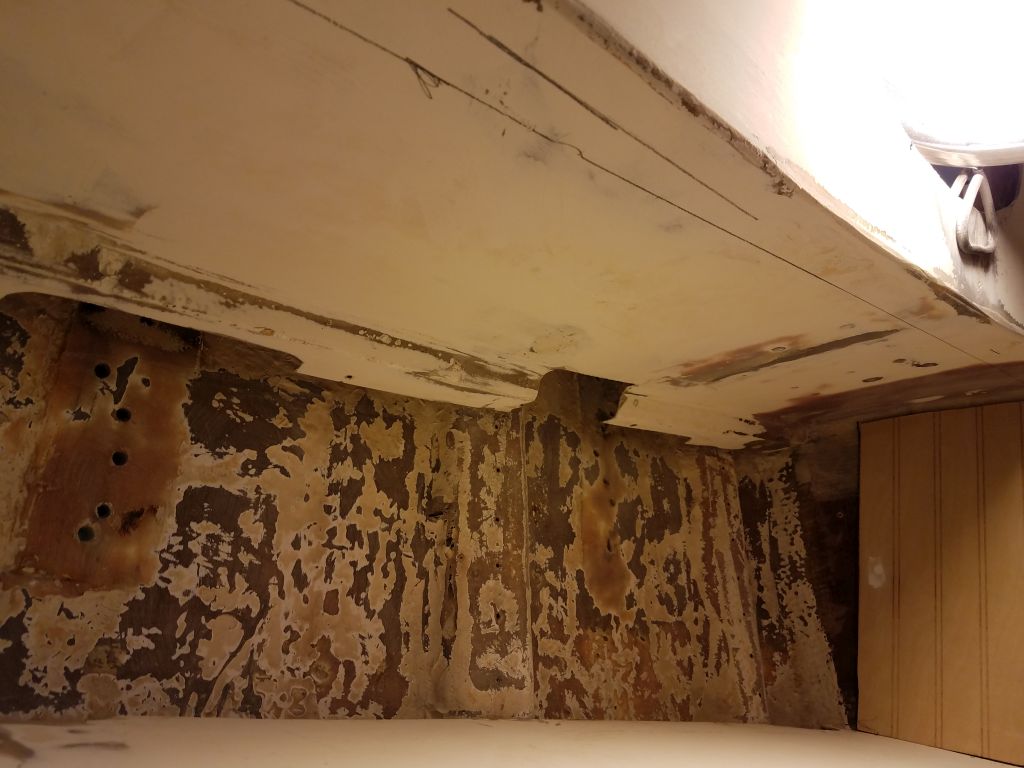
Before I got much further with interior work, there was a small job I’d been meaning to take care of for quite some time. When I worked on the hull and deck and glassed over the hull-deck joint during an earlier phase of work, I’d mainly filled most of the old boltholes for the hull-mounted chainplates–mainly because they were in the way and it just happened, not because they needed filling. On the inside of the hull, the holes were all visible, but in several instances there were two sets of holes, and it was no longer clear which holes were which. With the outside holes filled and primed over, I needed to redrill the holes from inside so I didn’t lose the locations with interior and additional exterior paint.
To ensure I redrilled the correct holes, I traced each chainplate and marked the holes on some paper, and used these brief templates to drill the correct holes from inside at each chainplate location–or at least all the holes I could access from inside with a drill, as the interior liner blocked drill access to the upper holes in the main cabin. But in any event, I now had enough of the holes redrilled to ensure proper placement of the chainplates later when the time came.
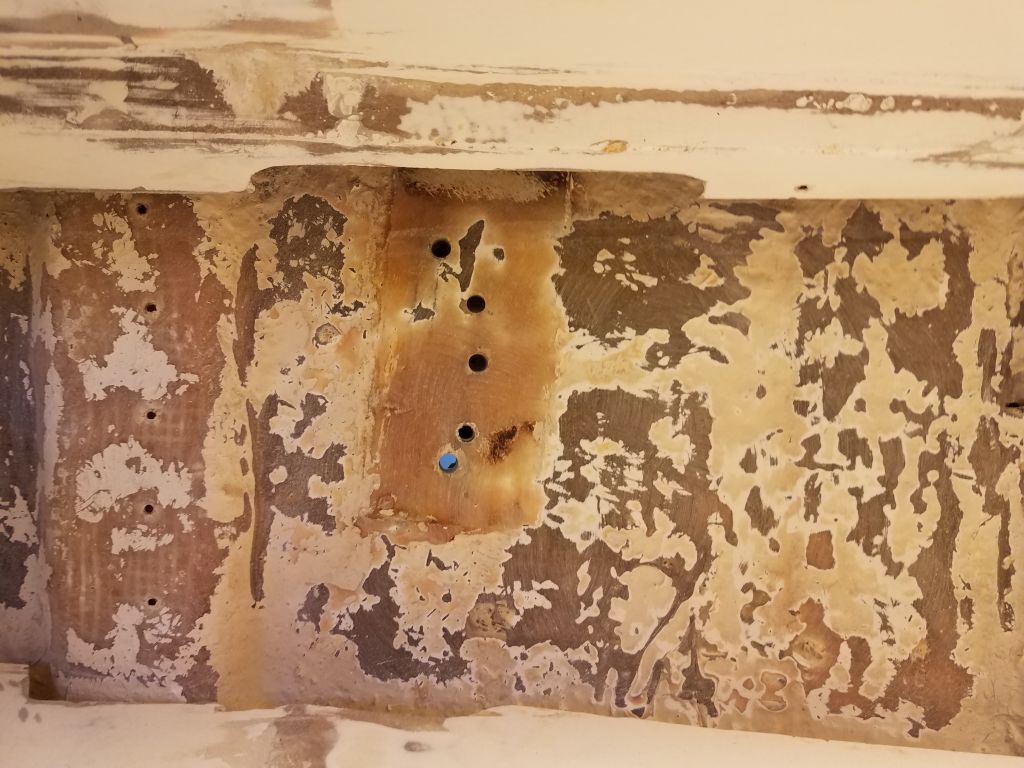


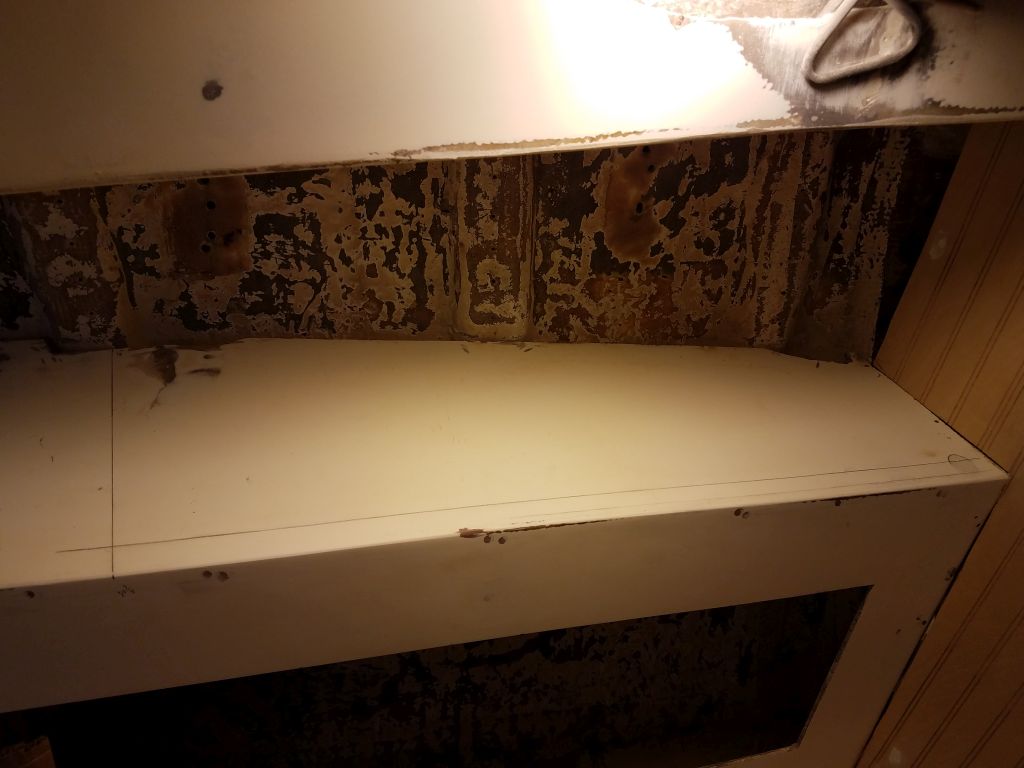
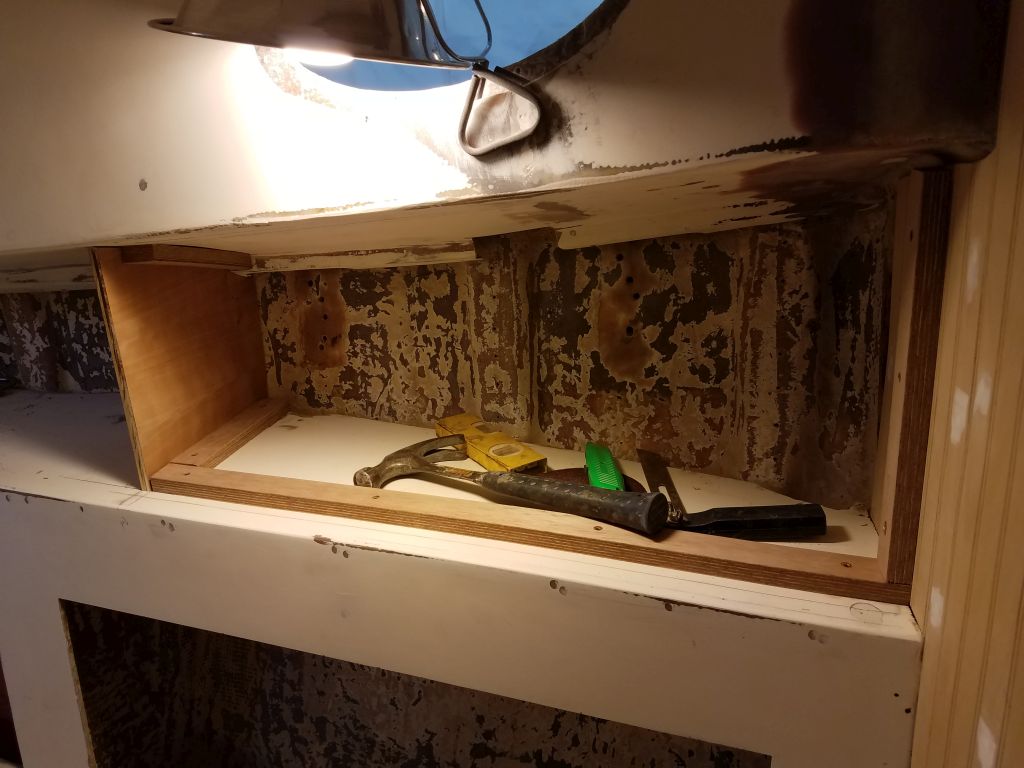
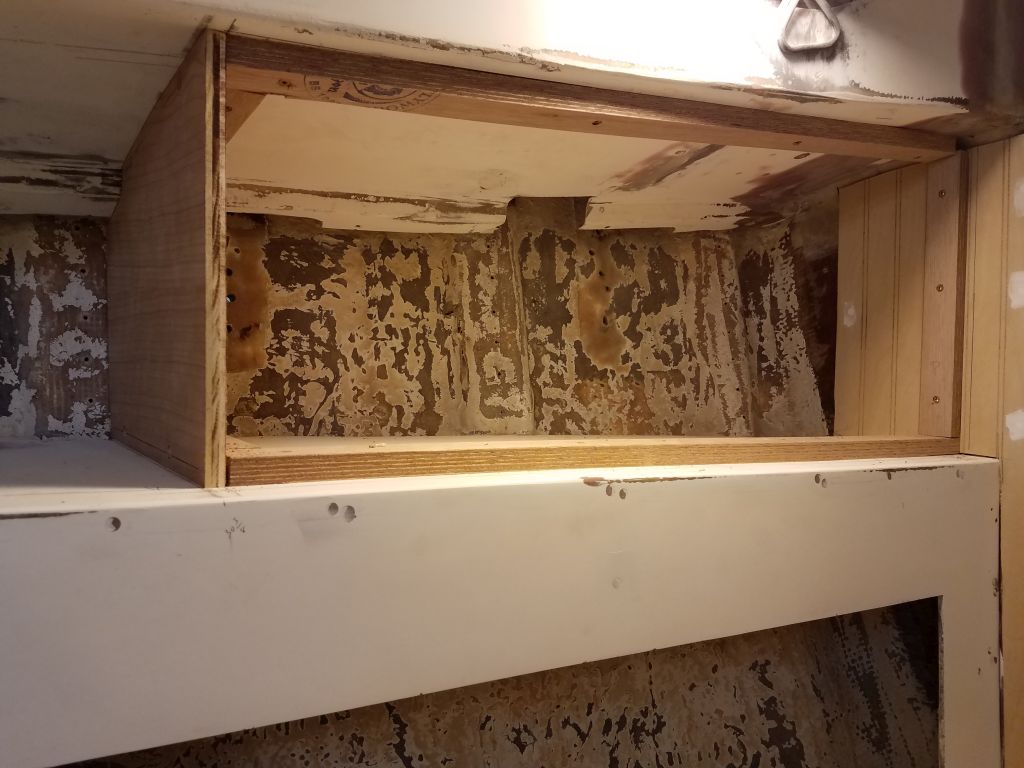
In order to house electric panels and perhaps some equipment, the owner asked for a pair of new cabinets in the saloon, located at the forward ends of the settees between the deck and the settee shelves.
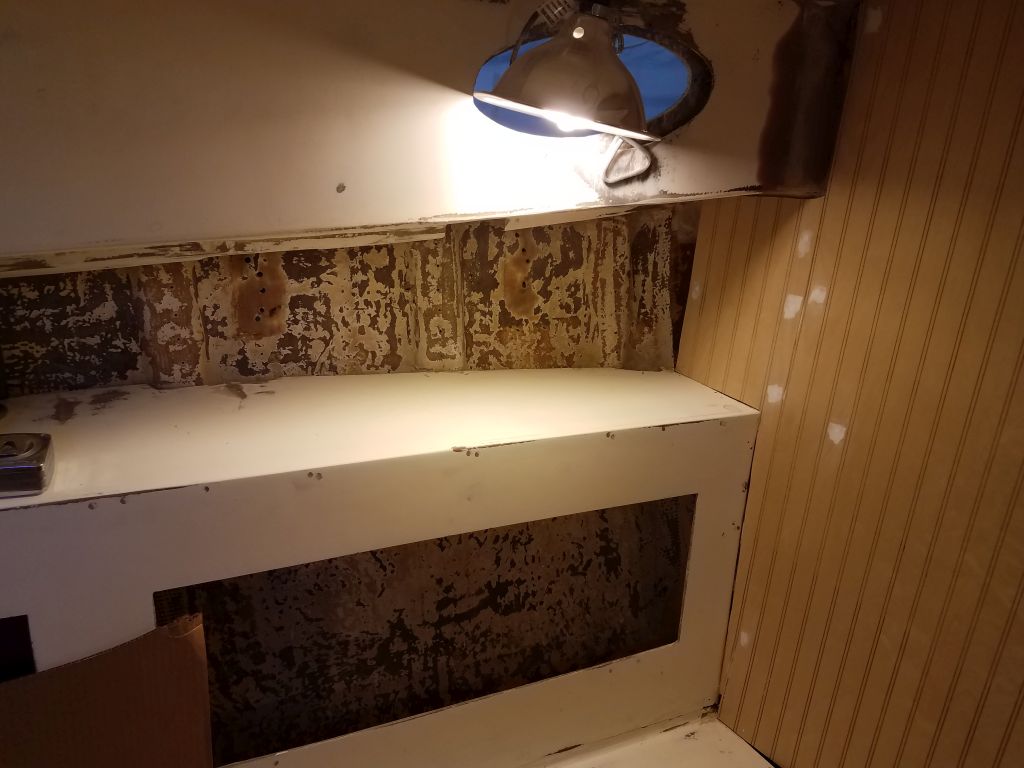
To provide ample room for the needs, as well as maintain usability of the existing ceiling support cleats on the hull, I chose a cabinet size based on the cleats’ locations on each side, which happened to be about 31″ aft of the bulkhead. This location for the aft ends of the lockers would allow the ceiling boards to secure just aft of the new locker, and the new lockers would provide a nice wooden accent to the cabin as well as house the electrical service.
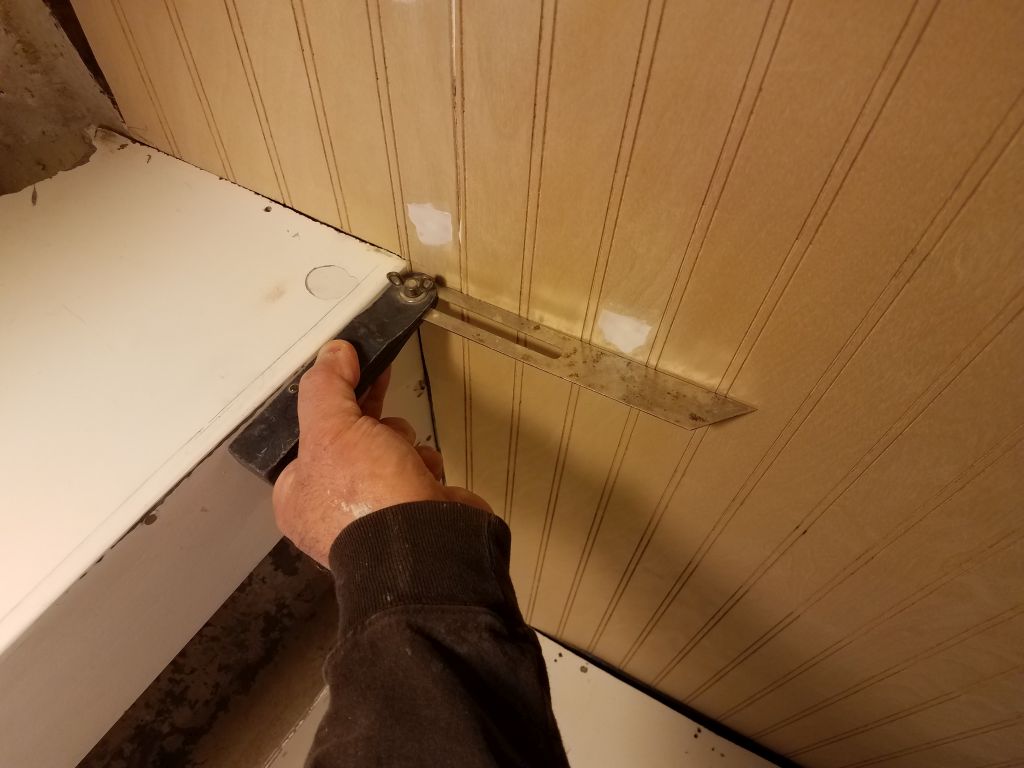
The settees were at a bit of an angle to the main bulkhead (7°), so to line up the new cabinet properly I used this angle to mark the aft end of the cabinet on the settee. I began all the layout work with the port cabinet, but worked generally in tandem from side to side.

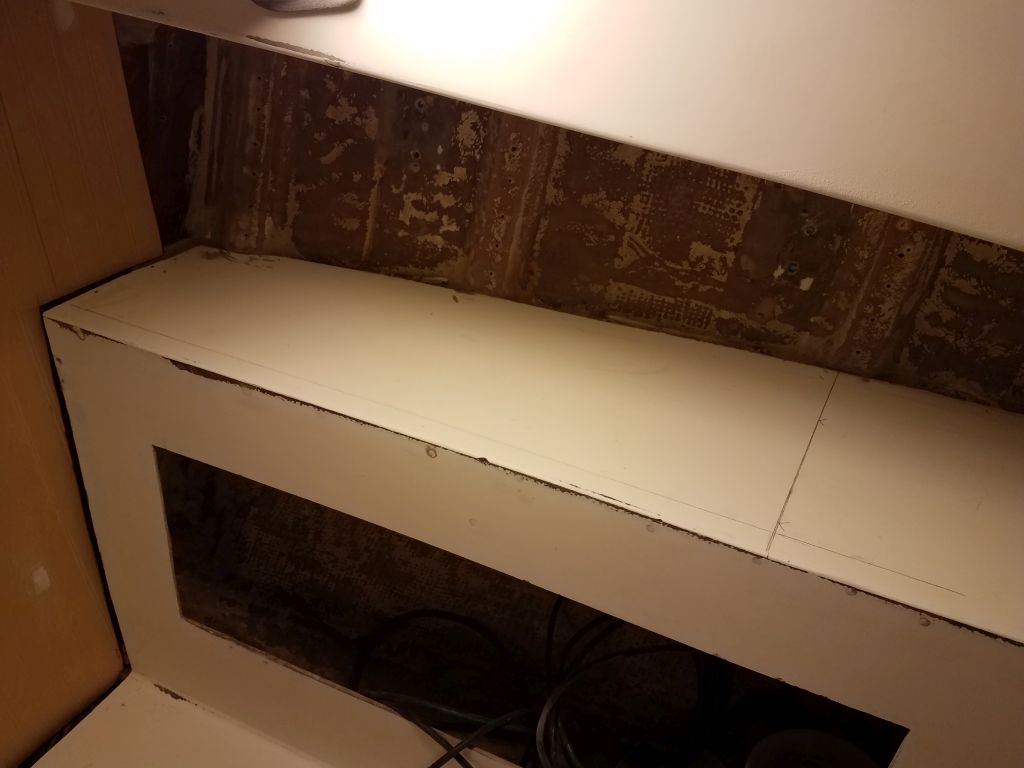
Next, I made some additional layout marks for the support cleats to which I’d secure the new cabinet facing. I wanted the new face to set back a bit from the settee back edge, and in any event the settee didn’t extend out as far as the deck above, so my layout allowed for the new cabinet to stay beneath the deck along its length. Eventually, I made some layout marks for the face of the cabinet, and then used small pieces of 1/2″ plywood to mark another line beyond these, giving me the location of the support cleats for all sides.
With the port side marked, I repeated the process on the starboard side.


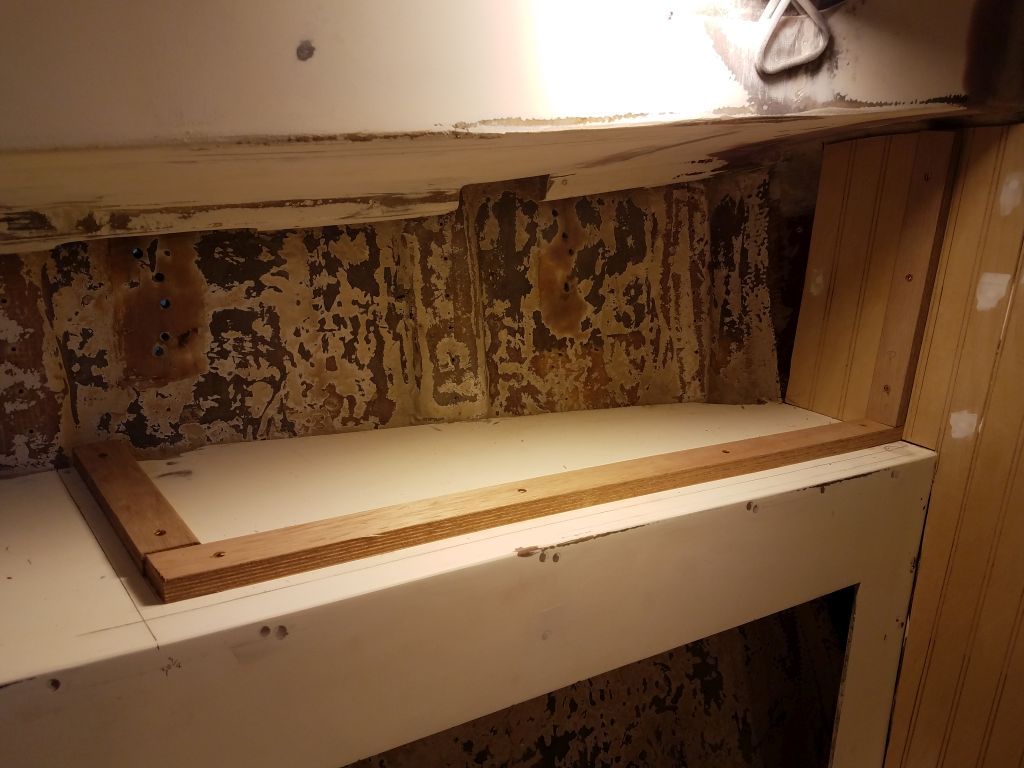
Now I could cut and install support cleats for the three lower sides of the new cabinet. I left the top edge for now since that cleat needed to run to the top edge of the after bulkheads, and it was easier to leave this till the bulkhead was actually in place. While I did the same steps on each side of the boat, in some instances I only photographed the work on the first, port, side.
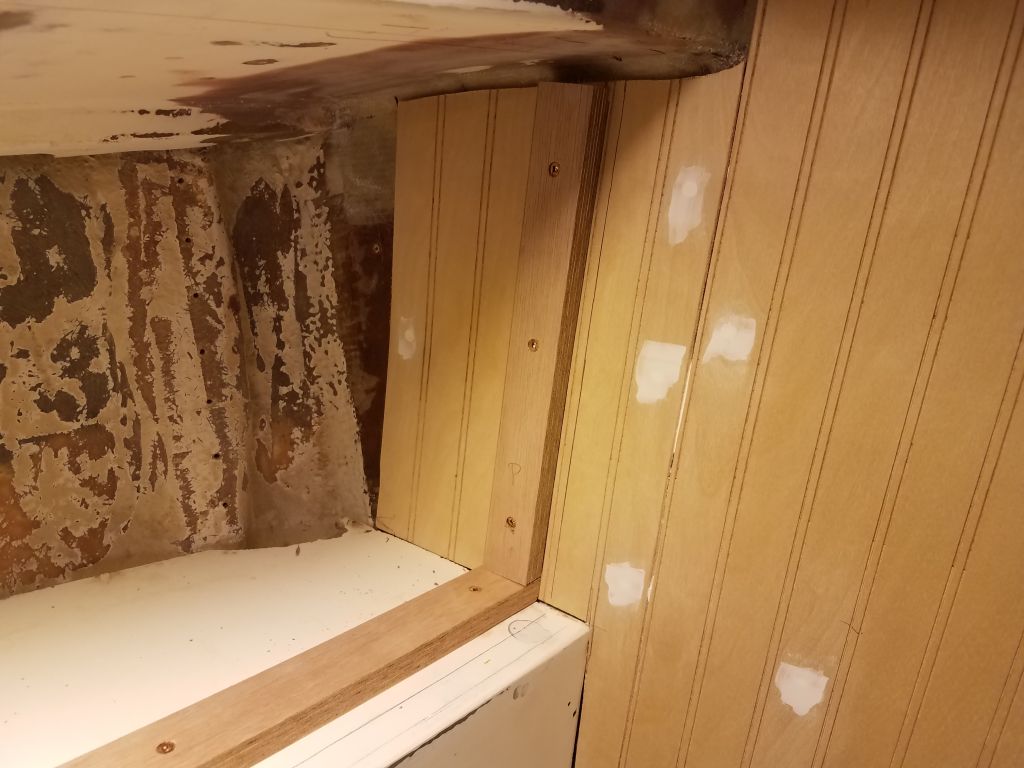
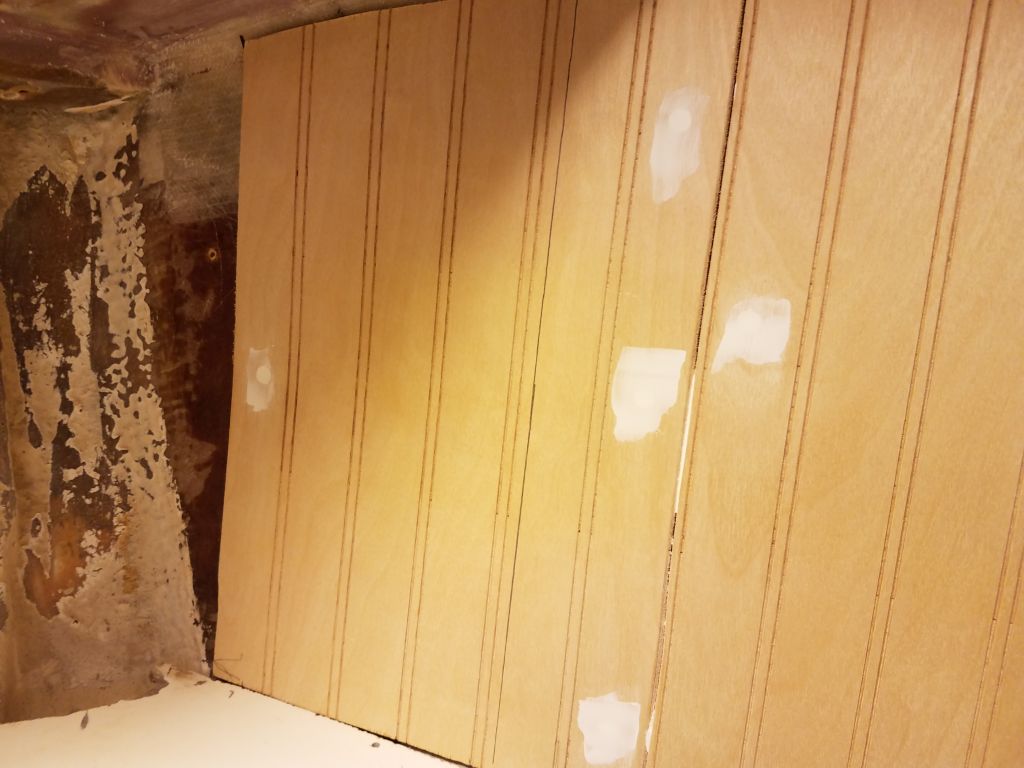
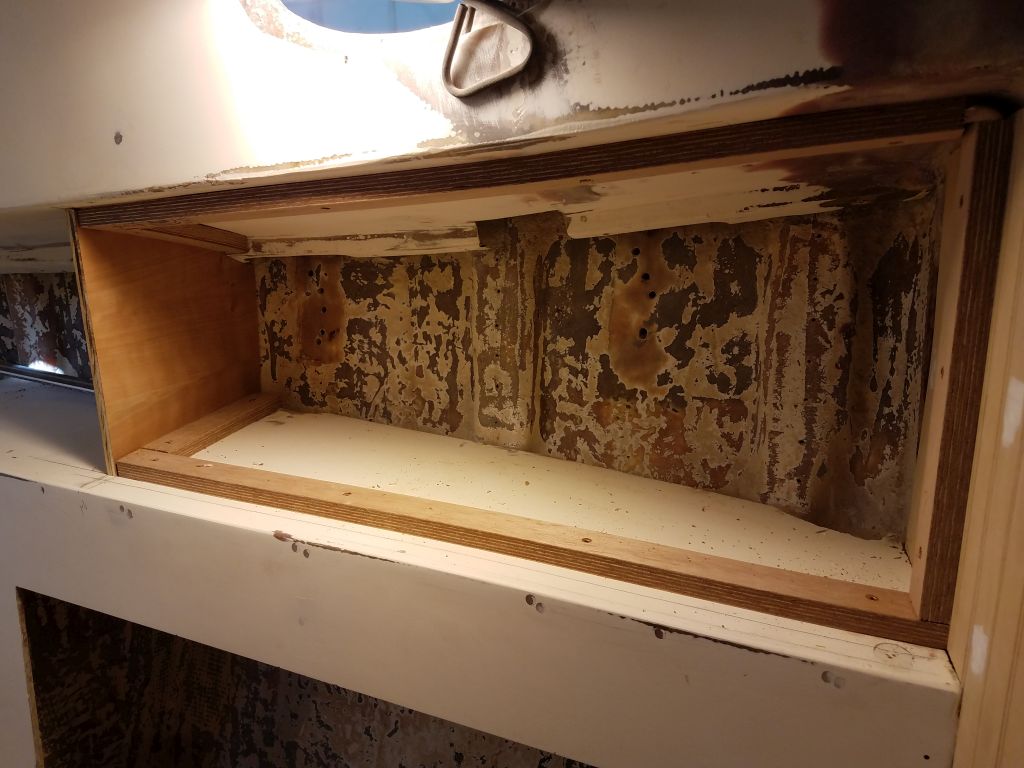
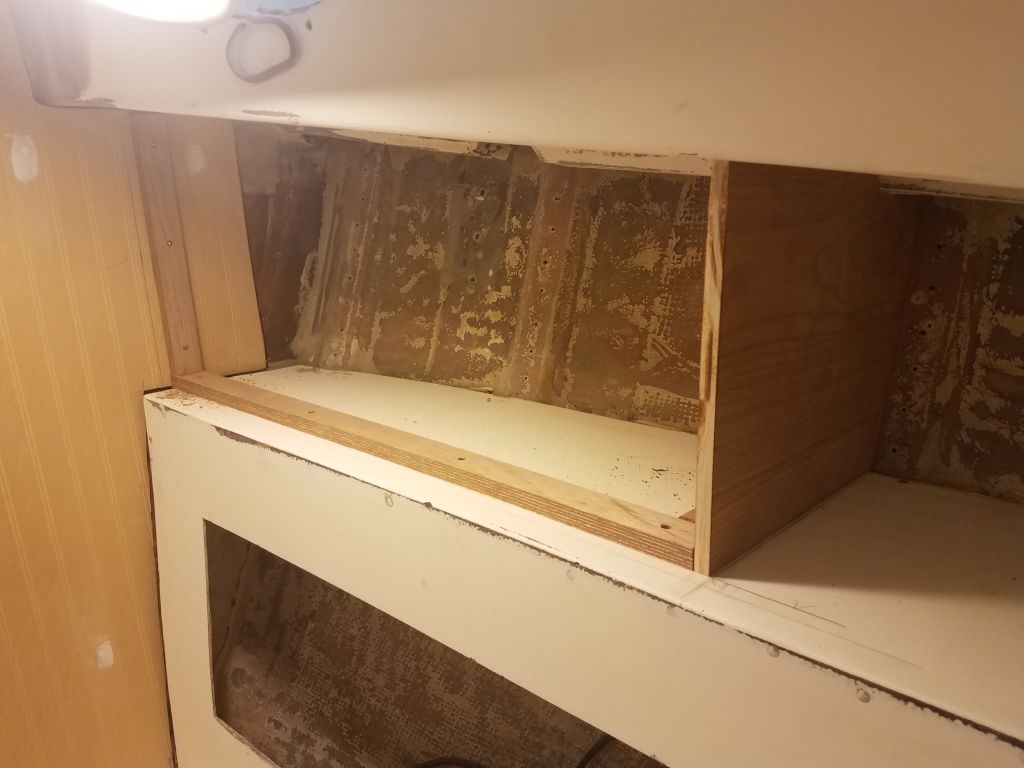
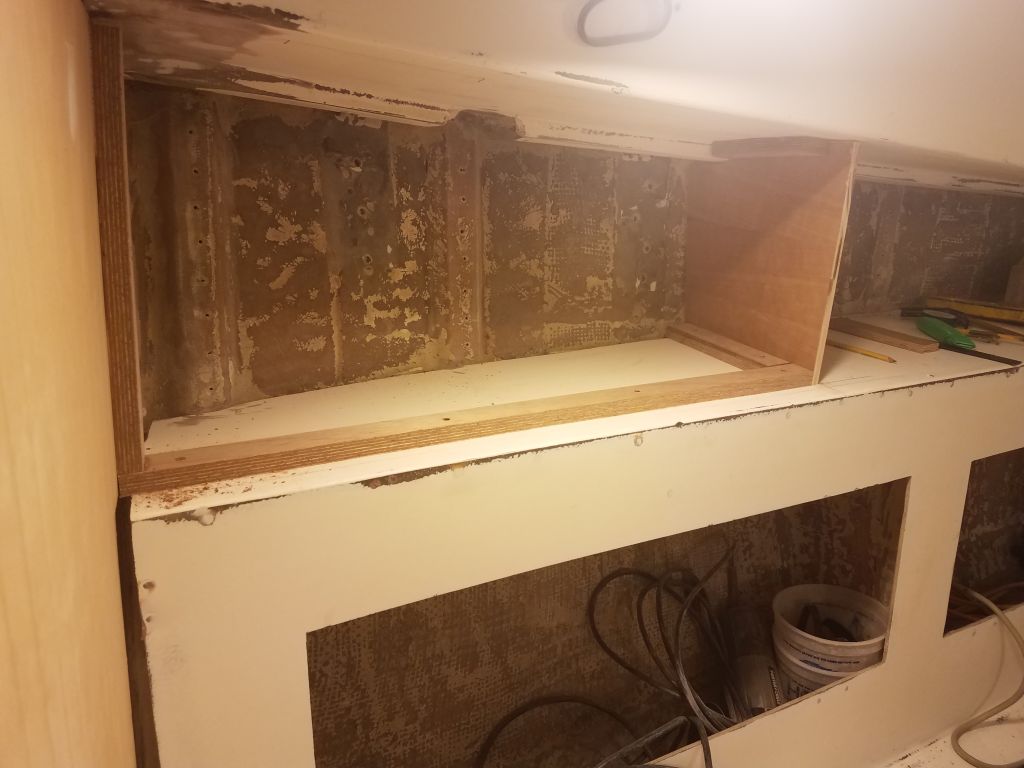
With cardboard, I made a template of the aft bulkhead shape, which had to fit between the underside of the deck, the hull, and the top of the settee. Eventually I had an accurate template that I could use to cut 1/2″ cherry plywood to fit the space tightly. Then, I could mark the outer edge of the new plywood in line with the front support cleat, and I trimmed the bulkhead accordingly. This would allow the front face to pass and cover the edge of the after bulkhead. To support the upper edge of the aft side, I installed another support cleat beneath the deck, secured into the overhead liner.


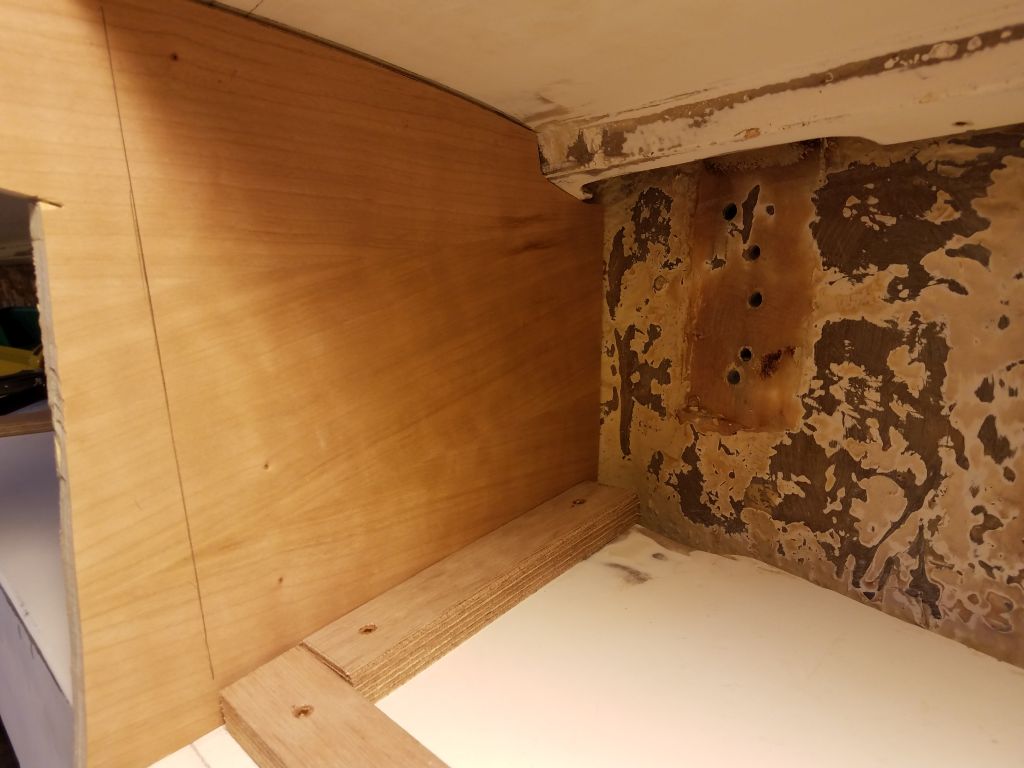
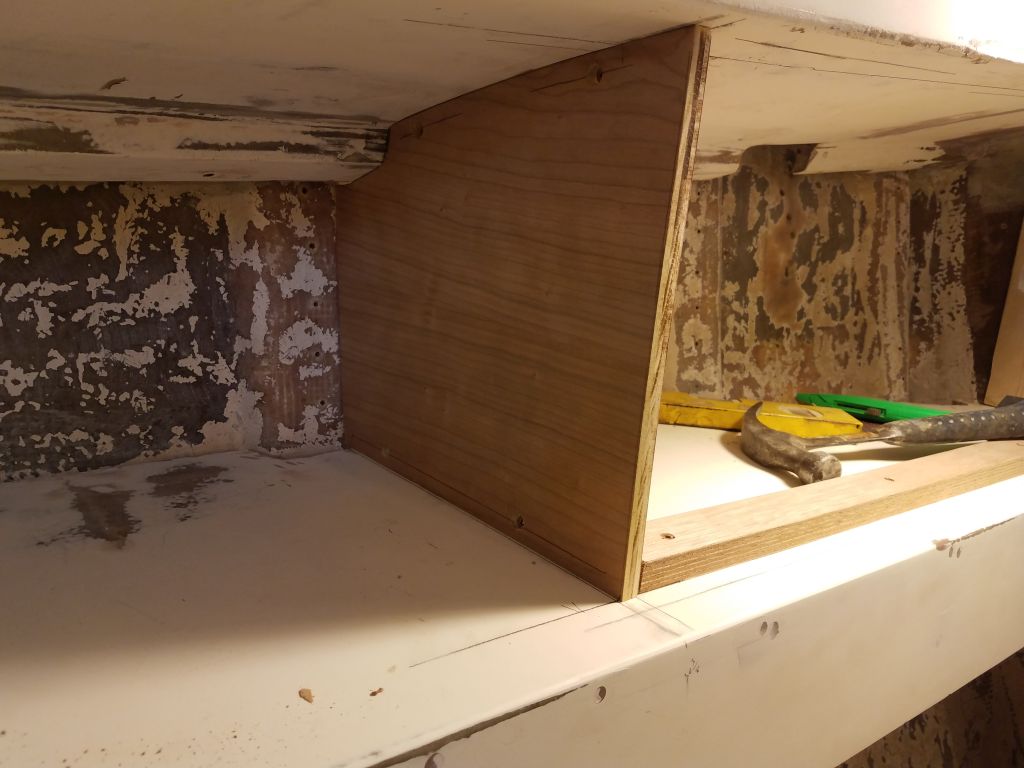

Now I could cut and install the final support cleat along the top edge between the forward and after sides of the new cabinet. This cleat required a slight angle on its face to match the angle of the overhead and thus remain vertical beneath.
I moved to the starboard side and templated, cut, and installed the after bulkhead in the same way. By now it was late in the day, and I’d run out of cleat stock, so before knocking off I cut an additional cleat along with the angle required, and set it aside to be installed first thing next time, when I’d also work on the cabinet faces.


Total time billed on this job today: 8 hours
0600 Weather Observation: 10°, clear, windy. Forecast for the day: Sunny and windy, 15°