


April 29, 2019
Scupper 135
Monday
Beginning a day of mostly odd-and-continuing jobs, after another round of sanding I applied a coat of satin varnish to the interior doors and head panel, hopefully the final coat for these parts.
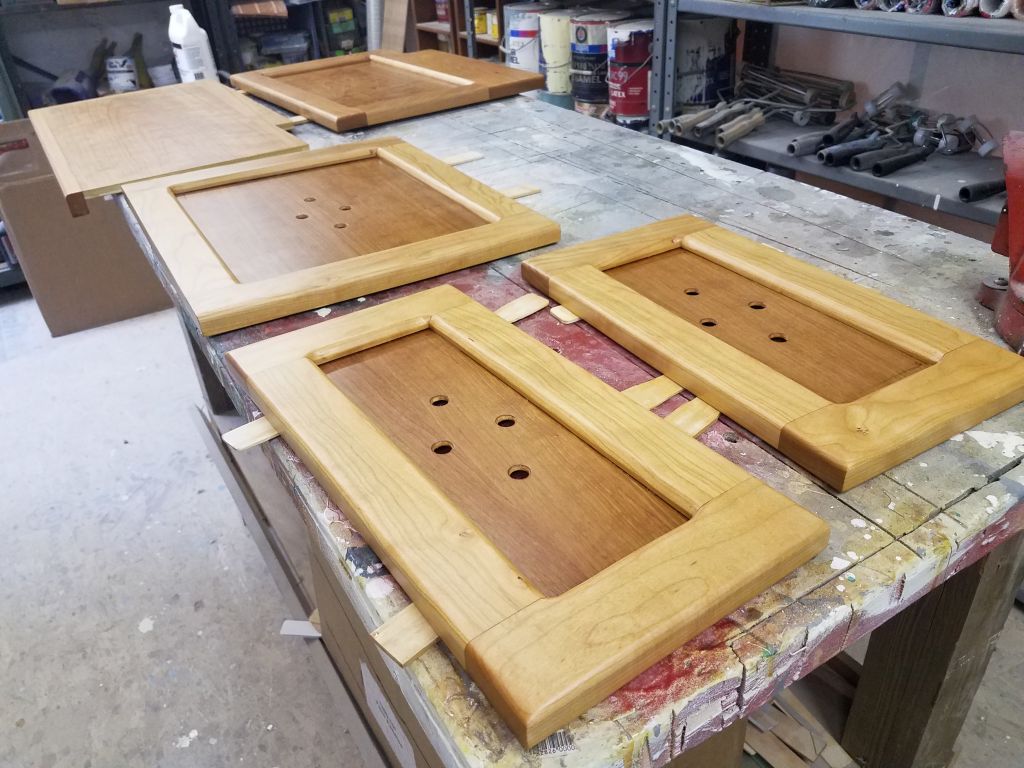
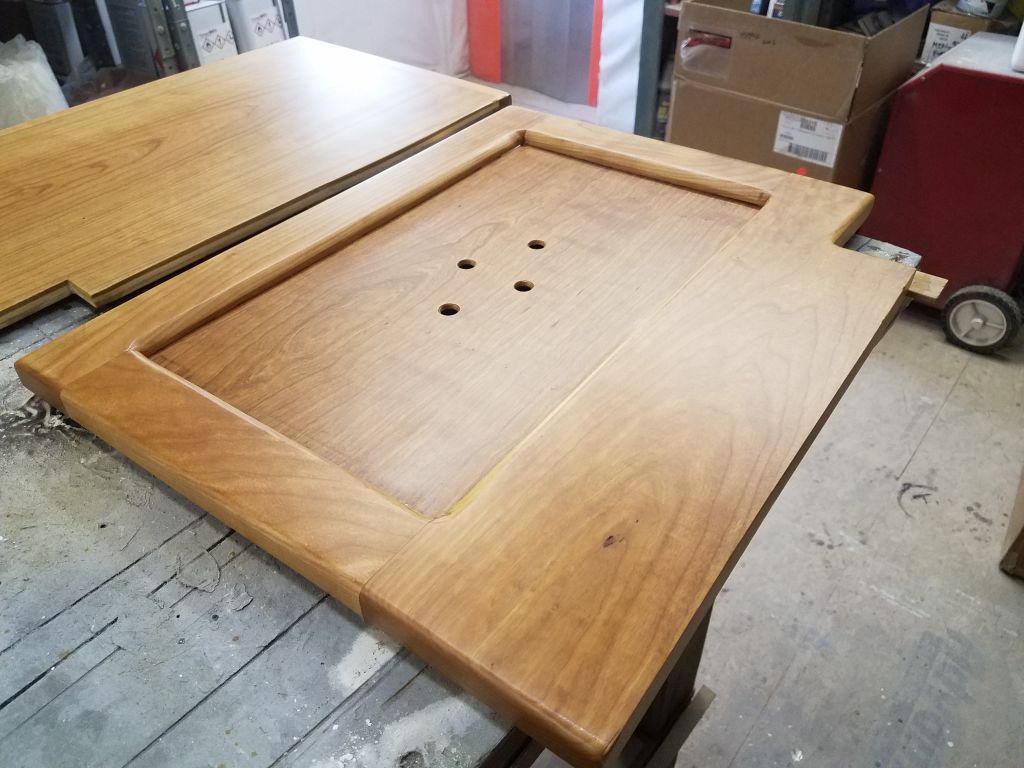
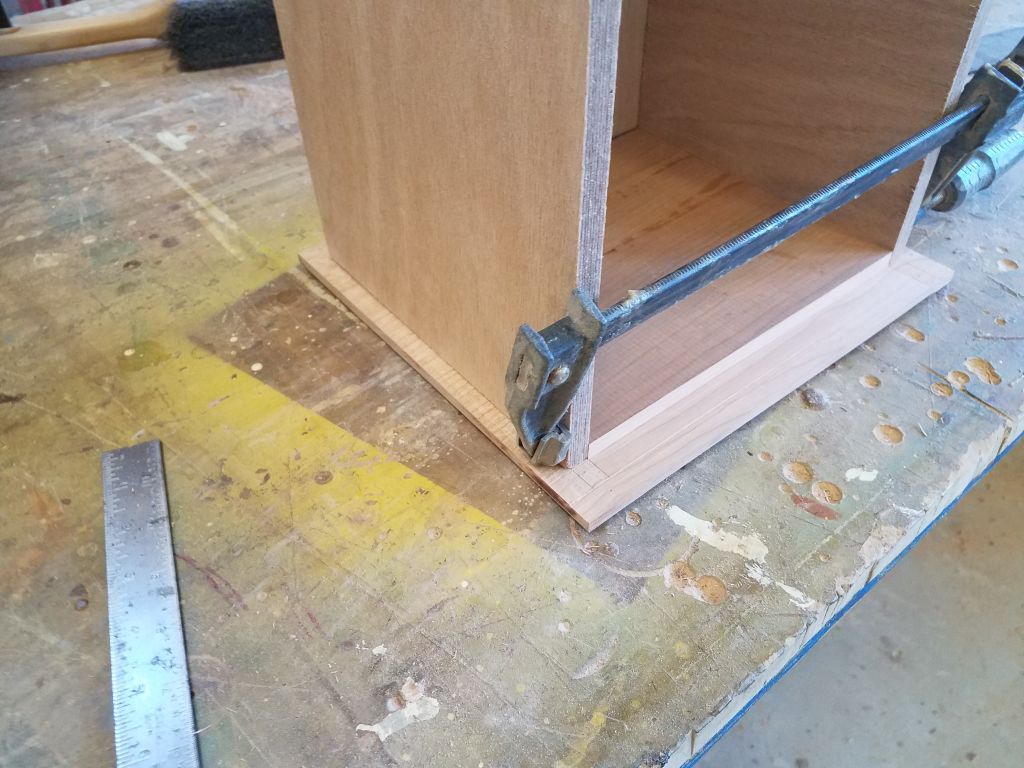
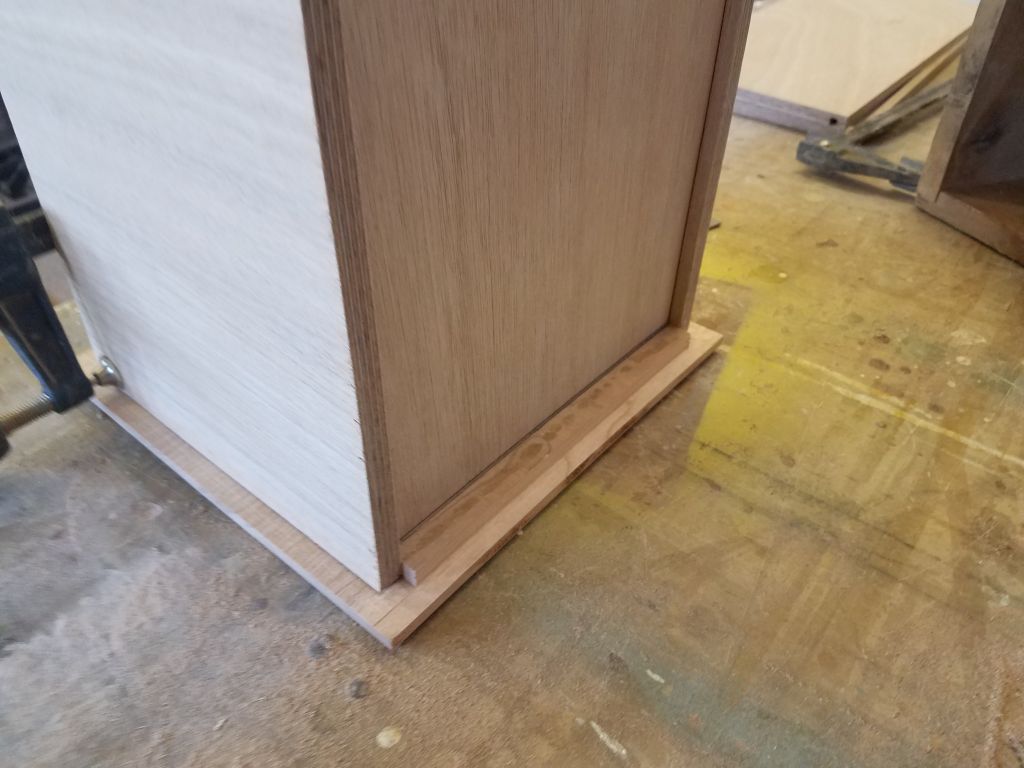
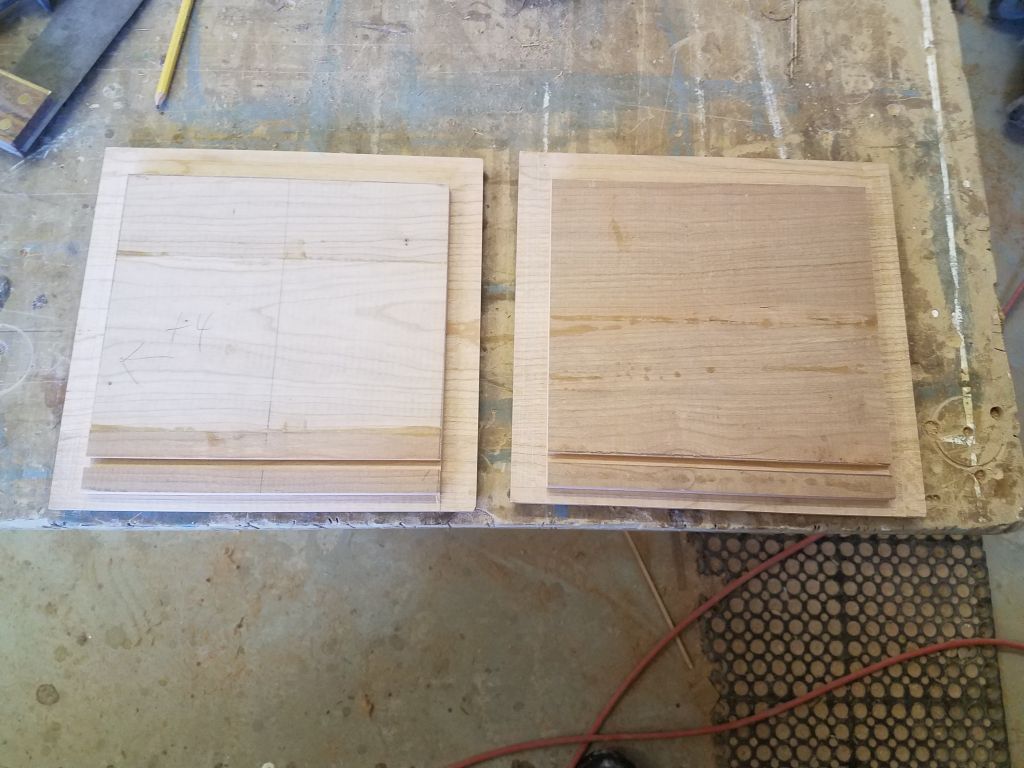
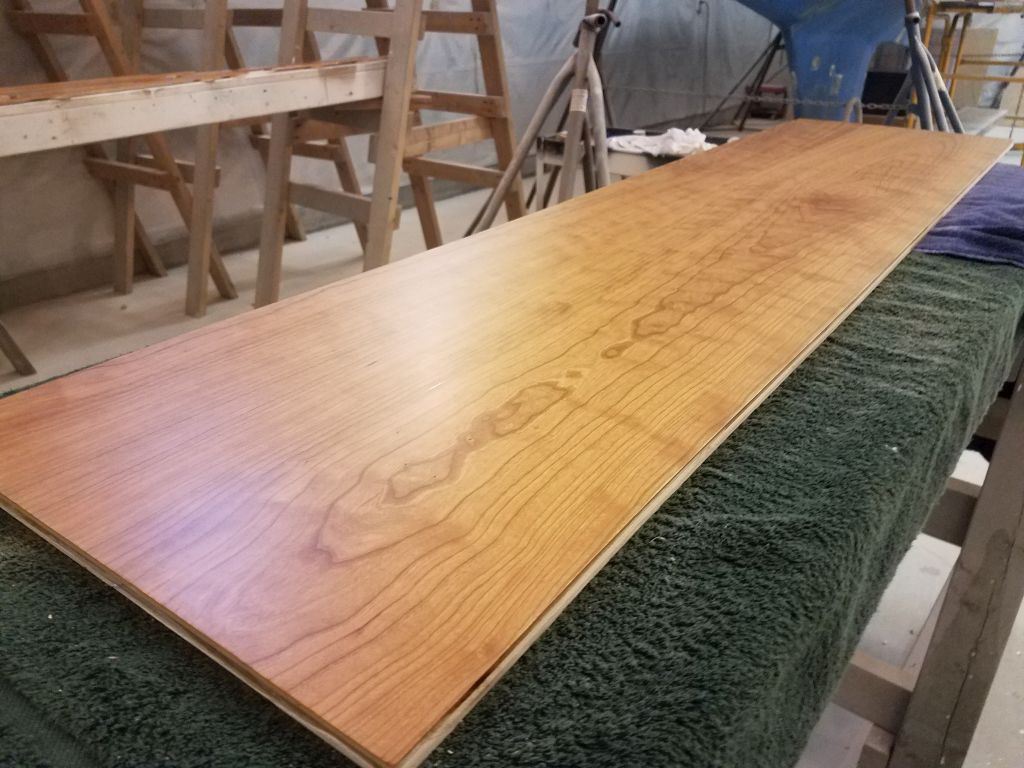
Now that the cherry drawer front blanks were ready for action, I spent much of the morning finishing up various details required to assemble the drawers, starting with trimming the blanks to the proper size based on the old drawer fronts, then milling rabbets around the edges to match the spirit and overall dimensions of the originals. and the specifics of new plywood drawer boxes. With the four main rabbets milled as needed to fit, I temporarily clamped the drawer sides in place and used one of the drawer bottoms (which I’d cut to appropriate size from 6mm plywood) to mark the landing point on the insides of the drawer fronts, where I required another dado to accept the front edge of the drawer bottom.

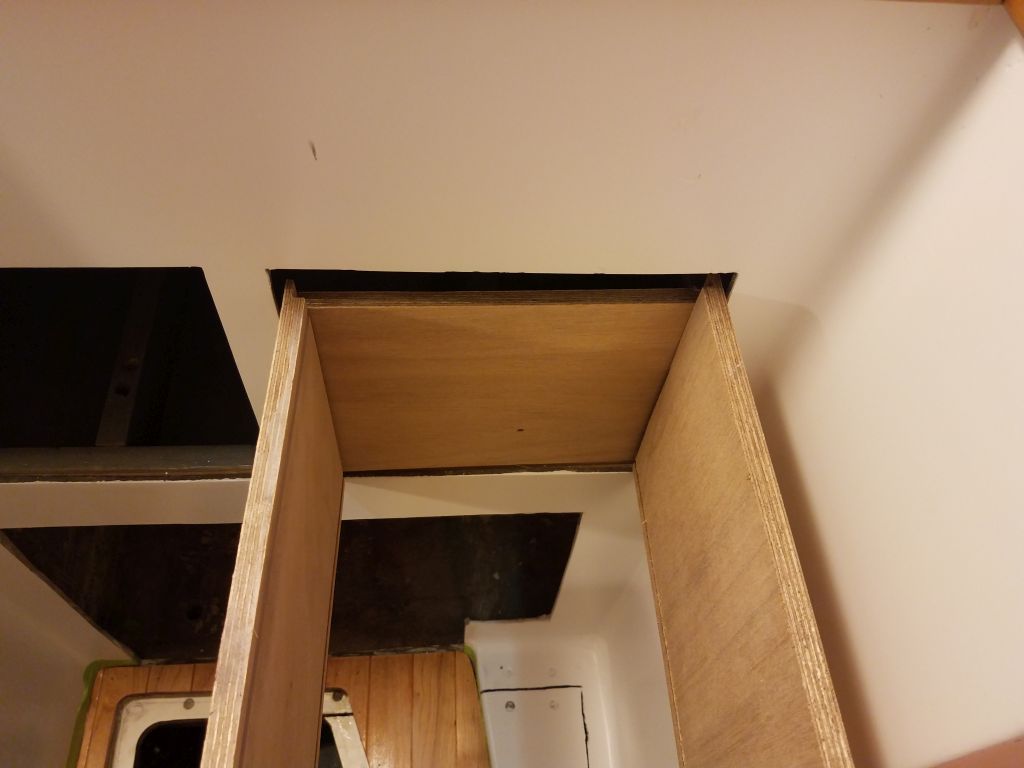
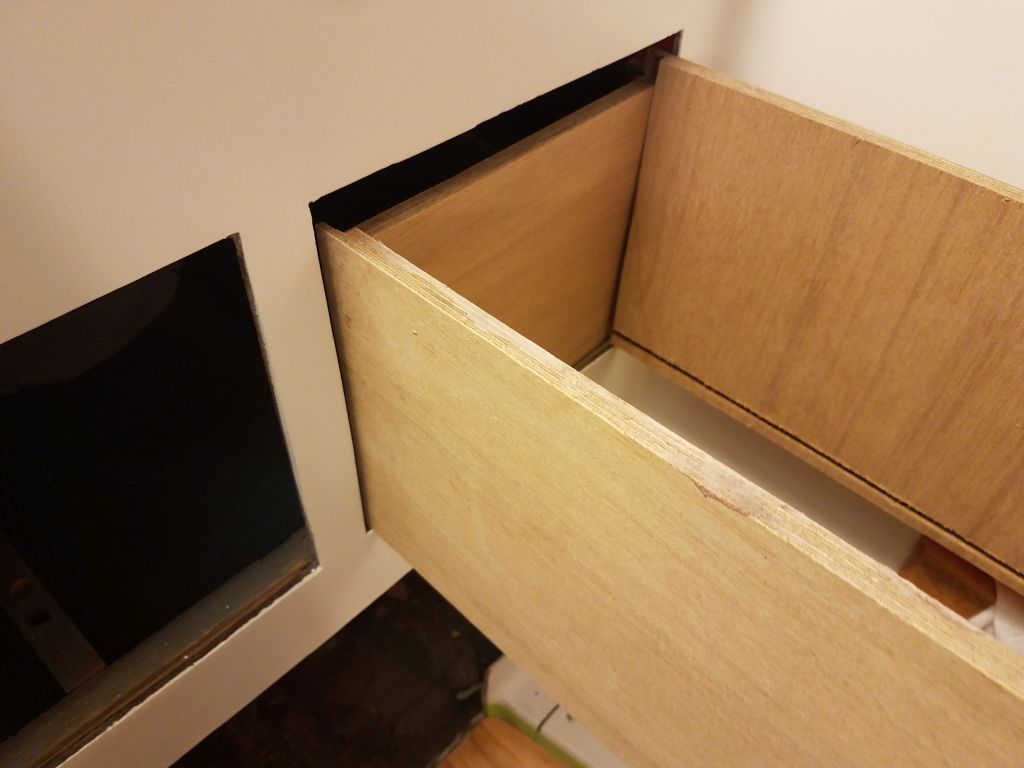
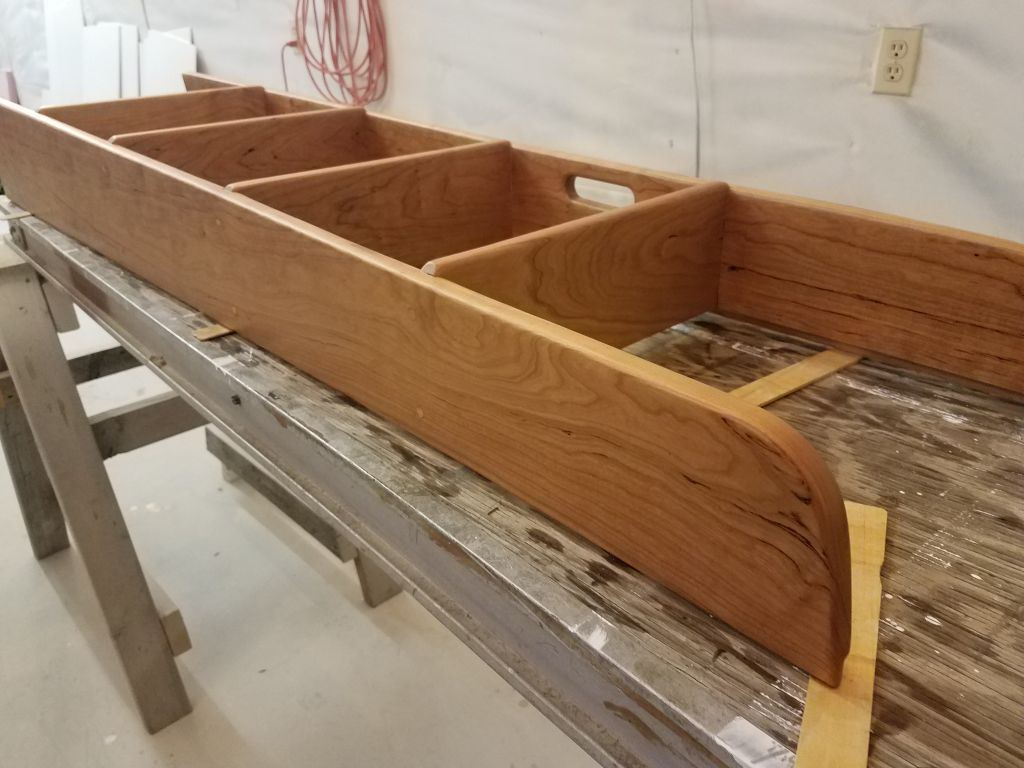
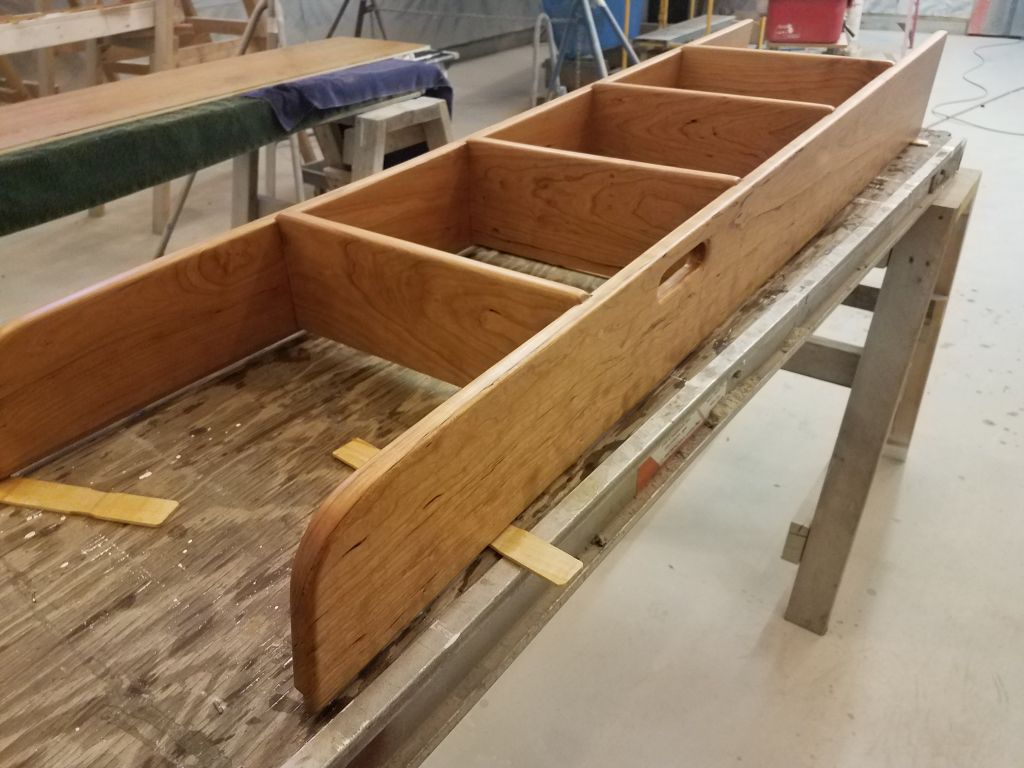
Before continuing, I did a reality check with the drawer parts up in the boat, just to be sure the new boxes fit inside the openings in the galley. Though I used just the sides and back assembled dry for the test, it was clear that the dimensions were as they needed to be.
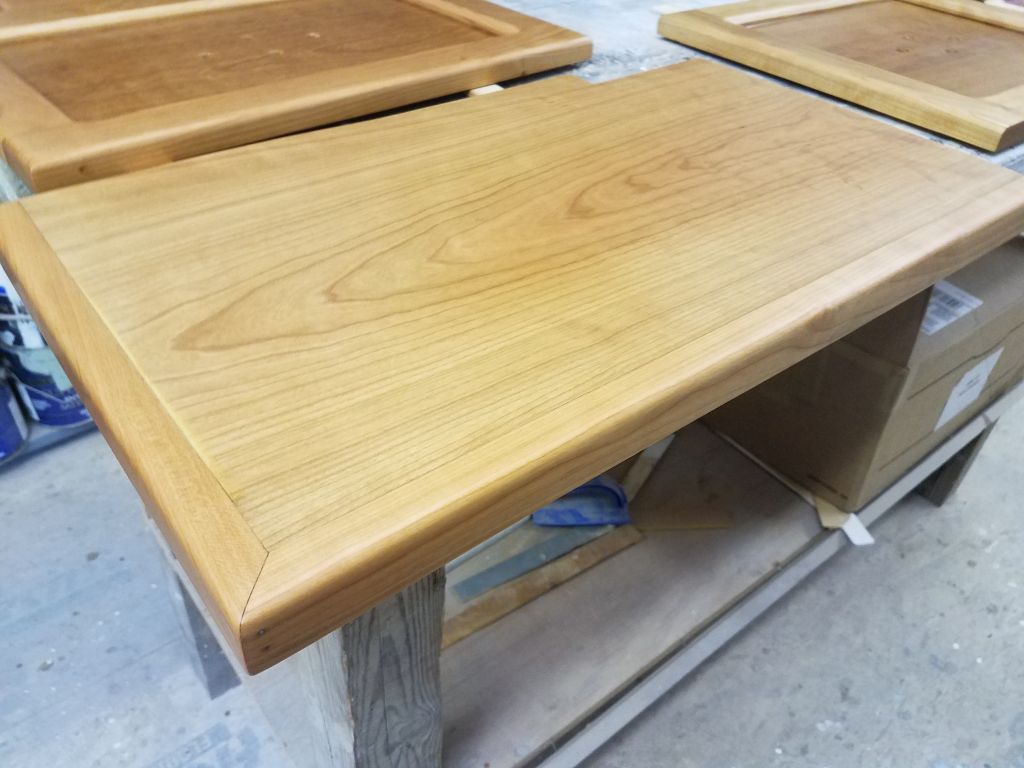
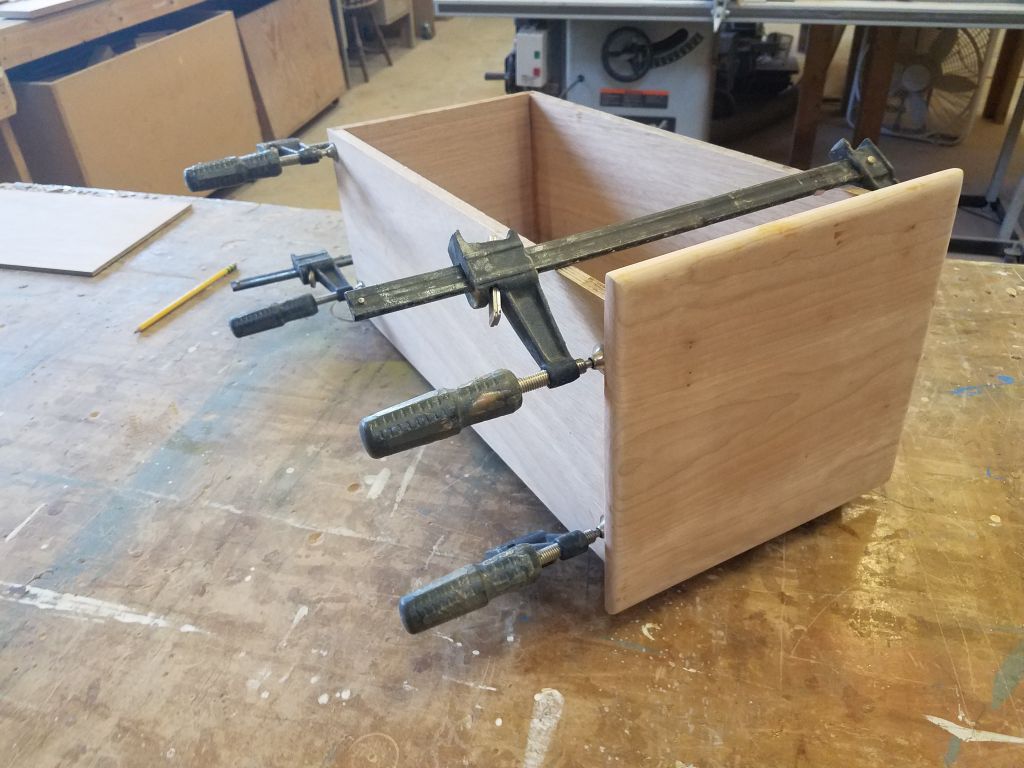
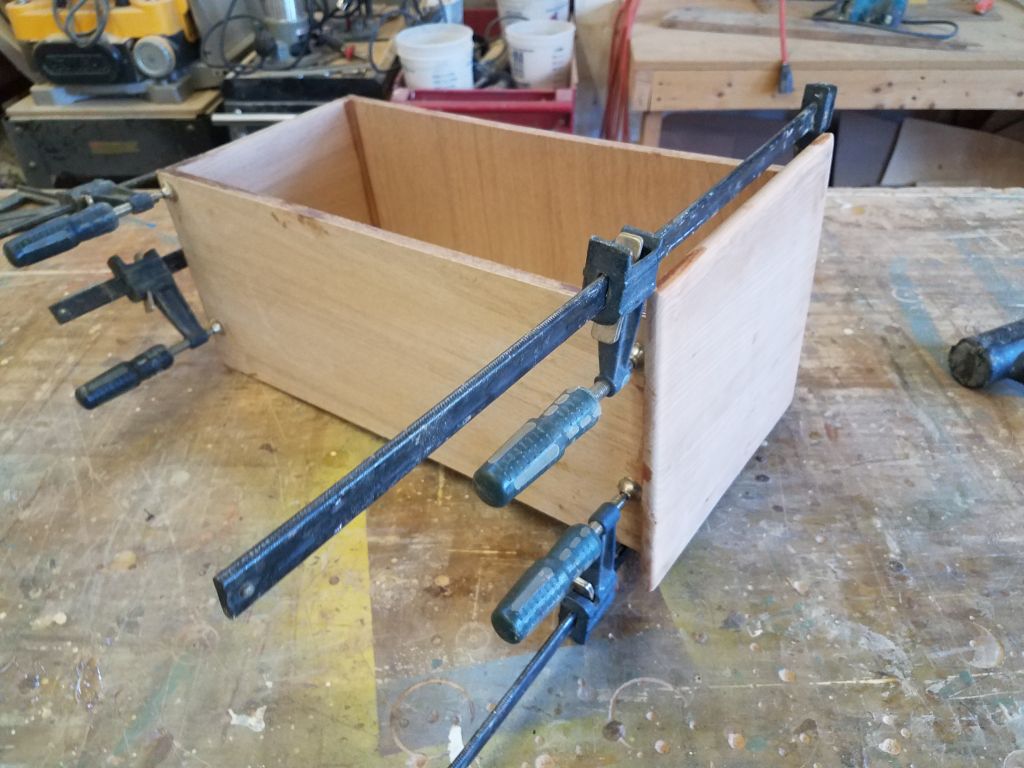
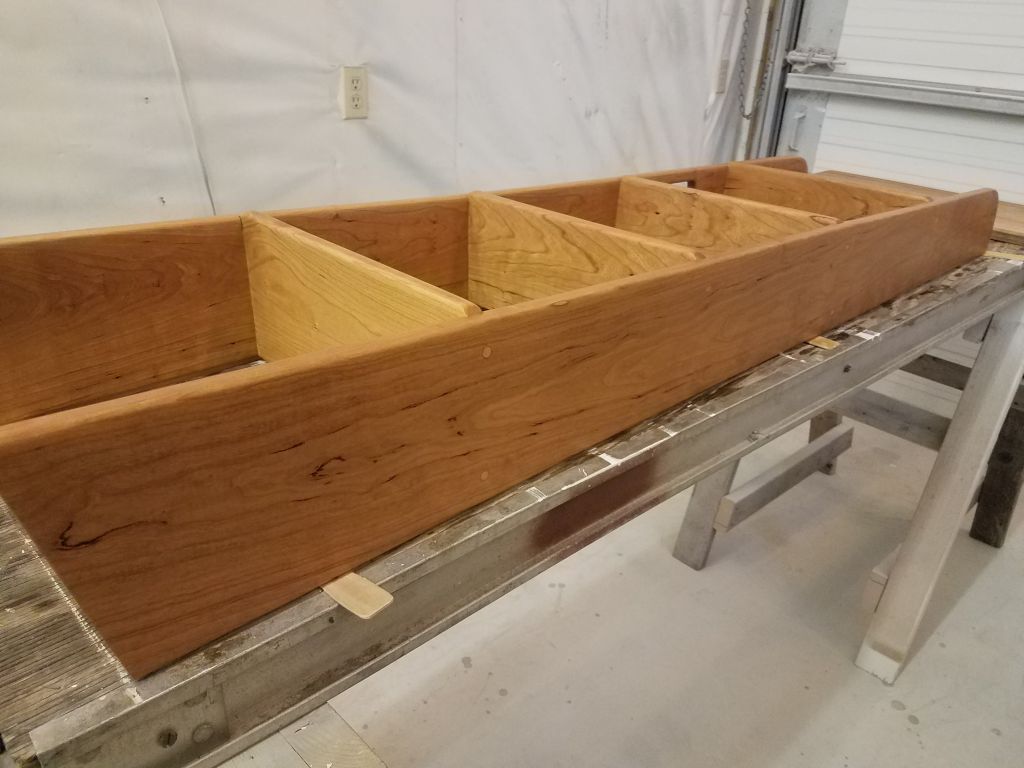
I milled a rounded edge detail on the drawer fronts, in keeping with the joinery elsewhere in the cabin, then sanded the fronts smooth and clean on both sides before assembling the drawers with epoxy adhesive and setting them aside to cure.

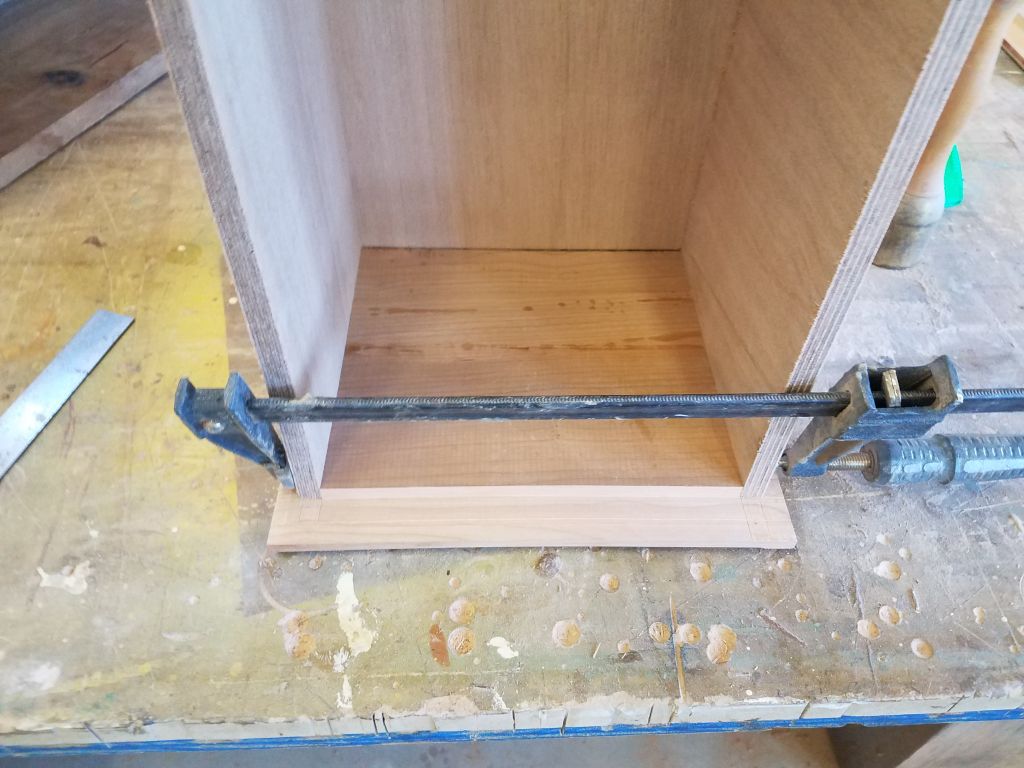
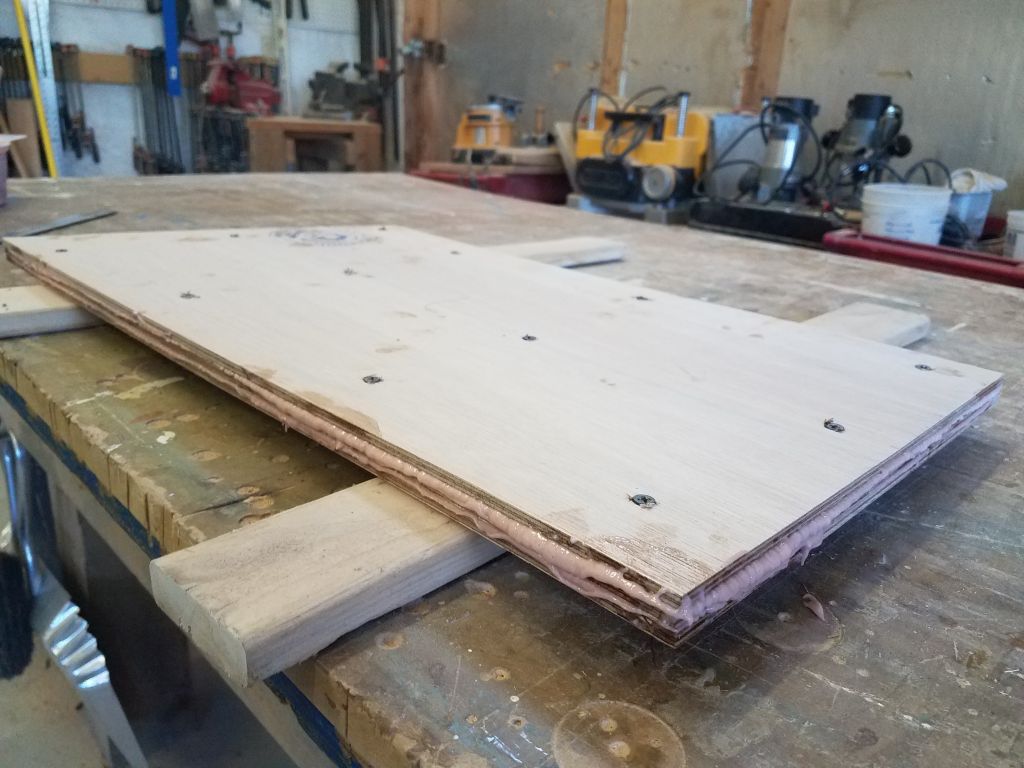
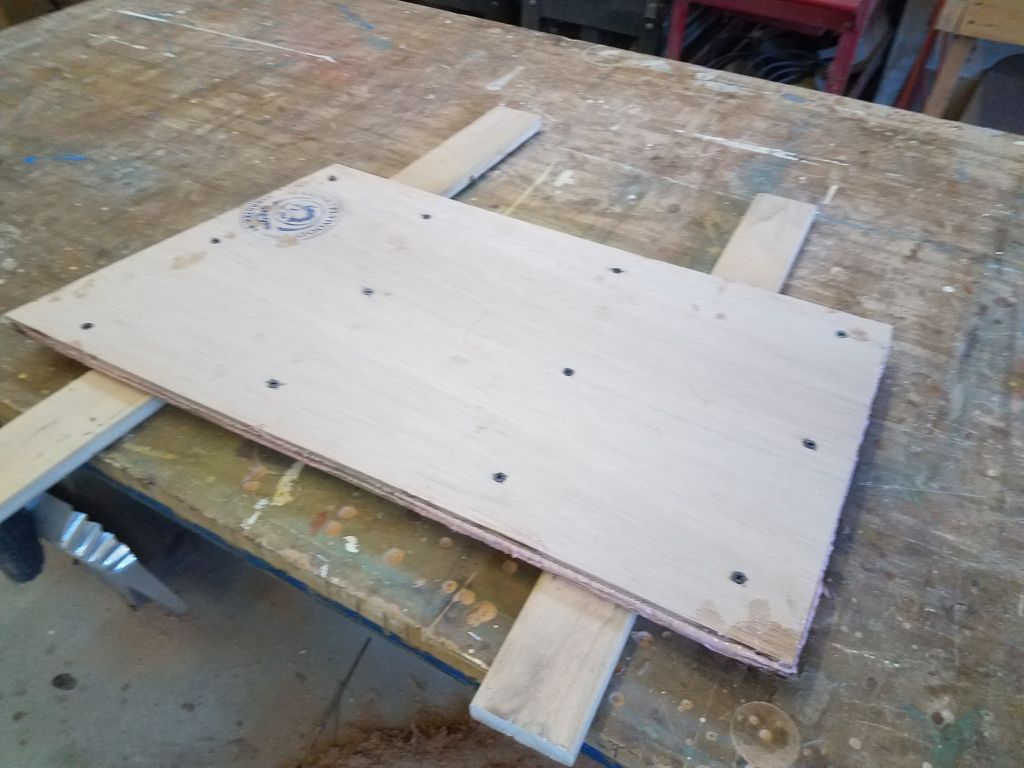
Continuing work on the shelf for portable generator storage in the starboard cockpit locker, I first cut a blank from 6mm plywood to fit the desired location (it turned out to require only a simple angle cut to fit against the hull). Then, using materials on hand, I cut two identical pieces of 6mm plywood, and laminated the three together with epoxy to make a hefty shelf 18mm (3/4″+) thick, securing the assembly temporarily with screws while the adhesive cured.
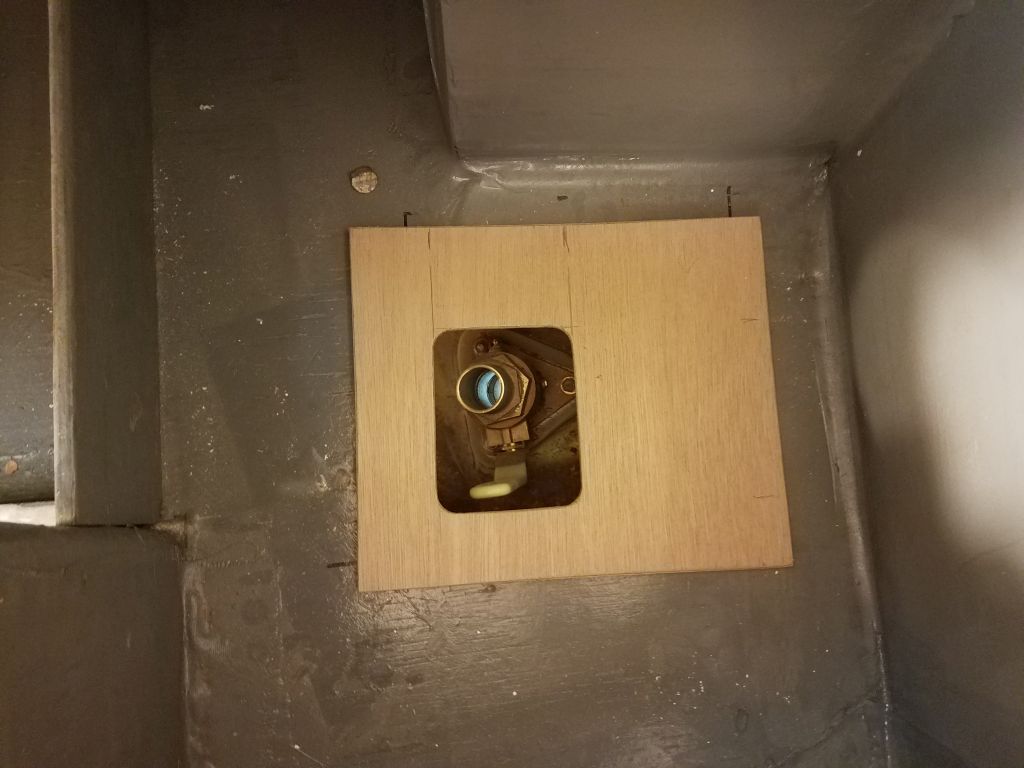
In the galley, I laid out another piece of 6mm plywood to cover the large hole I’d had to cut in the original shelf for through hull installation access. The new panel covered much of the hole, but left an opening for hose connection and access for operating the sea valve if desired. I’d wait to install this permanently till I finished up the prep and paintwork in the locker beneath (soon).
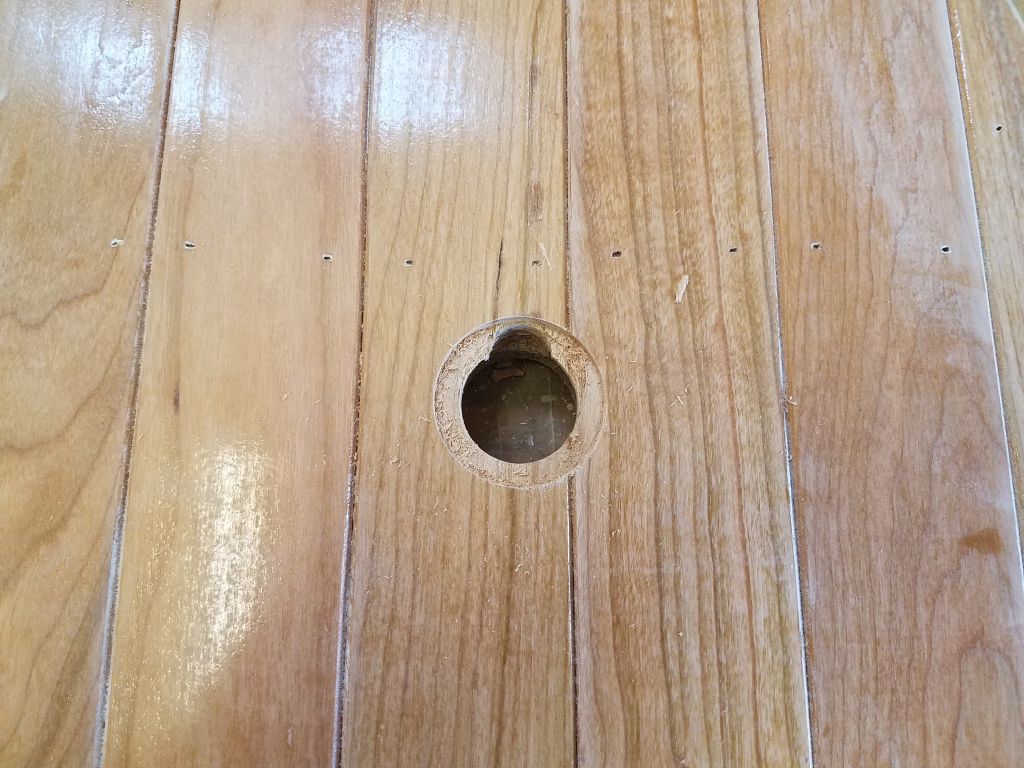
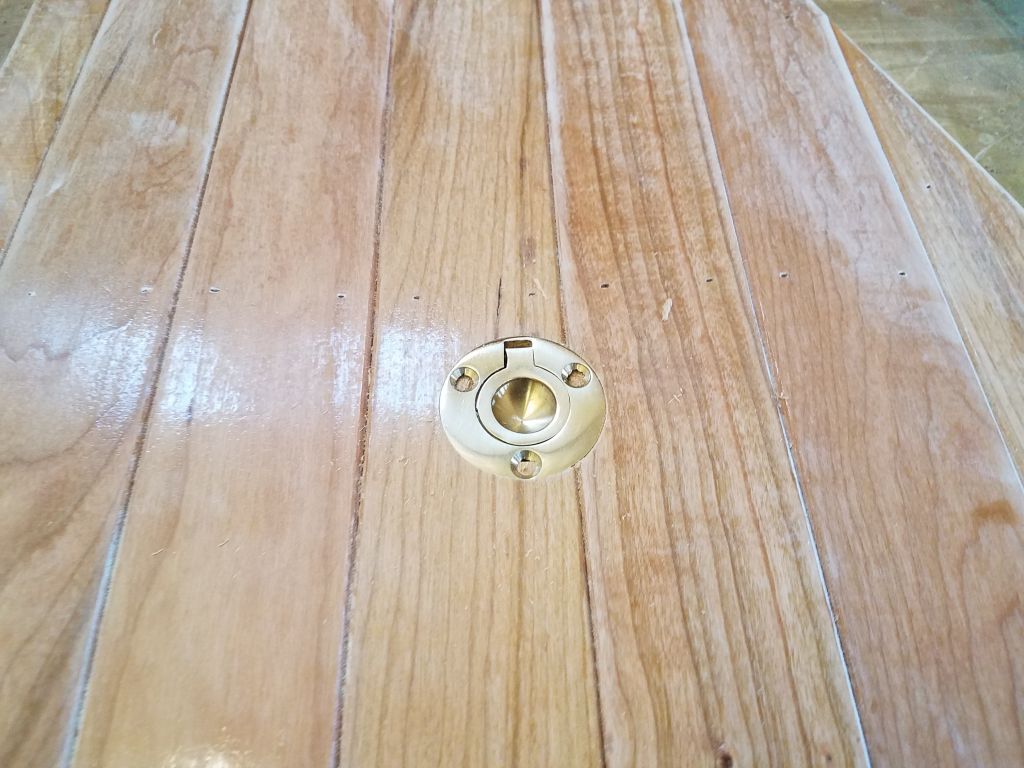
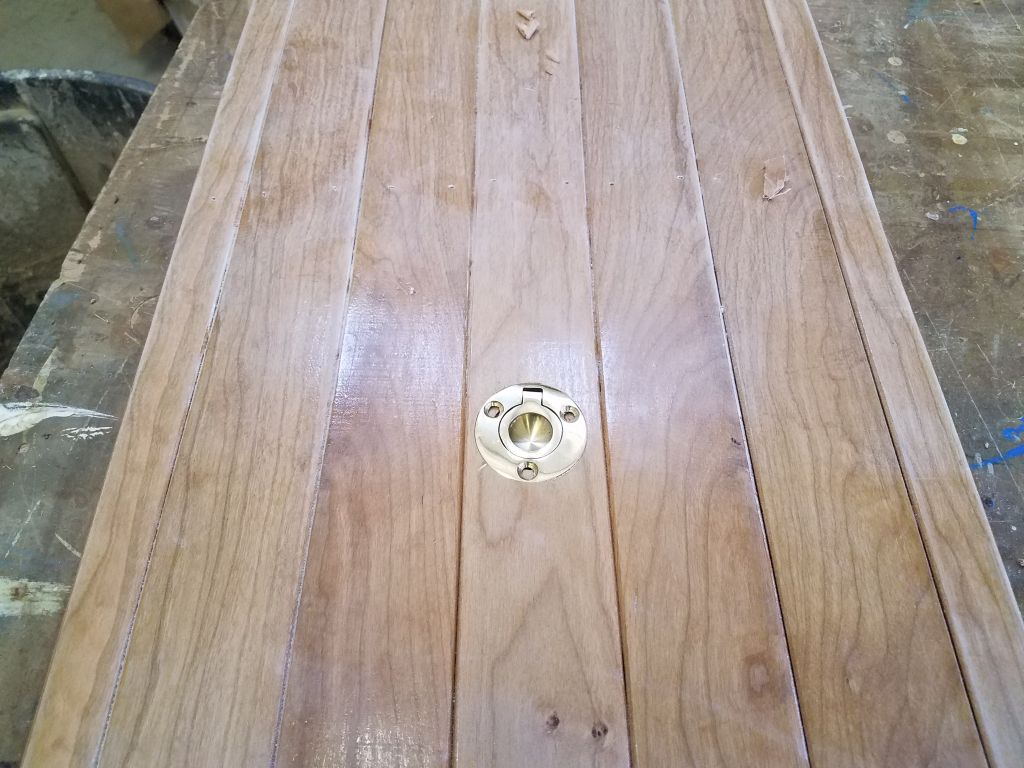
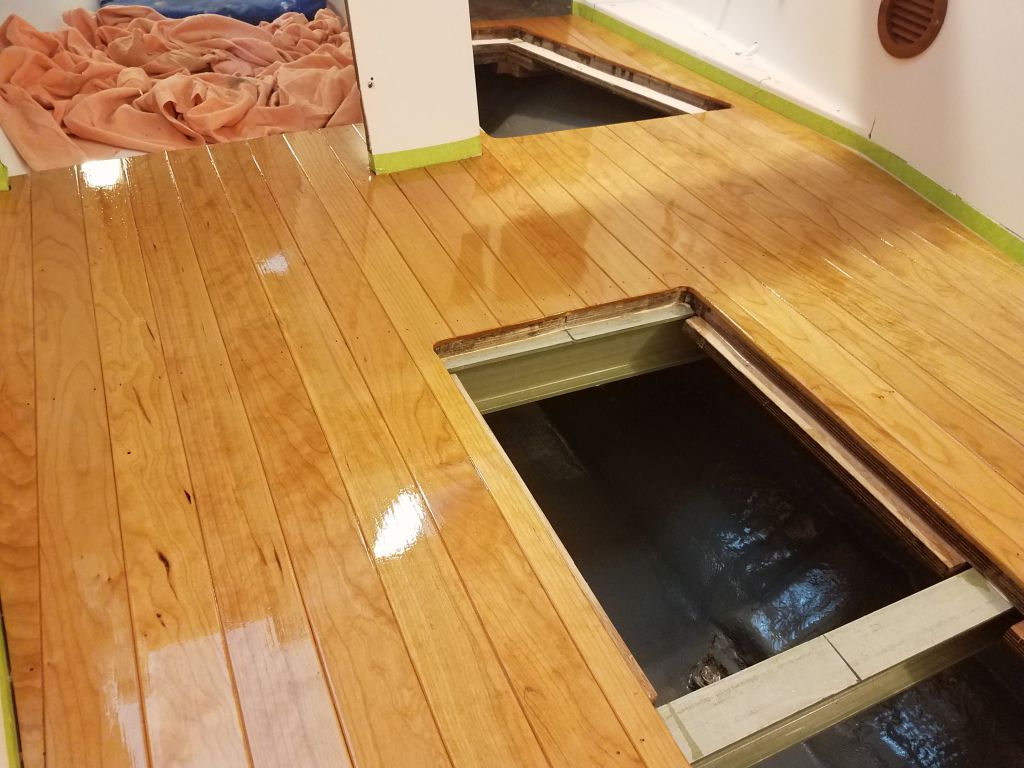
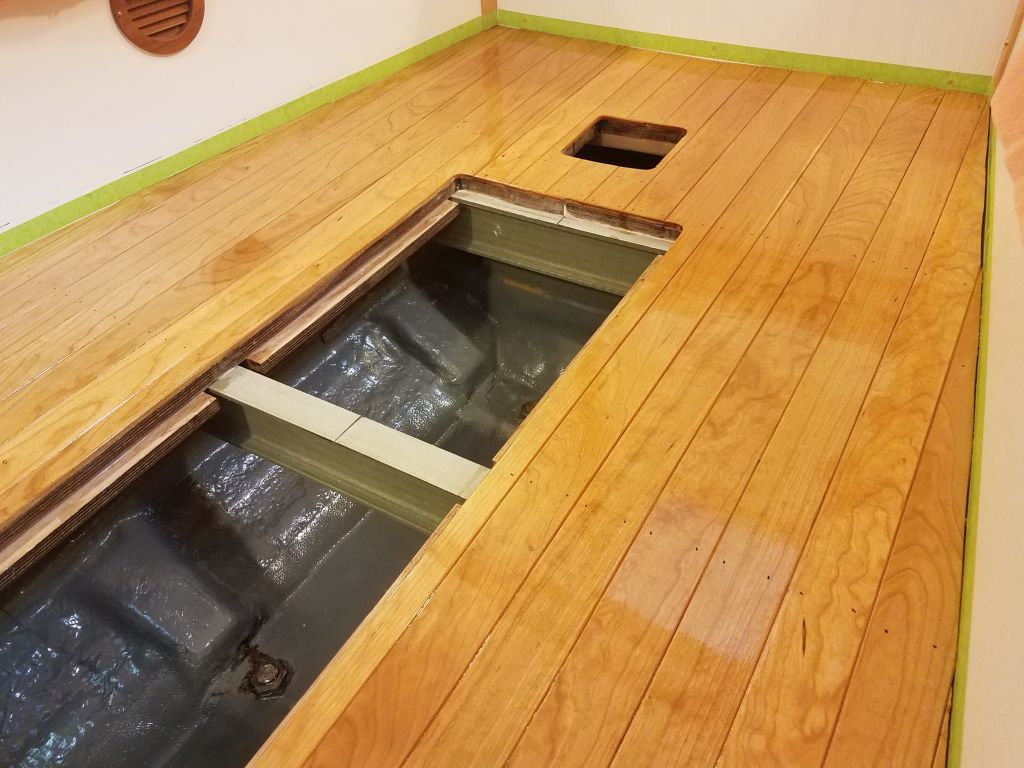
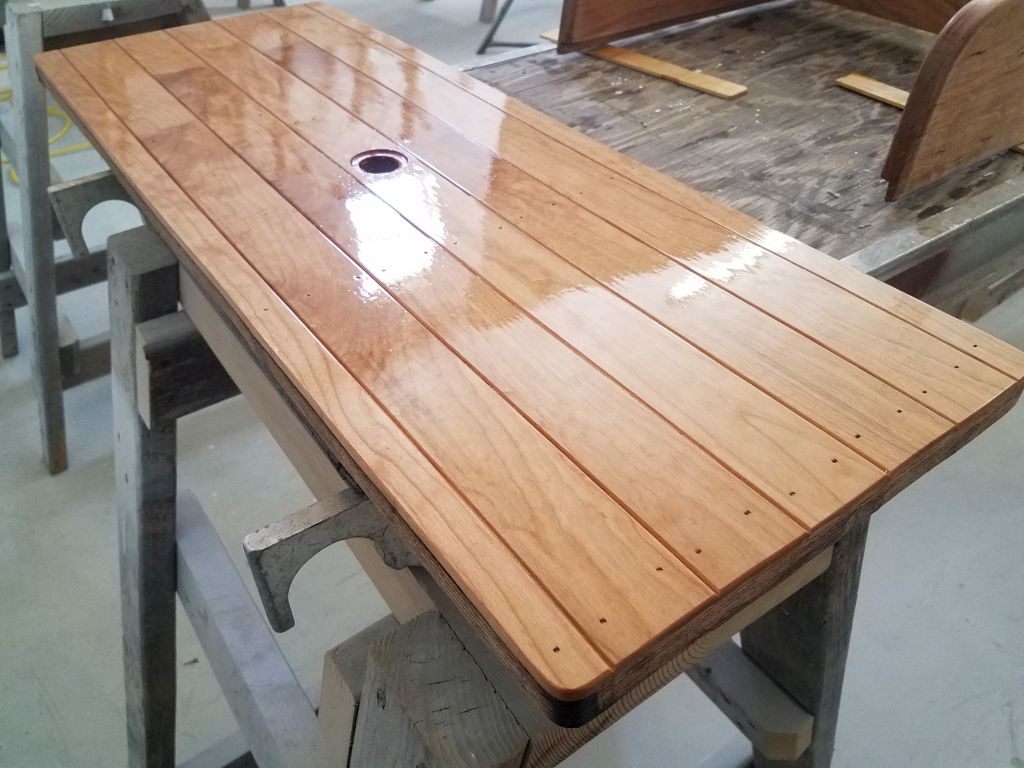
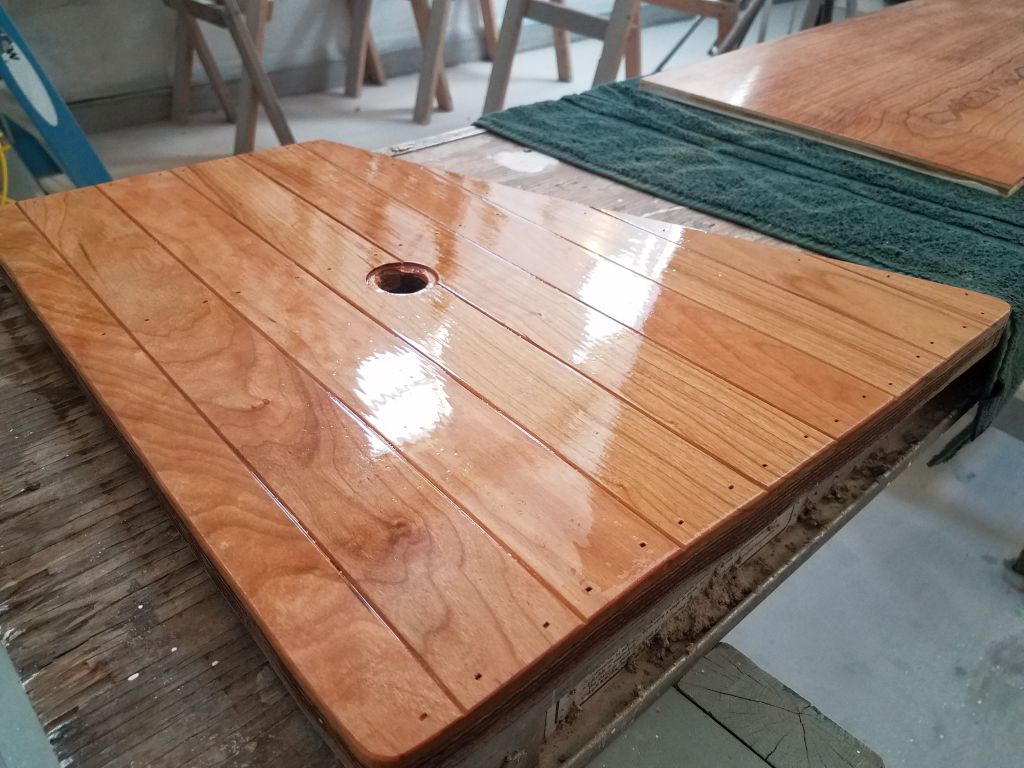
Before continuing the varnish work on the cabin sole, I took a few minutes to pre-install some brass ring pulls in the two hatches, drilling recesses above the old finger holes I’d started with in the substrate to accept the flush round ring pulls above. I’d await final installation till the varnish was complete, but now I could varnish into the new recesses during the last coats on the sole.

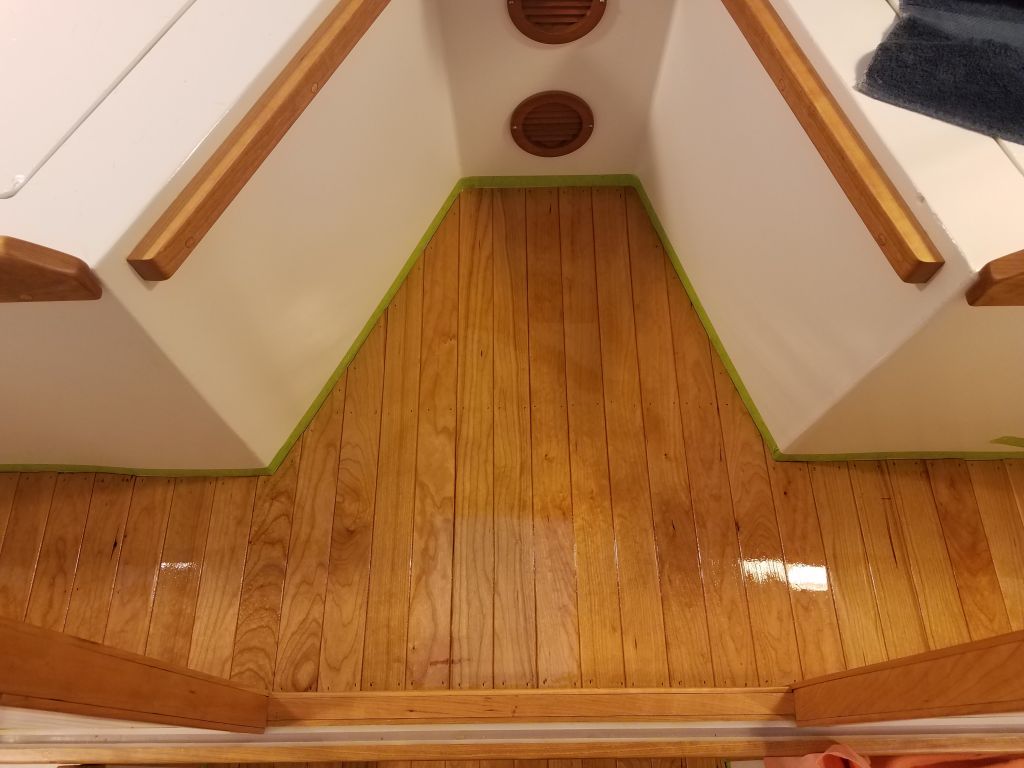
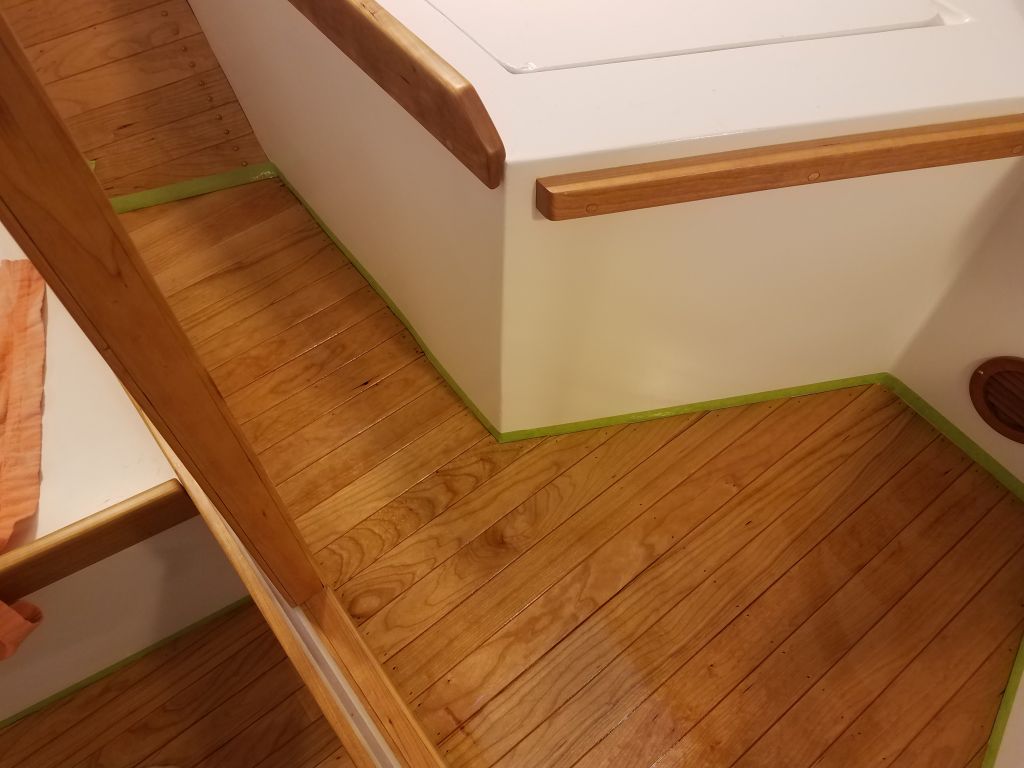
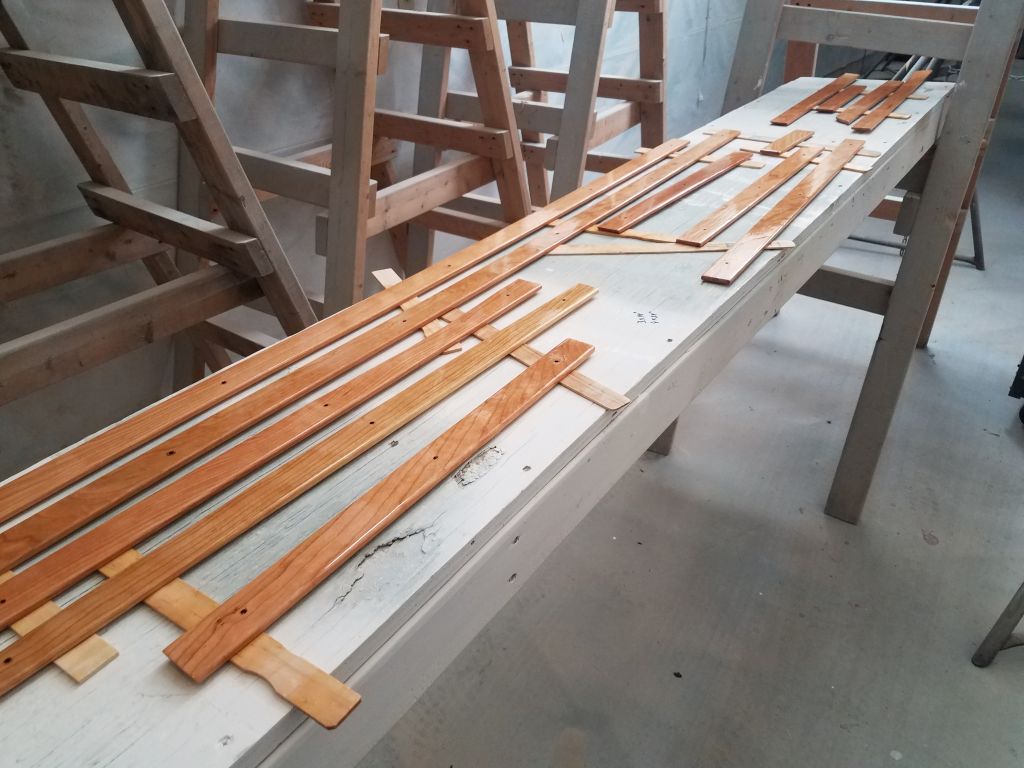
After the usual final preparations, I continued varnish work on the sole with the fourth coat of base varnish on all areas, and the third coat on the trim pieces.

Finally, I applied a coat of satin varnish to the companionway ladder and back.
Total time billed on this job today: 7.75 hours
0600 Weather Observation: 26°, clear. Forecast for the day: Sunny, 53°