


February 7, 2020
Scupper 237
Friday
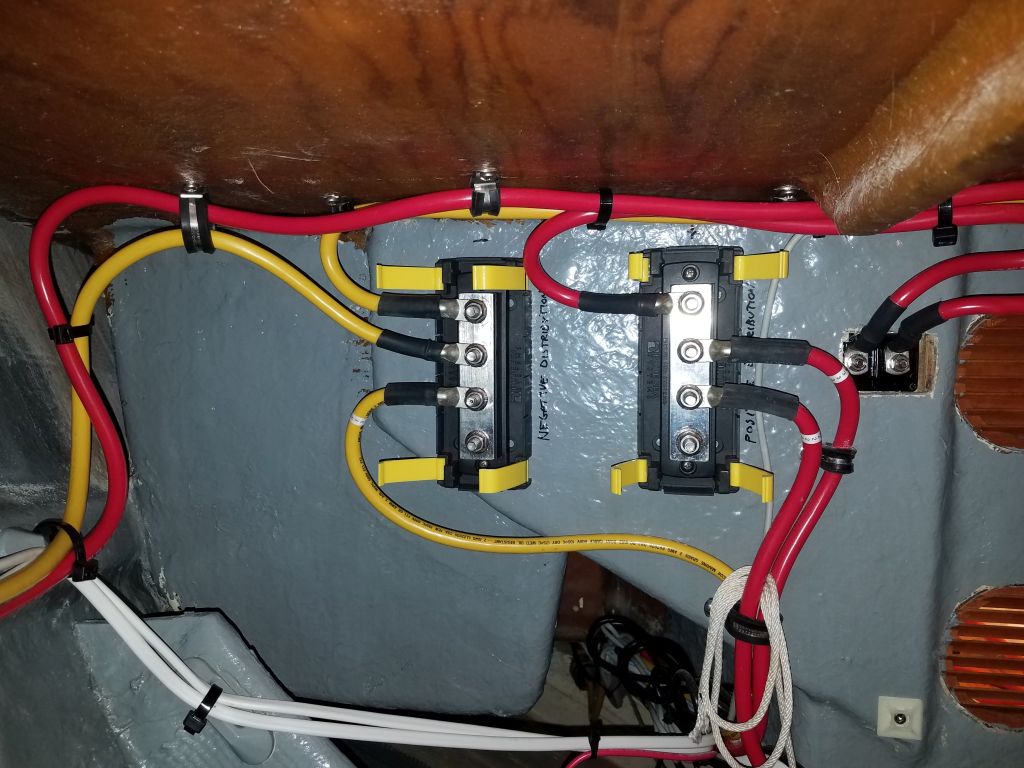
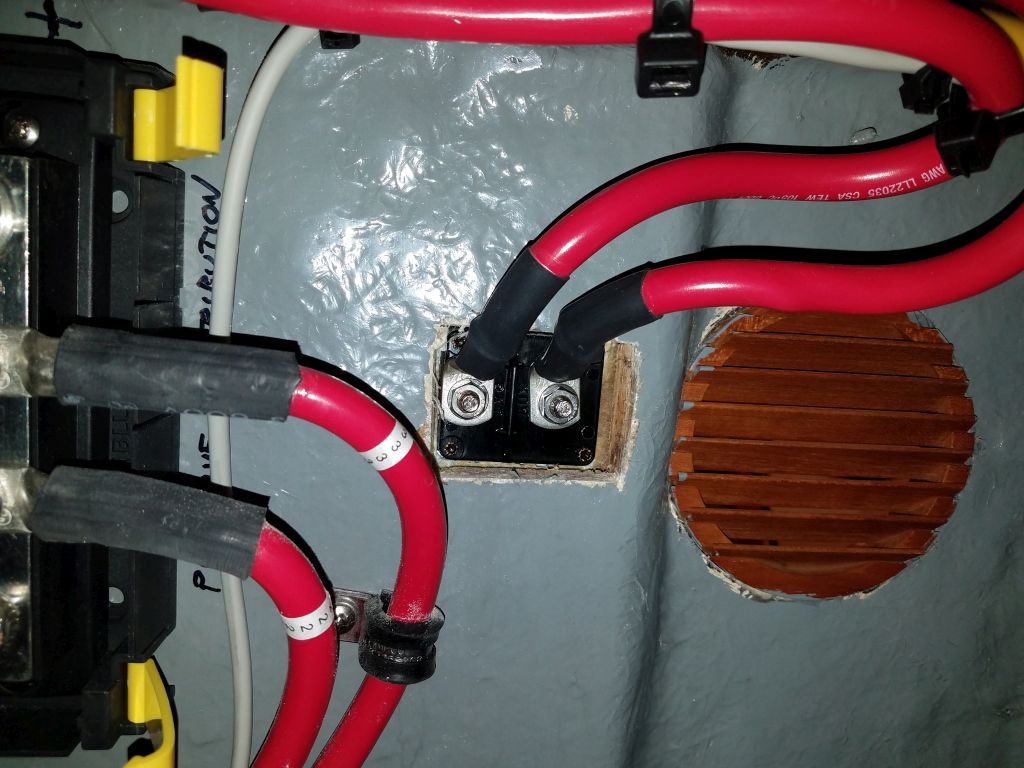
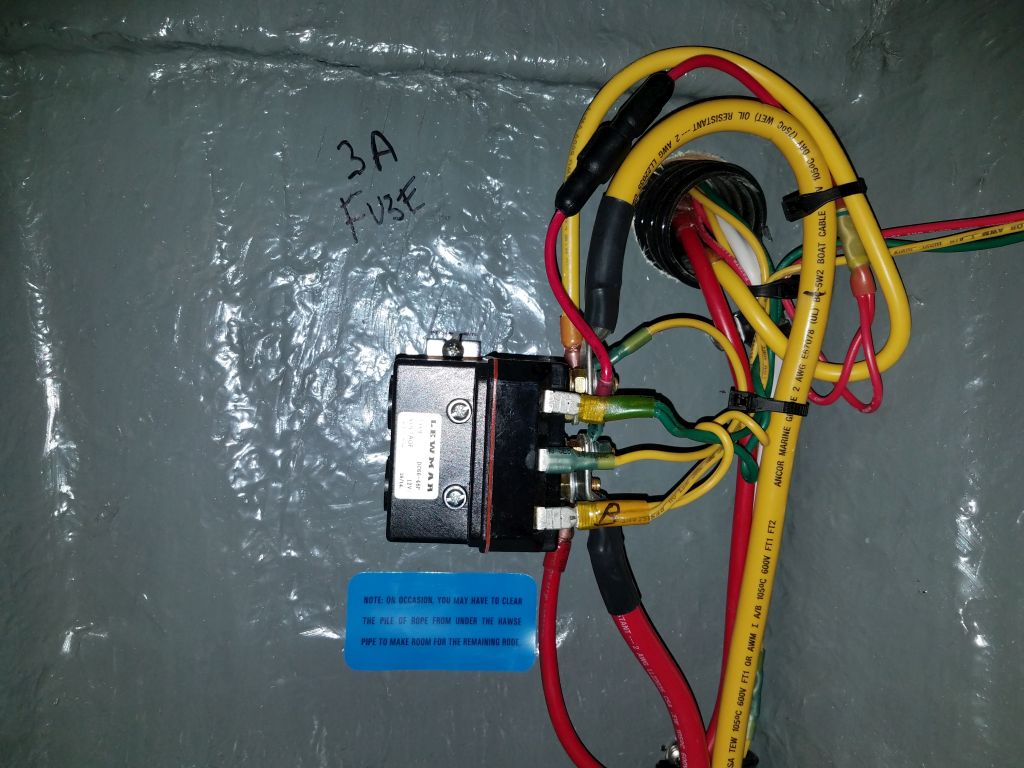
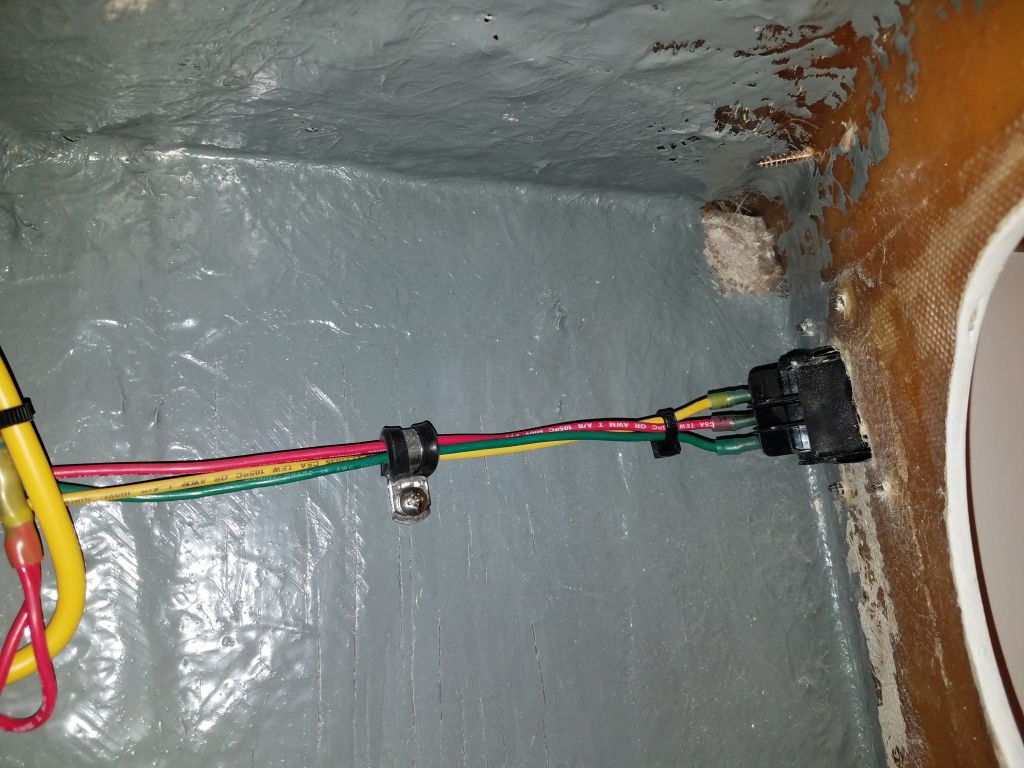
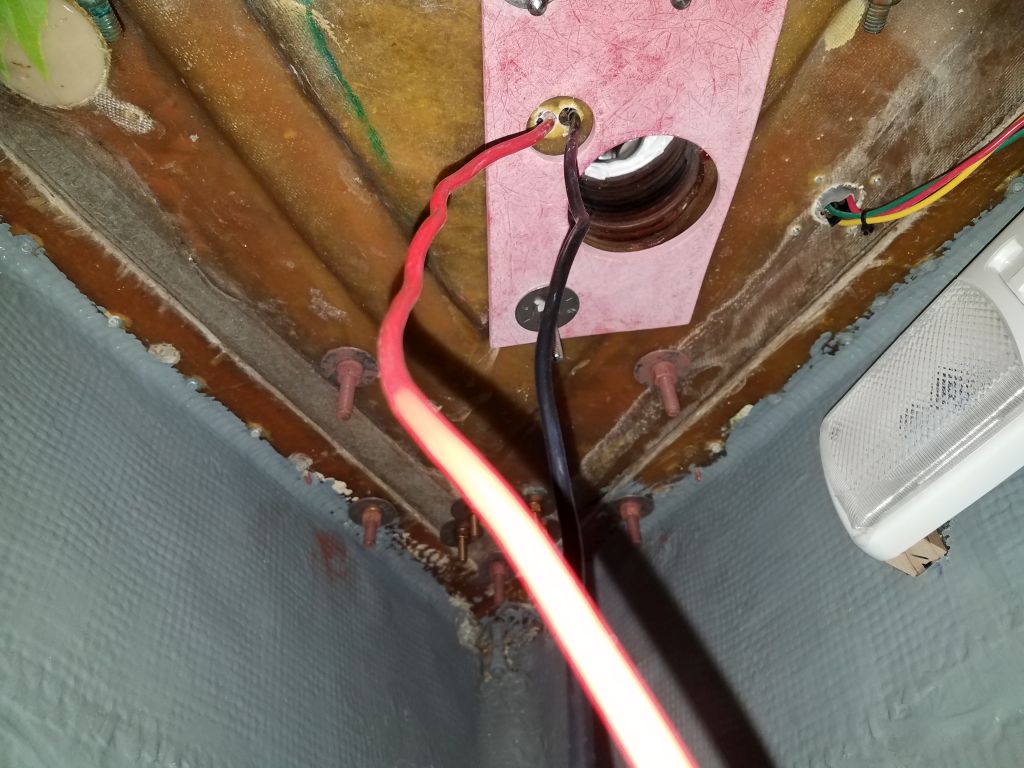
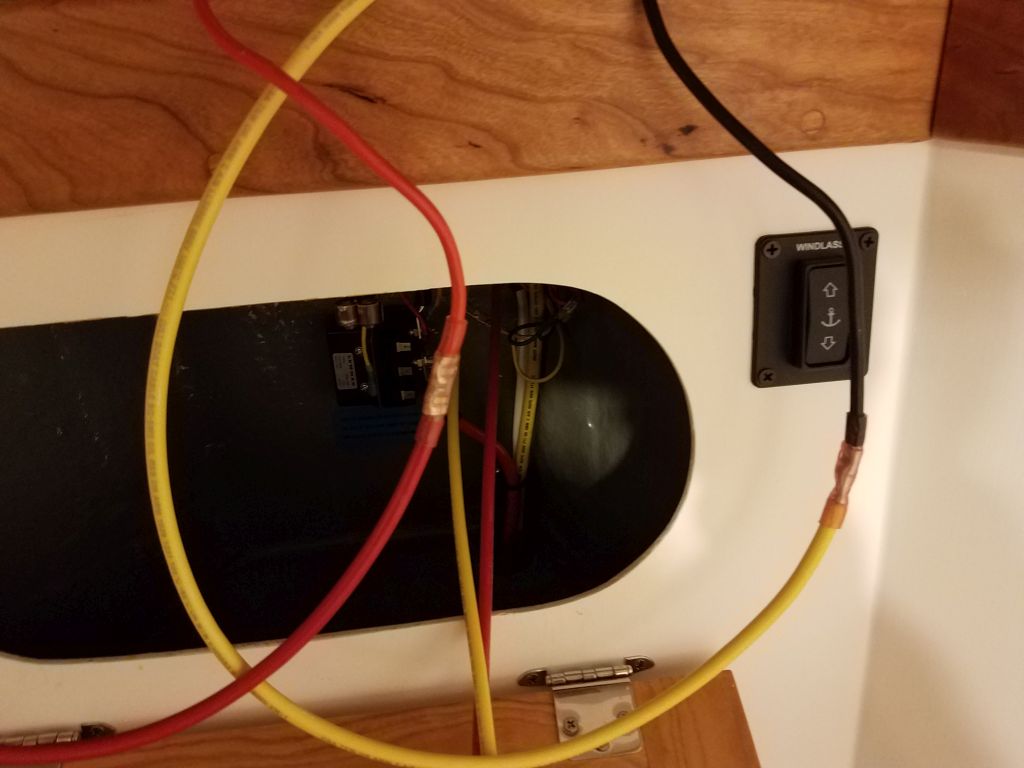
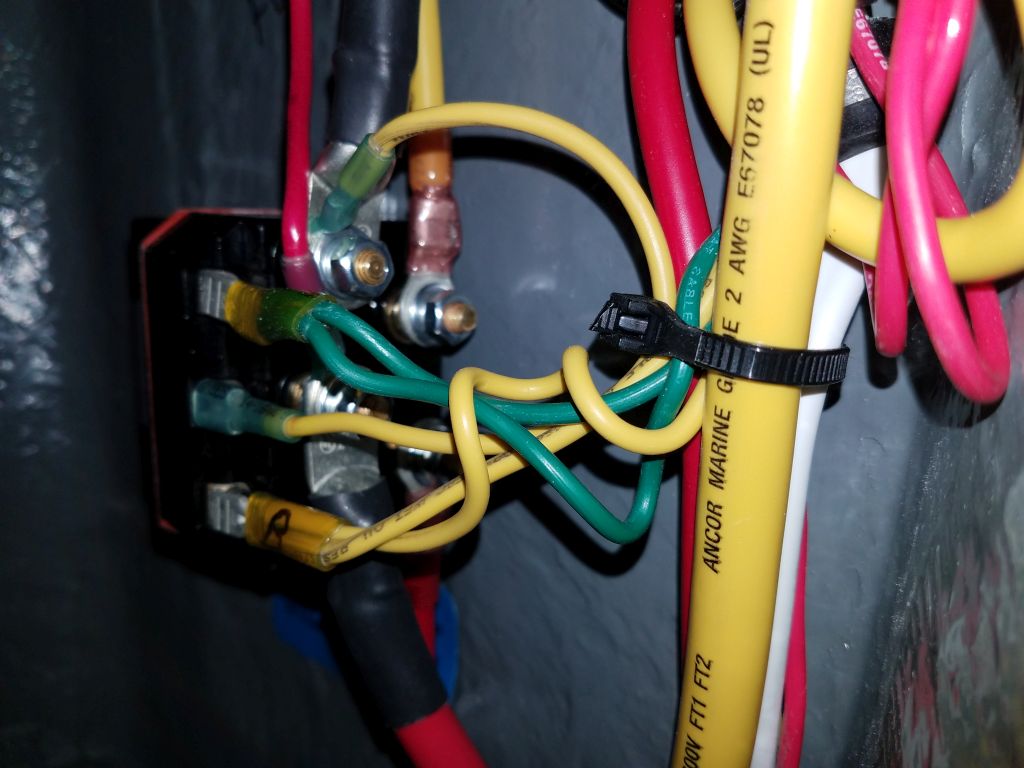
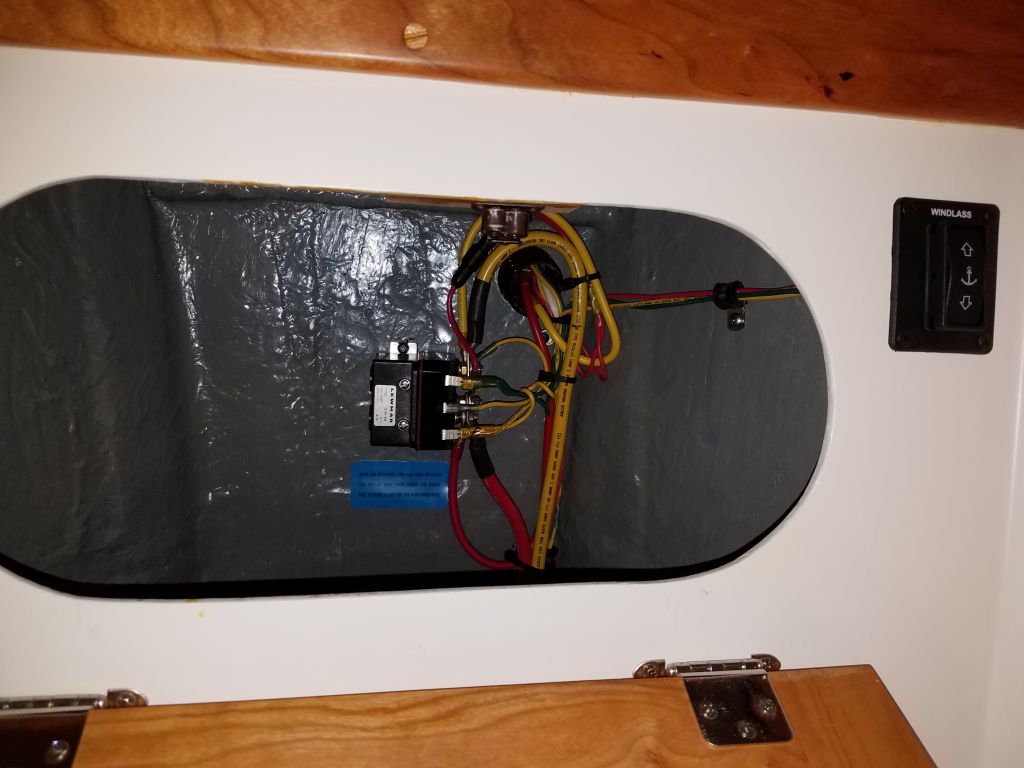
I got started again on the windlass installation, starting back in the forward compartment, where I finished up the wiring there–a simple sentence that belies the two or more hours required to make the final connections between the rocker switch and deck-mounted remote, run new 2AWG cable between the battery (positive distribution buss) and windlass circuit breaker and onwards to the contactor box, as well as the negative cable required.
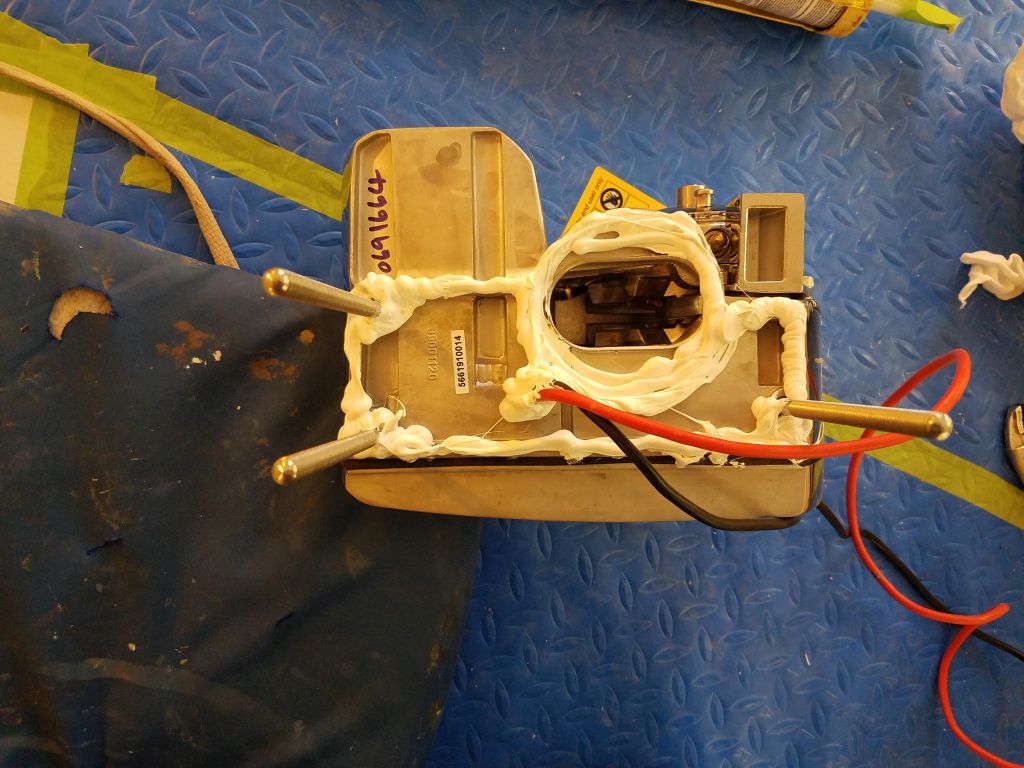
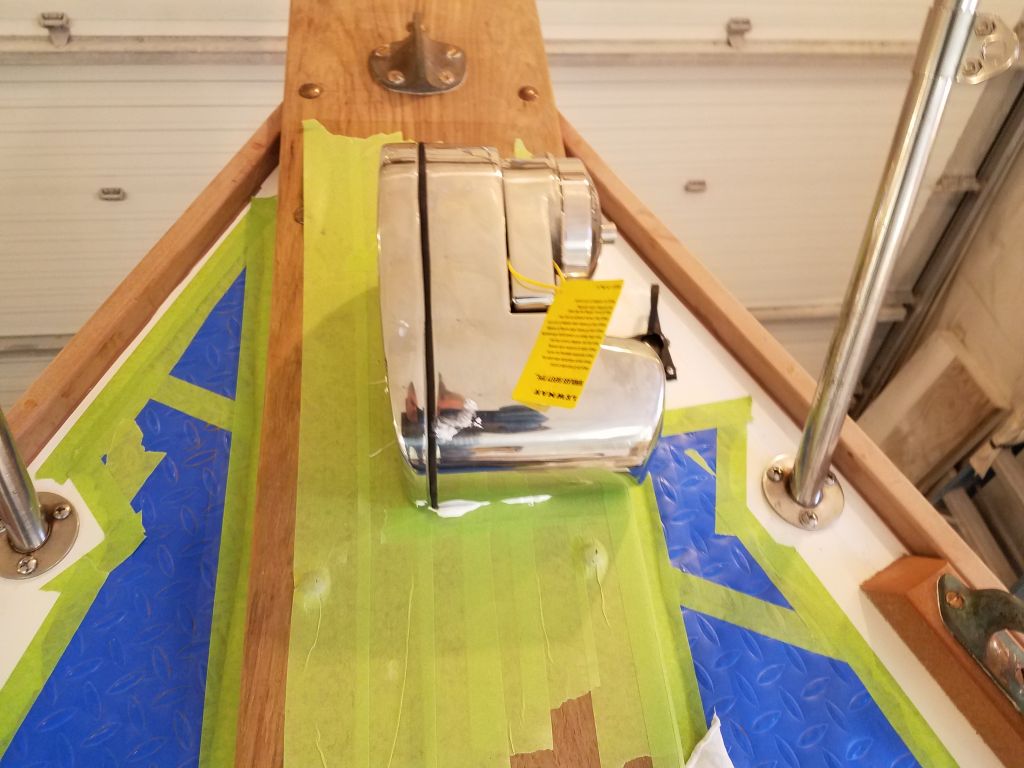
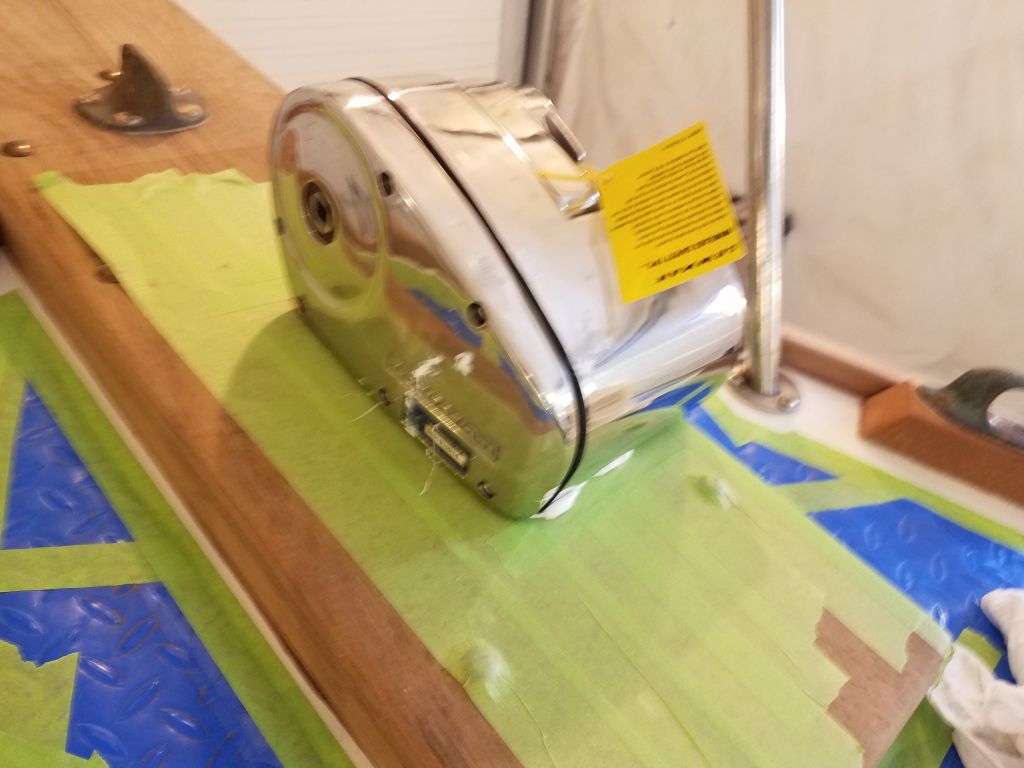
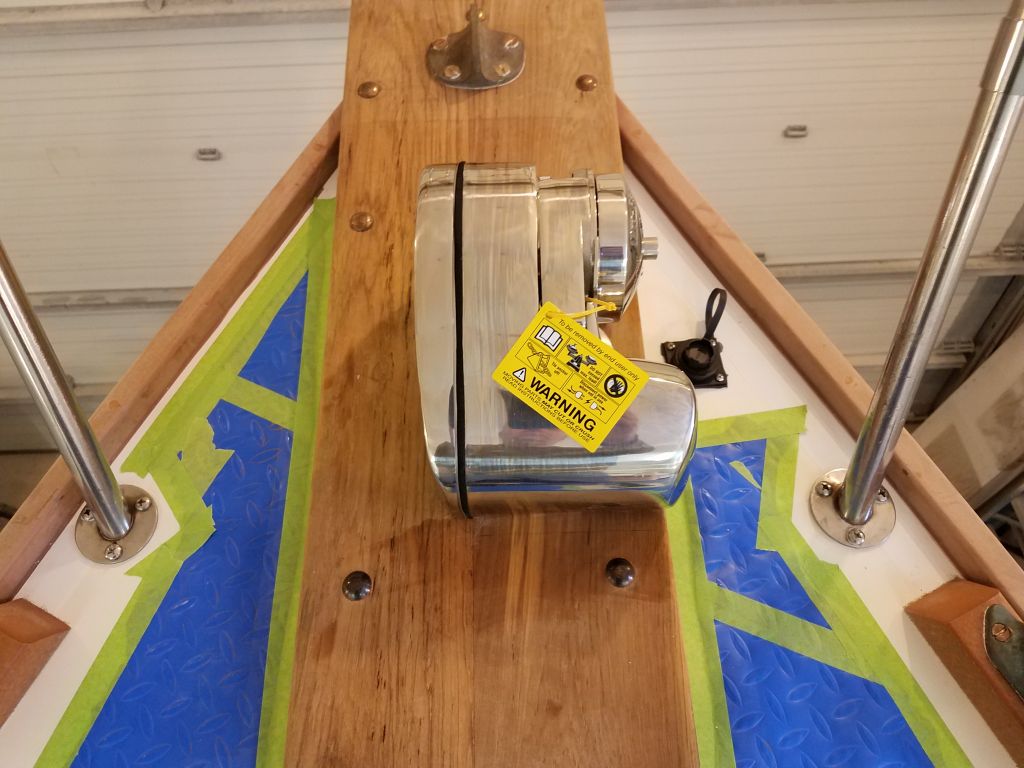
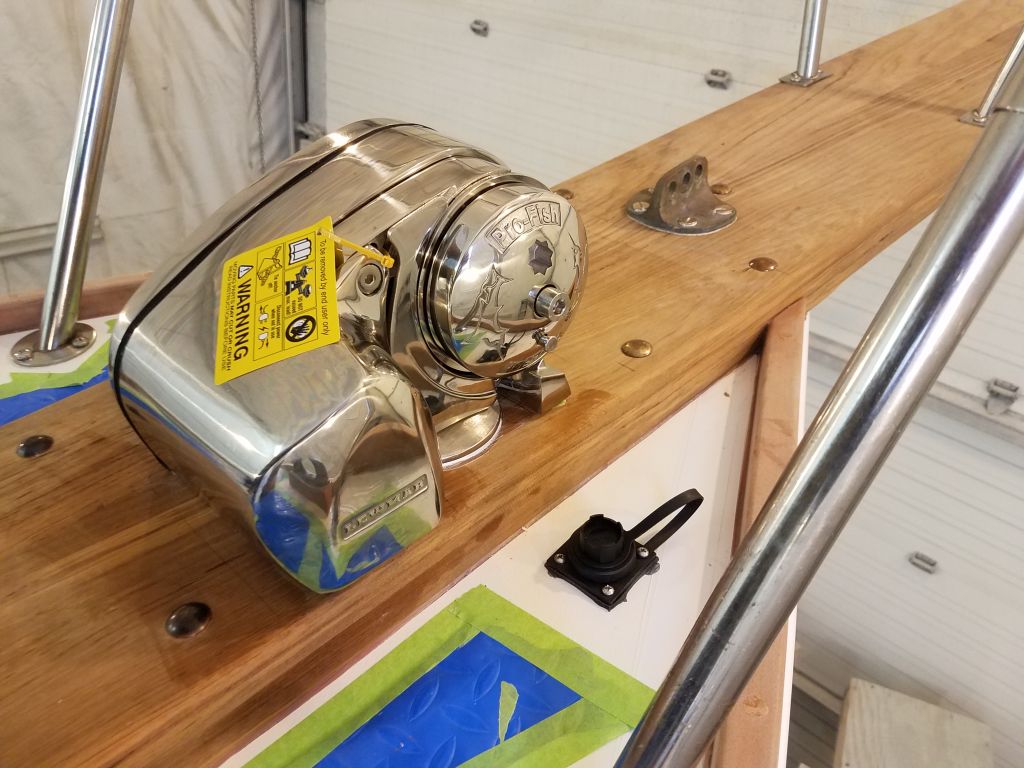
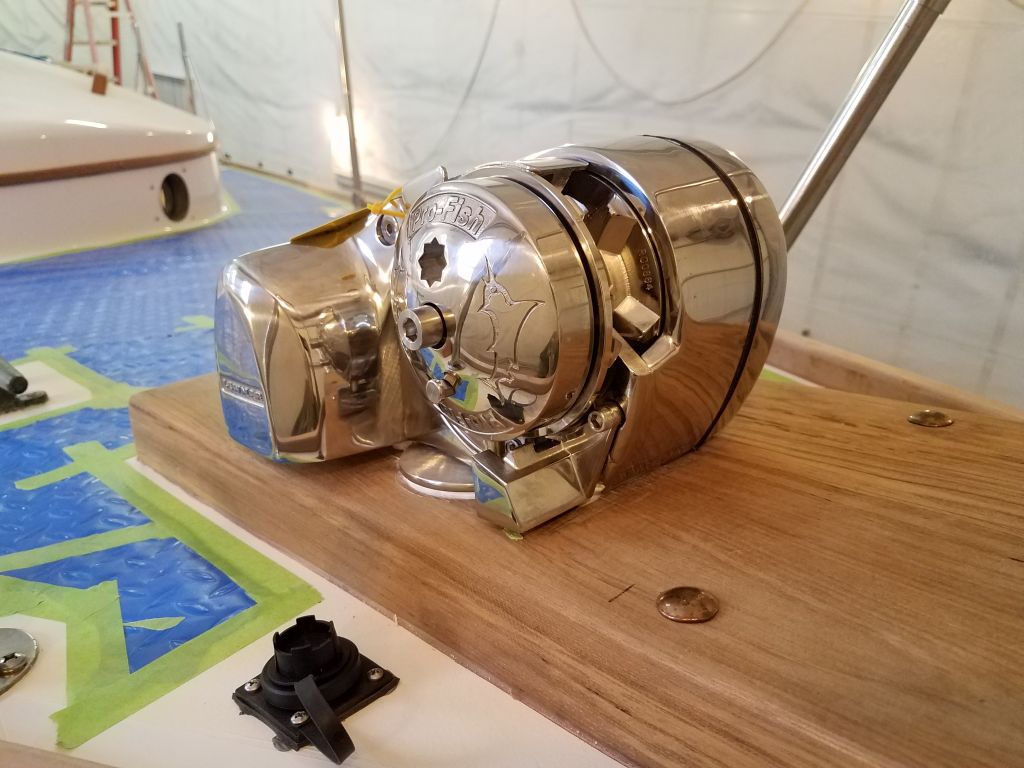
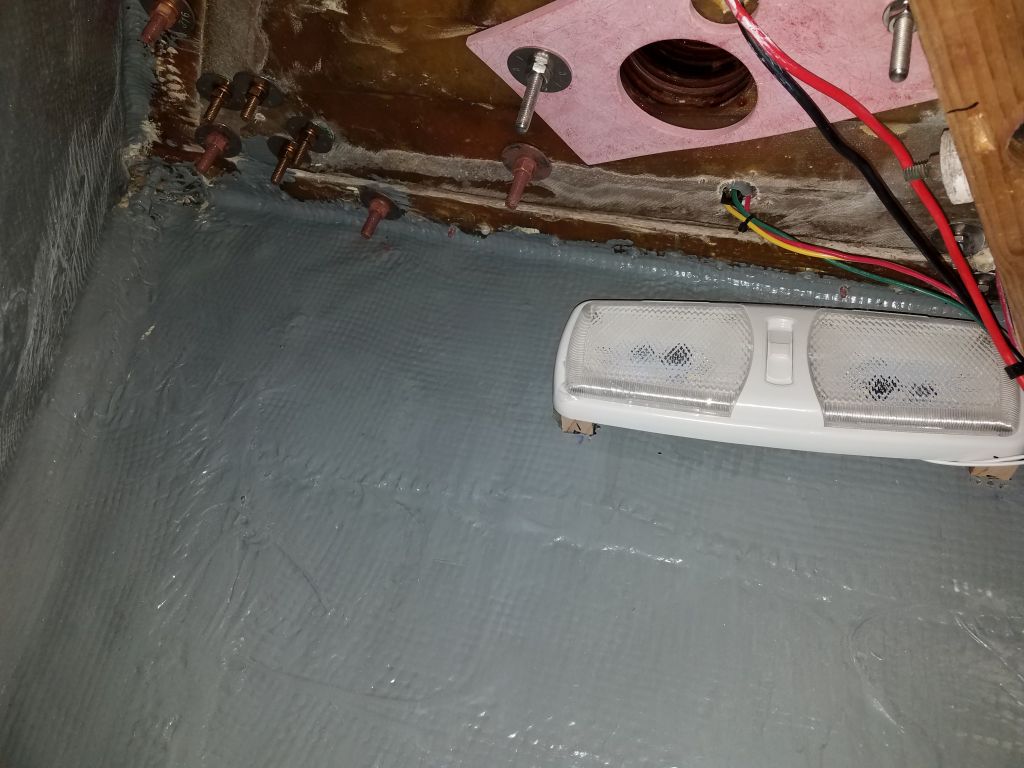
With the wiring complete belowdecks (other than the leads from the windlass motor), I prepared the windlass itself for final installation with sealant around the base and wiring holes, after which I bolted it in place with the new backing plate and blind windlass studs. The cables connected to the windlass were just a few inches too short to reach the contactor box, so I had to spice in additional wire in order to make the run and complete the windlass connection at the contactor box.


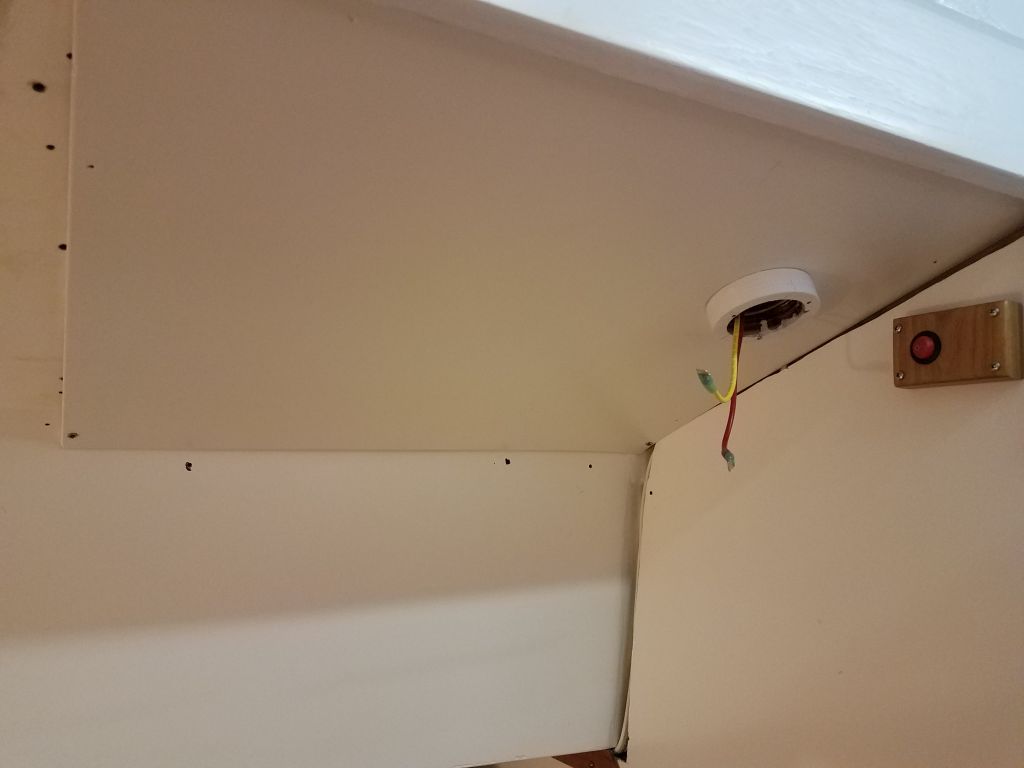
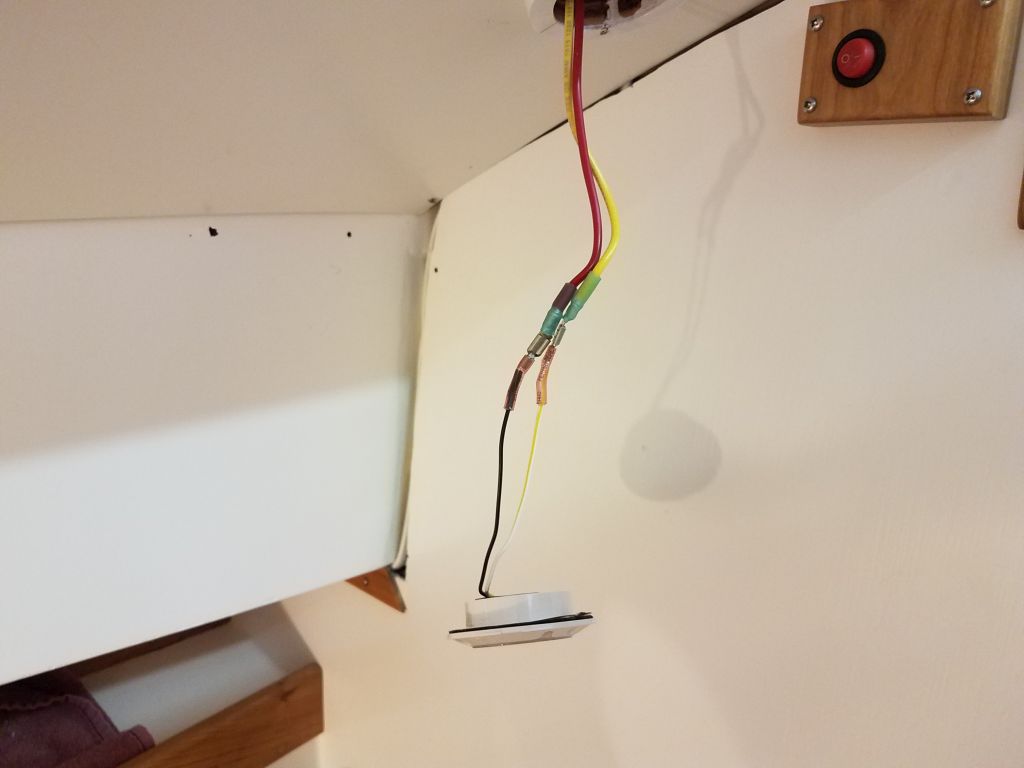
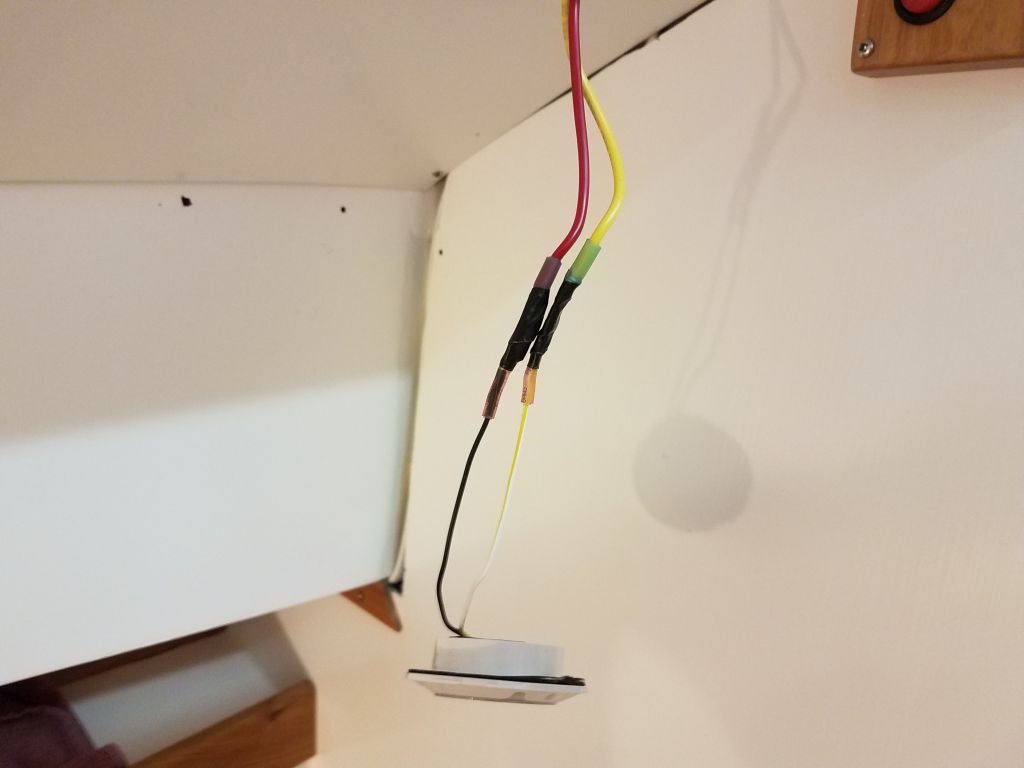
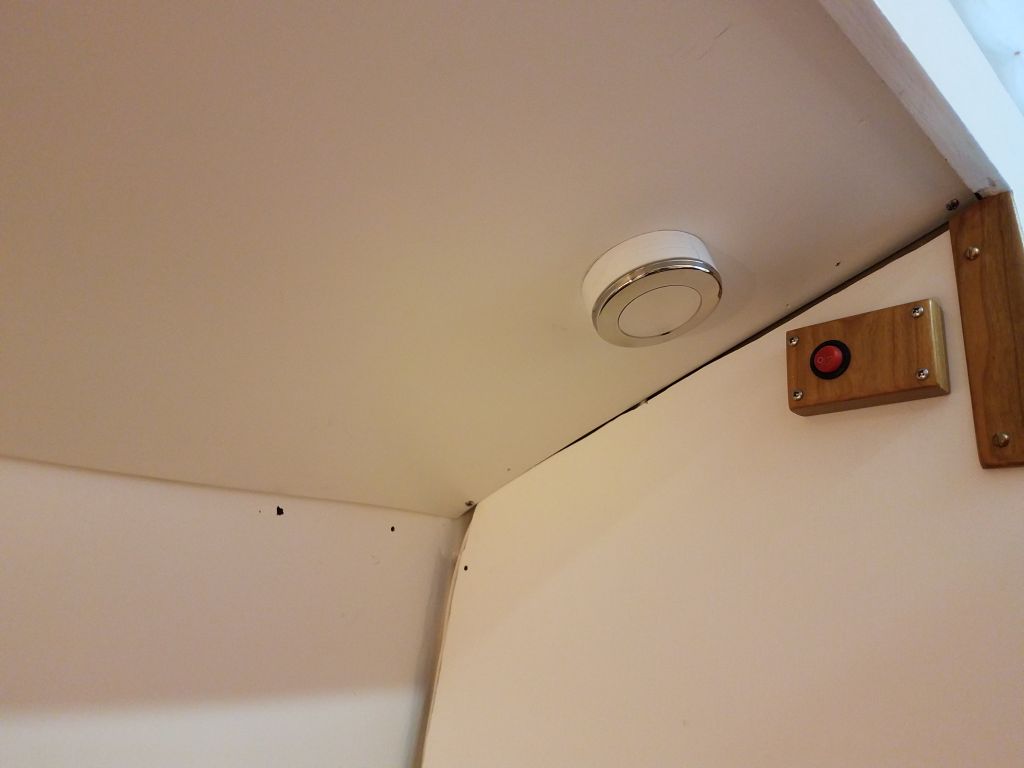
This took most of the morning to complete, but before lunch I had time to work more on the light near the companionway. I realized that I could install the aftermost overhead panel on the starboard side now after all, since the staysail sheet winch would end up above the head on this side. so with that epiphany I went ahead and installed the small panel, and connected the little light fixture with removable wiring so the panel could be pulled down as needed. I discovered belatedly that the spade connectors I had on hand weren’t fully insulated at the terminal ends, so I added some black tape to prevent contact between positive and negative wire terminals.
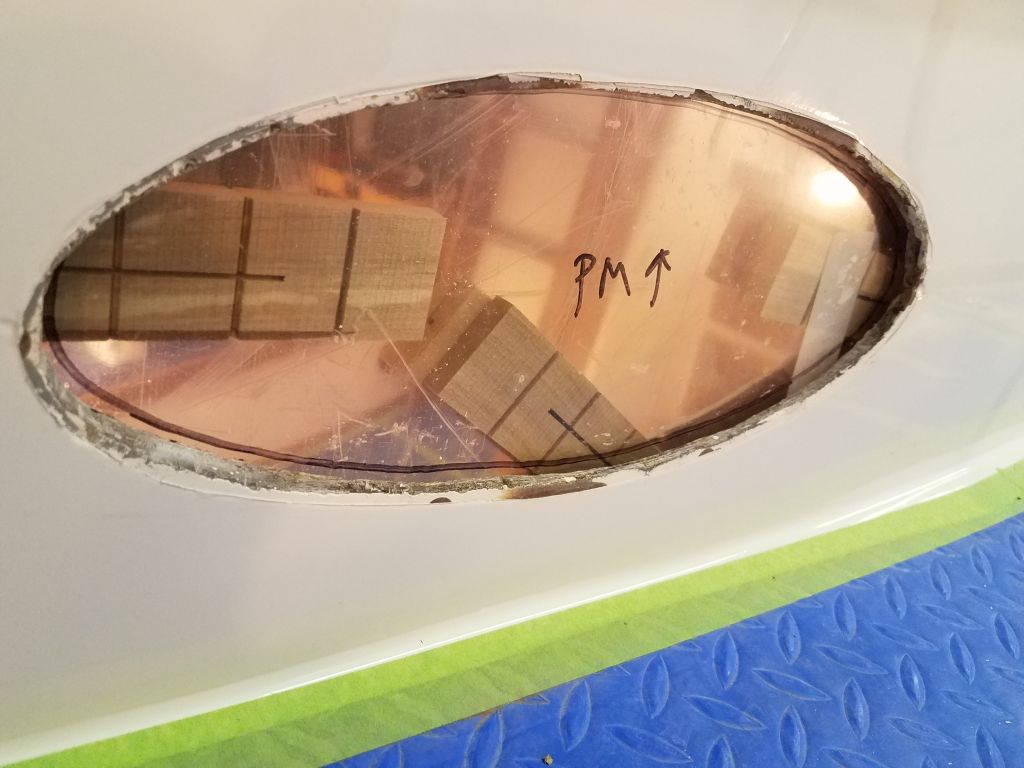
After lunch, and contemplating my ongoing list, I decided with some trepidation to start the work on the deadlights’ installation. On this boat, the deadlights–i.e. the small elliptical fixed ports in the cabin sides–featured an unorthodox construction in which the port lens (acrylic plastic in this case) was secured directly to the inside of the cabin trunk behind the liner, and then independently trimmed on each side with a bronze trim ring on the exterior, and a plastic one on the interior. It was frankly a bizarre and un-ideal setup, but we’d long ago come to terms with it, and after substantial surface preparation much earlier in the project (required to remove the gobs of silicone that had originally been used to secure and bed the ports), I felt like securing the new lenses in this way would be at least effective, if not how I would have designed it. In any event, I knew that the new installation would exceed the quality of the installations I’d removed during the beginning of the project.
Ports and deadlights usually end up being one of my least-favorite installations on any boat: there’s something about them that is simply un-fun and usually highly fussy, and, working alone, there are frequently many times where additional help would be useful but not forthcoming. So with all this in mind, I was not sure why I decided to tackle this on an icy, story Friday afternoon, but apparently there was karma in the air. I looked forward to these installations being done, but at the same time I’d continually postponed the task for some time since I didn’t really want to do the installation.
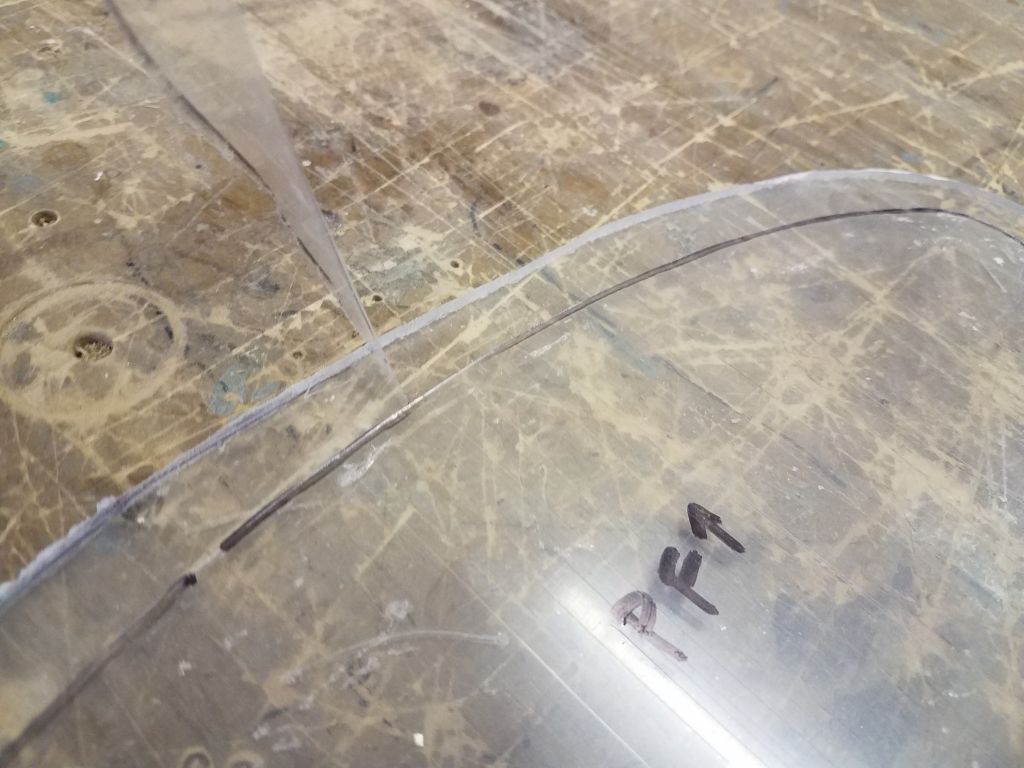
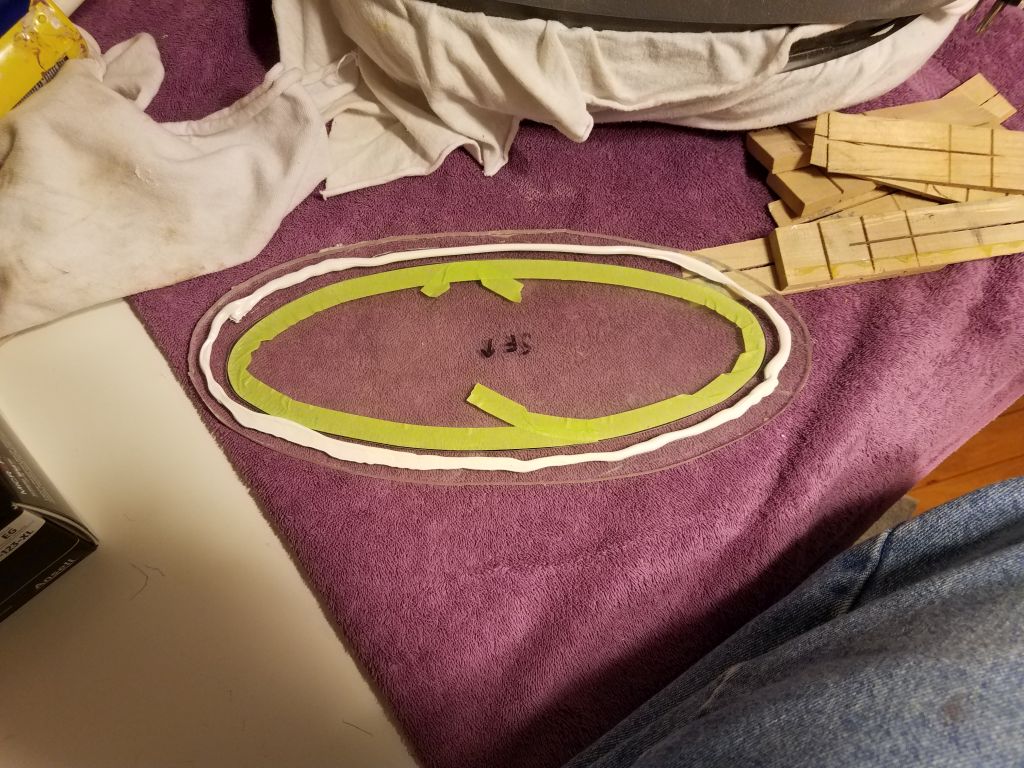
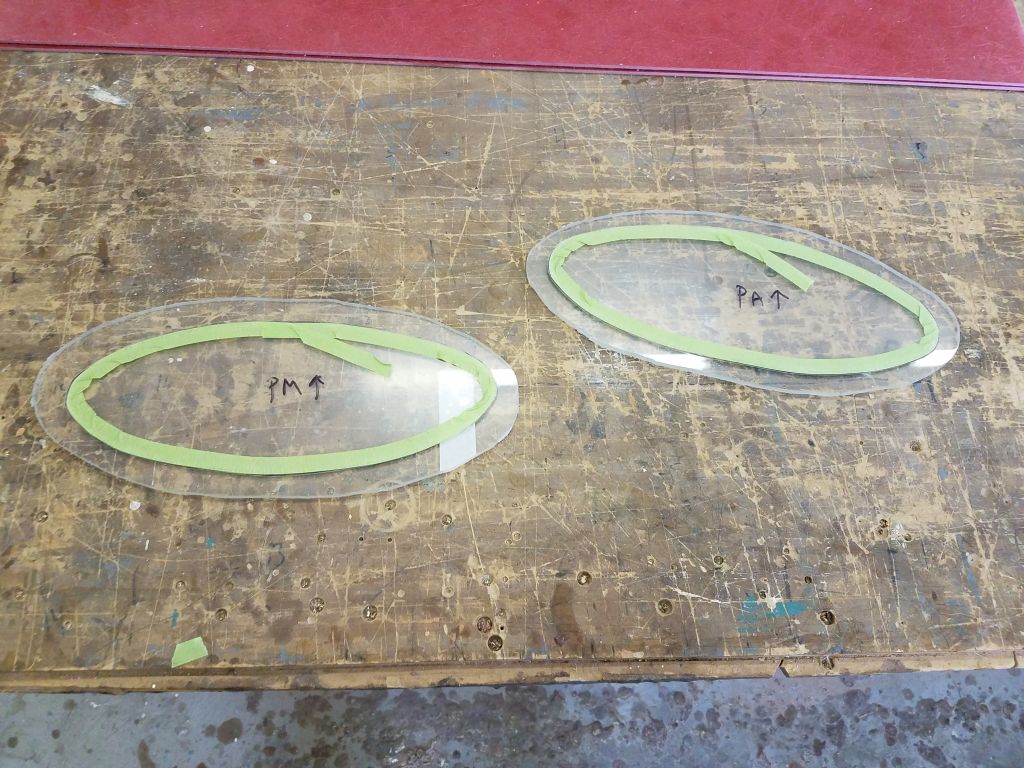
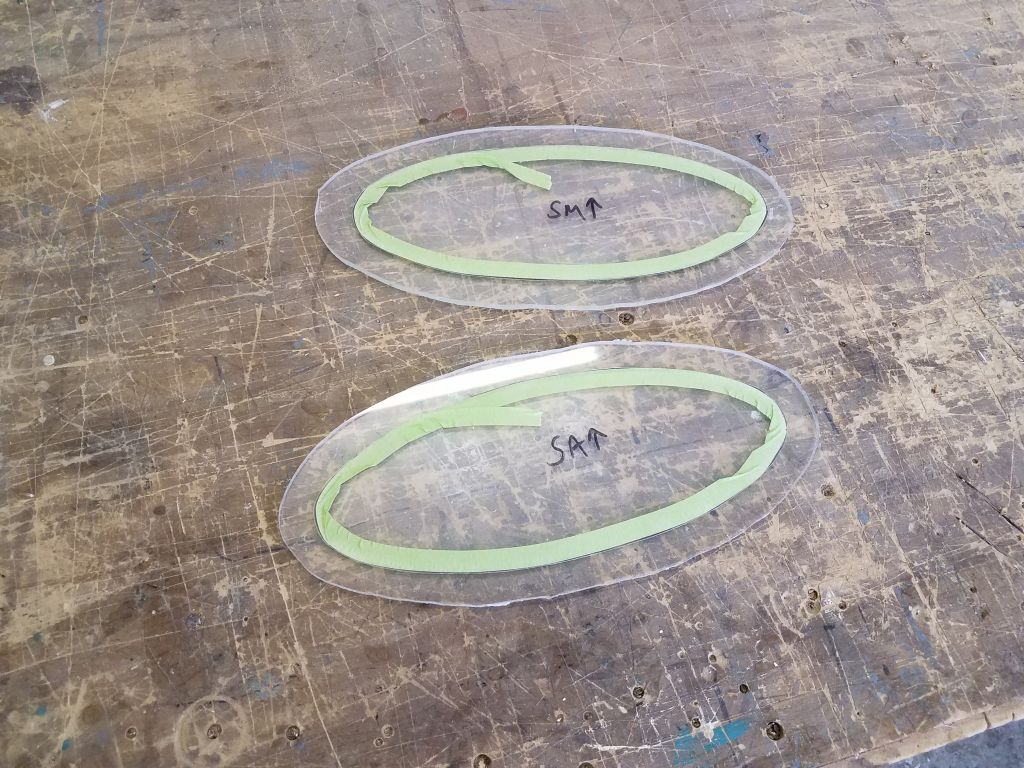
Completely unsure how this process would work out, I decided to start with cutting out the new acrylic lenses for the two deadlights in the forward cabin as a sort of test. Using the old lenses as a guide, I cut out the new ones; the very construction of the ports meant that high accuracy was not critical here, as long as the lenses could fit through the openings in the liner, and had enough overlap to be bedded to the inside of the cabin trunk once in place. For the task I’d procured a couple sheets of clear acrylic, which in this case was covered with a clear plastic protective wrap rather than paper.
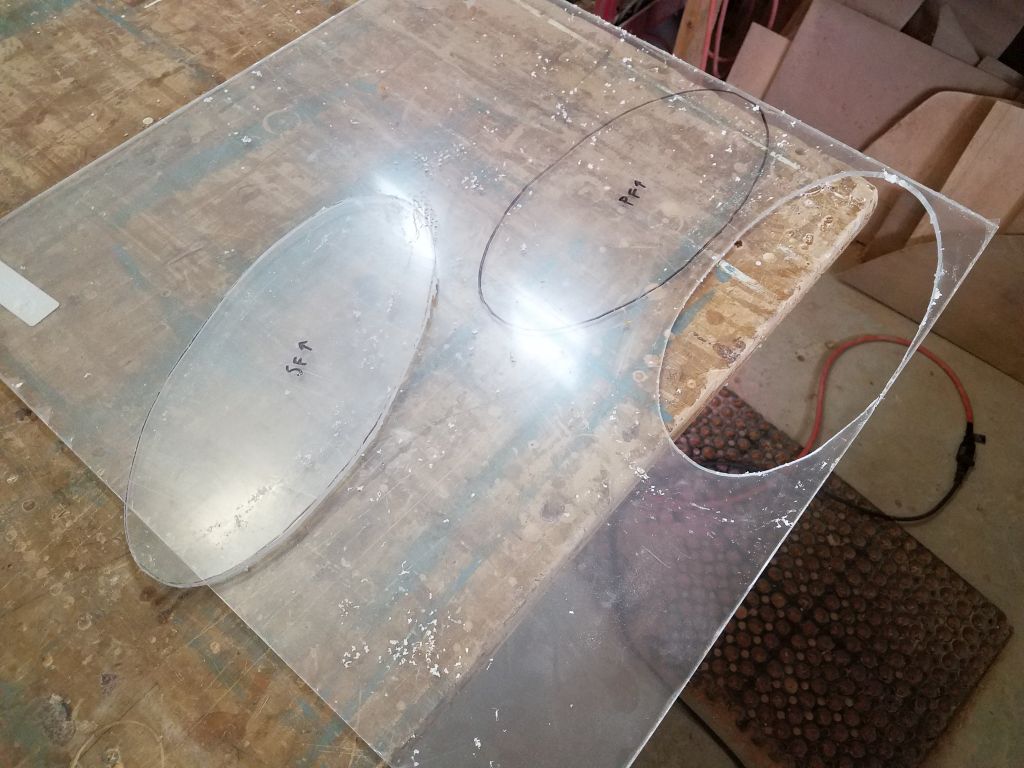
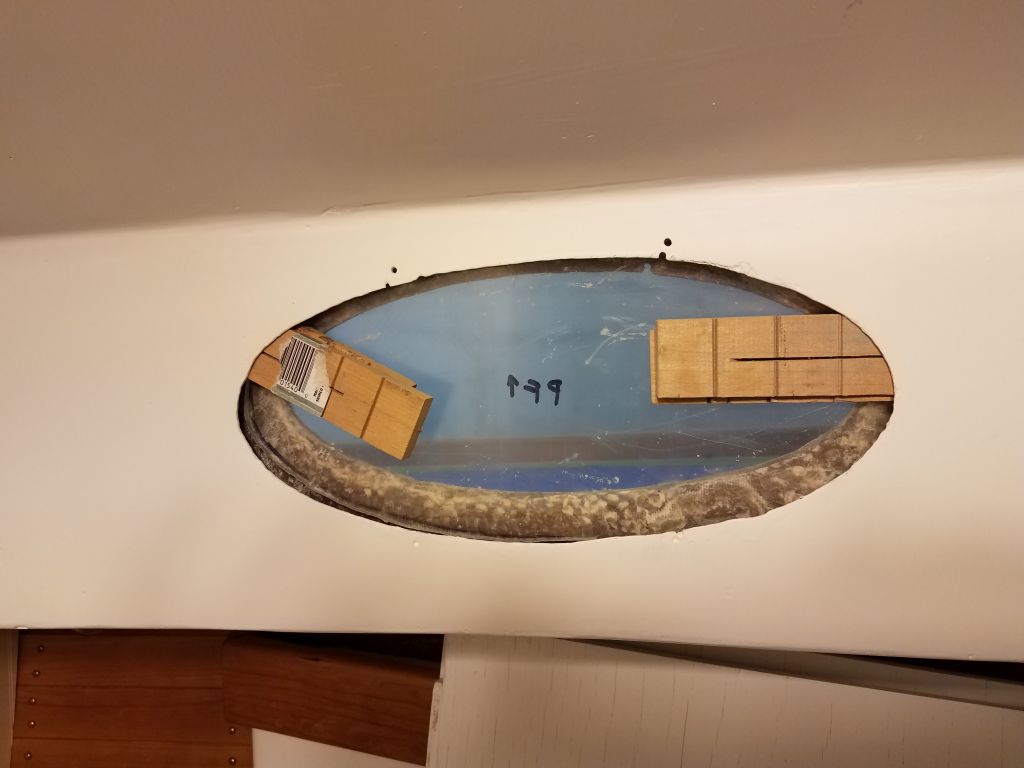
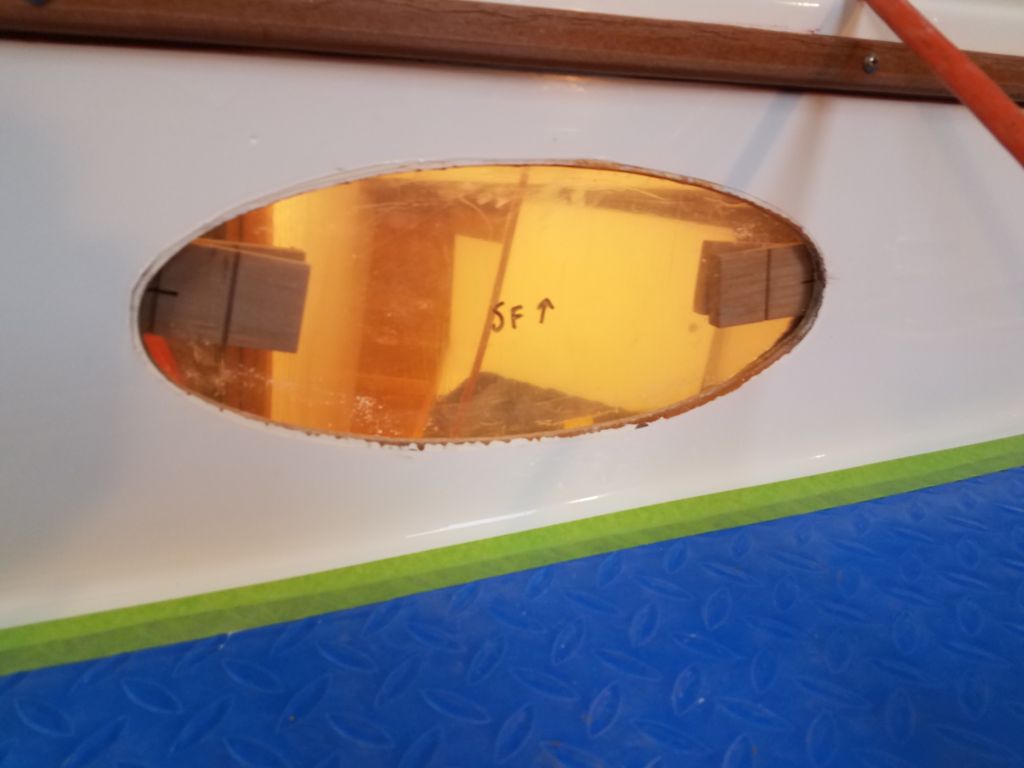
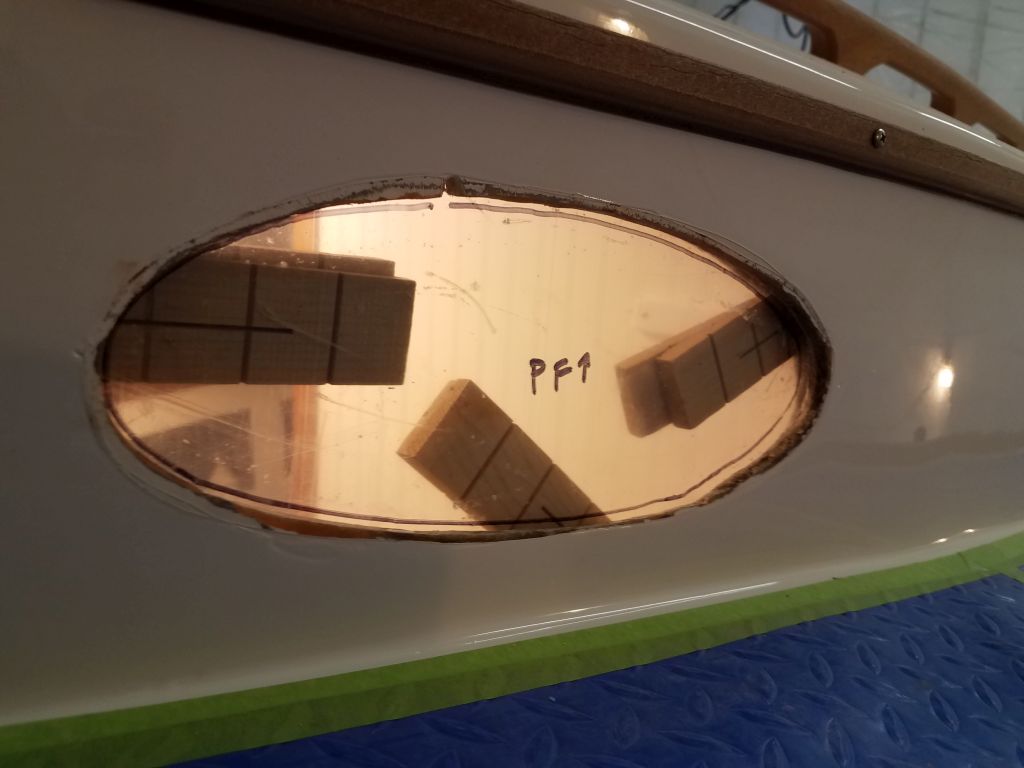
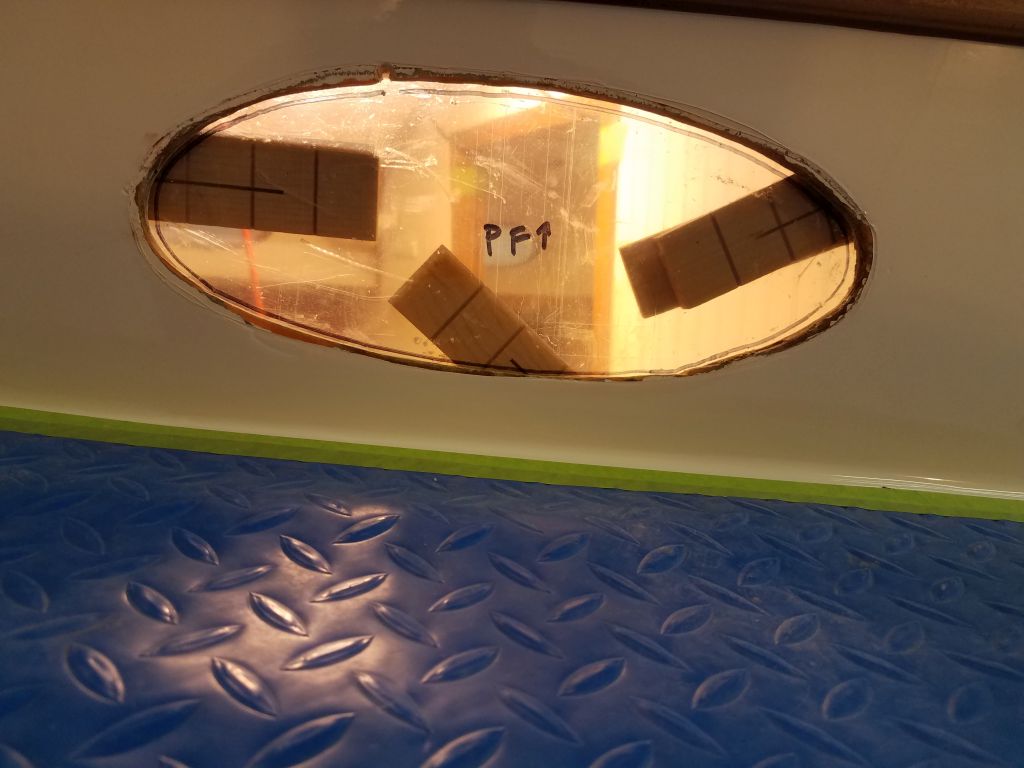
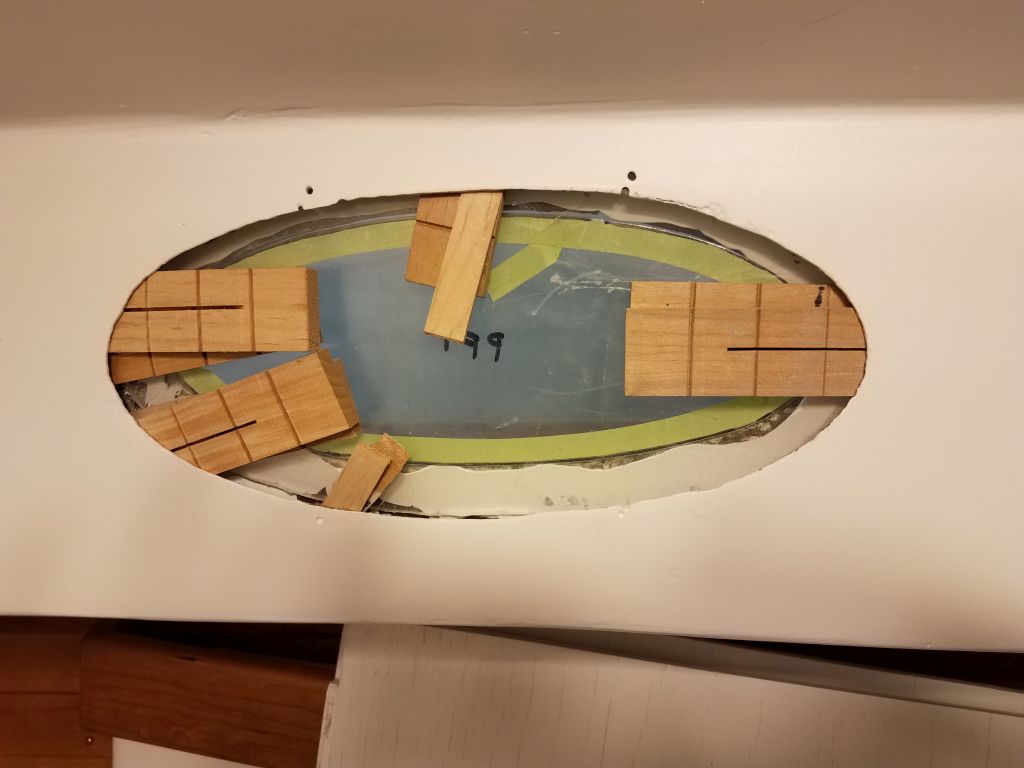
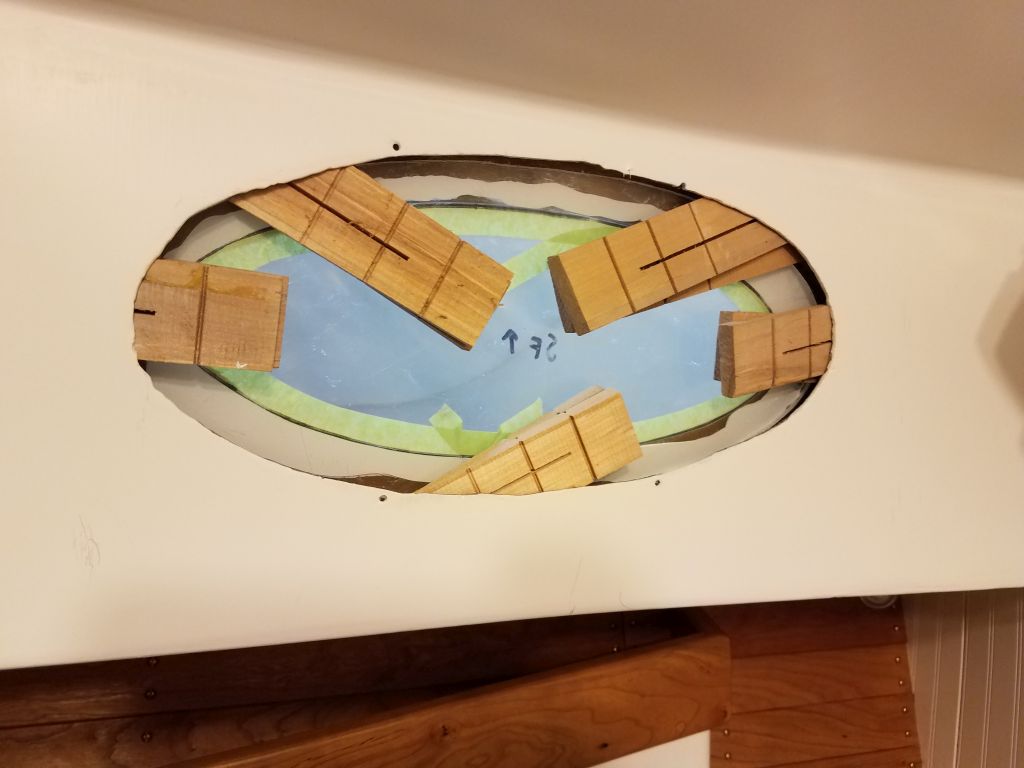
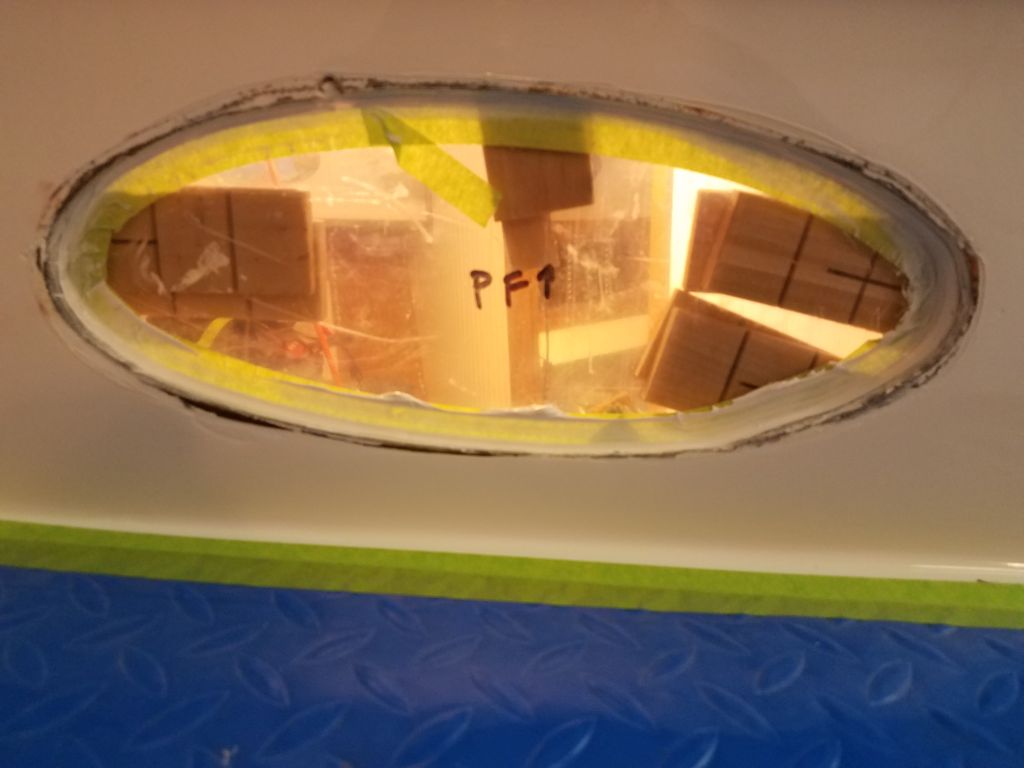
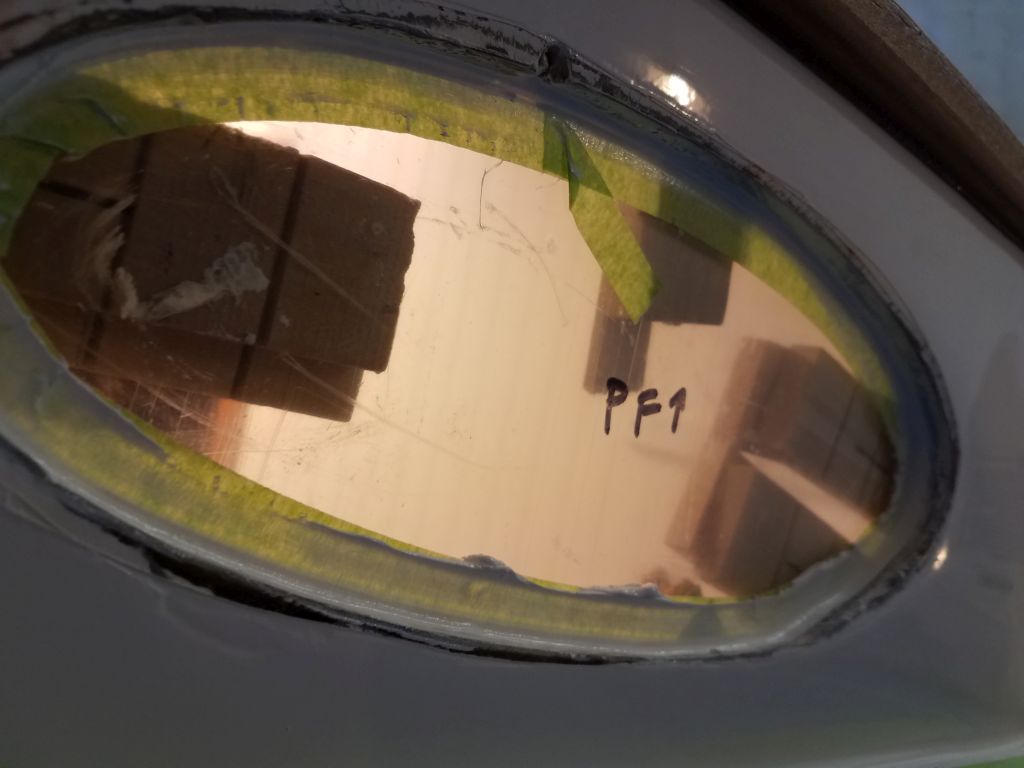
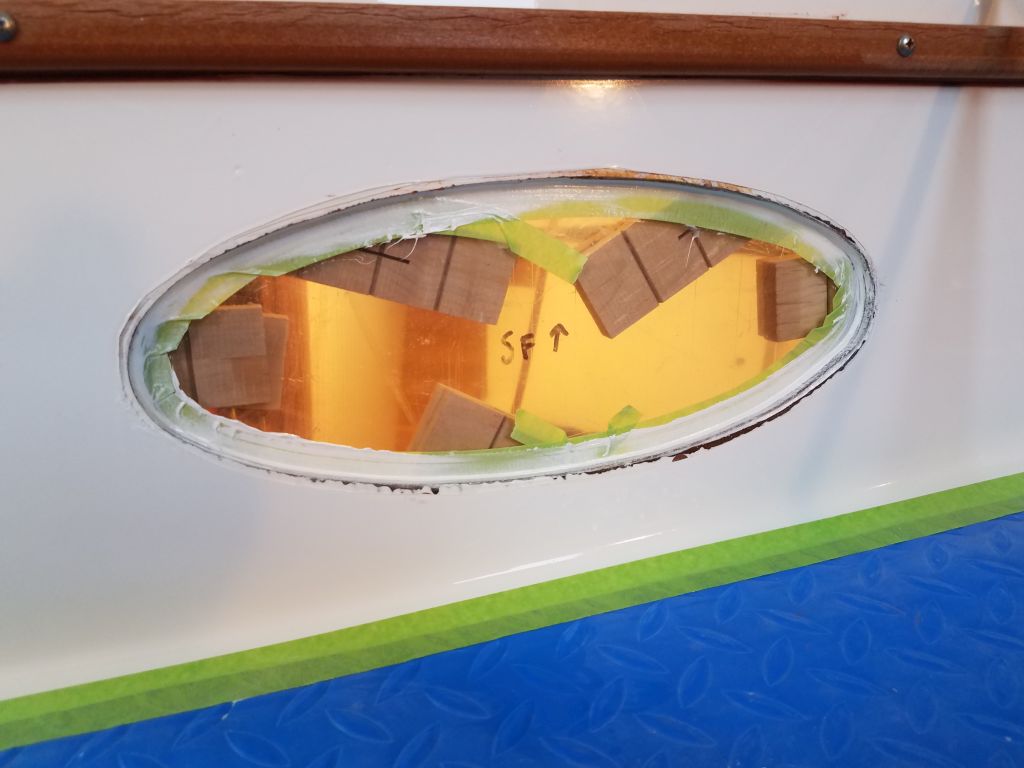
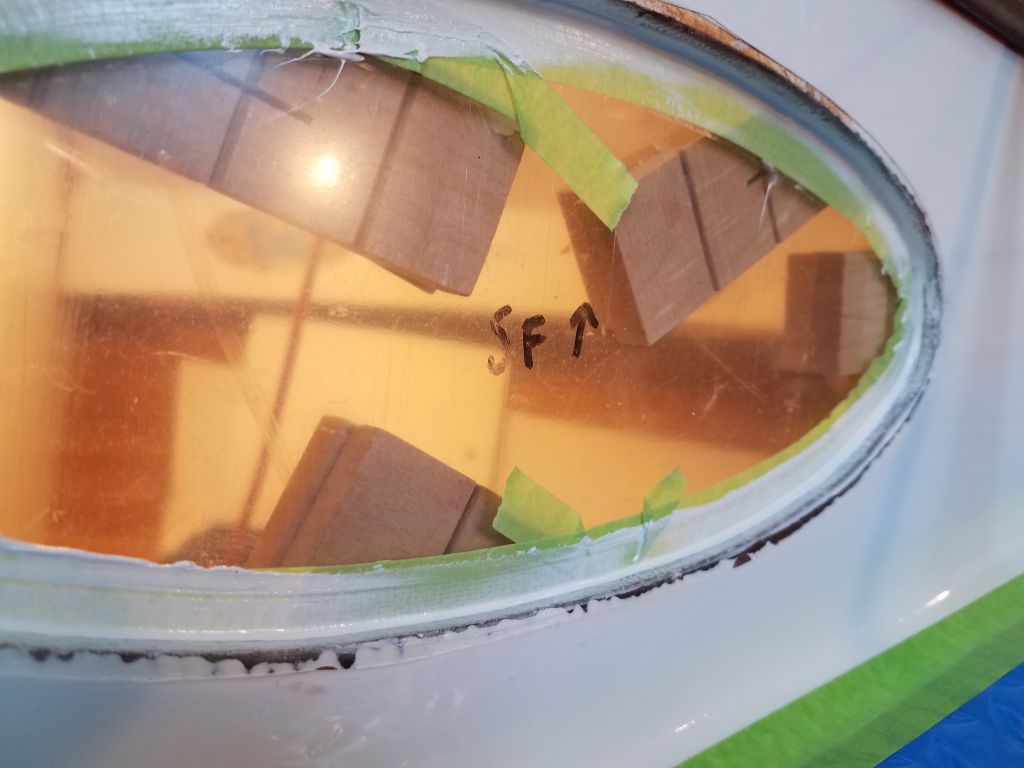
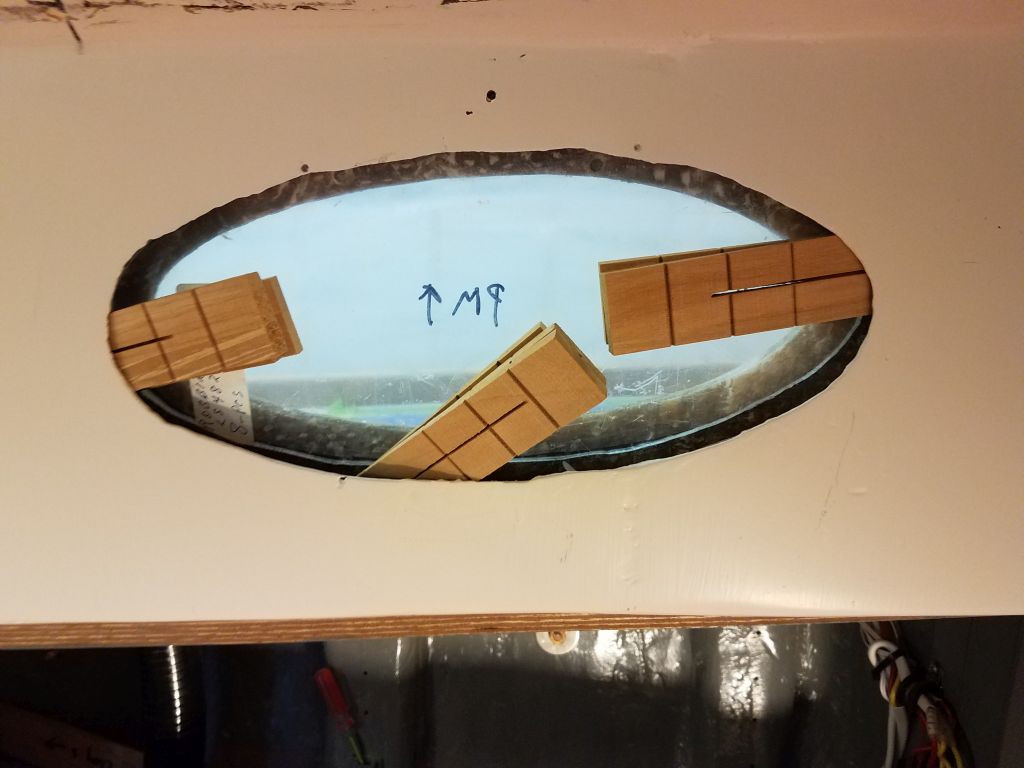
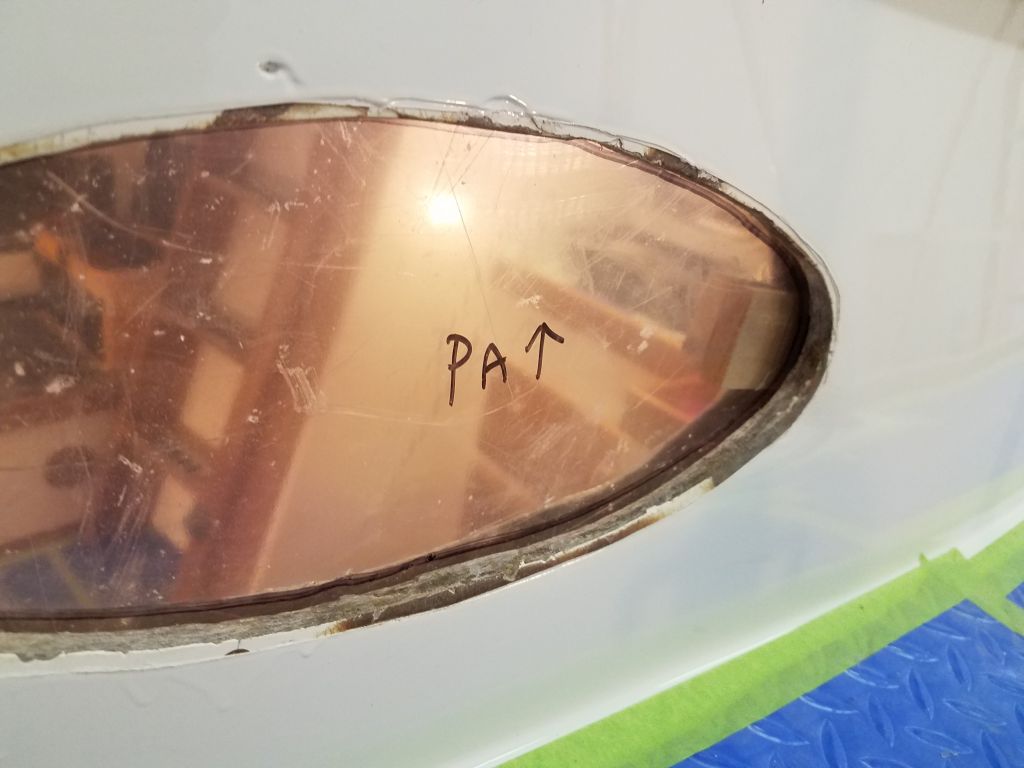
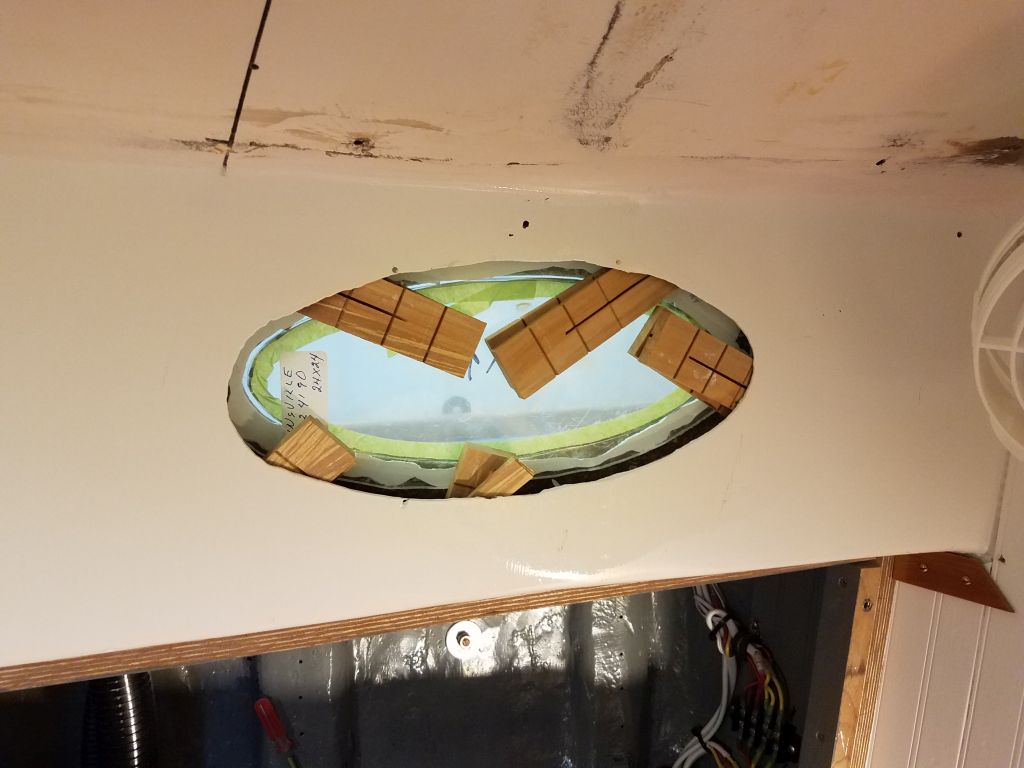
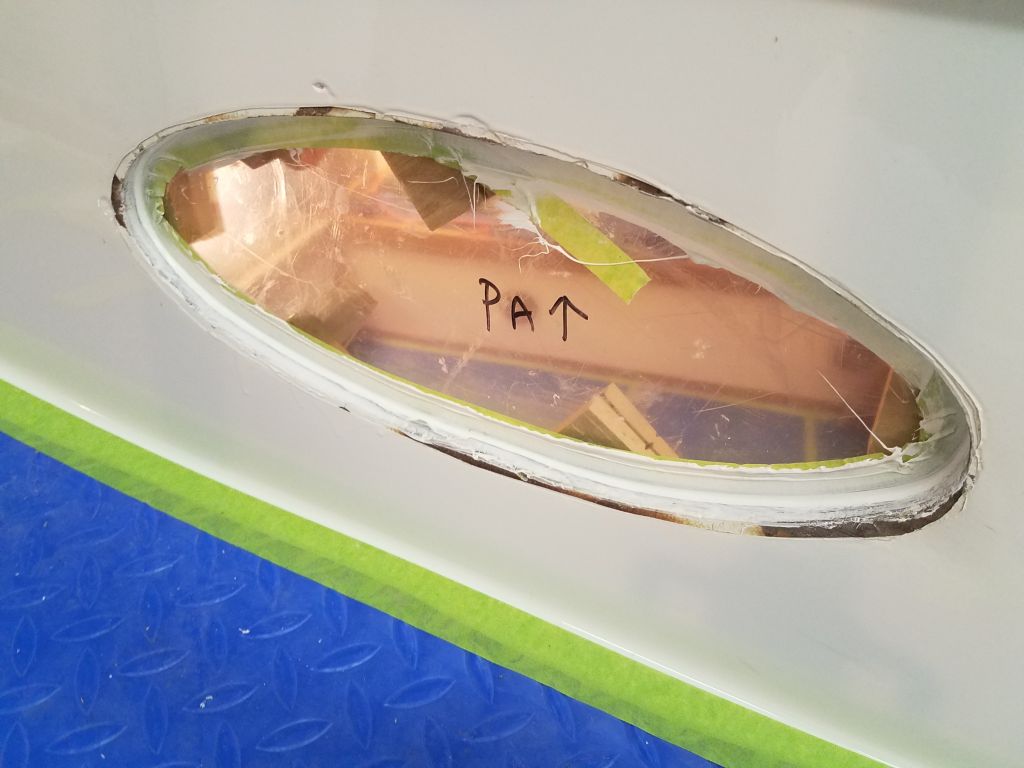
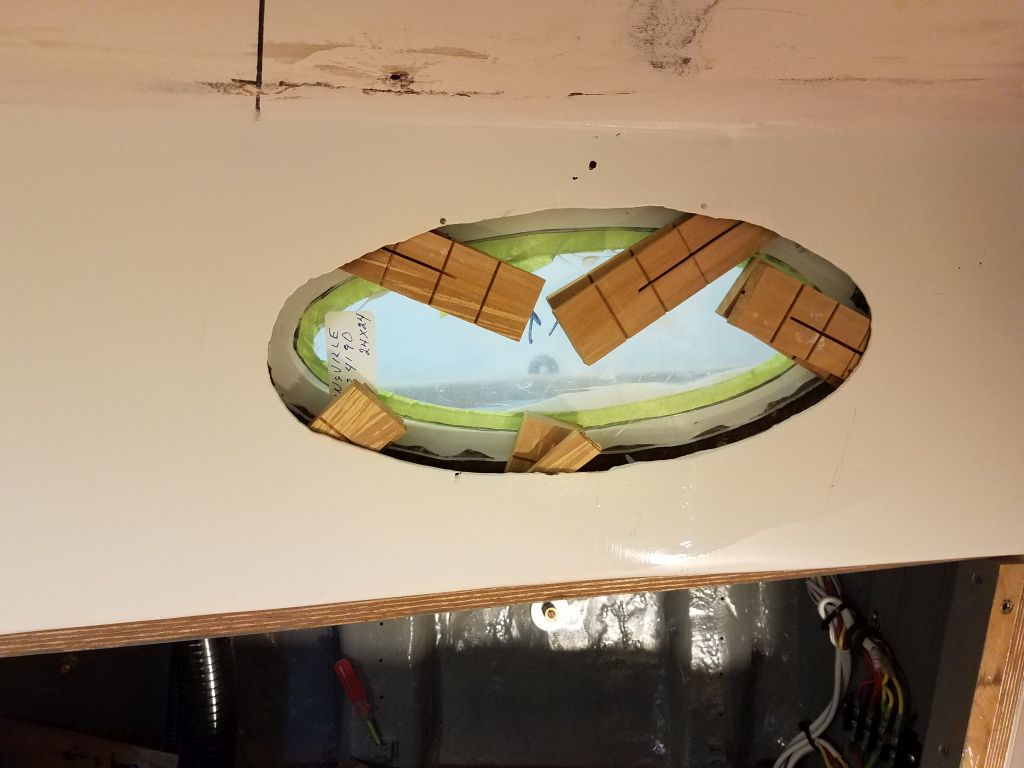
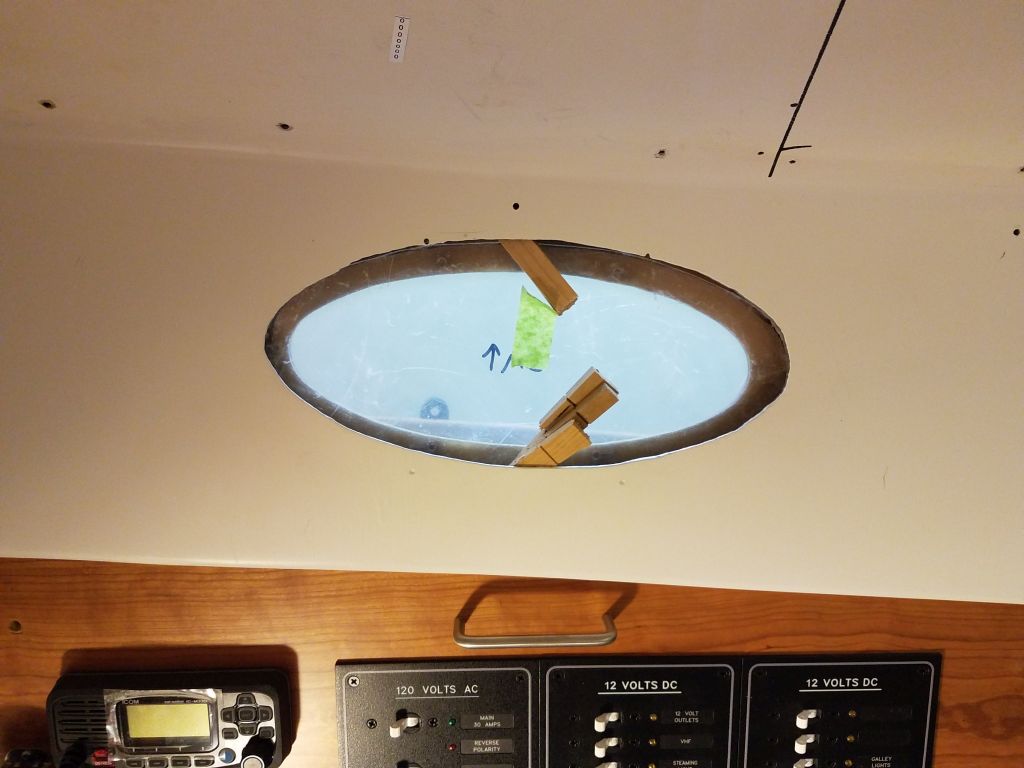
With just the two lenses for now, I attempted a dry-fit to see how this would work. My plan was to bed and adhere the lenses to the inside of the cabin trunk with the same lightly-adhesive polyurethane sealant I favor for deck hardware, and wedge them tightly in place while the adhesive cured. So to start, I dry-fit the lenses, determining how to angle them into the narrow space between the cabin liner and cabin trunk beyond, and used wooden shims to hold them tightly in place. This actually worked better and more smoothly than I thought it would, and, pleased so far, I used a pen to mark the protective plastic from outside so I could remove the plastic from the bonding surfaces where needed.


The openings on the port side, which had been affected by whatever long-ago trauma had created so many “interesting” fiberglass situations on that side, were relatively rough on the inside, and I worried that this would make sealing tough, but as it happened the lenses fit fairly well despite that, and while the starboard side was smoother and more even, I felt that the port lenses would work just fine as well, which was a relief.
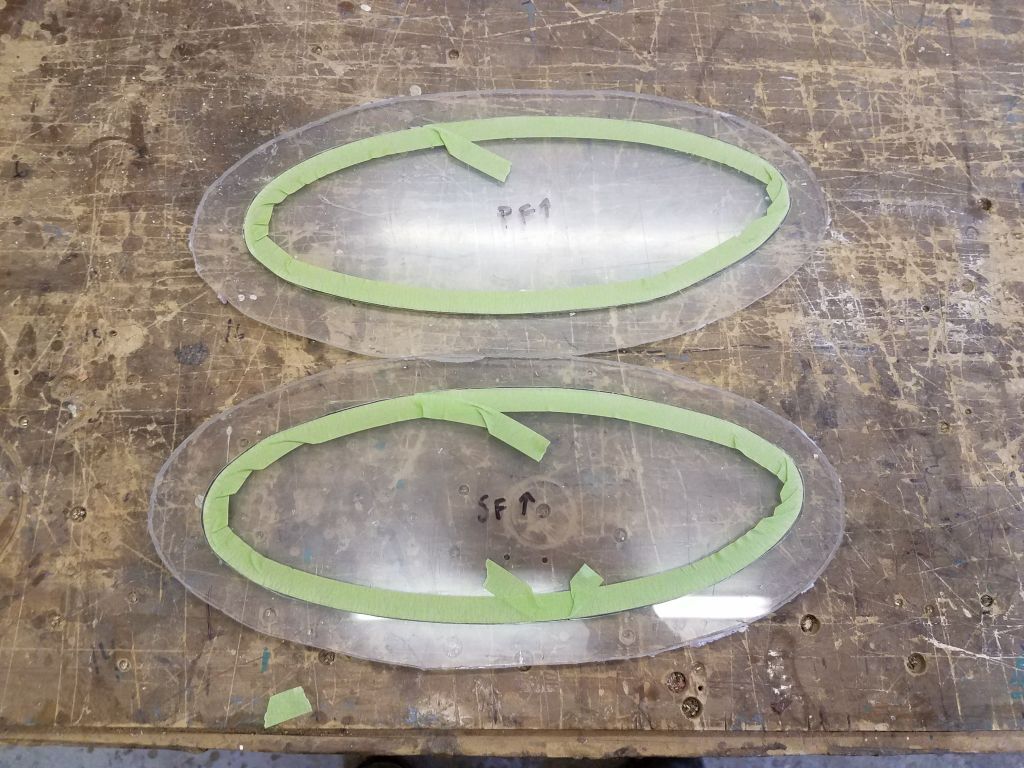
Removing the lenses to the bench, I cut along my lines to remove the outer strip of the protective plastic, exposing the acrylic for bonding. I added a thin strip of masking tape inside the cut for extra protection, as I planned to leave the covering in place while the sealant cured, but wanted to be sure I could cleanly remove it later.
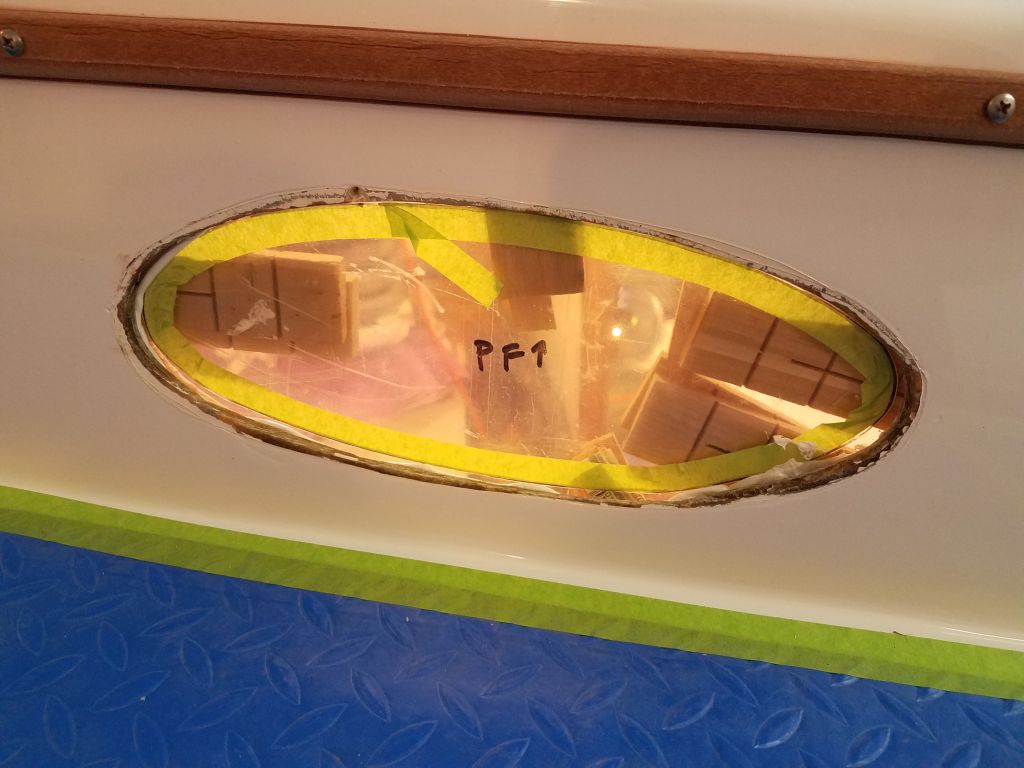
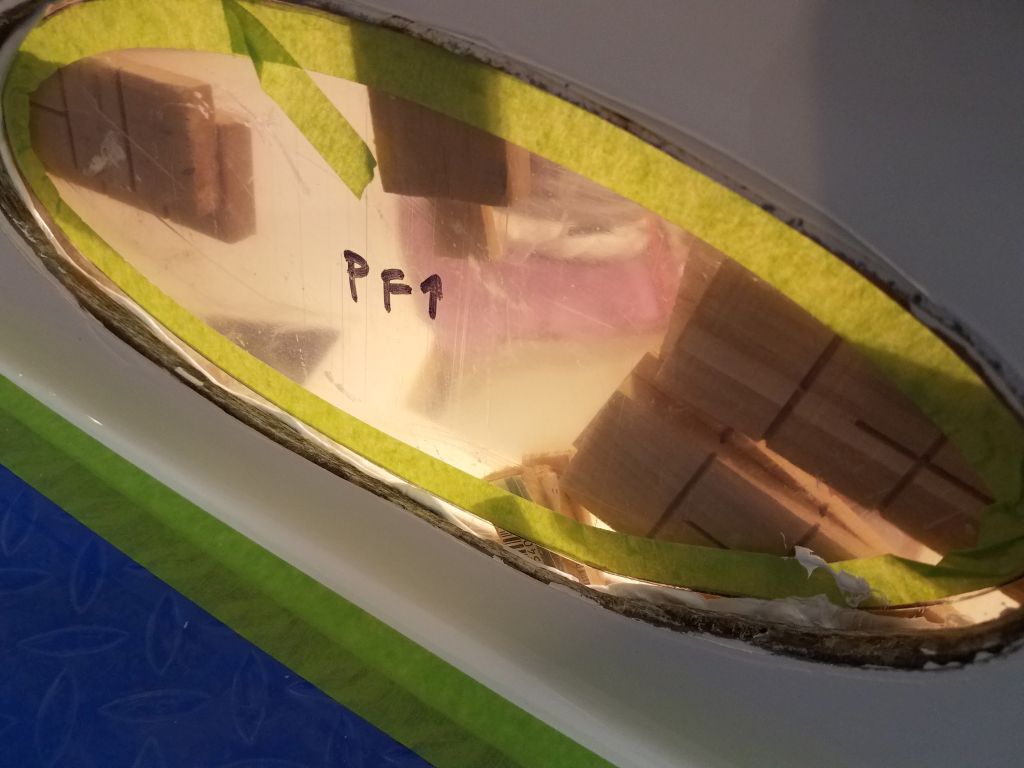
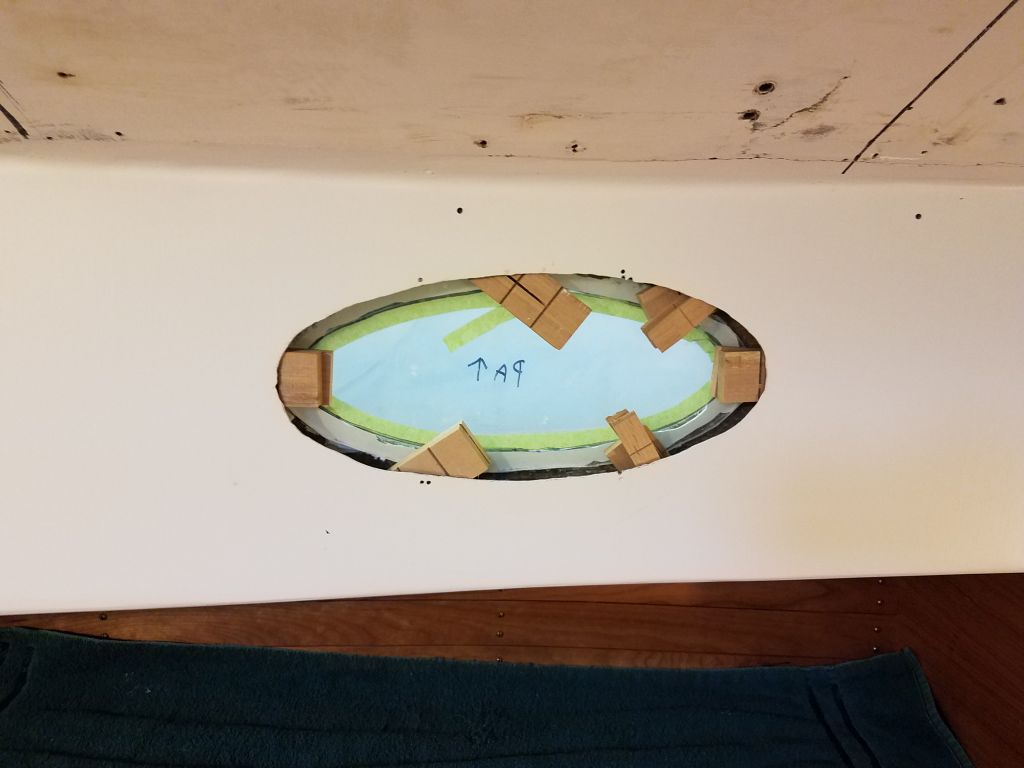
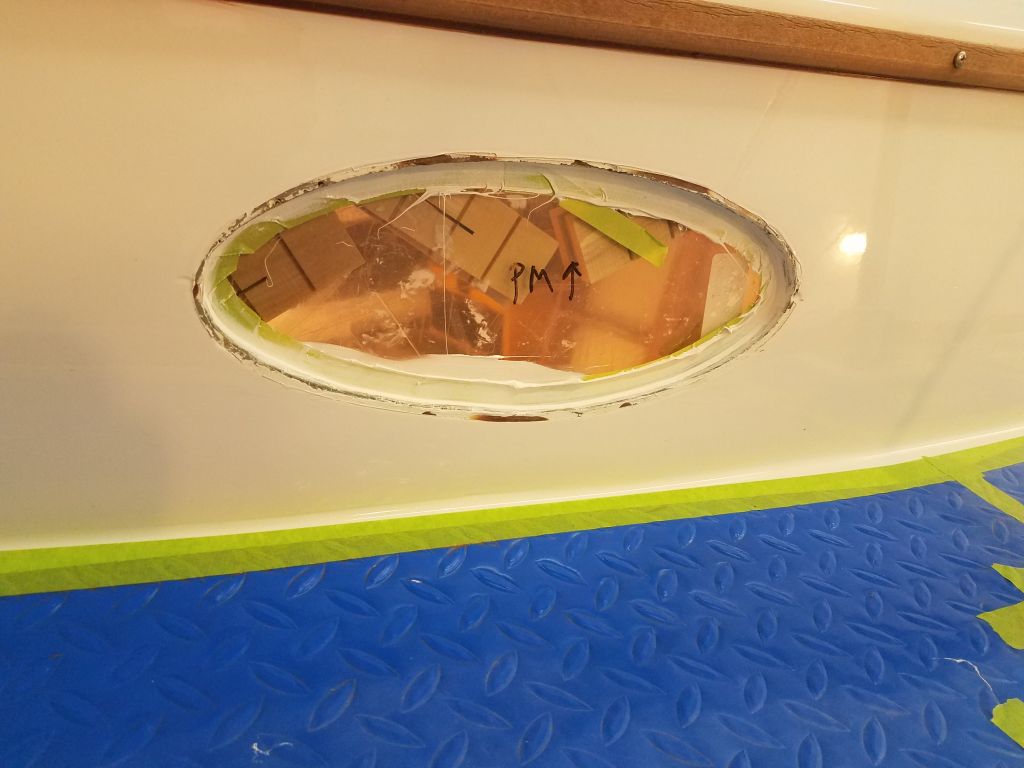
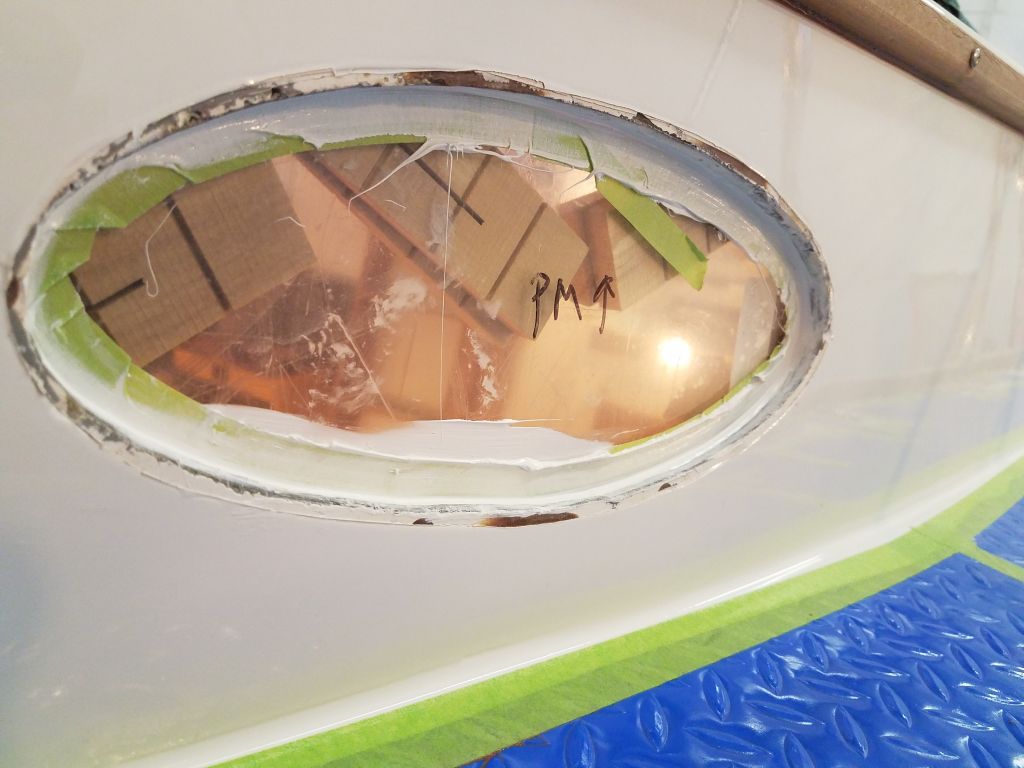
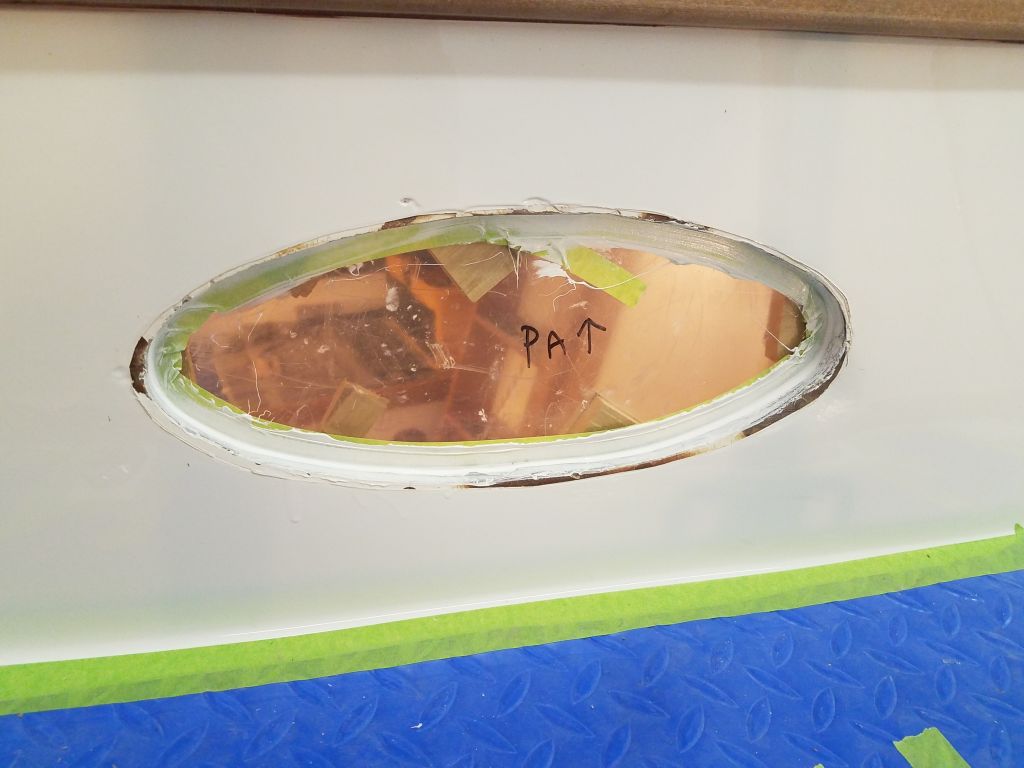
I cleaned the raw fiberglass inside the cabin trunk with acetone, then applied a bead of sealant to the outer parts of the two lenses and carefully angled them into the openings and positioned them as needed, using shims to hold the plastic tightly against the fiberglass. It was easy to see the sort of seal I was getting, since the sealant bead was visible from within as I pressed the ports into place.
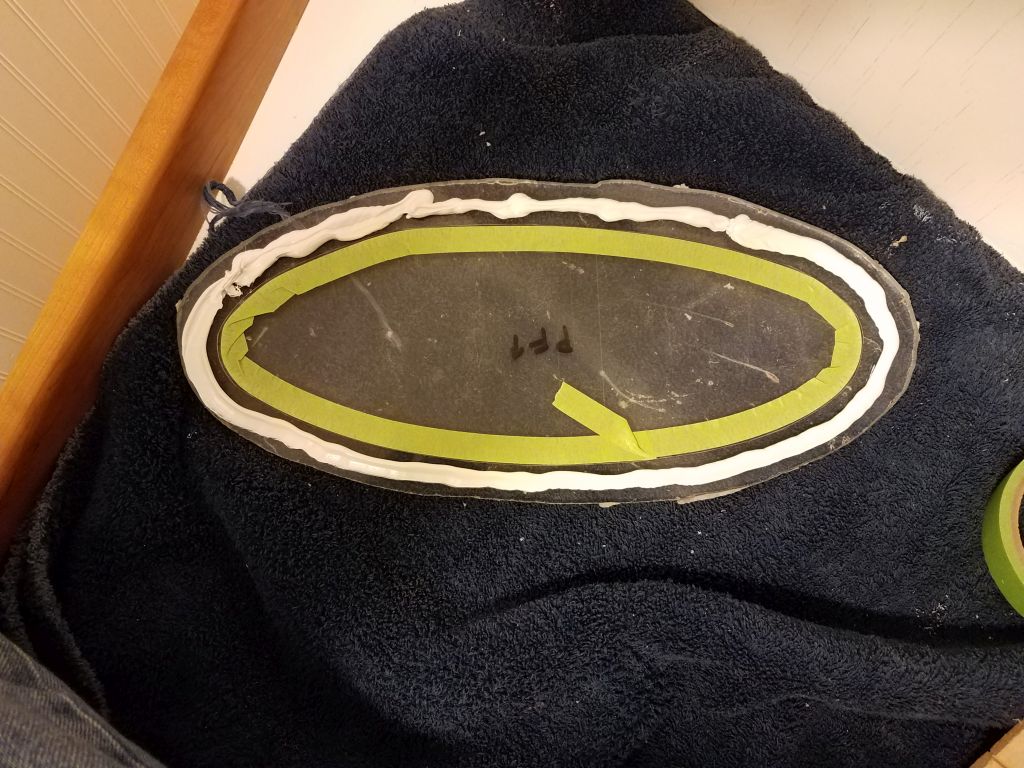
From outside, I added an additional bead of sealant around the edges to fill any gaps, and smoothed out the bead so it was flush with the masking tape. This was easier than I had expected it would be, which pleased me.
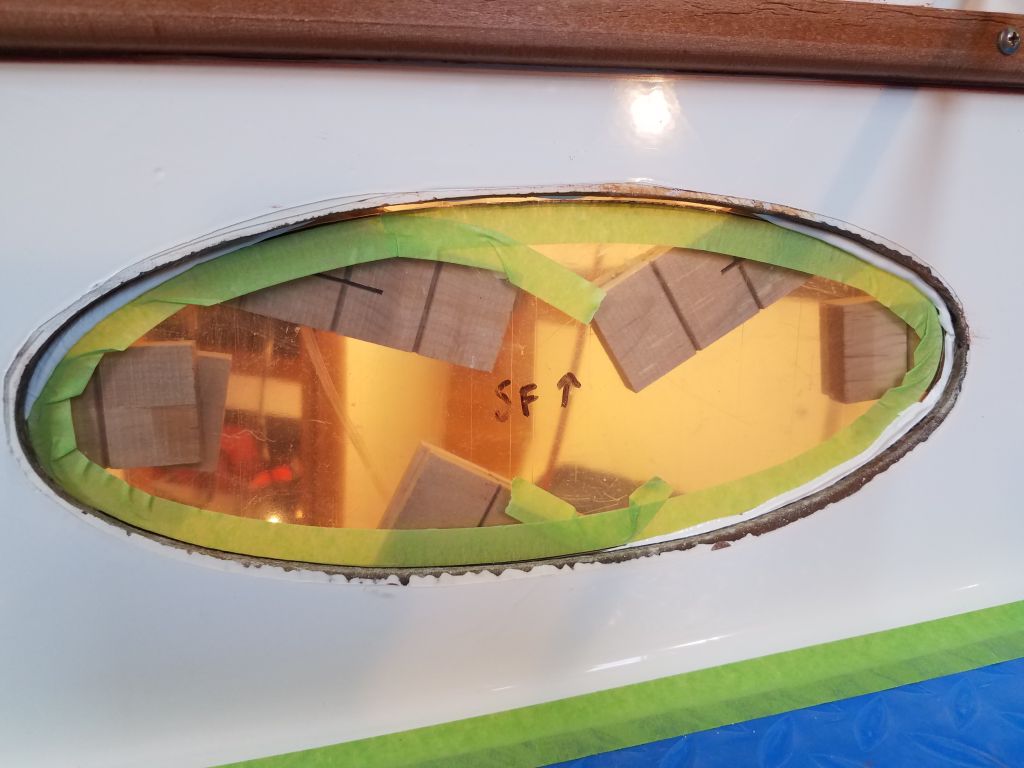
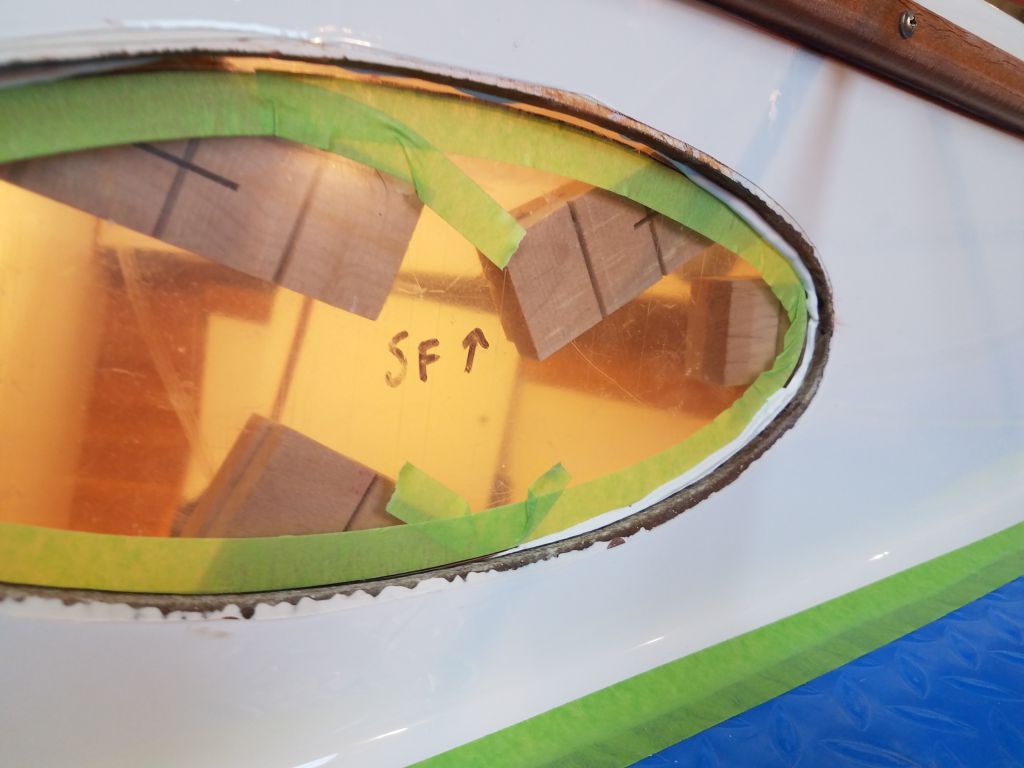
This went so much better and more quickly than I’d anticipated that I decided to continue, but not wanting to shake things up or risk a superstitious jinx, I continued by cutting out just two more lenses–this time for the port middle and after locations–and repeated the whole process: dry fit, marking, masking, final preparations, and installation.

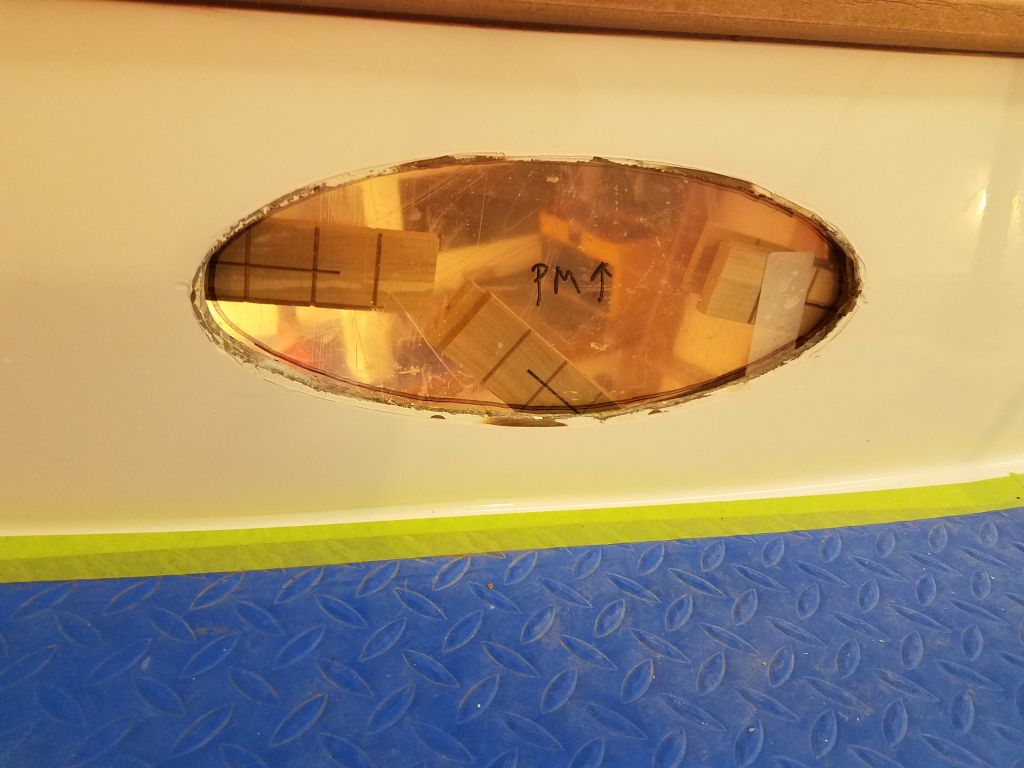


I would have liked to have completed the final two lenses on the starboard side in the main cabin, which would have given all six the full weekend to cure, but the wide gaps between the liner and cabin trunk on the port side had exhausted my supply of shims, so I cut out the final two lenses and went through the dry-fit and marking processes with some little shim remnants, but left final installation till next time when I could free up some of the wedges. I could have made up some new wedges to get the job done, but I’d been at it long enough and didn’t want to push my good luck, so I thought it made sense to call it good for now and simply wait till next time to continue.
Total time billed on this job today: 7.25 hours
0600 Weather Observation: 29°, light freezing rain. Forecast for the day: Freezing rain to sleet and snow, 32°