


February 15, 2019
Scupper 81
Friday
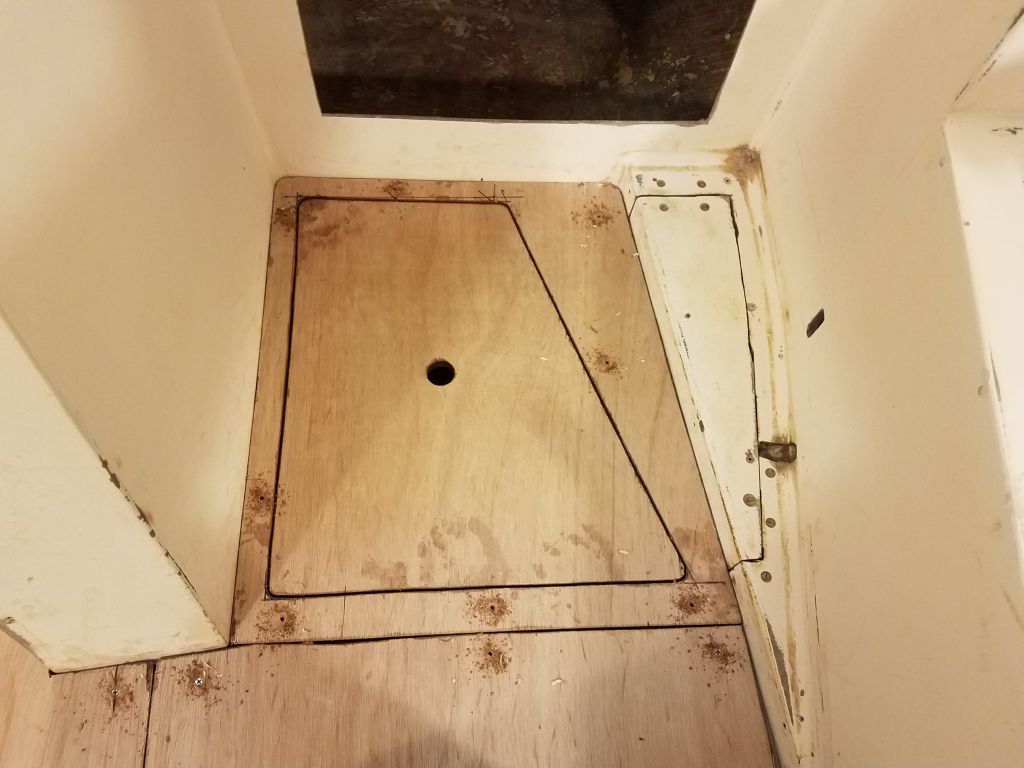
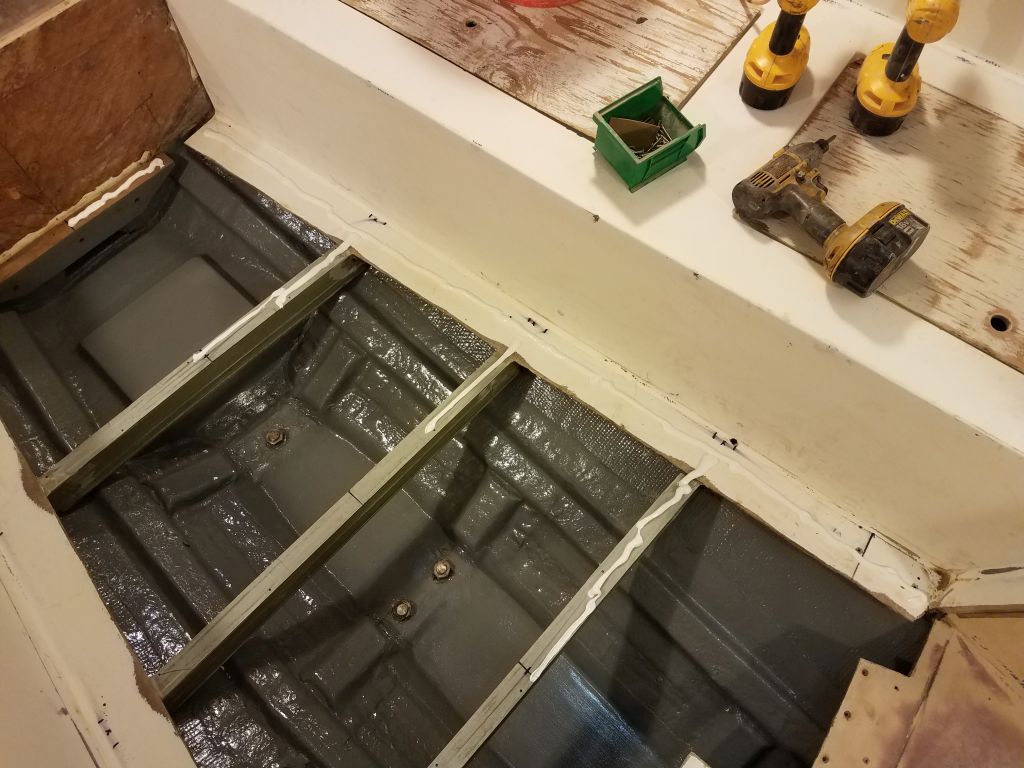
First on today’s agenda: permanently install the cabin sole. With the three sections dry-fit once more, I laid out marks to show where the cross beams landed, then drilled pilot holes for a series of screws that would help hold the sole in place. I didn’t go crazy with the number of screws since their main purpose when all was said and done would be just to hold the sole in place while the adhesive cured.

With screw holes thusly prepared, I removed the plywood and vacuumed up the drill spoils as needed, and solvent-washed all of the bonding surfaces. To secure the sole, I chose a polyurethane adhesive (a fast-cure version in this case), which I liked in this instance because not only was it tenacious and strong, but also remained flexible, which seemed a worthy characteristic in this application.
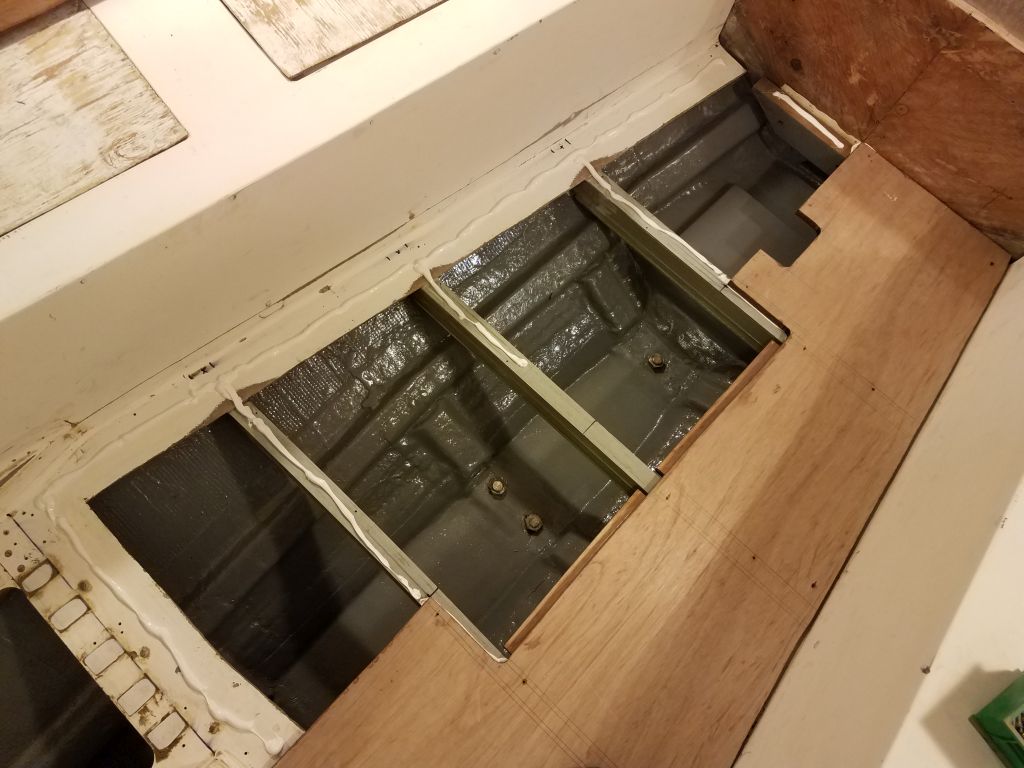
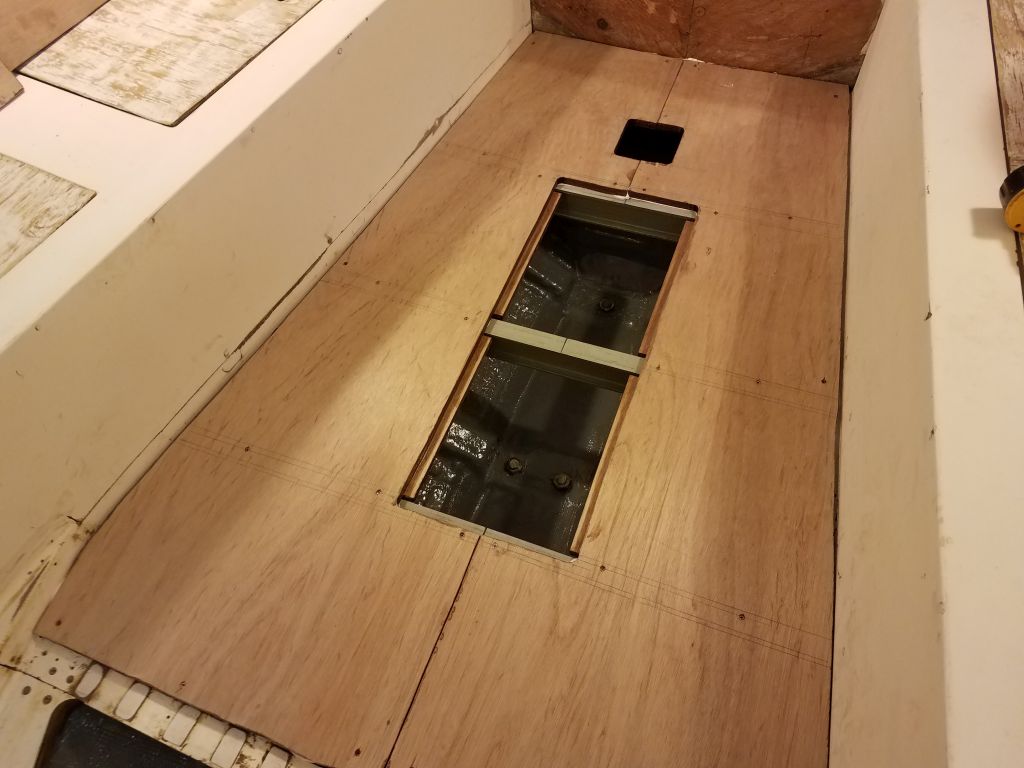
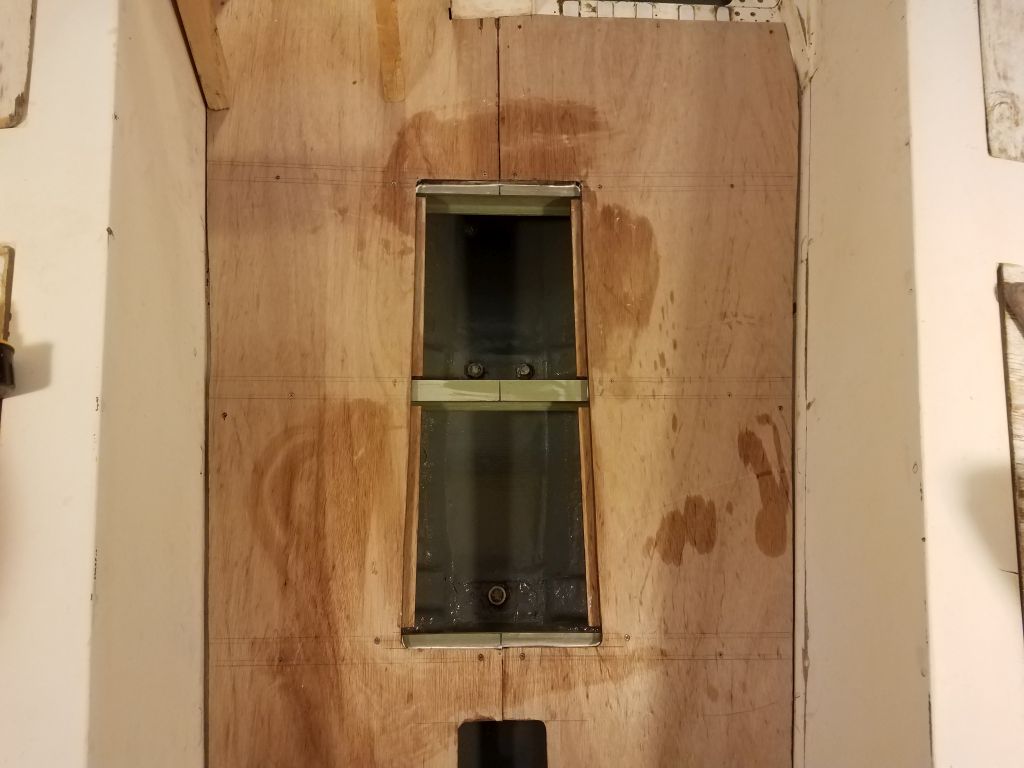
I applied a good bead of the adhesive to half the sole underpinnings, beginning with the starboard side. Once I laid down the first section of plywood, I applied the adhesive to the other side, and laid down the port sheet as well before going around and installing the screws on both pieces. Once I’d secured the main sections, I repeated the process with the final section in the galley. I’d worked to minimize adhesive squeezeout in the hatch openings, but some was inevitable, and I cleaned up the excess with solvent; I left the hatches off the rest of the day lest they get accidentally bonded in place.
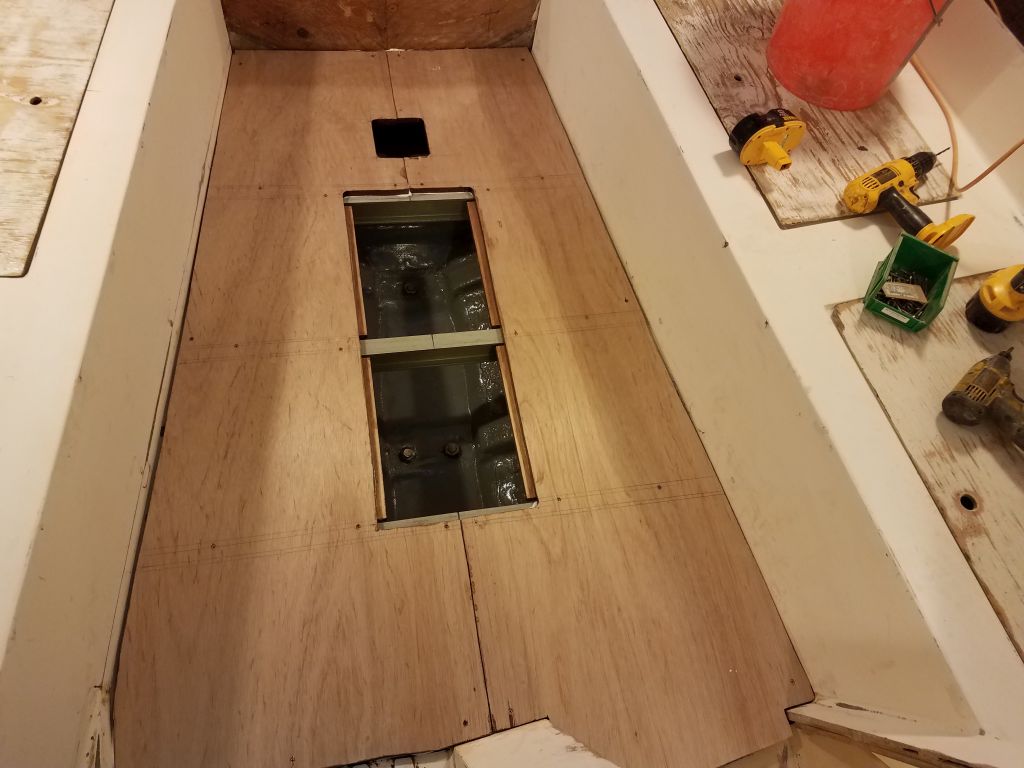


The new sole was rock-solid underfoot and was well worth the efforts to replace.
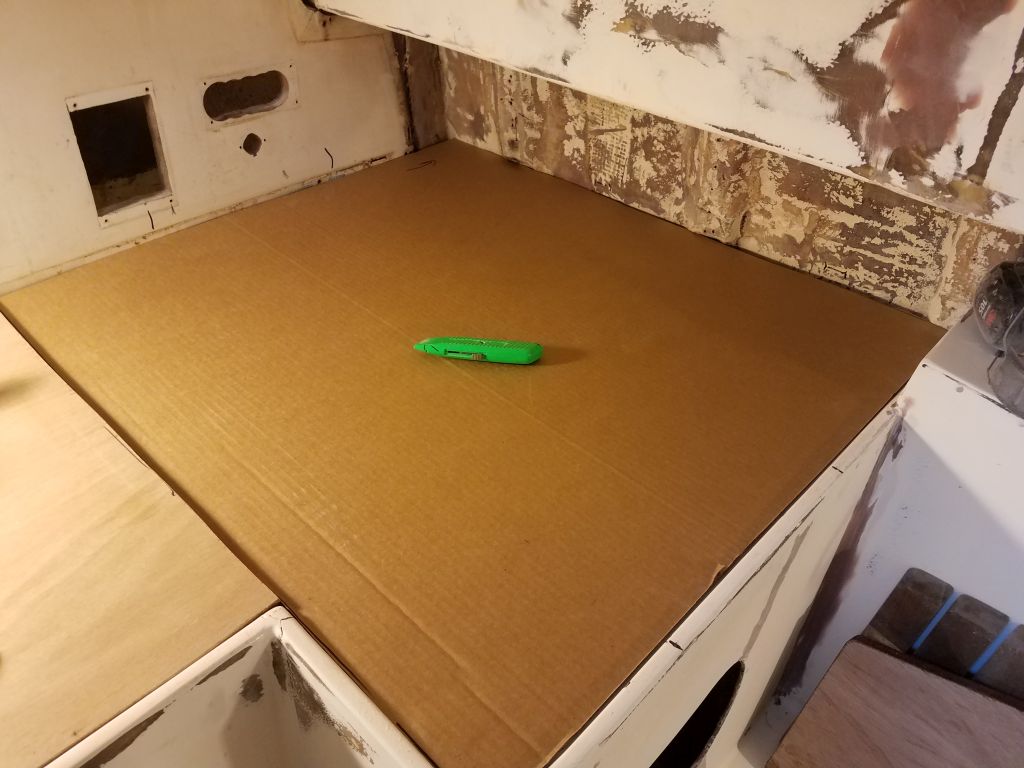
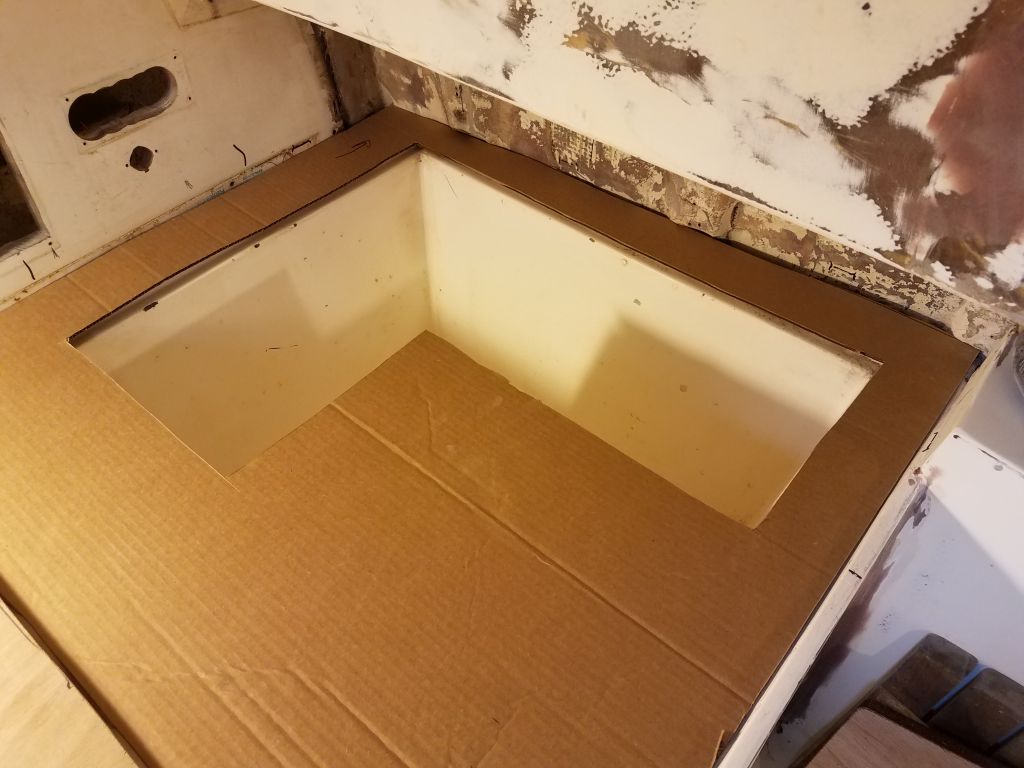
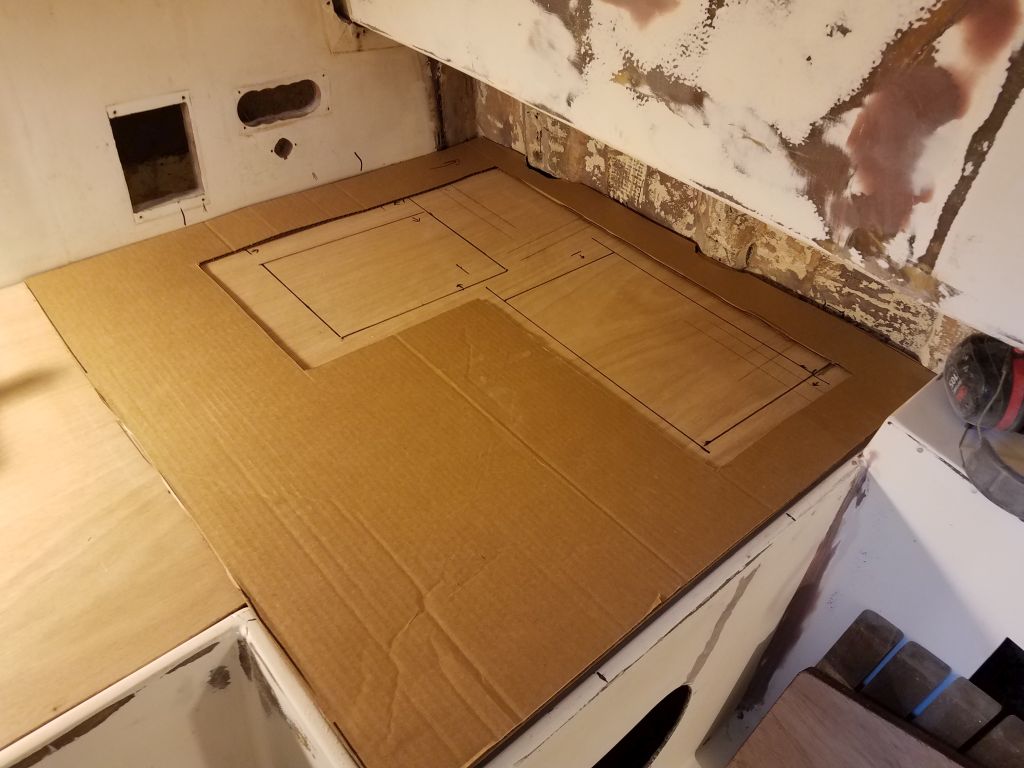
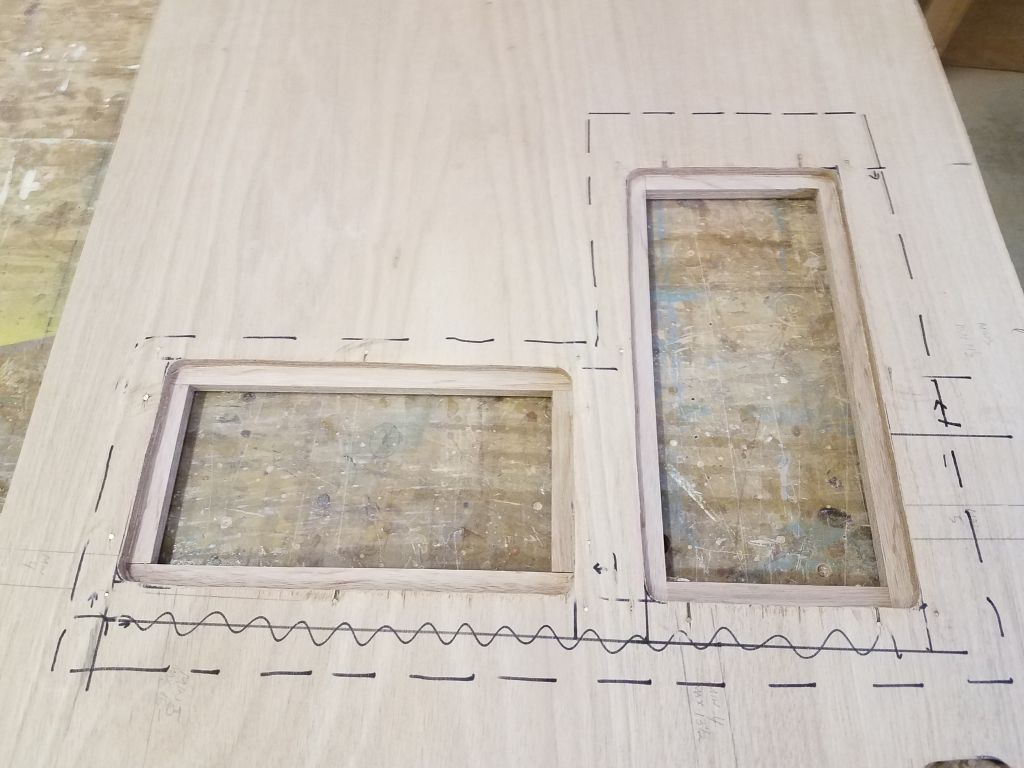
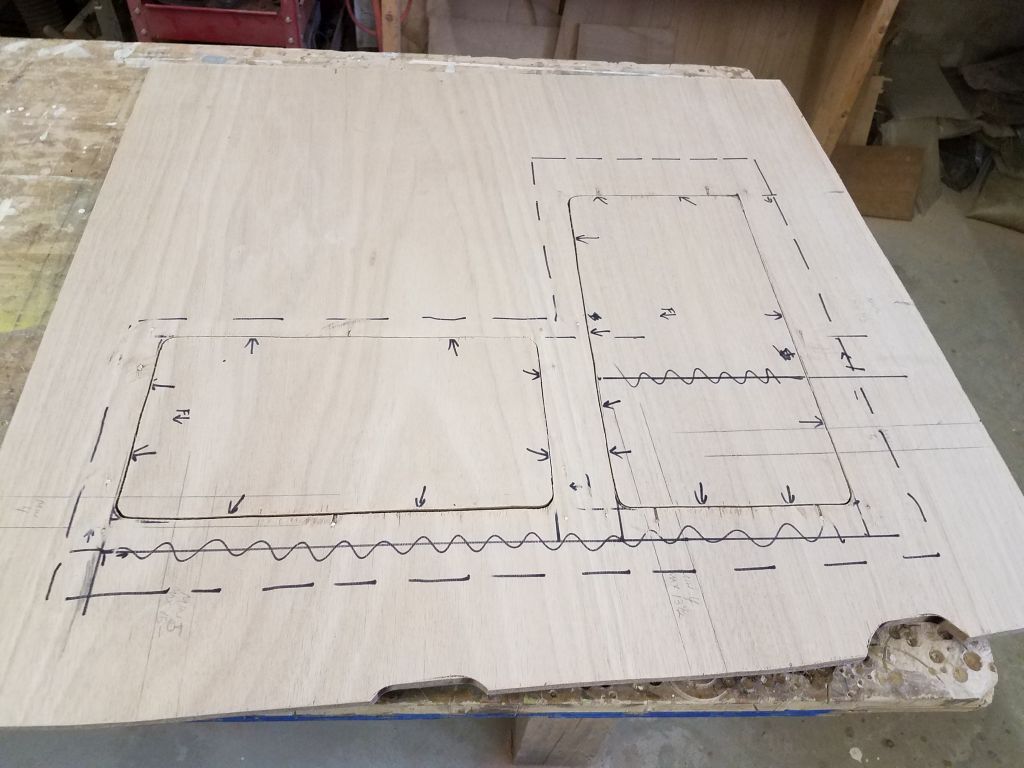
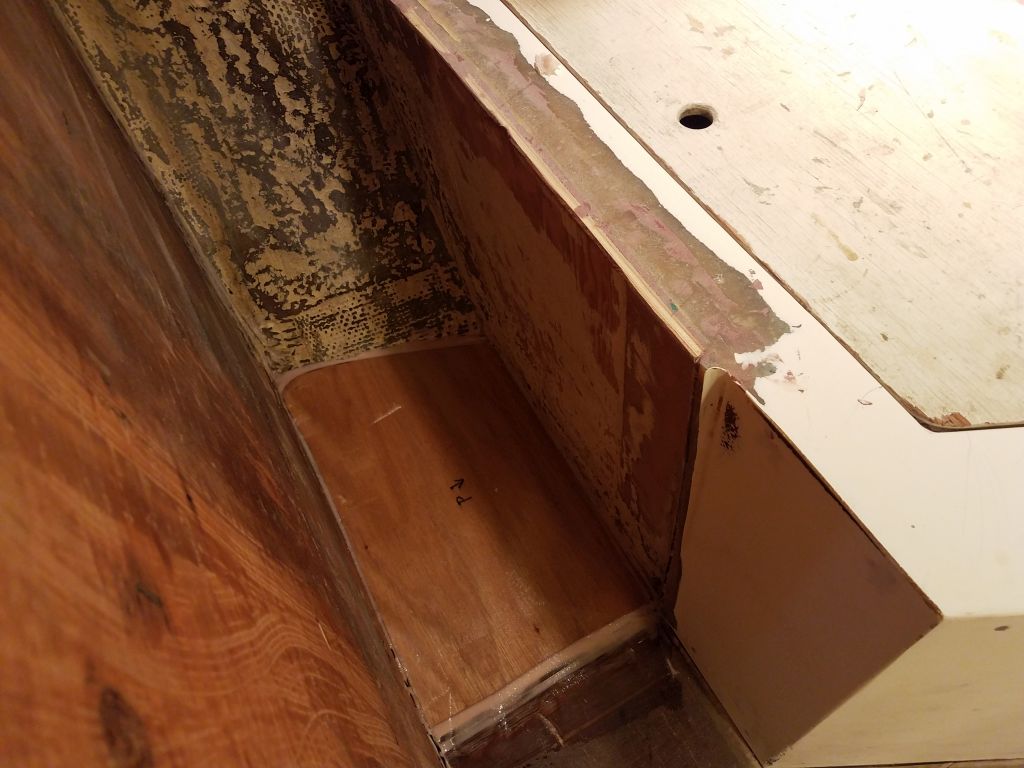
Earlier, when I’d built the substrate for the galley countertop, I’d done some layout measuring to locate two access hatches over the repurposed original icebox, but since there was no way to mark the openings accurately from beneath, and I was wary of making a mistake, I took the extra step now of creating a quick cardboard template of the countertop (by tracing the plywood on a sheet of cardboard) and, cutting a narrow access hole, traced the opening on the bottom of the template. I could then easily (after cutting out the opening) transfer this shape to the plywood itself.
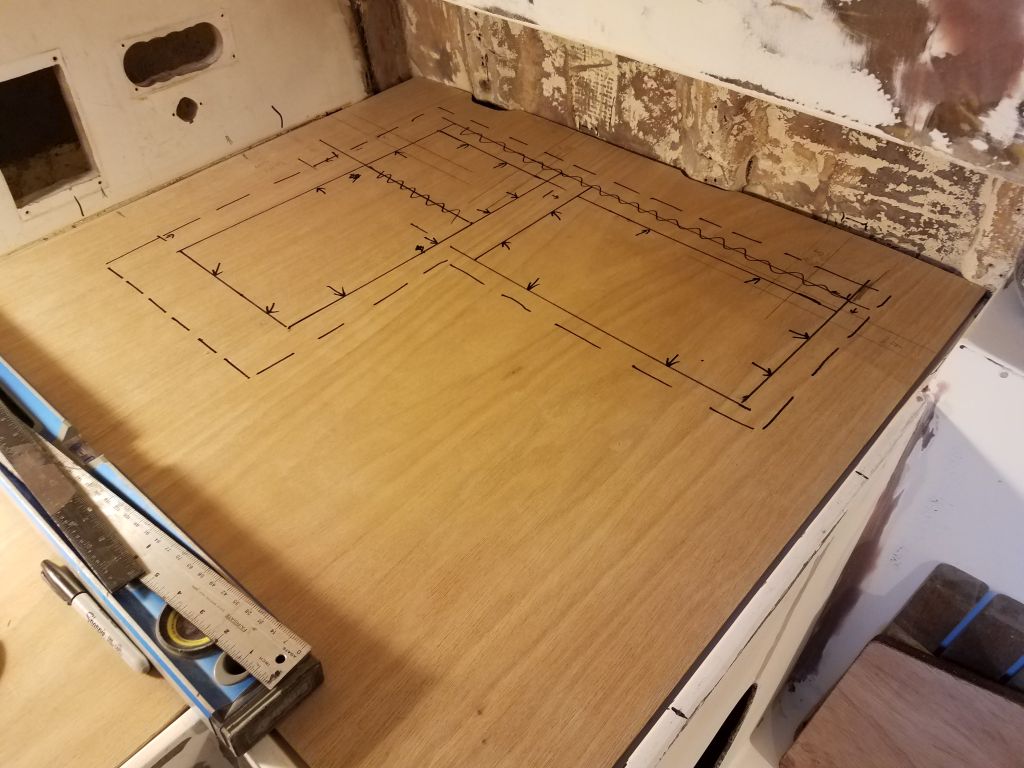
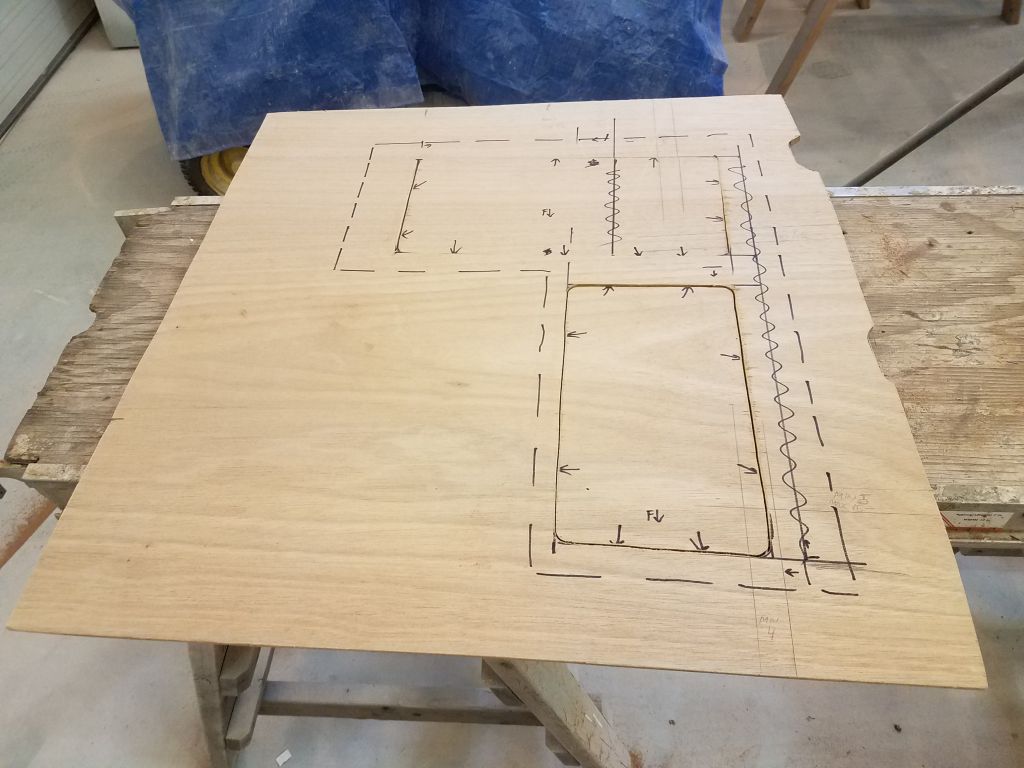
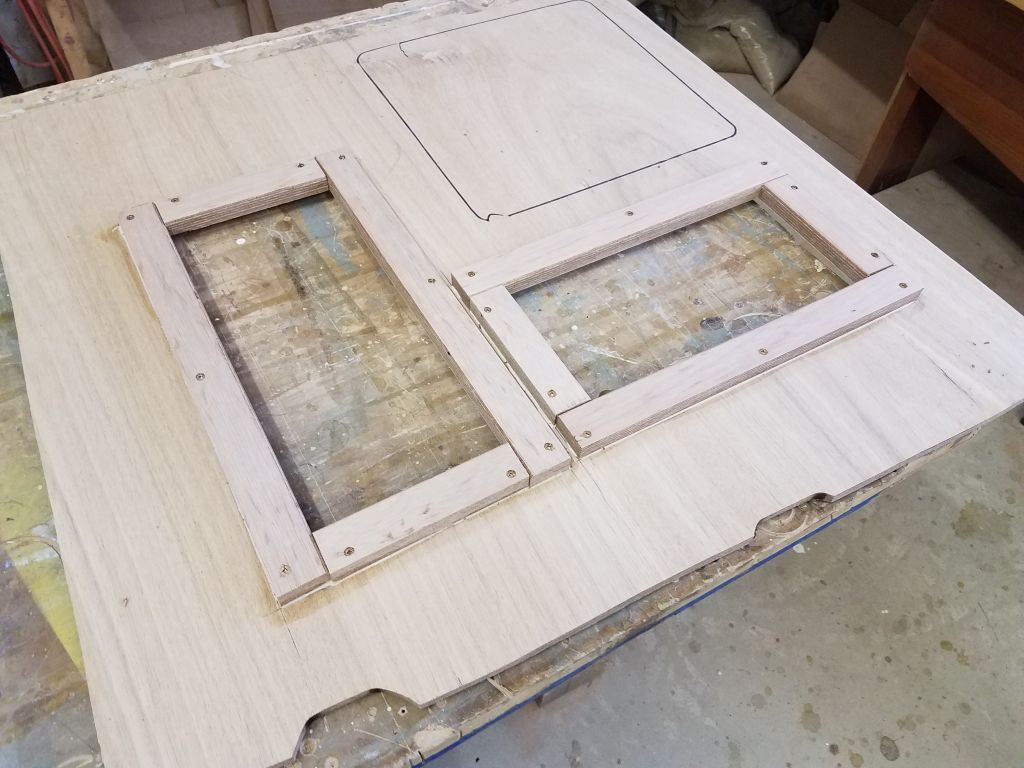
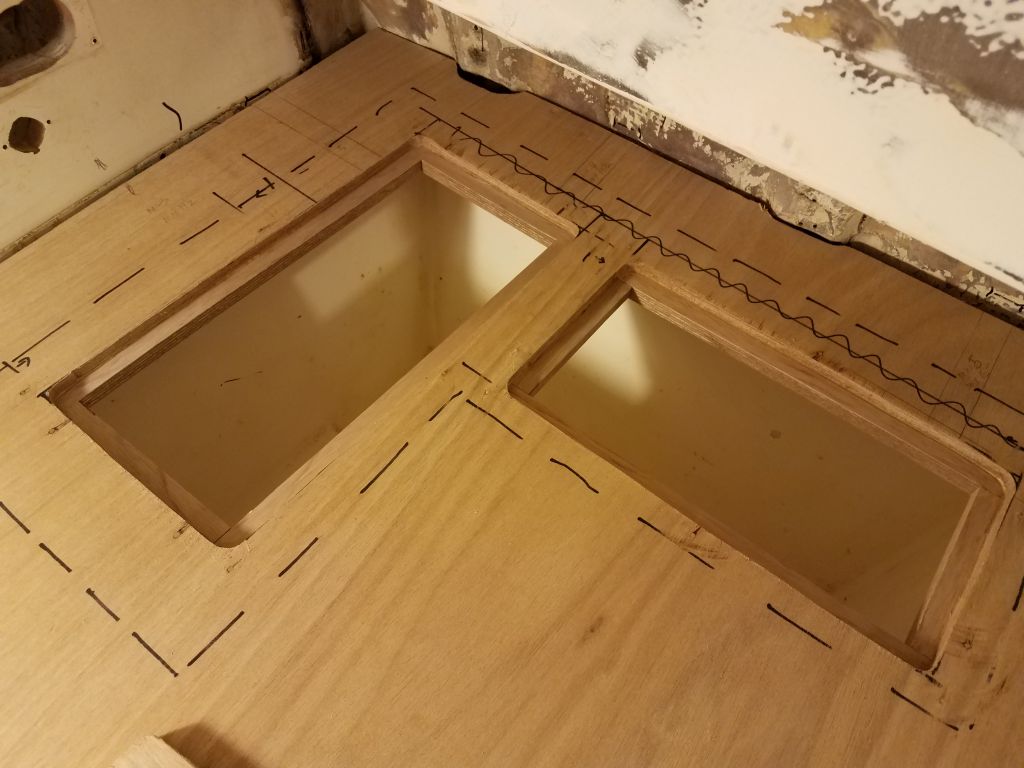
As it happened, my original layout was OK as is, but I did make some minor changes based on the more accurate marks. Then, I removed the plywood section to the bench, and cut out the locker openings, and also installed wooden support cleats from beneath with glue and screws.
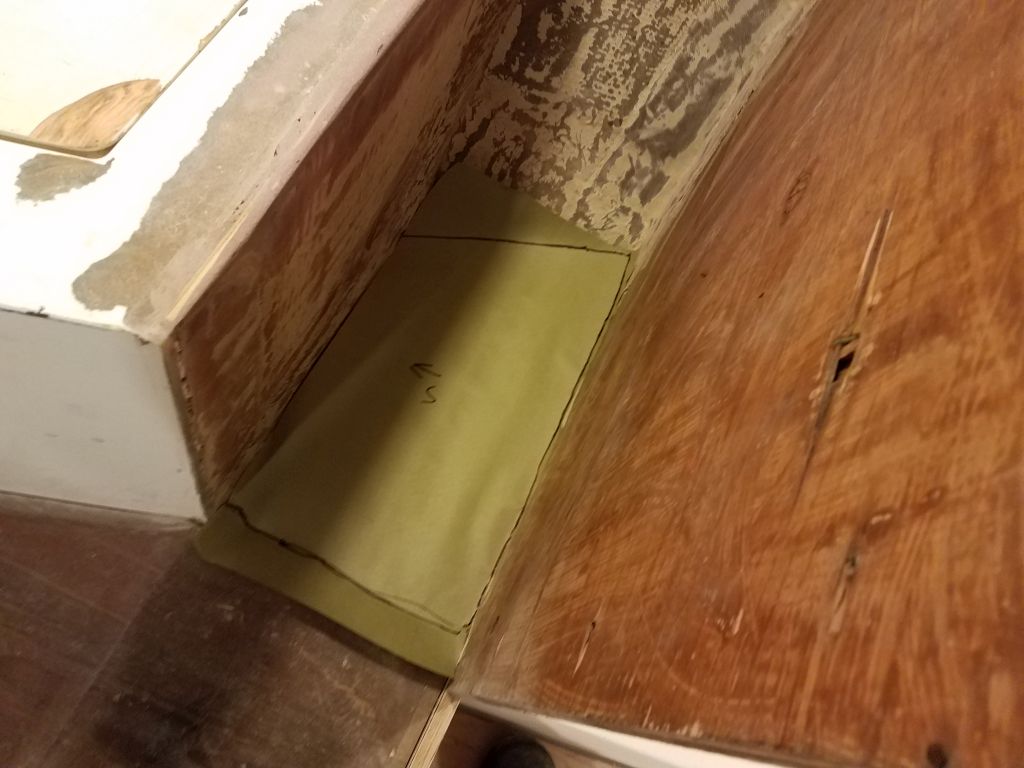
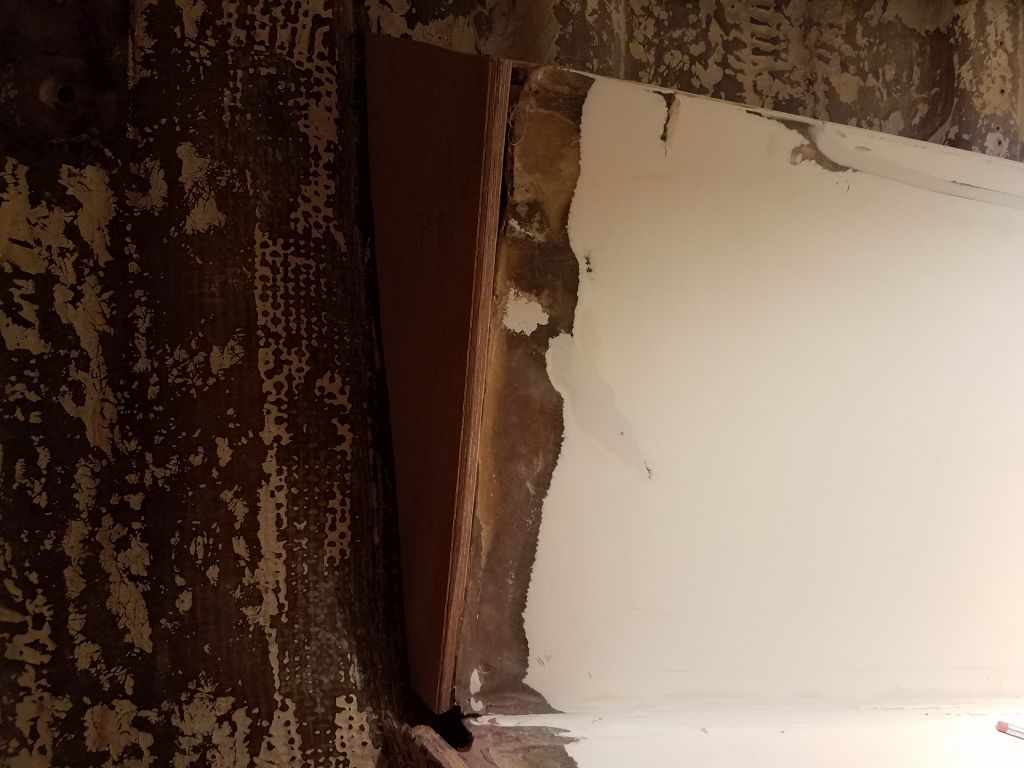
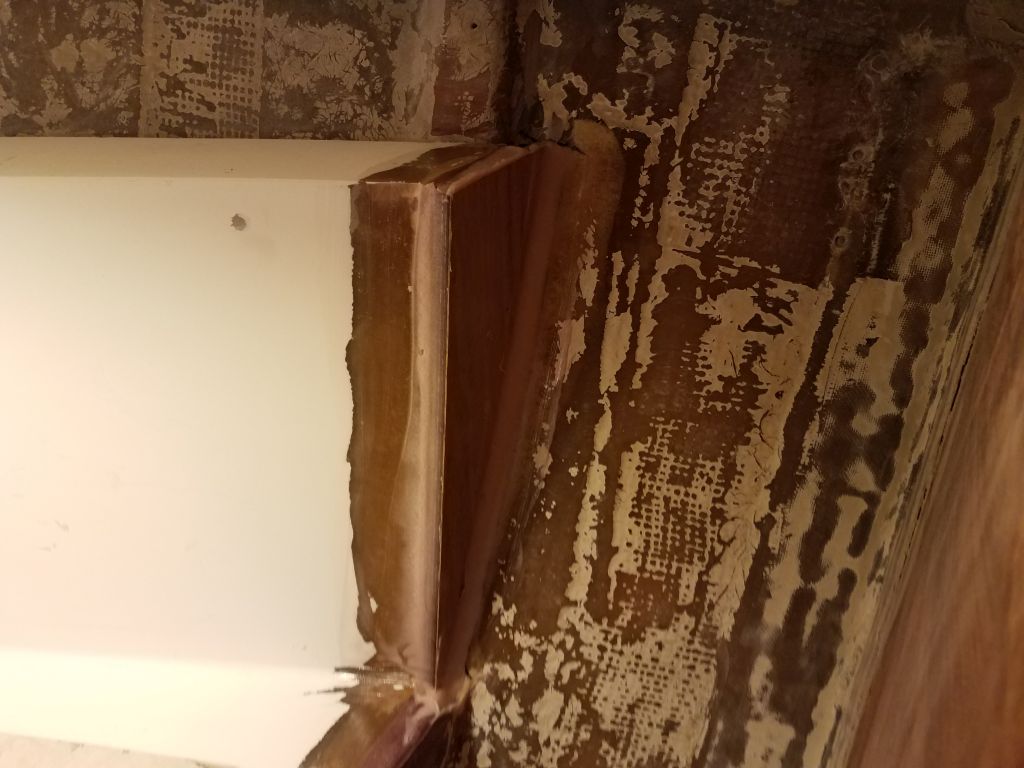
In the forward cabin, there was some work remaining at the aft ends of the berth, where I’d removed the original molded hanging lockers earlier. I needed to bring the sole level up even with the existing sole in the center part of the cabin, so that eventually the new finished sole surface could extend seamlessly into these newly-created spaces, and there were the open, unfinished ends of the cabin liner to close off and prepare for finishing, along with the plywood berth ends.
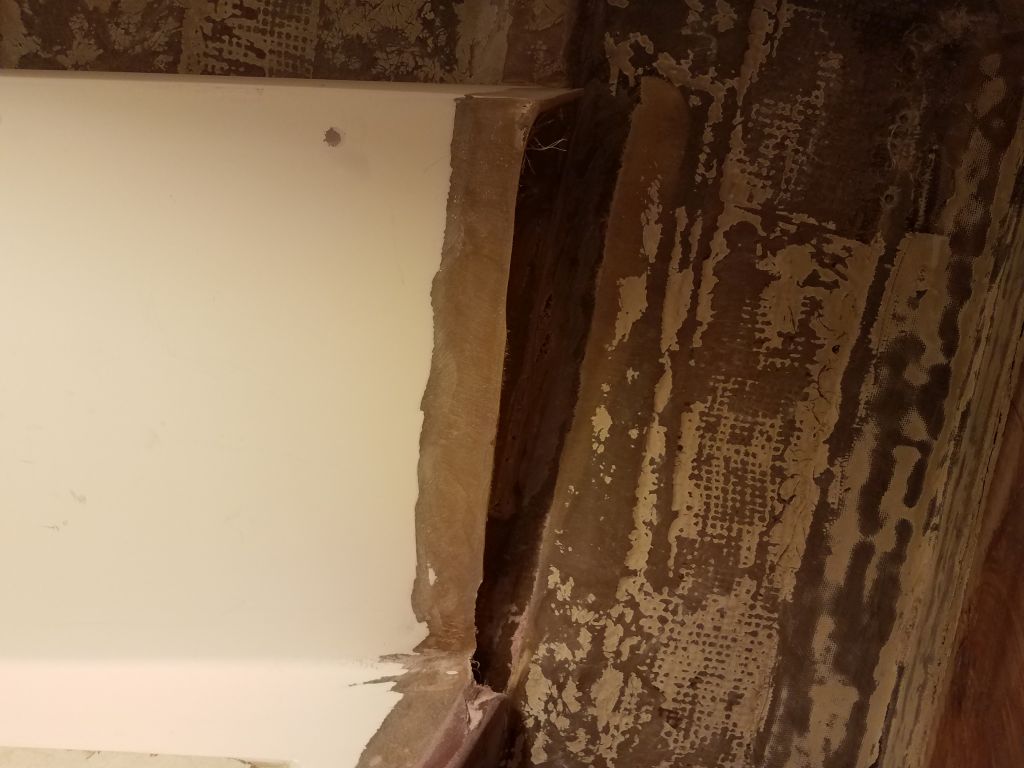
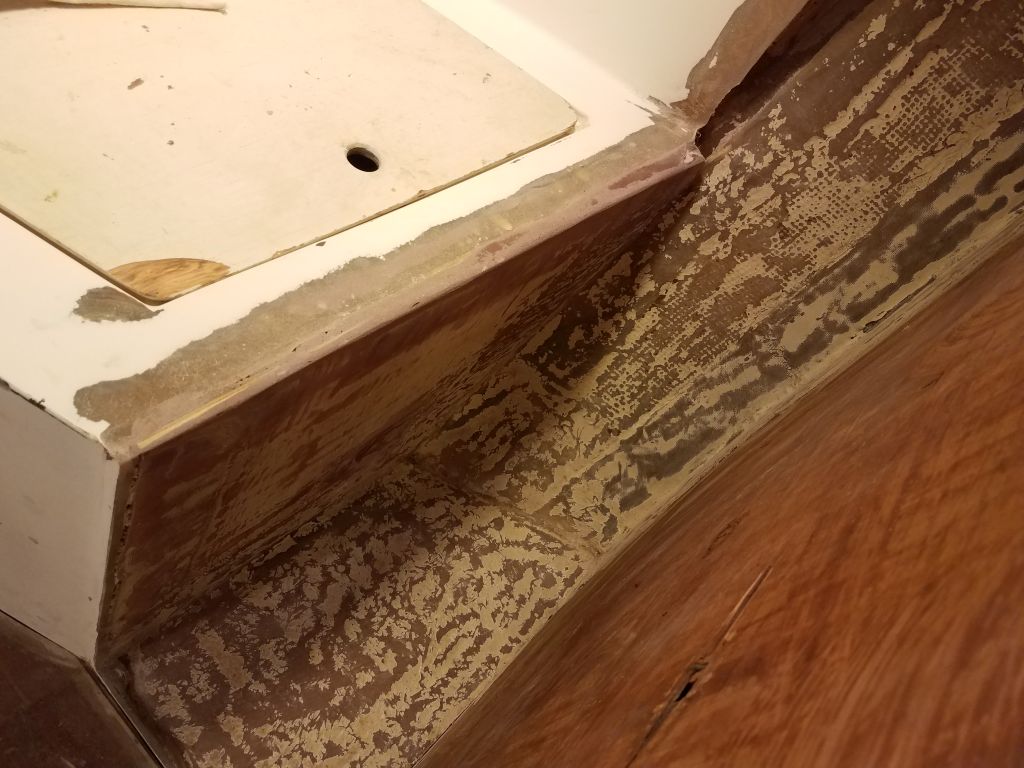
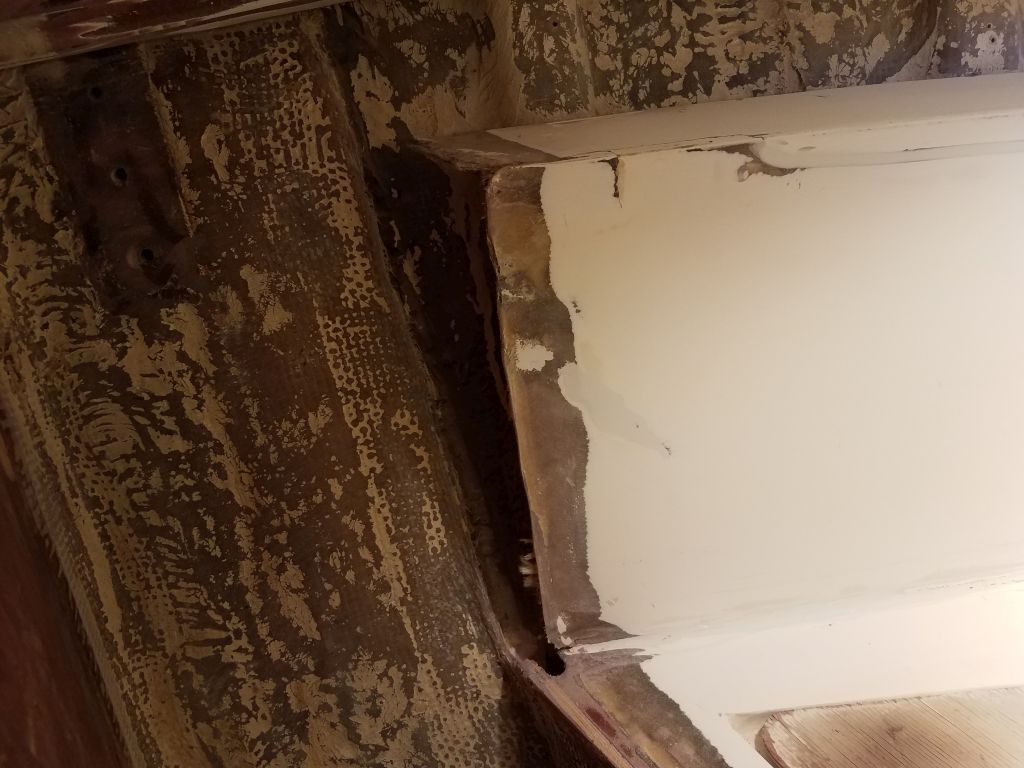
The soles in the old locker spaces turned out to be 1/2″ lower than the finished part of the sole, so I made simple patterns of the spaces and cut 1/2″ plywood to fit.
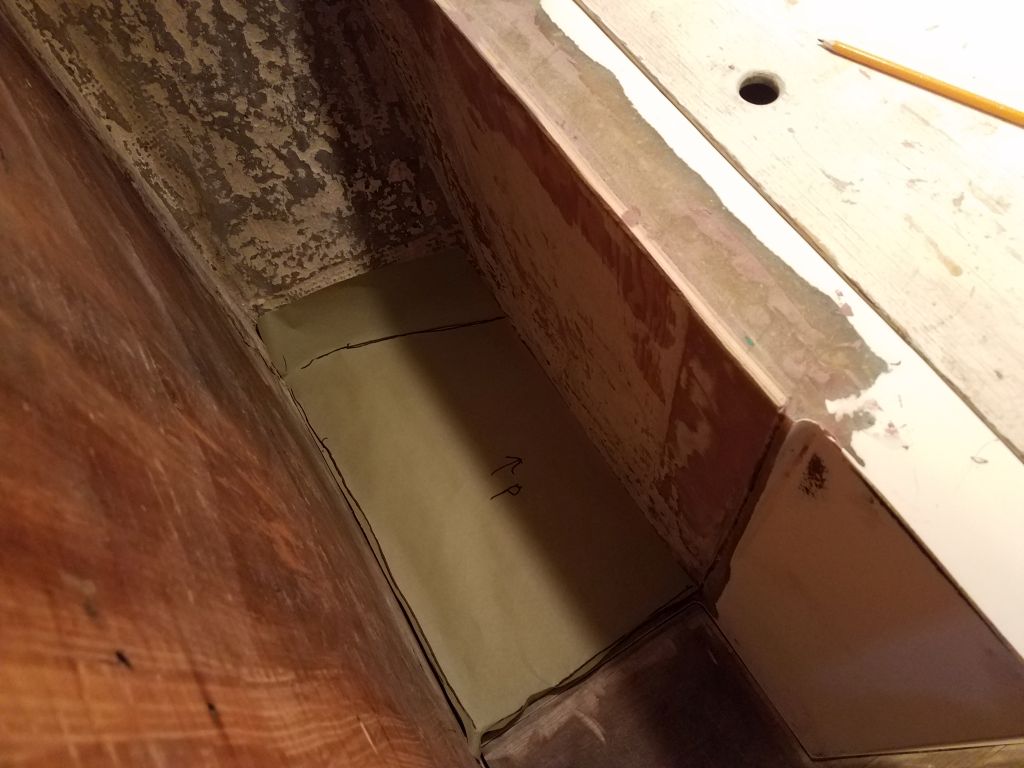

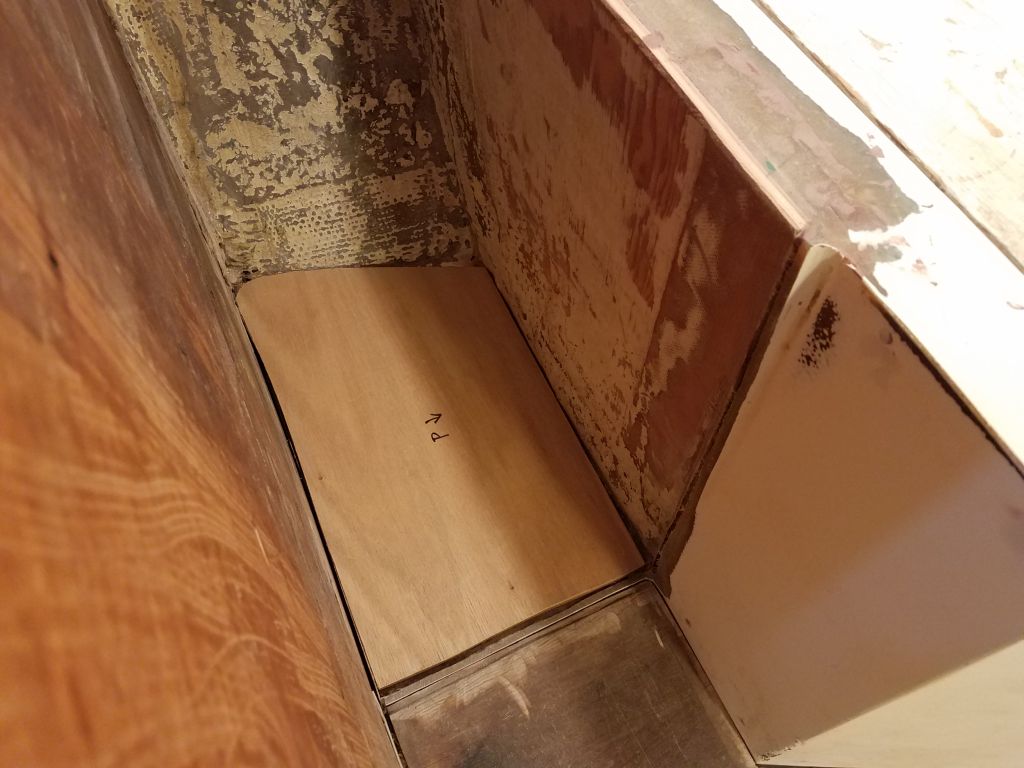
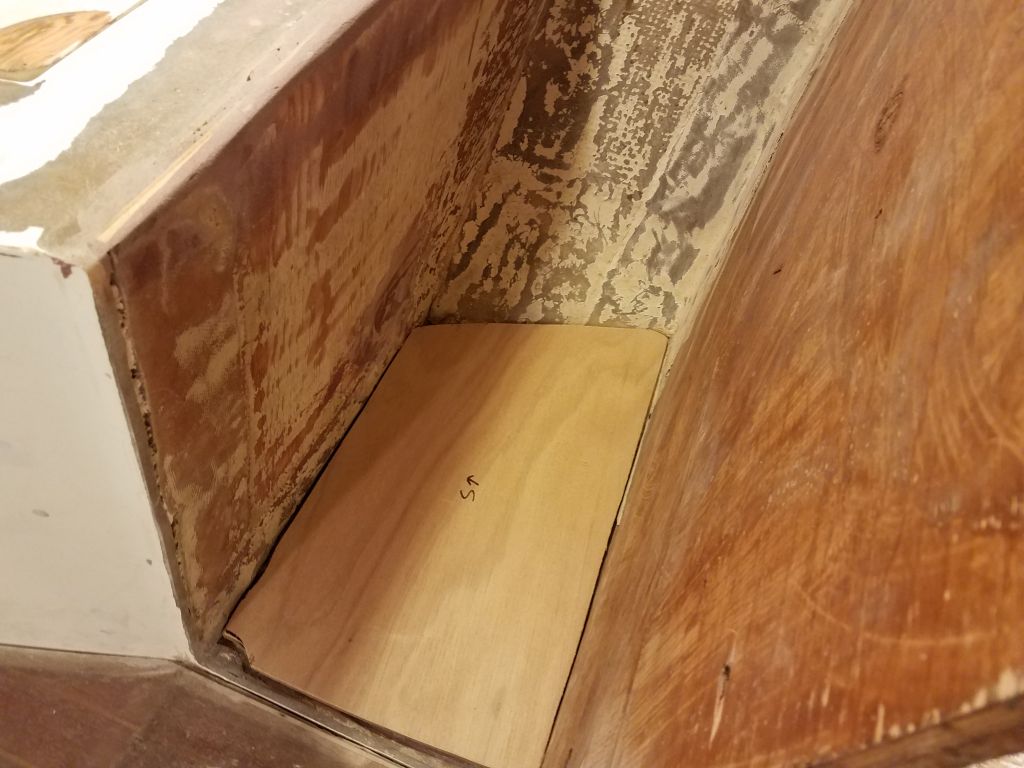
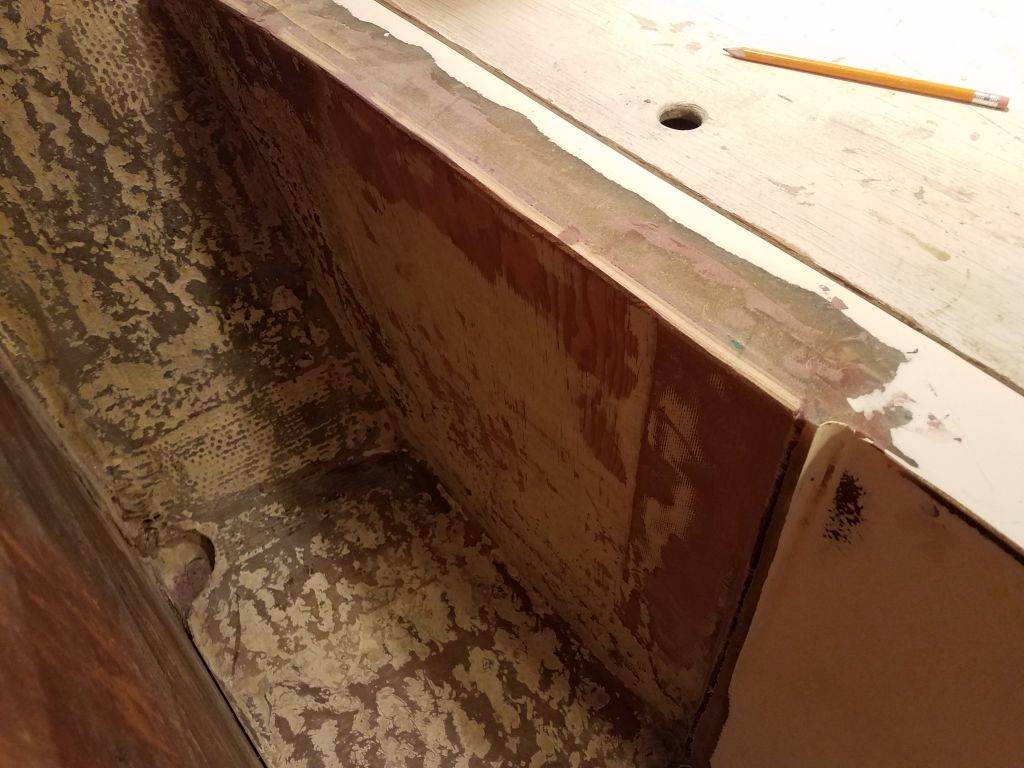
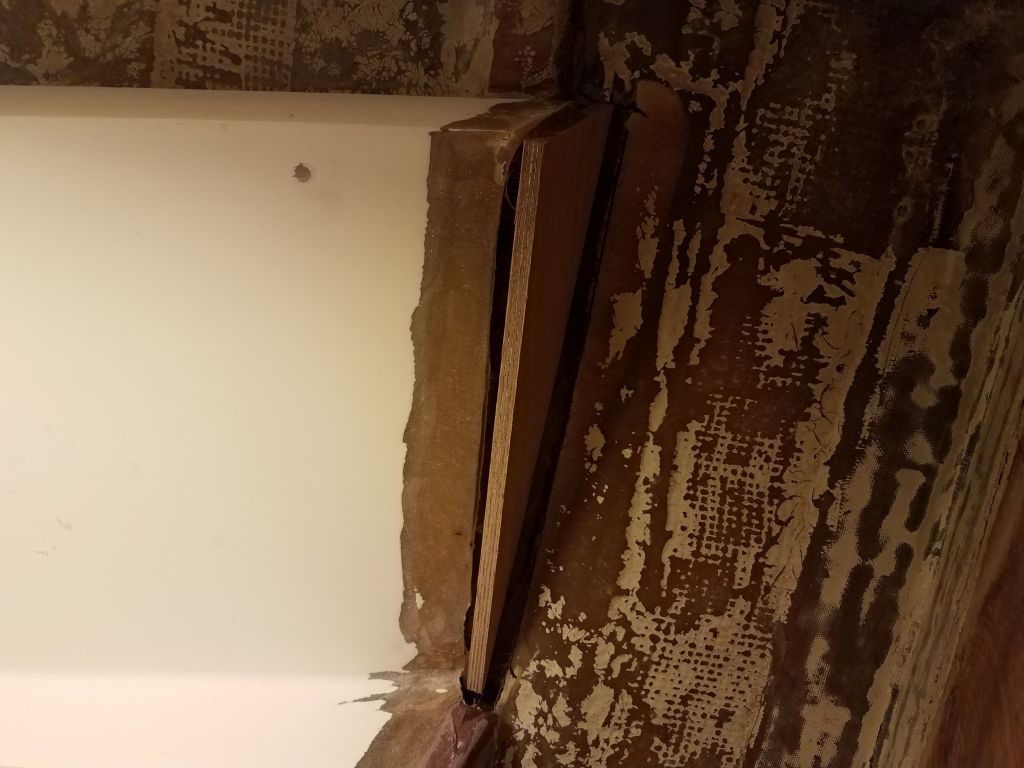
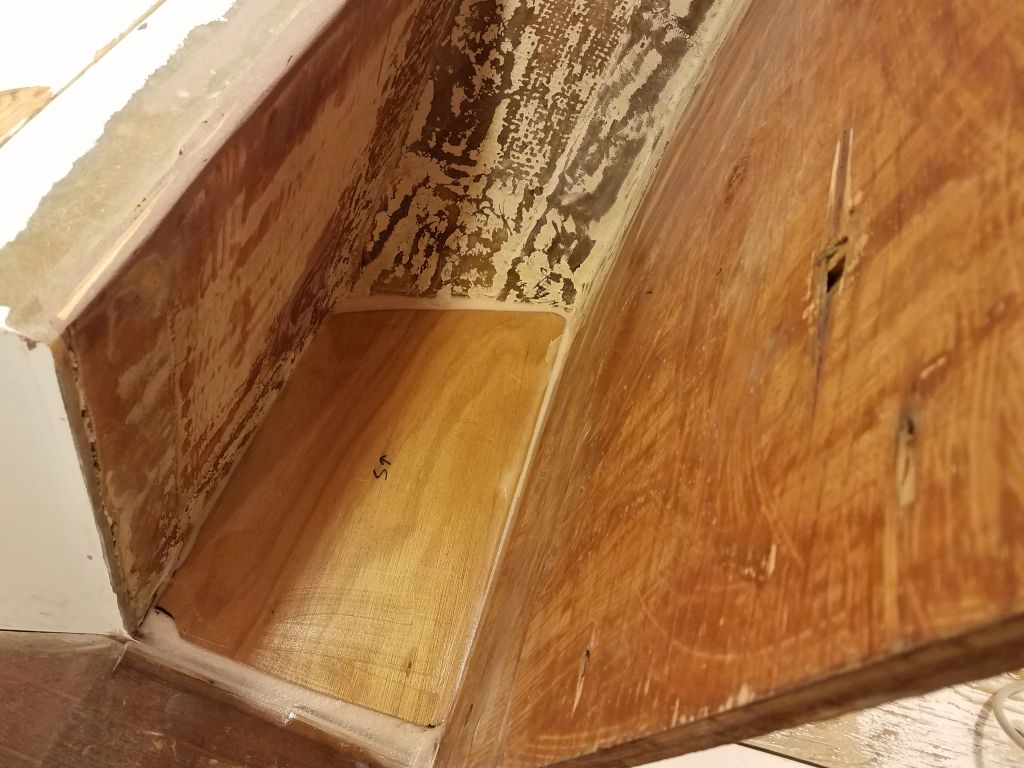
I made cardboard patterns of the triangular “bulkheads” to close off the open ends of the upper part of the liner on each side, and transferred these to more 1/2″ plywood to fit. Securing these temporarily with hot glue, I finished a more permanent installation with thickened epoxy to hold the mini-bulkheads in place and fillet them into the adjacent surfaces. Later, I’d complete the work here with some fiberglass.


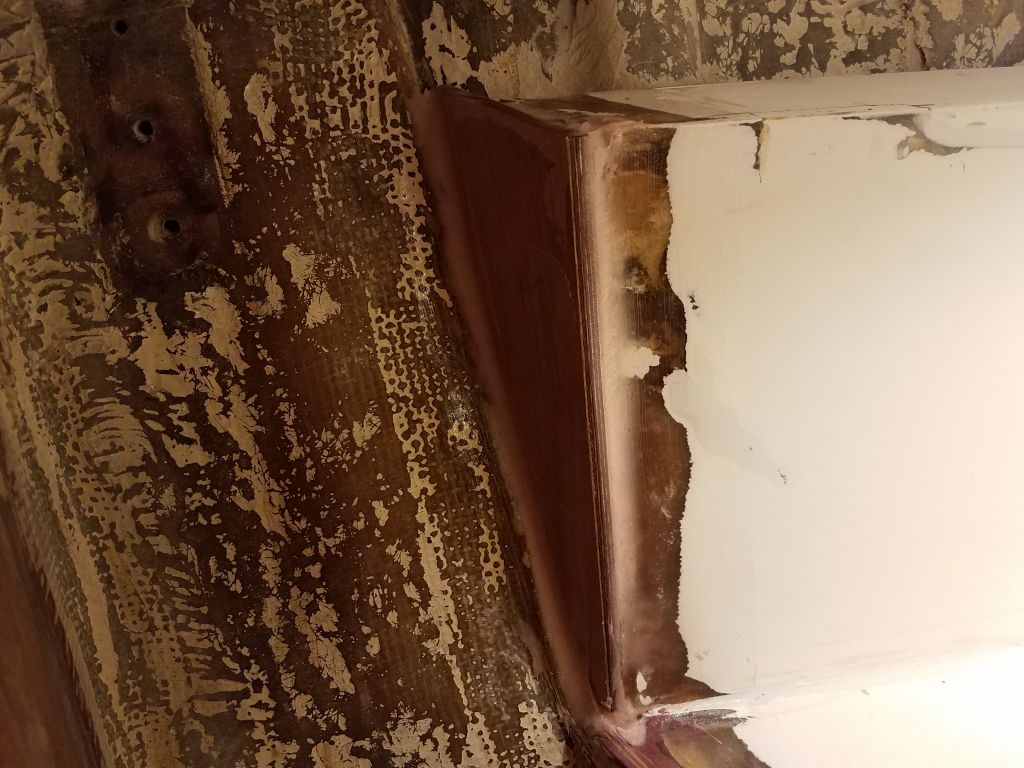
I installed the new plywood sole sections in epoxy adhesive, and filled in any small gaps around the edges with more of the epoxy to create a smooth surface.
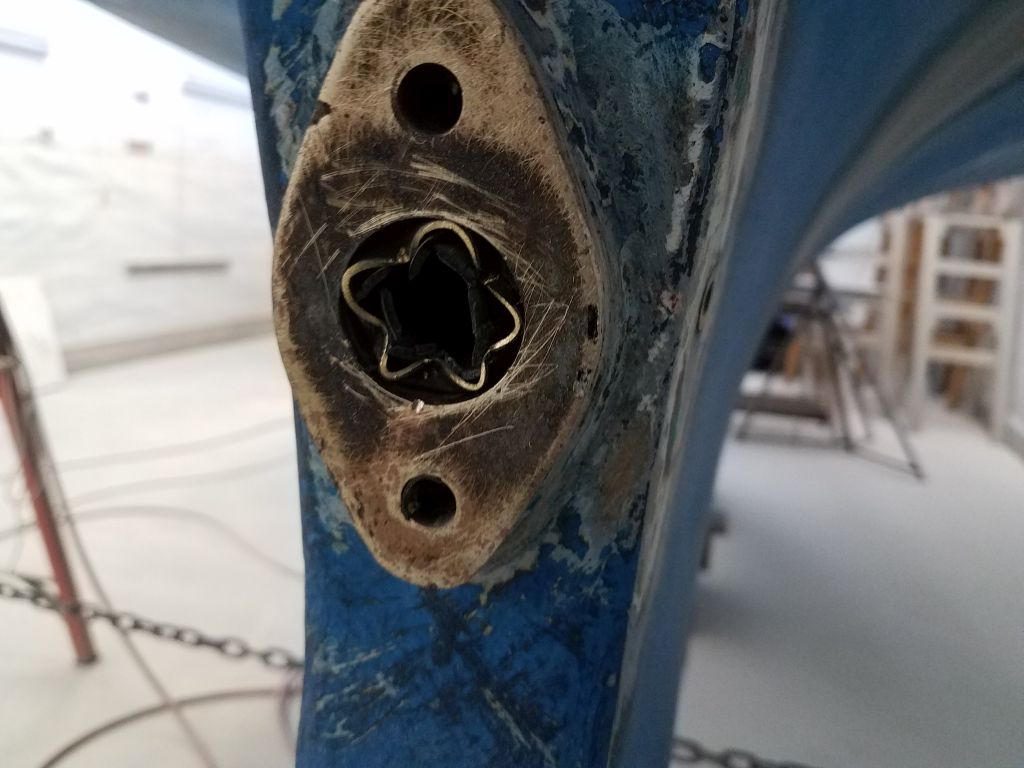
The Cutless bearing had been a thorn in my side for some time now. Back in June 2018, I’d first looked into the replacement of the bearing and at that time removed the outer housing in the aperture, ostensibly allowing access to the bearing for removal. The existing (probably original) bearing was in poor condition and required replacement through whatever means. Photos below are from June 14, 2018.

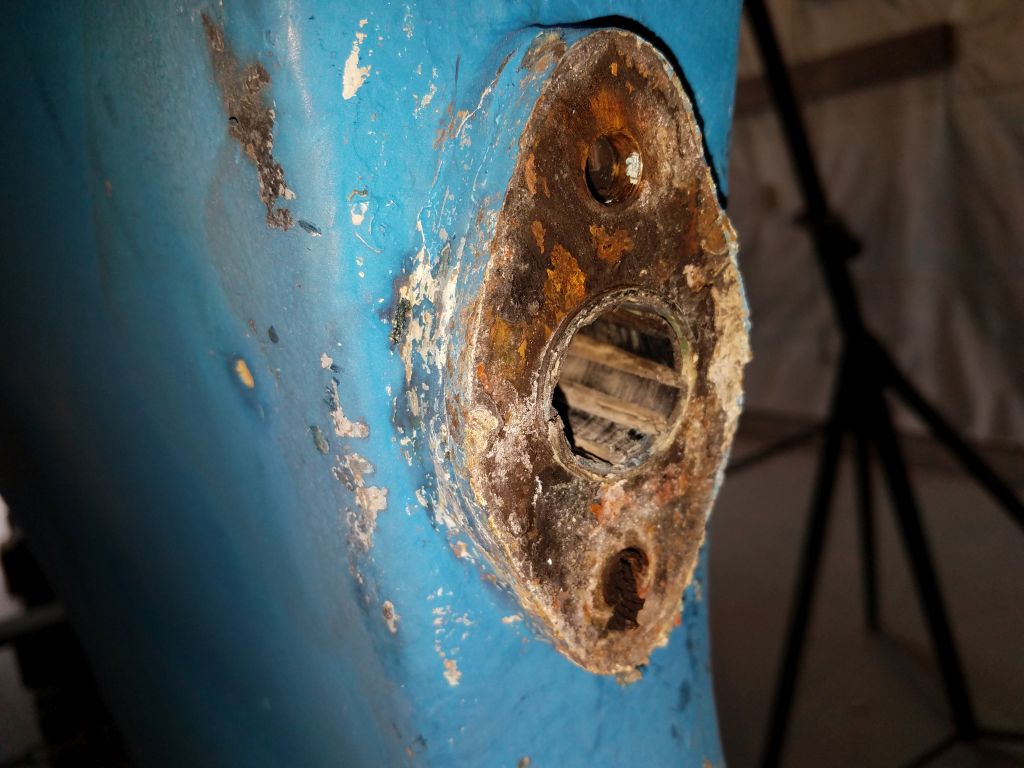
Of course, there was really no way to get the old bearing out easily. It was flush on the outside, and, in the period between that initial access and the present time, I’d pondered the thing from every possible angle and made various non-starter attempts at its removal, including using a steel bar from inside the boat to hammer out the bearing (nope–but more on this presently), and even making an attempt to remove the housing somehow, as some anecdotal information found in the nether world suggested a possibility of this housing being threaded into place (nope–at least not in any way that I could unthread). I sanded the external parts of the housing clean and searched for setscrews or some other eureka-type thing that would assist me in finding out what held the bearing in place, but alas.
Complicating the whole process was the fact that direct access was limited by the rudder shaft and small aperture. With the boat on concrete, and having already made the decision much earlier not to drop the rudder for its own rebuild, at least in the immediate term the rudder wasn’t going anywhere, though reluctantly I considered the possibility that I might have to drop it simply to replace a shaft bearing.
Whatever the backstory, it was time to fish or cut bait. I wanted it gone, and yesterday wasn’t soon enough.
All the happy advice in the usual boating reference and impractical online sources fail to touch upon the situations like this one, where those convenient suggestions related to pressing out bearings on a hydraulic press, or using spiffy little shop-built tools to pull it out (always through the apparently ever-present external strut, as if there weren’t thousands of boats with stern tubes and bearings embedded in the deadwood like this one) fall unhelpfully short of offering any tangible advice for getting out the really hard cases.
Brute force wins, but it isn’t pretty. Fortunately, as difficult, time-consuming, and frustrating as this process was, I was unquestionably aided by the fact that the brass shell of the old bearing was about as thin as it could be, since the size of the stern tube (1-1/4″ ID vs. the size of the shafting (1″) required that the shell be thin in order to fit.
I started by driving an awl and screwdriver between the bearing shell and the stern tube (which was bronze), which allowed me to begin to collapse the bearing in on itself.
Working a few minutes here and a little longer there over a couple days leading up to the present, I basically chipped away at the bearing–not by choice, per se, but because it’s just how it worked in this case. Instead of “neatly” collapsing inwards, the thin, ancient bearing shell came apart in little pieces, all the time stubbornly resisting any more efficient means of removal. After a while, I’d cleaned out about half the bearing, but the mess that remained was on its way to becoming a fairly solid little plug located about 2″ inside the tube.
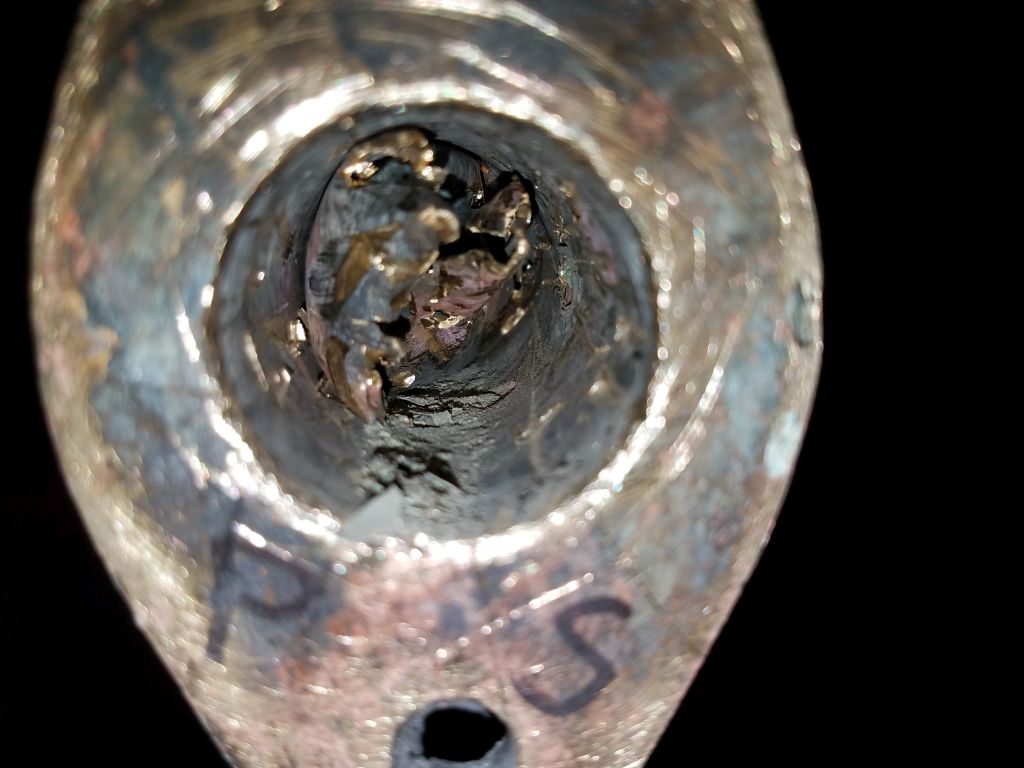
With a long drill bit, I created some little openings in and around the collapsed shell remains, and, at length, finally succeeded in getting out what was left of the bearing. They never show you this in the articles and weekend maintenance books, but this is how they come out sometimes, folks.

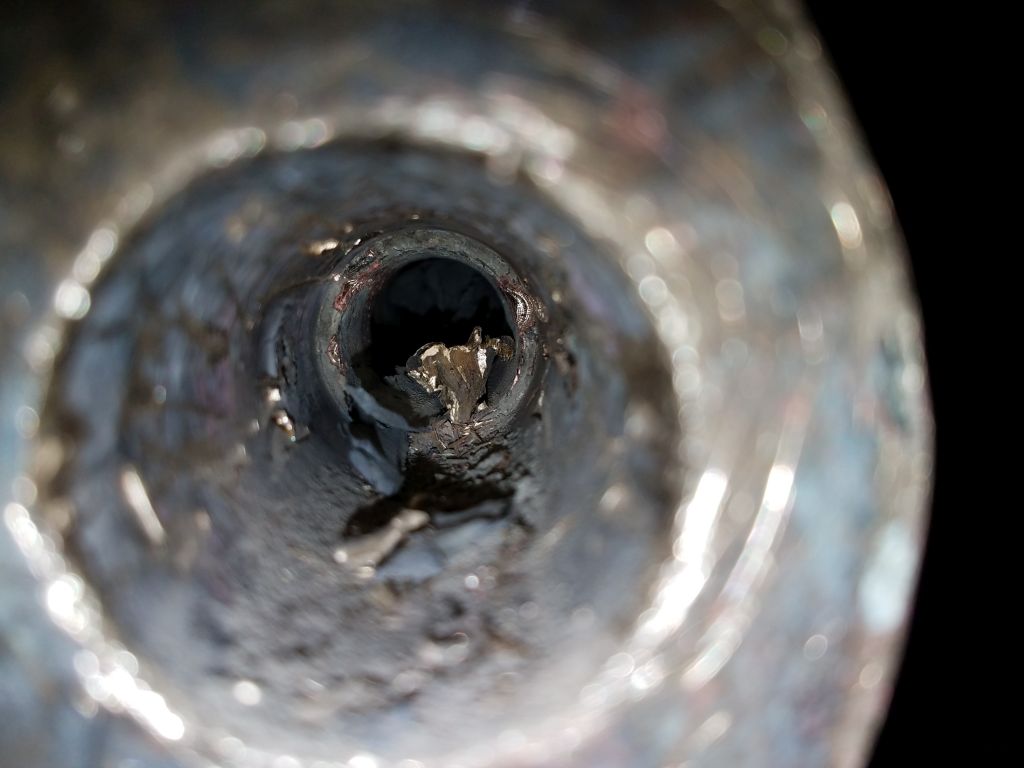
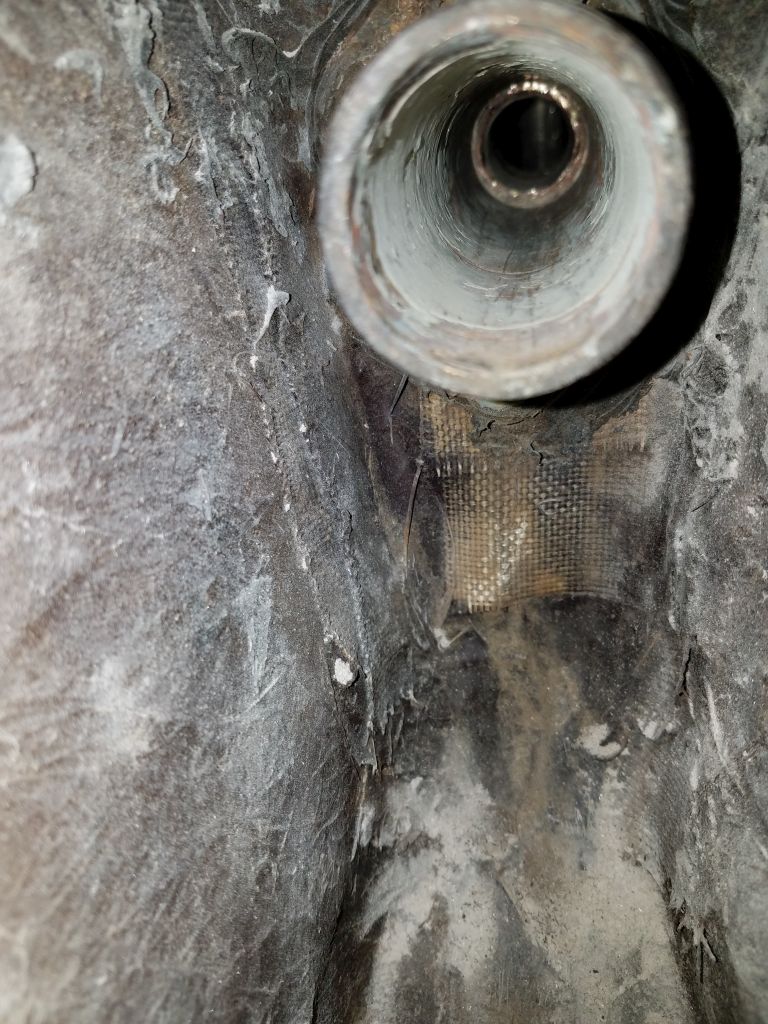
With an air nozzle, I blew out the remaining detritus and happily put this removal job behind me. With the tube clean and finally able to see in from both ends, I could now determine that the outer part of the stern tube was a smaller diameter than the inside, apparently threaded or otherwise secured within the inner section. This is why my steel rod from inside the boat had failed to push out the bearing: the bearing, with its narrow wall, had basically hidden behind this change in diameter. At least this made more sense now, since I’d failed to comprehend how a 5 lb. maul hammering a solid steel rod with some urgency had failed to budge a little brass and rubber bearing (and there couldn’t have been any setscrews–and weren’t–since there was no access for their installation nor removal).
With class time over, I was happy to put the removal job behind me, and after cleaning up from the week’s efforts, I looked forward to a weekend of clean conscience and with no bearings hanging over my head.
Total time billed on this job today: 7.25 hours
0600 Weather Observation: 15°, cloudy. Forecast for the day: Clouds and showers (snow and rain), 30s