


December 11, 2019
Scupper 200
Wednesday
Things that take a long time:
- Working in boats with molded liners
- Doing anything with a hole saw
- Hose
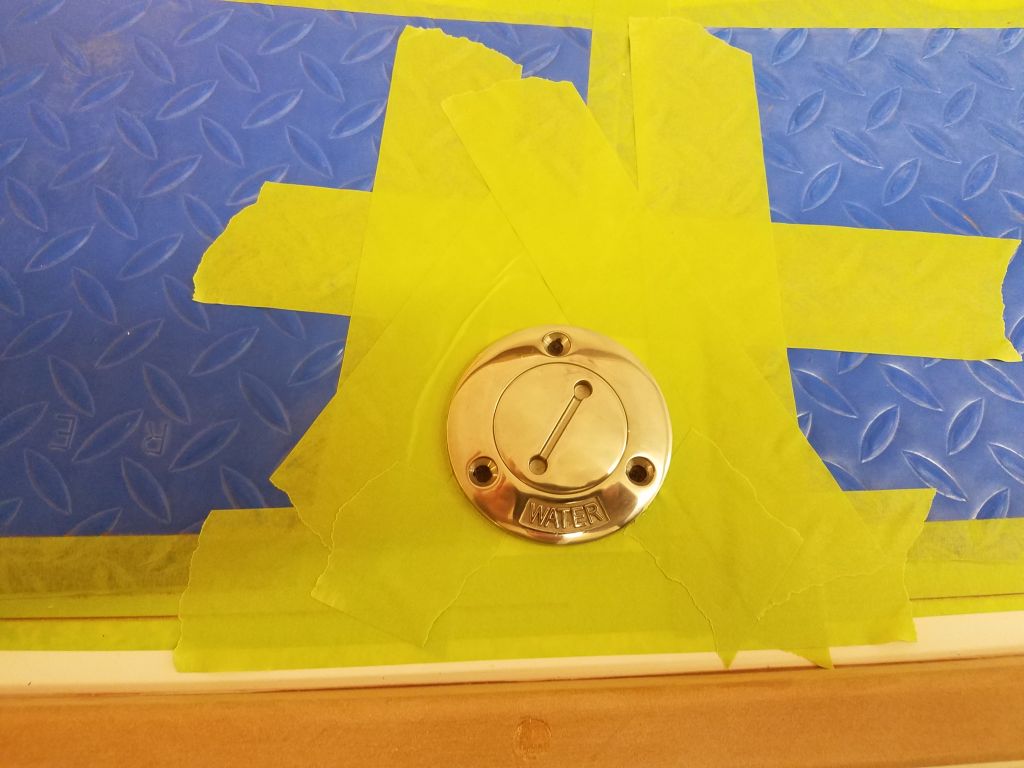
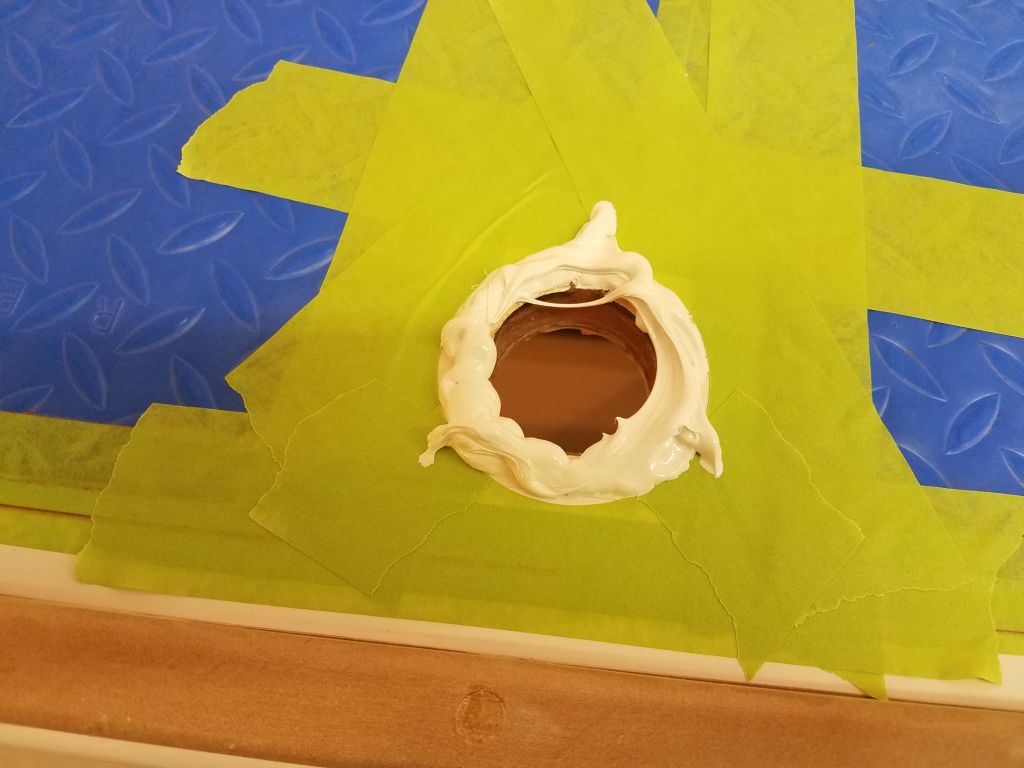
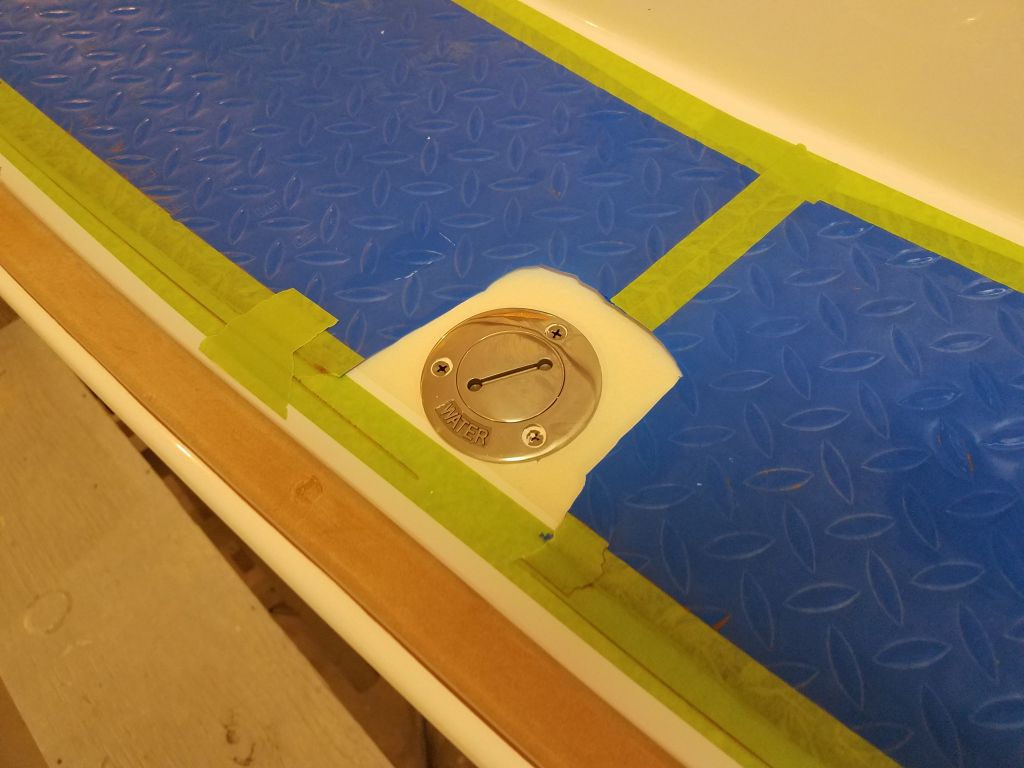
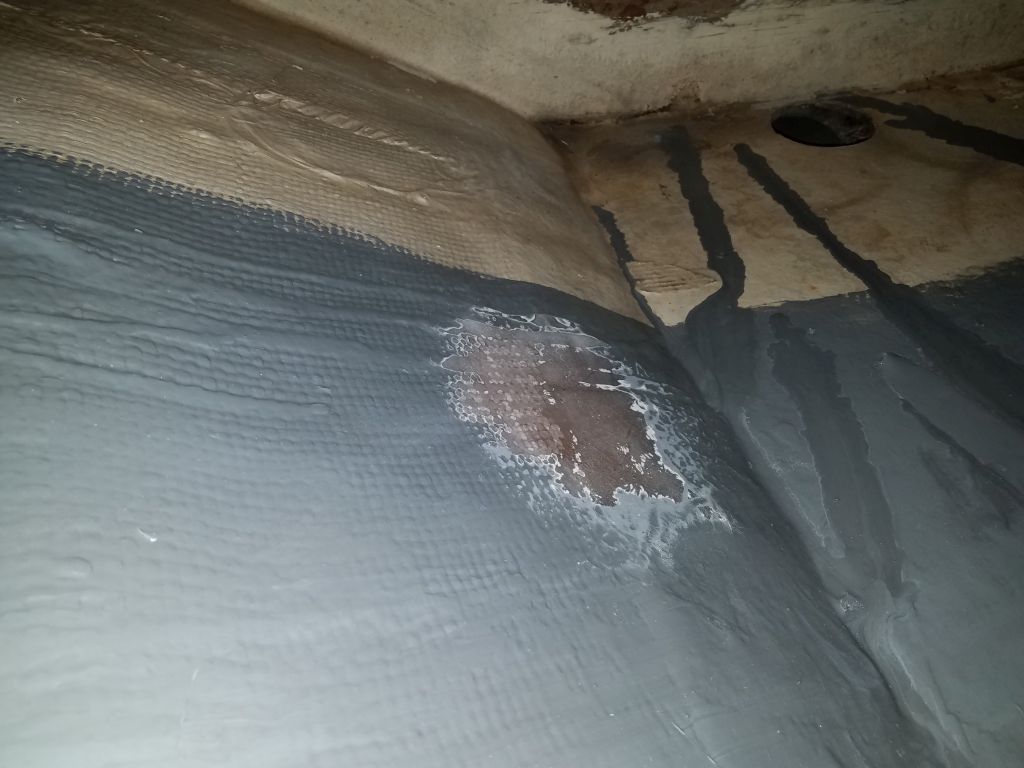
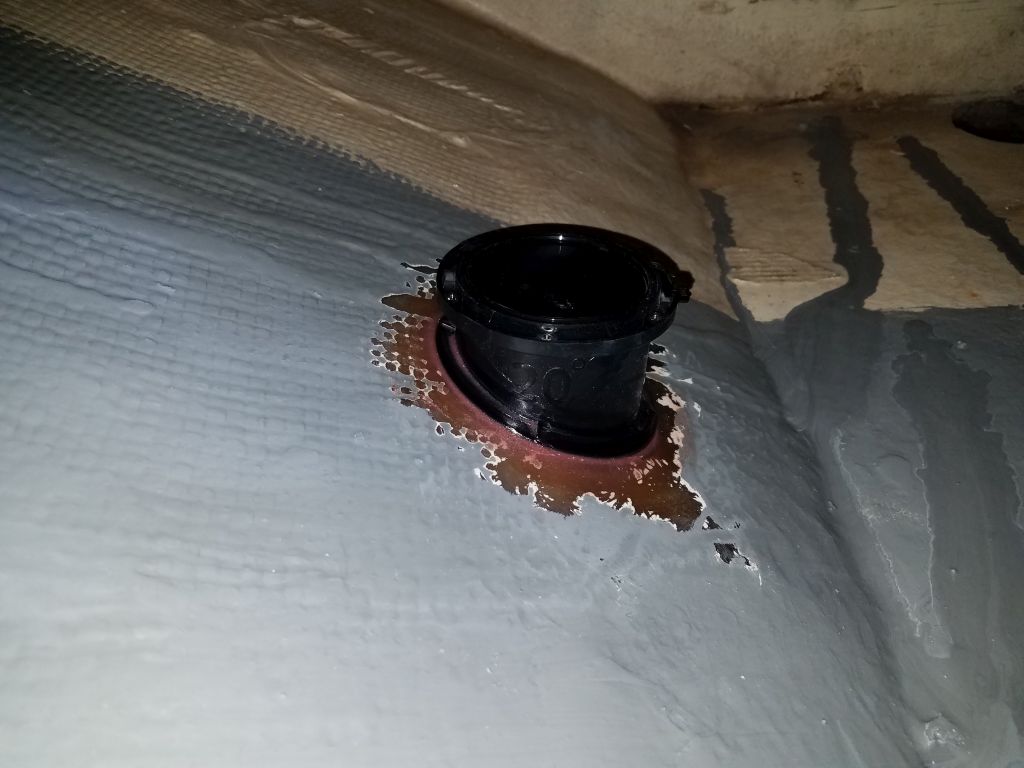
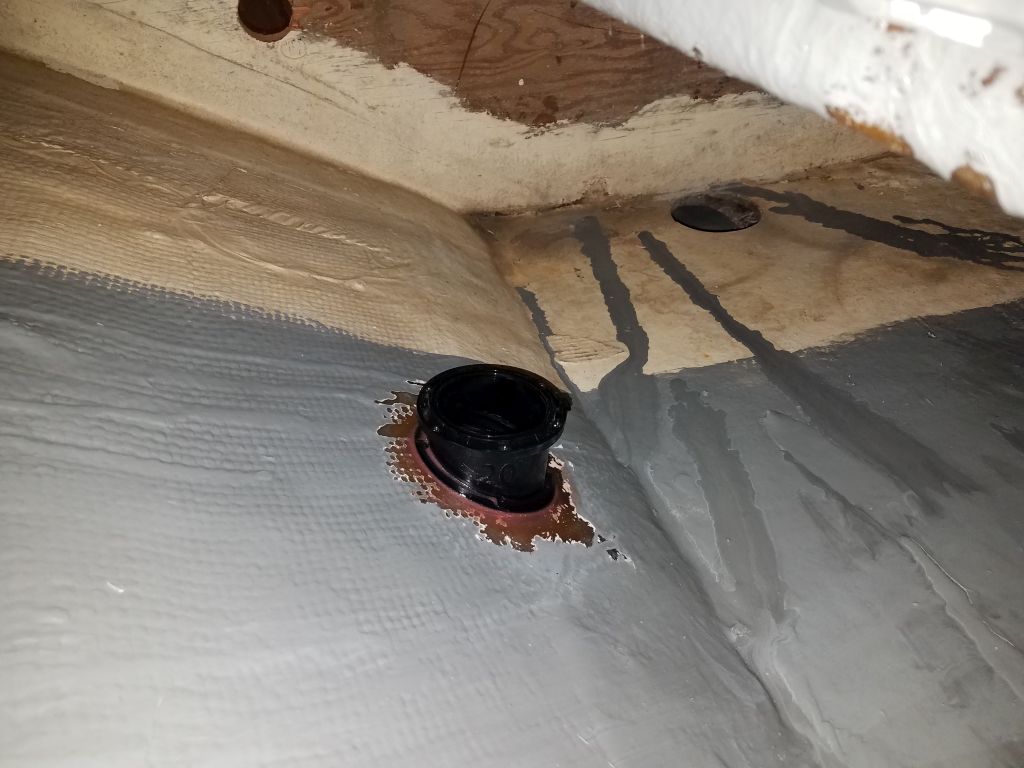
Any project combining this holy trinity is bound to take inordinate amounts of time, and so it proved to be once again as I continued where I left off with the water tank fill and vent runs. Finishing up the installation of the new water deck fill was straightforward enough to start though. With the epoxy cured in the new opening and around the screw locations, it didn’t take long to prepare the fastener holes (drill and tap for #10 fasteners, then mill the countersink at deck level) and install the fitting in a heavy bed of sealant.


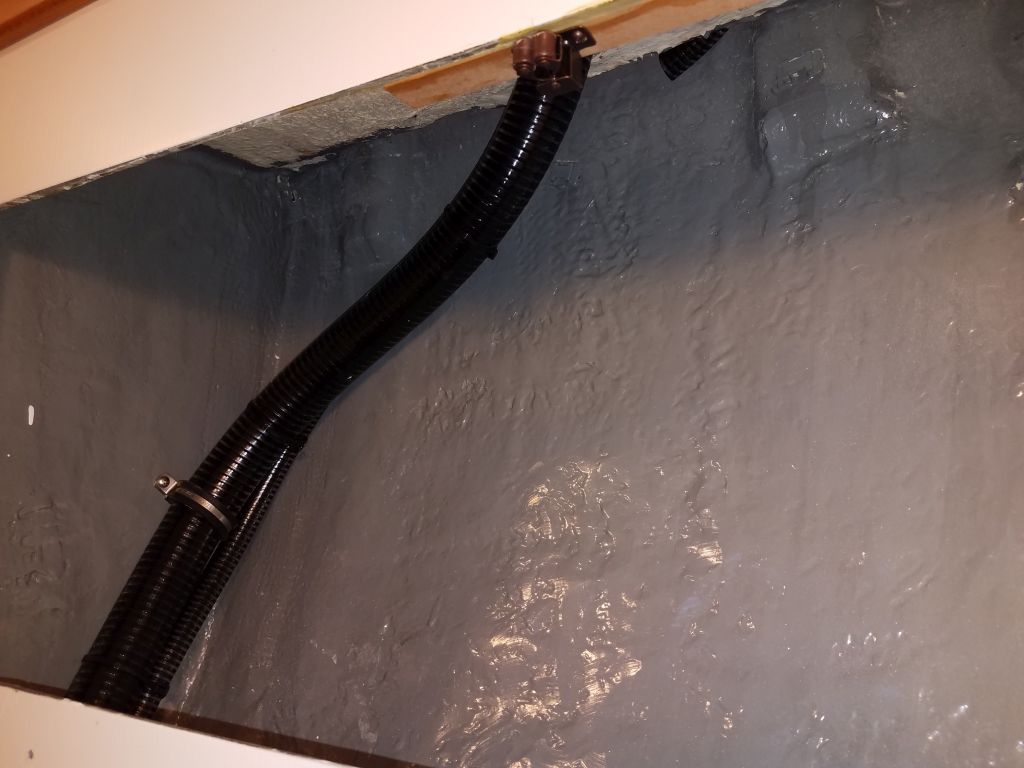
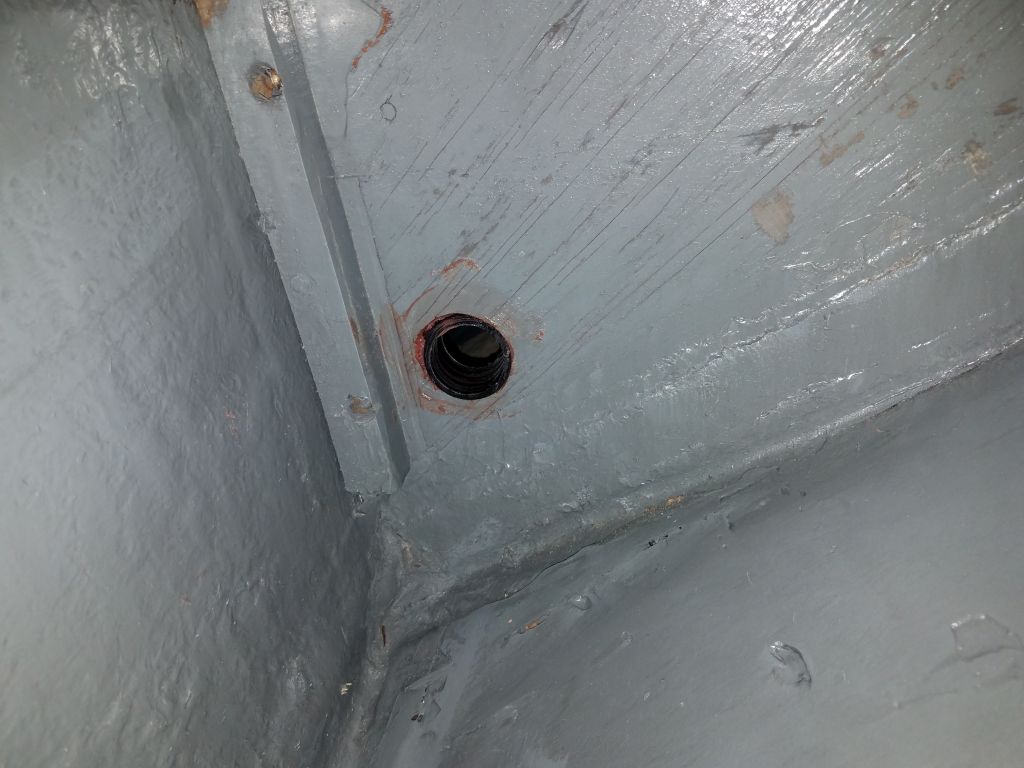
Inside the boat I found that the molded liner hid most of the fill neck, so I expanded the opening that I’d drilled previously, ultimately cutting out a large section of the liner inside the locker above the port settee, which was hidden from view so the liner didn’t make any difference. I actually cut the liner in several increments, enlarging each time, to finally provide better access to the after chainplate, the tank fill neck, and room for the water tank vent. I’d have to touch up the gray paint in the newly-exposed area.
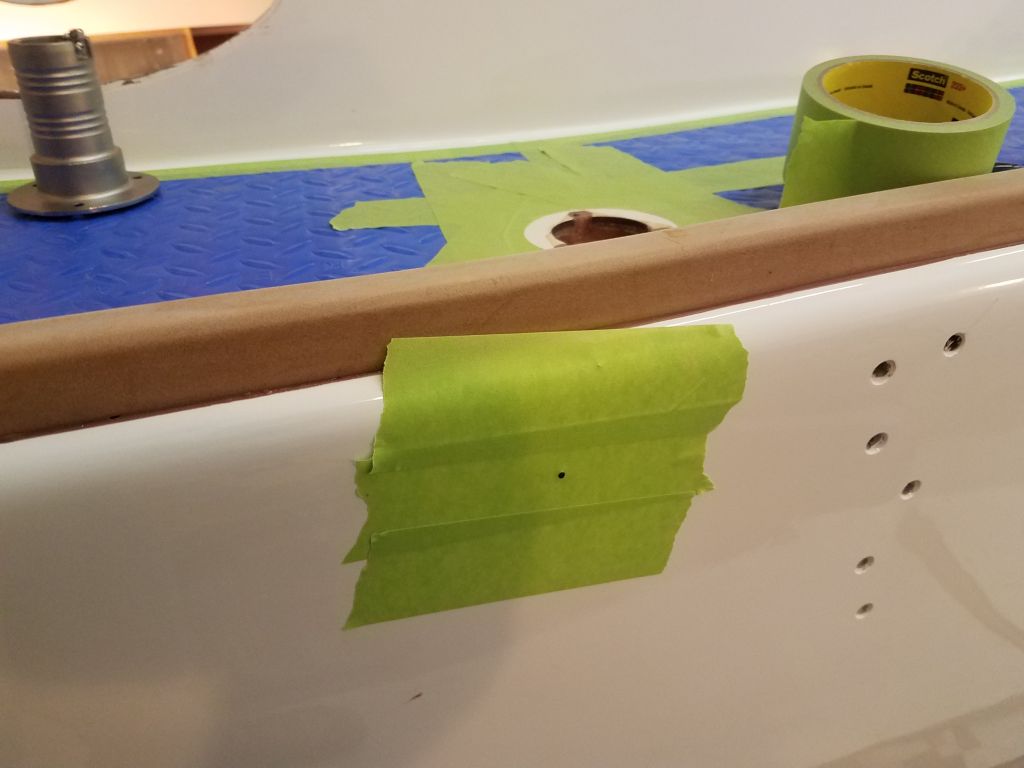
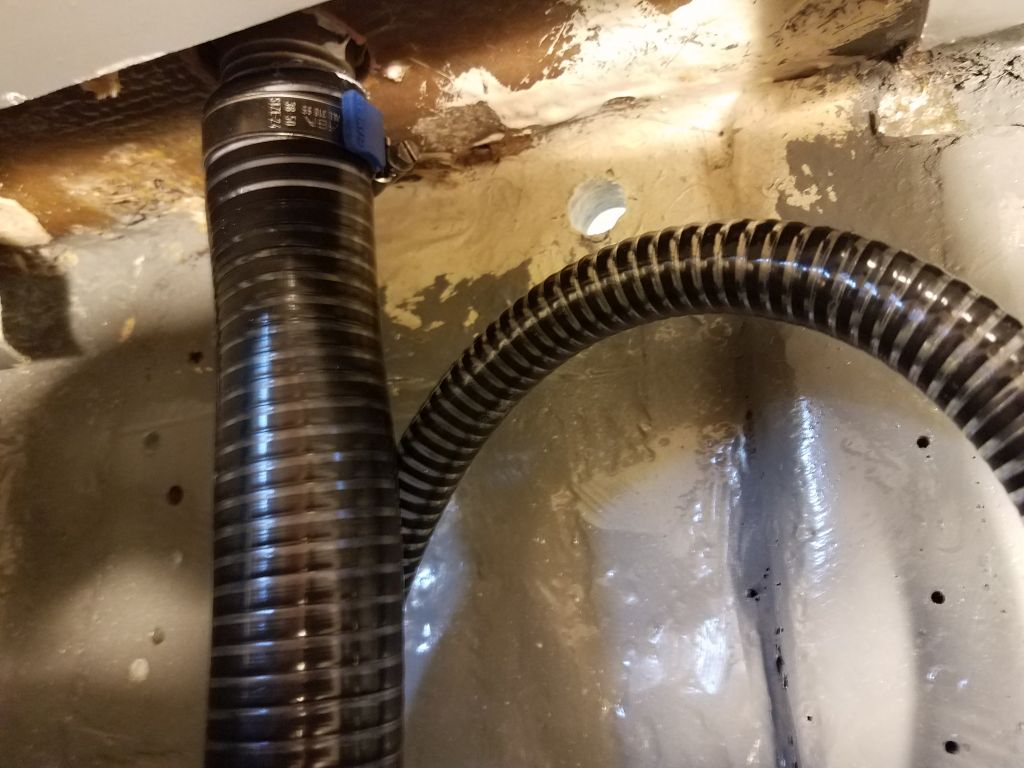
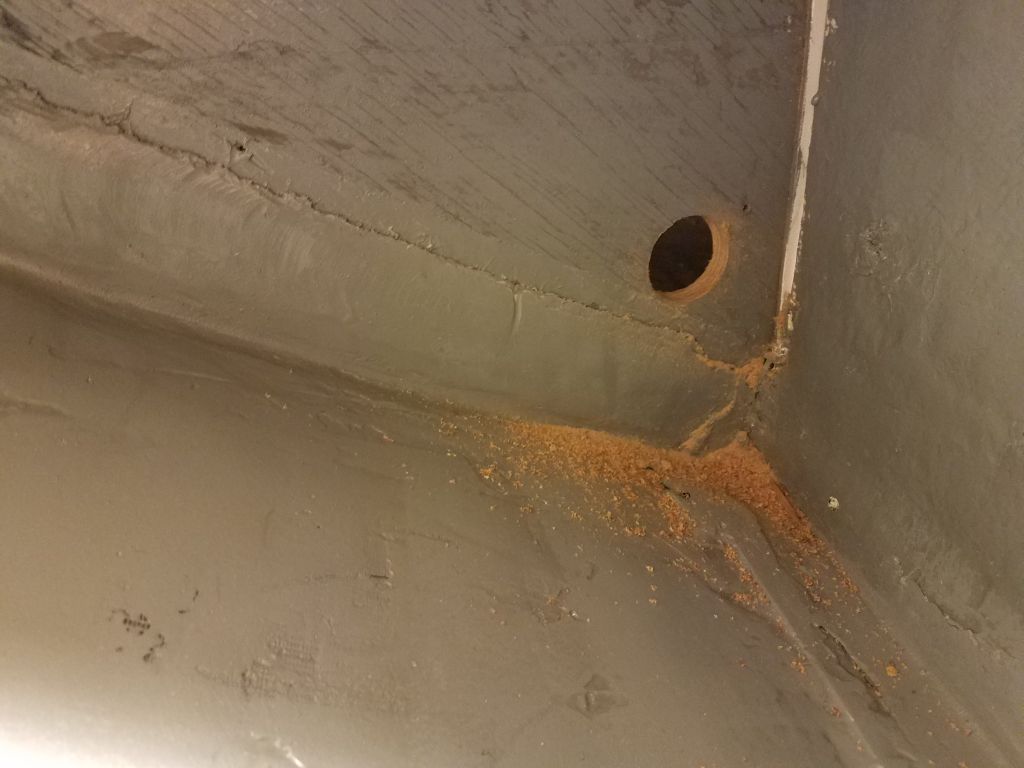
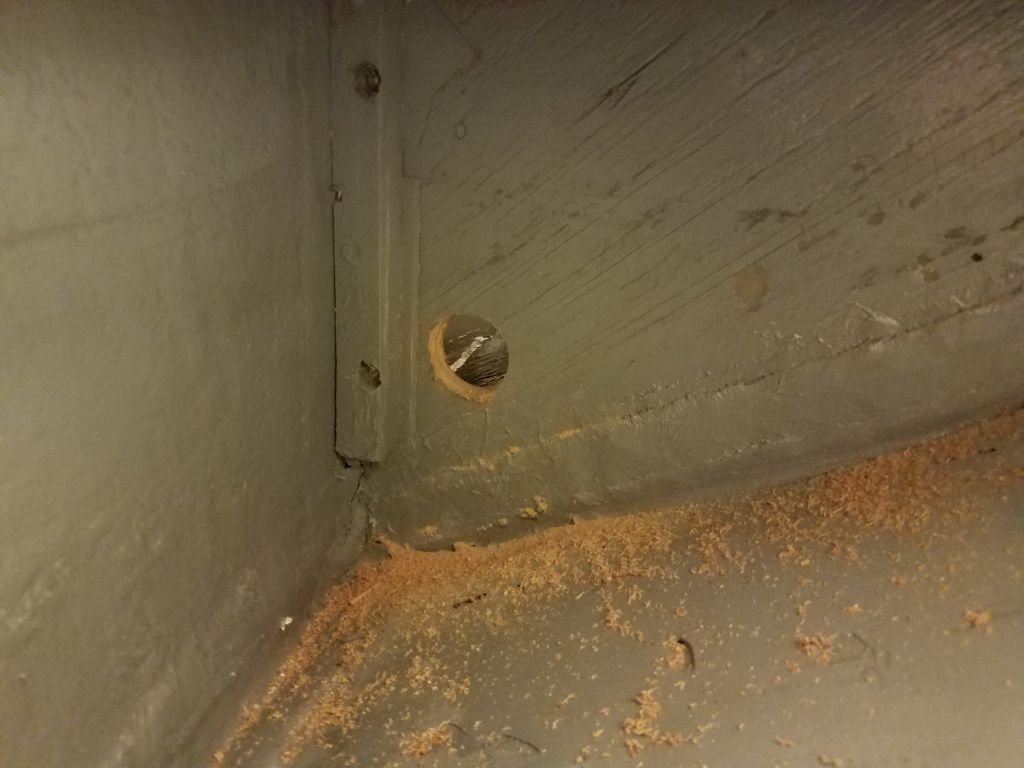
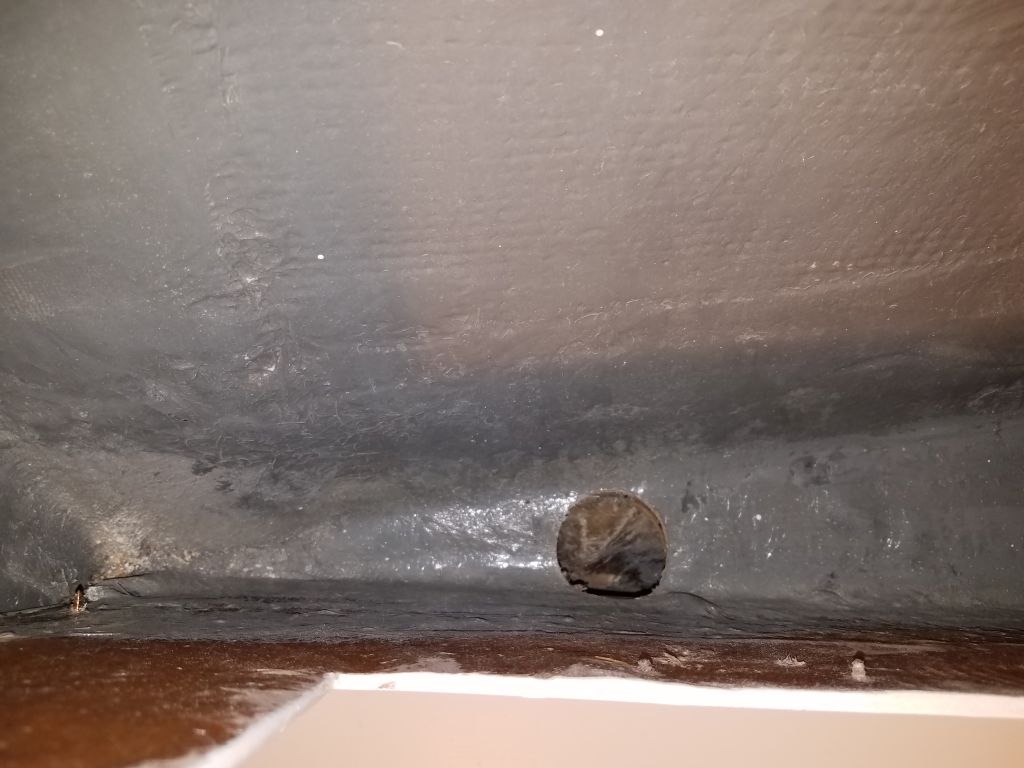
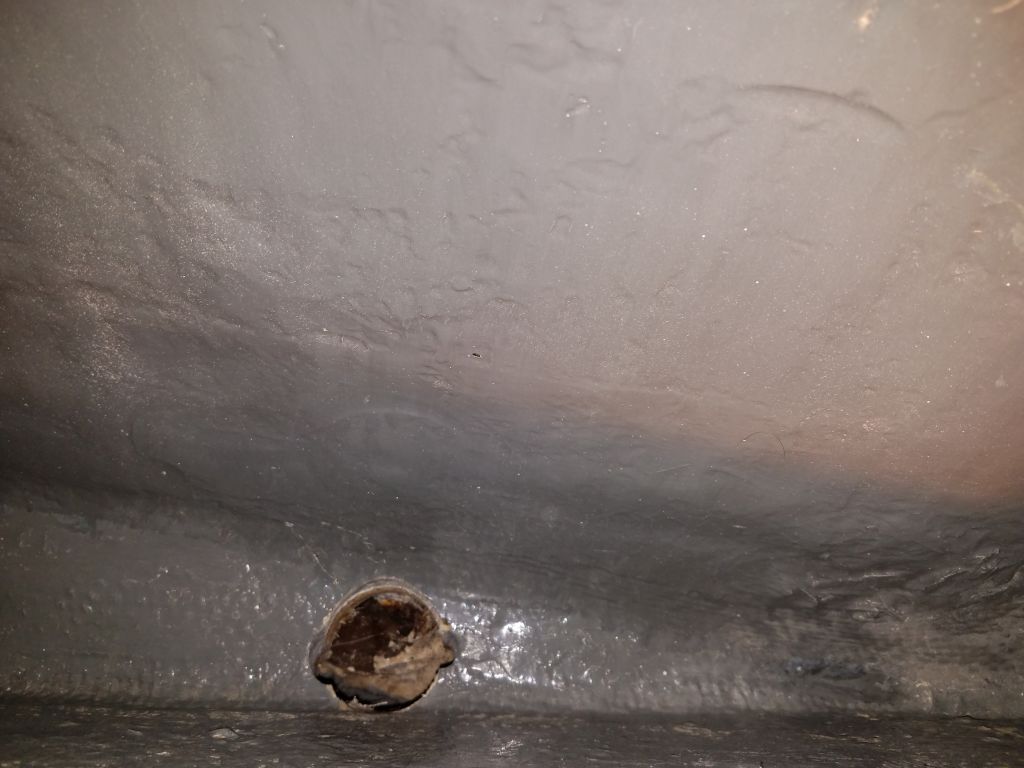
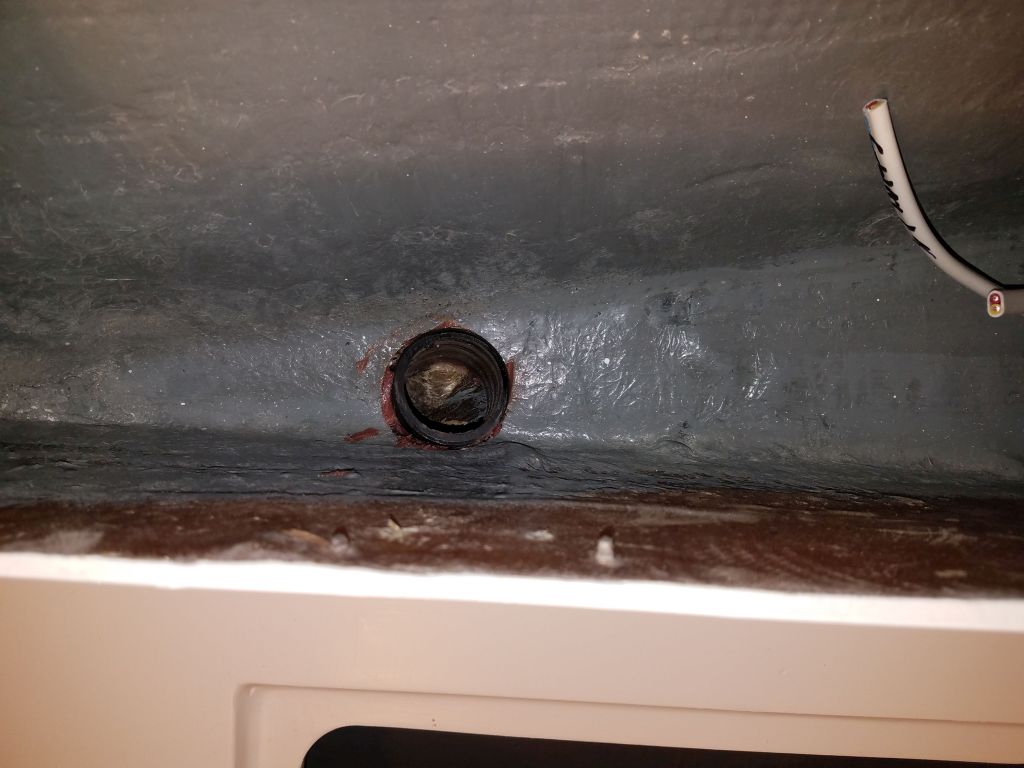
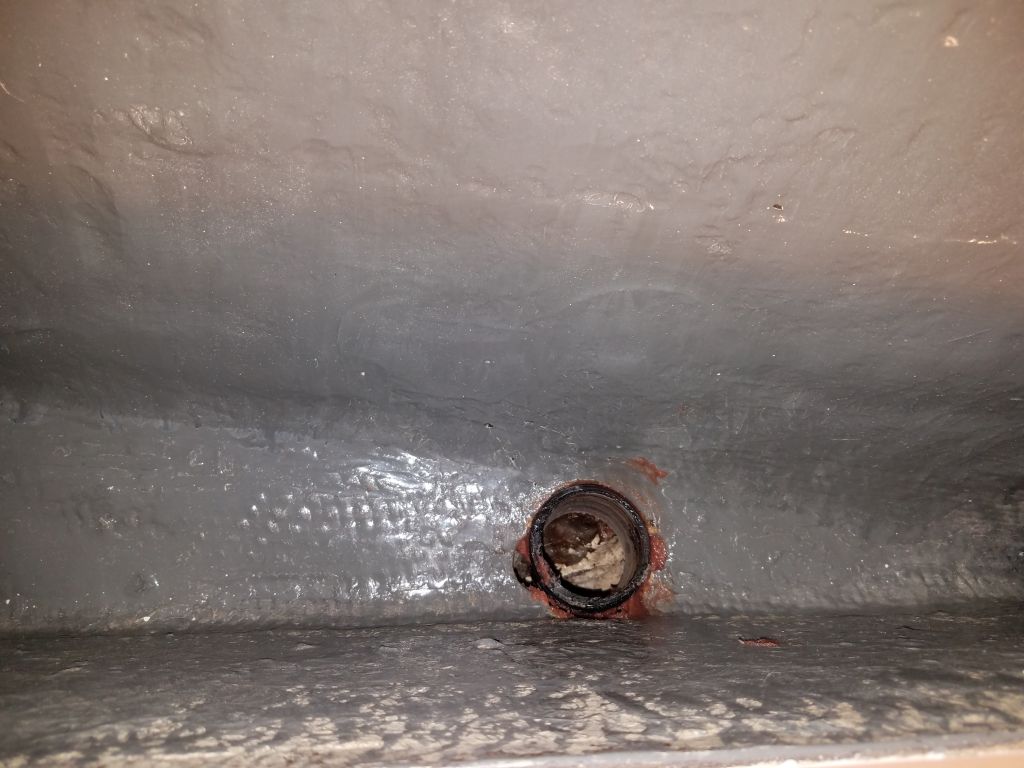
In preparing the hole for the vent (requiring frequent stops to dismantle completely and clean out the small hole saw I was using), I discovered the hull here was substantially thicker than I expected, undoubtedly because of the long-previous repairs that had been done in this area in the boat’s distant past. Those repairers had definitely been of the “never use one nail where 12 will do” school of construction, but even so it never occurred to me that I’d find 1-1/4″ of solid fiberglass when I knew the working thickness of the hull elsewhere was about 3/8″ or perhaps 1/2. Unfortunately, this meant that the vent fitting I had on hand was not long enough to work here, but I found and ordered another one that I thought would have long enough threads to pass through the hull and be secured properly.

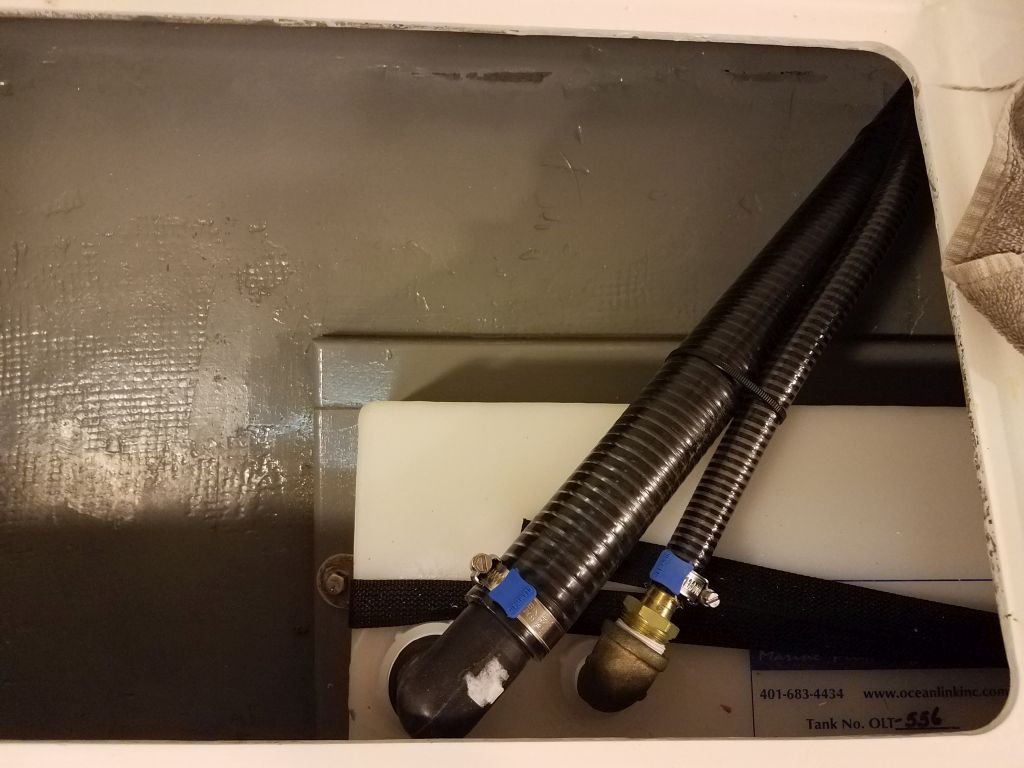
While I was frustrated at the delay, installing the new vent fitting later would be (he said hopefully) straightforward enough, so I continued with the hose runs from the tank, through the lockers, and up to the new fill fitting. The hose I used, a new type I was trying out (hoses for water systems seem either to be flexible yet weak and cheap, or strong yet impossible to work with), turned out to be stiff and difficult to work with in the confining spaces available, but at some length I managed to successfully lead the hose more or less how I wanted it, and made the connections at both ends. I ran the smaller vent hose without issue, and left sufficient extra at the top for final connection to the vent fitting once it arrived.

Moving on, I turned to the new depth transducer, an in-hull type designed to use one of a series of differently-angled housings, or “tanks” to secure it to the inside of the hull. The best and most logical location for the transducer was in the hull forward of the keel, somewhere in that semi-accessible area beneath the aft part of the forward cabin. After determining the deadrise angle and choosing the correct tank (20°), I picked the mounting spot on the starboard side, nearly as far aft as I could comfortable reach and safely out of the way of whatever else might be going on in the forward lockers. I removed the paint from a section of the hull, and otherwise prepared it as dictated in the installation instructions. Then, I installed the tank in a bead of epoxy, smoothing the adhesive inside and out to ensure a good bond and seal, and left this to cure overnight.
Meanwhile, I prepared several more openings for future wiring runs, leading from the starboard settee into the forward utility space, and a similar hole on the port side for return wiring there. I also drilled holes between the areas beneath the settees and the settee back lockers, where the wiring would need to run to and from the service panel to starboard and similarly on the port side for the wiring runs leading aft. I sealed the new raw wood in the bulkhead cutouts with epoxy leftover from the transducer installation, then installed short lengths of hose as conduit and chafe gear through the various openings, using more of the epoxy on hand to secure them.


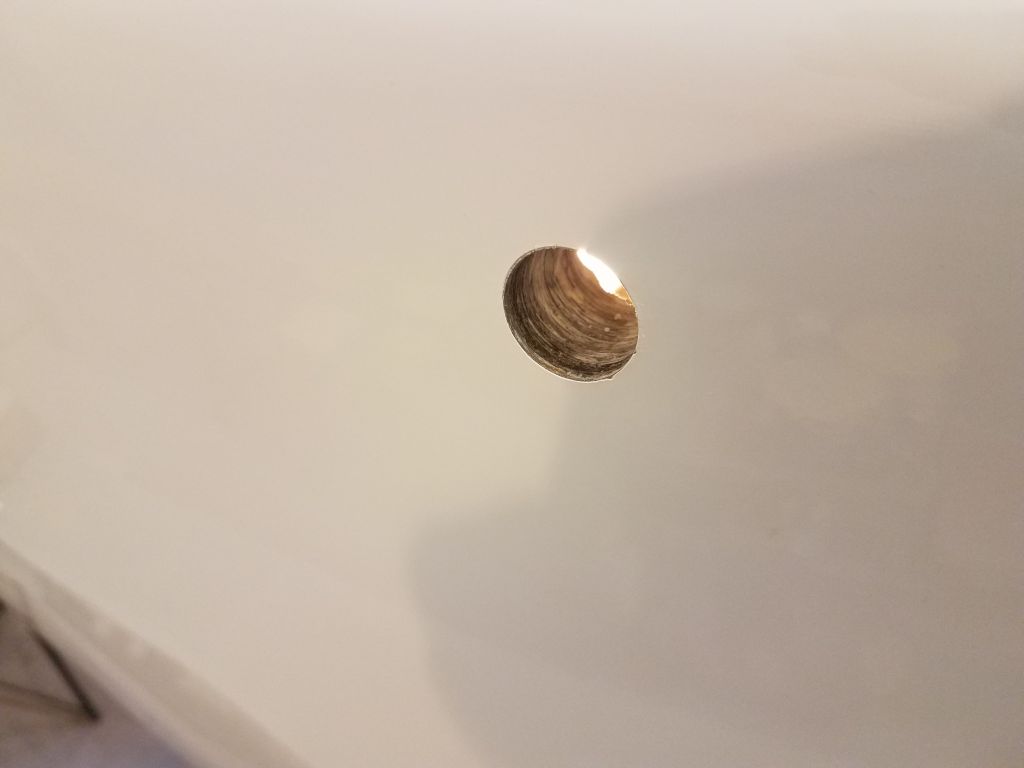
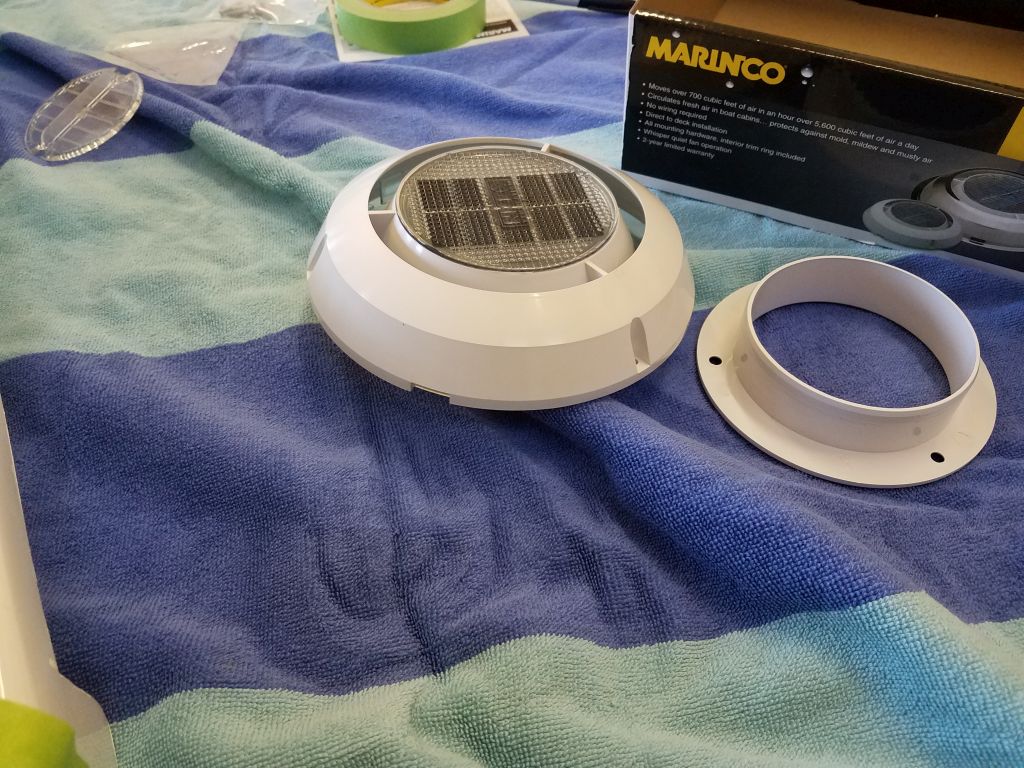
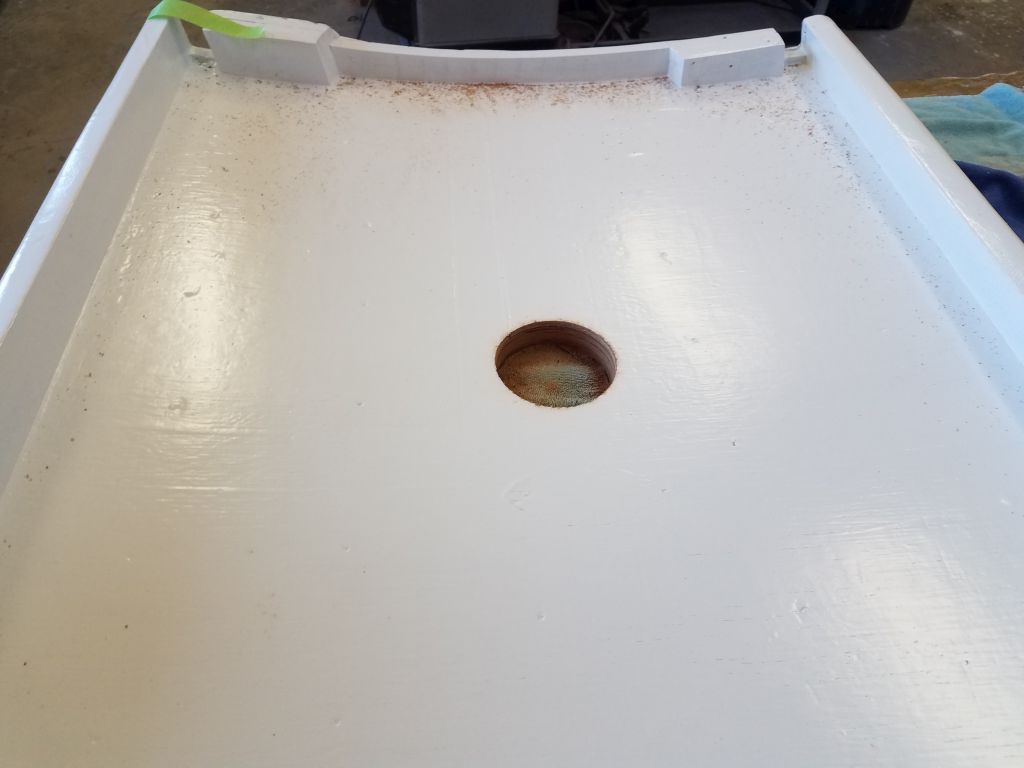
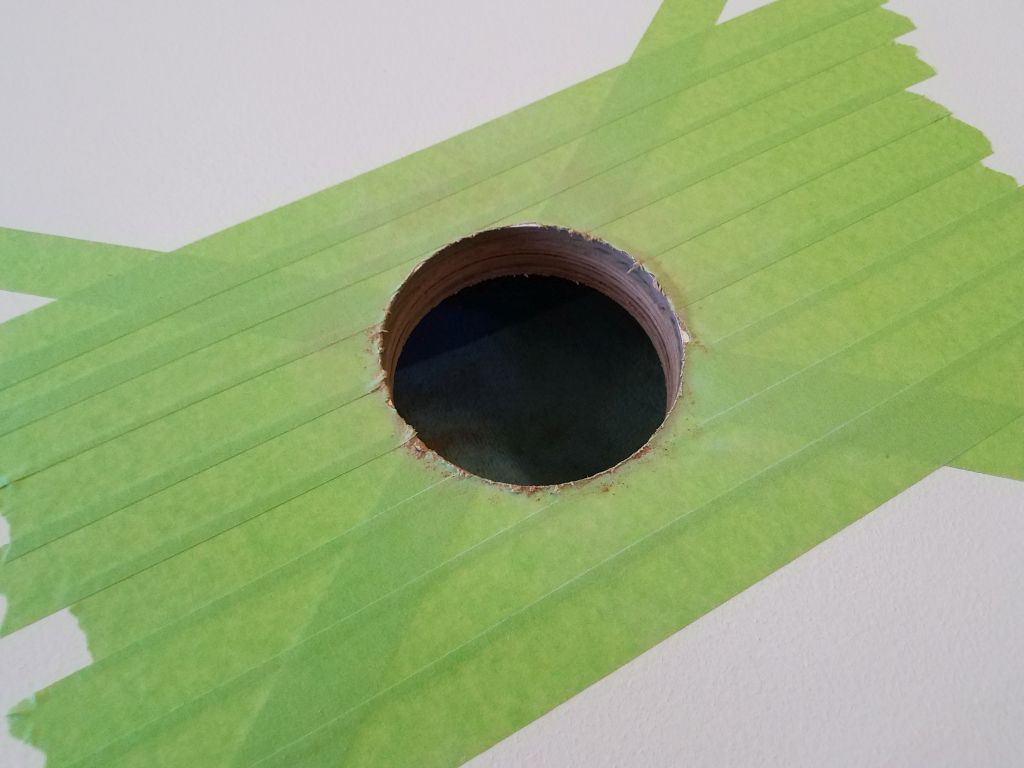
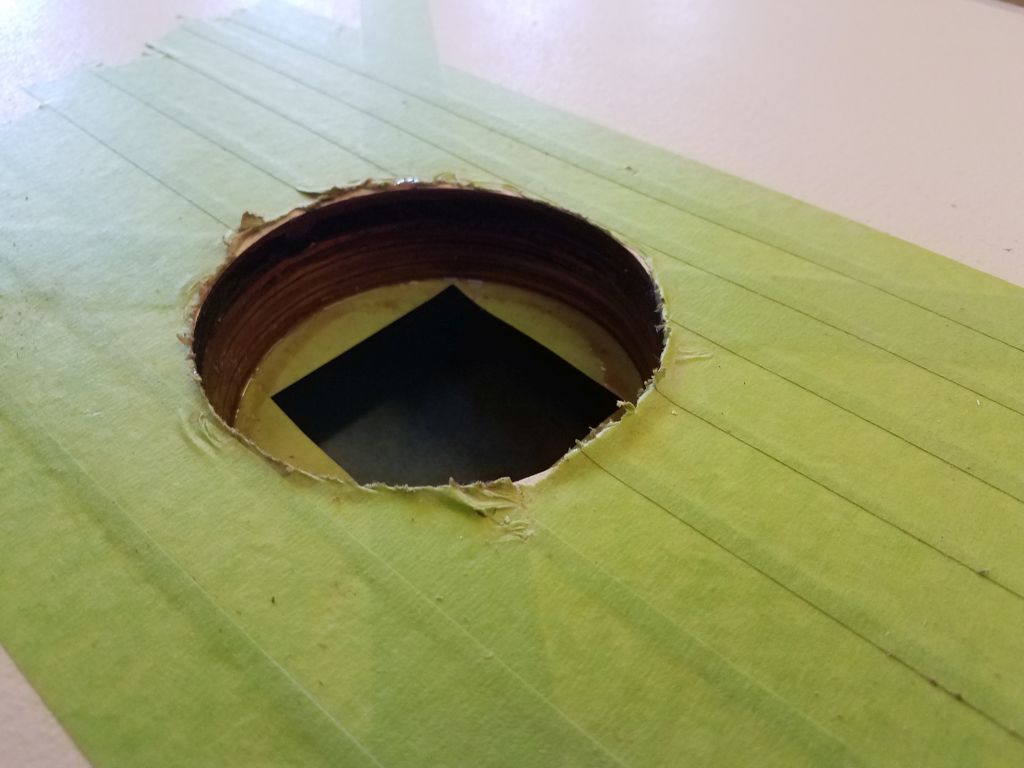
With just a little time left before I had to leave for the day, I decided to give the solar vent in the companionway another try. I’d returned the original one I’d purchased, which turned out to be much too large and deep for this application, and exchanged it for a smaller, more logically-scaled version that would work in the under 1″ thickness of the companionway hatch. I taped over the center of the hatch and made a center mark, then drilled the 3-3/4″ hole required for the fitting, starting from the top and finishing from the bottom for a clean cut.
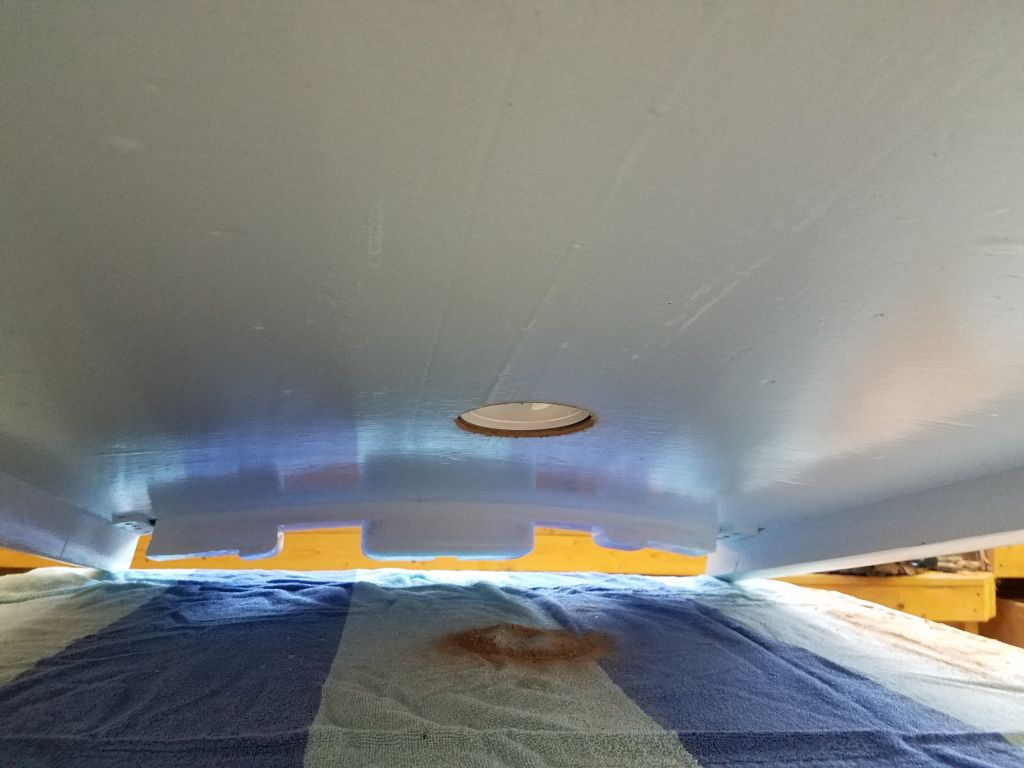
A test fit showed that no portion of the vent–neither the trim ring nor the vent housing itself–protruded below, or in fact even very near, the underside of the hatch, which is what this application required since the hatch had virtually no clearance above its coamings when installed, so I proceeded with final installation steps and coated the inside of the new hole with epoxy to protect the raw plywood within. Once that cured overnight, I could easily finish up the vent installation and then permanently reinstall the sliding hatch.


Total time billed on this job today: 5.5 hours
0600 Weather Observation: 32°, cloudy. Forecast for the day: Cloudy, then gradual clearing, 28°