


February 3, 2020
Scupper 233
Monday
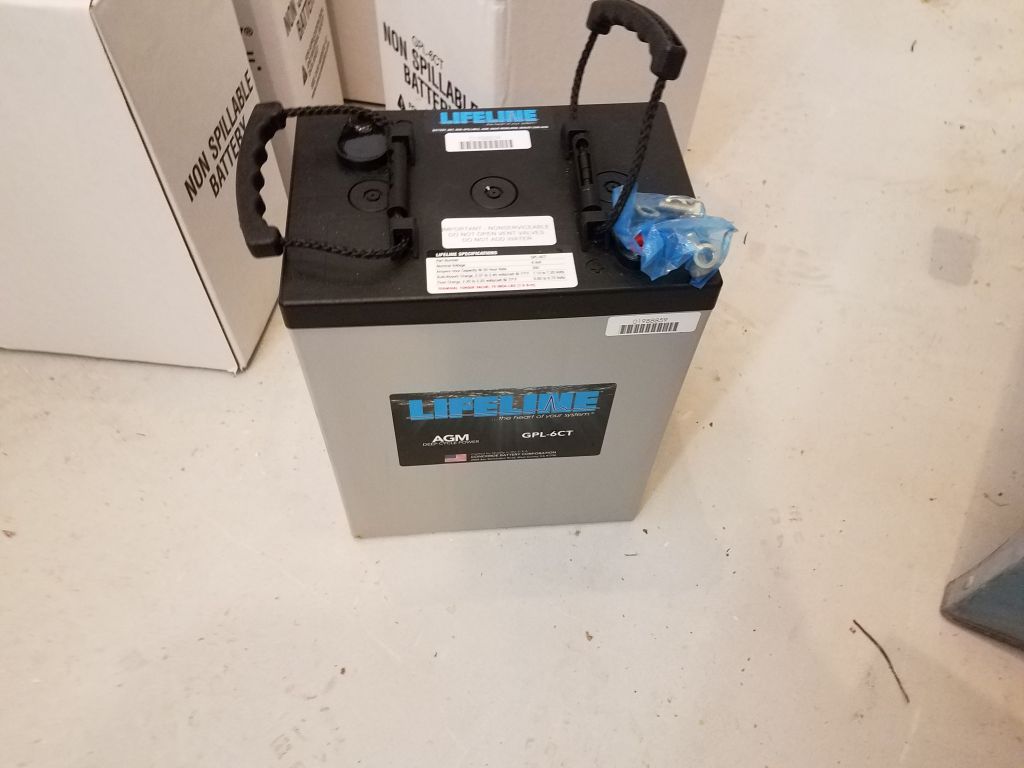
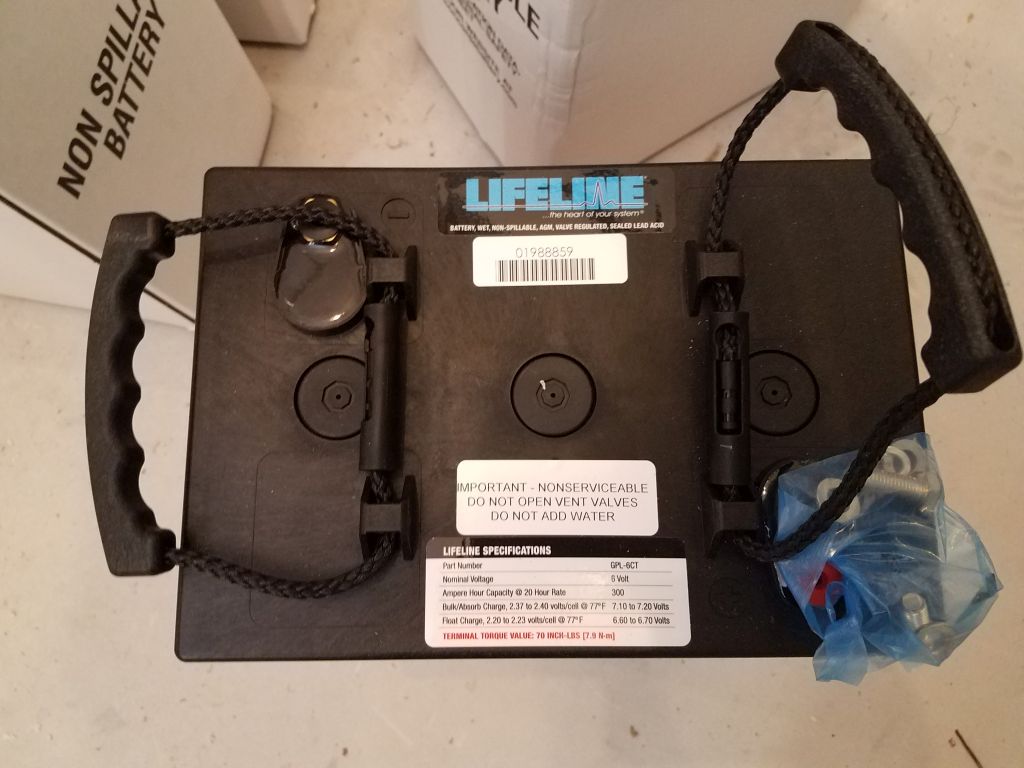
In the morning, I drove to a nearby shipping terminal to pick up a pallet of 10 new 300 amp-hour, 6-volt batteries: 8 for the electric motor (48-volt system), and the remaining two for a 12-volt house system. Once back at the shop, I broke down the pallet and unloaded the batteries piece by piece. Each weighed somewhere around 90 lb. In the coming days and weeks I planned to finalize the batteries’ installation in the boat. I test-fit one in one of the battery boxes I’d purchased some time before. As expected, the tall battery maxed out the height of the box (these were the tallest boxes I could find that otherwise fit the batteries’ general dimensions), and in order to make the lid fit properly I might need to come up with a small modification, but for now I left that problem for another day.


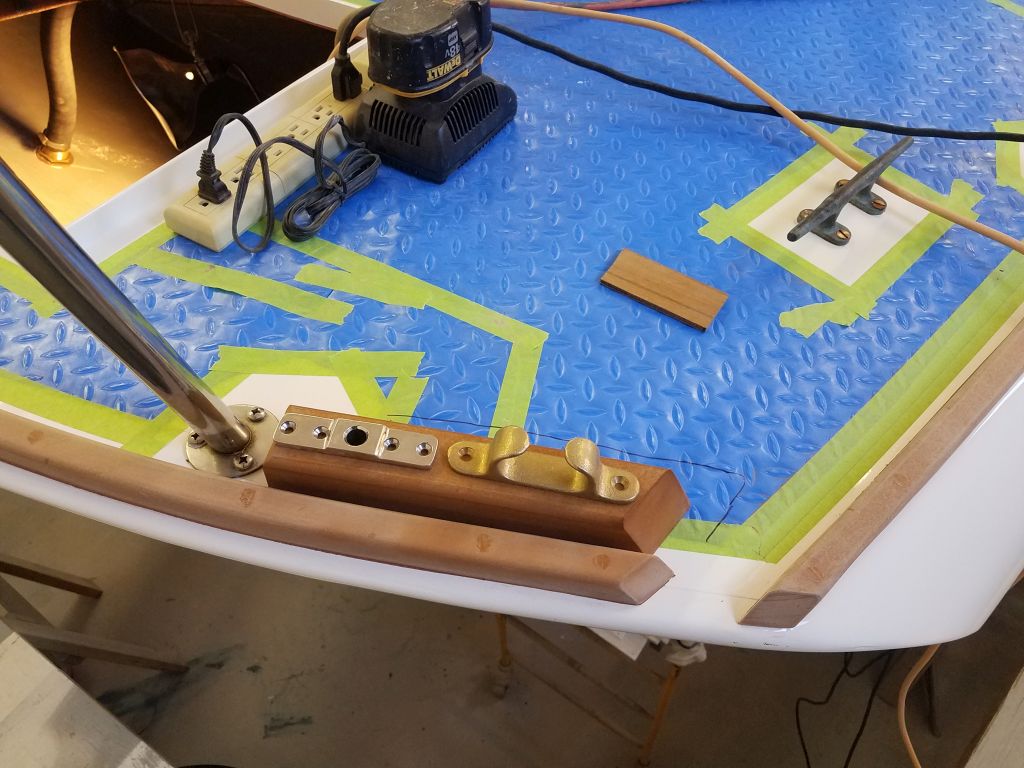
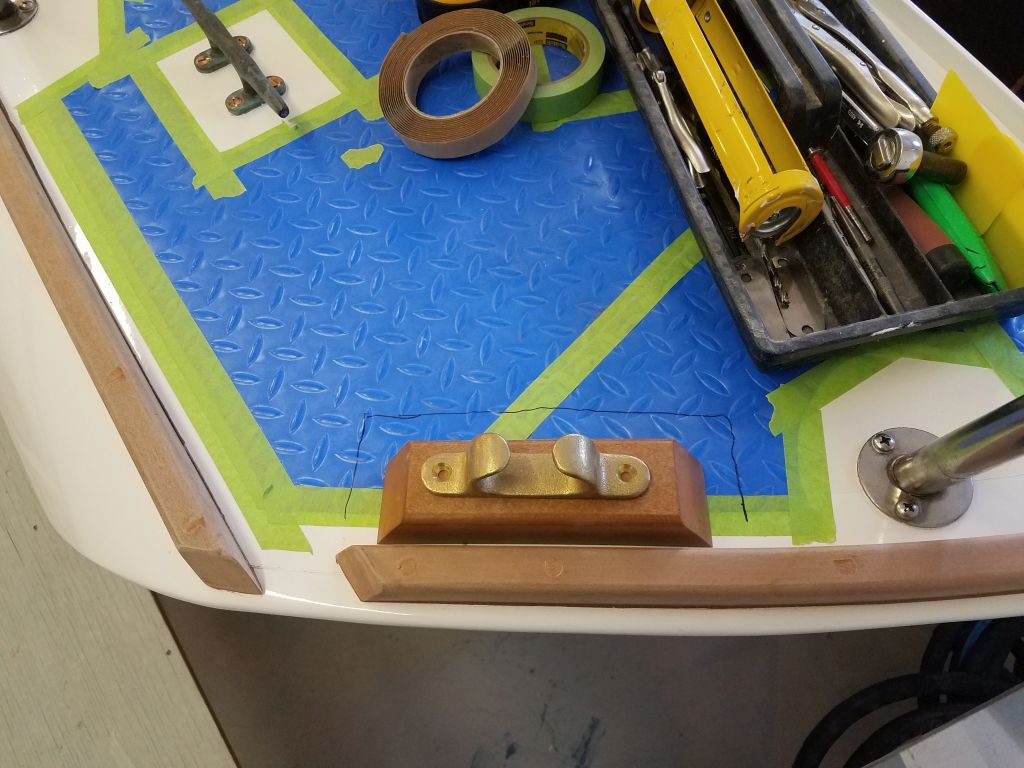
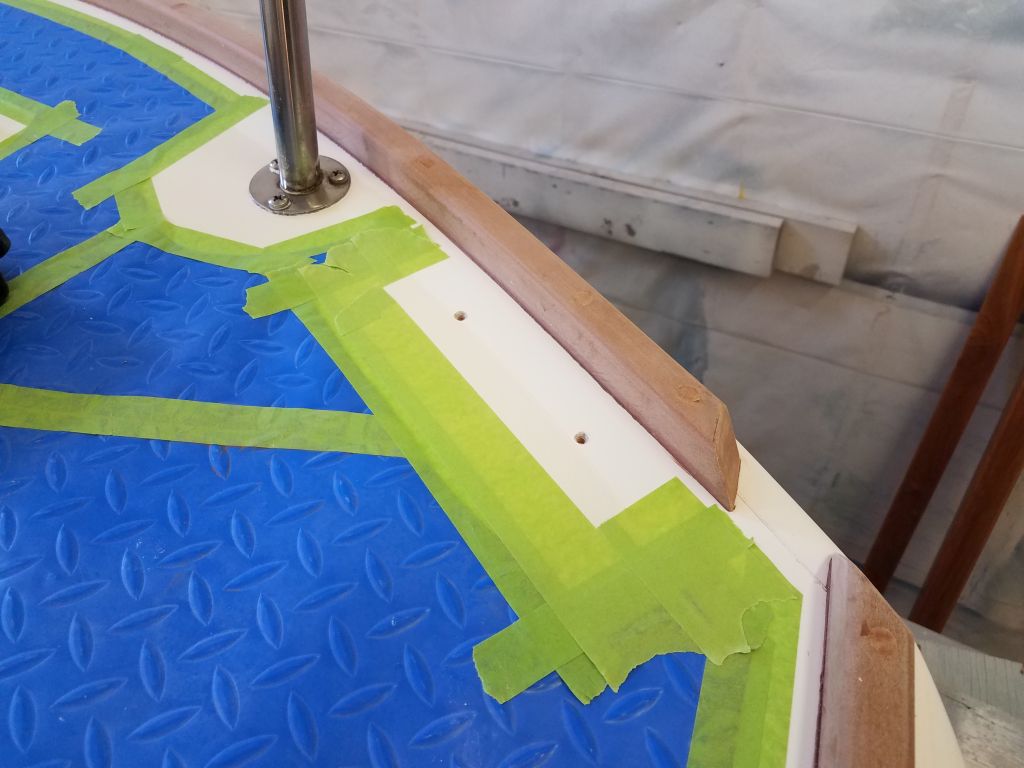
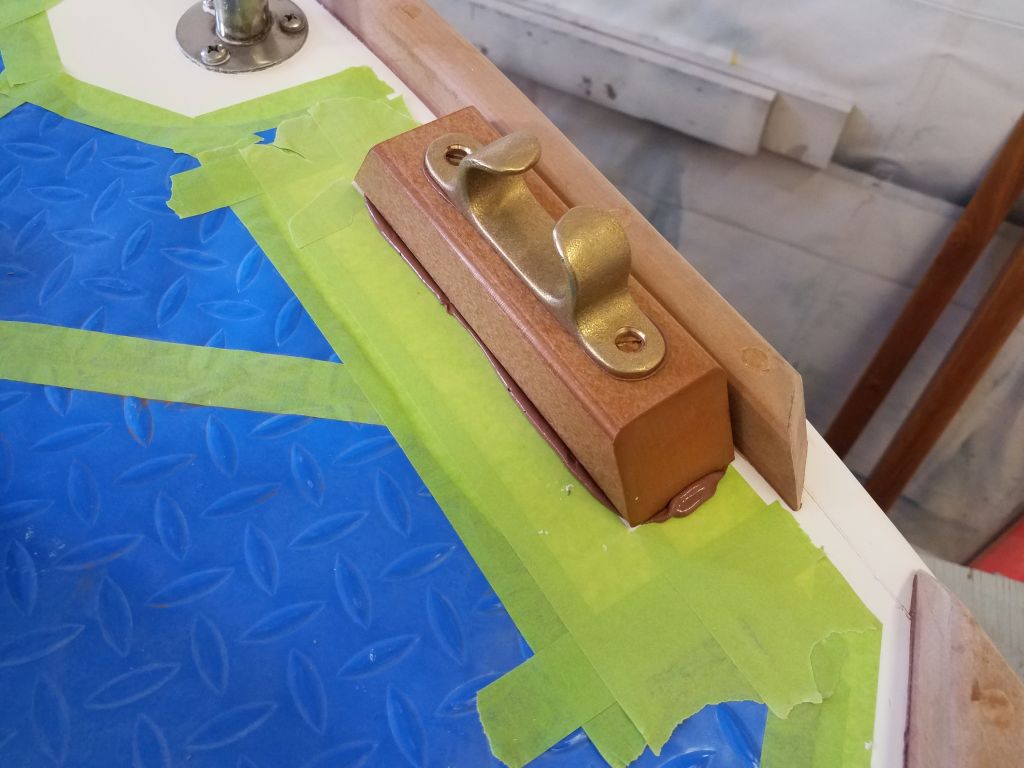
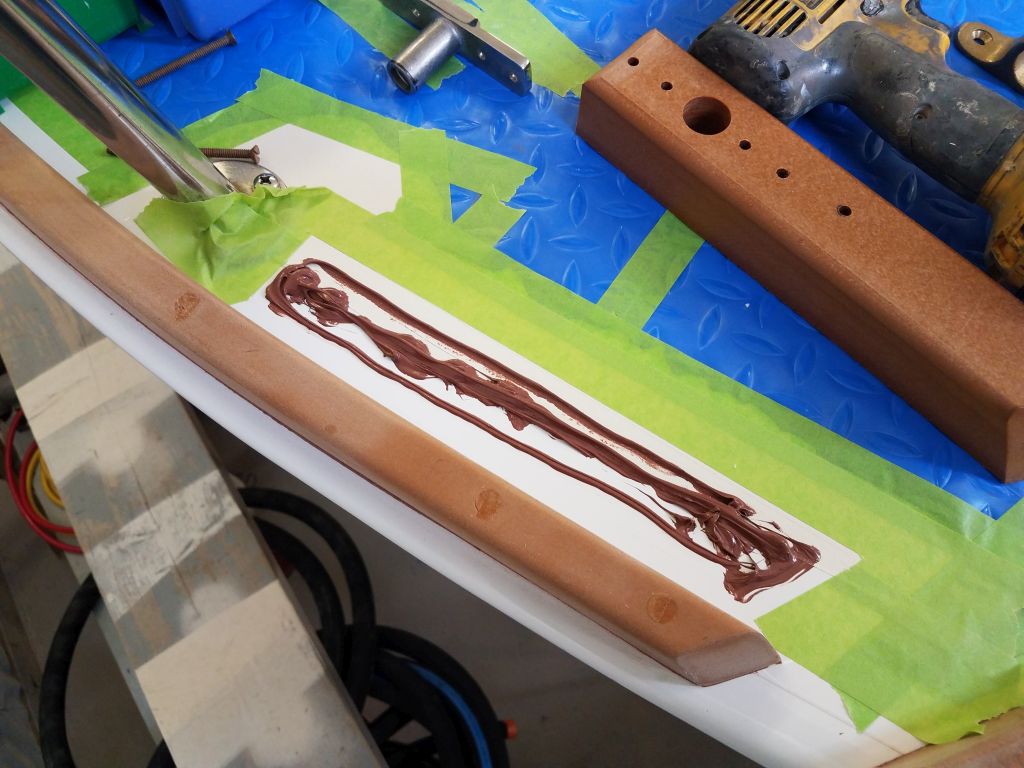
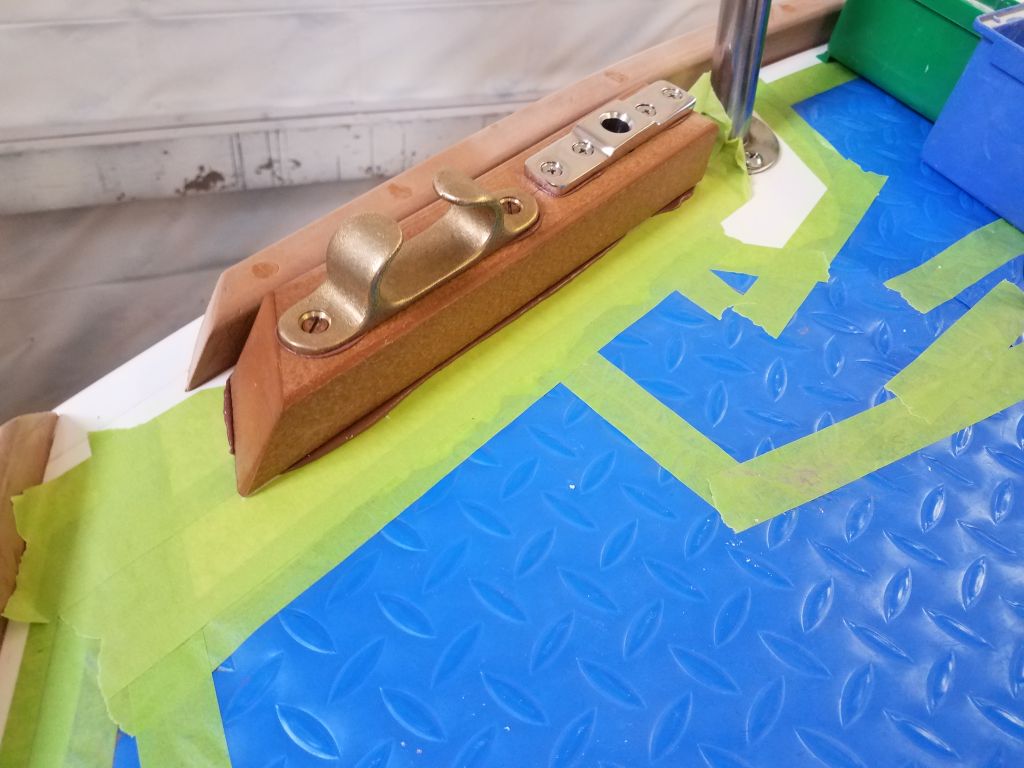
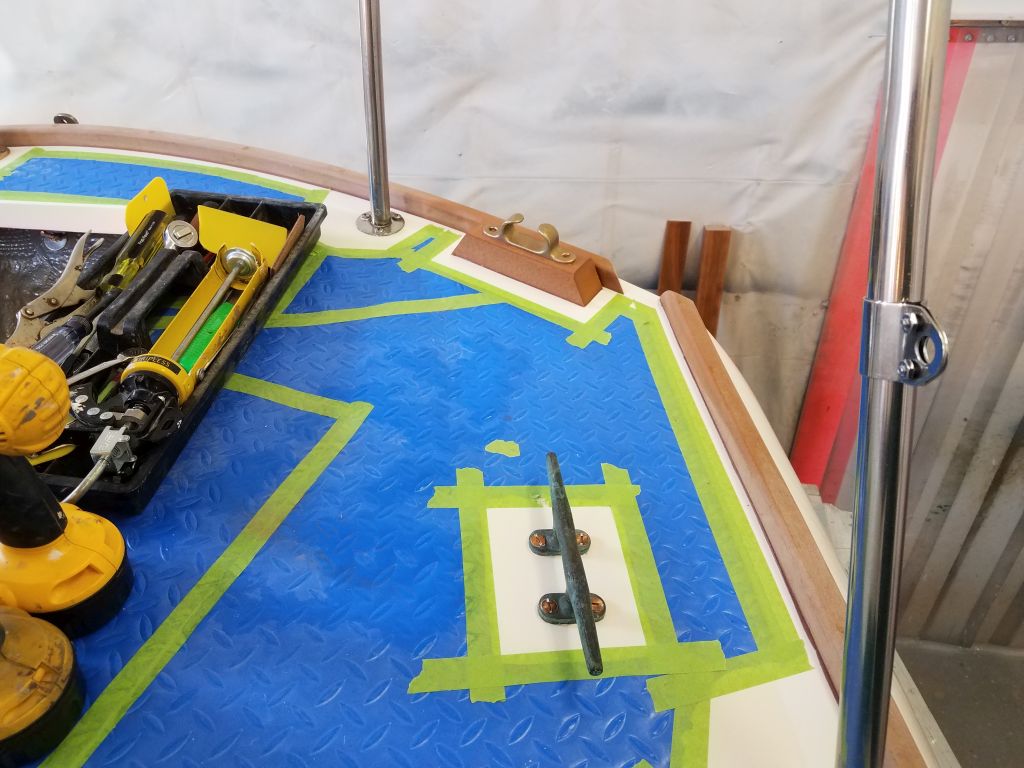
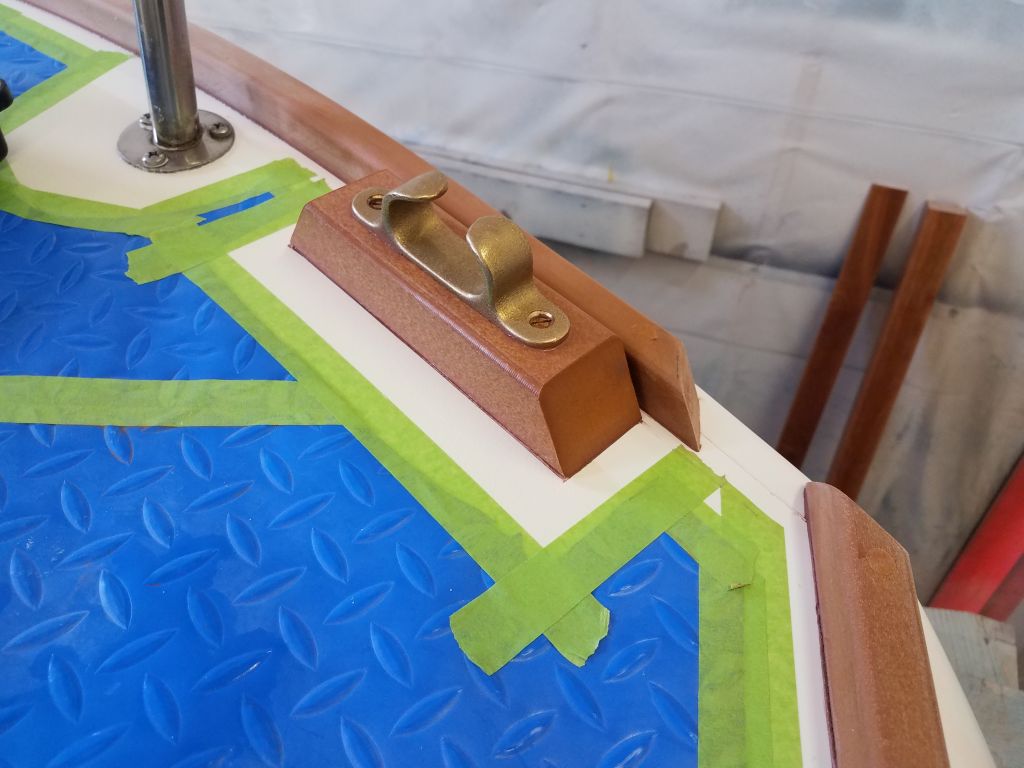
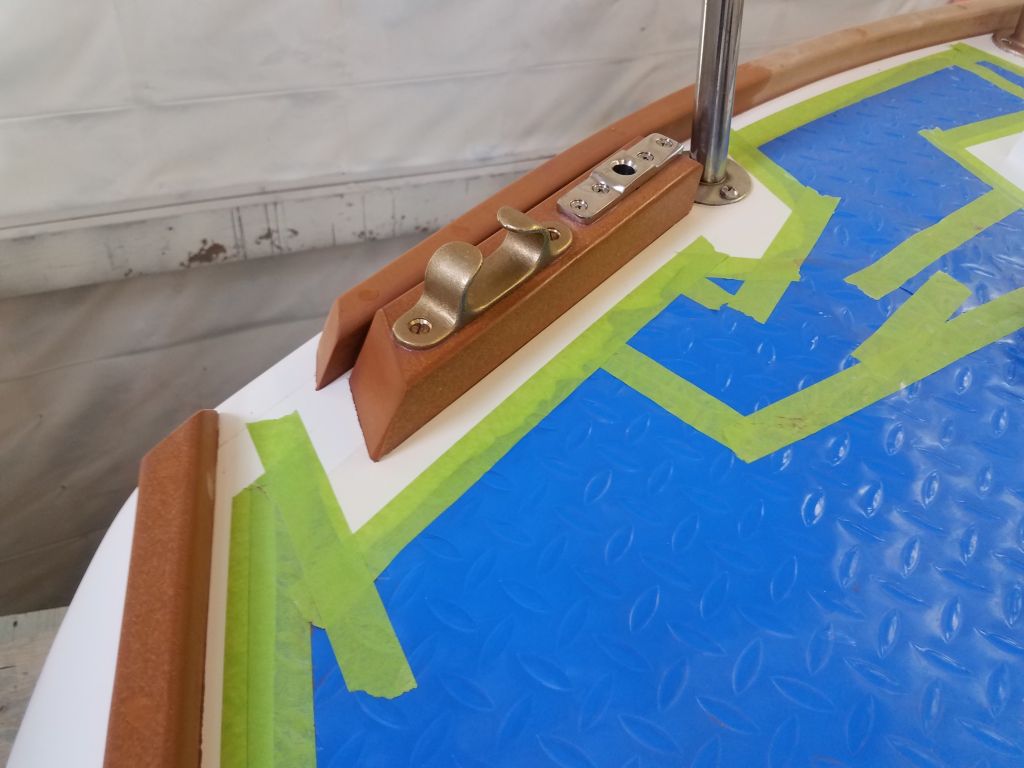
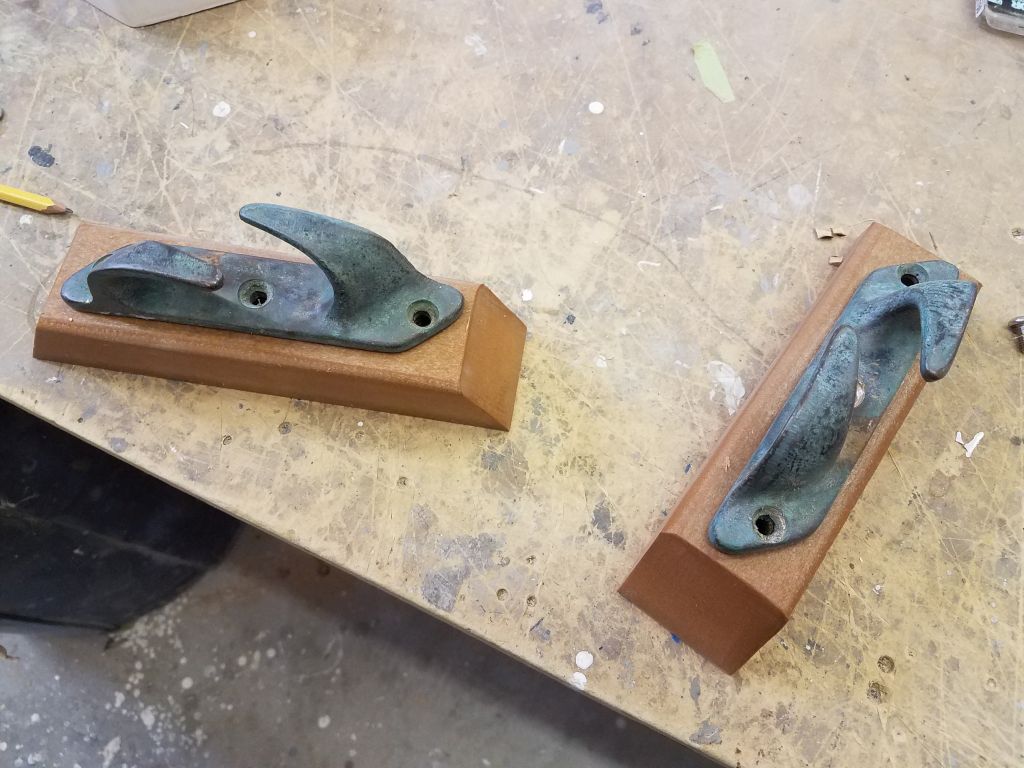
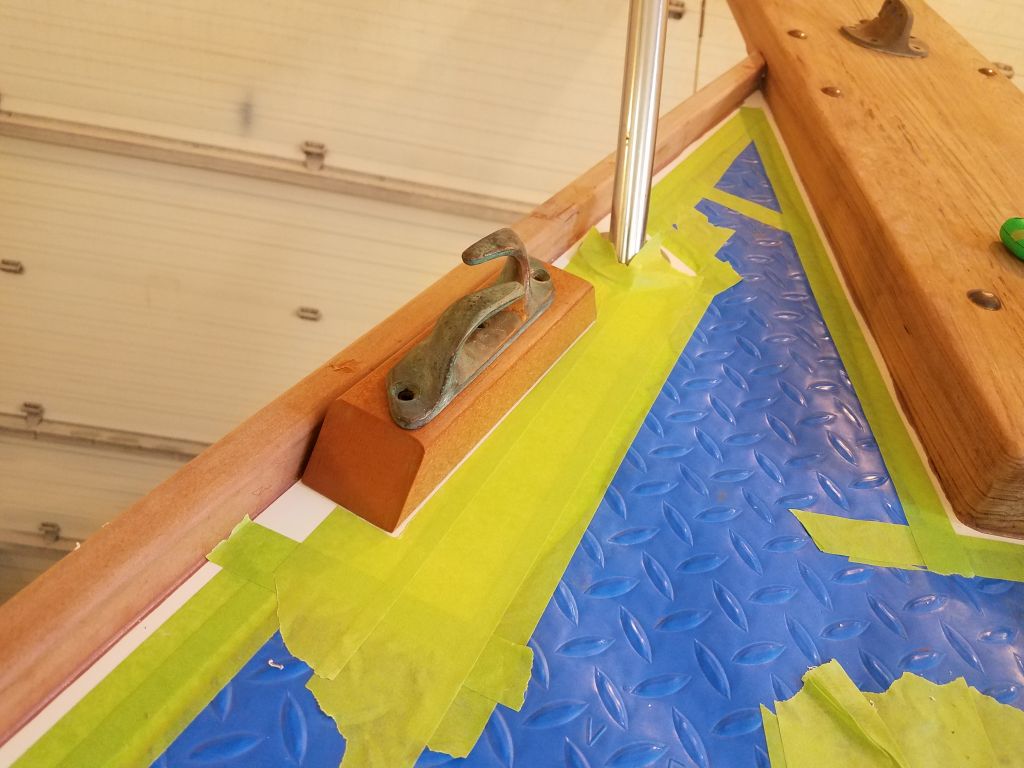
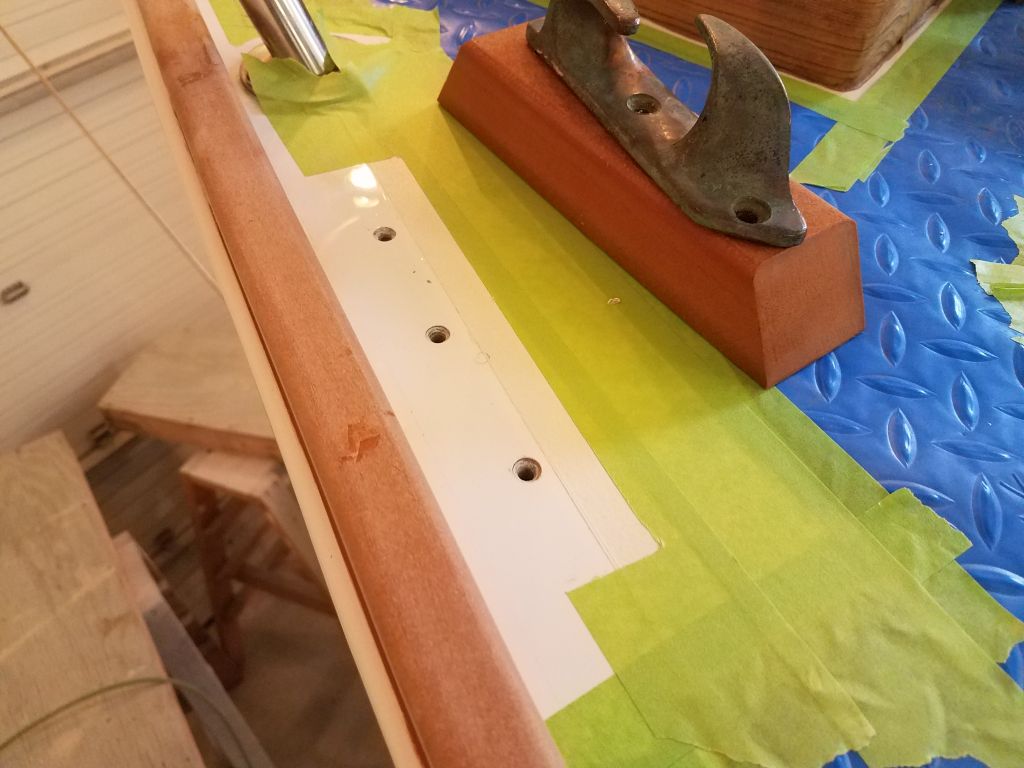
Meanwhile, I prepared for a meeting at the shop with my local sailmaker, who arrived to measure and discuss details, as well as assist in planning the locations of the jib and staysail tracks. Afterwards, I turned to the day’s first real work: installing the stern chocks and oarlock socket. The boat had not come with stern chocks; the ghosts of their locations was still visible on the poop deck when the boat arrived here originally, but no chocks were installed, so I purchased a pair of bronze chocks to suit. I built a riser for the port chock so lines would clear the toerail, angling the short ends for appearance. On the starboard side, I found I had to make a new riser block to incorporate both the chock and the oarlock, as space there was at a premium and two separate risers didn’t make sense. While I was at it, I made angled risers for the two original bow chocks as well. Later, I discarded the double-length riser seen at the bottom of this photo in favor of a new one with a different end design that better matched the requirements of the location, as seen in later photos of the installation process.

After pre-drilling the risers with oversized holes for the fasteners, I used the blocks to mark the deck accordingly and went through the usual steps of masking off around the new fixture, and the normal drill/tap fastener hole preparation before installing the new hardware with sealant and new bronze and stainless fasteners as needed.


With the new riser blocks and bow chocks, I prepared the foredeck for the final installation, marking the block locations, masking off, and drilling and tapping the fastener holes on both sides (though I only photographed one side, apparently). I needed fairly long 1/4″ bronze fasteners for the chocks, which I didn’t have on hand, so I ordered what I needed, along with some extra-long 5/16″ bolts for the foredeck cleats since I found the ones I had on hand weren’t long enough since that part of the foredeck also incorporated an extra layer of reinforcing plywood beneath the deck proper, plus the 3/4″ thick wooden backing blocks required for cosmetic purposes in the exposed mounting location in the forward cabin. Now everything on the foredeck was ready for final installation as soon as I received the needed fasteners; I also planned to install the bronze fitting for the inner forestay, which installation I’d been putting off since it would mean another highly uncomfortable foray upside down into the tiny chainlocker to finish.

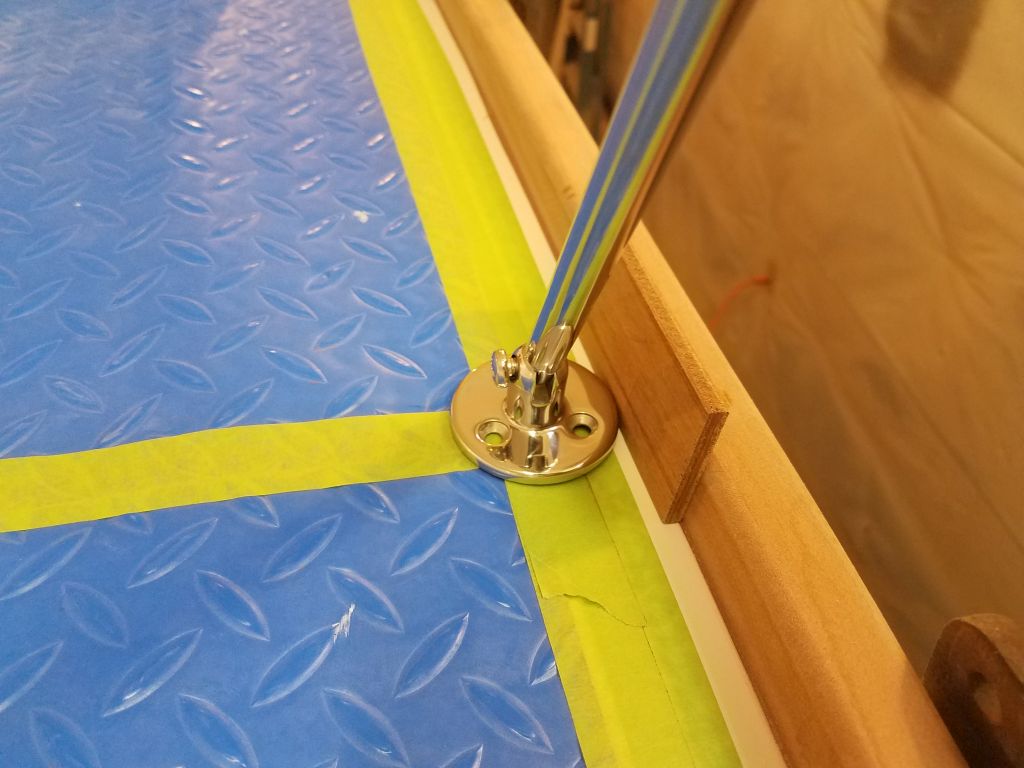
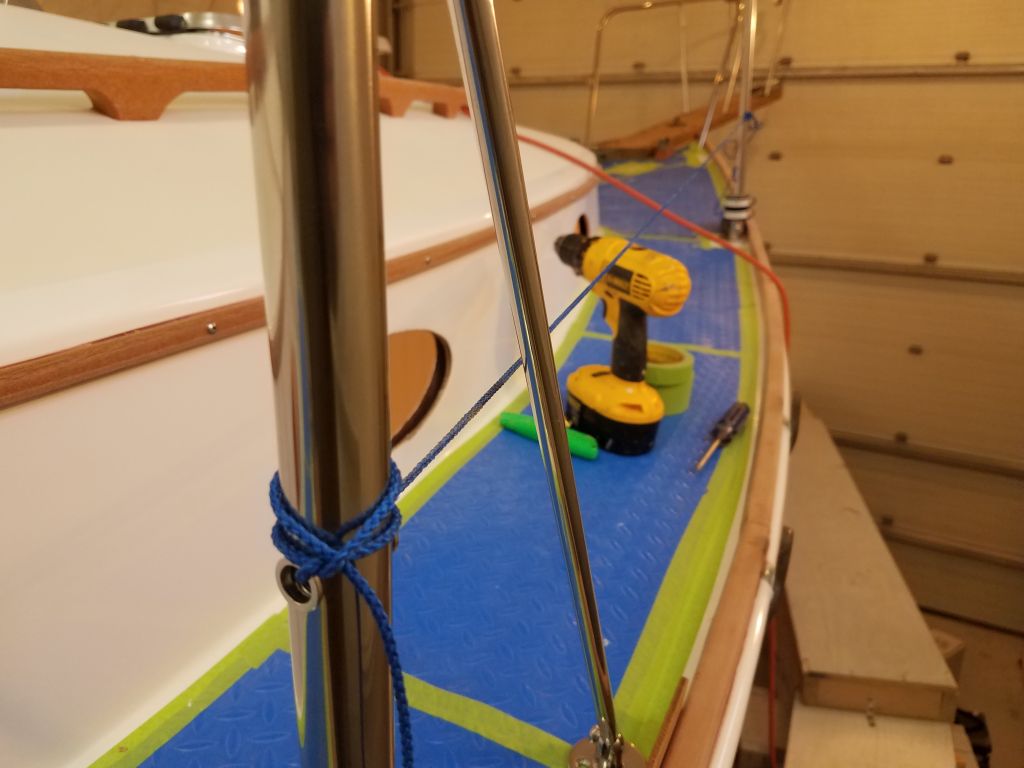
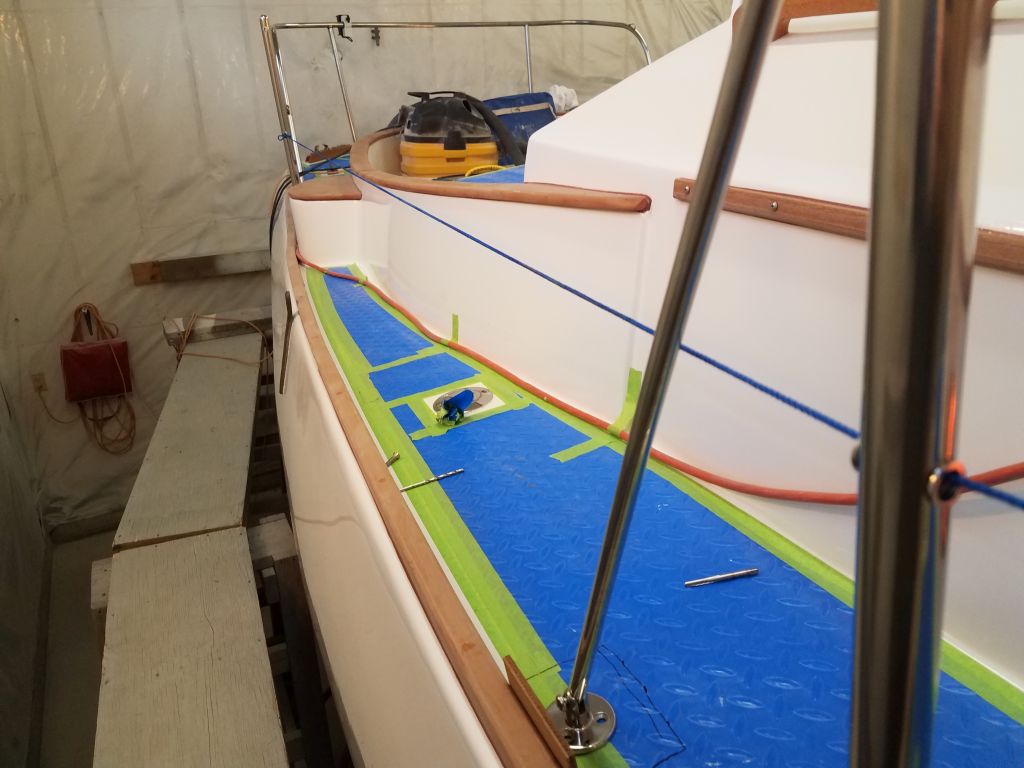
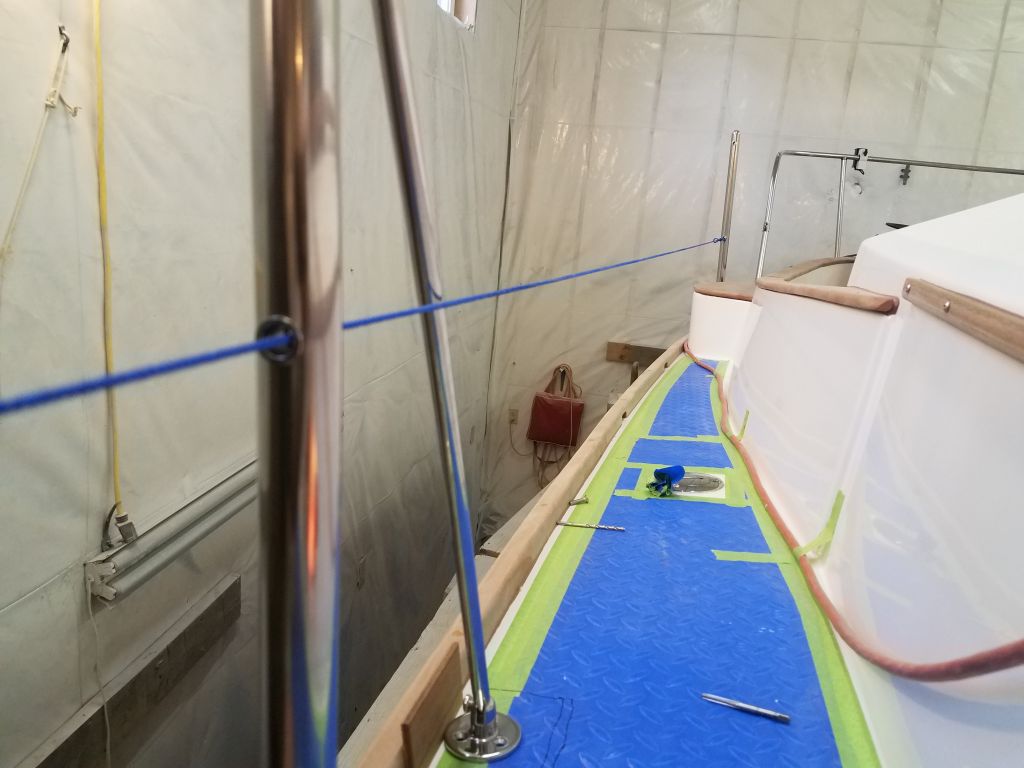
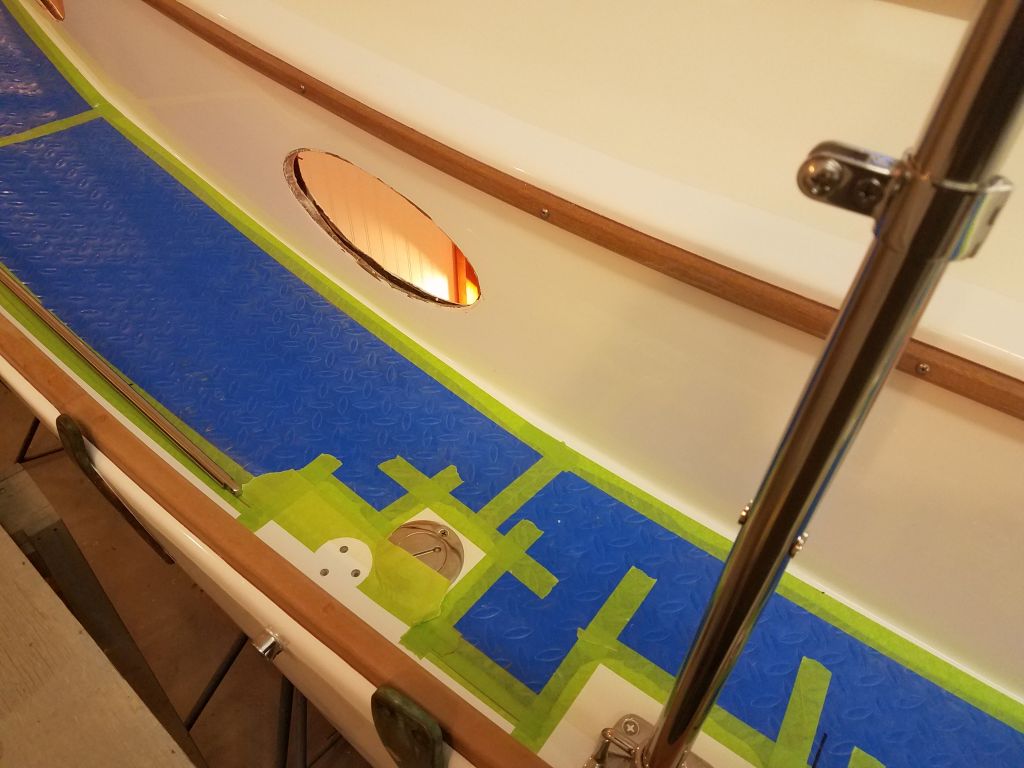
To properly support the stanchions and lifelines at the new gates on each side, I needed to install gate braces fore and aft, at either side of the opening, so with the braces in hand I prepared their installations. These particular braces featured a hinged tubing connector that allowed installation despite the protruding ferules at the lifeline locations. Starting on the starboard side, I laid out the braces, ensuring the braces stayed clear of the lower lifeline by stringing an analog line with some twine. Maintaining my now-standard 1/4″ spacing to the toerail, I marked and prepared the deck for the eventual fasteners that would secure the small bases. The decks here were solid fiberglass on both sides, so but for a lack of time before the end of the day I could have completed the installation; as it was, it would be quick to finish up the installations next time.


Total time billed on this job today: 8 hours
0600 Weather Observation: 23°, mainly cloudy. Forecast for the day: Mostly sunny, 41°