


November 26, 2019
Scupper 191
Tuesday
The four loose hatches (cockpit locker lids, lazarette hatch, and companionway hatch) were a bit of a loose end, as their undersides required painting. This had been on my list for a few days, but I’d not been able to get to it, but now I masked off each hatch as needed and did any final surface preparations, then applied a coat of gray Bilgekote to the storage area hatches, and a white primer coat to the underside of the companionway.


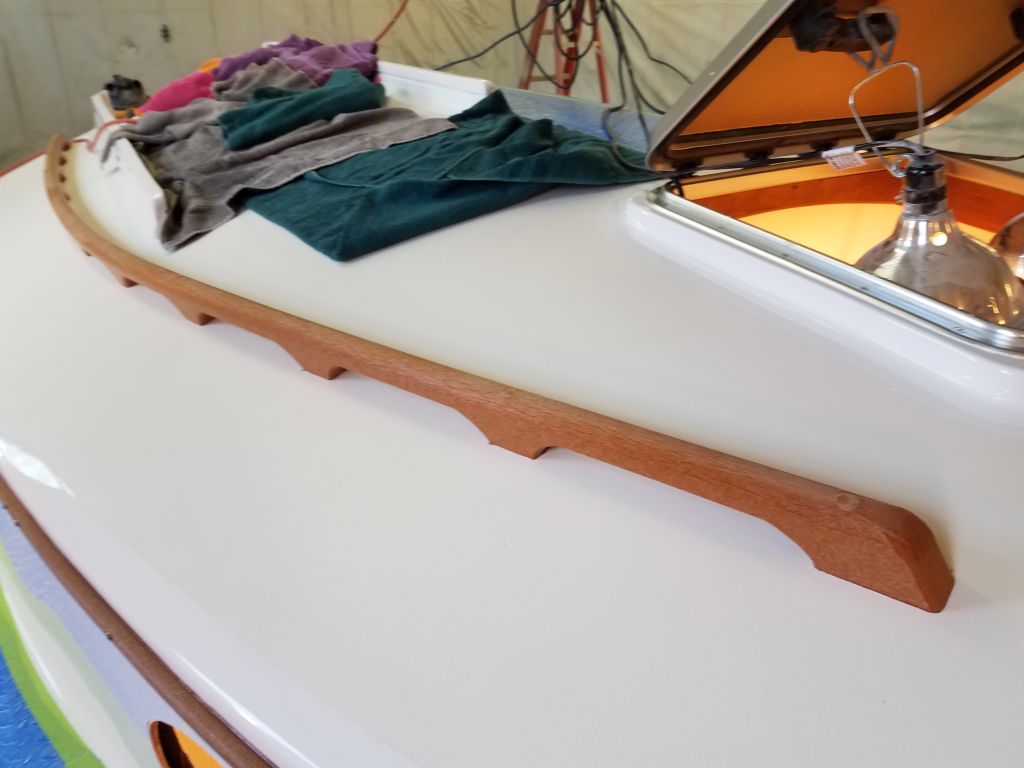
The larger screws I’d used to secure the handrails required 1/2″ plugs, which I’d not ordered along with the plastic material as I’d not thought of it. However, I found there was no problem using a piece of scrap and a normal plug cutter to mill the plugs I needed, and afterwards I installed them in the handrails to complete the installation.
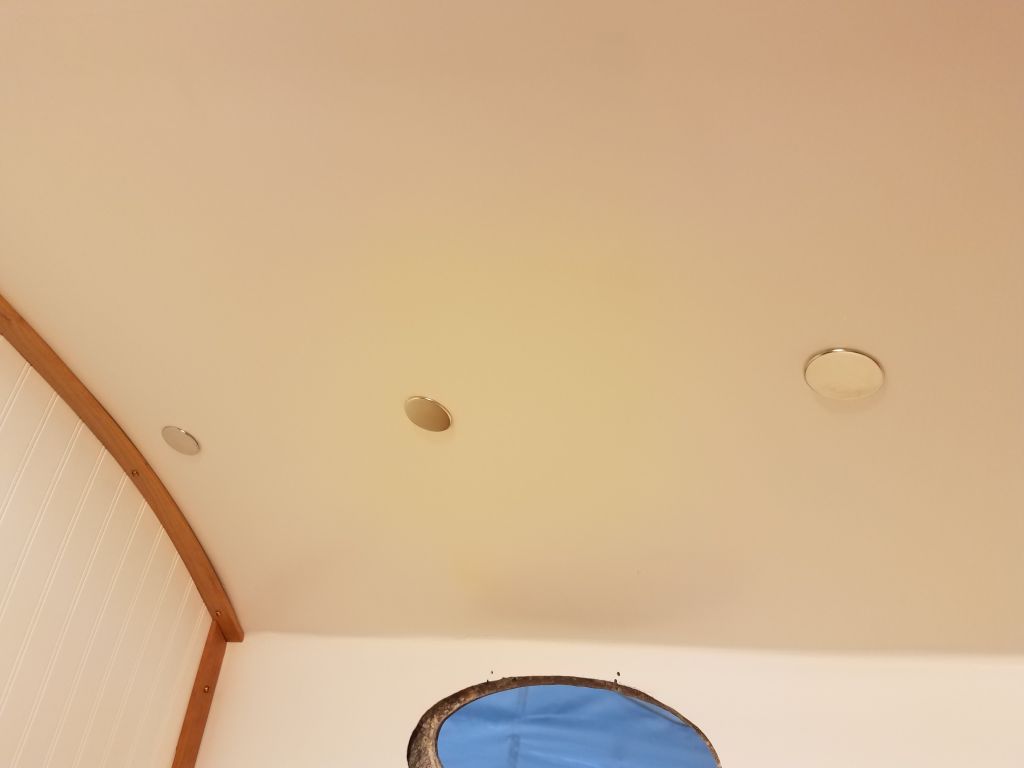
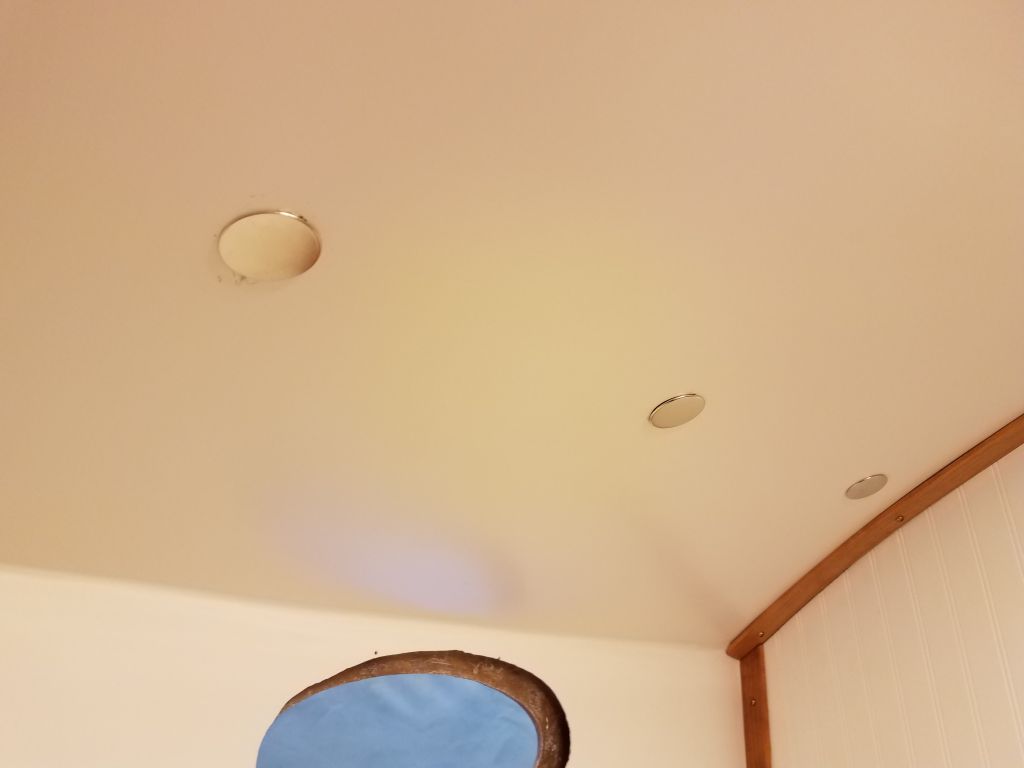
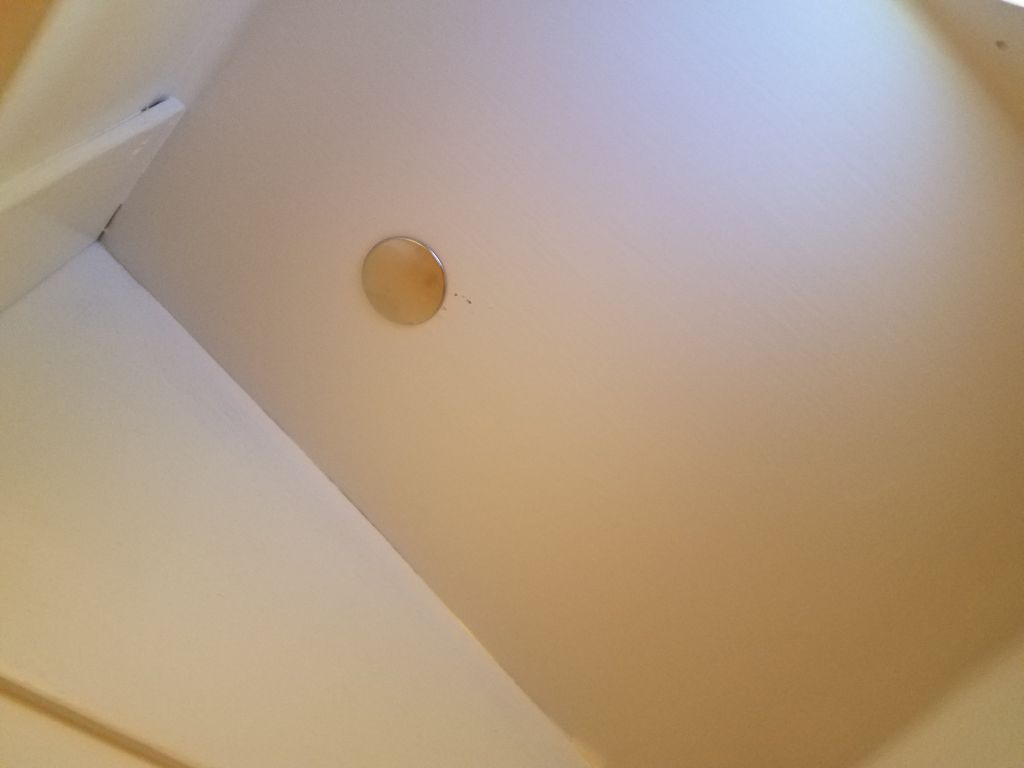
In the finished overhead in forward cabin, and also in the head, I installed some cover caps over the holes I’d drilled when I installed the handrails.
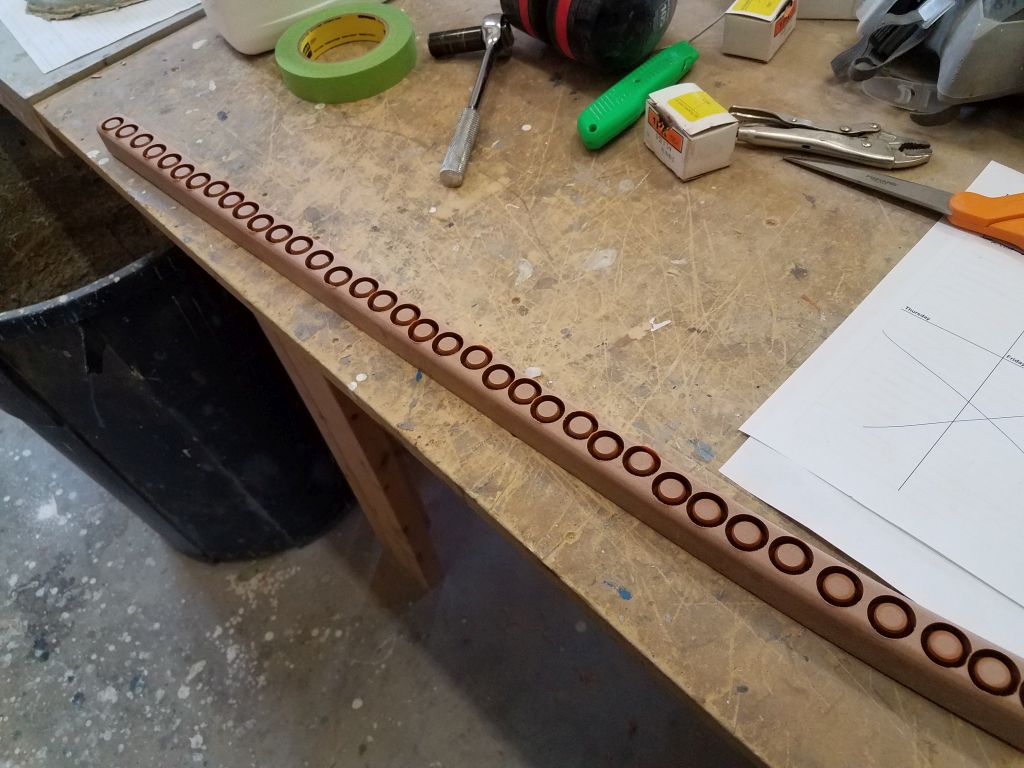
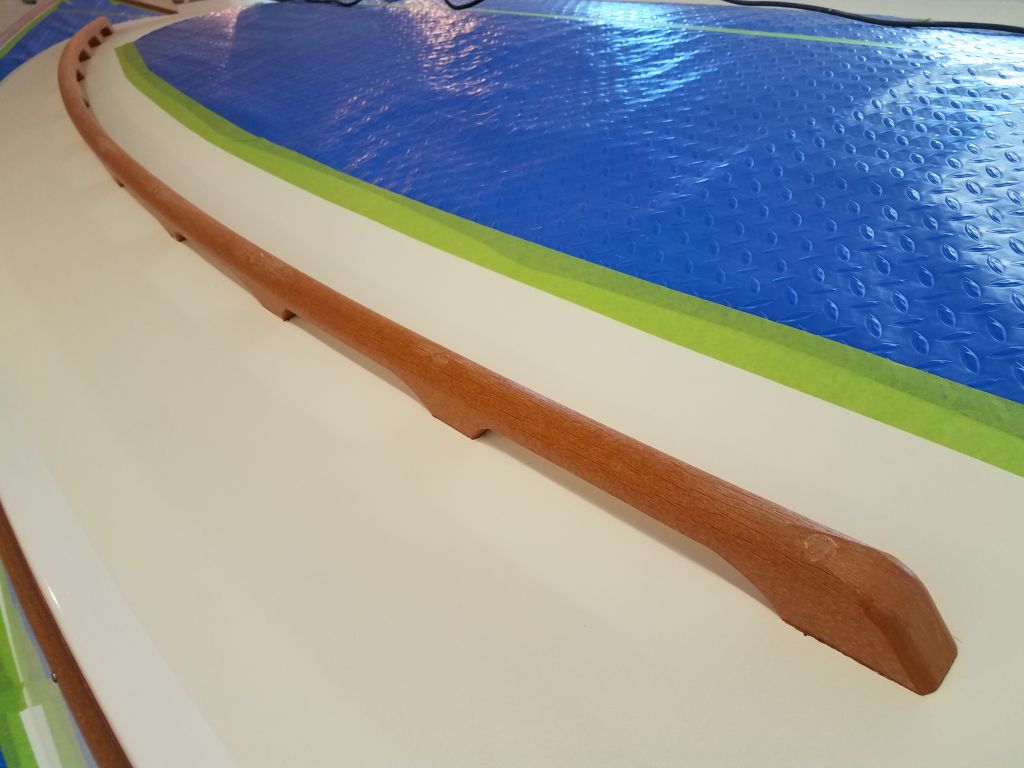
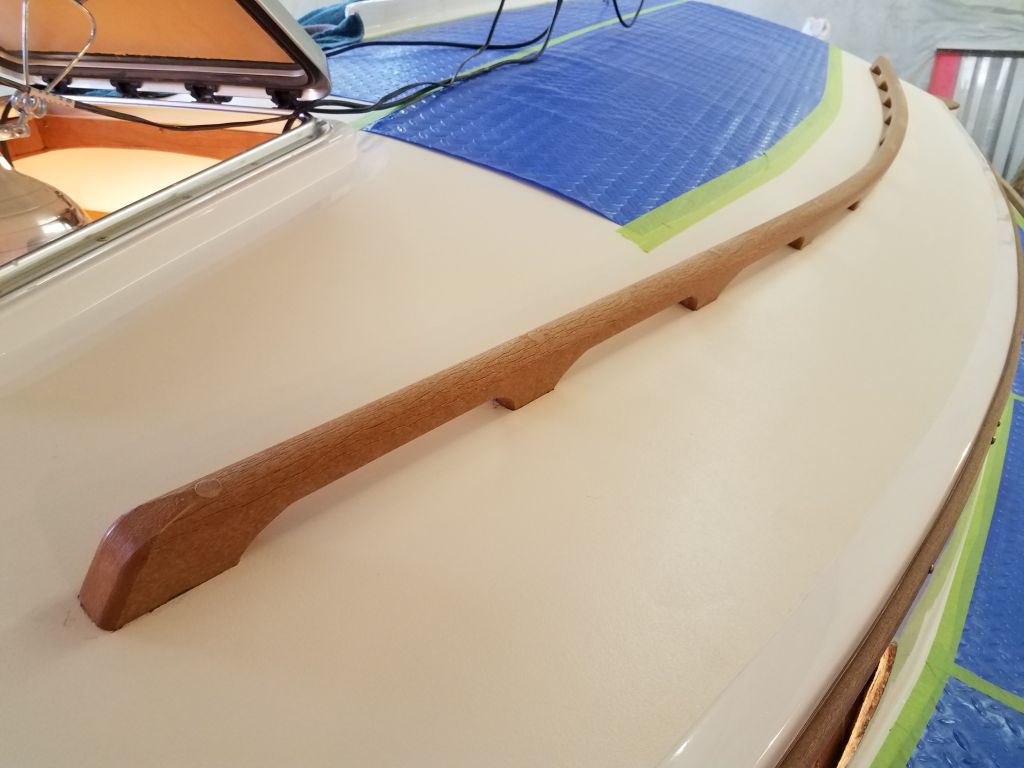
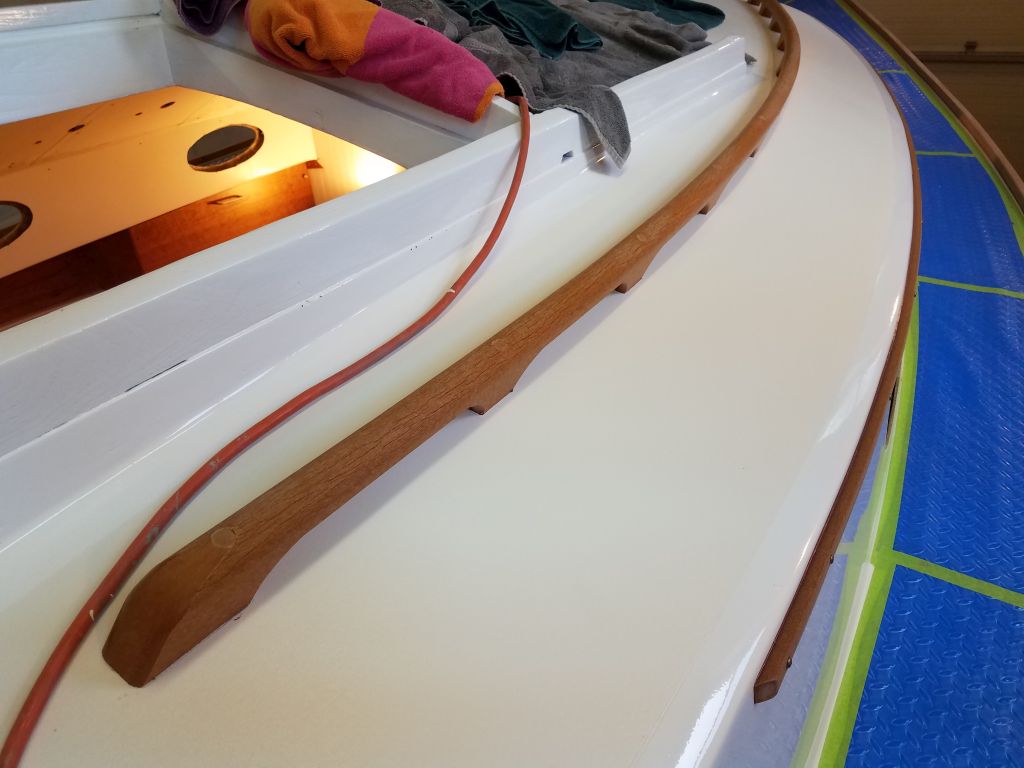
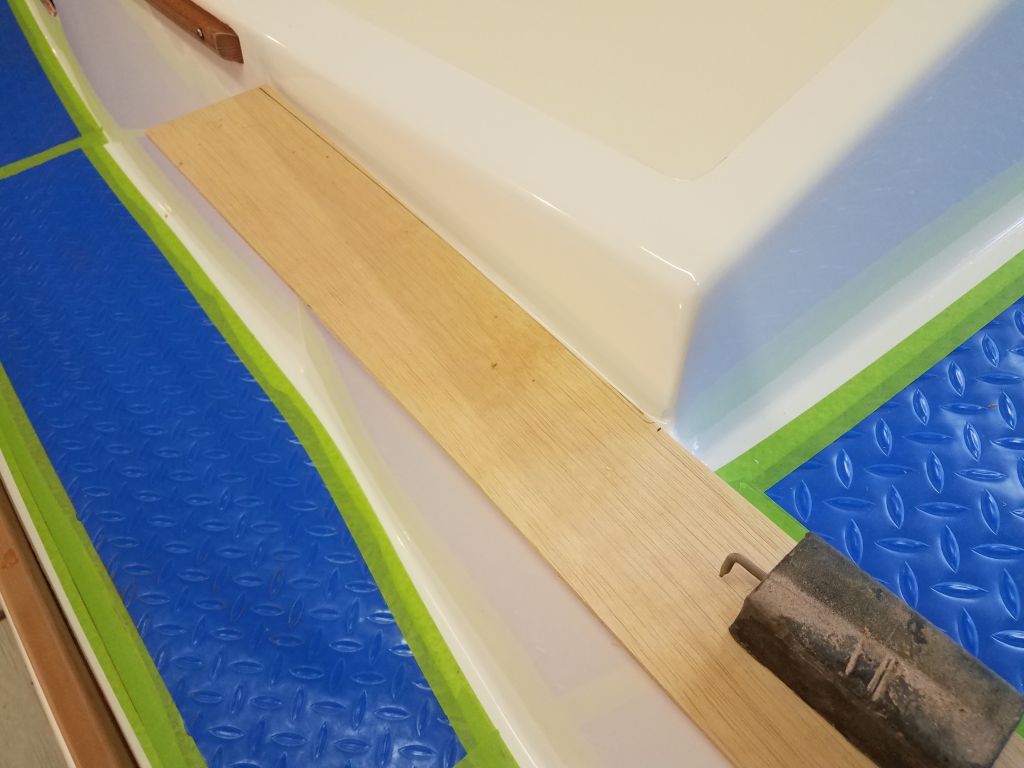
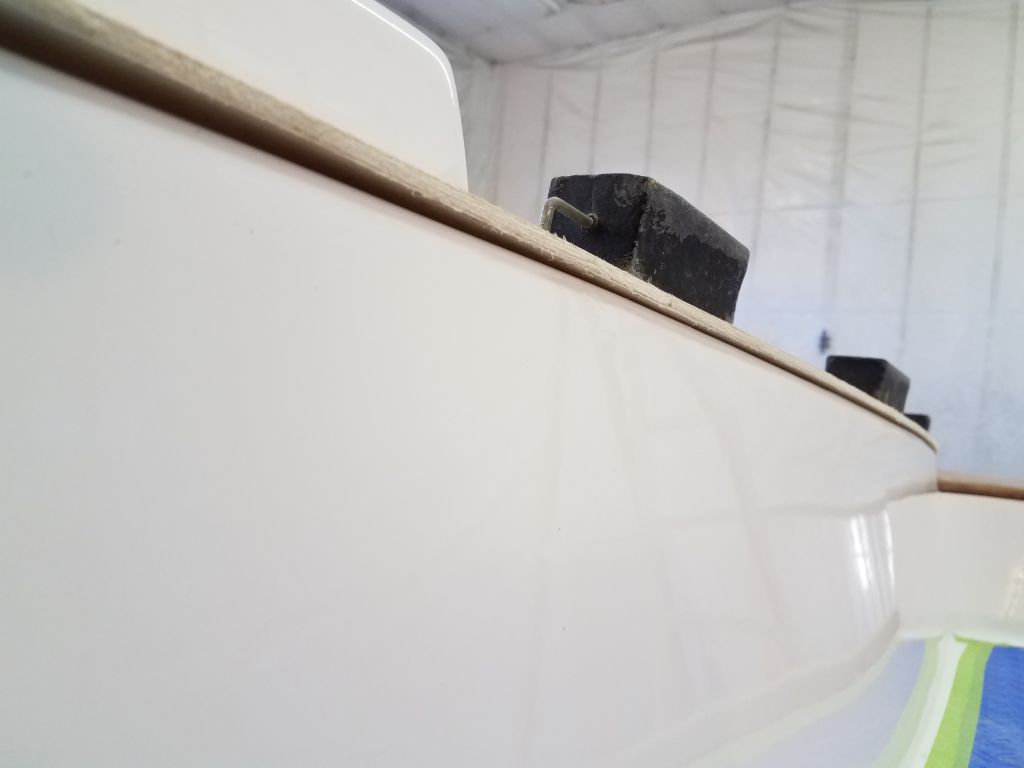
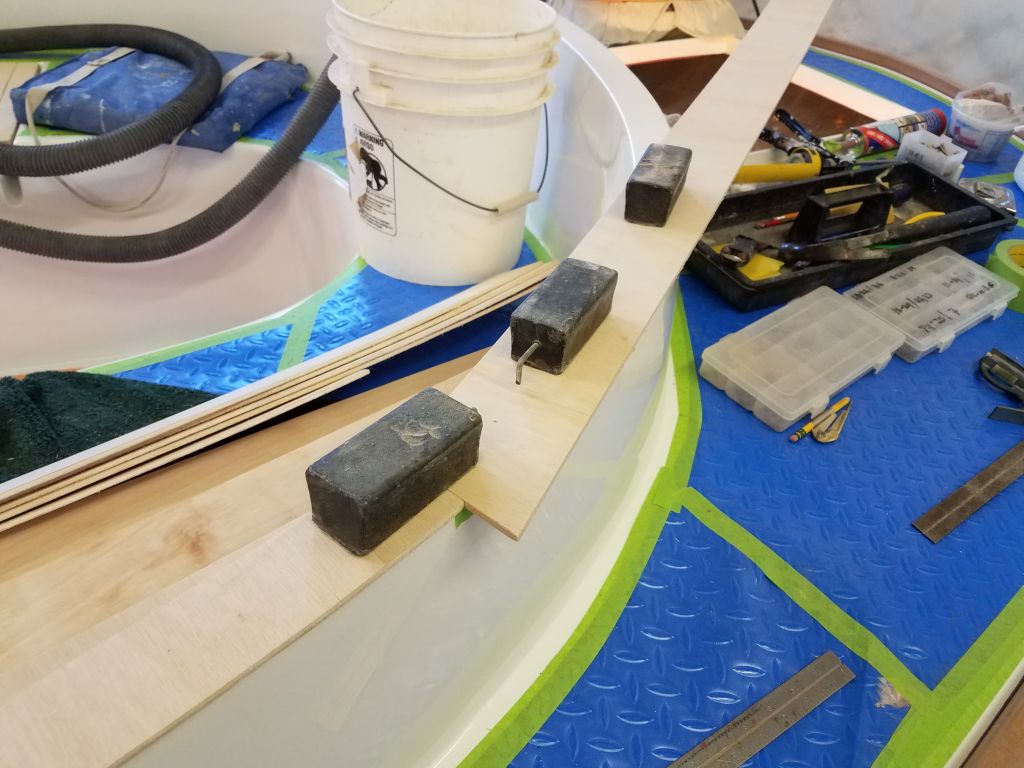
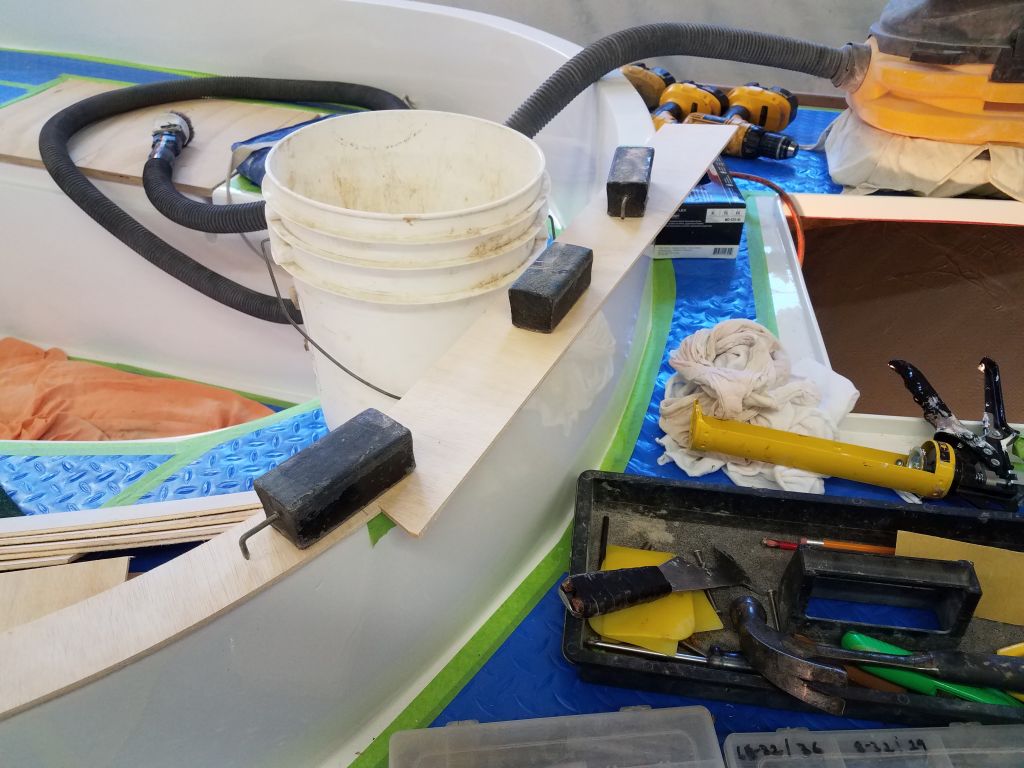
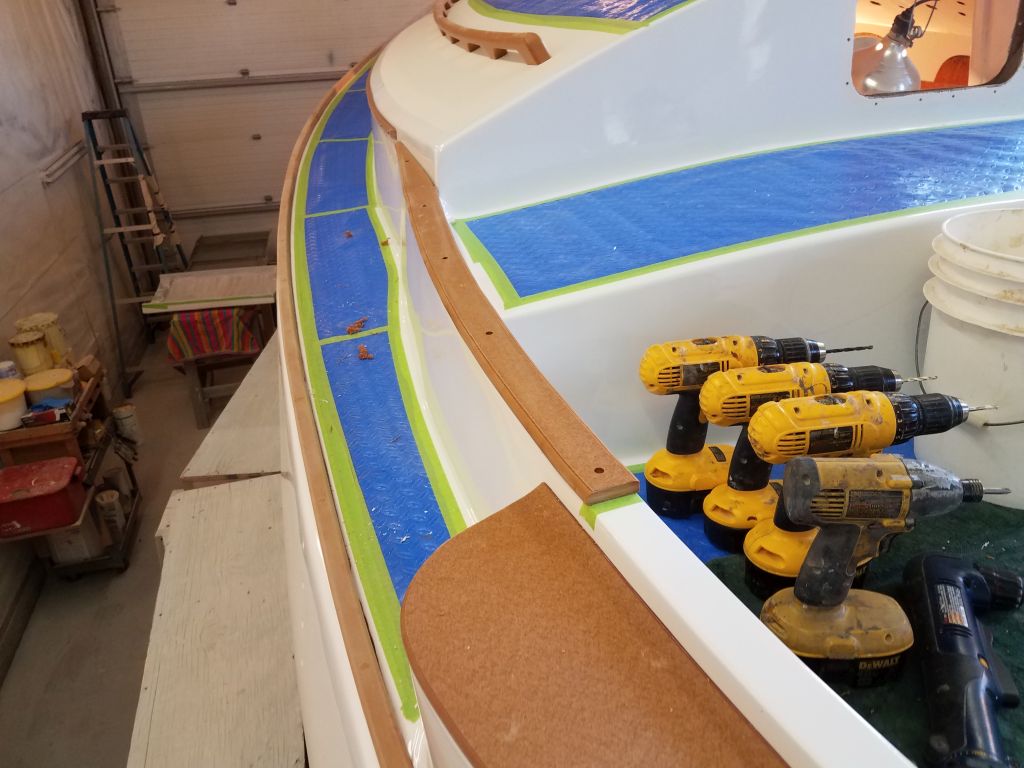
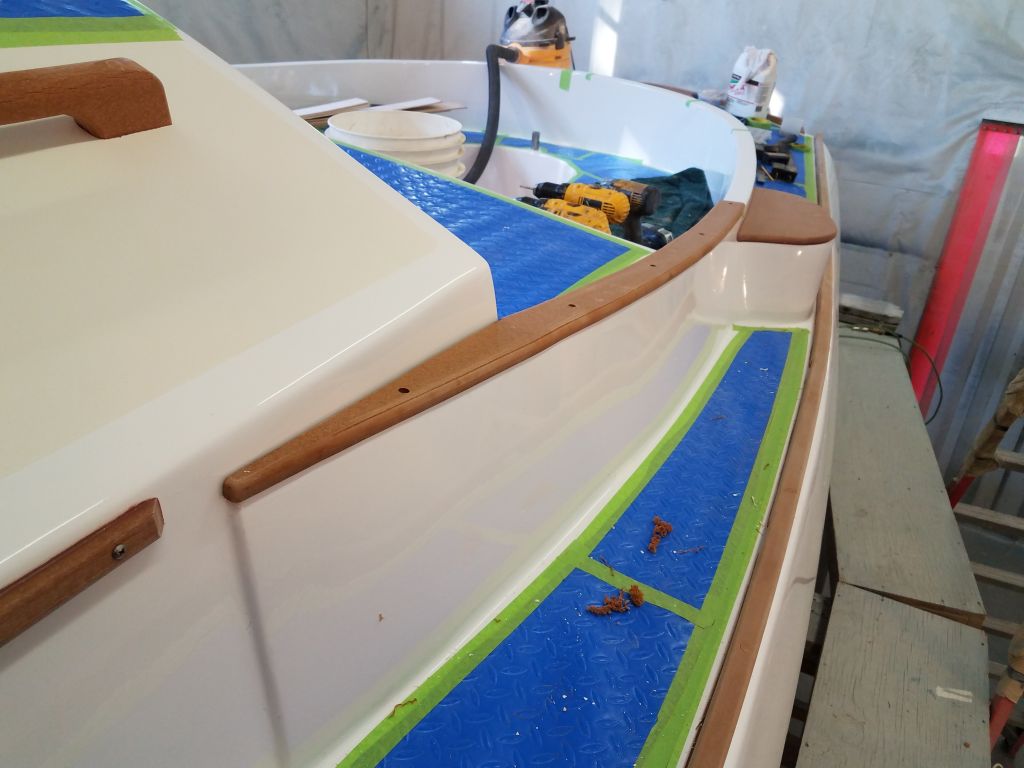
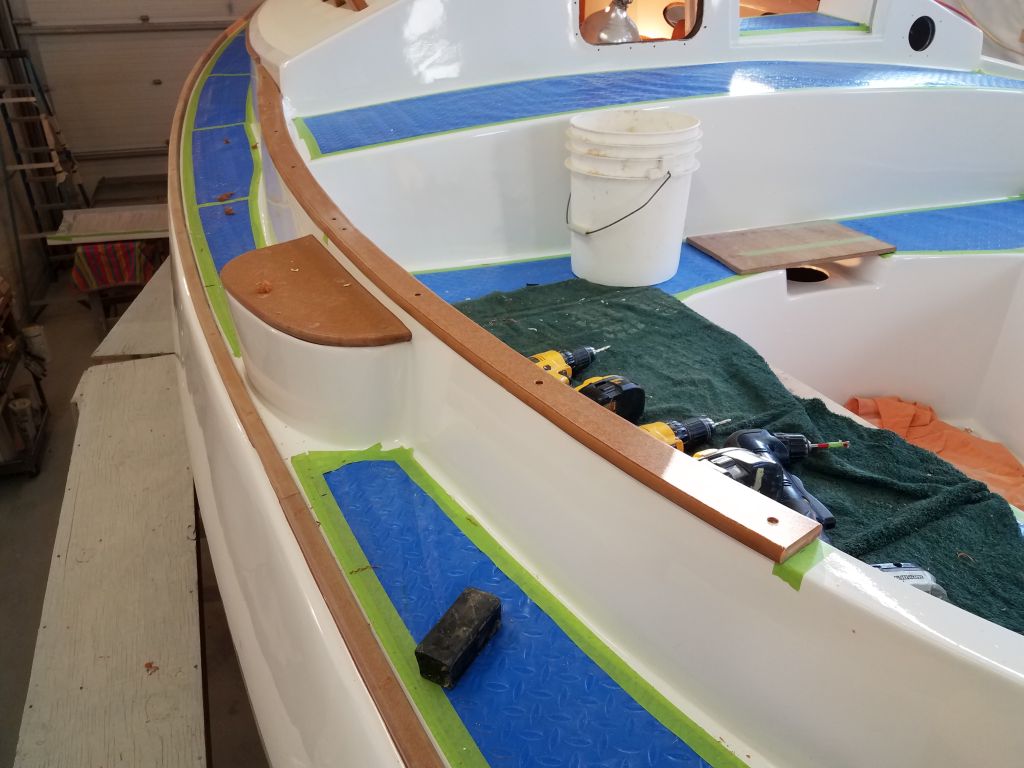
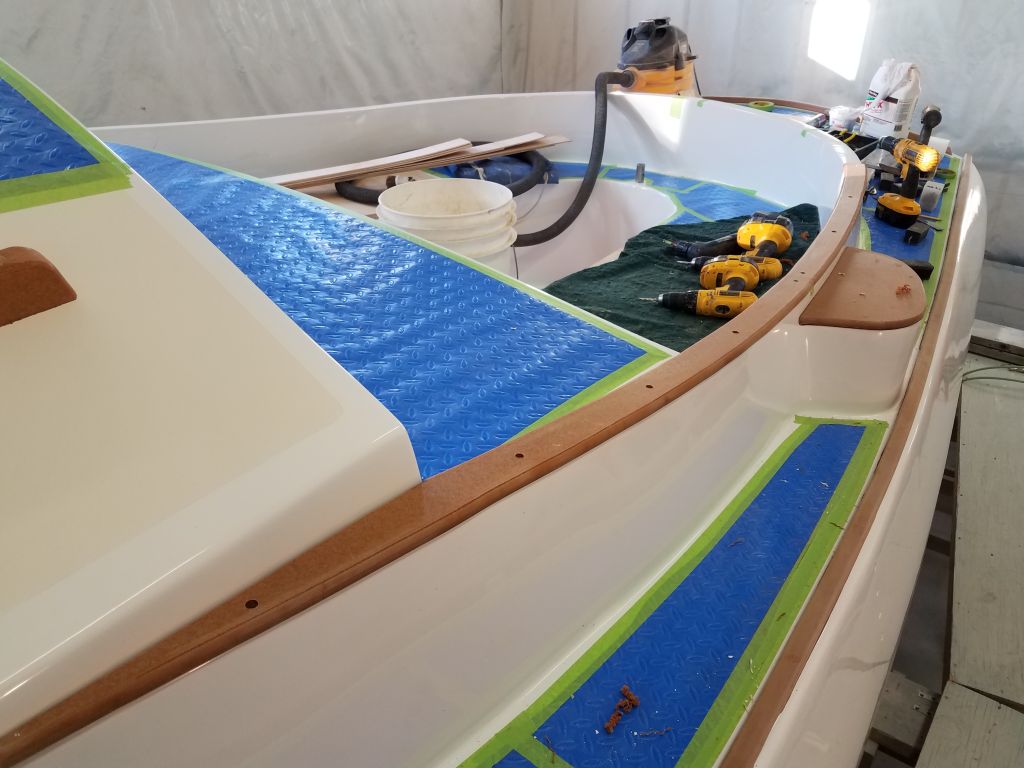
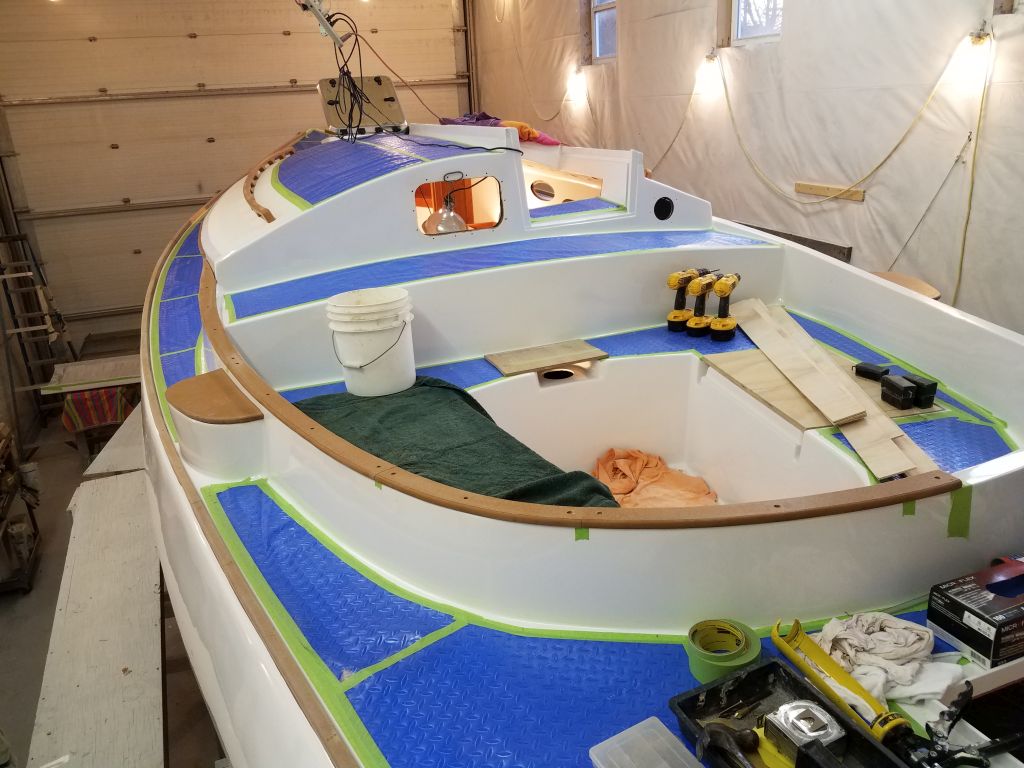
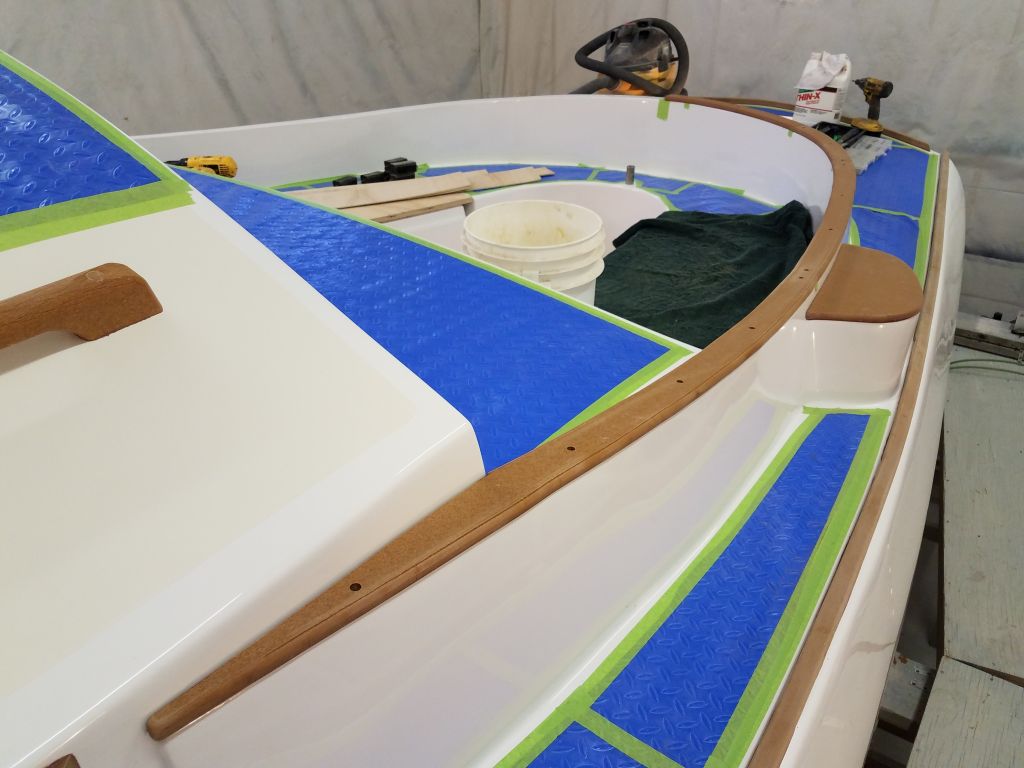
The last bit of exterior trim was the coaming caps, which would cover the top edge of the molded cockpit coaming. The shape and curvature of the coamings meant that the trim would need to be installed in a number of pieces, and I chose to make basic plywood patterns first. I milled strips of 1/4″ plywood to the same width as the trim stock I planned to use, then set about patterning at the forward end of the port coaming, where I needed to scribe the piece to fit against the cabin trunk. Once I’d achieved a decent fit there, I marked the underside of the pattern a set distance from the coaming on each side. For this, I found a little stub of a pencil, held flat against the coaming, provided the right distance for my marks; I had to use a short stub at least at this stage because of the interference of the bridgedeck on one side, and the winch island on the other.
With the pattern thusly marked, I removed it to the bench and cut out the shape for a final test-fit.

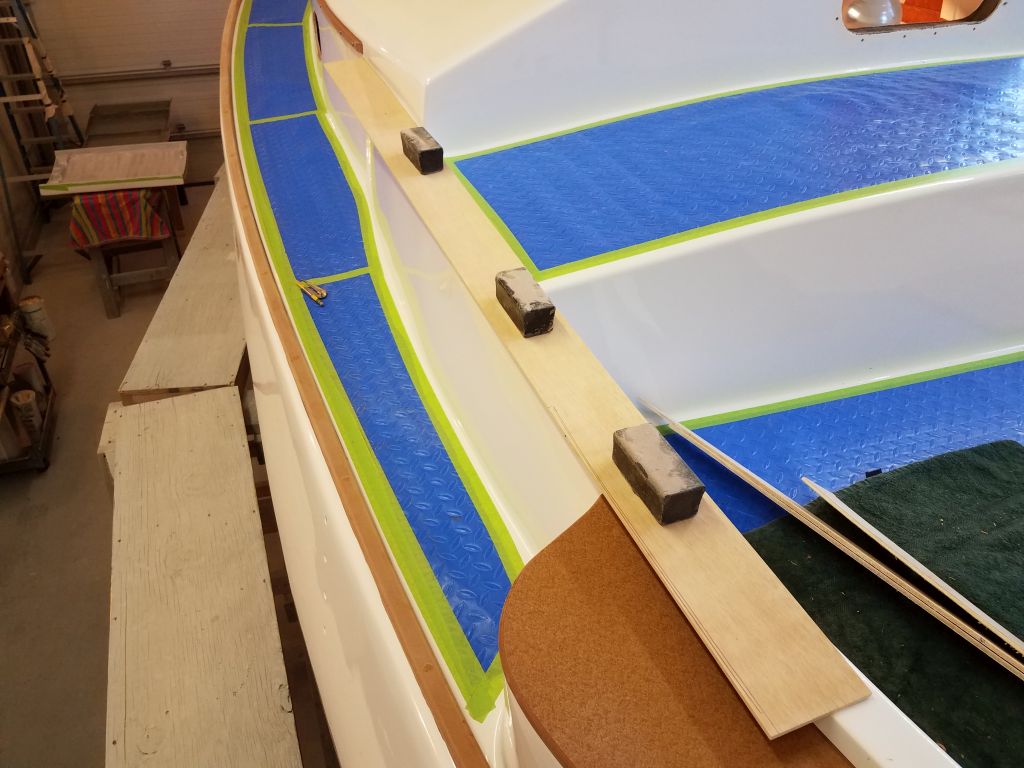
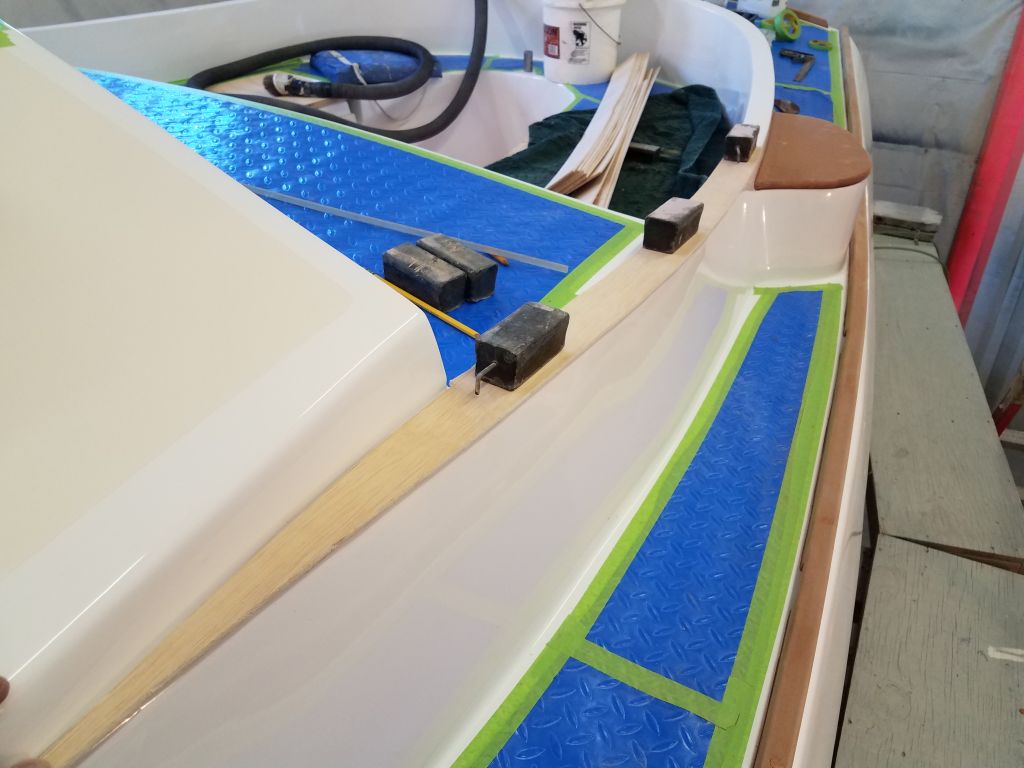
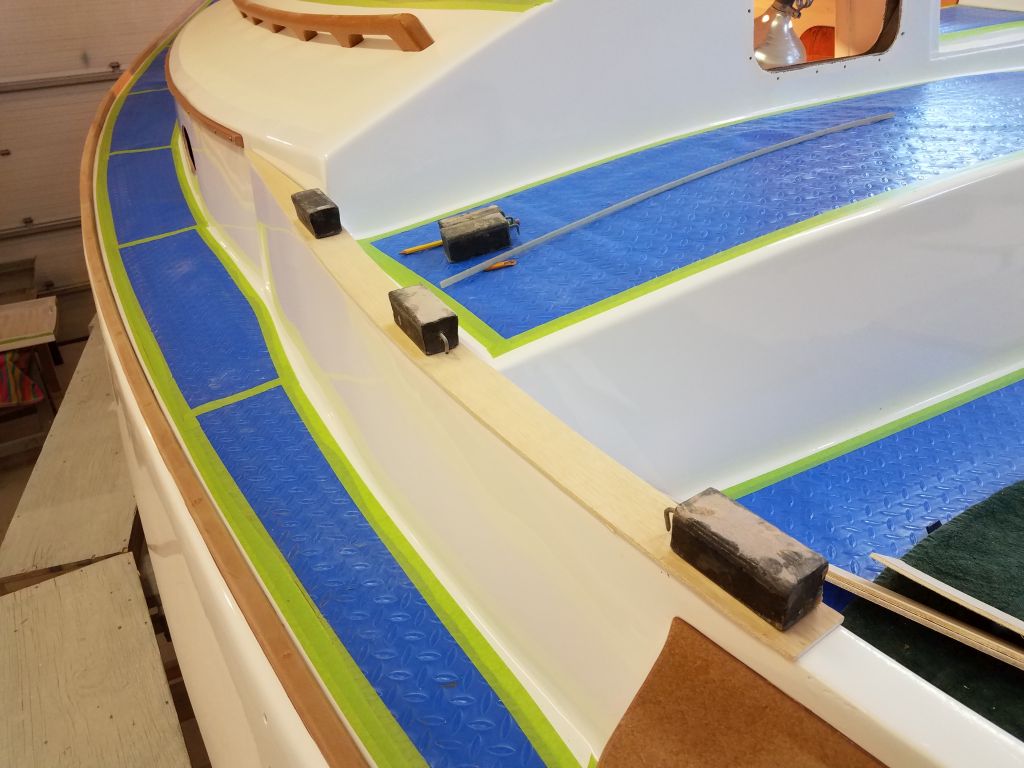
In this manner I worked my way down the coaming, butting the templates together and allowing the width of the pattern stock to dictate how long each piece could be. I marked and trimmed four sections of coaming cap template in order to reach the centerline of the cockpit at the stern.


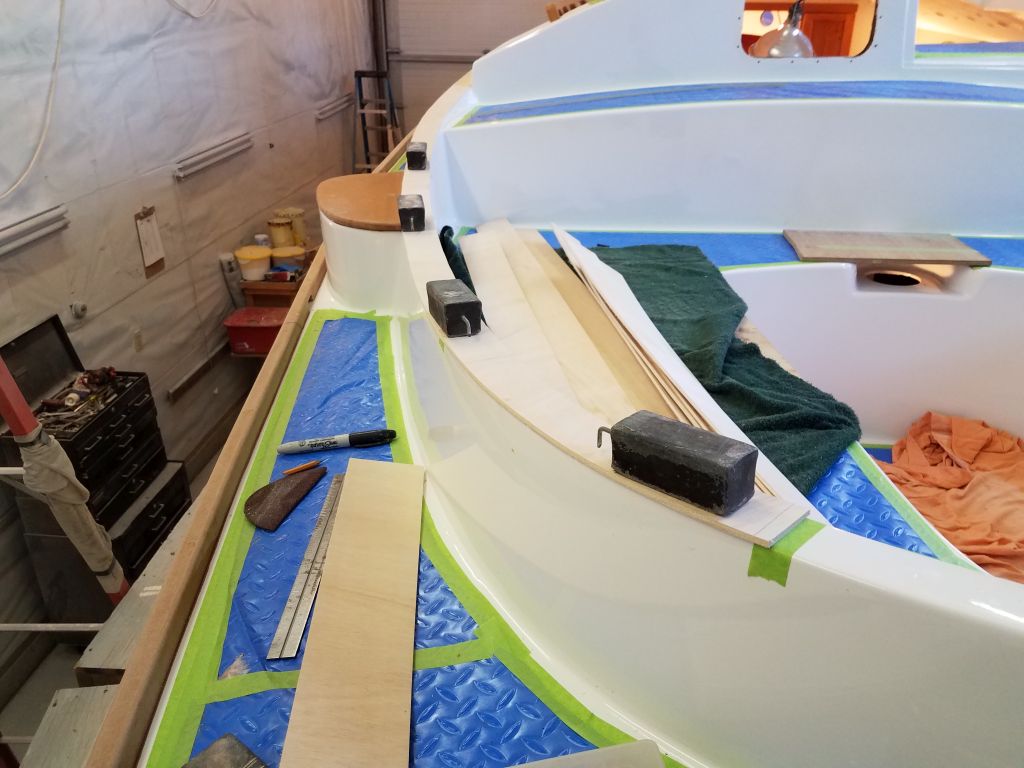


With the patterns complete, I transferred their shapes to the final stock and cut out the pieces, which one by one I fine-tuned, edge-milled, and fit in place temporarily, securing them with machine screws to the fiberglass coaming. This brought me to the end of the day, but next time I’d repeat the process on the starboard coaming.
Total time billed on this job today: 8 hours
0600 Weather Observation: 25°, clear. Forecast for the day: Mostly sunny, 50°