


March 18, 2019
Scupper 102
Monday
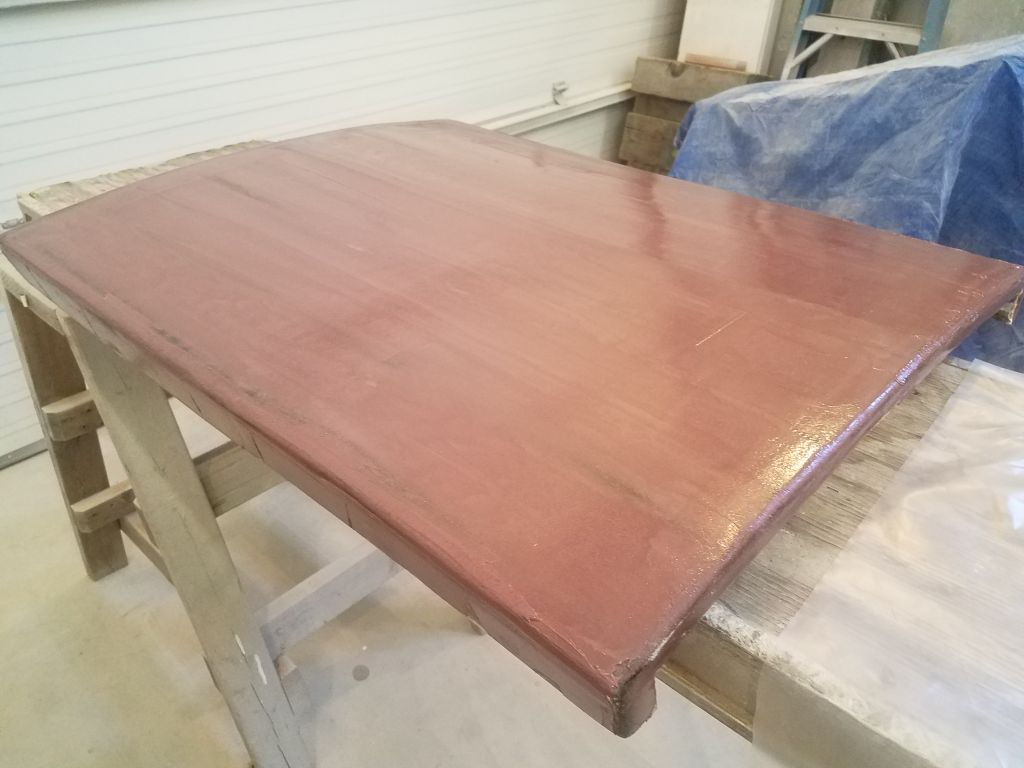
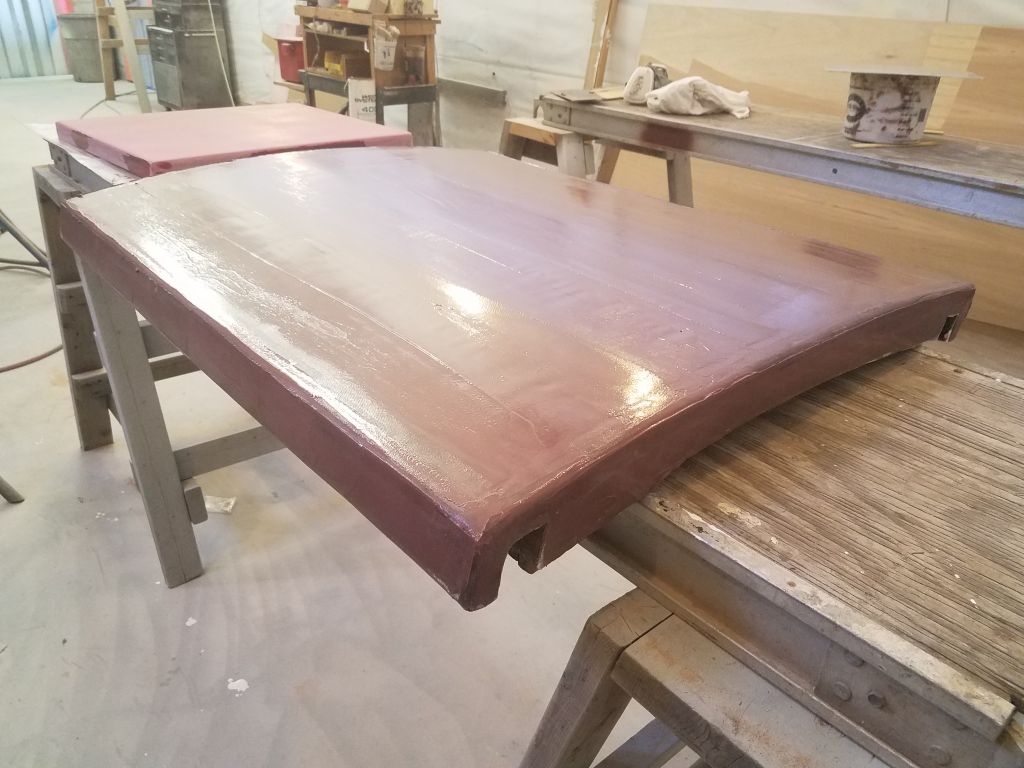
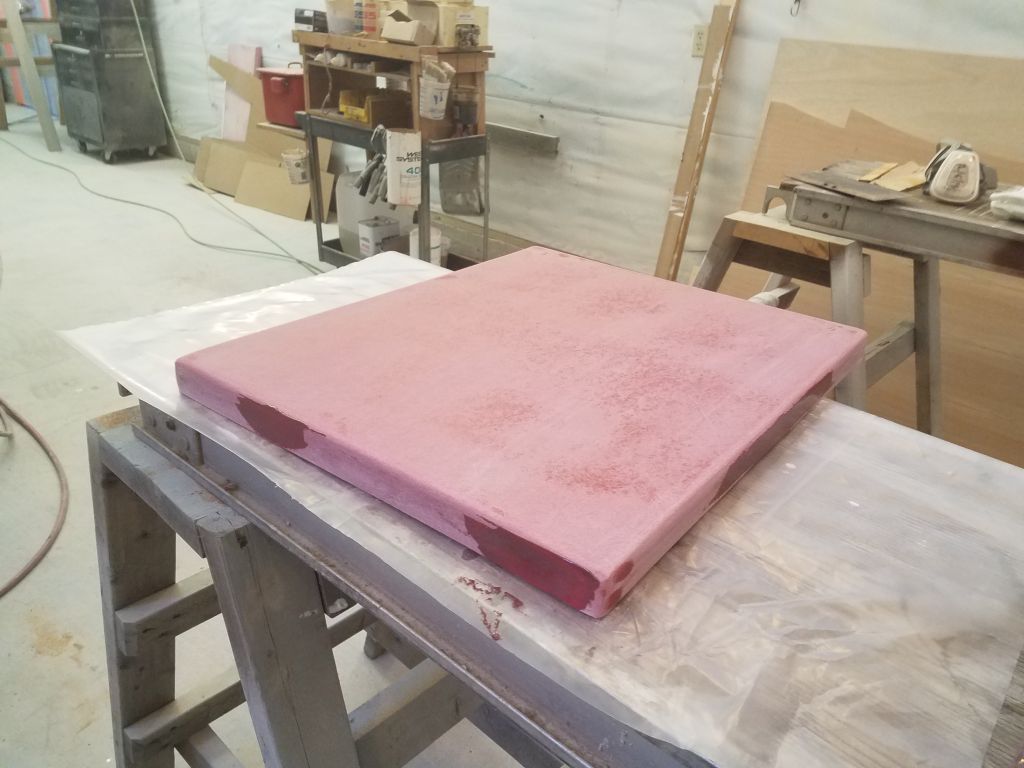
To start the day, I spent a few minutes on the lazarette hatch and companionway hatch. To smooth and completely fair the now-glassed surface of the companionway hatch, I had to apply a coat of fairing compound over the whole thing, the first of several that would be required. Meanwhile, I applied some of the fairing compound to a few areas on the new lazarette hatch as needed.

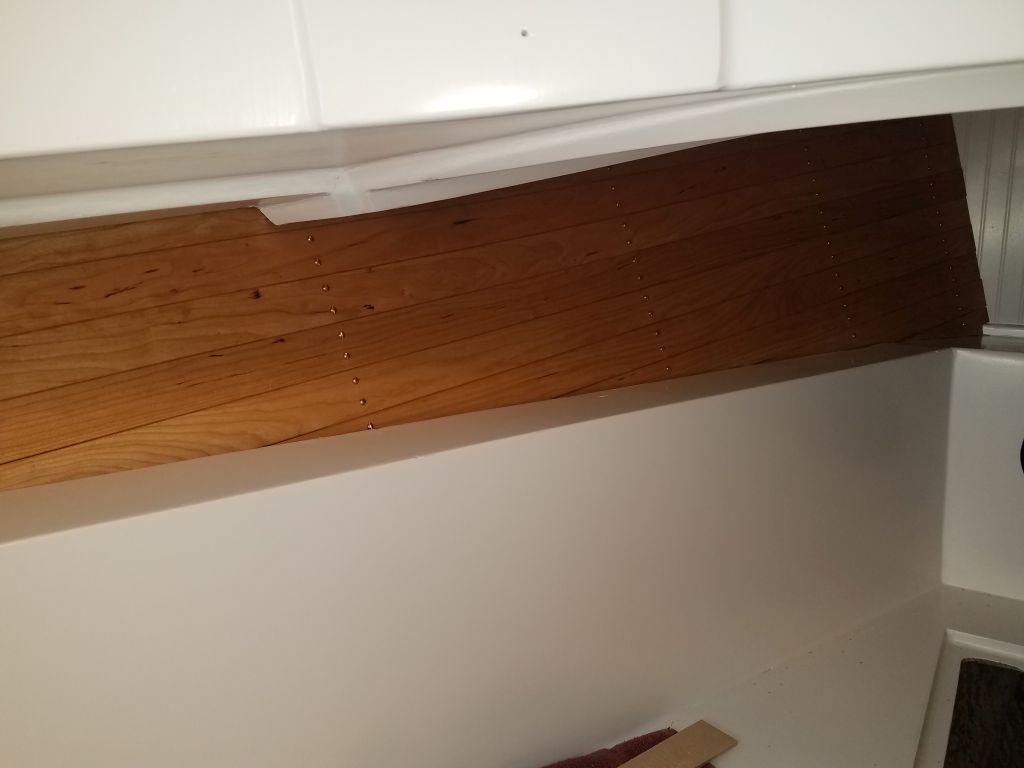
I spent the remainder of the day working on the ceiling installation in the forward cabin. These were the longest sections of ceiling, so I wanted to be sure to use the longest pieces of the cherry that I’d prepared first, and for other reasons it was most logical to start here and work back to other areas.
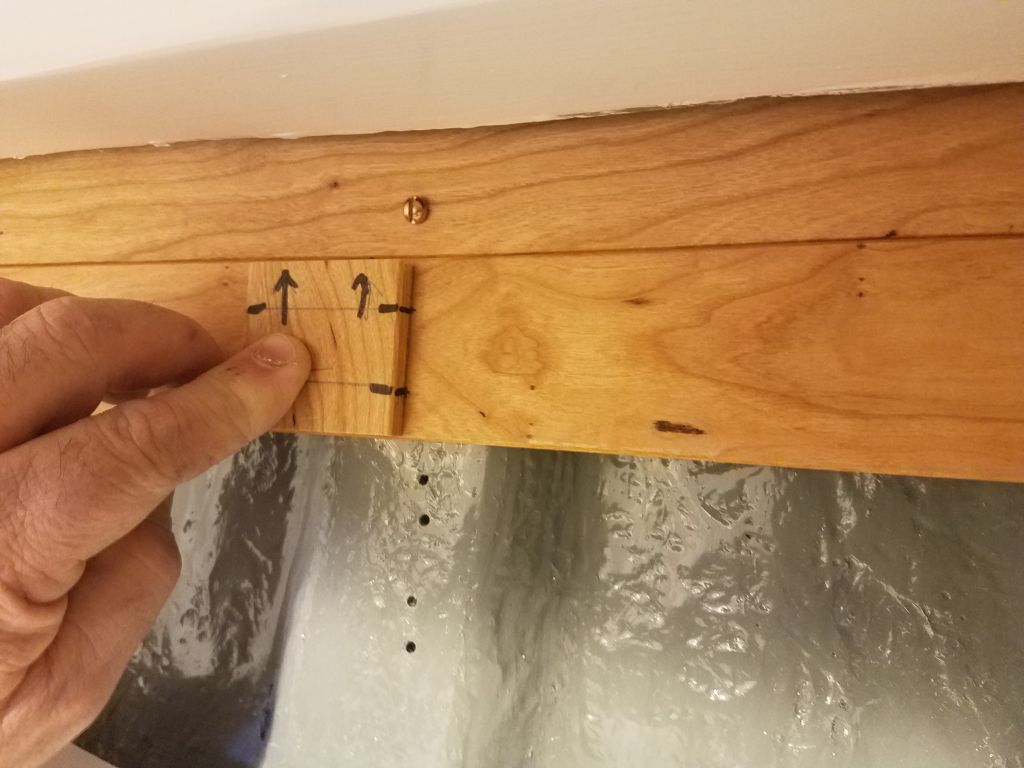
To begin, I ripped a series of 2″ wide strips from some junk 1/4″ plywood. I could use these as stand-ins for, and templates of, the ceiling boards as needed. Then, I spread out most of the cherry ceiling strips on a bench to allow me to easily pick and choose based on length and wood features. For the moment, I set aside some of the “worst” boards, that is boards featuring a lot of sapwood that would only be good for short lengths to stay away from the undesirable grain or coloration features.

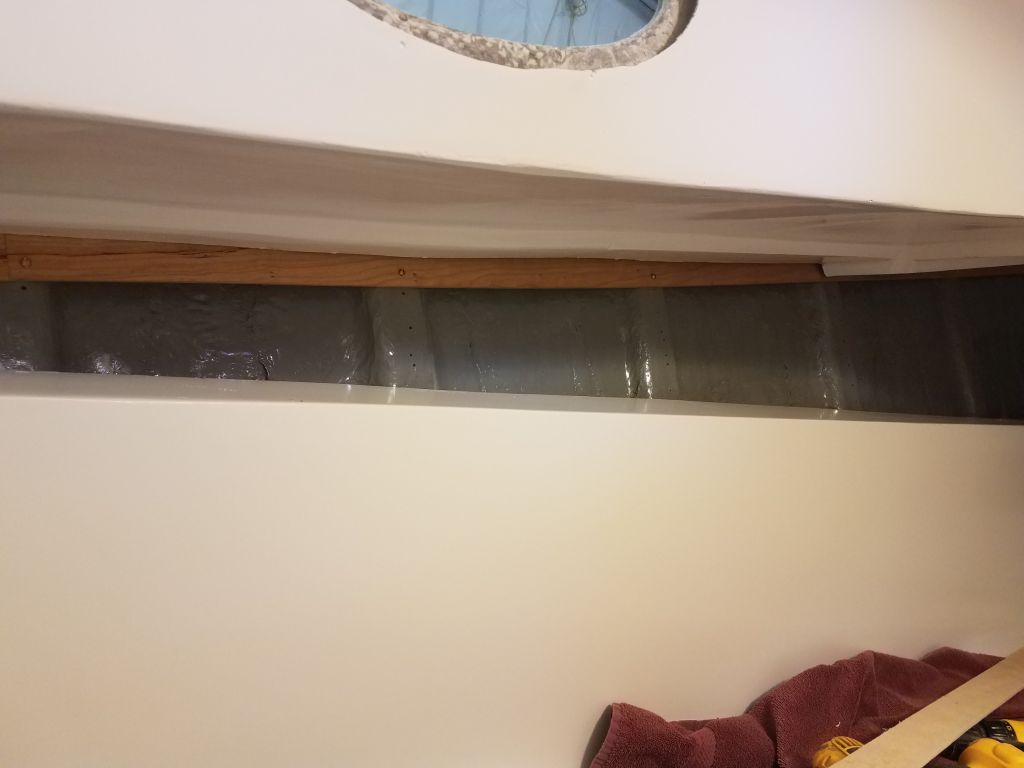
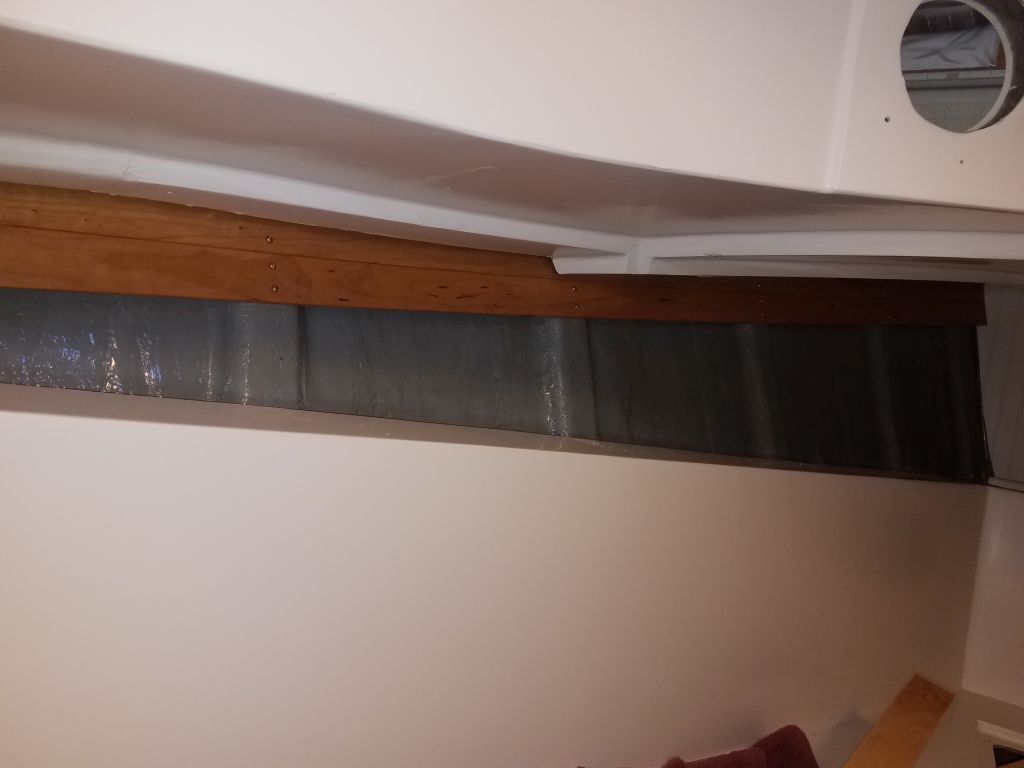
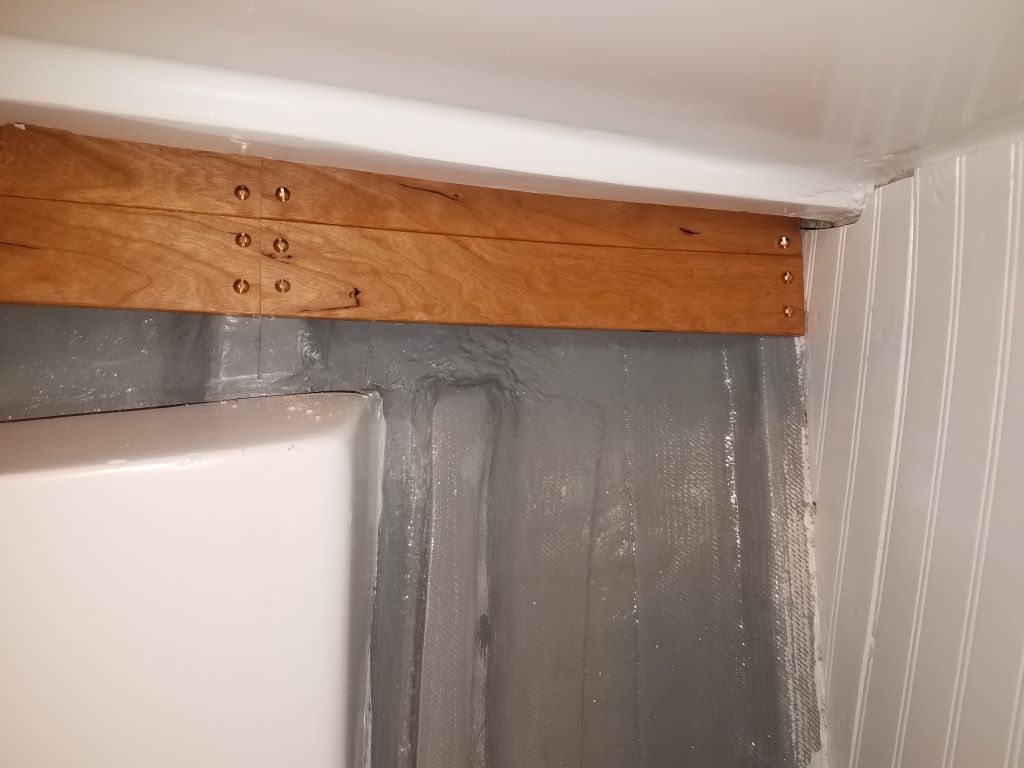
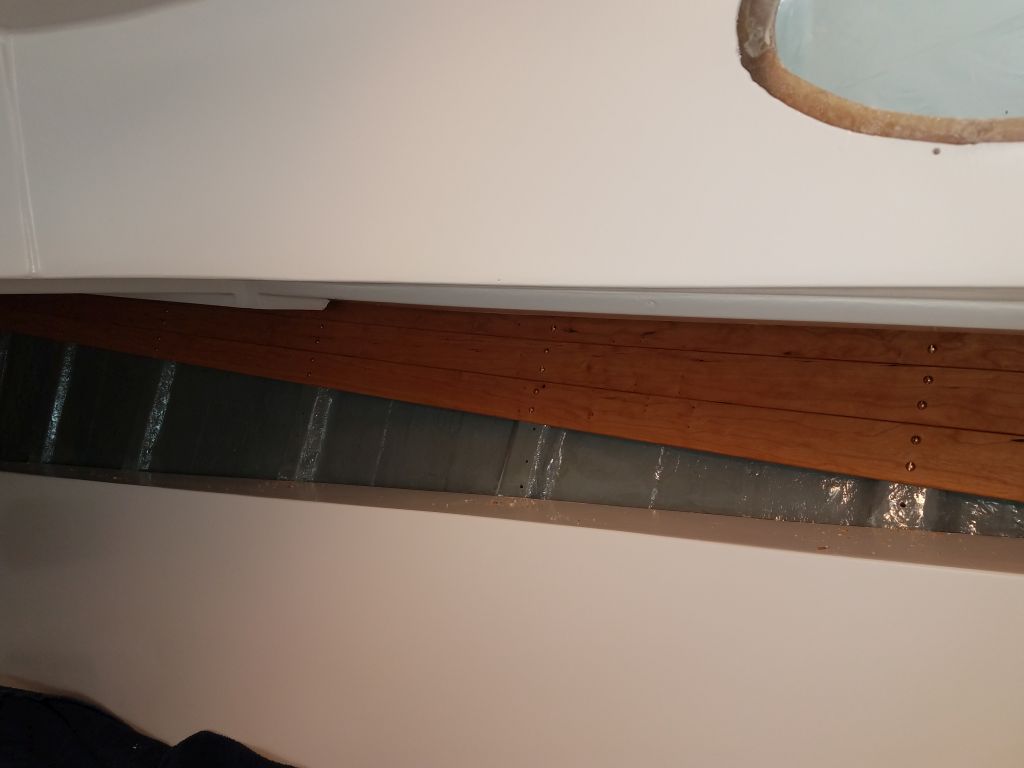
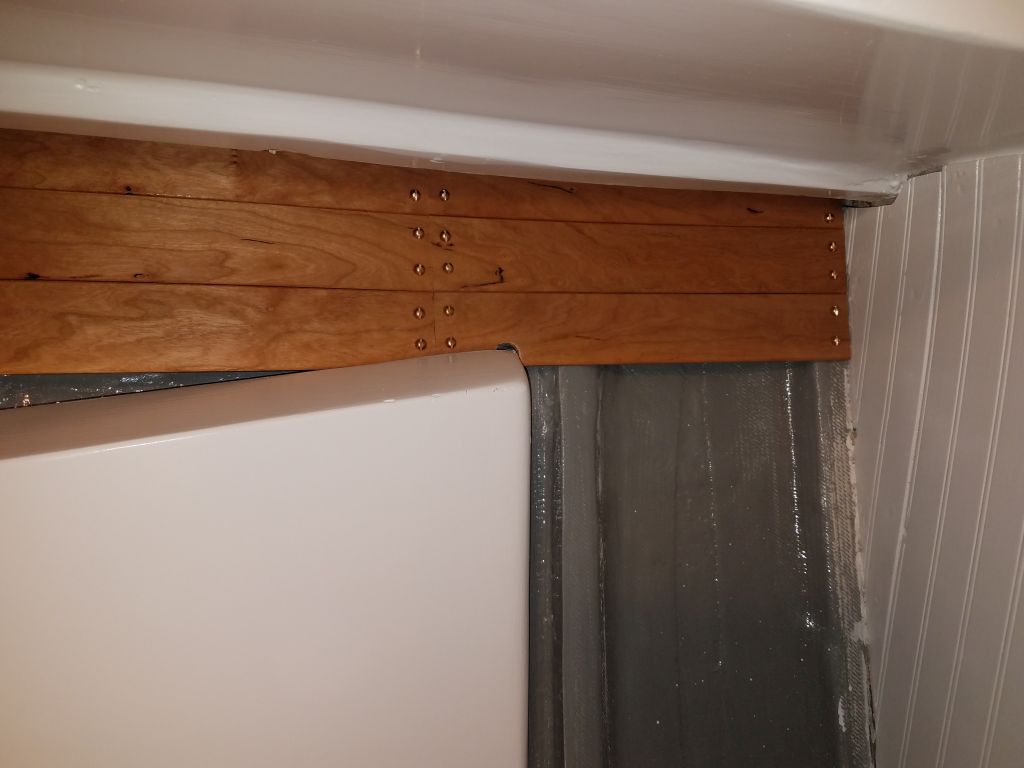
Beginning randomly on the port side, I worked on the layout for the first piece, which took the longest, of course. The space was sharply angled from bow to stern, which meant that only a few boards would be full-length; the rest could die out against the fiberglass berth liner. The overhead liner featured two levels, and I had to align the first board in such a way as to properly fill the whole space from beginning to end, while remaining accessible enough in all areas for fasteners to hold it in place, and at the same time not drop beneath the edge of the overhead liner on the way aft. This required some shuffling and layout, but eventually I determined the proper position for the board and, using my plywood fakes, made some reference marks as needed.
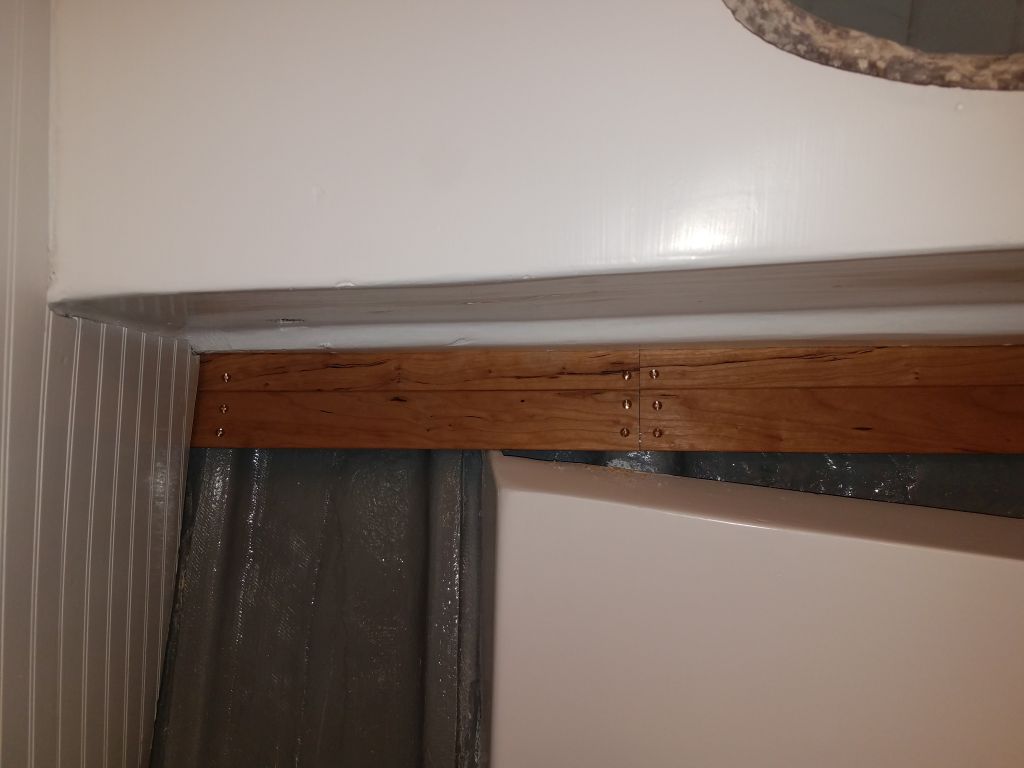
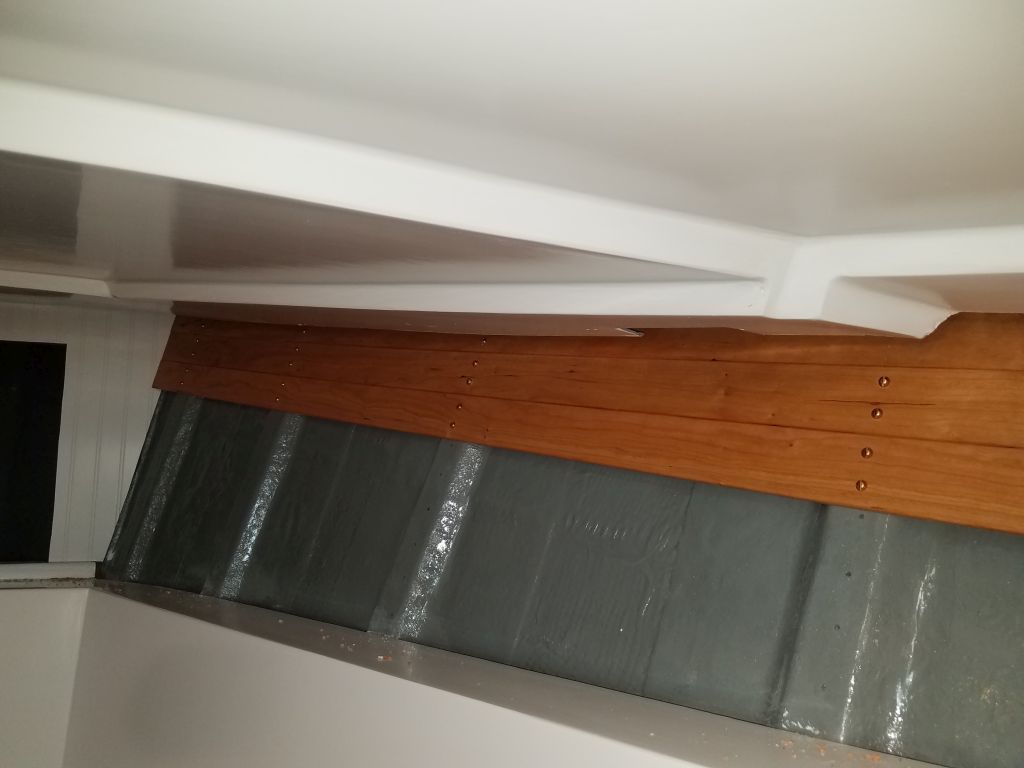
Normally I would have made the boards full-length from bow to stern in this space, but I actually had to leave access at the aft ends so the forward chainplate could be installed and, later, inspected or serviced as needed. This was in the space formerly occupied by the built-in tall hanging lockers that I’d removed. To accommodate this, I ran the top board aft to the nearest cleat, and cut it halfway across the width of the cleat. This then left a short space that I filled in with the remainder from the original full-length board stock, keeping the grain and color consistent. While I would have avoided this if possible, it actually made installation more straightforward since I didn’t have to perfect both ends of a single board at the same time in order to fit. I secured the boards with bronze screws for appearance.
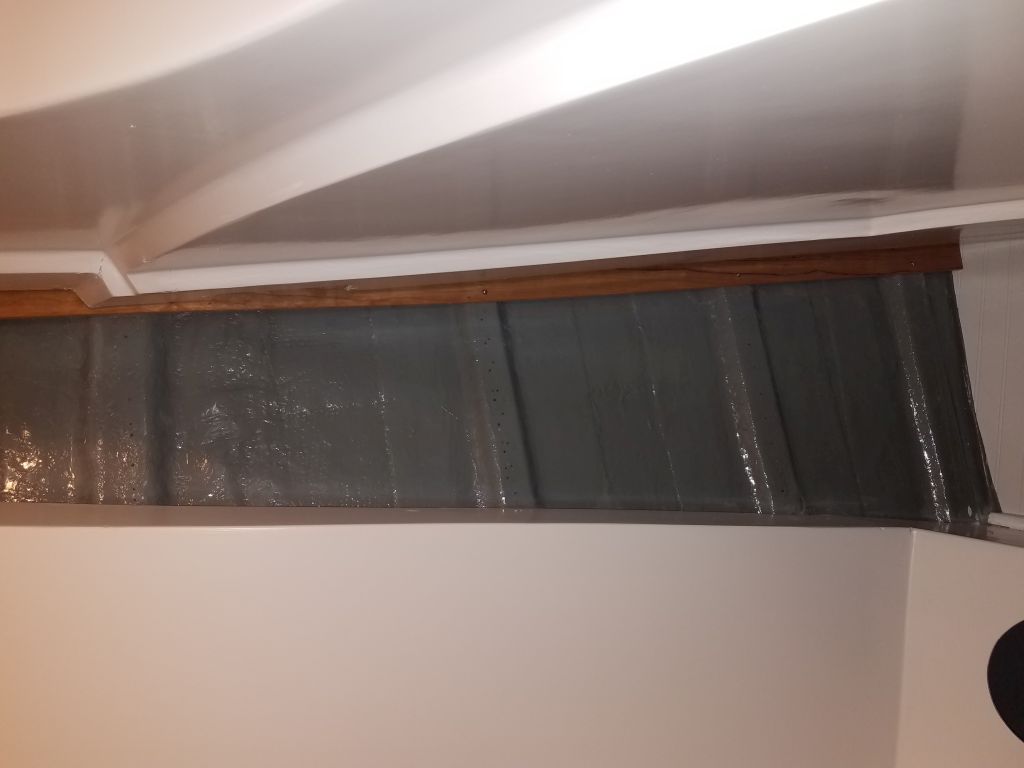
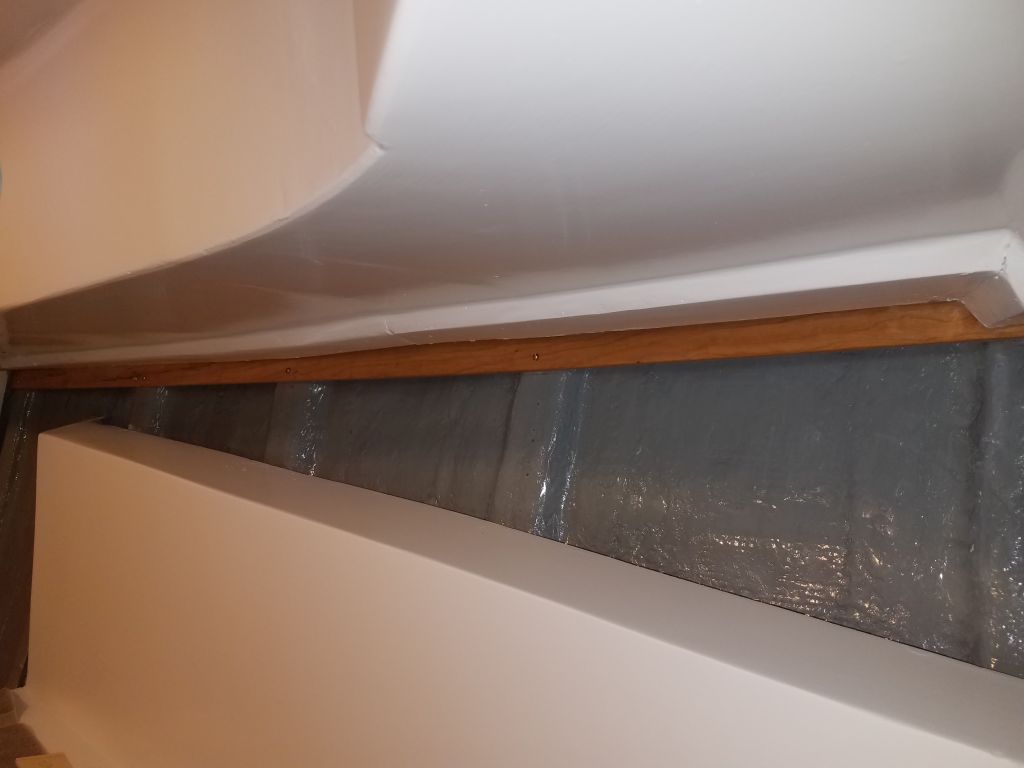
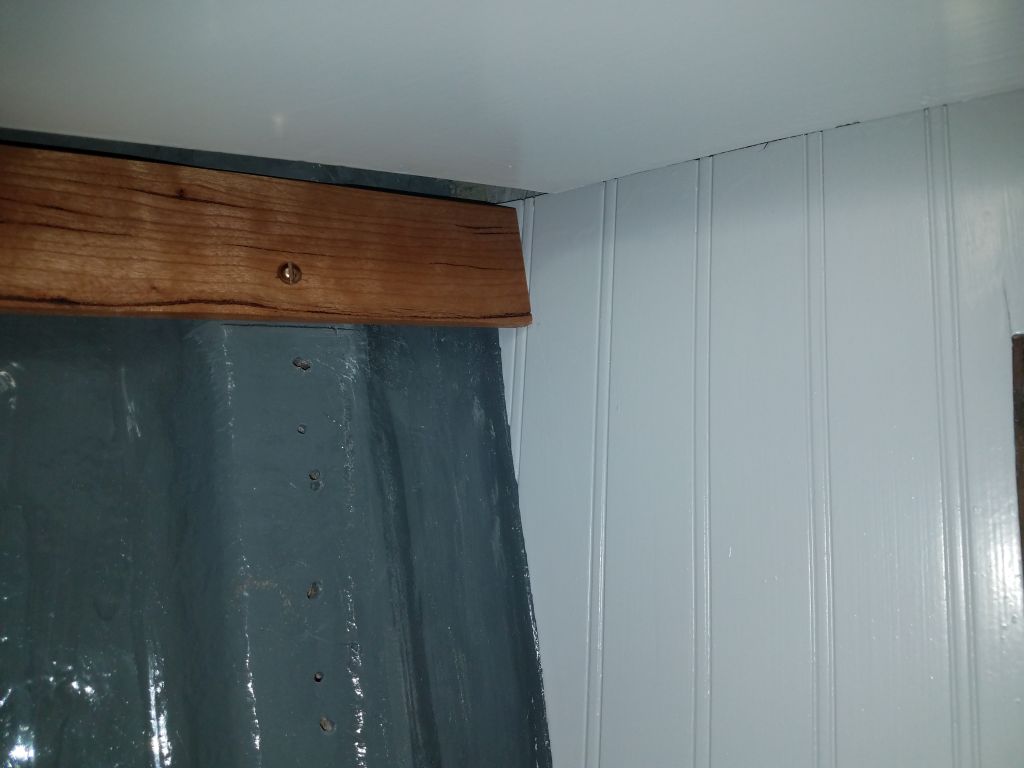
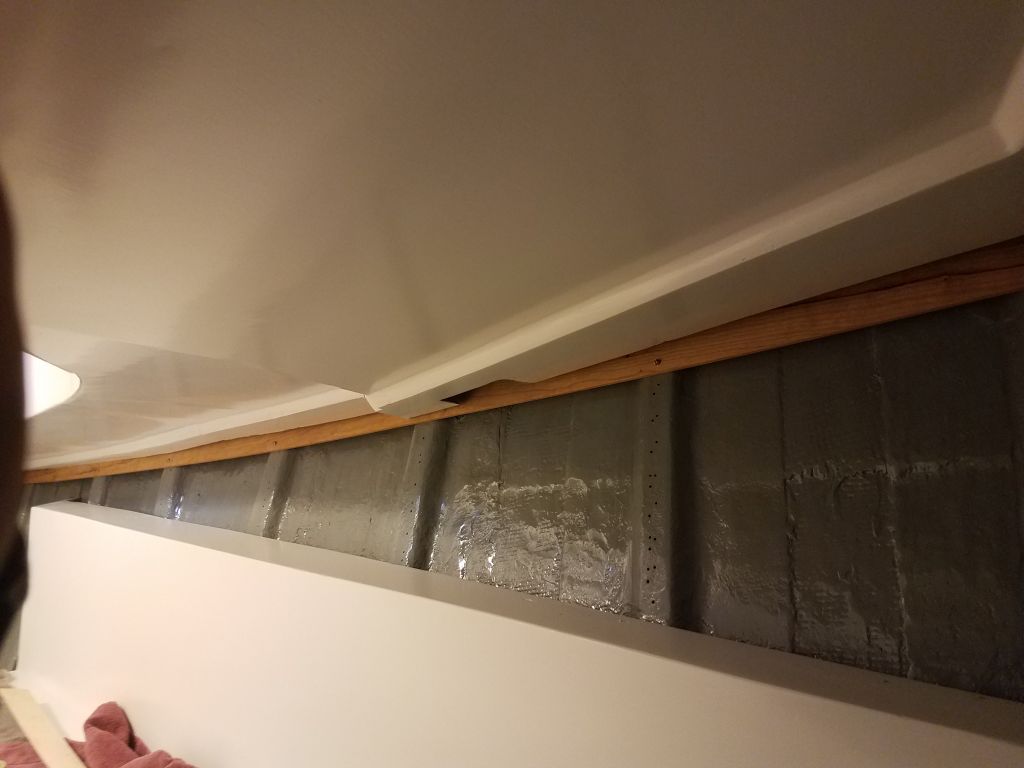

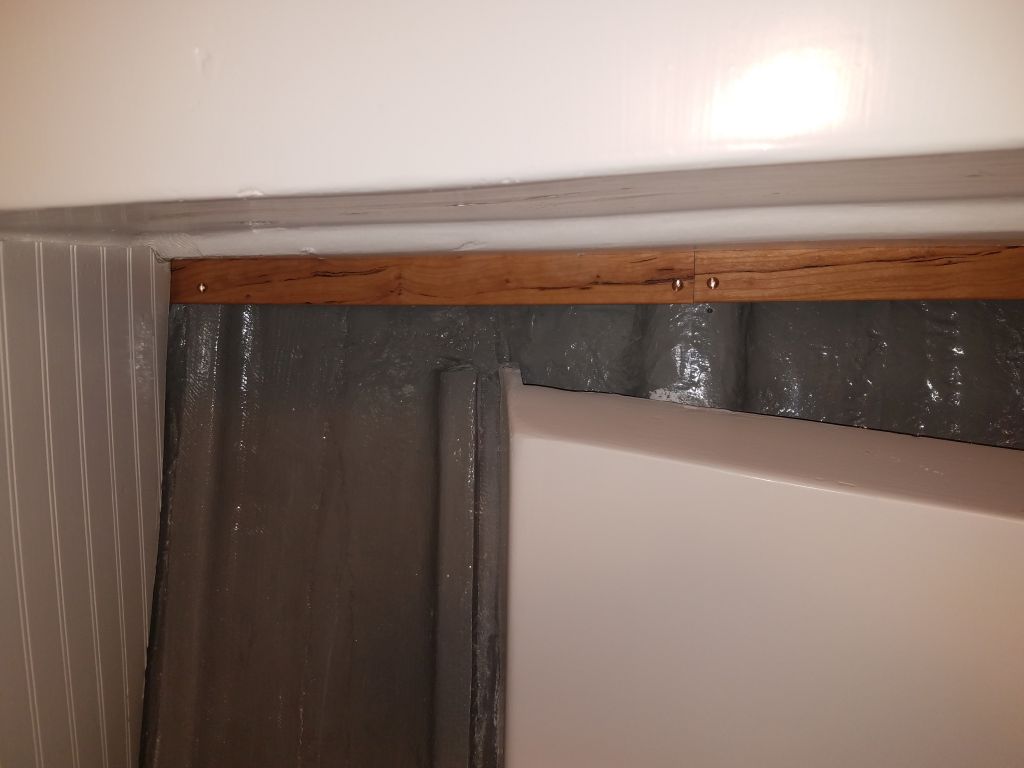
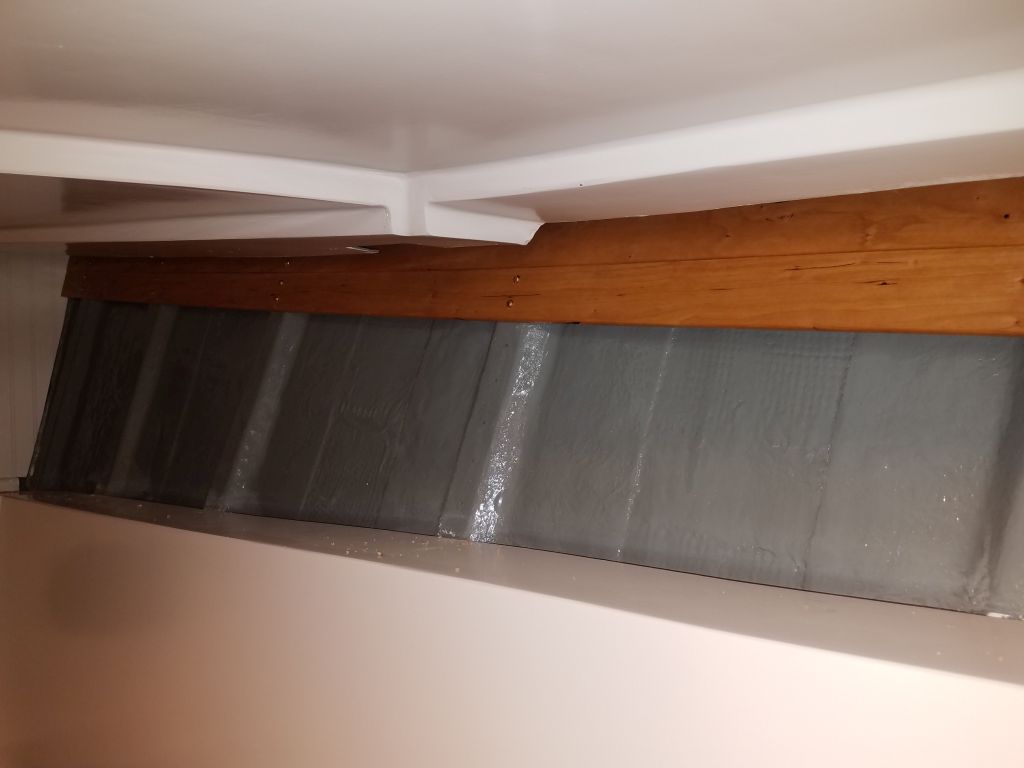
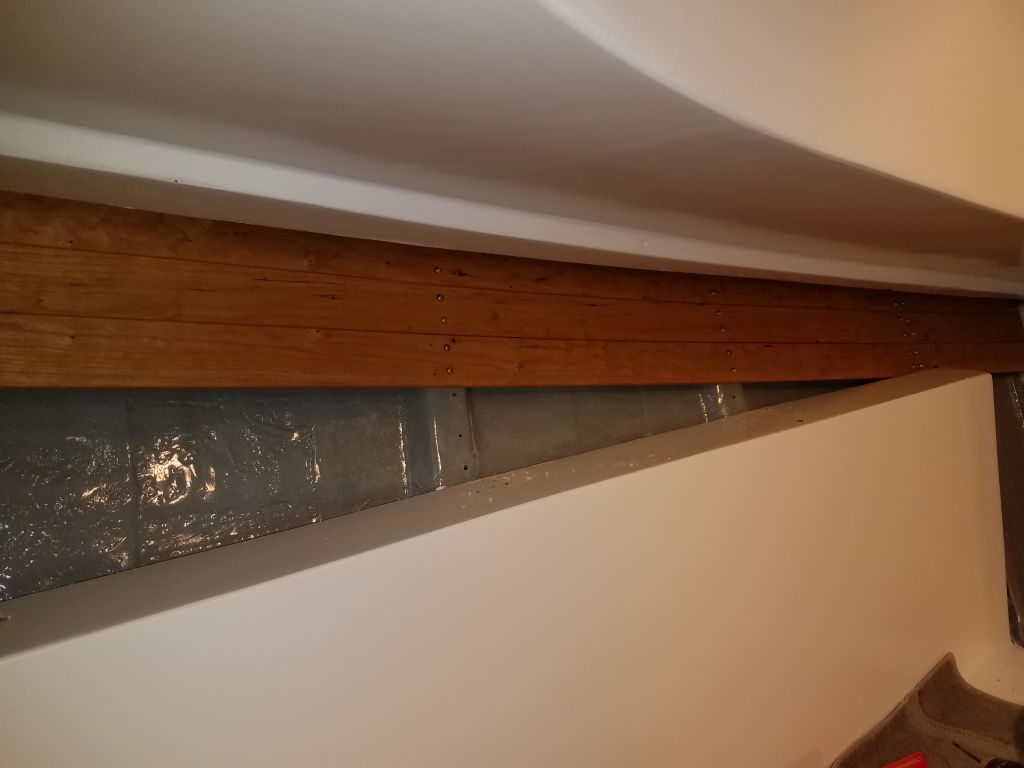
With the first board in place, the remainder went more quickly, since alignment was now a foregone conclusion with each board butted beneath the one above. The second board was also full-length and required the short piece at the aft end, but from there, all the boards conveniently passed just outside the fiberglass shelf so their cut ends were hidden beneath, meaning at least on this side I didn’t have to make a lot of fussy end cuts. Even so, each board required several trips back and forth through the boat and ladder to the shop, and with a pair of screws at each cleat location, took some time to install. I used a little marking block to keep the screws aligned with the cleats (and the screws above), and properly spaced on each board.
Eventually, I reached the bottom of the space and fitted and installed the final, small piece in the forward corner.
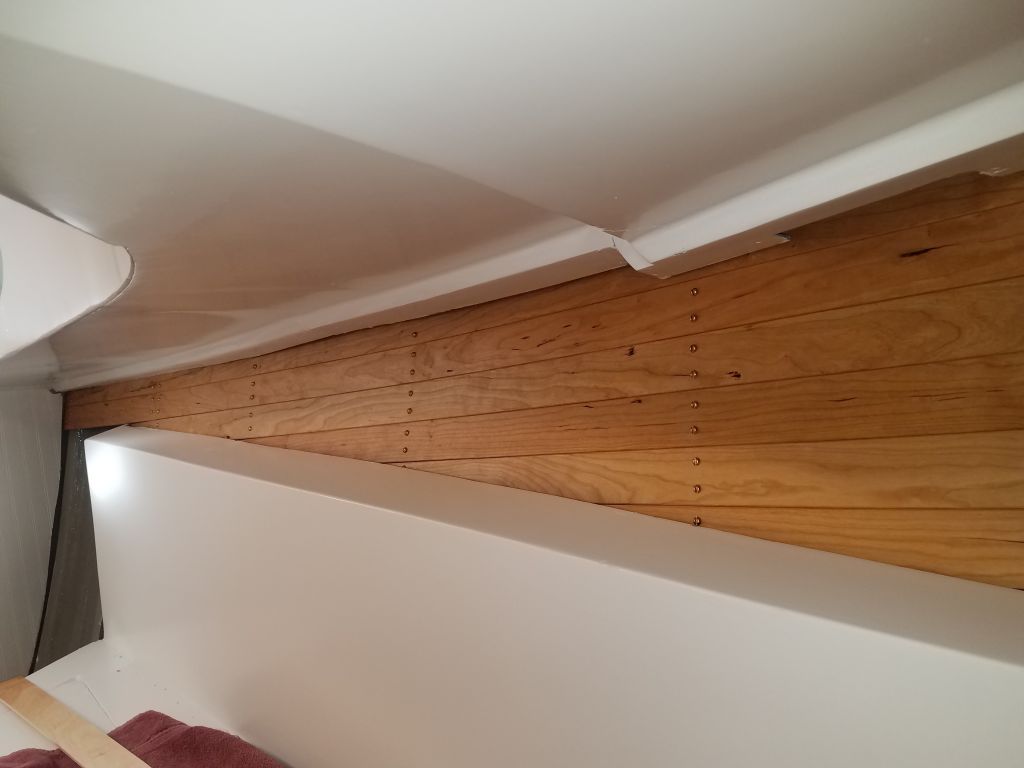

With the port side complete for now (I left the short space at the aft end of the berth for later, once I’d finished all the long pieces of ceiling in the boat and could thus use up and cut the shorter lengths required), I continued on the starboard side, following the same basic process, although this time I knew better what to expect with the topmost board, so its fitting went more quickly. From there, I managed two additional strips before the end of the day. Since the shape and position of the two liners (overhead and berth) were slightly different from side to side, here the top three boards passed by the end of the shelf, so in the morning I’d be working on progressively shorter boards to fill in the rest.

Total time billed on this job today: 8.5 hours
0600 Weather observation: 11°, clear. Forecast for the day: Sunny, 37°