March 1, 2019
Scupper 91
Friday
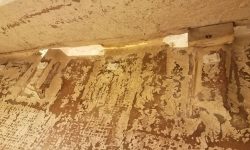
After removing the braces and temporary glue blocks from around the cleats in the forward cabin, I touched up all areas with a sander to slightly ease the edge of the wooden cleat and prepare the now-cured epoxy fillets for additional work. Then, after appropriate cleanup, I filled in the gaps in the fillets in those areas where it was necessary (where I’d worked around the glue blocks earlier).
Meanwhile, I prepared tabbing to lay over the cleats and fillets, and once I’d cut the pieces I wet them out and installed them on both sides.
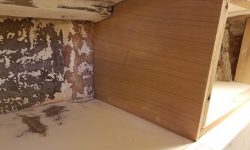
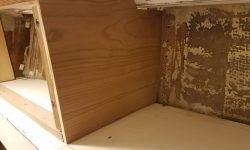
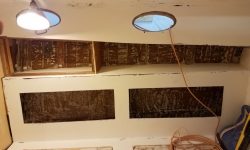
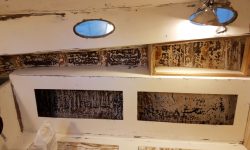
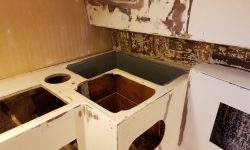
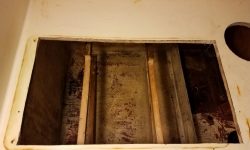
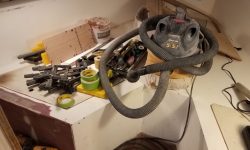
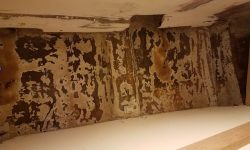
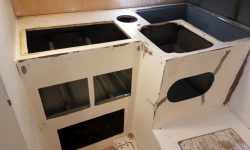
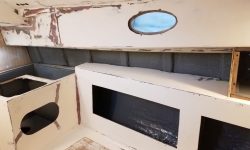
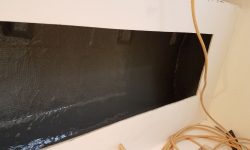
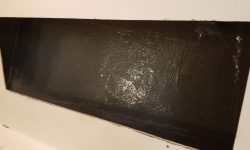
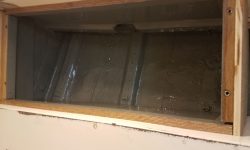
In the main cabin and galley, I focused my efforts on final preparations for painting out the inside of the hull and some of the lockers. I chiseled away the excess bungs from the cherry panels at the aft ends of the new lockers, and sanded the plywood smooth before vacuuming and solvent-washing all areas to be painted. I moved most of my tools and other supplies into the forward cabin for now.
Preparing ahead for the eventual electrical wire runs to the new cabinets above the settees, I installed glued-on wire tie mounts throughout the lockers and wherever I thought they might be needed or handy later; since these mounts don’t stick to paint, I had to do it now.
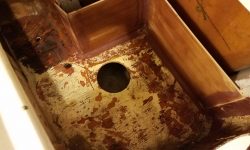
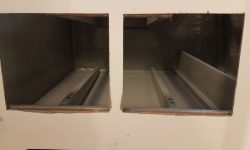
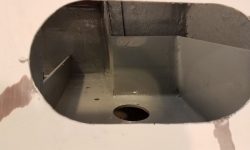
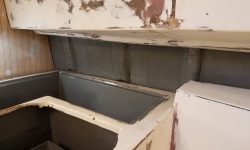
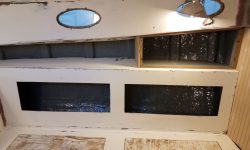
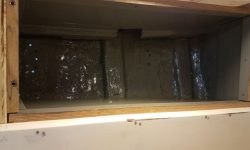
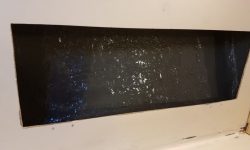
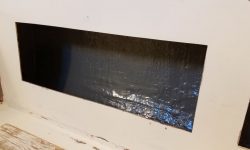
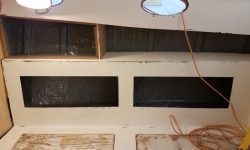
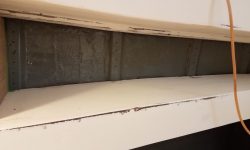
One of my favorite steps in any large project like this is when it comes time to start painting the raw, sanded hull and lockers with bilge paint–often one of the first true finishing steps that signals the beginning of a new direction. Now, I painted the exposed areas of the inside of the hull in the main cabin, along with the insides of the new electrical lockers I’d built, plus the upper cabinets behind the settee backs. I also painted out the upper areas of the galley cabinets, including the drawer area and sink cabinet.
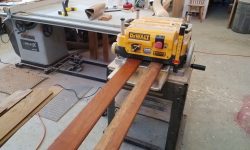
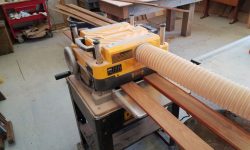
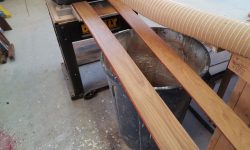
I used the day’s remaining time to set up my planer and plane smooth and clean all the teak I’d reclaimed from the old trim, and which I planned to use for the galley countertop. I began with a pass over the saw-cut side of each plank, then flipped them and ran them all through the planer to remove the old surface and finish and dimension each piece identically to 1/4″ thickness. The wood beneath the old finish looked terrific.
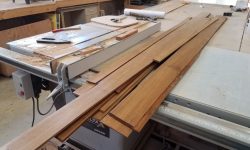
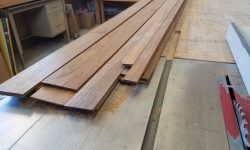
Afterwards, I trimmed each piece on the table saw to remove the edges as required, leaving me with a nice stack of teak ready for installation.
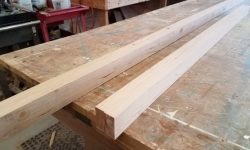
While the planer was out, I also cleaned up the newly laminated cherry stock for the forward cabin door frame.
Total time billed on this job today: 7.5 hours
0600 Weather observation: 0°, clear. Forecast for the day: Sunny, 30s


