February 22, 2019
Scupper 86
Friday
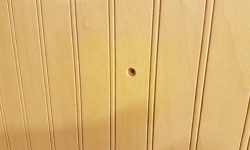
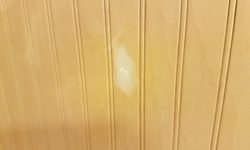
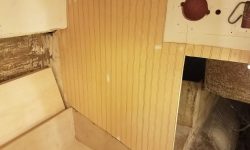
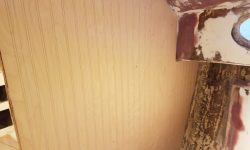
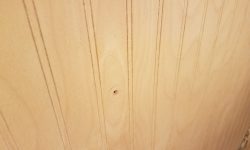
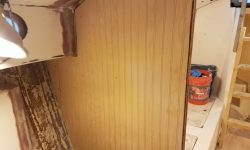
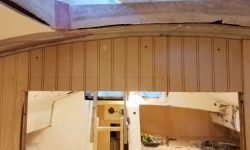
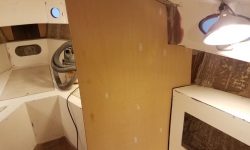
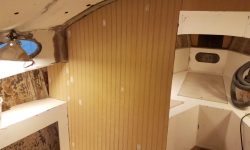
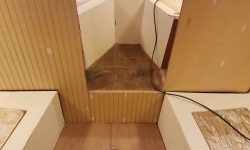
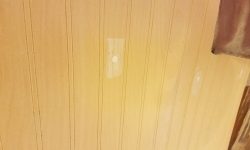
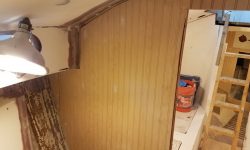
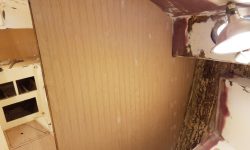
After unclamping the last pieces of paneling in the head, I went around the boat and used a countersink to slightly widen all the screw holes I’d used to hold the paneling in place during installation, then filled these holes with acrylic putty.
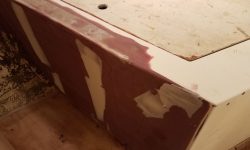
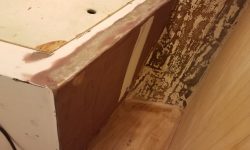
After another round of sanding, the ends of the v-berth were just about where they needed to be, but I used a light application of the white putty to fill a couple remaining lows.
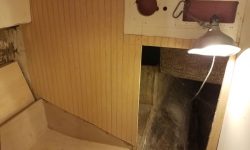
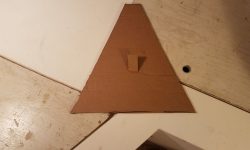
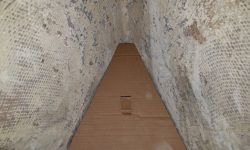
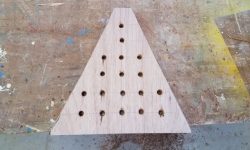
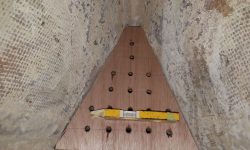
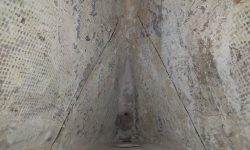
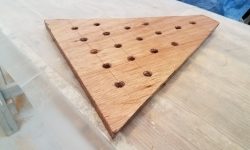
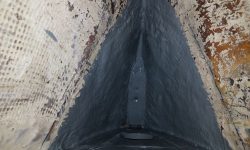
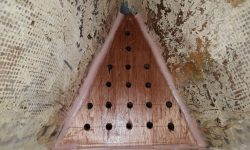
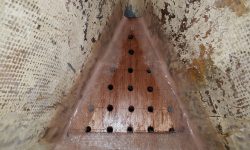
In the chainlocker, which was tall and narrow and deep, I prepared to install a platform part of the way up to better hold, drain, and ventilate the anchor chain and rode. Reaching down from the opening a reasonable distance, I took a quick measurement of the aft width and used a bevel gauge to approximate the side angles, then transferred these to a cardboard pattern. Satisfied with the pattern, I cut the platform from some 18mm plywood, using a slight bevel on the sides to match the hull shape, and drilled a series of small holes throughout the platform to allow for drainage and ventilation. I also intentionally left the platform just a bit shy of the stem, leaving another vent and drain area there.
After marking the hull at the top edge of the platform, I removed the platform and epoxy-coated both sides and all edges down on the bench. Meanwhile, back in the boat, I prepared the lowest section of the locker for paint, since this would be the last time I could access the area for this purpose. (There was access to the very bottom of the space for reaching the bolts that would secure the bobstay fitting later.)
I installed the new platform permanently in a bed of thickened epoxy adhesive along the edges, which I also used to fillet around the three bonding sides, and then I applied fiberglass tabbing to complete the installation. I’d redrill any of the holes that the new tabbing covered later.
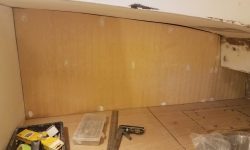
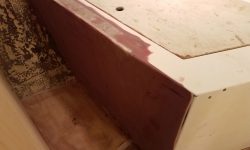
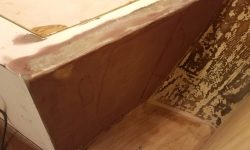
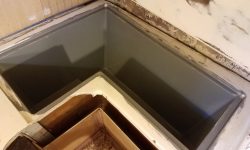
While I had the paint out, I painted the inside of the old icebox (now a storage locker) in the galley. The other spaces in the galley would also require paint, but these areas weren’t quite ready for this treatment yet.
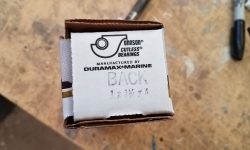
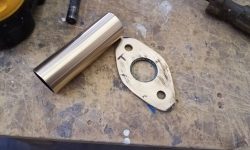
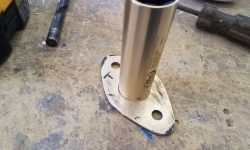
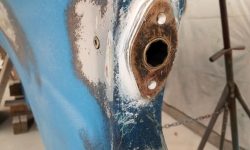
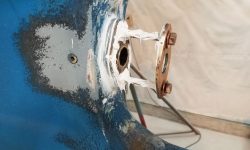
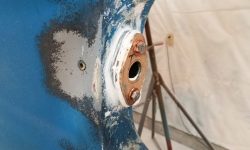
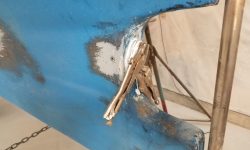
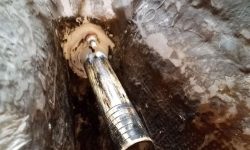
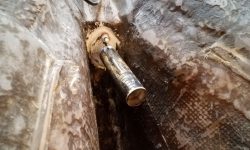
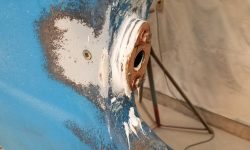
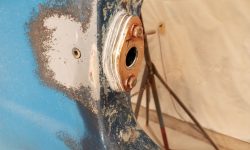
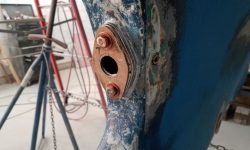
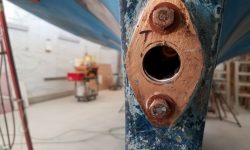
Friday afternoons are good for random tasks on my list, and it seemed fitting that I spend this Friday afternoon installing the new Cutless bearing and completing the work there, since I’d succeeded at its predecessor’s removal just a week before. The new bearing is model “BACK”, sized for the 1-1/4″ ID of the stern tube and a 1″ propeller shaft. The way this housing and stern tube worked, the outermost plate secured the bearing in place with a shallow recess on the bearing side, and the inside edge of the bearing fit against the shoulder inside the stern tube. The outer plate pressed into the bearing when the two long bolts secured it through the deadwood. I spent some time removing old paint and sealant from the various parts, and cleaning everything to bright metal.
I cleaned up the inside of the stern tube, and measured to the shoulder within. This required that I cut about an inch off the bearing to allow it to fit inside. Once I had the bearing inside the stern tube, I installed the outer part of the housing and the bolts, heavily gooping up the bolts and faying surfaces with polyurethane sealant. Inside the boat, I rebedded the inside backing plate as well, and, with locking pliers on the outside, secured the nuts and washers from within to draw the assembly tightly together before cleaning up the excess sealant. This was a job I was most pleased to have behind me in entirety, and after cleaning up the shop I was happy to knock off for the day.
Total time billed on this job today: 6.75 hours
0600 Weather Observation: 22°, clear. Forecast for the day: Sunny, 30s


