February 13, 2019
Scupper 79
Wednesday
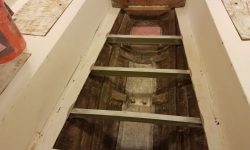
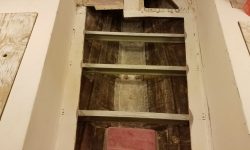
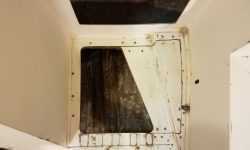
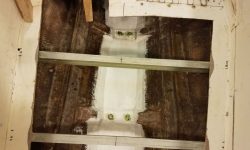
I removed all the clamps that I’d used to temporarily secure the new cabin sole beams, and was pleased with the end results.
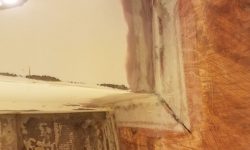
Next, I completed another round of sanding as needed on the tabbing fairing and other areas. While I had the sander out, I also sanded the tops of the new fiberglass cabin sole beams to prepare them for eventual adhesive when I installed the sole.
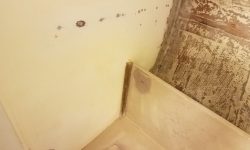
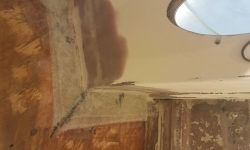
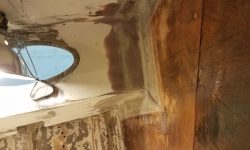
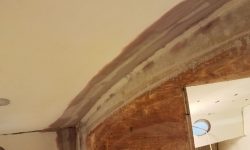
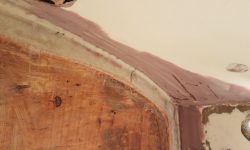
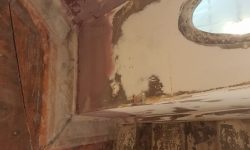
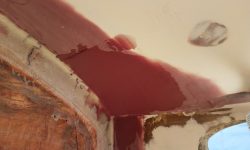
There were only a few small areas in the tabbing and head that required additional filler, and for these minor areas I used some of the white acrylic putty that I’d used elsewhere during earlier stages of the interior work. At the port after section of the overhead in the forward cabin, however, I was required to apply additional epoxy fairing compound, since this area of the liner had been misshapen and distorted by earlier work (work by other people sometime in the boat’s distant past), and while I’d been working the area to bring it back to shape, now I used a wider trowel to try and get the contours where I wanted them.
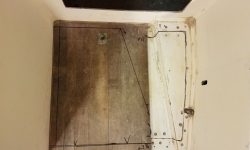
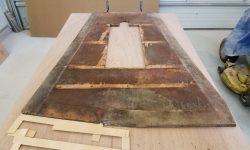
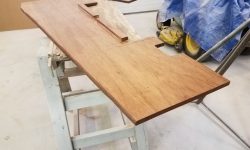
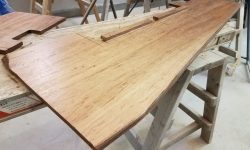
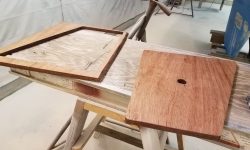
I spent the rest of the day mainly working on the cabin sole, starting in the galley, where I used the old piece of sole (which had functioned as a hatch) to pattern a new piece to fit the whole area (previously there had been two pieces in that space). I also marked out where a new hatch should be and made these marks on the old section so I could use it as a template for the new.
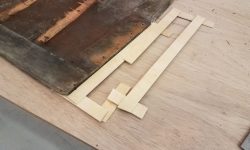
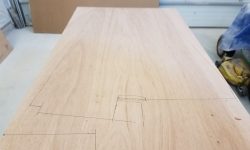
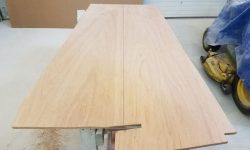
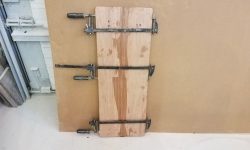
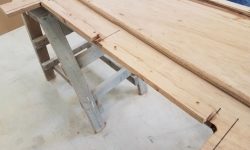
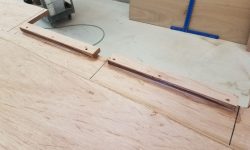
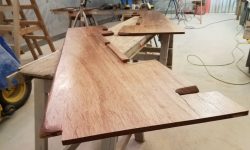
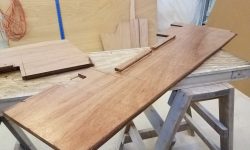
I clamped and screwed the old pieces of cabin sole (they were bowed and needed to be flattened) to a fresh piece of 18mm marine plywood and marked out the shape of the replacement sole. At the aft end at the head entrance, I positioned my little plywood template as needed and extended the shape of the sole accordingly. Then, I cut out the new piece. In order to fit the sole into the boat, I then cut it straight down the middle, creating two narrower pieces.
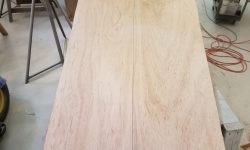
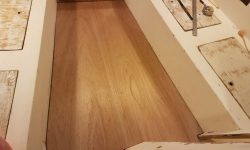
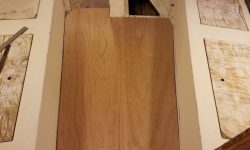
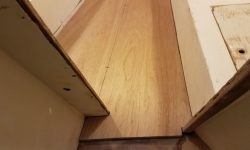
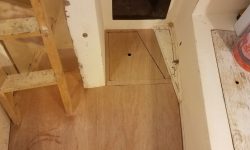
Next, I test fit the pieces in the boat. I was happy to find that the wraparound cutout for the head opening worked well and that I could use it as is.
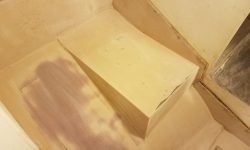
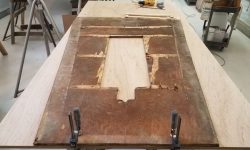
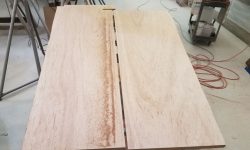
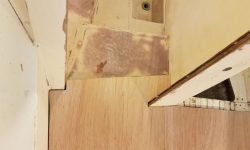
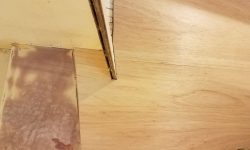
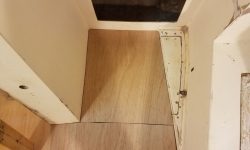
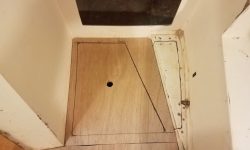
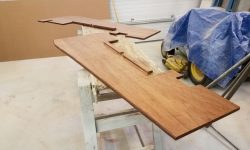
Now I made up the last piece for the galley, using the old piece and some additional measurements as a template, and cut out the center hatch to fit. That angled section to the right (port) is a small raised area that will later receive a wood overlay along with the rest of the sole, but required no plywood.
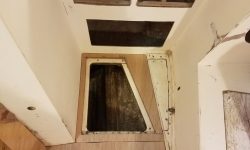
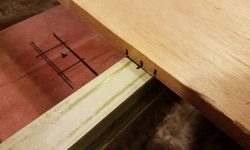
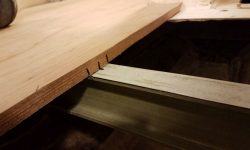
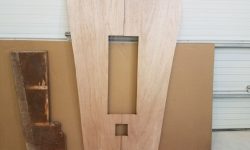
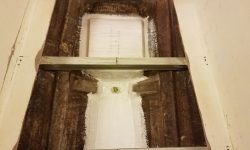
Lifting half the main section of sole at a time, I marked the locations of the cross beams so I could lay out and cut the bilge access hatch. I also laid out an opening just forward of the hatch for the mast compression post.
Since the center hatch was in two pieces, I epoxied them back together so I could use it as a blank for the opening.
The hatch would rest on the beams at the ends and across the center, but along the sides of the opening and between the beam locations, I added plywood support cleats beneath the sole, which I epoxied and screwed in place.
The last thing I needed to do to the sole for now was to epoxy-coat the bottom sides and edges of all the pieces, a layer of protection against bilge moisture once installed.
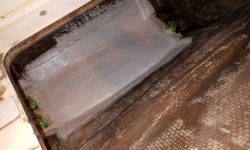
As I geared up to get the sole permanently installed, I prepared the bilge for final paint by applying some two-part epoxy primer to coat the new fiberglass I’d installed earlier, something I’ve found was necessary to allow proper curing of the topcoat over fresh epoxy.
Total time billed on this job today: 7.5 hours
0600 Weather Observation: 30°, sleet and snow (about 7-8″ overnight). Forecast for the day: Sleet and snow eventually ending, around 34°, another inch or three possible accumulation


