May 21, 2018
Scupper 45
Monday
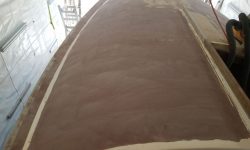
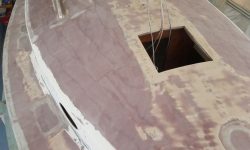
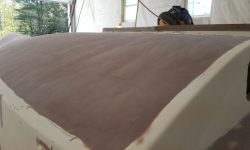
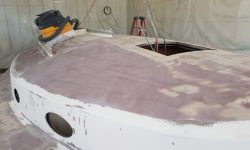
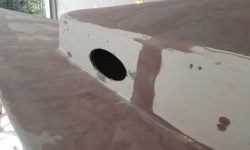
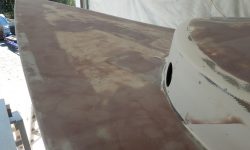
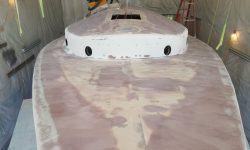
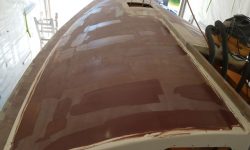
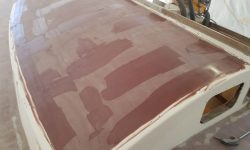
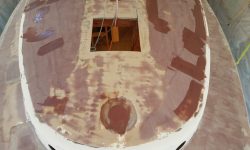
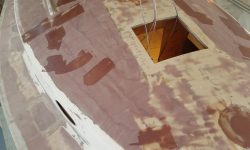
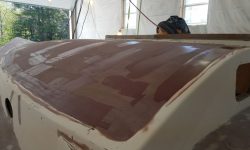
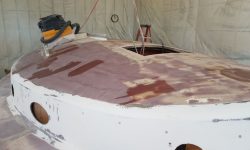
Continuing the deck work, I once more sanded the coachroof fairing repairs, bringing the surface enticingly close to final contours with this round, other than several minor low spots and some pinholes that would require additional work.
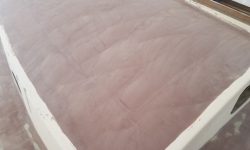
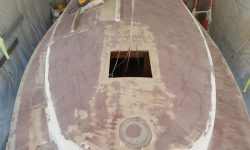
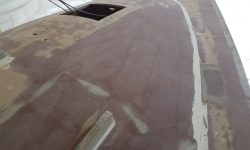
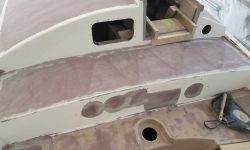
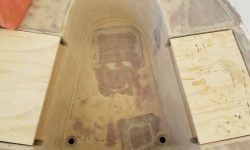
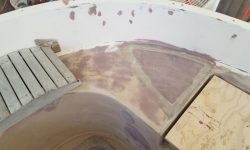
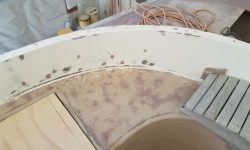
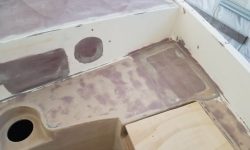
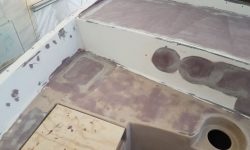
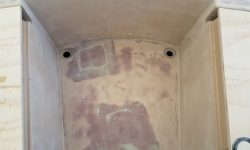
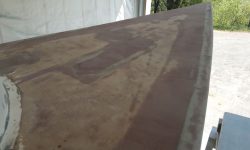
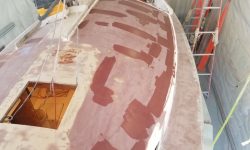
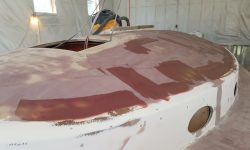
I spent the rest of the morning sanding the other deck areas, including the bridgedeck, cockpit, and cockpit well, where I finish-sanded through 120 grit the skim coat over the existing nonskid to smooth those areas, as well as sanding the original gelcoat in the cockpit well, coamings, my earlier repairs, and other areas to prepare everything for primer and any additional work beforehand. I’d still need to come back and sand corners and tight areas by hand or with another machine later.
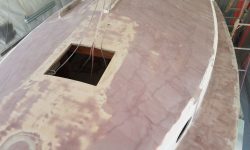
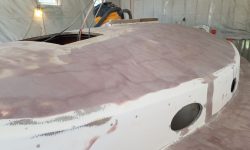
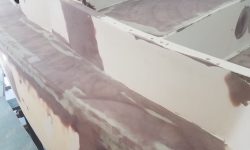
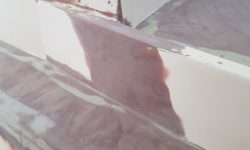
On the sidedecks and foredeck, as well as the cabin trunk sides and coamings, I finish-sanded all areas through 120 grit, removing the skim coat over the foredeck nonskid and portions of the starboard deck in the process and bringing these areas essentially into their final stage before primer, other than an additional round of detail and hand sanding as needed for those corners and tight areas.
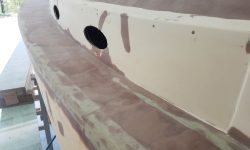
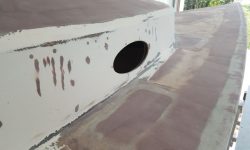
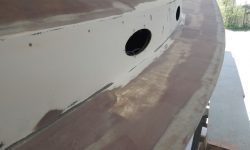
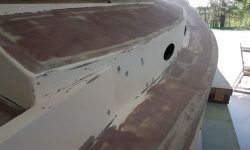
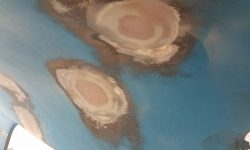
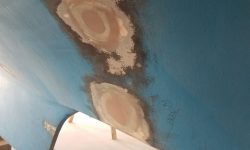
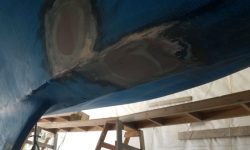
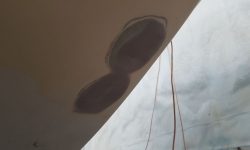
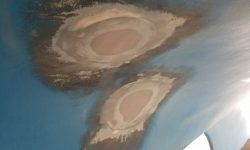
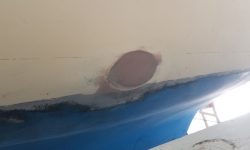
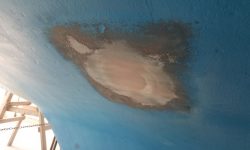
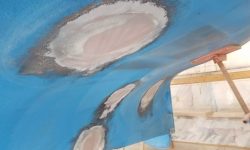
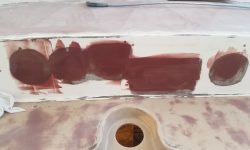
The twelve through hull patches on the bottom (including three in the topsides) were looking pretty good after sanding the light second coat of fairing compound, and I deemed the work complete, though the patches on the topsides would receive a bit of extra attention when I turned to the final preparations for the hull in the near future.
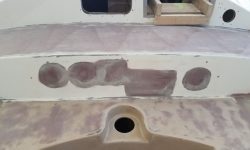
After cleaning up, I spot-applied additional fairing material to the coachroof as needed, focusing mainly on a few low spots (mostly trowel marks) and some obvious pinholes in some of the previously-faired areas. The instrument panel patches below the bridgedeck required a bit of additional fairing as well.
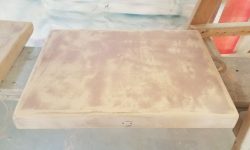
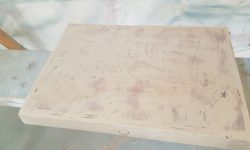
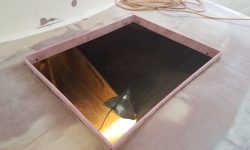
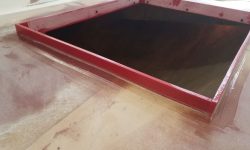
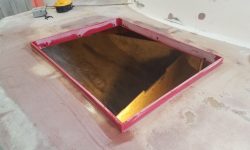
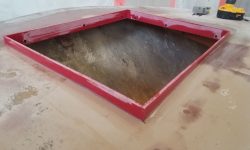
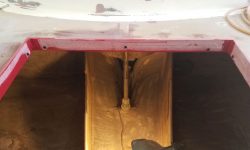
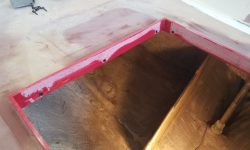
To round out the day, I built a coaming for the new lazarette hatch. This raised coaming would prevent water from entering the opening, and support/align the new hatch to close the opening. From 1/4″ thick prefabricated fiberglass, I milled 1-1/2″ wide strips to cover the exposed edges of the opening and continue above the deck surface far enough to do the job, without projecting so far as to make access to the hatch unnecessarily uncomfortable. I dry-fit the new strips around the perimeter for a friction fit, secured temporarily to the exposed plywood core edge with screws.
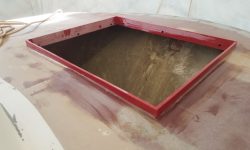
With the coaming satisfactorily fit, I removed the strips and, after final preparations (including cleanup, solvent wash, and application of unthickened resin around the hatch edge to seal the exposed core), installed the strips in thickened epoxy adhesive, securing them again with the temporary screws and creating small fillets in the corners and around the outer edges of the strips where they met the existing deck.
Total time billed on this job today: 7.5 hours
0600 Weather Observation: 48°, clear. Forecast for the day: Sunny, 75°


