February 17, 2020
Scupper 243
Monday
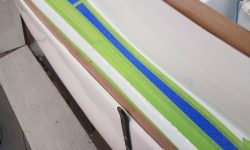
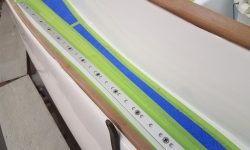
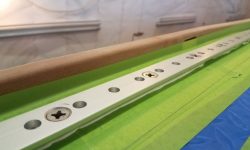
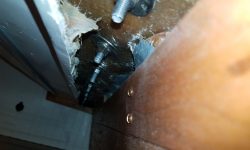
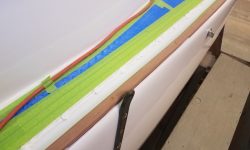
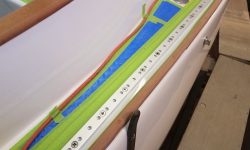
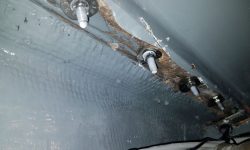
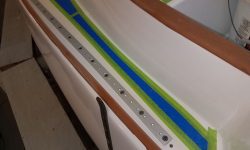
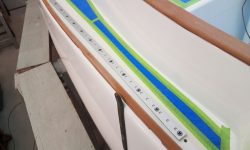
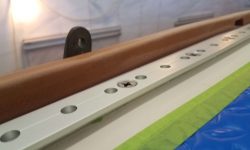
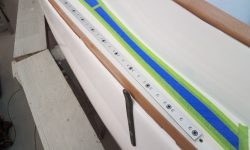
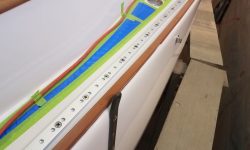
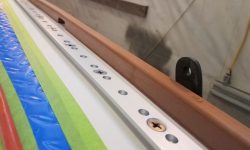
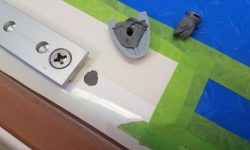
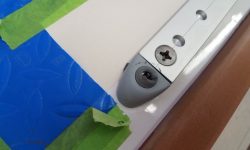
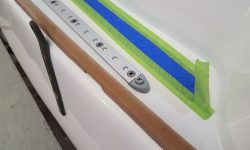
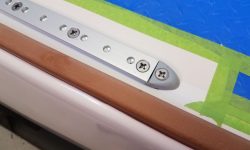
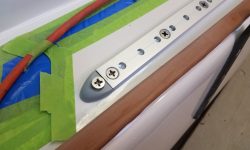
The first order of business for the day was to install the two jib tracks. I’d previously made all early preparations for the install, so now I just had to apply sealant and bolt down the tracks on both sides. The only complication, as usual, was access on the port side, where the cabin liner impeded access to the bolts more than I’d hoped, so once again I had to cut away part of the liner at the outboard edge so I could install the nuts and washers, adding one more liner repair to my ongoing list.
Similarly, I had to remove some of the liner in the head, above the holding tank, but here I wouldn’t have to build a cover plate since this whole area would be hidden from view with a panel.
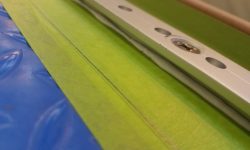
After installing both sides, I cleaned up the excess sealant.
I was waiting for the arrival of the track cars for these tracks, so I left the after pair of end stops loosely installed for now, but I could go ahead and install the forward ends with screws and butyl sealant.
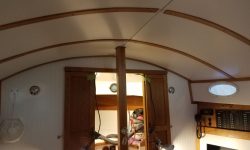
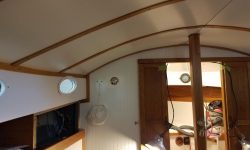
After leaving the shop for a short while on other business, I returned and installed the compression post in the main cabin, securing it at the base with the cherry trim pieces I’d built earlier. I accidentally split the wood on the after piece when installing a screw, so I’d have to remake that piece, but for now I left it in place.
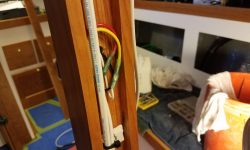
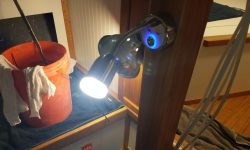
I led up the various wires from the bilge and into the routed-out wire chase on the forward end of the pole, and as I secured them on the way up, I finished the connections to the little chart light I’d installed on the post before installation. The remaining wires would go all the way to the top of the post, and I secured them most of the way, but left them shy of the top set of wire mounts pending final connection details at the top, and installation of the overhead.
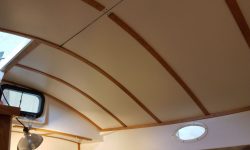
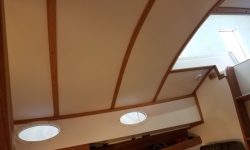
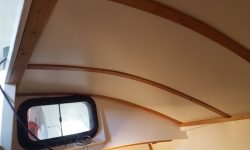
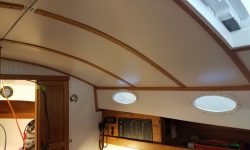
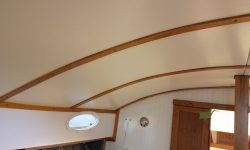
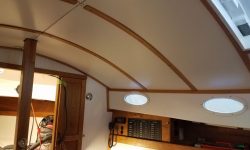
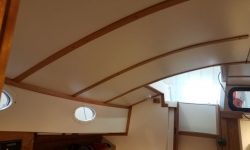
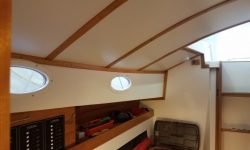
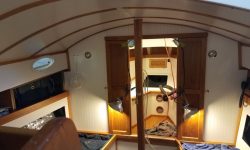
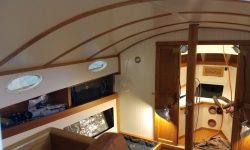
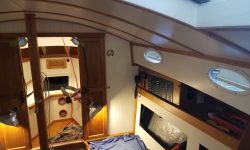
With the post in place, now I could finally install the overhead panels and trim, something I’d been looking forward to but hadn’t been able to complete till now because of pending hardware installations above. I’d built the overhead panels and trim pieces, and painted/varnished them all, many months earlier during the interior phase of the project.
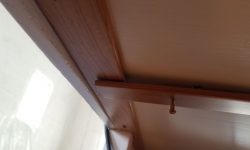
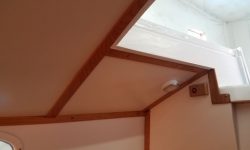
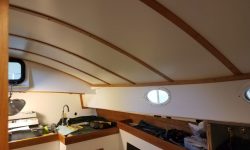
This brought up a minor complication or two, mainly that during the dry-fit of the trim pieces, I’d marked for length a number of the transverse pieces where they met the centerline longitudinals, but apparently I’d forgotten to actually cut them before sanding and varnishing the trims, so in a few places the trim was too long, and I had to test-fit and cut them to the proper length on the fly, such as the area shown below, over the galley.
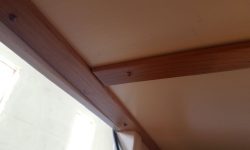
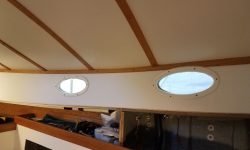
I installed all the plywood panels with screws, then covered the seams with the varnished cherry trims secured with cosmetic bronze screws.
For now, I installed all the panels and trim except the main longitudinal center piece forward of the companionway, which would require some final fitting around the transverse pieces (which were overlong in a few instances), and also to accommodate the compression post, mast wiring, and an overhead light, none of which were in place during the original construction of the overhead long before. I’d finish that up next time, but it sure looked nice to have the finished overhead finally in place to cover all the sins of the old liner.
Total time billed on this job today: 6.75 hours
0600 Weather Observation: 10°, clear. Forecast for the day: Sunny, 33°


