January 14, 2020
Scupper 219
Tuesday
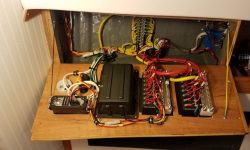
For the last remaining lighting circuit, the owner had requested that the galley lights, and a light near the companionway, be operable by a switch near the companionway to make it easy to light the interior when entering. With limited options for locating the switch, some time ago I chose the bulkhead adjacent to the companionway ladder, and at that time ran in another wire pair leading from the electrical locker to eventually service the switch.
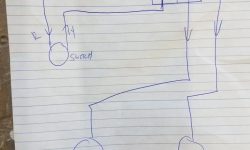
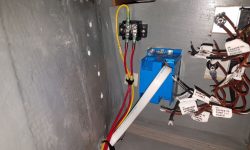
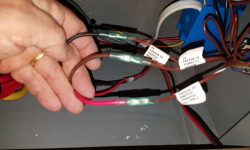
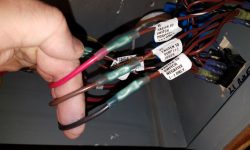
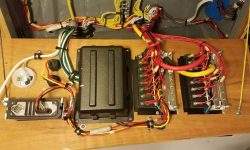
I’d kept the circuits for the galley and companionway lights separate, and now I had to make up a switched circuit to operate them both. I drew up a basic diagram, then installed the wires as needed using a small terminal block to conjoin the wires appropriately. Note that the yellow wire in this case is one of the two wires that would connect to the switch, as I used an ordinary sheathed wire pair; the red wire from the switch pair connected to the circuit breaker on the panel, and the two red wires attached to the terminal block are the positive leads for the two lighting circuits serviced by the switch.
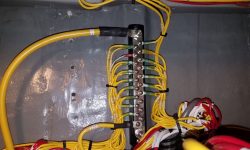
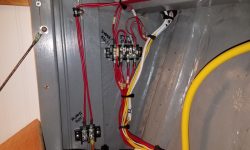
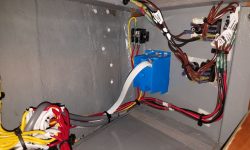
After terminating the negative wires from these circuits to the negative distribution buss, I turned to the final wiring connections at the bilge pump switches, and made up these connections as needed. I ran the power feed to each pumps from the “always hot” buss I’d installed earlier, so the pumps would operate independently of the switched battery circuit.
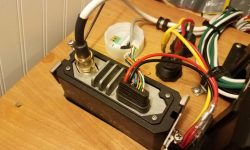
I made up the end of the boat side of the VHF cable and secured it to the radio, and this completed the wiring connections in the electrical locker.
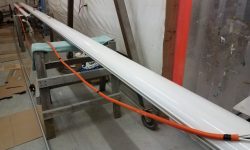
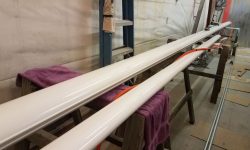
Next, I turned to the mast wiring. The masthead required wires for an anchor light, wind instrument, and the VHF antenna, and I bundled these cables in some flexible conduit. At the masthead casting, I ran the wind instrument cable through one of the two welded pipes at the top, since the connector there was too large to otherwise pass through. Later I’d install the bracket for the anemometer. I ran a wire snake through the mast and used it to pull through a piece of 1/4″ line as a messenger to pull the wires, then prepared to pull through the pre-prepared wire bundle.
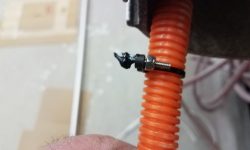
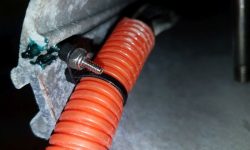
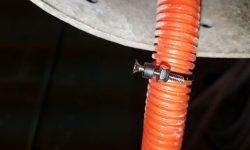
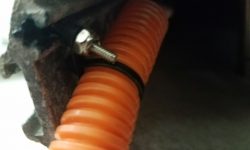
The old mast wires had been secured inside the mast to an extruded track, but the slot was so small I couldn’t source any slides to fit within. To attempt to secure the wires along their run through the mast, I came up with a plan to use small self-mounting wire ties (the kind with the mounting hole), and some #4 machine screws and nylock nuts. I’d previously determined that the head of a #4 flathead screw would fit in the track, and I hoped this arrangement might hold the wires along the way. I added some waterproof grease to the screw heads to hopefully help them slide through the track.
This surprised me by actually working…almost. Pulling the bundle through in stages, I added additional screw supports every so often, and after a few temporary bind-ups (much fewer than I’d expected) and what seemed like a year of pulling the messenger, I finally pulled the wire bundle through the bottom of the mast, but found that somewhere near the bottom of the mast one of the screws had bound on some old debris in the track (impossible to see or reach), and the orange conduit had bunched up within the spar somewhere above the gooseneck. But at least the wires were through, and it looked like most of the conduit had survived, so for now I called it a relative success and would address the conduit issue in the morning.
Total time billed on this job today: 8 hours
0600 Weather Observation: 20°, partly cloudy. Forecast for the day: Mostly sunny, 32°


