January 8, 2020
Scupper 215
Wednesday
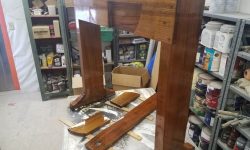
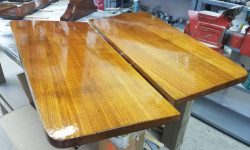
I began the day in the varnish room, where I lightly sanded the table parts and applied a coat of gloss varnish to the base and the visible side of the table leaves, locker lid, and support brackets. This brought all sides of all pieces up to at least 4 base coats.
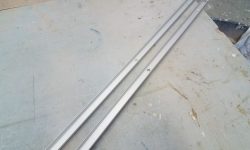
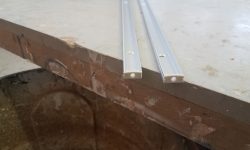
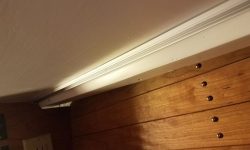
A few weeks back, after finding that the LED diffusers I’d bought for the underdeck lighting in the forward cabin and main saloon weren’t suitable for my application, I ordered different materials for the purpose–aluminum channels and diffuser covers–and now I could finally return my attention to these lights, starting in the forward cabin. The channels were longer than I needed for the space available in the forward cabin, so I cut two channels to length. These came with two kinds of end caps: solid caps for the blank end, and caps with a hole for wiring at the other end. In order to secure the channels in place, I drilled pilot holes and countersunk for flat head screws.
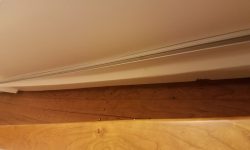
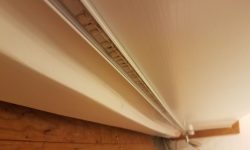
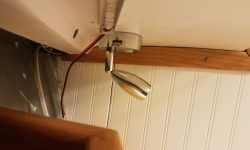
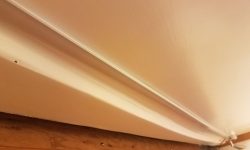
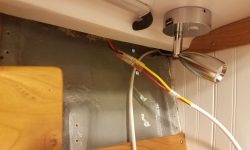
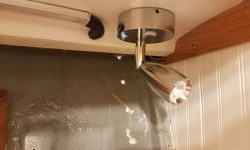
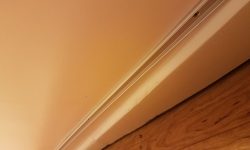
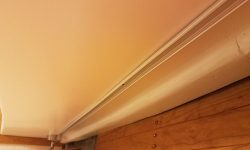
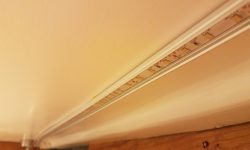
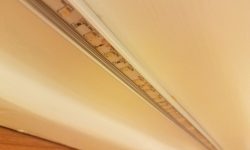
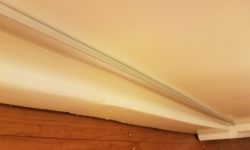
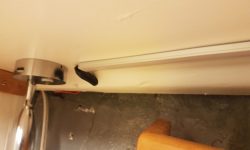
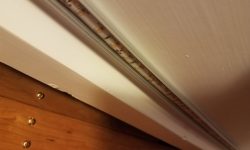
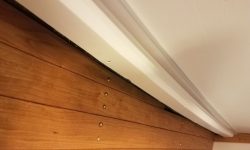
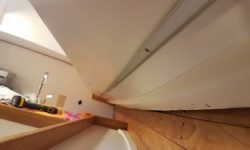
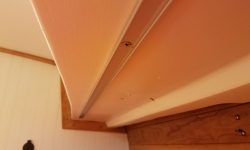
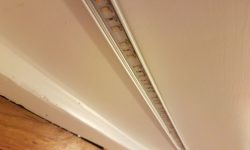
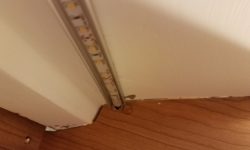
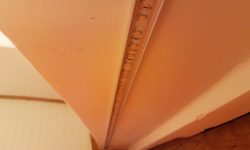
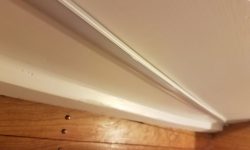
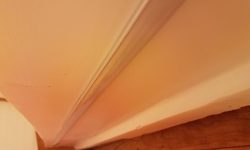
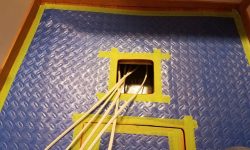
Beginning on the starboard side, I installed the channel beneath the sidedeck with 1/2″ screws. I kept the channel near the outboard side of the space, and started them just forward of the reading lamps I’d installed earlier. Once the channel was in place, I installed the waterproof LED light strip, which I cut to length as needed to fit within the channel. This strip was self-adhesive. I led the wires out the aft end of the channel, through the end cap, and then through a hole I drilled in the liner to accept the wiring and a short length of flexible conduit.
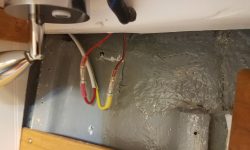
To finish off the first of four installations, I installed the diffuser cover over the channel–a simple snap-in installation–and made up the wire ends to a wire pair I’d already led forward into the space.
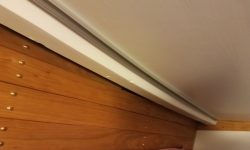
I repeated the process on the port side.
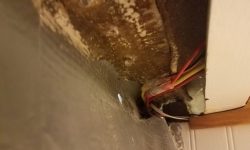
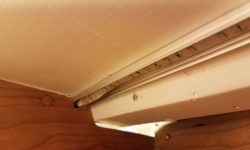
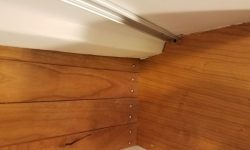
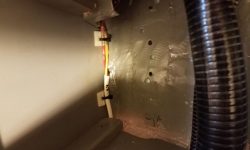
Moving aft, I repeated the installation on the starboard side aft of the electrical locker. Here, I could butt the end of the channel up to the small bulkhead, through which I drilled a hole for the LED wiring.
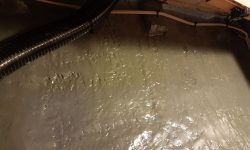
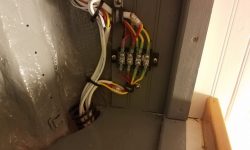
On the port side of the main cabin, there was room for a full length of the aluminum channel. Here, to avoid interference at the aft end with possible deck hardware, I let the channel run out towards the inboard side of the space beneath the deck as it ran aft, keeping the outer aft section clear in case I needed to cut access through the liner for the jib track or stanchion base when the time came. I extended the wiring and led it through the locker and up to the lighting terminal block I’d installed earlier, finishing up the connections there.
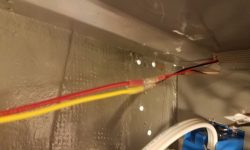
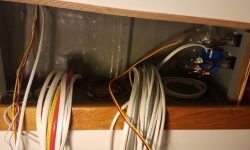
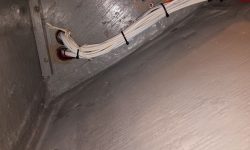
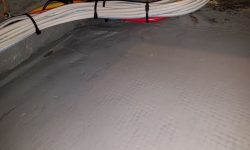
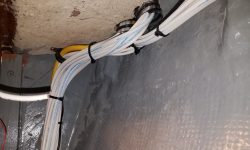
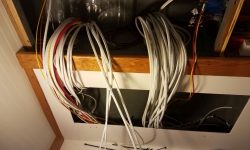
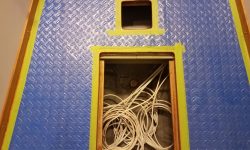
To round out the day, I finished up the bulk wiring runs. leading four circuits and a VHF cable from the panel area, through the forward part of the boat, and back into the bilge in way of the mast compression post, through which these wires would ultimately lead. These circuits would service mast lighting as well as a couple additional interior fixtures based off the compression post. For now, I left ample length at the bilge end for final connection later, and, after securing the wires through the starboard lockers alongside the existing wire runs, at the panel end left sufficient length for final connections there, which could start happening soon now that all the basic wires for known circuits were finally in place.
Total time billed on this job today: 8 hours
0600 Weather Observation: 25°, light snow. Forecast for the day: Light snow, maybe an inch forecast, 32°


