January 6, 2020
Scupper 213
Monday
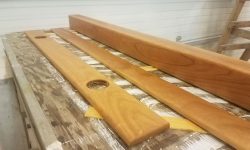
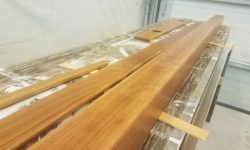
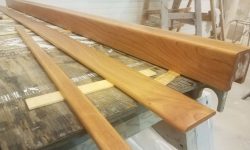
Over the weekend, I finished up the base coats of varnish on the various cherry trim pieces, and to start the day now I applied a final coat using satin varnish.
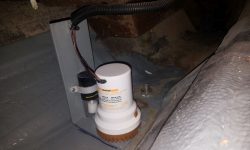
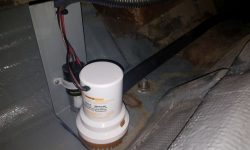
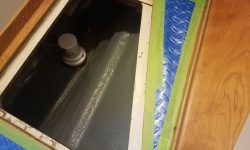
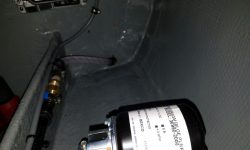
In the main bilge near the galley, I finished up the installation of the new centrifugal “emergency” pump and automatic switch. Now that the pump bracket was secured to the boat, I snapped the pump back in place and, working from the engine room, led in a length of 1-1/8″ hose, which I connected to the pump. For now, I left the other end of the hose wild in the engine room pending final connection to a new through hull.
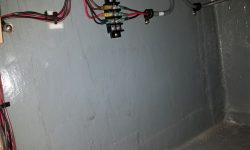
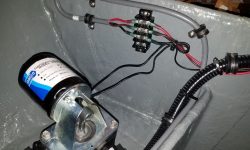
I ran the wires up through into the locker beneath the galley, where I eventually secured them to a terminal block held up out of the way on the inboard side of the locker, and connected the wire leading back to the panel to the other side of the terminal. This provided a straightforward way to make up the connections between the pump and switch to allow manual or automatic operation; I’d finish up the wiring at the panel end a little later.
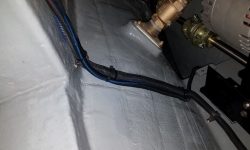
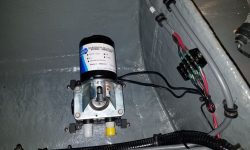
In the engine room, I continued work on the second, main pump: a diaphragm pump designed for routine and complete dewatering of the bilge. I’d already installed the bracket and automatic switch in the bilge, and now I led the switch wires through flexible conduit and along the path of some other wires already in place in the engine room and over to the starboard side, where I chose to install the diaphragm pump on a shelf at the outboard side of the engine room. I wired up the pump and switch to the cable leading to the panel through another terminal block.
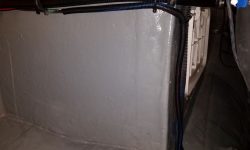
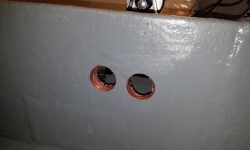
To lead in the suction and discharge hoses for the pump, I drilled a pair of holes through the divider at the side of the pump, in line with the two ports on the pump itself. I found a plywood void in one of the holes, and while the divider was non-structural, I chose to fill the void with thickened epoxy, and treated the exposed plywood in the second hole as well. I left the new epoxy to cure overnight.
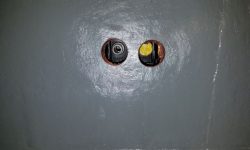
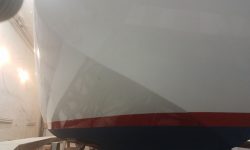
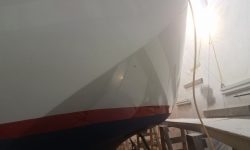
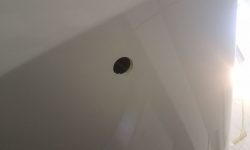
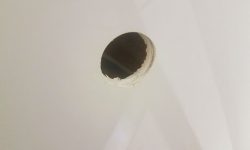
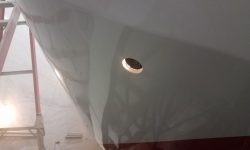
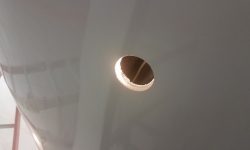
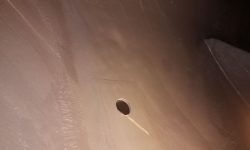
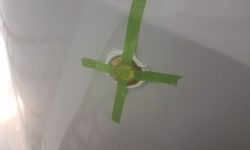
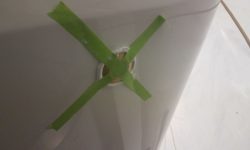
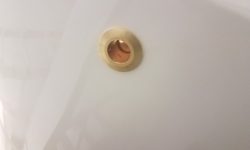
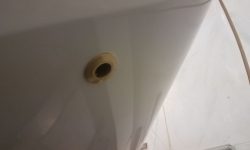
To accept the discharge ends of the two electric pump hoses, as well as a forthcoming manual bilge pump, earlier the owner and I had decided to install a pair of through hulls, one on each side of the counter: one on the starboard side for the two electric pumps; and a second on the port side for the manual pump. Using the location left over from the old discharge through hull (which I’d removed and patched much earlier) on the starboard side as a guide for the new locations, I drilled a pilot hole from inside the boat on each side in the desired location, then, from outside, drilled the larger holes required to accept each through hull.
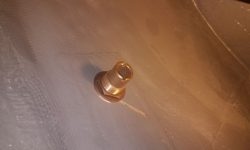
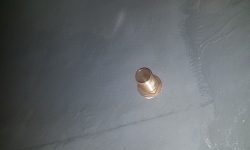
After cleaning up the drill spoils and around the holes themselves, I installed new bronze fittings at each location.
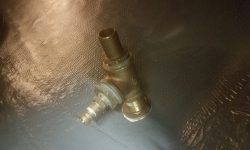
On the port side, I chose a barbed through hull that would later accept the 1-1/2″ discharge hose from the manual bilge pump. For the starboard fitting, I needed a normal threaded through hull so I could install a bronze tee fitting for the two discharges from the electric pumps: 1-1/8″ from the centrifugal pump, and 3/4″ from the diaphragm pump.
Total time billed on this job today: 7.5 hours
0600 Weather Observation: 5°, mostly cloudy. Forecast for the day: Mostly cloudy, 28°


