December 9, 2019
Scupper 198
Monday
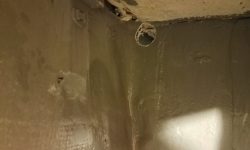
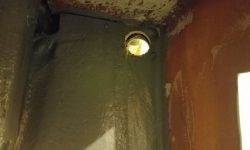
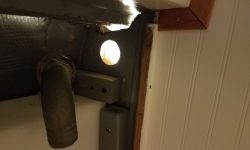
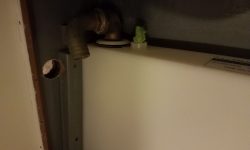
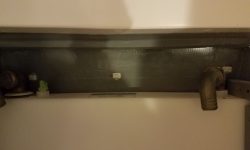
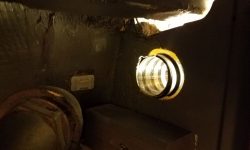
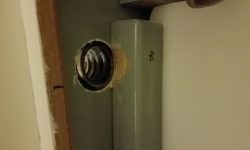
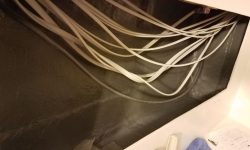
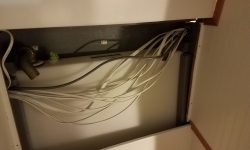
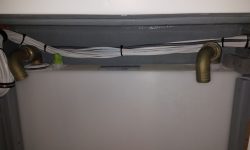
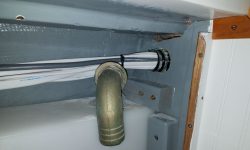
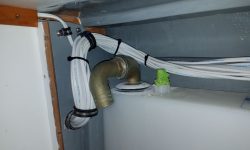
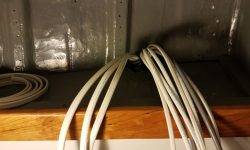
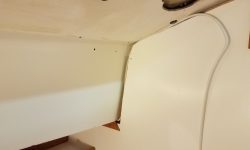
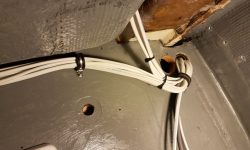
I got started with the electrical system on the starboard side, where I planned to run various circuits aft from the electrical panel to the engine room, after parts of the boat, and the head. The only route available for these runs was through the locker outside of the head, where I’d previously installed the holding tank, and naturally space was tight, but there was sufficient room to drill the large holes required for wire passage. I lined the new holes with sections of hose to act as chafe gear for the wiring. Much earlier in the project, I’d pre-installed wire tie mounts in as many areas as I could conceive at the time, but above the holding tank I added a few more to eventually support the new wiring.
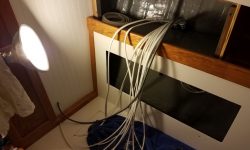
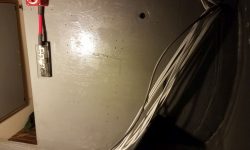
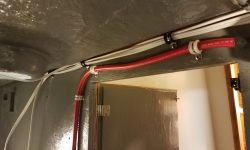
With the route planned out and the basics of its path now in place, I spent most of the rest of the day pulling wires through. In addition to the main shore power feed from the new receptacle, I led another length of the same 10/3 cable (larger than probably needed, but I had extra on hand and didn’t know yet the operating amperage of the new charger) from the engine room to the panel area to service the engine bank’s 48-volt battery charger, and some additional AC wiring to eventually service an outlet in the galley. Other circuits running this course included wiring for the electronics, compass light, stern light, engine room lights, head overhead light, bilge pump, and another overhead light to be located to starboard of the companionway.
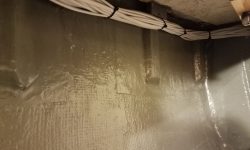
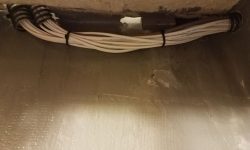
I left ample slack in the cables as I made each run, and once I had finished what I thought I needed to run there (and stuffed the conduits to near capacity), I cleaned up the wiring and secured it as needed along the way, in the holding tank locker and in the starboard settee back.
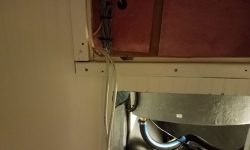
There were a few additional wire runs I’d need to make through the same route, specifically for the much larger power-supply wiring required for the fresh water-flush toilet and a transducer cable for a depthsounder, but I needed to order the larger wires required for the toilet, and hadn’t yet determined the final depth location. Since the original conduits were full, however, I prepared an adjacent round of holes to accept the additional wiring when I was ready. Wiring to other parts of the boat would take different routes, and I’d install that in the coming days as well.
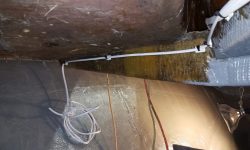
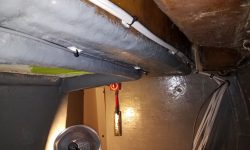
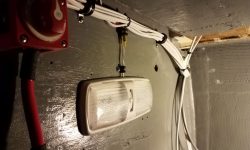
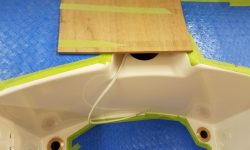
With the bulk cable runs in this area cleaned up and secured, I moved into the engine room and after parts of the boat, where I secured the stern light wiring as far aft as the transom, leaving ample extra to lead to wherever the stern light ended up, and began routing, securing, and even connecting some of the remaining new wiring in the engine room, running wires up and out the access hatch to the back of the electronics area (where eventually a GPS multifunction display would be installed), through the hole in the bridgedeck for a flush-mount compass (light), and across the forward part of the engine room towards the galley. I prepared the route for the head overhead light, which I could install permanently soon, and routed the cable for the companionway light up and around through some exposed gaps in the interior liner, for eventual final routing to the light fixture that I’d install in the small overhead panel there. Finally, I installed and connected one of two utility light fixtures in the engine room before I ran out of time for the day.
Total time billed on this job today: 8.25 hours
0600 Weather Observation: 40°, cloudy. Forecast for the day: Clouds and rain, 50°


