December 6, 2019
Scupper 197
Friday
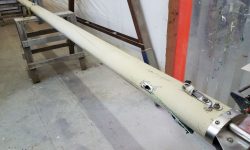
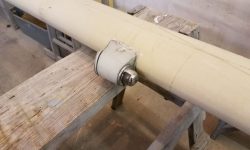
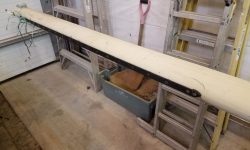
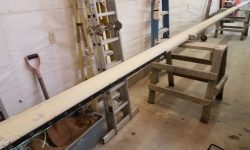
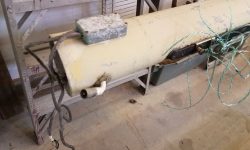
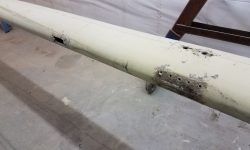
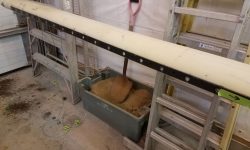
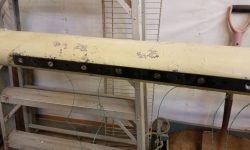
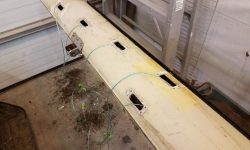
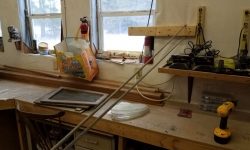
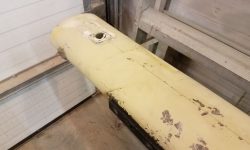
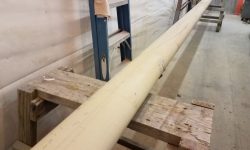
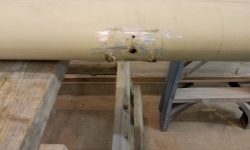
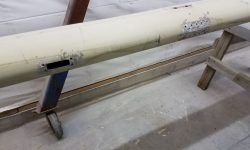
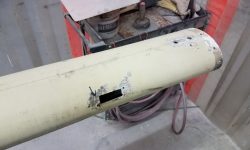
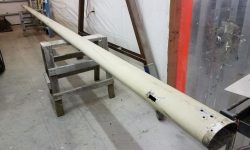
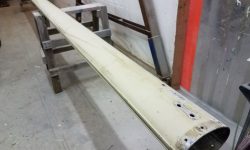
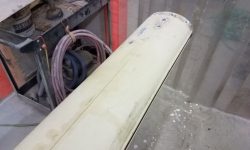
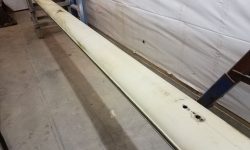
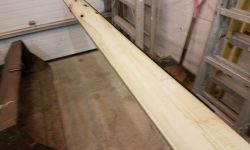
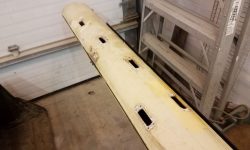
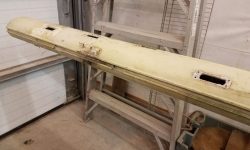
With rigging work and new sails consultations underway, I realized I had better think about refinishing the mast sooner than later, so that it could be ready to accept the new rigging and thus be available for the sail loft to measure accurately, so with this in mind I set to work disassembling the mast. During the recent holiday break, I’d moved the mast indoors to the second shop bay, so it was ready and awaiting my attention. With the old rigging stripped off (it had been removed a month or so ago for replacement), the mast looked more forlorn than ever, and revealed just how badly it required the cosmetic makeover.
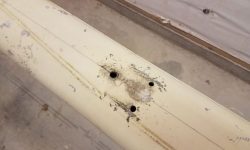
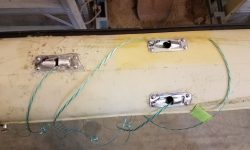
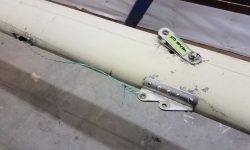
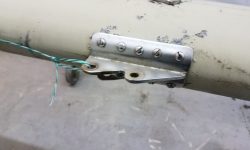
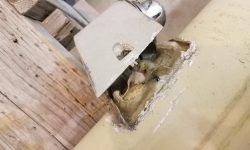
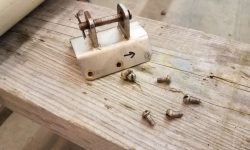
The rigger had reeved messenger lines for all the internal halyards, and to start I noted how each ran, particularly over the masthead sheave plates, so that I could properly reinstall them later on, since I’d need to at least temporarily move them so I could remove the various hardware. For no reason in particular, I started removing the mast hardware at the masthead, beginning with the halyard exit plate for the spinnaker halyard, on the front of the mast. One of the four screws broke off in place, leaving me a small stud that I hoped I could remove after soaking in penetrating solvent for a while, but otherwise I had hope that perhaps removing the hardware wouldn’t prove too onerous. To hold the halyard’s messenger in place, I used a temporary screw to tie the messenger around.
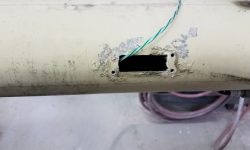
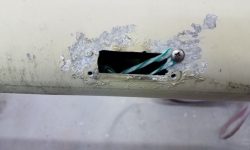
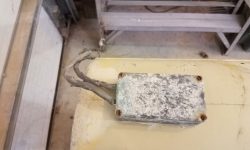
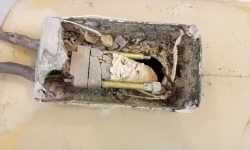
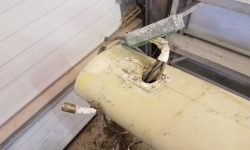
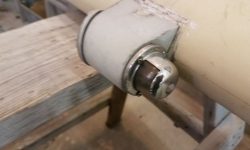
Next, I turned to the masthead casting, which held two halyards, the boom topping lift, and incorporated risers for a masthead light and large tricolor. As I began to remove the masthead, I realized that all the mast wiring–which was also slated for full replacement–was causing issues, so down at the base of the mast I removed–destroyed is more like it–an ancient aluminum junction box where the wiring connections had been made, ostentibly to allow easy disconnection for mast unstepping, but clearly this box had corroded shut years ago and hadn’t been opened since then. There was no way the old screws were coming out, so I bashed out the cover with a hammer, then found the four screws securing the box to the mast itself, hidden inside the box, were actually easy to remove, and in short order I’d freed up the old wiring.
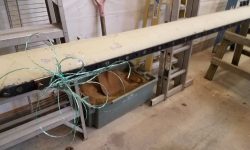
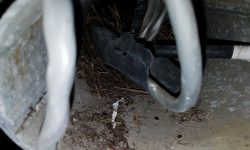
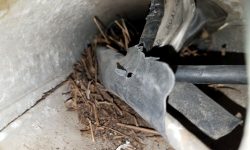
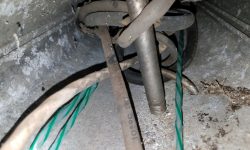
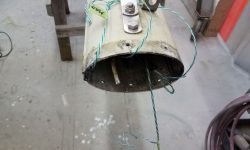
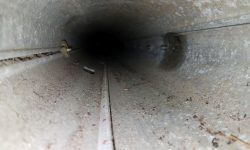
Inside the mast (which I already knew since this mast didn’t have a base casting) was a fair bit of birds nest debris, plus the discombobulated and stiff old wiring. The wires were secured in two covered bundles–a large one running to the masthead and containing all the wires and cables there, and another one on the opposite side leading to the steaming light further down the mast.
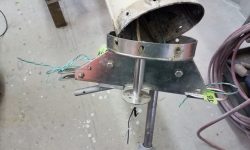
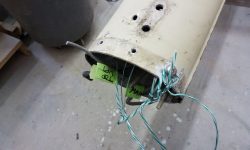
At this point it was clear that I wouldn’t be using any of the old wires for anything, including possibly using them to messenger new wires in, so with that decision made I could go ahead and cut the wires that were still holding on the masthead, after which I could remove it to expose the upper end of the spar, where the old wiring was a tangled mess. I installed another temporary screw in one of the fastener holes to secure all the masthead halyard messengers.
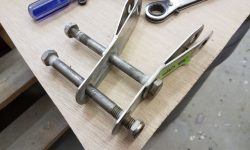
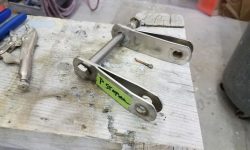
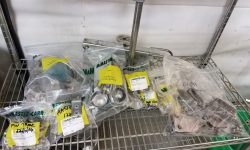
Continuing the hardware removal, I worked my way down, removing the cap shroud tangs, VHF antenna holder, and then, further down, the staysail tangs and halyard exit plate. I’d already removed, in a previous session, the spreader bases and lower shroud tangs.
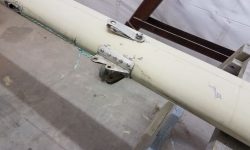
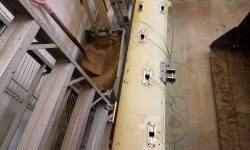
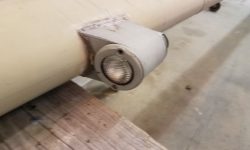
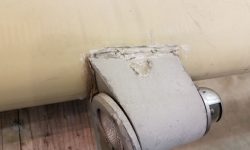
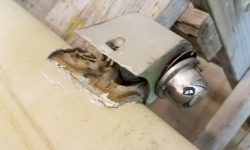
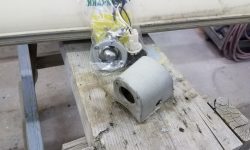
I approached the spinnaker pole track with trepidation, as these tracks tend to have extra ways to make fasteners immobile, but the first few screws I tried came out without complaint, so I continued removing them, from top to bottom, till I ran into the expected corrosion with about six screws remaining near the bottom of the track. I could afford a bit of uncharacteristic patience with these, so I doused them in penetrating oil and planned to keep treating them and waiting for a few days in the hopes that I’d later be able to remove them easily and without destruction. While I was down that way, I also removed the steaming light housing (heavily gooped in silicone), halyard exit plates, and the gooseneck, more or less wrapping up the hardware removal.
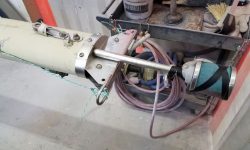
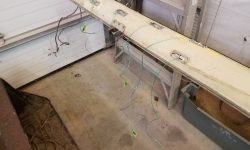
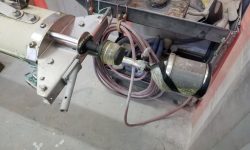
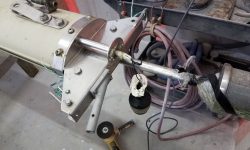
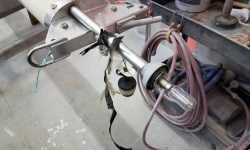
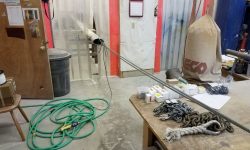
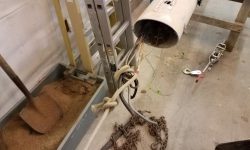
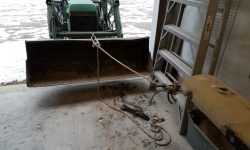
I removed the short wire bundle leading to the steaming light without issue, but the masthead bundle was secured within the mast to an internal track, and though it was supposed to slide I found I could only budge it a foot or so by hand in either direction. It had to go, so I tied the masthead to a block I installed on the wall of the shop, and after knotting up the exposed wires at the lower end used a tractor to pull the wiring out of the mast. This worked well, but I’m not sure whatever little slides held the wires to the track within the mast came out with the wire bundle.
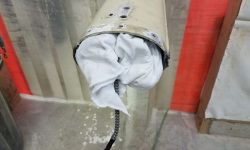
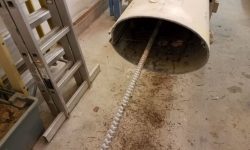
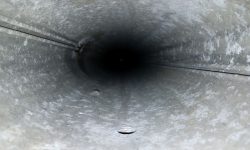
This left only the halyard messengers and a whole lot of old debris–mainly birds nests–inside the mast. With the extrusion now completely open within, I decided there was no reason, nor benefit, to leaving the messenger lines in plate (and a significant downside, as they would be be fussy and difficult to work around), so I pulled them out, using the opportunity to string in a bit of line through the mast, which I then used to pull through a chimney-sweep-like bundle of rags that cleaned out the remaining detritus. (I thought I had some pictures of the resulting pile, but alas.)
I’d come back over the coming days and keep trying to remove the rest of the screws securing the mast track, but for now the disassembly was complete–and with only two broken screws (on halyard exit plates) left behind. Overall, the hardware removal had been pleasingly straightforward. After cleaning up from the day’s and the week’s efforts, I called it a day.
Total time billed on this job today: 6.5 hours
0600 Weather Observation: 24°, clear. Forecast for the day: Mostly sunny, chance of snow late in the day, 31°


