November 22, 2019
Scupper 189
Friday
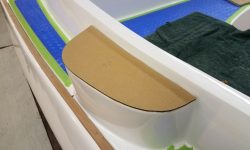
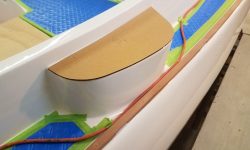
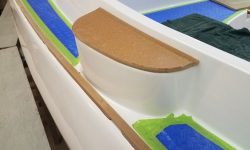
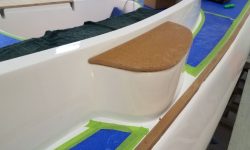
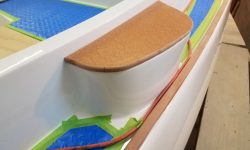
Sticking with the idea of replicating most of the original wood trim that had been on the boat, I got to work on the winch islands, which had originally featured wooden tops. To create new faux wood accents, I started with cardboard templates of the winch islands’ shape, which I transferred to some 1/2″ thick plastic lumber stock and cut out and shaped accordingly.
For the moment, I left these at the dry-fit stage, planning to permanently install them later once I had sealant going for some of the other trim on deck.
I’d cut the winch islands now because I wanted to use the same stock to mill pieces for the eyebrow trim, but wanted to ensure enough of the material for the winch islands first. Now that those were all set, I milled 3/4″ wide pieces of the 1/2″ stock (in 12′ long pieces) to use for the eyebrow. With one factory edge, I needed only to round over the cut, second edge to complete the trim before I could set about for the layout and dry fit.
The owner and I had discussed the eyebrow but we agreed that this was an important visual feature of the boat that made it worth installing the numerous screws required to hold it in place, though I planned to use no more fasteners than necessary.
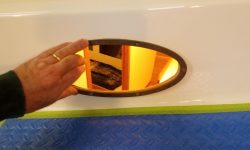
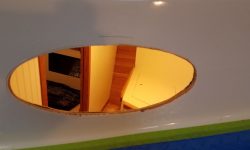
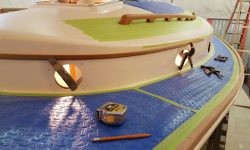
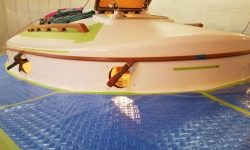
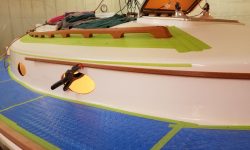
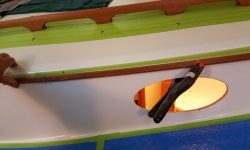
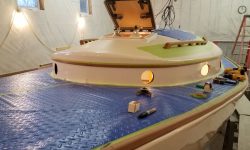
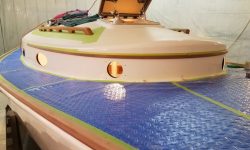
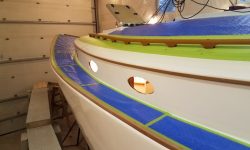
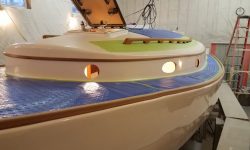
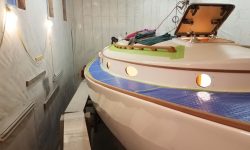
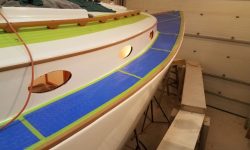
The eyebrow needed to follow the shape of the edge of the cabin trunk forward to roughly the forward set of elliptical ports, after which point it took a different line as it curved forward and around the front of the cabin trunk. My first layout involved the trim rings for the forward ports, which I held in place and marked at the top edge just to be sure the eyebrow wouldn’t interfere with the trim rings at all.
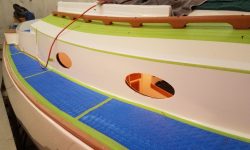
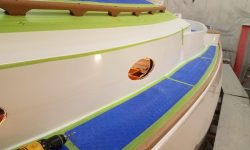
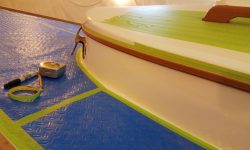
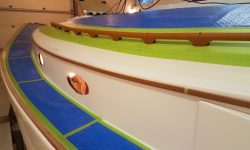
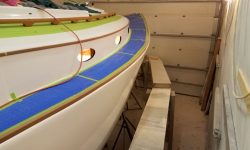
Afterwards, I used 1/2″ masking tape to mark a line following the edge of the cabin trunk as far forward as the forward ports.
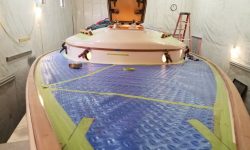
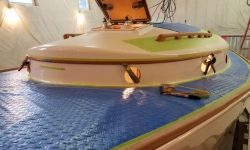
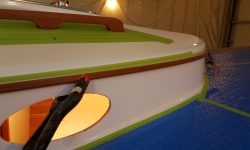
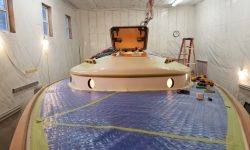
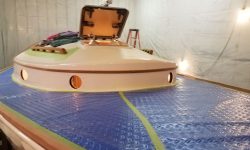
Here again, the flexibility of the plastic material made life easier here, as it would easily make the bend around the curved forward edge of the cabin trunk. Starting with a point on centerline, I clamped a piece of the eyebrow trim in place, bending it round the sides and adjusting it till it looked right and would blend into the line of the after pieces of the trim. One twelve-foot section was long enough to span the entire forward part of the cabin and past the forward set of ports and the tape line running aft.
After various adjustments and when I was satisfied with the position of the trim, I used masking tape to mark its top edge around the front of the cabin trunk for later reference.
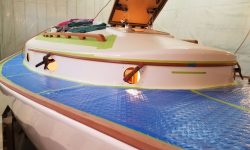
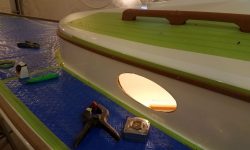
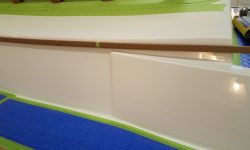
Removing the clamped-on trim, I cut 45° angles on each end, much as I’d done with the toerail, to connect and incorporate the after trims, then dry-fit the forward trim with screws places 12″ apart.
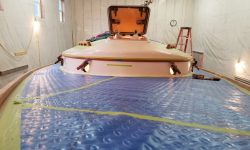
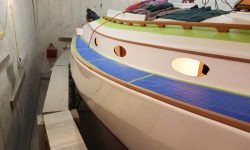
With the forward piece in place, I could continue with a second piece on each side, running aft towards the cockpit. I let these run long past the edge of the cabin trunk for now, but planned to end the eyebrow just forward of where the coaming caps would later conjoin the cabin trunk, and duly marked these with tape for trimming once I removed the trim before final installation with sealant.
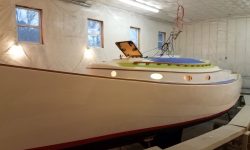
With the eyebrow dry-fit, I cleaned up the boat and shop and called it a day.
Total time billed on this job today: 6.5 hours
0600 Weather Observation: 38°, mostly clear. Forecast for the day: Mostly cloudy, showers, 46°


