April 2, 2018
Scupper 18
Monday
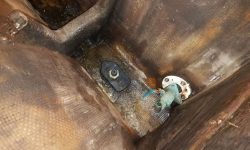
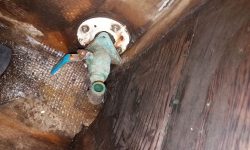
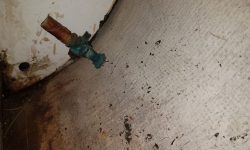
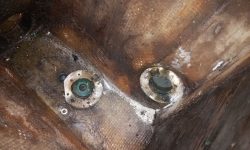
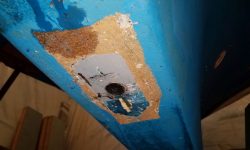
Now that I’d completed the bilge soak, I could remove the final through hull fittings from the boat: a transducer in the very bottom of the boat beneath the (former) engine, and the old engine intake through hull and valve. There was also a small sink drain fitting near the head sink that I’d not gotten around to before.
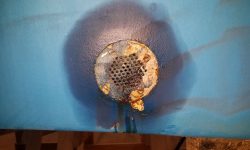
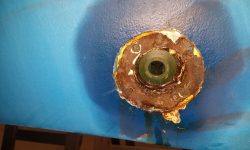
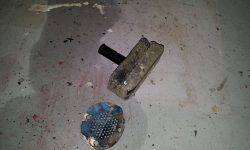
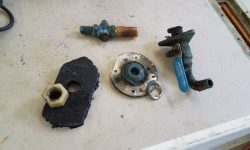
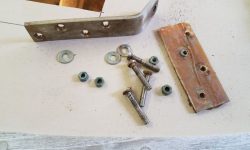
The engine intake fitting was a convoluted arrangement that turned out to be nothing like I’d expected. Seeing four nuts on the inside of the backing plate, and four screws on the outside of the flush screen fitting, I’d logically assumed one begat the other, so after cutting off the valve inside, I removed the nuts and tried to bang out the bolts to no avail. I figured they must be in tapped holes, so from outside I removed the screws and then the screen fitting, revealing a normal through hull set inside a recess–a recess created by the strange two-layer backing plate within. Back inside the boat, though, I found that the threaded parts of the bolts were still there–obviously another set of four bolts. Eventually I removed those and the second layer of backing plate, along with the mushroom head of the through hull, completing the removal. The huge transducer fitting came off with little effort.
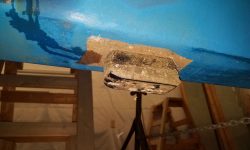
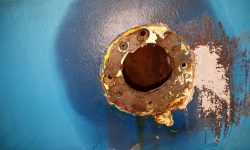
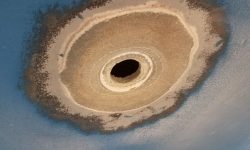
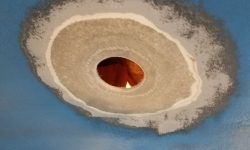
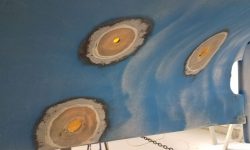
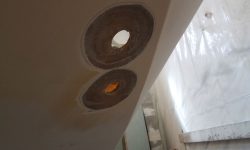
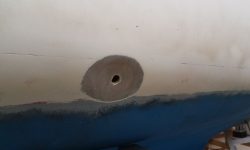
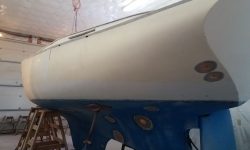
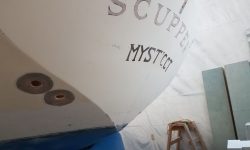
With all the through hulls now removed, I used a grinder to prepare the hull around each location for repairs and patching, creating tapered dish-shaped recesses concentric with the old through hull holes for all 9 underwater fittings (including that skeg-mounted transducer, which I forgot to photograph here), plus three others at or above the waterline. Patching would come a bit later in the process.
The bottom was in good outward condition with only a layer or two of bottom paint. Also, my work now, as well as earlier at the garboard, had revealed the existence of what appeared to be a barrier coat (gray), which tied in with the generally good condition of the bottom paint and lack of the heavy buildup one would expect on an older boat. This was good news to me, as it all meant there was no immediate reason to strip the bottom and start over.
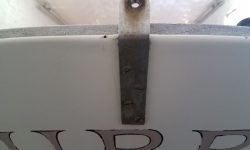
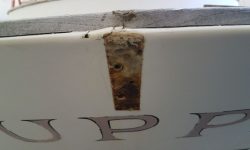
With good access now through the new poop deck hatch opening, I removed the backstay chainplate from the center of the transom.
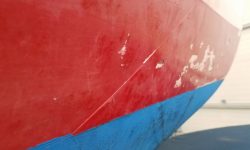
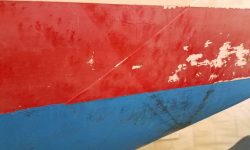
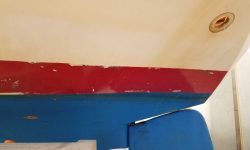
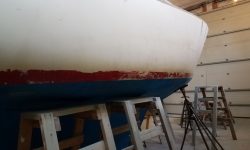
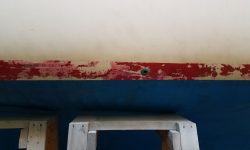
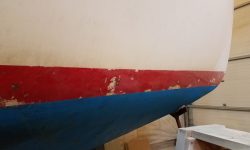
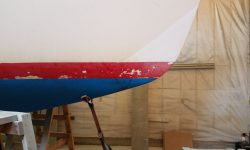
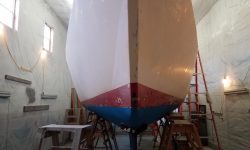
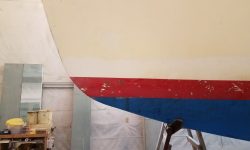
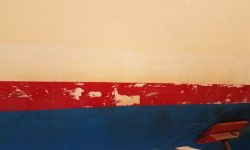
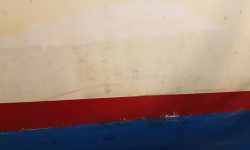
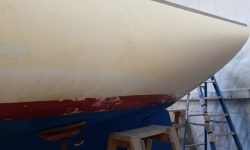
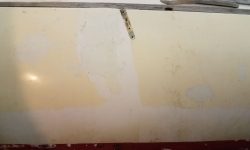
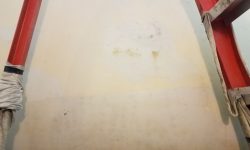
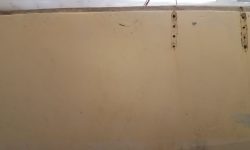
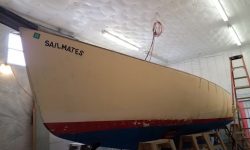
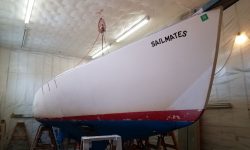
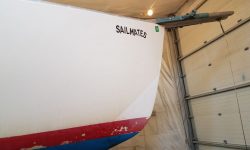
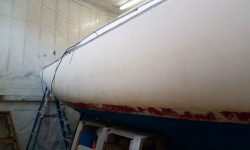
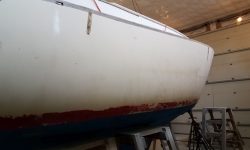
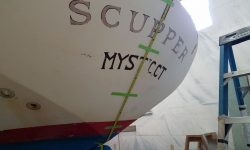
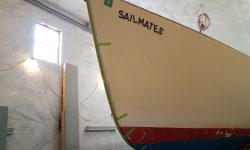
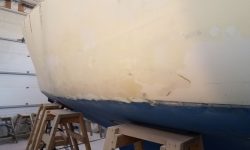
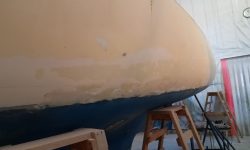
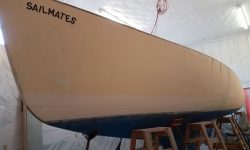
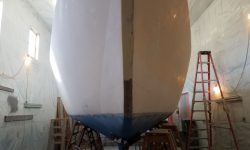
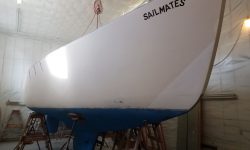
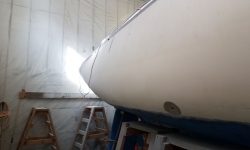
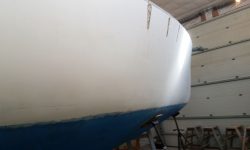
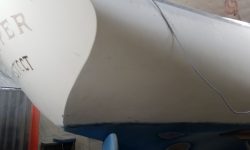
Finally ready to begin the bulk surface preparation work, towards which all the dismantling had been leading, I documented once more the initial condition of the hull and boottop. Other than the obviously-repaired areas visible on the port side, the hull was original gelcoat in poor cosmetic condition, although there were no major issues visible beyond the ugly repair work to port. There was a strange sort of raised edge on the starboard bow, clearly visible and with a hard edge of about 1/16″ in height. This area ended right at the bottom of the boottop, and extended in an angle a couple feet up the stem. I’d no idea what that was about, but would streamline the area during the surface prep ahead.
The rest of the boottop was in poor condition and had clearly spent its life nearly or partially submerged over much of the length of the boat, with widespread coating failure. The repair work on the port side, while ugly on the surface, didn’t look like anything recent, and so far there’d been no signs of a continuing problem. Otherwise, the hull was simply worn out and tired in appearance, with the usual collection of minor surface interruptions common to boats of nearly any age.
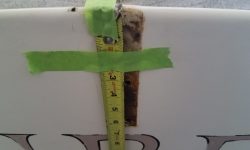
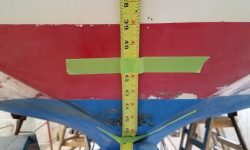
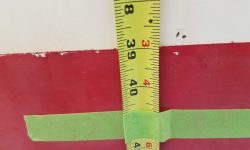
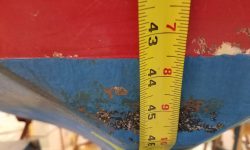
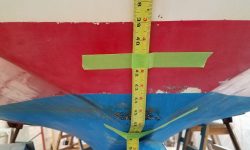
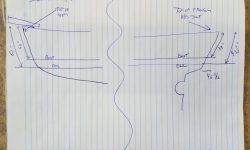
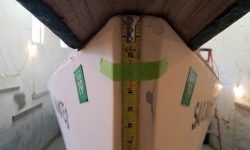
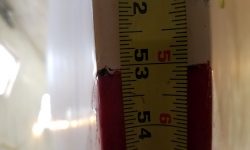
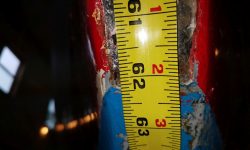
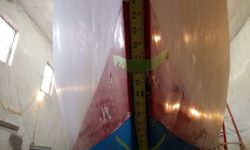
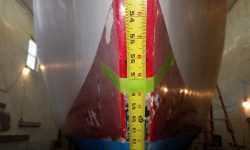
Before beginning, I made reference measurements to document the existing locations of the waterline (i.e. top edge of the bottom paint) and boottop above. At the stern, there was the remnant of a scum line clearly visible to help suggest actual floating level there, and similar indicators elsewhere, largely on the boottop. In any event, I used a tape measure from easily-reproducible locations to record the existing locations for future reference.
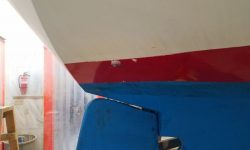
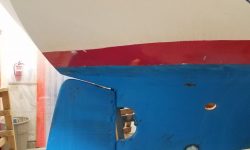
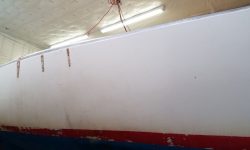
Now, working from ground level, I began the hull work by sanding off the old boottop paint, a two-grit process to avoid going too far with the coarser grits since the hull above was just soft gelcoat and would require less aggressive sanding to prepare. Once I’d worked around the hull along both sides to remove the paint, I switched to a different sander and repeated the process, this time reaching up as far on the hull as I could (about 18″ above the waterline, or just below the hailport or to the top the through hulls in the port counter in these photos) with 80 and 120 grits on a 6″ finishing sander, cleaning up the hull and removing any (ha ha) gloss to prepare for future work.
Sanding the lower portion of the repair work on the port side, mainly amidships, didn’t reveal any undue surprises, and while these repairs had been unsightly blemishes on the hull, so far it looked sound enough, and appeared only to require additional cosmetic fine-tuning and minor fairing to prepare for refinishing later. The existence of this repair had been obvious all along, from both inside and out, so at least I’d not been surprised by any new findings just yet.
With the ground-level work complete at the end of the day, I planned to set up staging and continue working my way up the hull next time.
Total time billed on this job today: 7.5 hours
0600 Weather Observation: Cloudy, 30°. Forecast for the day: Clouds, then slow clearing, around 40°


