March 22, 2018
Scupper 12
Thursday
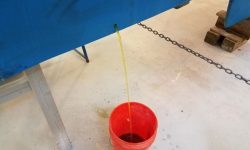
My earlier work in the engine room above the deep and dirty, water-filled bilge had identified a pressing need to drain the water to make it easier to retrieve the tools that I seemed to to continually drop. So to begin, I made a simple measurement to determine the depth of the bilge: I measured from one of the scuppers down to the bottom, which enabled me to easily recreate the measurement outside the boat, where I drilled a small hole to release the bilge contents into a bucket. I planned to install a bronze garboard plug in this location soon, which would help me soak, scrub, clean, and drain the bilge more easily.
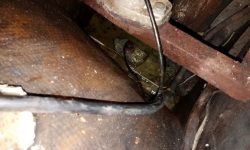
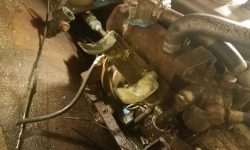
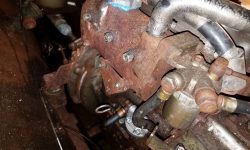
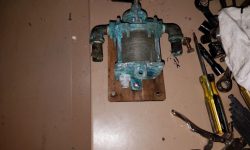
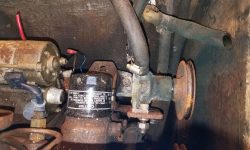
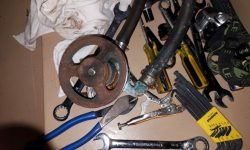
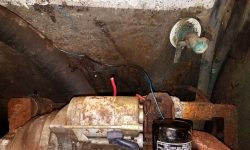
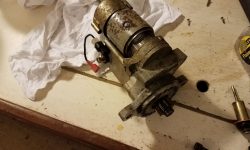
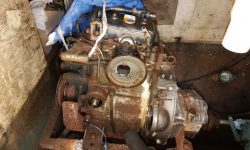
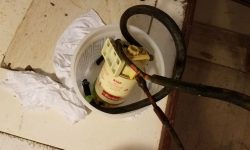
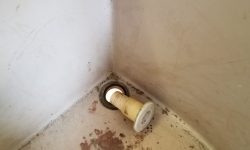
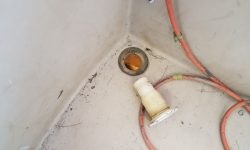
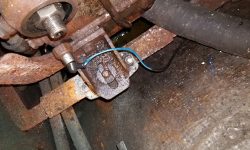
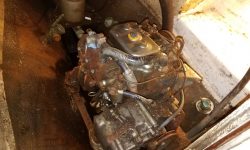
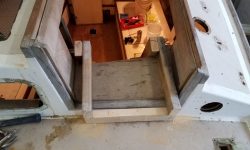
Back in the engine room, I continued removing whatever ancillary parts I could in order to reduce the width of the engine for removal. During the course of the morning, I removed the bracket for the heat exchanger, the bolt-on pulley-driven raw water pump (along with the raw water filter and extraneous hoses), the starter and solenoid, and the oil filter (which I had to remove for better access to the starter). Elsewhere in the space, I removed the cockpit scupper fittings, which increased headroom, and the fuel filter and fuel lines. This left the engine pretty well stripped down and about as small as it was going to get, though I reserved the possibility of removing the engine mounting flanges later if need be.
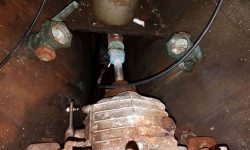
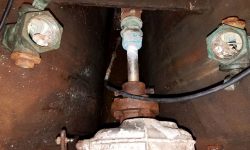
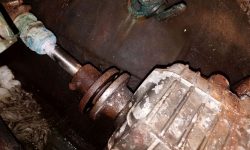
With access now pretty clear, I worked on the shaft/transmission coupling. As usual, the biggest issue in removing the bolts on the coupling was the fact that clearance was so tight near the nuts that it was difficult to get a true purchase with a wrench, which caused slippage and rounding. With some penetrating oil and plenty of elbow grease, I eventually removed three of the four bolts successfully, but the fourth nut had rounded badly so I cut it off with a reciprocating saw.
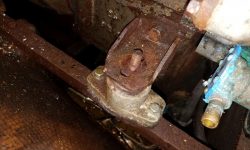
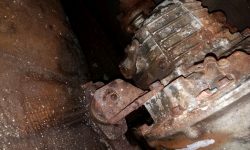
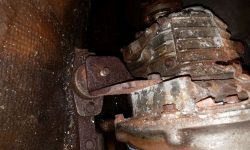
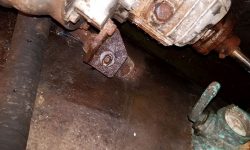
The last thing to do before the engine was ready to come out was remove the mounts. I could have unbolted the flexible mounts from the steel frame that served as the engine foundation in the bilge, but I’d have to juggle two wrenches–one held awkwardly beneath the frame–to release these bolts, and there were eight total. Instead, I thought I’d first try to remove the nuts holding the engine flanges to the flex mount studs–just four, and more readily accessible, though they were all rather rusty. But with good access, I had quick success removing all four, which meant I could leave the flex mounts for later removal once the engine was out of the way.
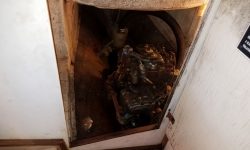
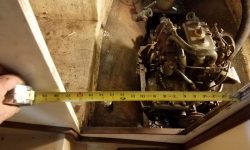
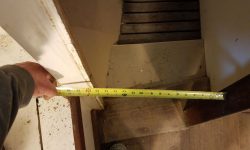
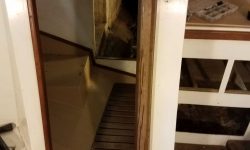
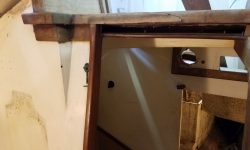
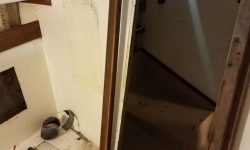
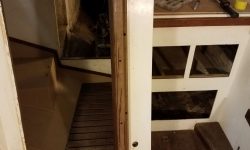
I did a rough measurement of the width of the engine from widest point (the starter recess in the bell housing on one side) to widest point (a protrusion on the engine block on the other side), and it looked like about 17-1/2″. The little door into the engine room was just barely wider than this, about 17-3/4″, but the opening to the head behind the companionway ladder/door was narrower. This was poor design on the original builder’s part, since the fiberglass molding could easily have been made a bit wider to allow engine passage, without remotely compromising any of the other functions it served in this area, but so it was. However, there was enough room between the center part of the structure and the settee itself to allow the engine through, though I might have to make a relief cut to expand the opening enough.
What definitely needed to happen, though, was to remove some or all of the trim from around the opening–and I also had to deal with access to and from the boat and the head/engine room now and throughout the project, not only to avoid traipsing up and down the teak ladder during the dirty phases of work, but also because there was no access in or out of the boat when the head door was opened–and this would be necessary for the next stage of engine removal.
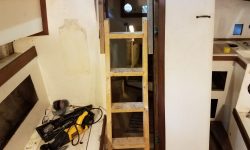
I repurposed an old 2×4 construction ladder I’d built for some other project, and with minor modifications to the top end fit it in place over the head door and companionway to the cockpit. This allowed me to remove the head door and companionway ladder for safekeeping, and the new construction ladder was easily moved as needed for access to and from the after part of the boat.
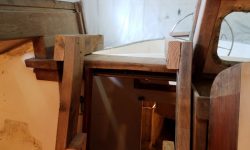
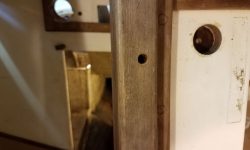
Now I removed the small trim from the outboard side of the doorway. Drilling out the bungs and removing the screws was uneventful, but I found the trim was glued in place with silicone, though this didn’t cause any real issues here. I ‘d not planned immediately to remove the inboard side of the trim–the heavier piece to which the door hinges had been installed–but I decided I might as well, to improve the width that much more. After removing the bungs and screws, though, I found the piece was immobile, apparently glued in with more silicone. I didn’t want to destroy the trim, so for now I just left it alone and determine what else needed to be done later, once I had the engine ready to come through the opening.
Total time billed on this job today: 7 hours
0600 Weather Observation: 31°, clouds and windy with intermittent light snow. Forecast for the day: Light snow in the morning, coating to a couple inches predicted, around 32°


