March 22, 2019
Scupper 106
Friday
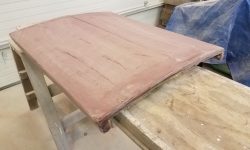
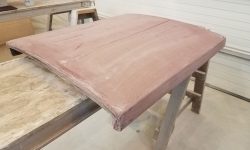
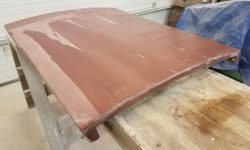
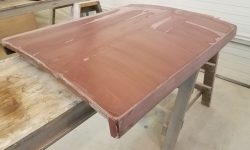
Not wanting to let the companionway hatch languish incomplete, I started off the day by sanding the second coat of fairing compound, then cleaning up and applying additional fairing compound to those areas necessary.
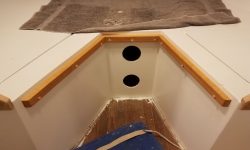
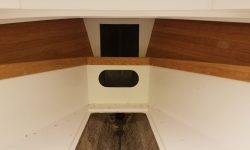
With the v-berth filler cleats now seal-coated with varnish on all sides, I installed them permanently with screws, and bunged the screw holes.
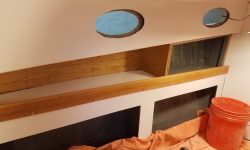
Bungs are tedious little things, and since I didn’t like to let their numbers–during either installation or the final paring–get too far ahead of me, I went around with a chisel and cleaned off the excess bung length from the fiddles in the forward cabin and the starboard settee shelf in the main cabin. Now these areas would be ready for a light sanding, masking, and varnishing at will.
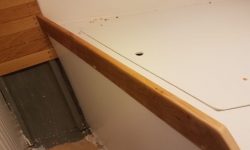
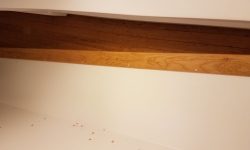
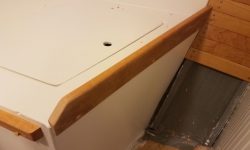
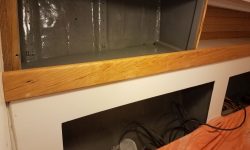
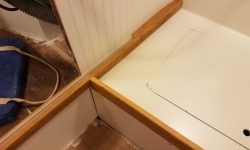
I continued in the main cabin with the fiddle trim on the port settee shelf, which required an L-shaped return across the aft end as well. After various careful test-cuts to achieve the final length required, I installed the two pieces in concert, and bunged the screwholes forthwith.
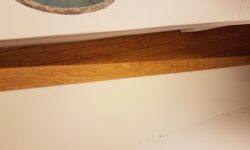
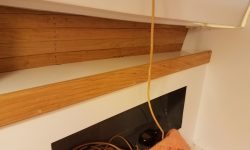
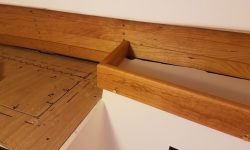
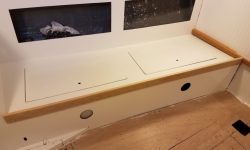
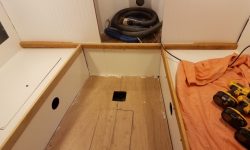
Next, I cut and fitted the berth fiddle on the starboard side. At this point, I had two longer pieces of the fiddle trim remaining, as well as some shorter offcuts. I thought the shorter of the two long pieces might just work here: initial measurements suggested it would, but by the time I cut the angle required at the aft end, where it met up with the angled section leading to the head, I found that it was just barely too short to actually work–about 1/2″. So close, but alas. So I used the other, longer piece to create this fiddle, which fit just behind and met up with the lower sliding door trim I’d built earlier, and which now I dry-fit in place.
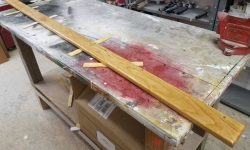
Because I’d discarded one of the long pieces of trim I’d milled for this purpose, not liking the grain appearance, now I needed to mill an additional length to complete the final long fiddle on the port berth. I had enough previously-milled pieces to complete the galley countertop fiddles when the time came, so I needed only one more length, which I milled and sanded now before cutting and dry-fitting it in place, as per the opposite side. Then, I removed it and applied a thinned coat of varnish to all sides so I could finish the installation next time.
Whenever I work on long pieces of trim in the woodshop, I often have to spin the pieces around to gain access to the other side and edge. With tall ceilings that allow me to easily spin even long lengths of wood vertically, I can’t help thinking of those guys from ZZ Top in their 80s videos.
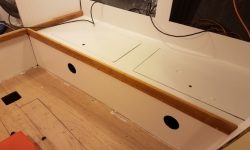
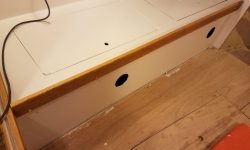
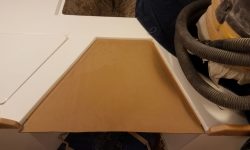
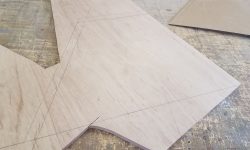
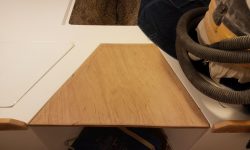
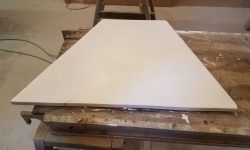
Now that the cleats were in place in the center part of the v-berth, I scribed a cardboard template to fit the space, then transferred it to my last bit of 18mm plywood. As I suspected, the scrap was barely large enough to accommodate what I needed, but accommodate it it did…if by the closest possible margin.
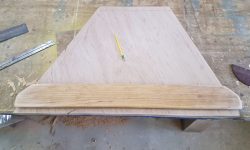
After final fitting in the space, I prepared a length of the fiddle trim for the aft edge of the new panel, though I wouldn’t install the trim till after paint. To get that process going, I applied a coat of primer to all sides of the new plywood, drawing to a close another day and another week.
Total time billed on this job today: 7 hours
0600 Weather observation: 32°, mostly clear. Forecast for the day: Rain, maybe mixed with snow and sleet before 0900, 39°


