March 20, 2018
Scupper 10
Tuesday
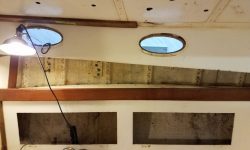
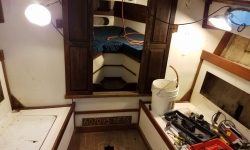
Continuing in the main cabin, I removed the ceiling strips from the starboard side, setting them aside for later attention. I was still considering how much of the remaining trim to remove–fiddles, bulkhead trim, and the like–but for now I kept my focus on the major hardware and systems removal. I was leaning towards removing all the trim for ease of interior preparations and trim refinishing, but I’d come back to that in the near future.
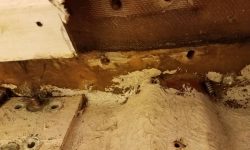
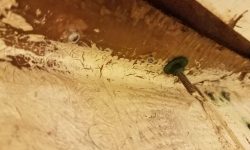
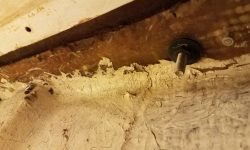
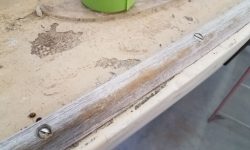
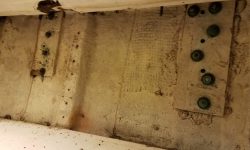
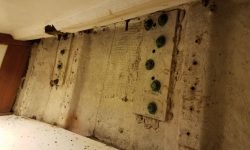
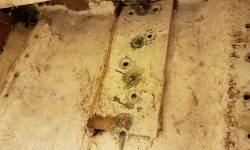
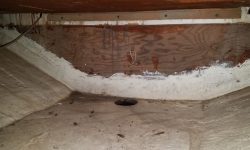
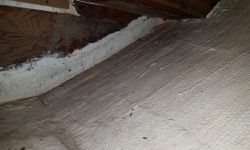
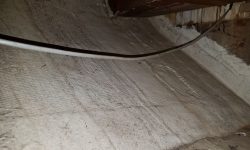
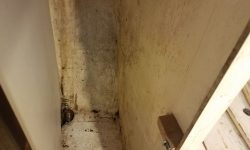
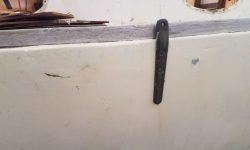
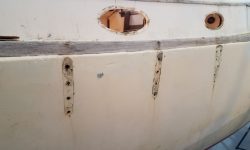
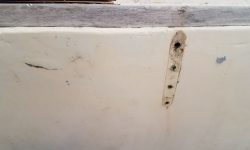
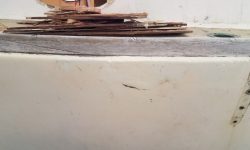
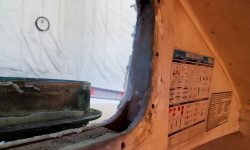
The full molded fiberglass deck liner was slightly different from side to side in terms of how much it hid the upper reaches of the hull, and on the starboard side access was a little better, so removing the ceiling here gave me the first good look at the hull-deck joint, which featured a molded inward hull flange, with the deck molding secured atop the flange. There appeared to be adhesive or fiberglass between the hull and deck, and bronze bolts every 12″ or so. Outside, the wooden toerails appeared to sit over the raised deck edge, hiding it from view, and the toerail fasteners looked to be screws that were not crucial to the hull-deck joint itself. More on the toerails in due course, but as I worked around the boat it became increasingly clear that they were worn out, with exposed fasteners, gaping seams, and other issues, and that it would ultimately benefit the project to remove them for access to the hull-deck joint and for later replacement, possibly with a non-wood product to ease future maintenance concerns. More on this coming up soon.
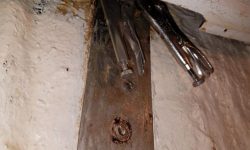
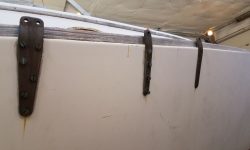
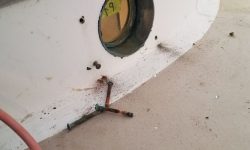
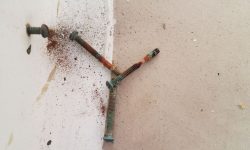
Now the chainplate fasteners were visible on both sides, and from inside the boat I removed the nuts, which mostly came off without spinning the bolts. Where needed, I used locking pliers on the inside, then, from outside the boat, I removed the fasteners and the chainplates themselves. The chainplates, made from cast bronze, were in good condition and would be reusable with only the most minor modicum of cleanup.
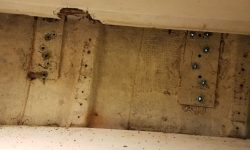
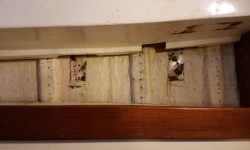
It was interesting to note that the port side was different from the starboard here. There were multiple signs that the boat had been damaged on the port side, with easily visible repairs to the hull outside and at the toerail, and the fasteners and backing plates were different from side to side as well, with fiberglass backing plates to starboard (apparently original) and thin stainless steel backing plates to port. None of this was a real surprise, but I found the differences interesting and worthy of note. Obviously dealing with the previous rough repairs to the port side would form a significant part of the hull preparations to come soon.
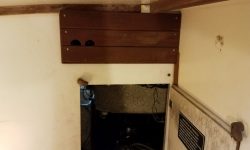
The fowardmost set of chainplates on each side were located inside hanging lockers in the forward cabin, part of the molded interior structure that formed the basis of the entire interior layout. For better access here, now and later, I began by removing the wooden cabinet doors from the lockers.
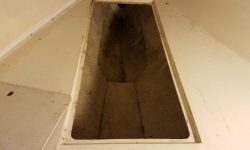
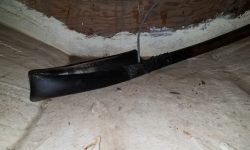
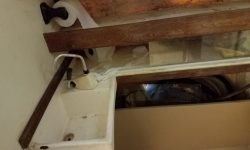
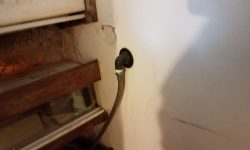
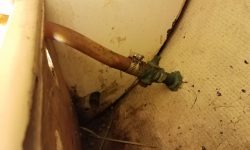
These lockers were deep and narrow, and the hull was at–or just beyond–the extent of my reach, one arm only as there was no way to get my shoulders through the locker openings. To ease access on the port side, I started by removing the water fill hose, which was directly in the way of the chainplate bolts beyond. Despite the long reach, I didn’t have too much trouble unclamping the hose from the deck fitting and pulling it free from the barb, but from there it got harder for a while. The hose disappeared through the base of the locker, and reappeared in the bilge aft of the mast step. Logically, I thought I could just pull the hose from one end or the other to remove it, but I soon discovered that it just wouldn’t move beyond a point, and I couldn’t pull it in either direction more than a few inches.
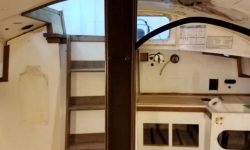
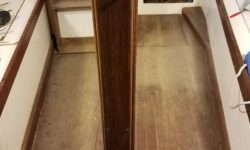
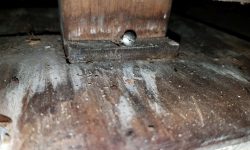
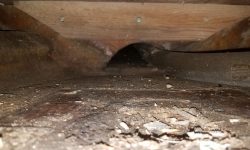
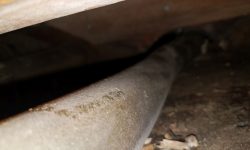
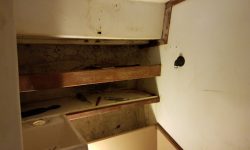
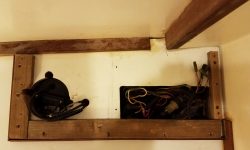
At the aft side, the mast step and compression post were in the way, and so since I thought the mast step would require work anyway, and since the compression post was a major impediment to fore and aft access, I decided to remove it now. I started by unscrewing a wooden cover on the forward side of the boat, exposing the wiring leading up to deck level and allowing me to pull out the remaining wires. I thought this might let me pull out the post–note that I’d already unbolted the top portion of the post back when I removed the mast step from the deck in September 2017–but I found there was a little wedge and screw holding the post in place beneath the cabin sole. After removing that, I could pull out the post and set it aside. From there, it was easy enough to unscrew the four lags holding the plywood to the fiberglass mast step on the bottom of the hull. This improved–or at least sort of allowed–access beneath the forwardmost part of the sole so I could see what was going on with the water hose, though the space between the cabin sole beam and the hull itself was just about wrist height and no more.
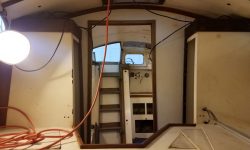
With the post removed, the cabin seemed much more open, and access to the forward cabin was much easier. Sailboats and their pesky rigging.
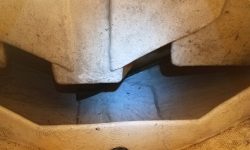
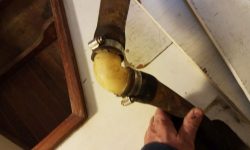
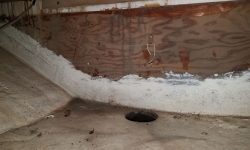
Back to the water hose, now I could see that there was a 90° plumbing elbow just behind the main bulkhead, causing the fill hose to turn to port and up into the locker. There was not clearance for this to pass through the limber hole in the bulkhead, which was why I couldn’t pull out the hose from the bilge end. There was no immediate access to the forward side of the bulkhead–it was beneath the forward cabin sole with no hatch–but I found that I could at least see the area if I got down in the large storage area beneath the v-berth. I couldn’t reach that far back, with the molded protrusions in the way, but now I could see the hose not only had the elbow, but also dipped through a smallish opening, which made it difficult to pull from the forward side too. Eventually I got the hose out, grabbing it with a long-reach tool that I keep on hand for these situations.
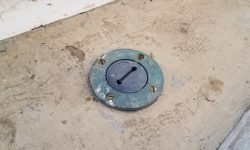
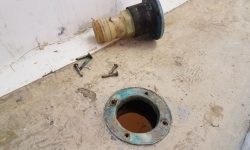
With the disgusting hose out of the way, I went on deck to remove the deck fill itself, which was easy. This revealed some wet plywood core around the opening; it appeared this sidedeck had been repaired in the past (poorly), since the overall core material in this boat is balsa, but I’d be into this part of the project in the near future anyway.
My access to the water hose and forward lockers also gave me a chance to check out the tabbing securing the main bulkhead in place. Like most production boats with deck liners, the bulkheads in this boat were tabbed only to the hull, not to the deck above, but at least what I could see of the tabbing for now looked sound and had proven apparently sufficient over the 40-year life of the boat so far.
So all this was more or less a precursor to the continuing removal of the chainplates. With access clear, I found I could just barely reach, as necessary, the nuts on the starboard side, either with a long socket extension and, where needed, to clamp on some locking pliers on the bolts that spun beneath the nut. Reinstallation later would be its own issue, but for now at least the removal was complete. Again, on the starboard side the molded deck liner did not impede access–visually or otherwise–to the uppermost bolt on the chainplate.
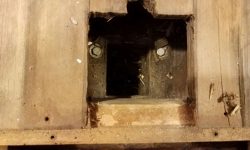
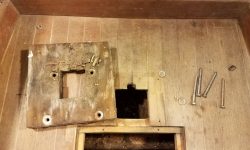
On the port side, however, the way the liner sat meant that I couldn’t see the uppermost bolt, and this made accessing it nearly impossible. Plus it seemed this locker was juuust enough deeper than its counterpart that I couldn’t adequately reach the nuts–or maybe it’s because my left arm, which was how I had to access this side, was shorter than my right. In any event, I didn’t see how I could remove this chainplate without creating an access hole in the forward side of the locker molding. This led to a long and tangential process.
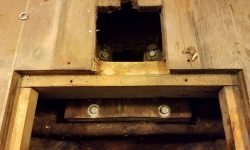
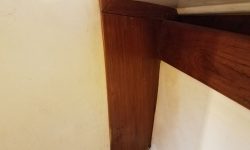
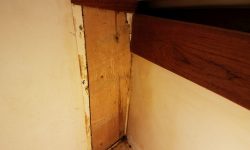
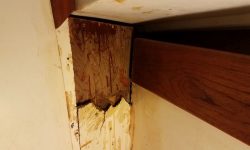
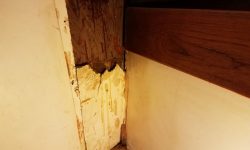
On both sides, in addition to the regular bulkhead trim pieces, there was a larger trim piece extending down from the edge of the cabin trunk to the berth top. I thought that I could remove that trim, then cut an access hole in the front of the locker behind it, making for a relatively simple and easily-hidden access hole. The teak trim was just 1/4″ thick, but was secured with bunged screws. I drilled out the bungs, exposing the screws, but soon found that the trim was also secured with silicone sealant from behind, and in short order I decided that not only could I not save it, it wasn’t worth saving, so I pried off the trim to expose–I thought (if briefly)–the molded panel behind.
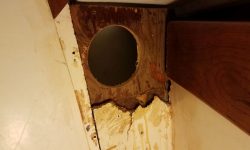
What I found instead was a mess of cheap and delaminating plywood covering an ugly rough edge in the molded panel, with an auxiliary plywood panel beneath it all. This part was glassed from inside the locker, and while I’d noticed the glasswork before (it was painted to match), I’d not thought much of it. Of course I had no idea what had happened here, but the pieces were all falling into place and suggesting some accident that had damaged the deck on this side, leading to the myriad repairs to the toerail and deck edge and the hull as seen from the outside.
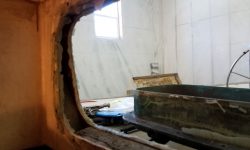
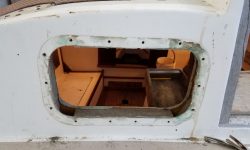
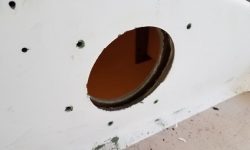
Whatever the case, it was what it was, and better repairs were on the way soon. The liner and locker area itself were not inherently structural in any event, so for now I just removed the last of the plywood detritus and cut my access hole–finally–in the forward part of the locker, which allowed me to better access the chainplate and remove it.
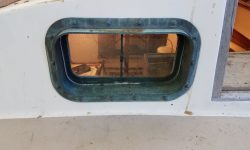
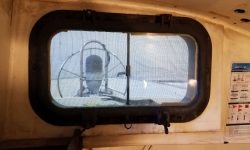
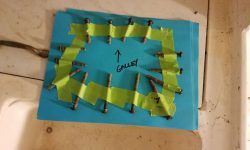
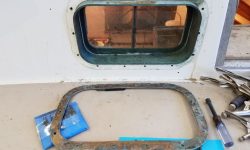
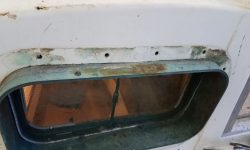
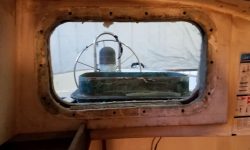
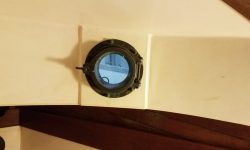
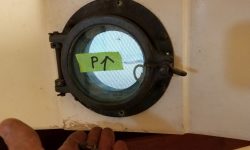
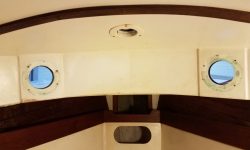
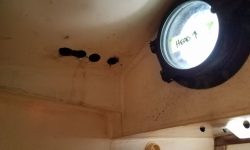
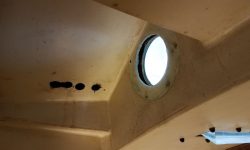
There was a huge bronze opening port above the galley, facing aft into the cockpit, and I removed this now without any particular difficulty, though the spigot was an extremely tight fit through its opening. As always, I secured the fasteners in order for future reference, since there were several different lengths used around the perimeter.
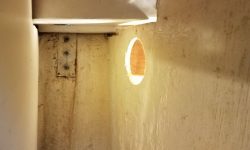
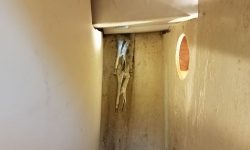
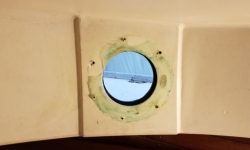
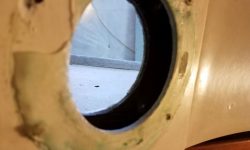
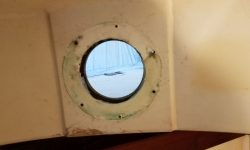
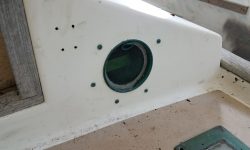
In the forward cabin and in the head, there were small round bronze opening ports, and I removed these next with no issues of note.
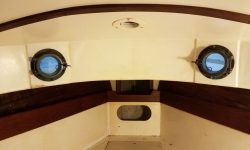
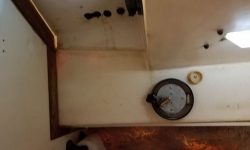
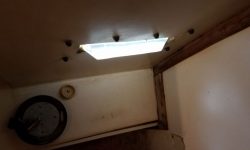
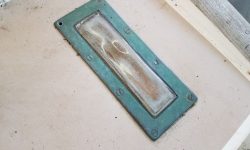
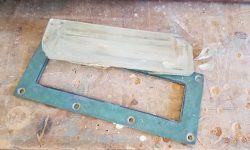
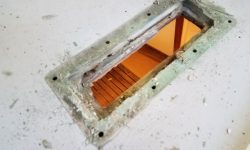
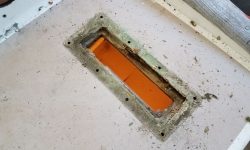
Finally, I removed a light fixture and some hoses from the head area (fortunately there was no old toilet nor holding tank to deal with here), along with an overhead deck prism that had leaked badly (along with its counterpart over the galley), and which had both caused obvious core damage to the wide bridgedeck in the cockpit. I’d soon get to removing the galley deck prism, but I found the glass on the one above the head was broken in two corners before removal, perhaps from the significant deck softness and flexing caused by the rotted core.
Total time billed on this job today: 5.75 hours
0600 Weather Observation: 6°, clear. Forecast for the day: Sunny, near 40°


