February 11, 2020
Scupper 239
Tuesday
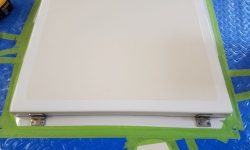
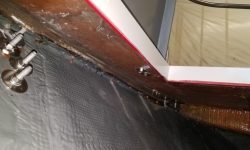
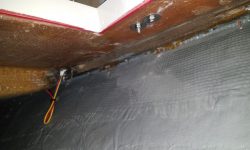
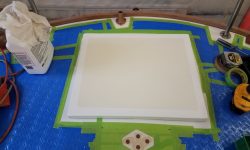
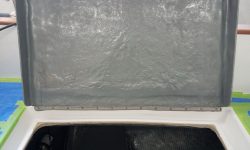
I spent most of the morning on the deck hatches, starting with the final installation of the lazarette hatch hinges, which I bolted through the deck after drilling and tapping the screw holes through the epoxy-filled patches from last time. I finished up for now with a gasket inside the lid, and then covered the top of the lid with more protective plastic to prevent damage during the rest of the project.
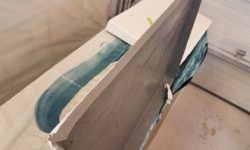
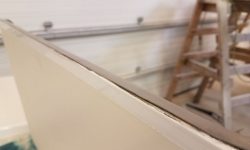
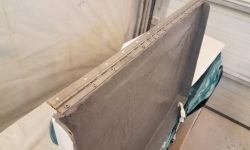
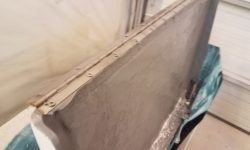
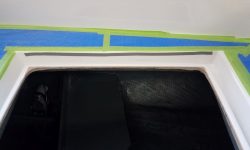
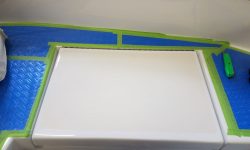
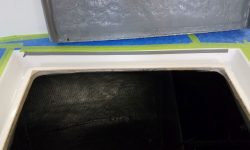
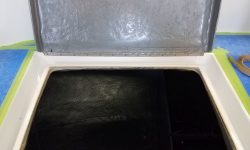
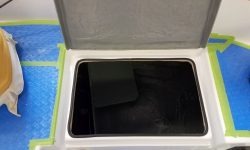
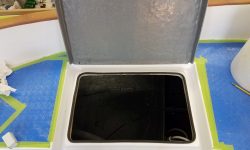
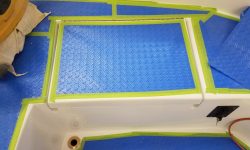
I had a couple latching options on hand that I planned to install in the near future, but I wasn’t sure which one to choose, so for the moment I moved on to the cockpit lids. For these, I purchased stainless steel piano hinges, which would be a stronger installation than the original shorter hinges that had long failed by the time the boat arrived here.
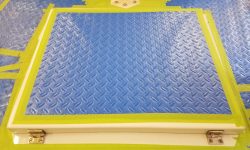
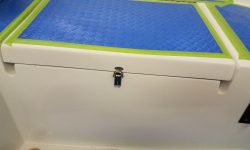
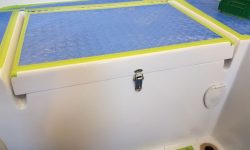
For each hatch, I had to cut the hinges to length, which I did with a grinder and cutoff wheel, then laid out and dry-installed the hinges with a couple screws before drilling all the remaining holes. I installed the hinge to the locker lid with butyl tape sealant and however many screws were required by the hinge.
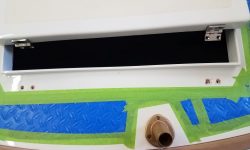
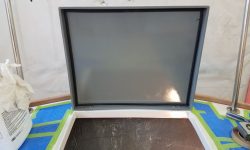
On deck, I positioned each hatch in the middle of its opening, and repeated the hinge installation process on the back edge of the locker gutters.
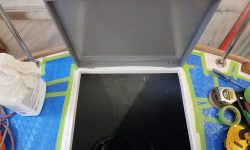
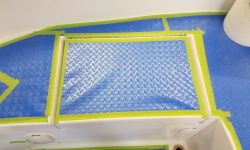
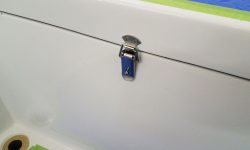
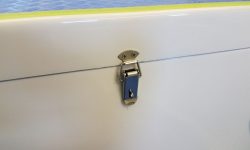
I added a gasket around the inside of the hatch opening, then covered the tops of the hatches with more of the plastic covering before installing hold-down, lockable latches to the hatch.
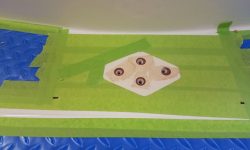
Though I wasn’t ready to install it just yet, I went ahead and drilled, tapped, and prepared the mounting holes for the mainsheet padeye and riser block.
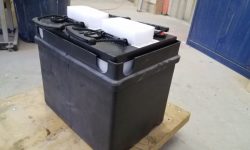
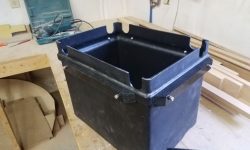
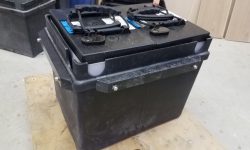
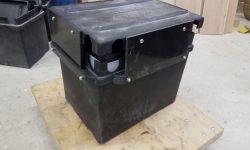
The plastic molded battery boxes I’d found much earlier in the project were a near-perfect fit for the specified batteries, but weren’t quite tall enough for the cover to fit properly. Accounting for the terminals, and space for the cables, I needed a couple more inches of height beneath the lids. I used some foam blocks that came with the batteries in their shipping boxes to simulate the final height needed for the lids.
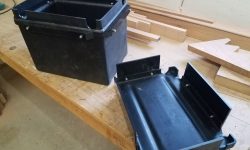
The lids would be a protect the battery terminals, and while they would provide a minor role in overall battery securing, the overall means of preventing battery movement would come from different means, so to extend the tops for my purposes I came up with a plan to add plastic extensions to the lids, and plastic cleats on the boxes themselves to support the extensions. I chose ABS plastic since it had good qualities for the intended purpose, and I thought it matched the original box construction as well.
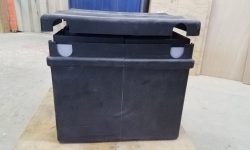
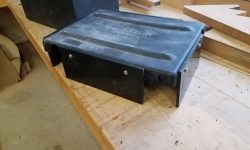
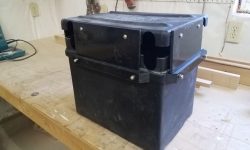
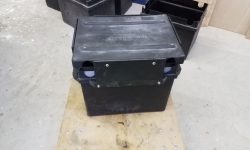
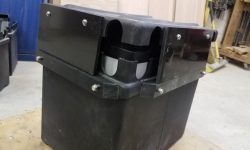
As needed, I cut and bolted 3/4″ thick plastic cleats to the sides of the battery box, then cut and bolted 1/4″ x 4″ plastic extensions to the box, leaving room for the cable openings. This essentially covered the box but left adequate clearance within for the terminals and wiring; the extensions were strong enough that I could later strap over the top of the box to help hold the batteries securely.
With the prototype built, I saw a need for some small additional cleats to help hold the extensions in place, but the basic concept was sound and strong, and I continued the process with the additional four boxes, managing to cut all the plastic for the remaining work and install it on one additional box by the end of business. I’d continue with the additional boxes over the coming days.
Total time billed on this job today: 7 hours
0600 Weather Observation: 25°, clear. Forecast for the day: Chance of snow and rain showers, 35°


