February 6, 2020
Scupper 236
Thursday
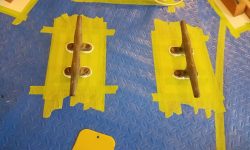
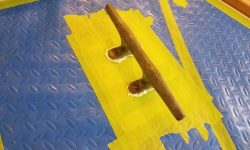
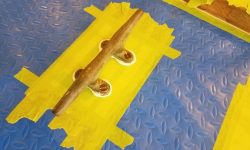
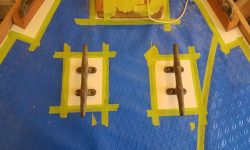
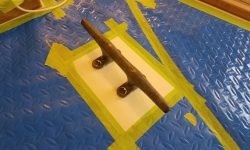
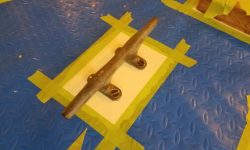
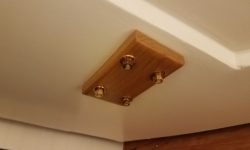
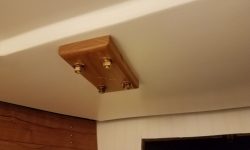
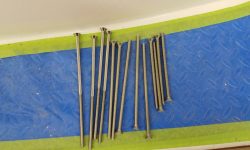
My first task of the day was to install the bow cleats with new 5″ machine screws.
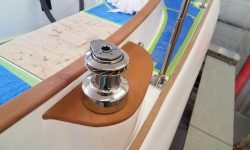
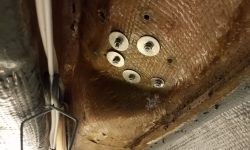
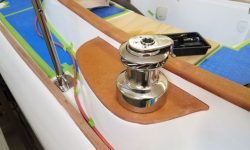
Next, I installed the jib sheet winches, using several long lengths of 1/4″ fastener as needed for the thick winch islands.
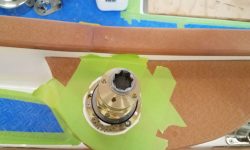
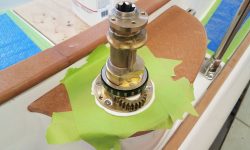
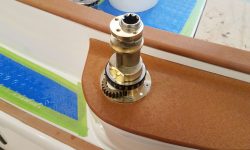
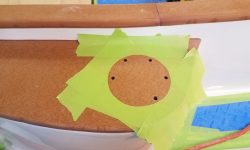
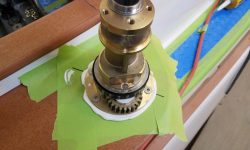
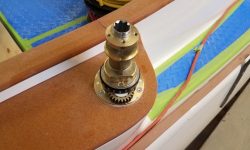
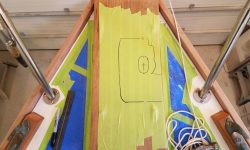
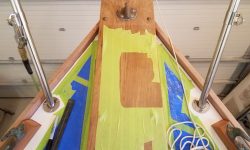
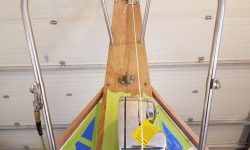
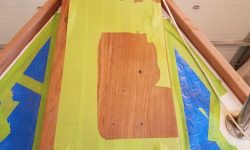
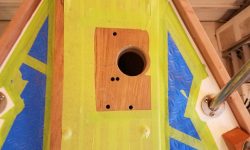
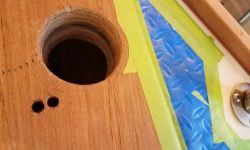
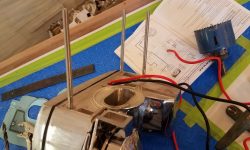
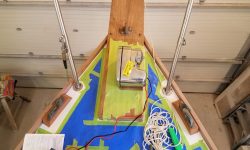
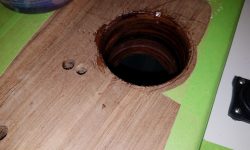
I spent the bulk of the day on various aspects of the windlass installation, starting with confirming the position I’d laid out last time, using the windlass itself to confirm the position I’d marked on deck. Once I was satisfied with the position, I marked the hole locations and drilled for the mounting studs, wire passage, and a large 3″ hole for the anchor rode. This was a long process and taxed even my second-biggest corded drill.
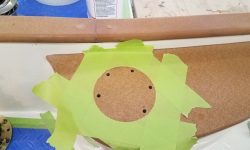
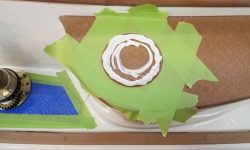
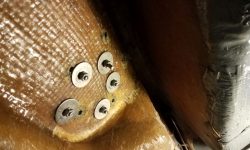
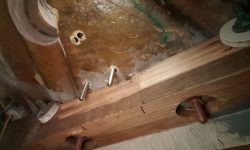
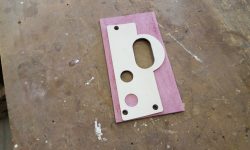
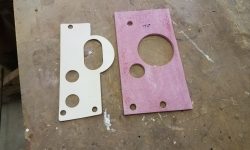
I installed the mounting studs to the windlass and tested the fit of the new fastener holes, checking clearances below. Clearance was tight near the wooden beam near the chainlocker bulkhead, but OK for a backing plate and washers. I used the supplied windlass base gasket to lay out a backing plate to fit. To seal the inside of the large anchor rode hole, I applied some epoxy resin throughout.
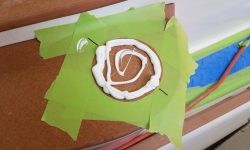
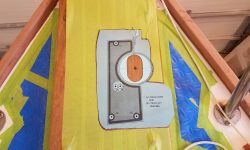
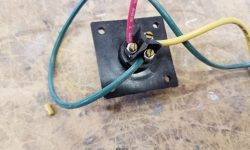
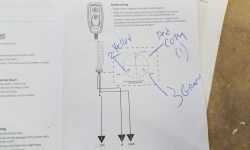
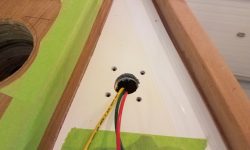
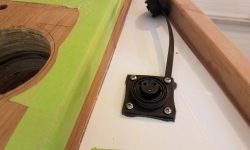
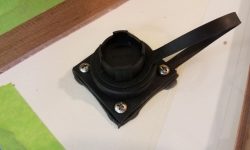
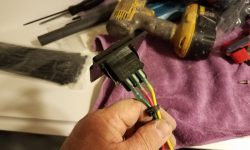
The owner’s choice for the main windlass control was a wired remote, which required a plug on deck. I chose to install this well forward on the starboard side, where it would be accessible yet out of the way of normal traffic–plus it was a location where the wires would be hidden in the chainlocker. I pre-wired the bottom of the switch and noted the wire colors and specific terminals for later reference, then installed the switch with its supplied gasket and some butyl tape around the center housing and screw locations.
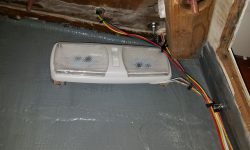
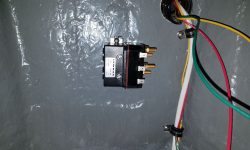
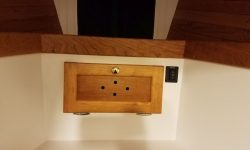
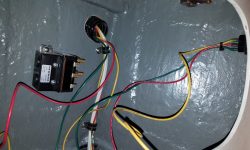
The final installation of the windlass hardware would have to wait till the epoxy cured, so I moved my operation down below and led the wiring from the new deck switch down and into the little locker at the forward end of the v-berth, where I also installed the windlass control (or, as it’s called in the documentation, contactor) box.
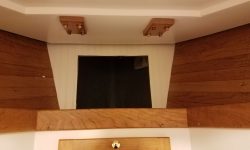
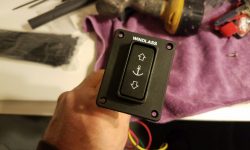
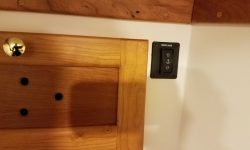
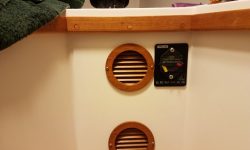
The windlass came with a basic rocker switch for operation, which the owner foresaw as an emergency backup only, so we agreed to install the switch in the forward cabin. I chose a location adjacent to the door into the now-windlass control locker and installed the rocker switch and little panel, installing the three wires (with the same colors as their counterparts to the deck switch) to the back of the switch before final installation. The wires from the two control units would be conjoined later at the terminals on the contactor box.
Finally, I chose a location for and installed the supplied 70-amp dedicated circuit breaker for the windlass. This needed to be close to the battery (or positive buss), yet accessible, and with the intricacies of the boat, this more or less dictated the position in the center of the v-berth cutout, where there was a perfectly-sized space to accept the breaker panel.
With all the core installations and basic layout complete, I hoped to complete all the windlass wiring and installation details next time.
Total time billed on this job today: 8 hours
0600 Weather Observation: 22°, snow just started. Forecast for the day: Snow and sleet, a few inches’ accumulation, 32°


