December 10, 2019
Scupper 199
Tuesday
Early in the day, I prepared another order for some of the specific wiring I needed to complete the runs on the starboard side, mainly for the marine head, along with other needs of the moment.
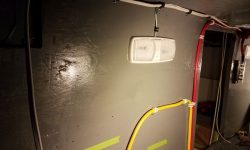
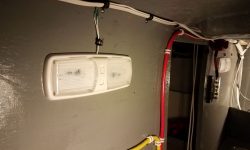
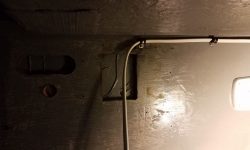
In the boat, I started back in the engine room again, where I finished up the wiring and installation for the second of the two engine room light fixtures, this one just off center on the starboard side, where it would light that side of the engine space yet still be reachable from the engine room doorway or the cockpit locker. I also continued and secured the wire run leading to the eventual AC outlet in the galley.
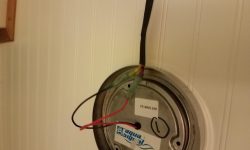
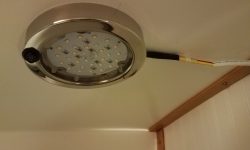
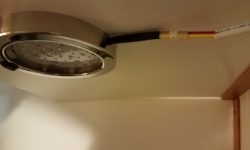
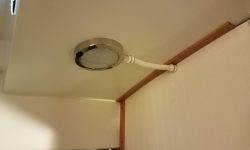
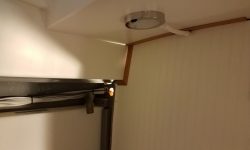
In the head, since I had the fixture on hand, I went ahead and installed the overhead light dome that the owner had chosen and purchased. To allow the wires to come out the side of the fixture as needed for this installation, I drilled a hole in the housing to accept the wiring, and protected the wires where they ran through with some additional heat shrink. After making the wiring connections and securing the fixture to the overhead, I dressed up the short run of exposed wiring with some flexible conduit to complete the installation.
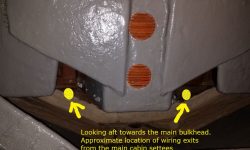
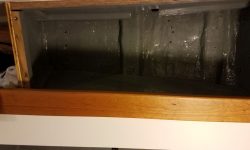
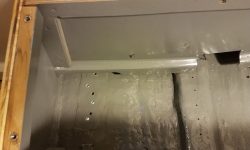
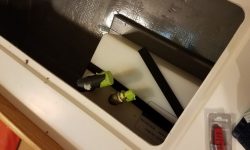
I reviewed my wiring notes, and also the documentation that came with the depth transducer the owner had sent, and, with the next wiring runs on the mind, I climbed into the locker beneath the v-berth to contemplate the wire runs. Because of the specifics of the construction and the interior setup, the only way to run wires between the wiring panel in the main cabin and the forward cabin would be to exit the bottom of the panel, through the settee, then forward through the bottom of the main bulkhead below the level of the sole. But further complicating the wire run was the fact that the molded v-berth and storage lockers, and forward cabin floor unit, protruded deeply into the space, leaving visual access but not personal access to much of the space, including obviating reaching far enough back to touch the bulkheads, or essentially anything further aft than where I stopped the gray paint. While I was in there, I was also considering locations for the in-hull transducer, which I wanted to install soon so I could run its cable back to the electronics space.
All along I’d known this, and I’d planned to run the wires more or less as shown in the photo above (I’d previously installed wire tie mounts on both sides of the v-berth footwell area for this purpose), but as I considered it now in the cold light of reality, I wondered if it was the best way. Running the minimal wiring needed in the bow of the boat posed no issue, but I had also intended to run the wires needed on the port side (port side lighting, bilge pump, galley, etc.) through this route as well, which meant leading them forward through the bulkhead, then aft through the port side and into the settee there. And then there were the numerous wires required for the mast lighting, wind instruments, and a couple interior fixtures that would lead off the compression post. These wires would have to run into, and then out of, the unreachable forward space as well.
Running the wires aft through the previously-established route and through the engine room was another possibility, but this was a long and convoluted run in its own right, and then getting through the galley area posed its own set of problems. It was all do-able one way or the other, but I hoped to make it as efficient and straightforward as possible. As I continued planning the wire run, this led me to the port settee and the port locker above, and as I considered these spaces I decided I really ought to install the large hose required for the water tank fill first, as in order to hide this hose it needed to run through the locker above the settee back.
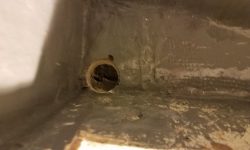
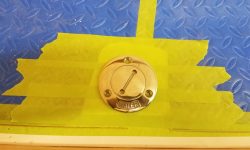
To this end, I decided upon the route this hose needed to take, then drilled holes through the bottom of the storage area behind the settee (forward side), and through the top of the settee into the locker above, then marked the underside of the deck (the liner, really, in this case) where I wanted to locate the deck fitting. I drilled up through the liner and then the deck above (the liner was lower than the deck in this area by at least two inches), which gave me a mark from which to drill the larger hole required for the deck fill.
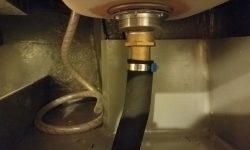
I’d ordered the deck fitting, and I expected it this day, but at the moment the courier hadn’t arrived yet, so I turned to the galley sink and installed the drain hose there, which took great effort (as always) to coax the hose over the barbs, but eventually the job was done.
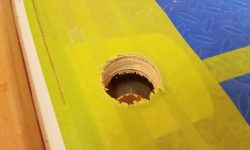
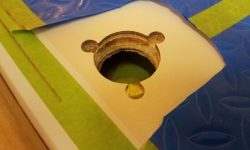
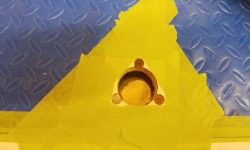
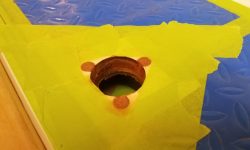
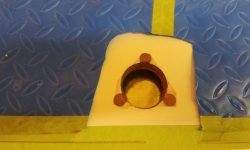
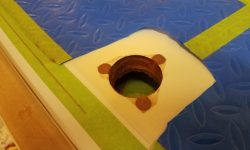
By now, it was getting late in the afternoon, and I discovered that my shipment had been delivered to my house and not the shop (non-regular seasonal delivery employees), so after I walked up to retrieve the needed parts, I proceeded with installation steps. I drilled through the deck and liner beneath with the appropriate size hole saw, then overbored the screw locations and reamed out the core from around the openings as needed before filling the voids with a thickened epoxy mixture. I left this to cure overnight before continuing.
Total time billed on this job today: 9 hours
0600 Weather Observation: 52°, cloudy. Forecast for the day: Chance of rain, cloudy, 54°


