March 25, 2019
Scupper 108
Monday
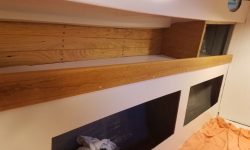
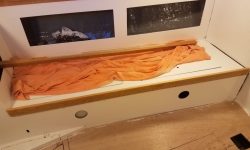
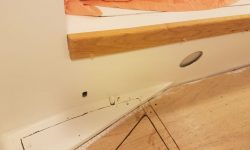
I got started by removing the excess bungs from the v-berth filler cleats, port settee shelf fiddle, and the starboard berth fiddle.
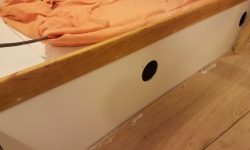
The port berth fiddle, which I’d milled and test-fit last time before removing it for a coat of varnish, was now ready for final installation, which went quickly since all the real work had already happened.
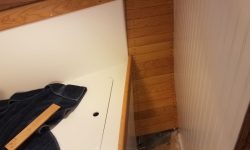
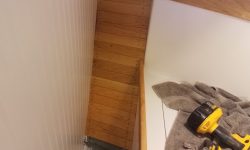
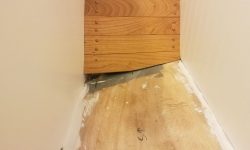
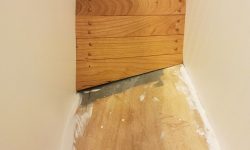
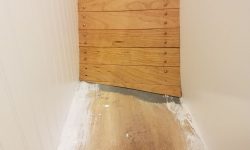
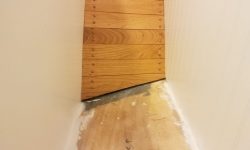
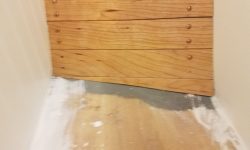
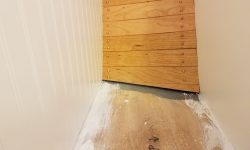
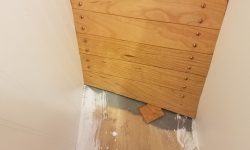
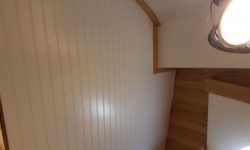
I planned to install the lower door trim at the forward edges of the two berth fiddles soon, but for the moment, with work ongoing in the forward cabin, it made more sense to leave it off till that was complete. With new ceiling trim milled and seal-varnished on all sides, I spent most of the rest of the morning completing the narrow ceiling areas aft of the berth on both sides, bringing the ceiling down to the final board where it died into the cabin sole.
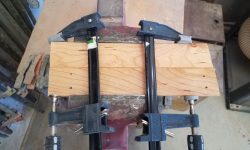
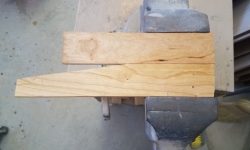
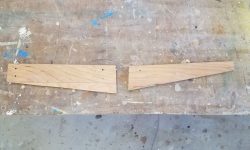
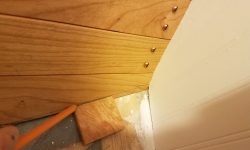
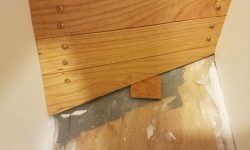
The angles involved meant that at the forward end of this space, the area was wider than at the aft end, and again this would require some small pieces of the ceiling trim to completely fill it in. Since the small angled pieces at the forward end would otherwise be too small to install on their own–plus the support cleats ended just above–I started by templating and fitting the last full-length strip; then, removing the pieces, I edge-glued on another piece of the trim beneath and set these assemblies aside to cure in the clamps for a while.
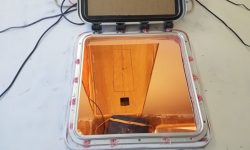
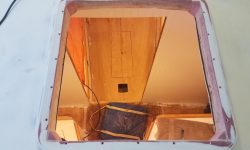
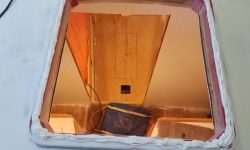
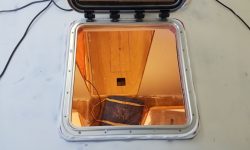
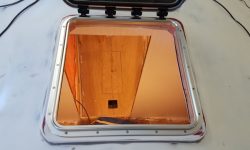
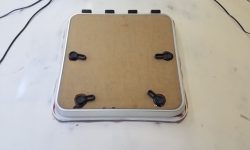
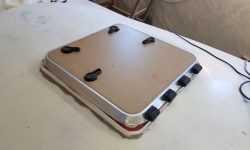
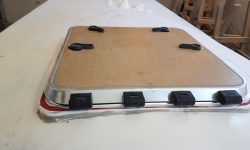
While the trim was gluing up, I prepared to install the forward hatch. I wanted this in place now so I could complete the trim inside the hatch opening. With the hatch properly positioned in its opening, I drilled and tapped all the fastener locations in the solid fiberglass hatch surround to accept 10-24 x 1″ machine screws, and milled small countersinks at each hole location to better accept sealant. After final cleanup, I applied heavy beads of sealant and installed the hatch with 20 screws.
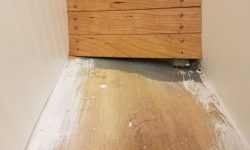
By now, my ceiling glue-ups were ready for more work, and using angles and measurements I’d determined earlier, I trimmed the bottom edges and fit the pieces. To allow the future cabin sole to slip beneath the ceiling at the edges, I used a scrap of the sole material (same as the ceiling) to mark the height at the lower edge of each ceiling and, removing the boards one more time, trimmed off the excess to the line. This completed the ceiling, other than final finishing, which I’d start soon.
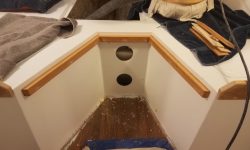
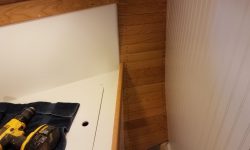
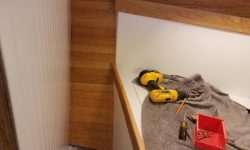
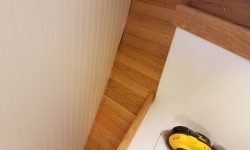
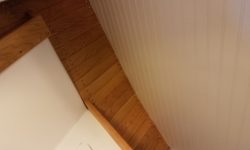
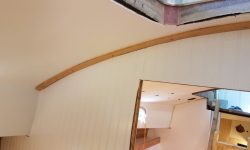
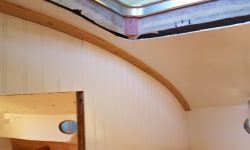
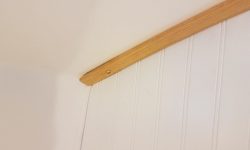
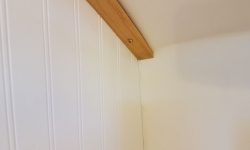
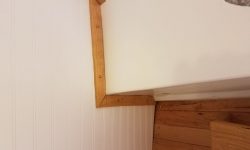
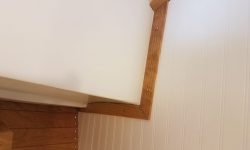
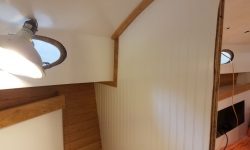
Next in the forward cabin, I turned to the trim between the bulkhead and the overhead or cabin liner, starting with a long strip along the top edge of the bulkhead. I used 1-1/4″ wide cherry that I’d milled earlier, and after various test cuts and measurements, eventually fit the long piece in place and secured it temporarily with bronze screws into the fiberglass liner above. I planned to remove this and the other small pieces of trim for final varnishing once I’d cut and fit all of them.
Continuing, I worked on the remaining trim along the bulkhead on both sides, down the sides of the cabin trunk and beneath the sidedecks, and completing the dry fit on both sides took me through the end of the day.
Total time billed on this job today: 8.25 hours
0600 Weather observation: 32°, clear. Forecast for the day: Sunny, 38°


