March 23, 2018
Scupper 13
Friday
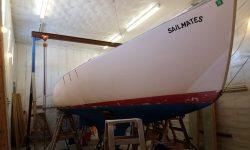
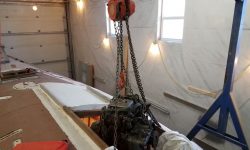
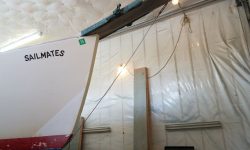
Before pulling the engine from the boat, I had a little setup to finish up, starting with moving my large gantry crane from the other shop bay, something I usually liked to avoid but in this instance there was no option. With the ground frozen overnight, moving the crane outdoors from one bay to the other was at least possible; soft ground makes it impractical. I shuffled staging horses and other stuff in the shop to make room for the crane to roll back above the companionway.
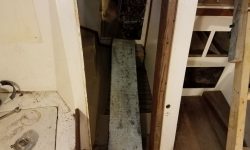
Inside the boat, I built a simple ramp, made from an old plank and some blocking, running from the engine room door to the head door beneath the companionway. I’d use this to slide the engine forward once I had it out of the engine room.
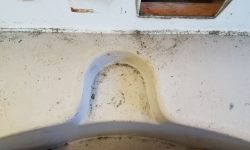
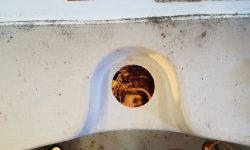
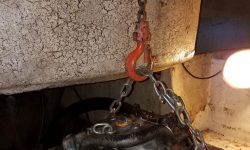
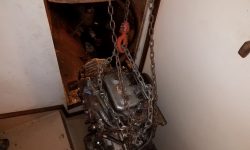
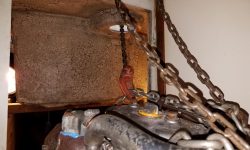
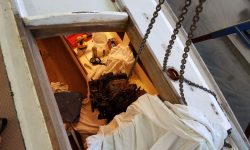
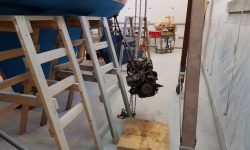
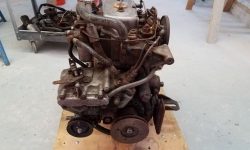
To lift the engine, the only direct overhead access was through a little recess in the cockpit seat, designed for a compass or, on this boat with a pedestal compass, to twist one’s ankles unexpectedly. I drilled a large hole through the center of the recess, which allowed me to drop the hook from my hoist right through. The hole would be easy to patch later. I attached a short chain to the two lifting points on the engine, and I was ready to go.
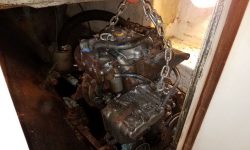
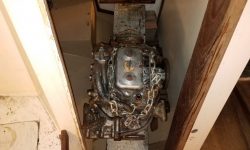
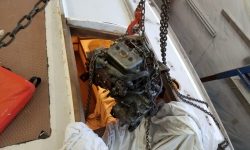
Pulling the engine was actually much less of an issue than I’d anticipated. With all connections to the boat already severed, it was a cinch to lift the engine, and fortunately there was ample room in the overhead hole as well as overhead clearance to allow me to pull the engine sideways and forward till I got it balanced on the plank, at which time I could slide it safely into the head. I had to twist the engine slightly through the engine room door to accommodate the mounting flanges, but the process was quick and painless. After unhooking, I slid the engine forward down my plank till it was beneath the companionway opening.
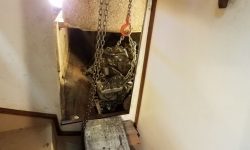
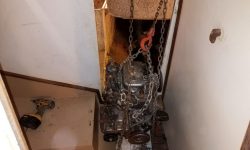
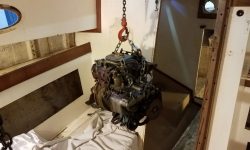
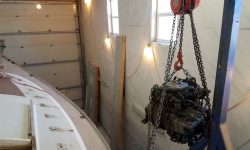
Moving the crane and rehooking the lift chain, I prepared to pull the engine out the companionway. I knew the engine couldn’t fit directly through the doorway opening, and my first inclination was to remove the two wide mounting flanges from the port side of the engine. Lifting the engine till it hung, and I could turn it to access the bolts, I made an attempt to release the rusty fasteners, but to no immediate avail. I imagine I could and would have succeeded, but eyeballing things now it looked like I might be able to twist the engine through this opening too, as long as I did it backwards (transmission first). This worked!
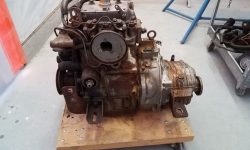
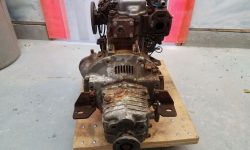
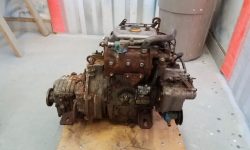
Now it was straightforward to lift the engine up and over the companionway, and I lowered it to the floor and a waiting cart.
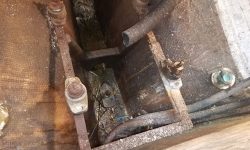
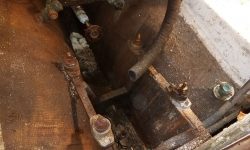
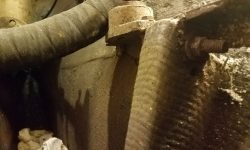
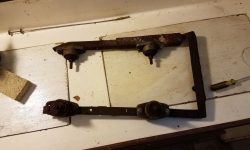
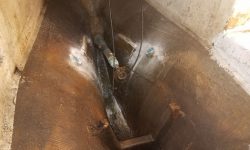
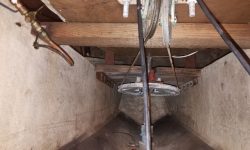
After taking advantage of still-frozen (barely) ground outdoors to move the crane back to the other side, as I didn’t want it cluttering up the main work bay, I got back to work in the engine room. I threw a mess of rags into the bilge to soak up the remaining water, and focused on removing the old engine foundation. Inspecting this now that the engine was out of the way, I saw that there had been a repair/reinforcement to the port side of the rig, though even this had failed, with the steel foundation cracked through just forward of the port forward mount.
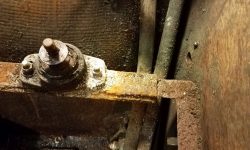
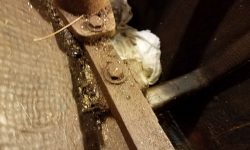
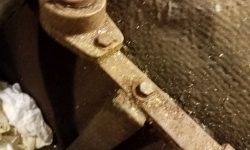
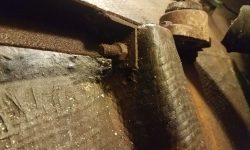
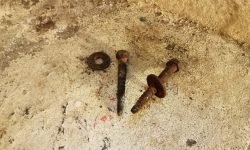
The steel foundation was secured to the boat with three bolts through the forward bulkhead (the forward ends of these bolts were completely inaccessible, so I hoped the exposed nuts would come off without spinning the bolts), plus two lags driven through the tops of the foundation into a structural member attached to the hull, plus two carriage bolts securing a vertical flange to the same member. The lags came out easily (they were wasted down to thin stubs), but of course the carriage bolt heads spun when I tried to loosen the nuts. Fortunately there was ample screw length beyond the nut to allow me to clamp on with some locking pliers and loosen the nuts for removal.
Two of the three forward nuts came off with ease; for the final nut, and final fastener, I pried the whole foundation loose elsewhere, creating pressure on the stud that allowed me to loosen and remove the nut and remove the old foundation from the boat.
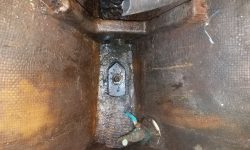
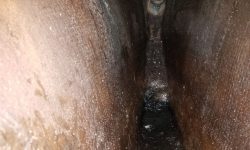
With decent access now, I cleaned up the ooze from the bottom of the bilge. As soon as my new garboard drain arrived and I could install it, I planned to thoroughly soak and clean the bilges to remove accumulated oil buildup.
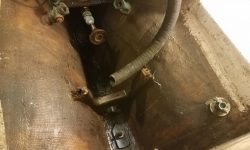
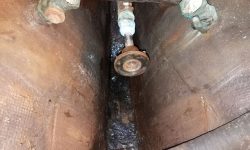
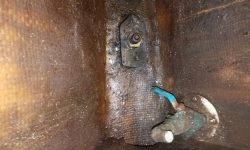
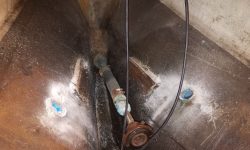
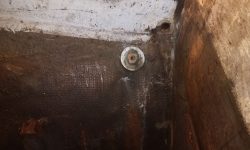
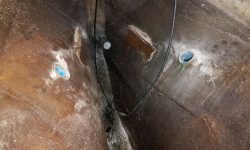
There was yet another transducer mounted in the hull directly beneath the old engine; this boat has more transducer fittings in the bottom than I’ve ever seen, at least 4. I planned to remove them all and patch the holes later.
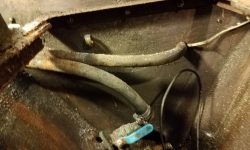
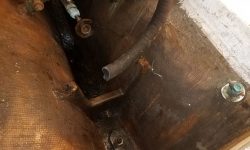
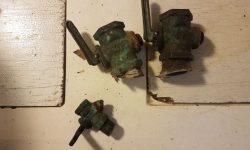
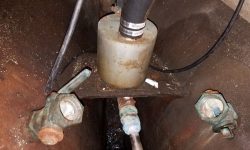
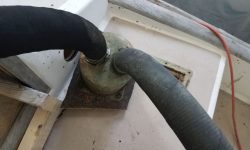
The waterlift muffler was bolted through a little wooden platform behind the engine. With no future plans nor need for this, I sawed out the platform and removed the whole assembly and its remaining hoses. At the same time, I removed three old frozen through hulls from the space, including the scuppers. The old fittings were threaded on to bronze fittings glassed to the hull, and replacement of all these fittings, as required for future needs, was on the list, so for the moment I simply cut through the fittings near the hull to clear the way.
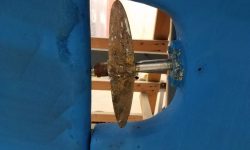
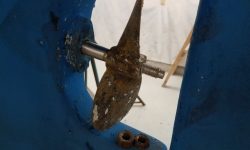
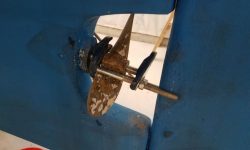
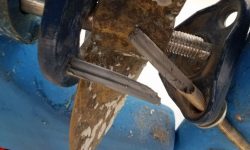
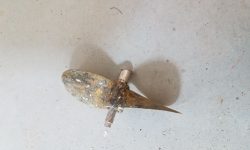
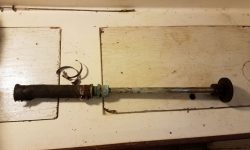
The aperture for the propeller was quite small, with barely 1/4″ tip clearance at the tops of the blades, and little room between the shaft and the rudder. There was no way to pull the shaft out from here, as the rudder obviated a clear passage. Hoping to remove the propeller, I set up my puller, which barely fit into place (my other puller designed for 2-blade props wouldn’t fit in the tight confines at all). Using only two of the three bolts intended, I still thought I could pop the prop free, but instead one of the bolts sheared almost lengthwise, a sort of failure I found quite amazing.
With the prop still firmly stuck in place, and no anticipated need for this propeller in the new configuration anyway, I decided to cut the shaft from outside, which would allow me to remove it from inside the boat and get on with things. The old stuffing box hose–a very long length that had extended from the bronze stern tube forward of the exhaust platform to give access to the stuffing box–was in poor condition, and I had to cut the after clamps and hose in order to remove it along with the remains of the shaft.
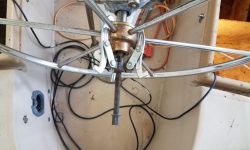
That was about it for the engine room for now, except for the old engine control cables dangling from the pedestal above. I’d address that and the steering system in its entirety soon. For now, I made an attempt to remove the wheel for better access, but so far this was firmly stuck in place on the shaft and with plenty of tension on a gear puller I still didn’t seem to be making progress. I left this set up and hoped that continued pressure would help pull the wheel off the shaft.
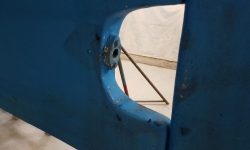
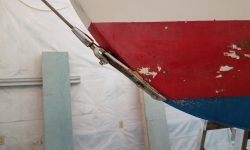
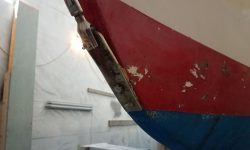
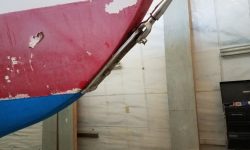
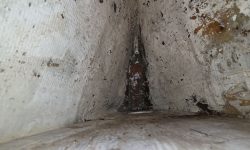
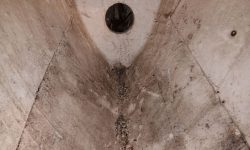
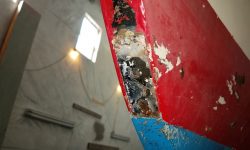
Finally, with just a little time left and no desire to get into anything big, I decided it was a good time to remove the stem fitting securing the bobstay. Access to the inside of the bolts was through a small hole in the chainlocker bulkhead, which wasn’t too bad to get to through the large storage area below the v-berth. I clamped on vice-grips inside and removed the fasteners from outside without issue. This fitting, like many others so far, was bedded (or not) in white silicone.
Total time billed on this job today: 7 hours
0600 Weather Observation: 20°, clear. Forecast for the day: Sun and clouds, 40°


