


May 6, 2024
Callliope Girl 116
Monday
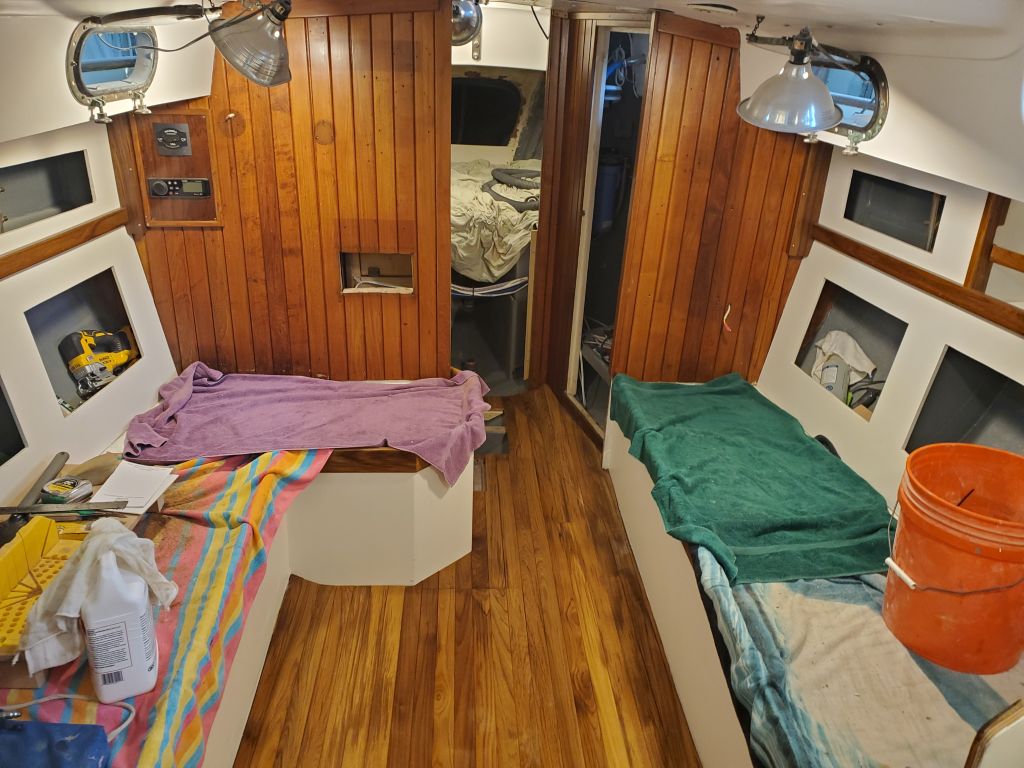
Back at it after a couple days away, my first order of business was to remove all the bracing and clamps from the last bit of the cabin sole, after which I gave the entire sole a good sanding to clean up from the installation and remove any errant spots of epoxy.
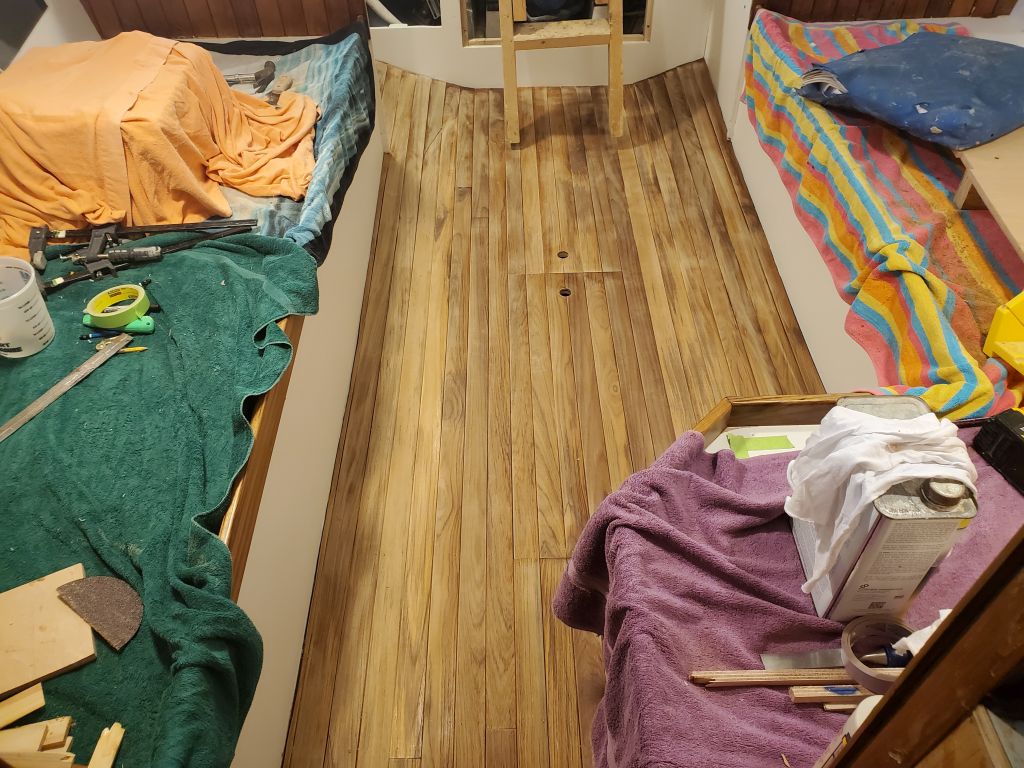
The chainlocker bulkhead had not been on my official list of concerns, but nevertheless should have been sanded and painted long ago; for various reasons it never had made it onto the daily radar, but today, while I had sanding equipment, I sanded it quickly to prepare for some fresh paint.
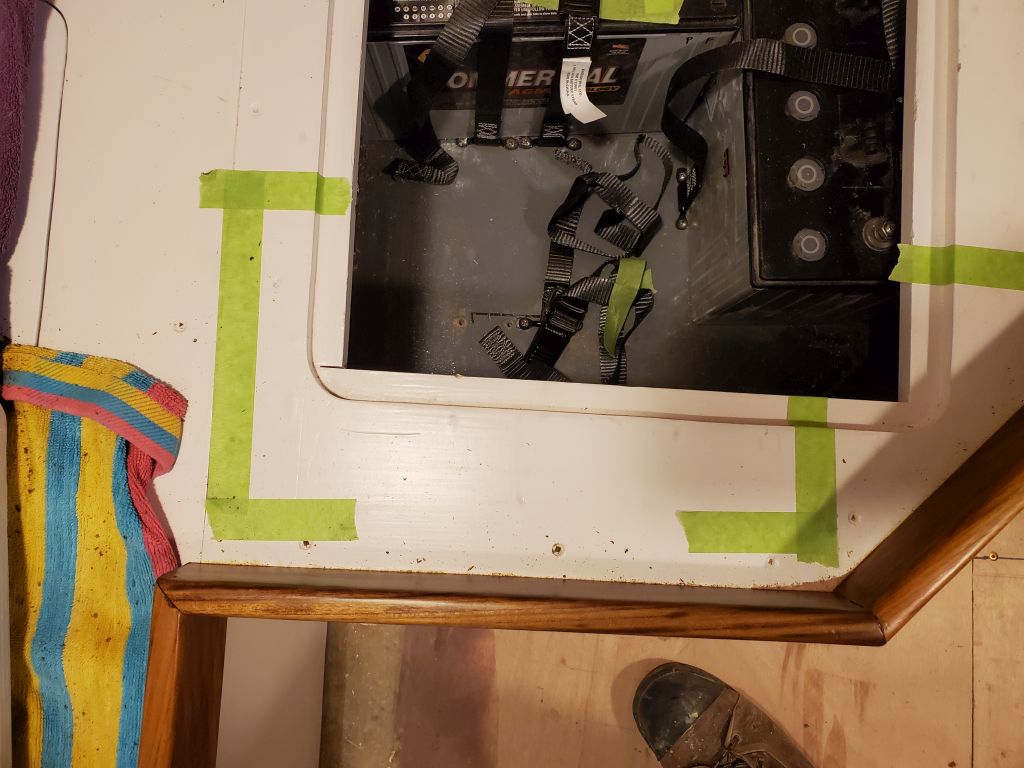
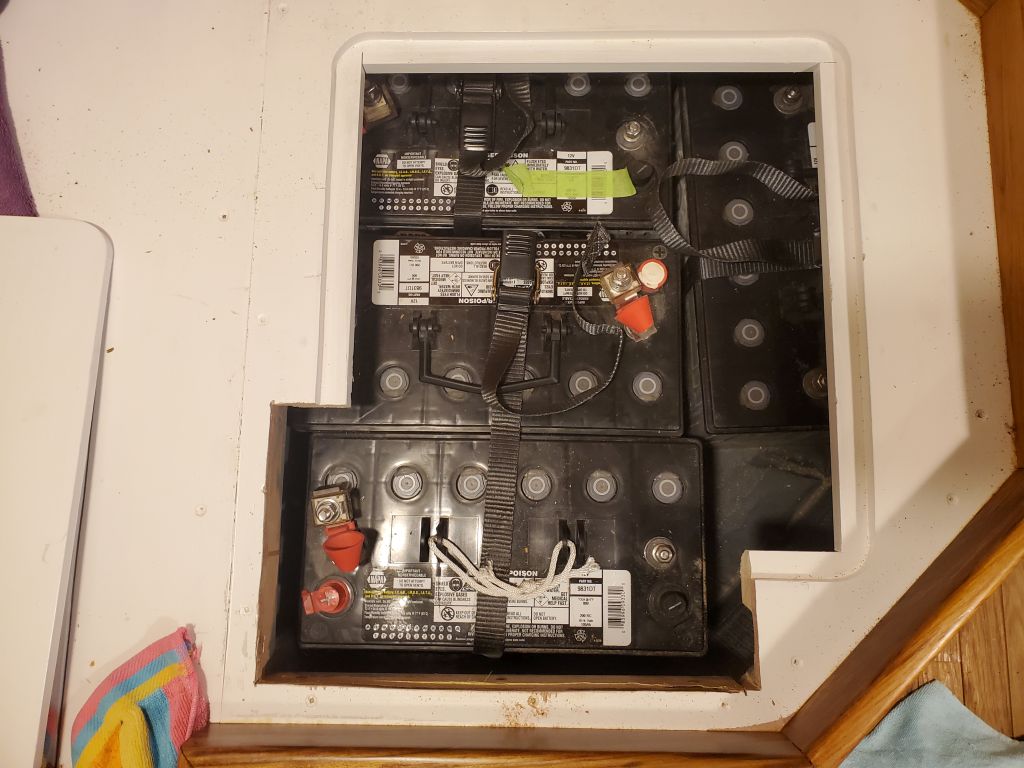
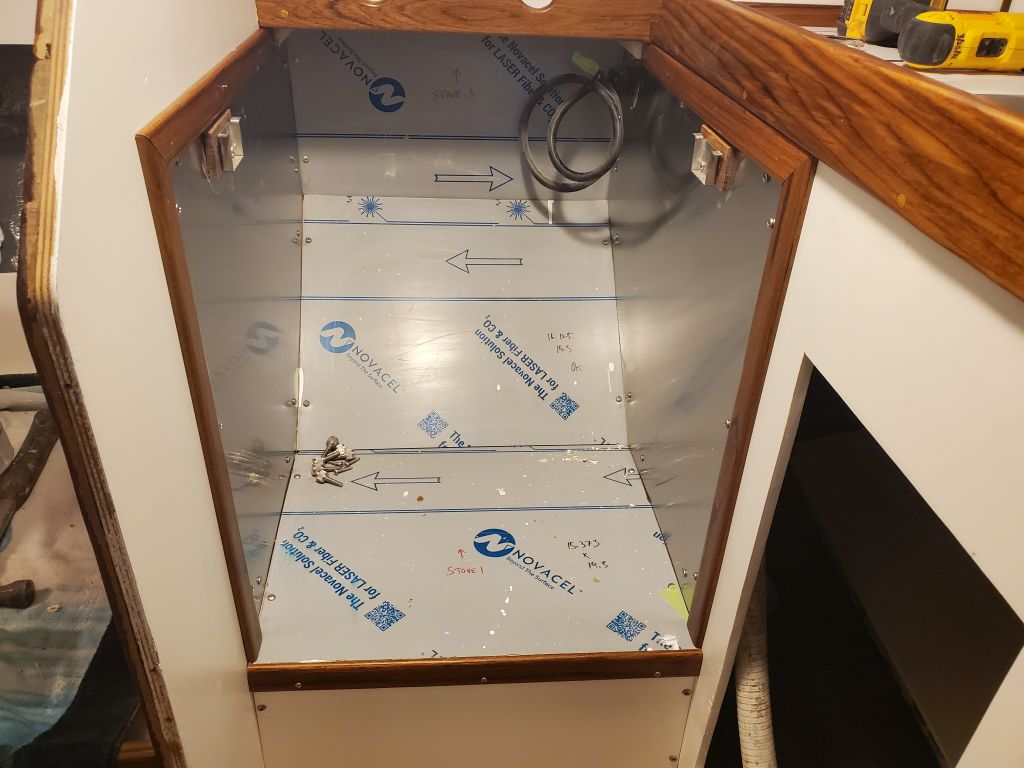
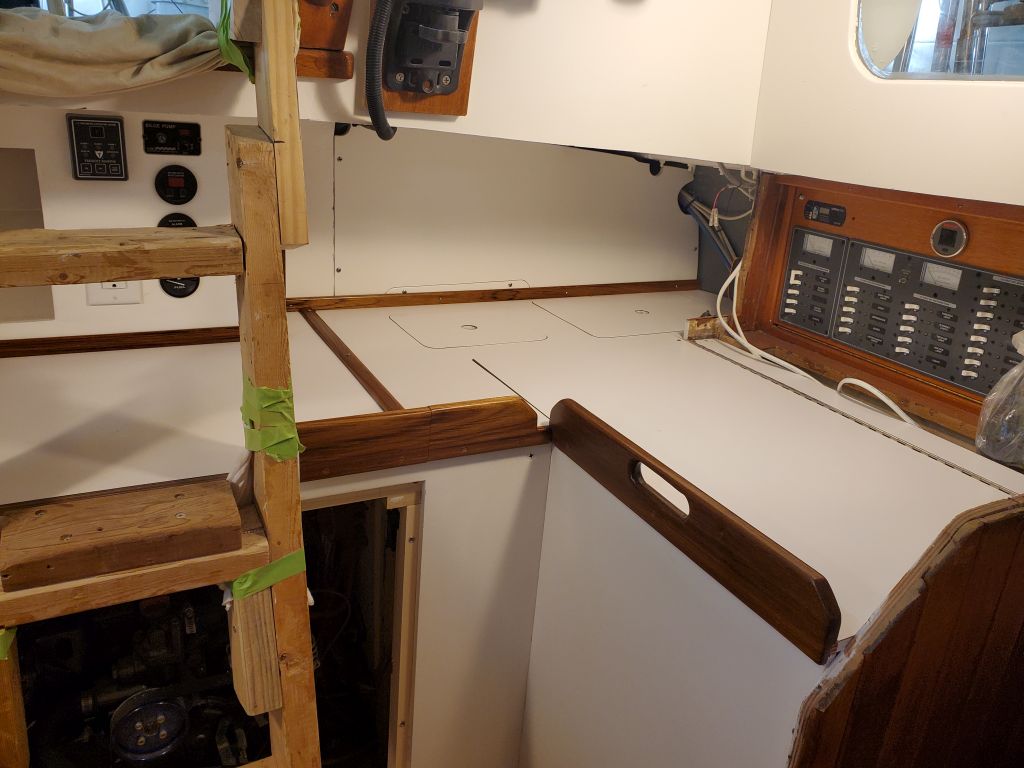
Earlier, in some undocumented work, I’d started to install the four batteries in their new compartment on the port side, installing hold downs and straps as I went. This went well enough till I had a couple batteries in place and discovered to my displeasure that the opening, and the way the overhangs worked inside the compartment, prevented the last two batteries from angling in, even though the opening itself was abundantly larger than any single battery. At that earlier time, I’d left things as is to be dealt with another time…and another time turned out to be now, as I just wanted to get the situation dealt with.
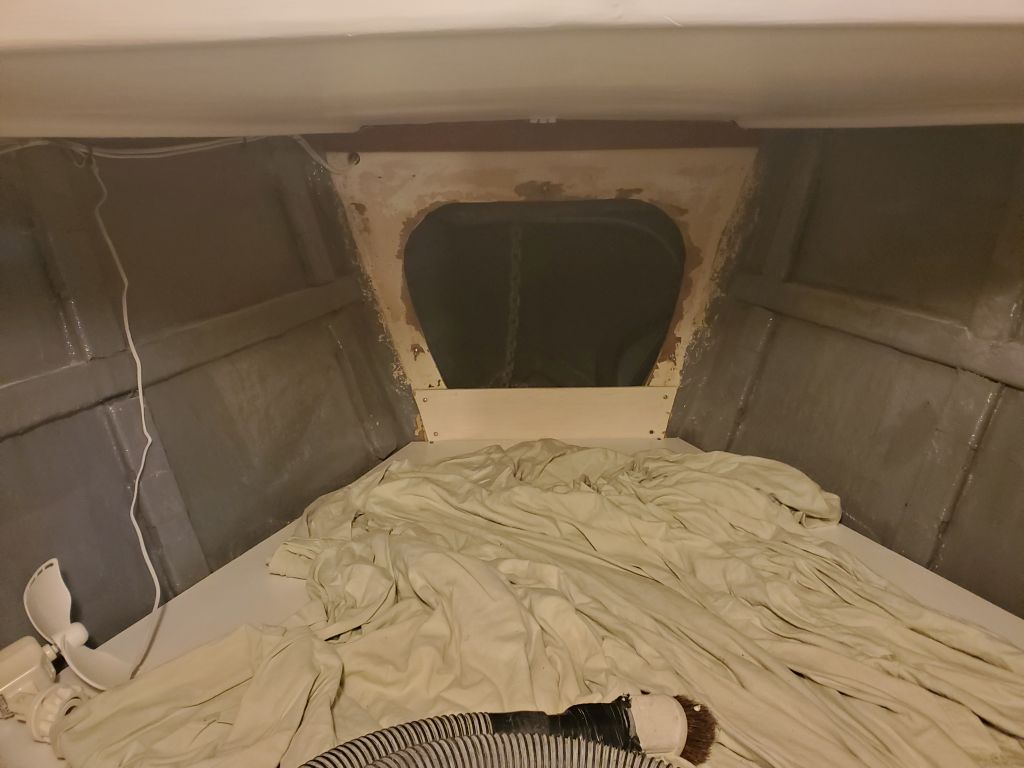
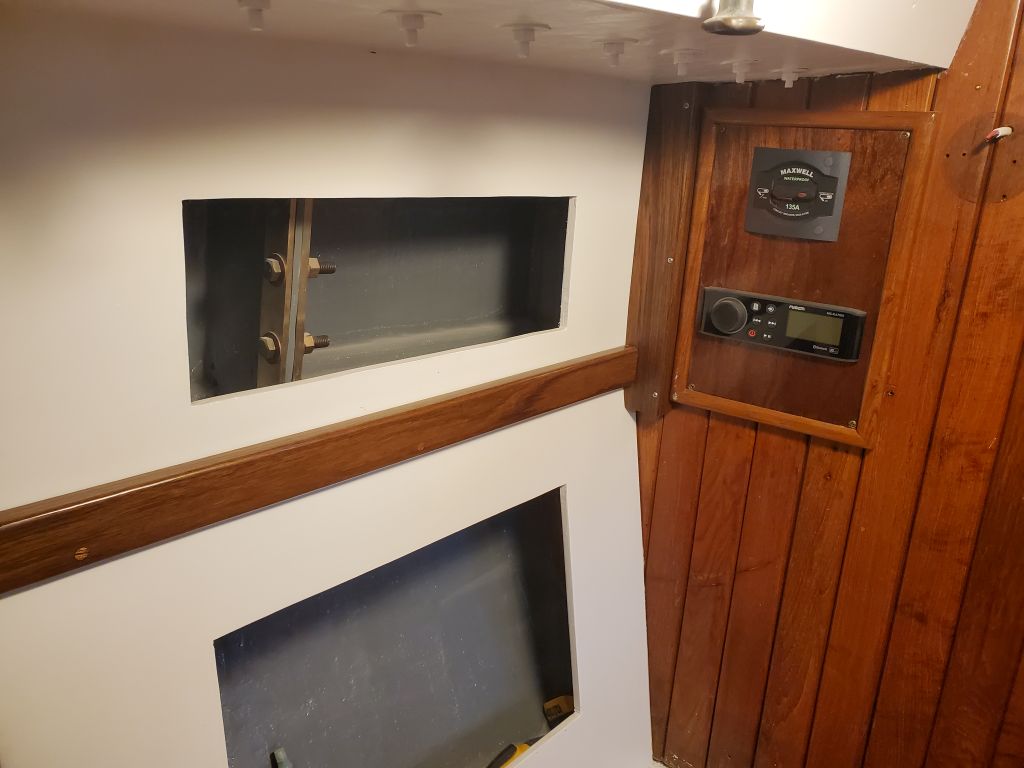
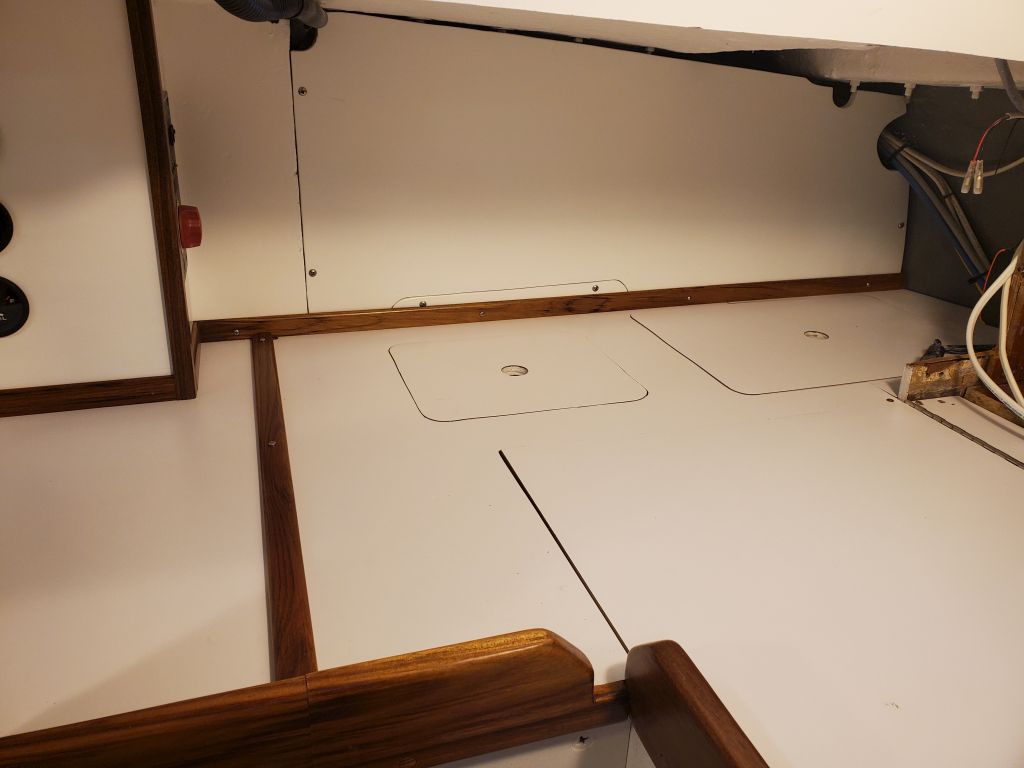
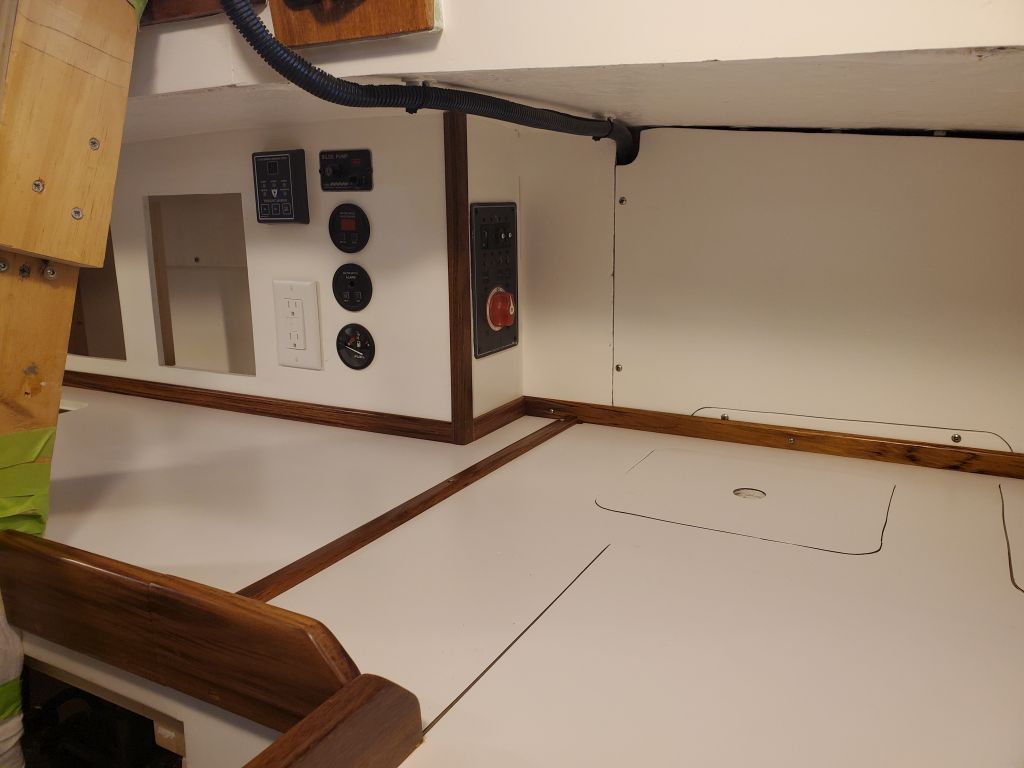
I needed a way to drop the last two batteries in vertically, after which they could be easily positioned as needed, and this meant enlarging the hatch. To do this in the least-destructive way possible, I eventually chose to enlarge the after end, directly over the position of the final battery; an option would have been to create the opening over the starboard-most battery, the one oriented longitudinally, but I thought the after location was better. So with reluctance, but the grim determination born of fate, I made the cuts required, after which I could install the final two batteries without issue.
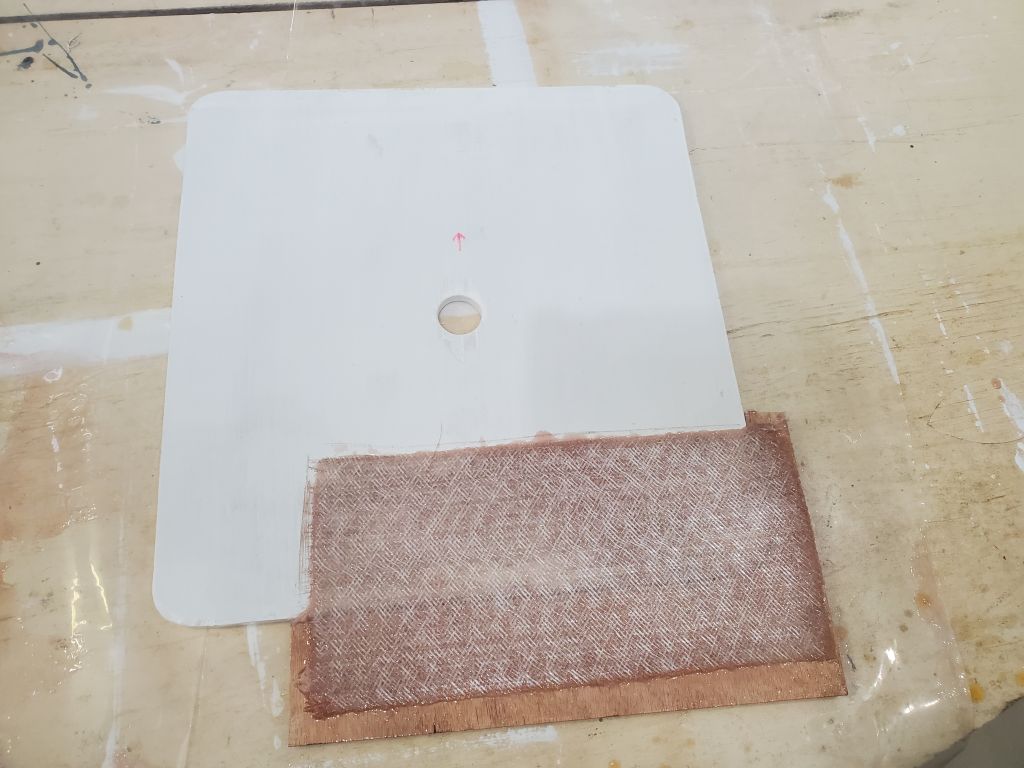
To rebuild the hatch, I patterned the L-shaped opening and cut out a piece of plywood to fit, then epoxied and fiberglassed it from the underside to the adjacent square hatch in the appropriate corner, after the usual surface prep to remove paint from the faying surfaces. Sometime very soon, I planned to spend time finalizing the battery and any other wiring tasks still remaining on my list.

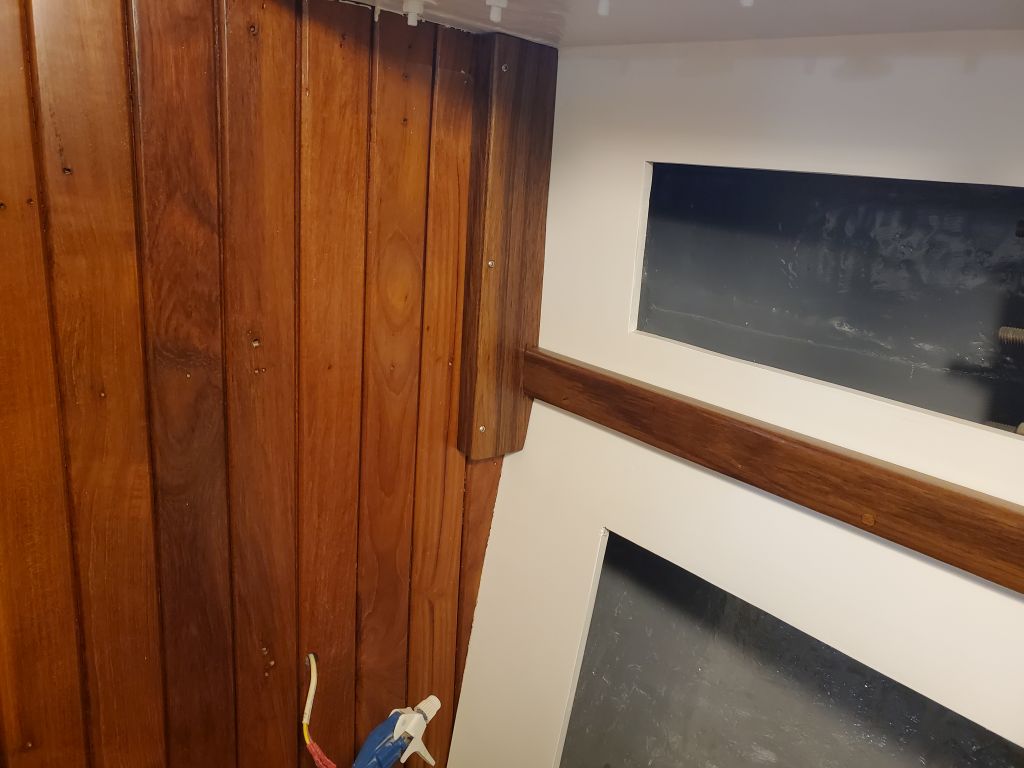
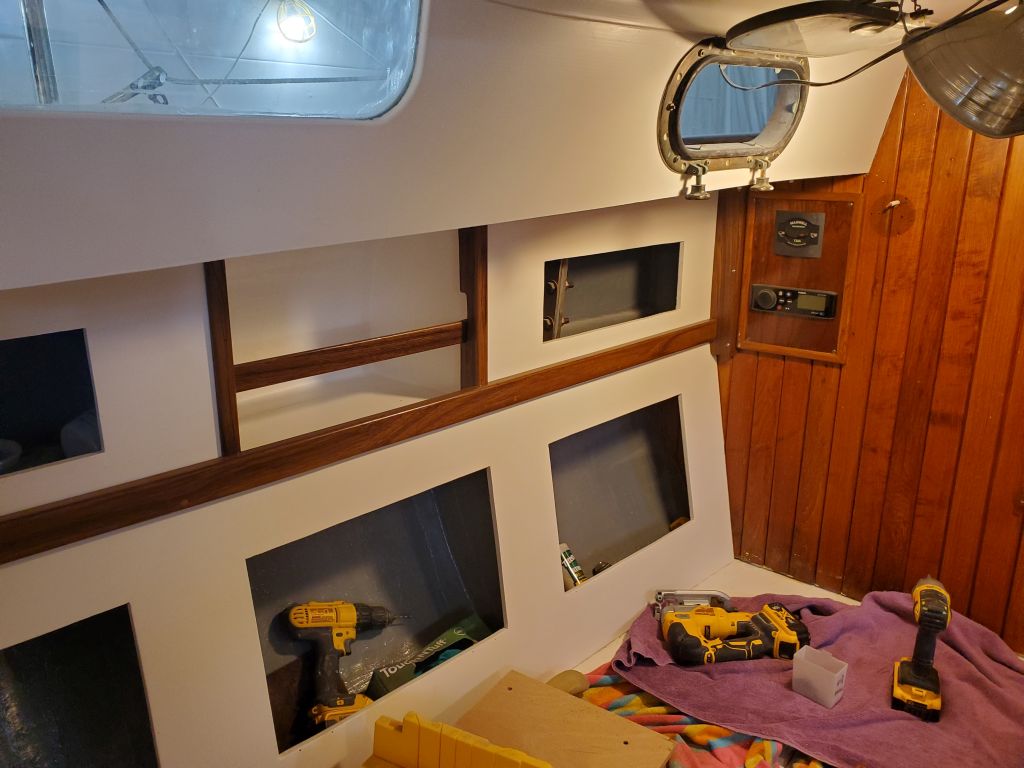
For now, however, my focus was on installing trim, starting with the chainplate covers and bookshelf stops, now completely varnished. Then I continued with some trim around the edges of the stove surround, and at the juncture between galley countertop and upper cabinets. Where needed, I made the trim removable with screws so the port side of the galley could be dismantled should it ever be necessary.


There was more trim to come, but now, right after lunch, I wanted to focus on the cabin sole varnish, as I needed to apply a coat every day, and I wasn’t sure how long it would take. I had other work I could finish in the woodshop during the remainder of the day, so didn’t mind closing off the interior this early in the day (for one day, anyway). First, however, I started with a coat of white paint on the chainlocker bulkhead after some quick masking.

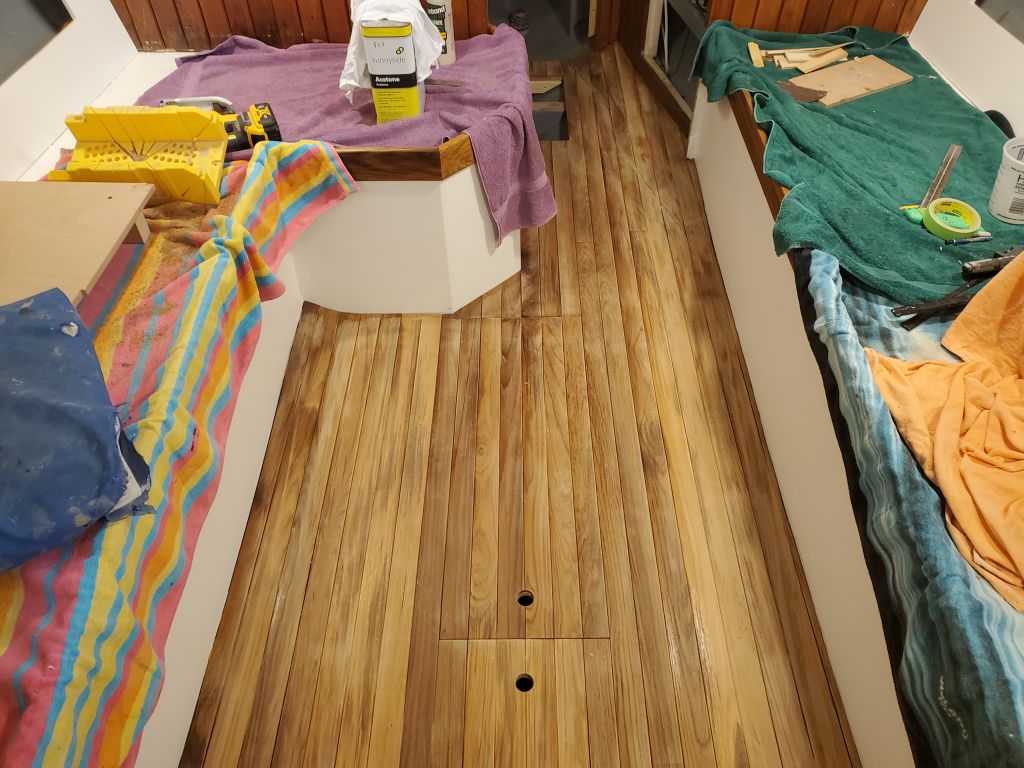
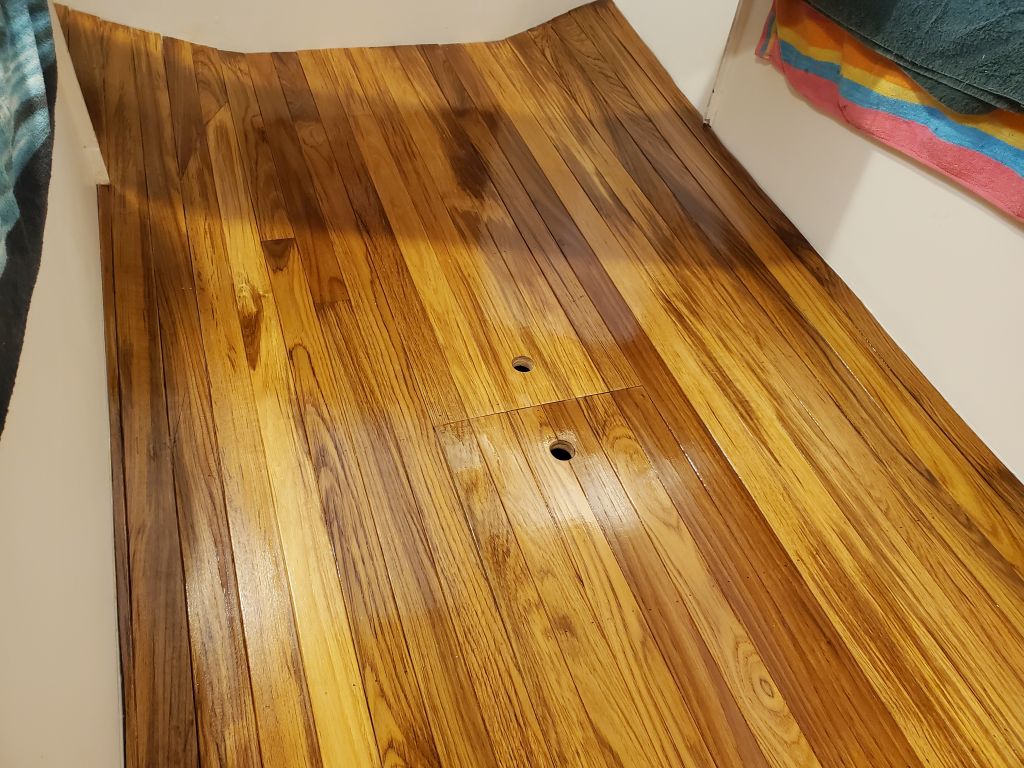
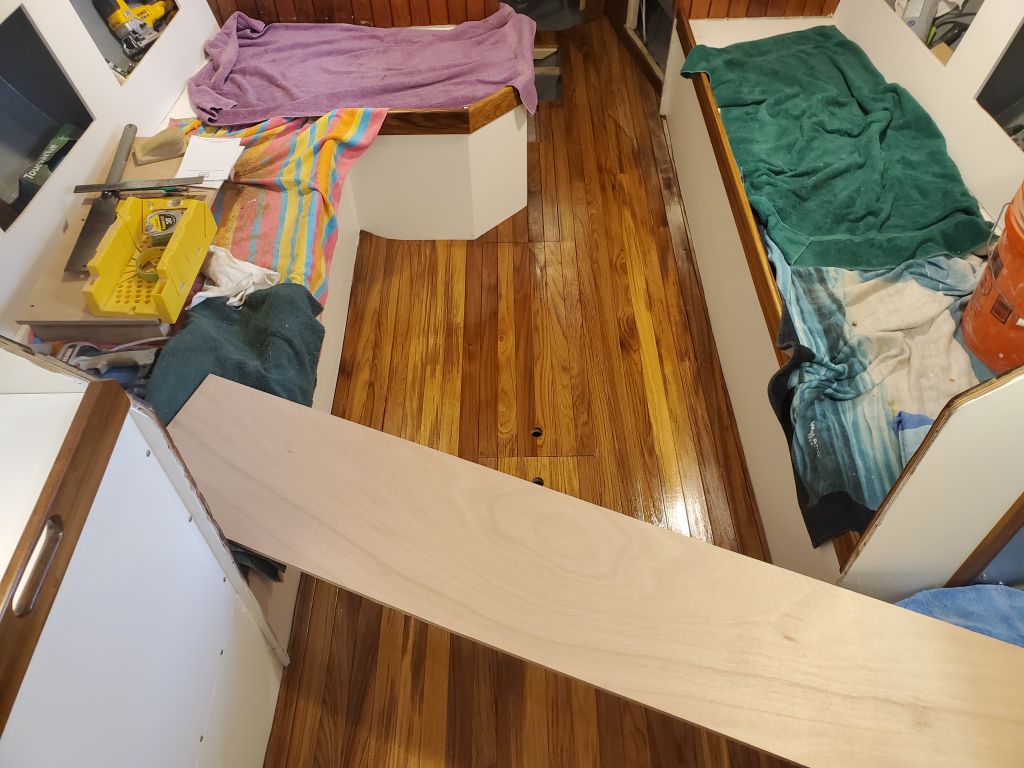
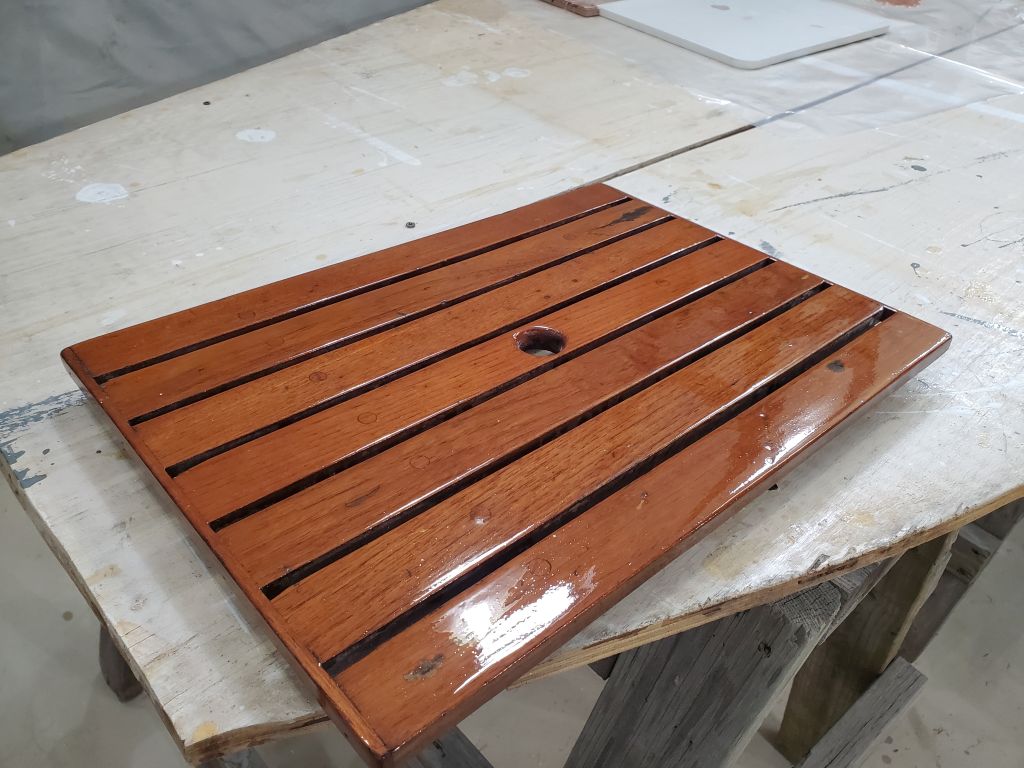
Next, I applied a coat of varnish to the entire cabin sole. The plywood across the aft end is my temporary platform to help me get out of the boat since I had to remove the ladder for the varnishing.


While I had the varnish out, I applied another coat to the new cabin side trim (2) and grate from the head sole (2, plus whatever was on there originally); I’d sanded these earlier in the day.

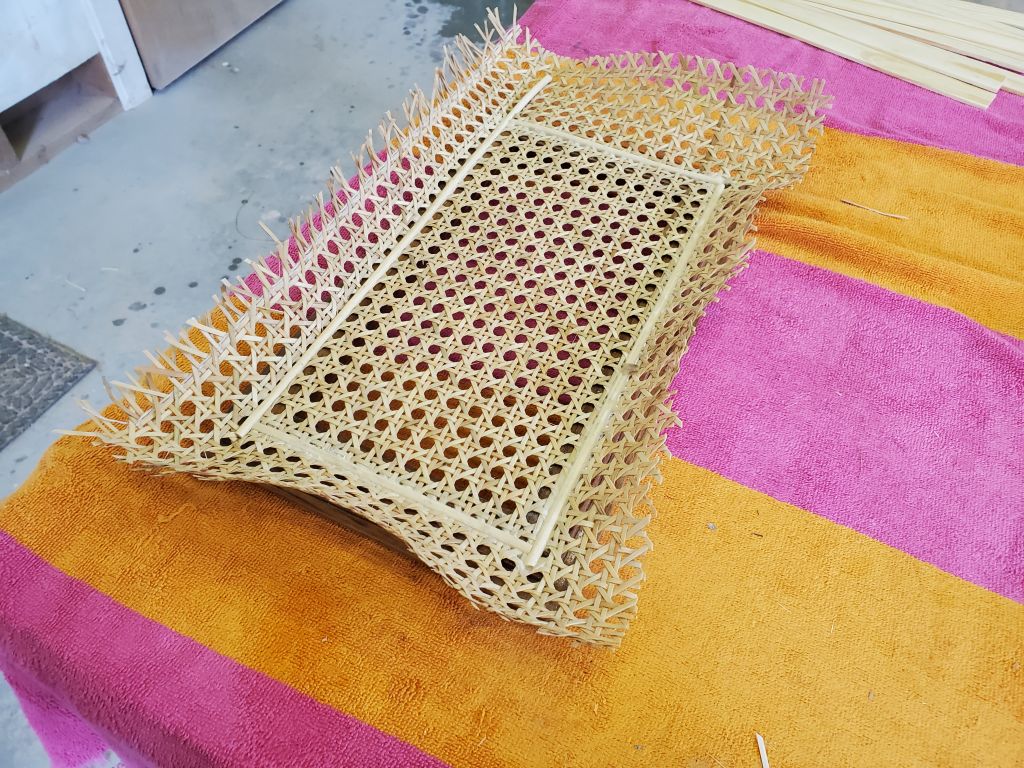
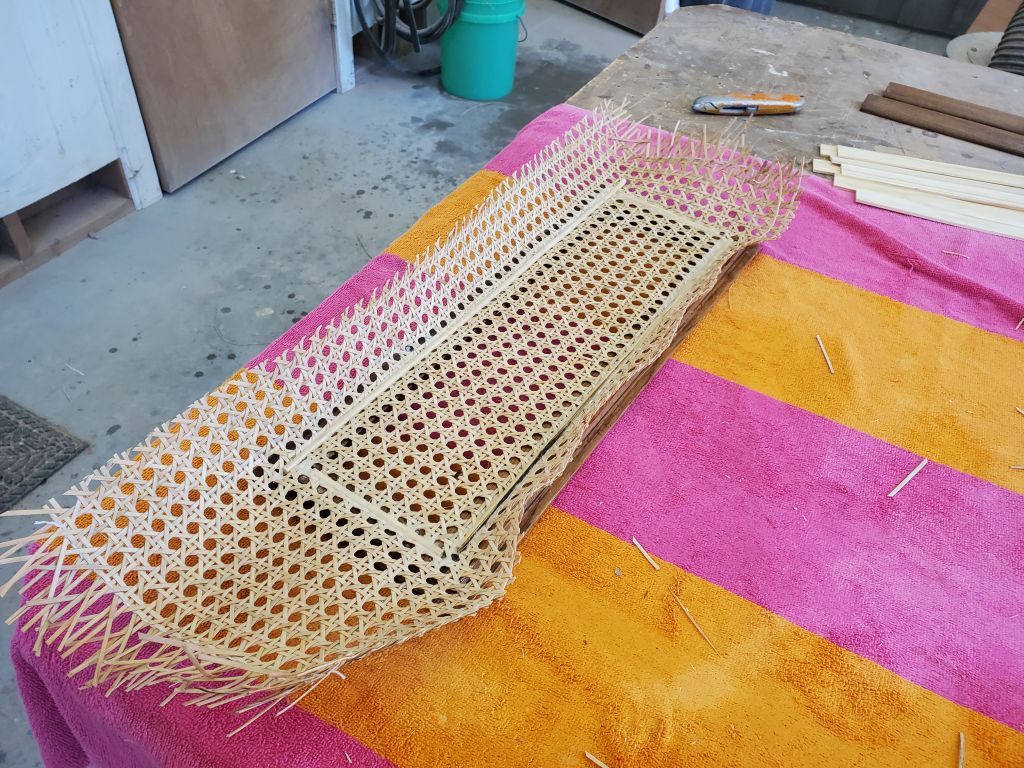
I spent the remainder of the afternoon working on the caning inserts for the nine cabinet doors in the cabin. The door frames themselves were all prepared for this, and to begin I cut larger pieces of caning into pieces as needed for each door. Then, working with about half the pieces, I soaked them–and some reed spline–in water for 15-30 minutes to soften and expand the caning fabric.
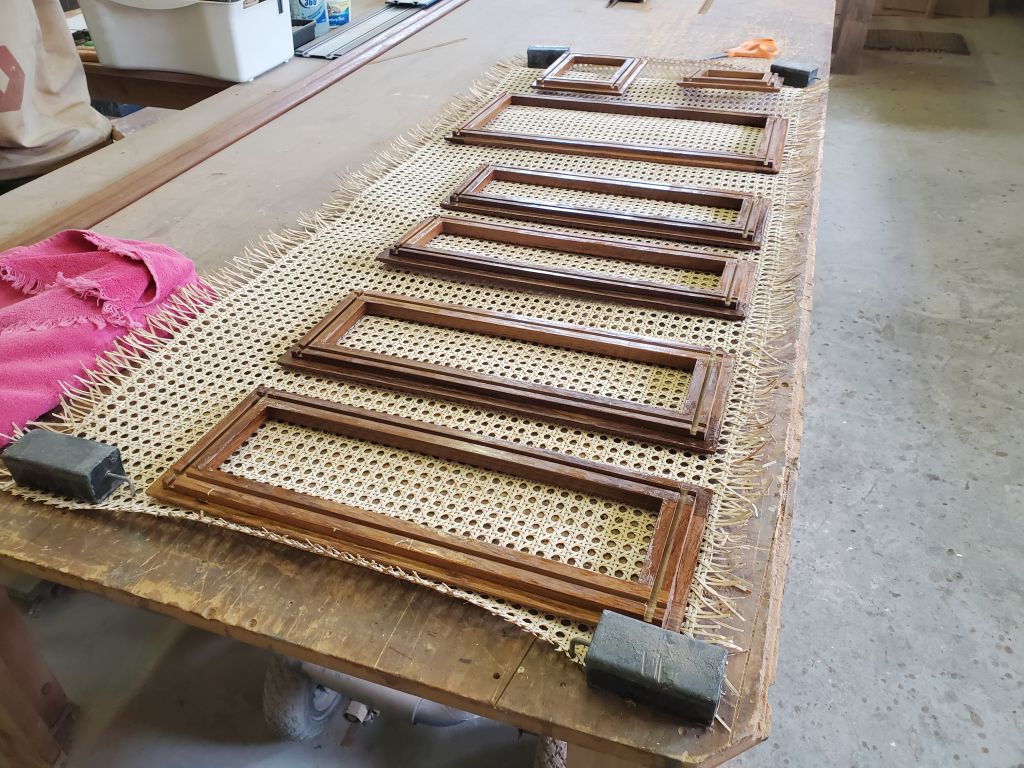

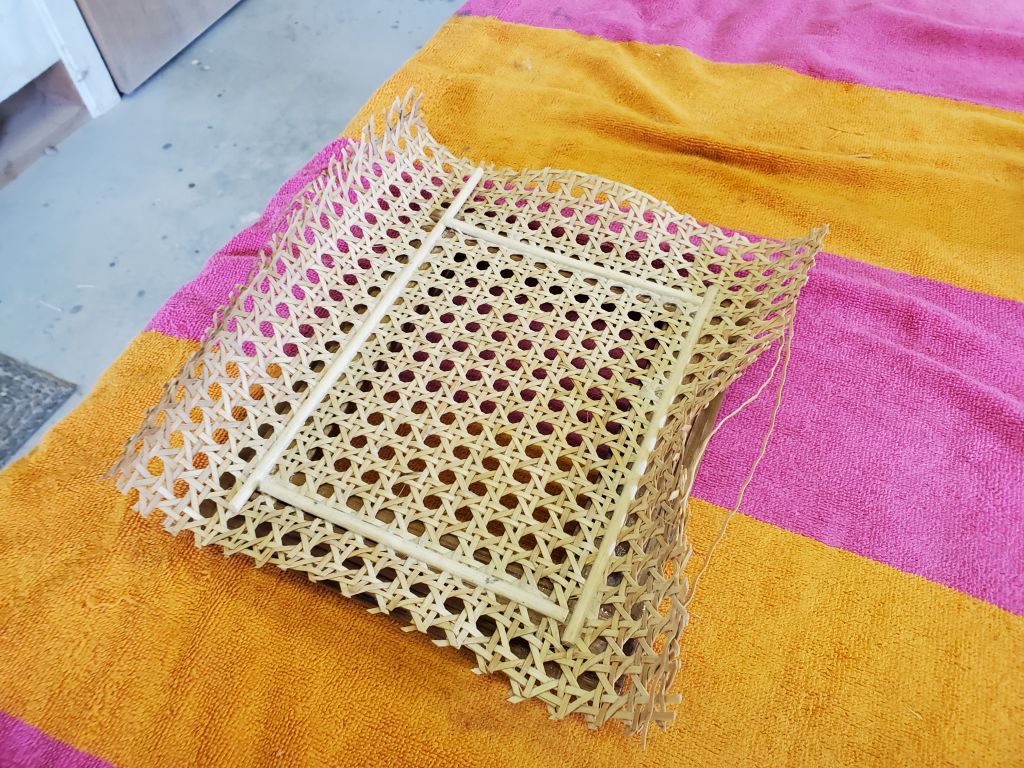
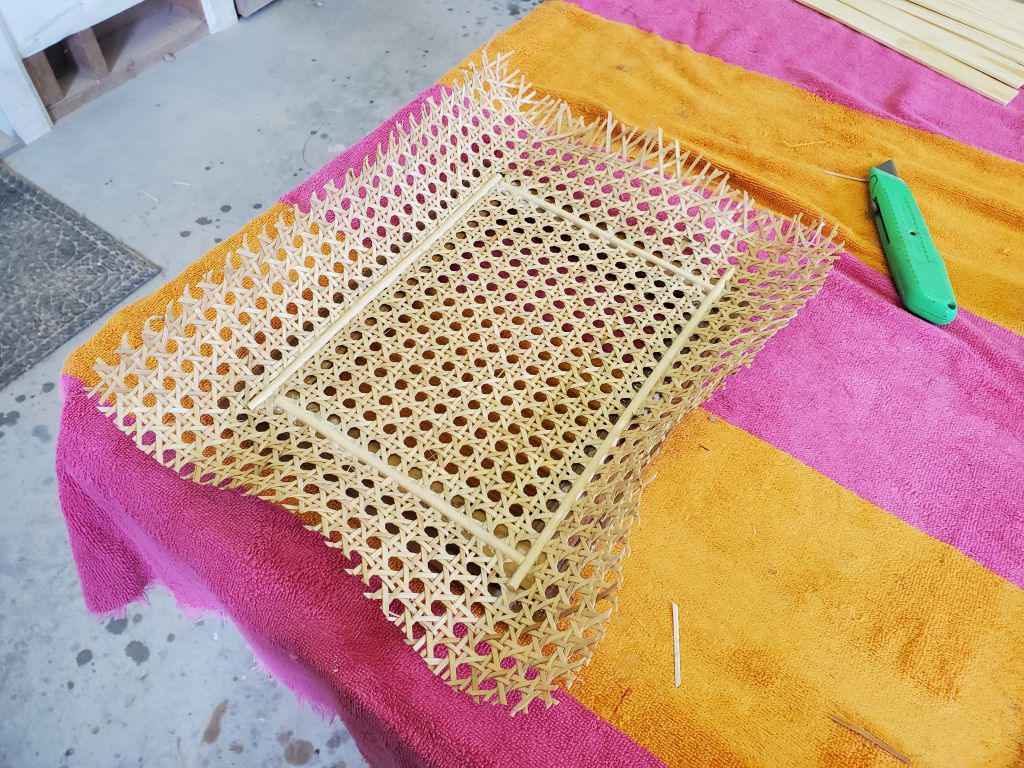
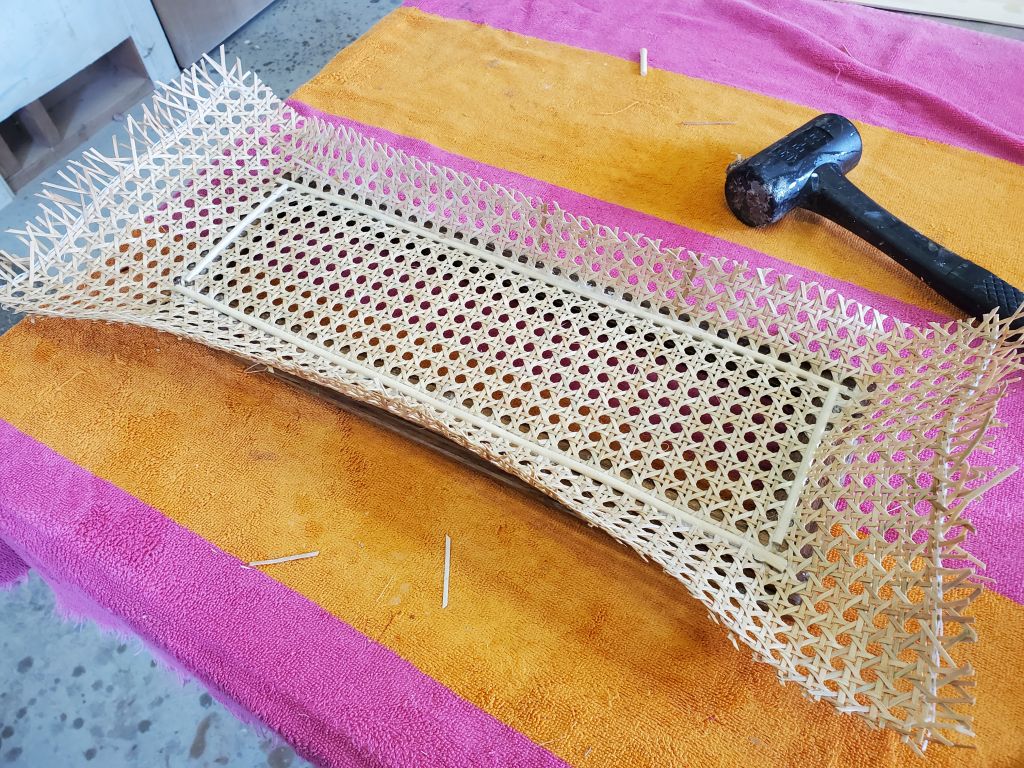
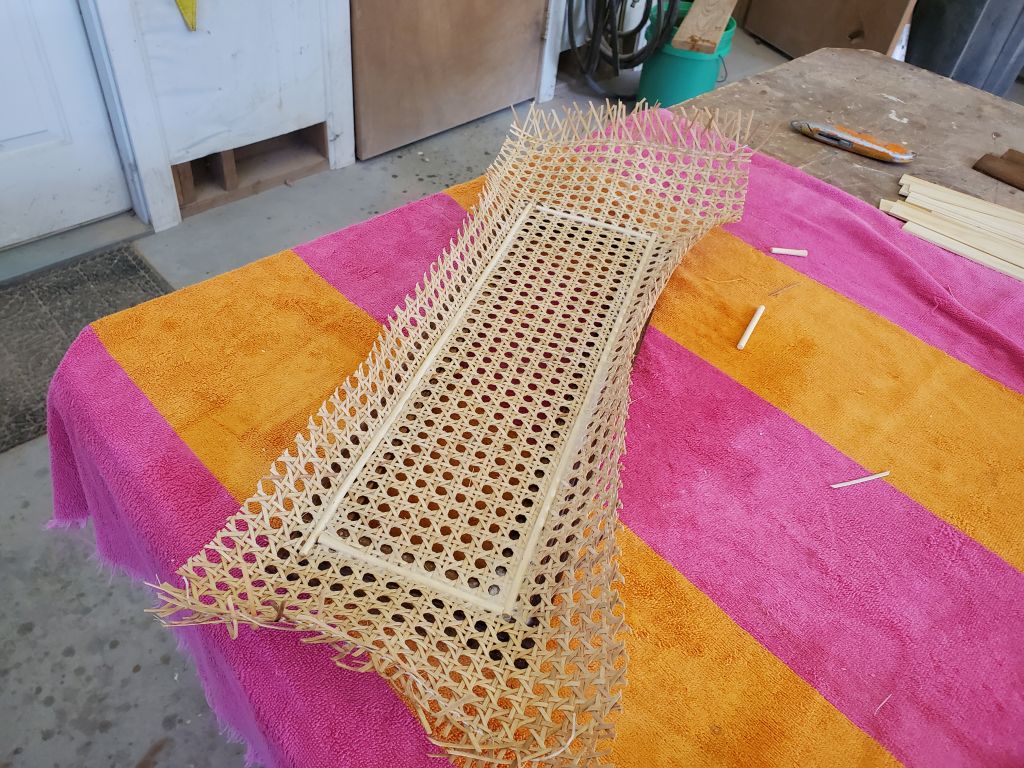
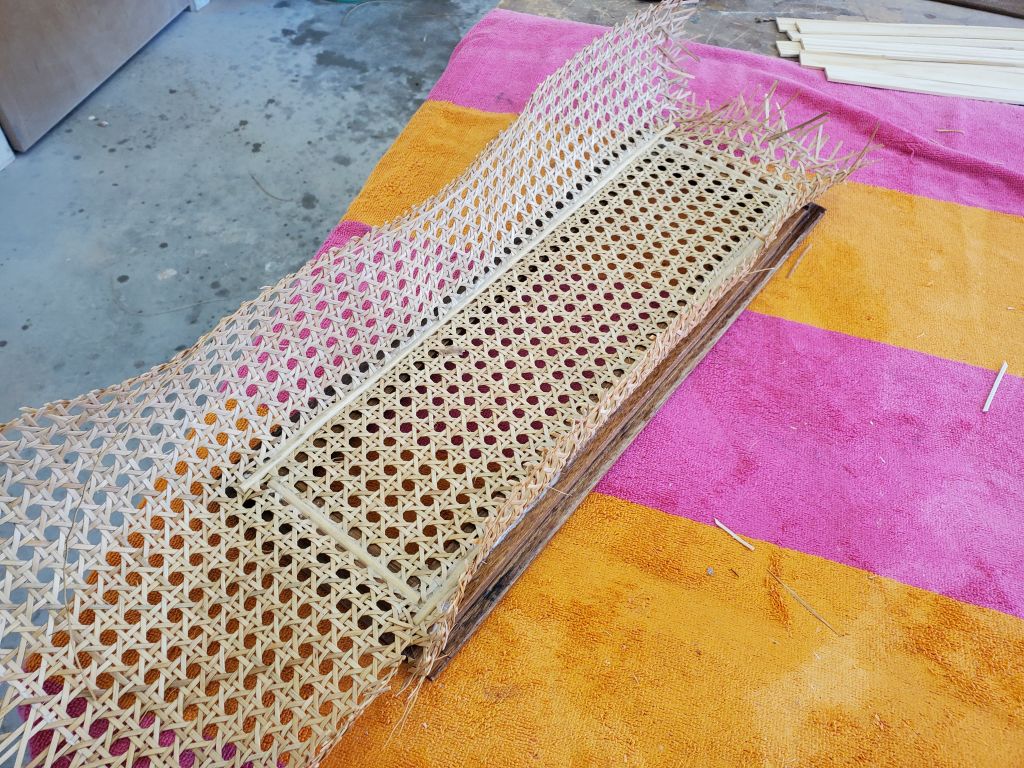
Next, one door at a time, I installed the fabric, pressing it into the pre-cut grooves in the door frames and installing the spline with glue to hold the caning tightly. It had been some time since I’d done any caning work, but the process was straightforward, if sometimes frustrating getting the fabric to cooperate with the grooves. One is supposed to use wooden wedges to bend the fabric into the grooves, but I didn’t have any, and in any event I’d found during some earlier job that these didn’t work so well anyway. My tool of choice, strange as it seems, was a half-moon-shaped plastic protractor, about 6″ long; the curved edge worked pretty well to rock the caning into the groove. I’d used one of these long, long ago in my first caning job–out of necessity at the time–and found it worked well enough that I now had a box of protractors on hand just for this purpose. (I broke three during this installation.)
In the event, by the end of the day I’d installed the fabric in all nine doors and set them aside to cure and dry overnight. The fabric would shrink as it dried, pulling it tight across the opening, and later I’d trim all the excess and clean up the excess spline from the various corners.


Total time billed on this job today: 8.25 hours
0600 Weather Observation: 43°, cloudy. Forecast for the day: Cloudy, 68°