


March 5, 2024
Calliope Girl 77
Tuesday
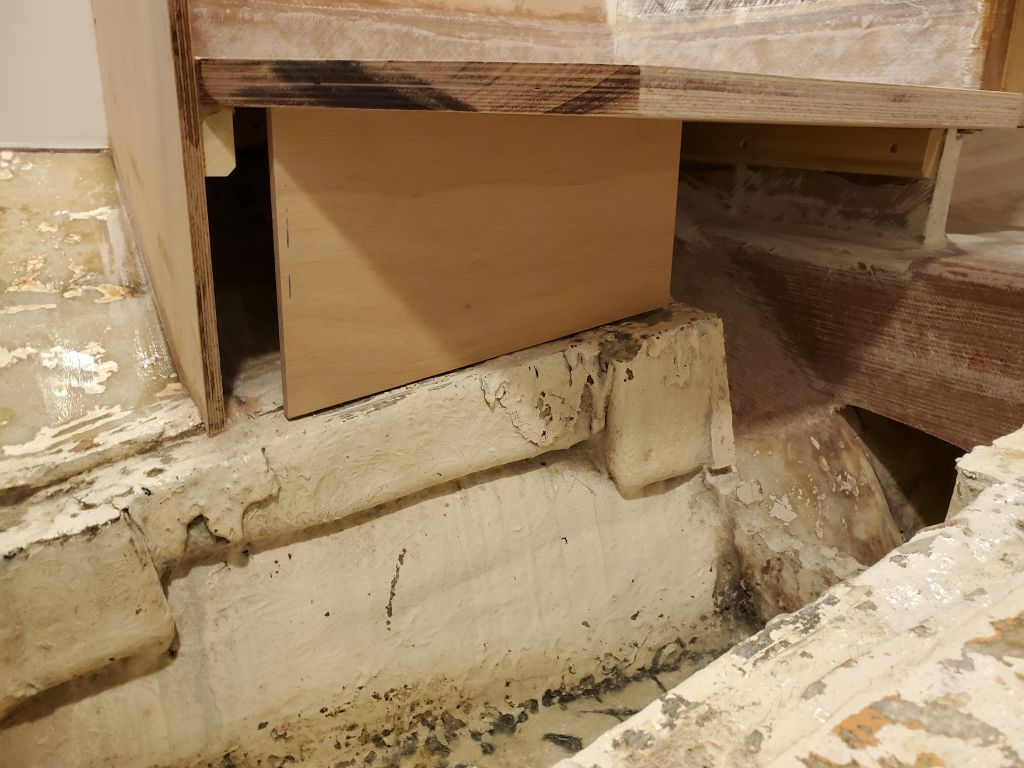
Over the course of morning, I continued work on the battery enclosure, starting with an additional vertical support beneath. Before, I stood on the platform as it was (I’m not small fry) and there was no movement, but even so I decided additional support would be a good safeguard since the rest of the walls of the enclosure would not provide any direct-to-hull support on their own.
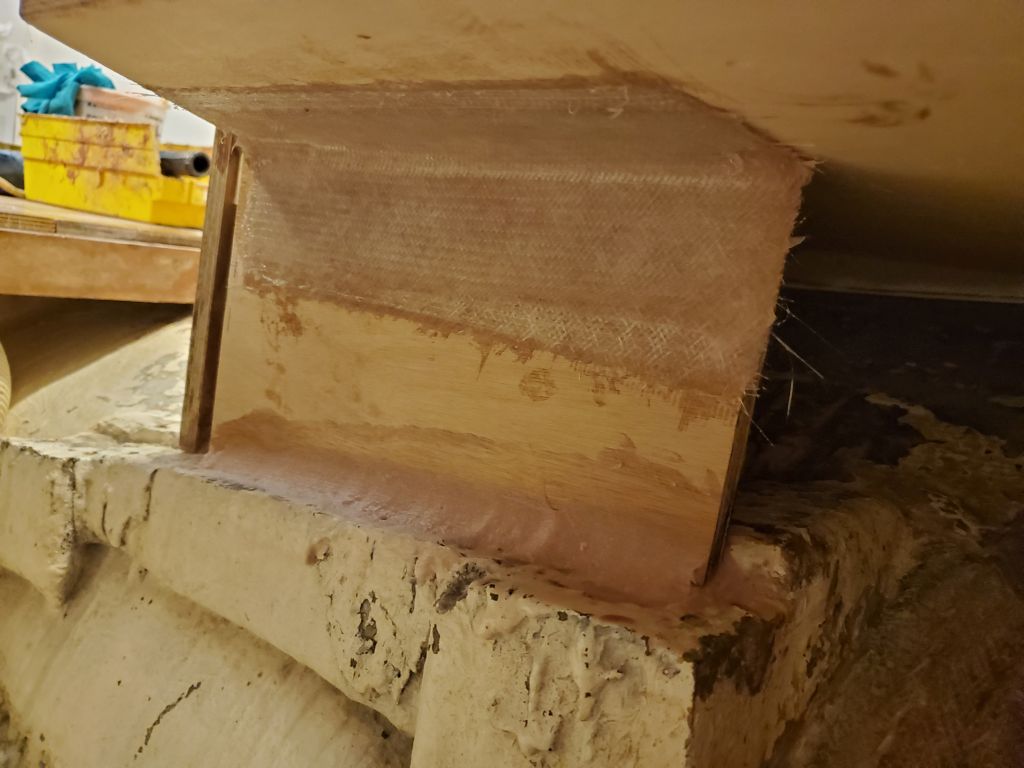
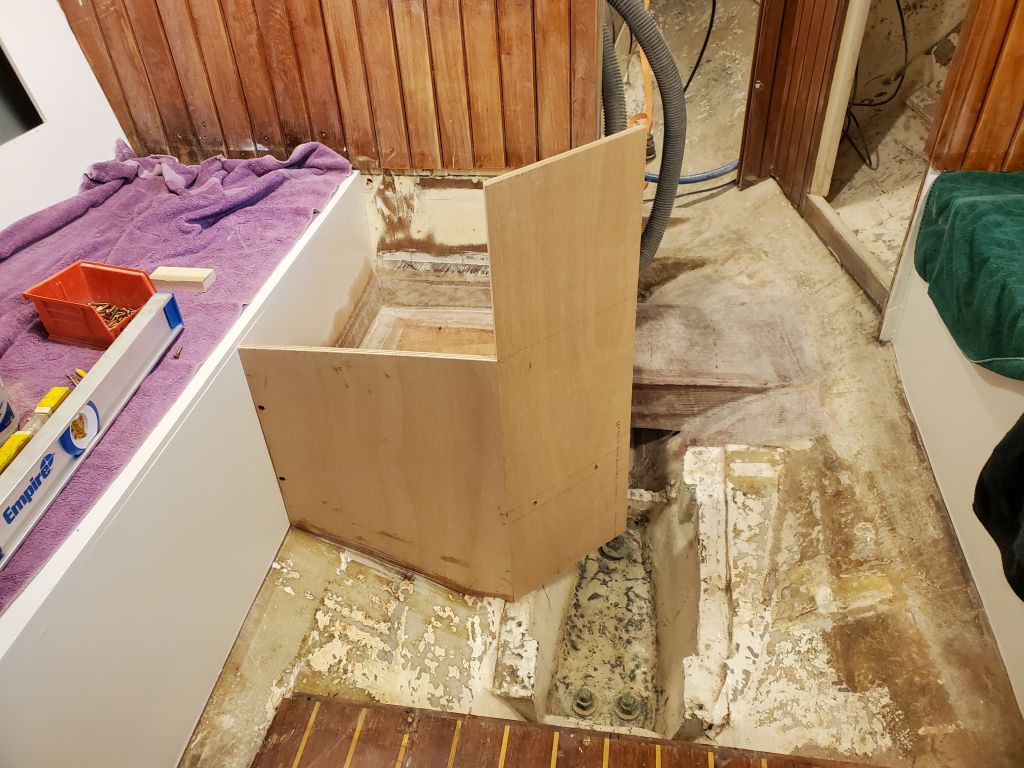
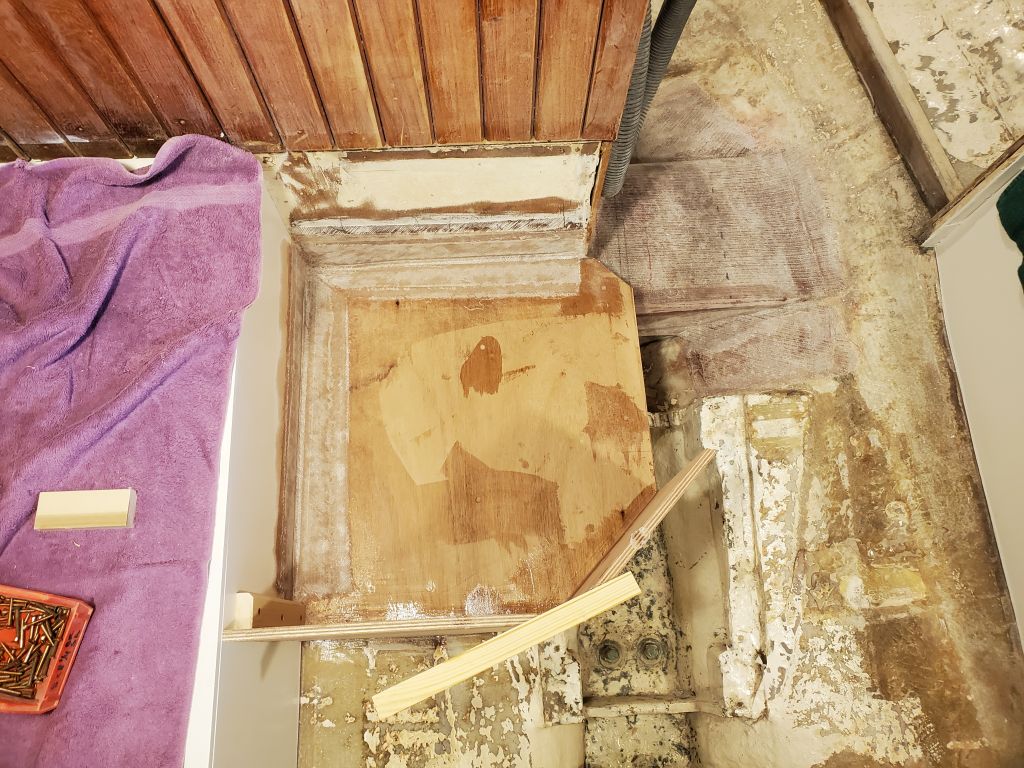
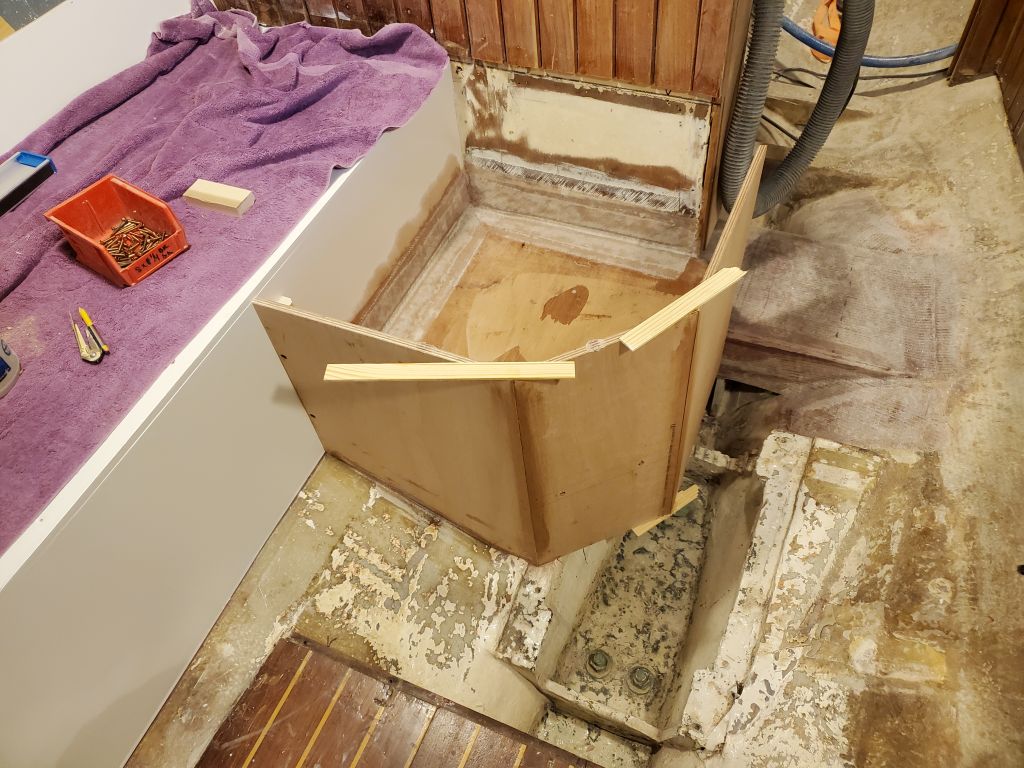
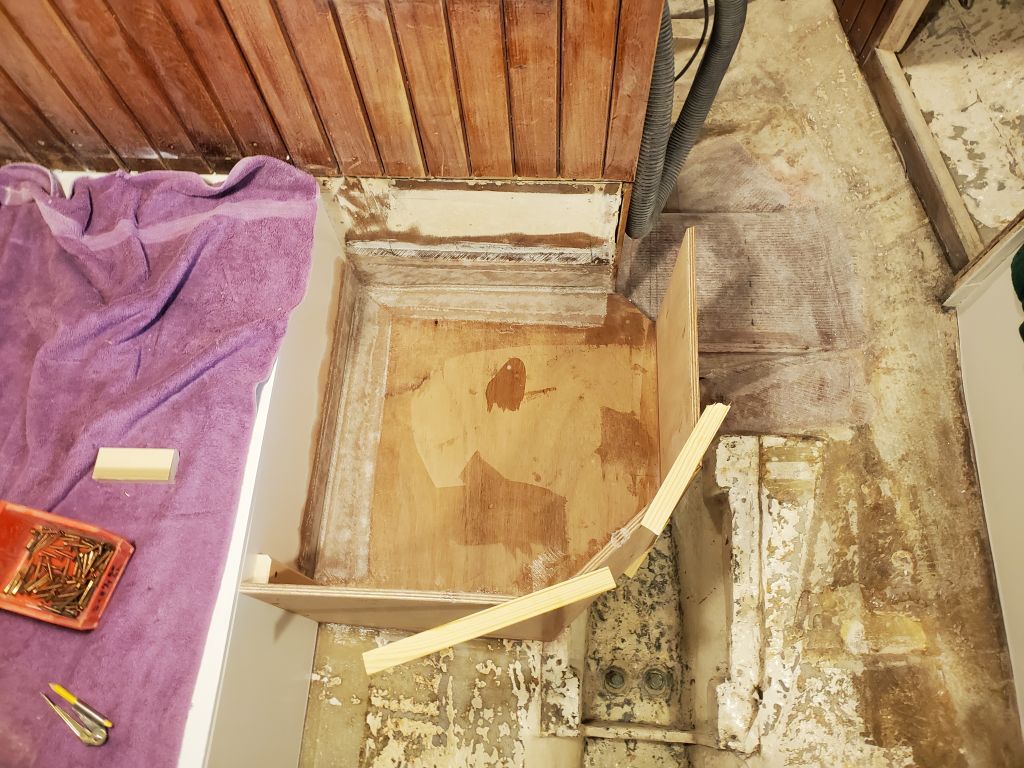
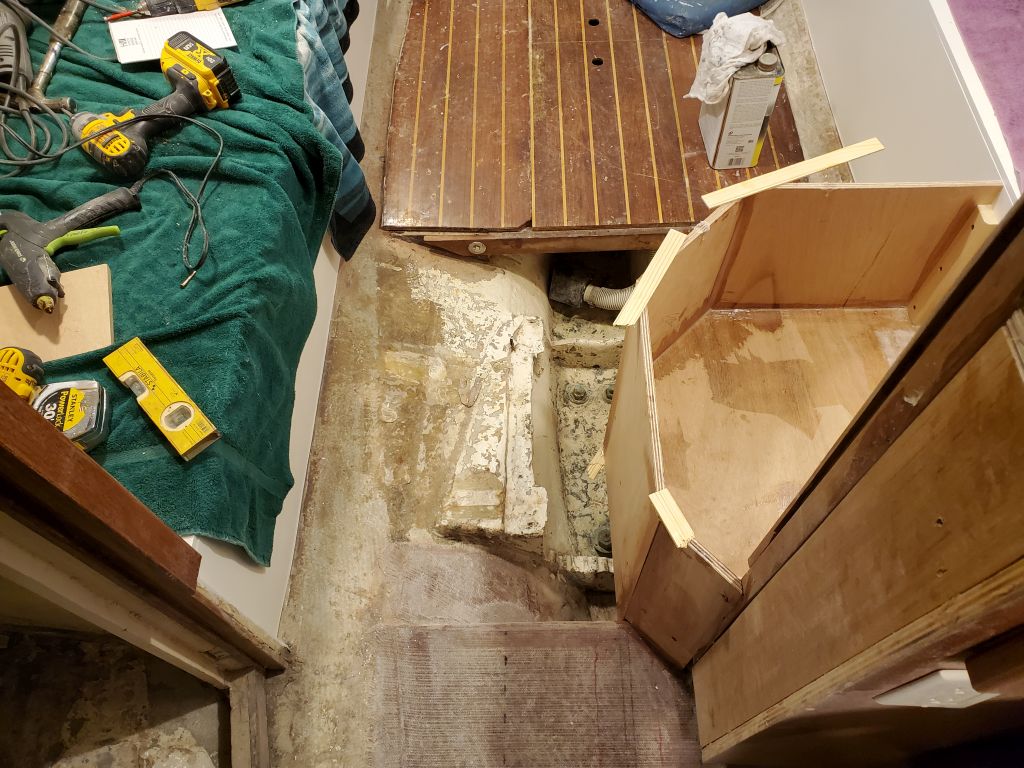
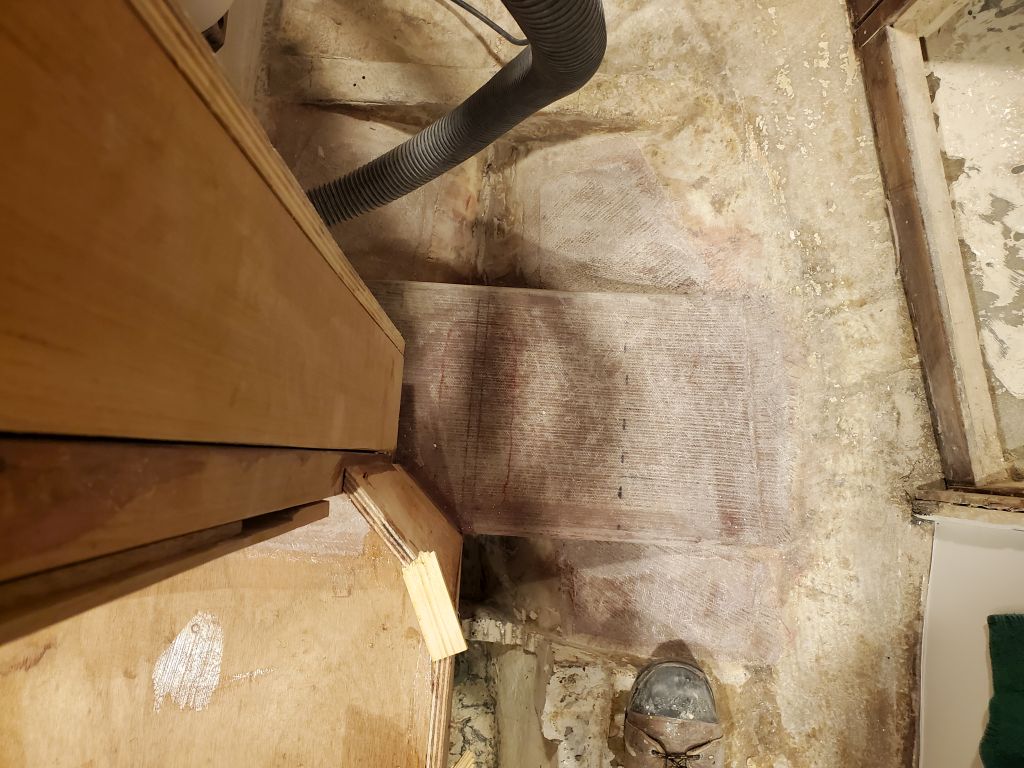
The remnants of an old engine foundation provided a natural place for the support to rest, and it took little time to cut a trapezoidal piece of 12mm plywood to a friction fit, after which I installed it with epoxy adhesive and tabbing. The nature of the old foundation was rough, uneven, and terrible, and the contours even under better circumstances would have made tabbing there a challenge, so since all I needed to do was hold the support in place, I didn’t worry about tabbing the base, relying on the adhesive alone, and saw no reason to go crazy trying to make the area acceptable for tabbing given the requirements. I tabbed the top to the underside of the platform to secure it, however.
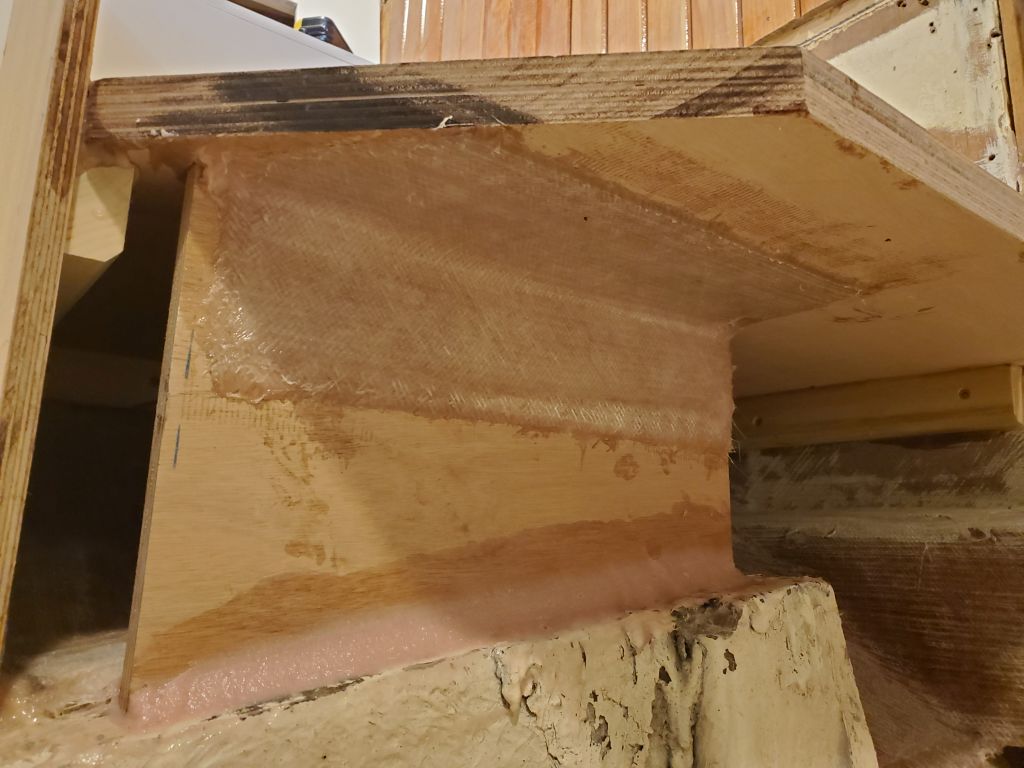
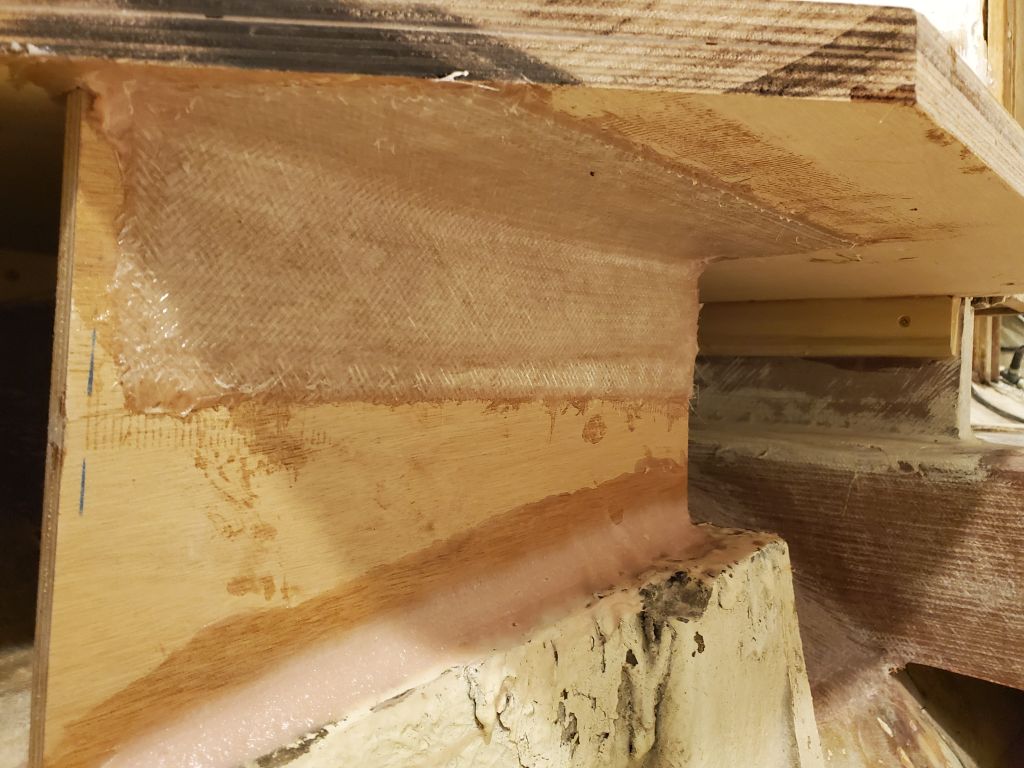
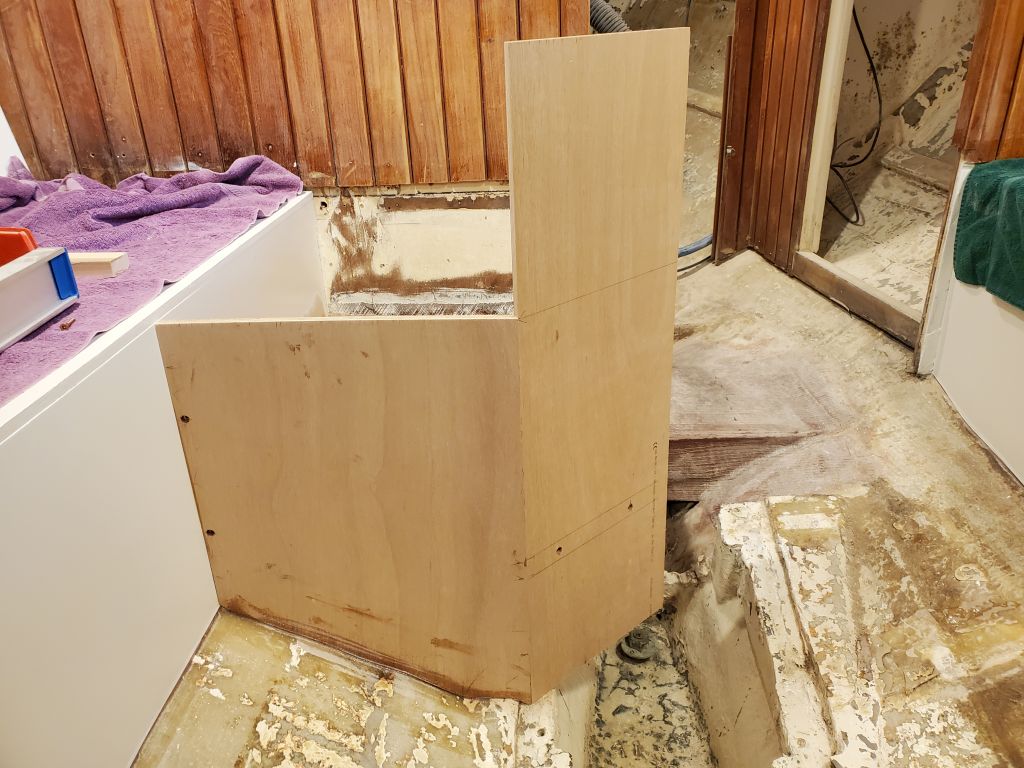
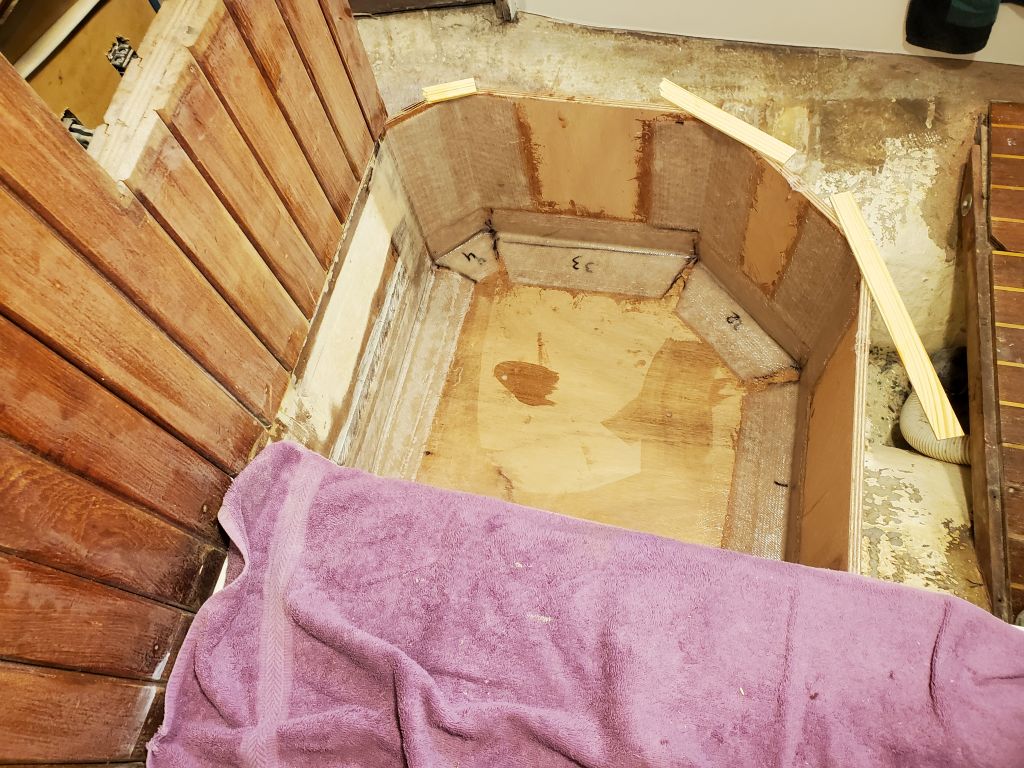
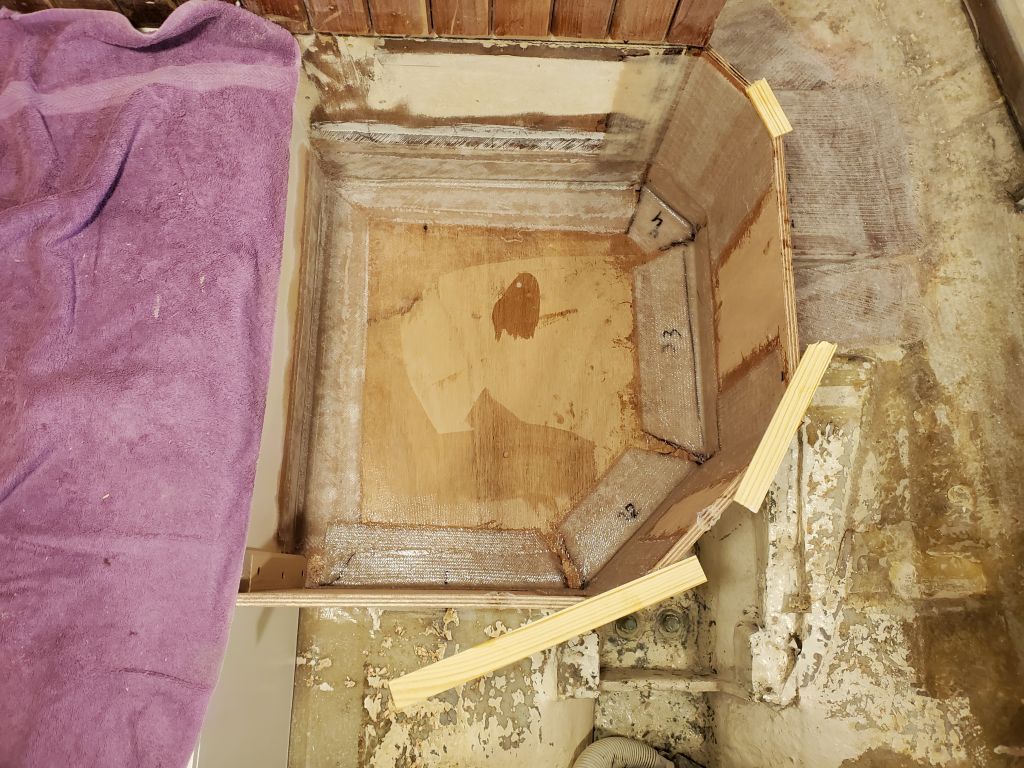
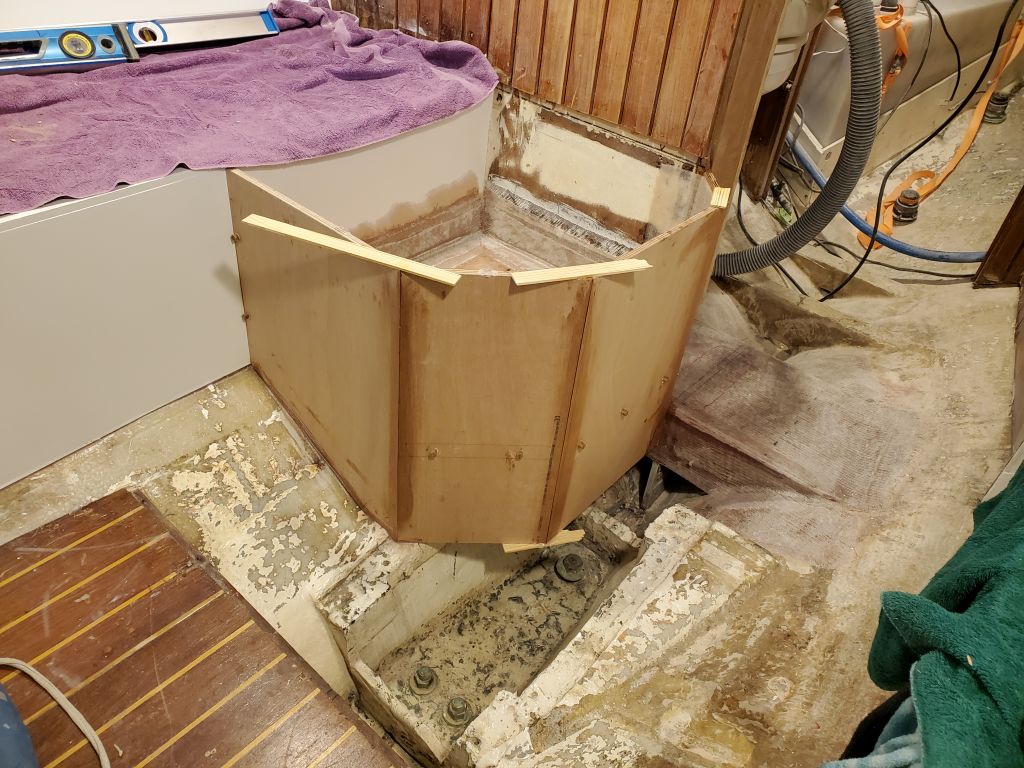
Afterwards, I continued building the remainder of the enclosure above, fitting and installing the three additional facets of the enclosure. I let these all hang down even with the level of the bottom part of the first piece, which would give a landing point for the cabin sole supports later. I secured each section with epoxy adhesive wherever possible, e.g. along the angled seams with the previous section, and where the panels met the 1″ thick edge of the platform itself. I used screws into the platform edge and little glue blocks as needed to hold the pieces in proper position and alignment. The final section, where I’d clipped the corner to avoid the mast step, met the inboard edge of the main bulkhead at a 45 degree angle to close off the box.
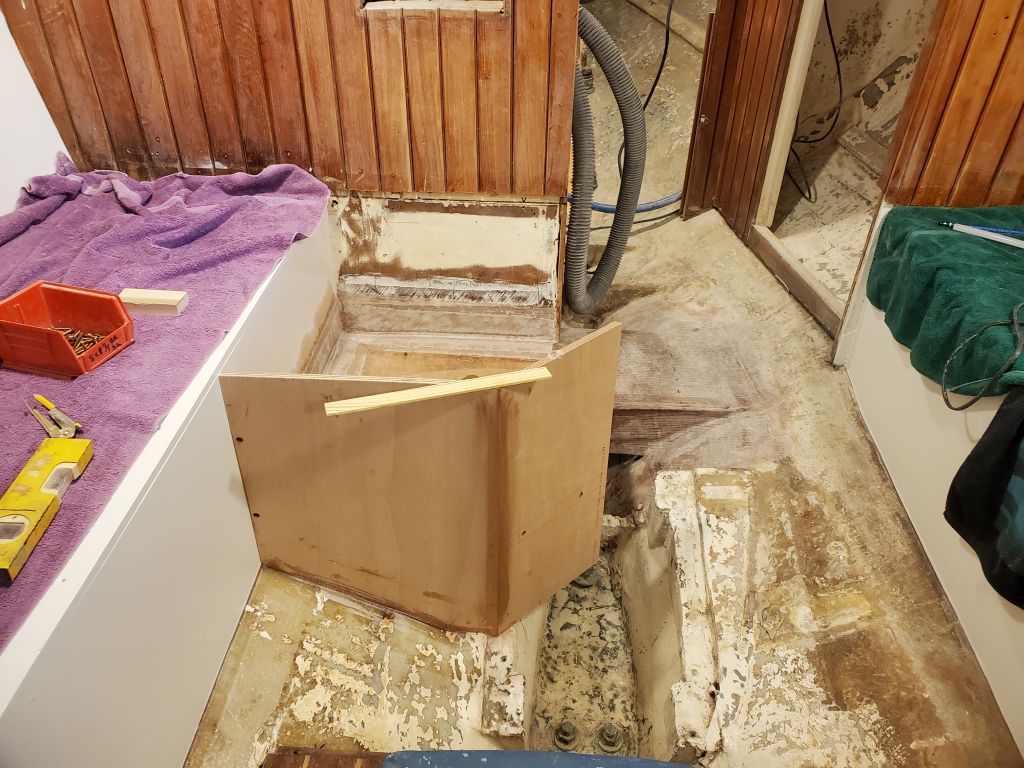
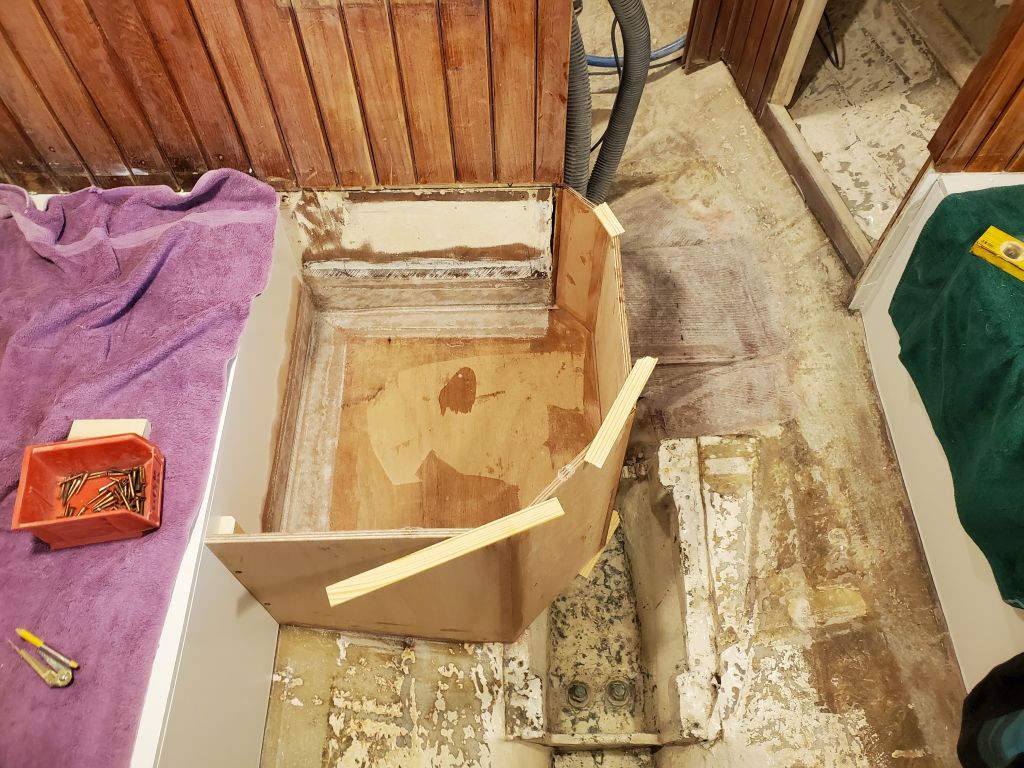
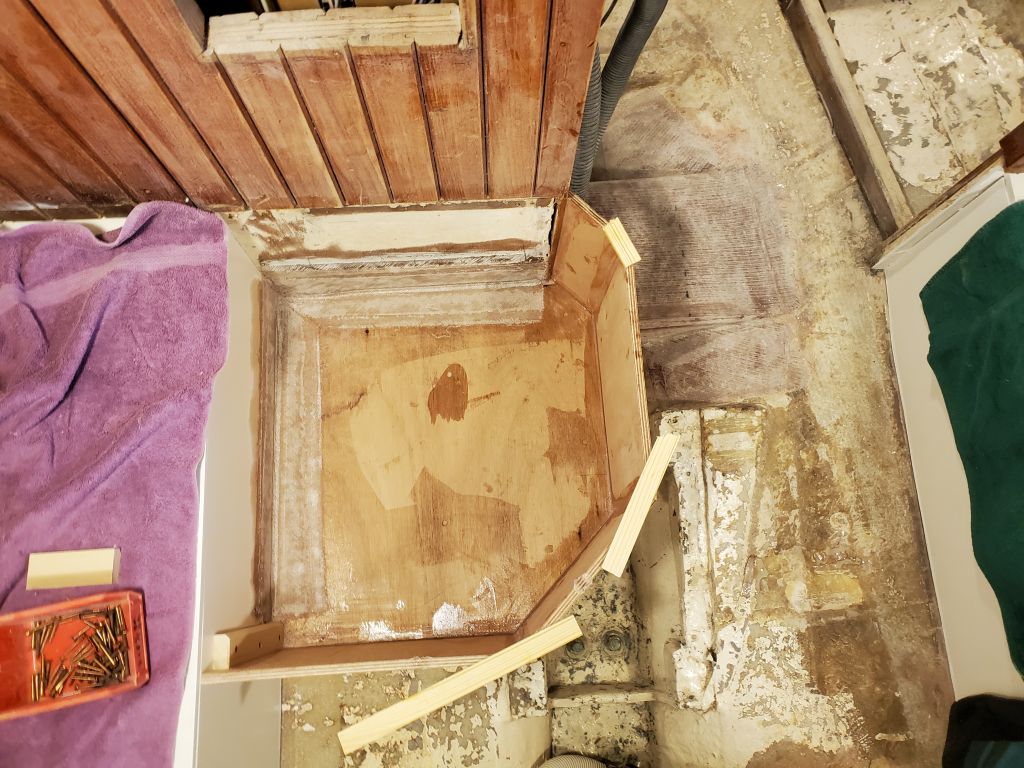
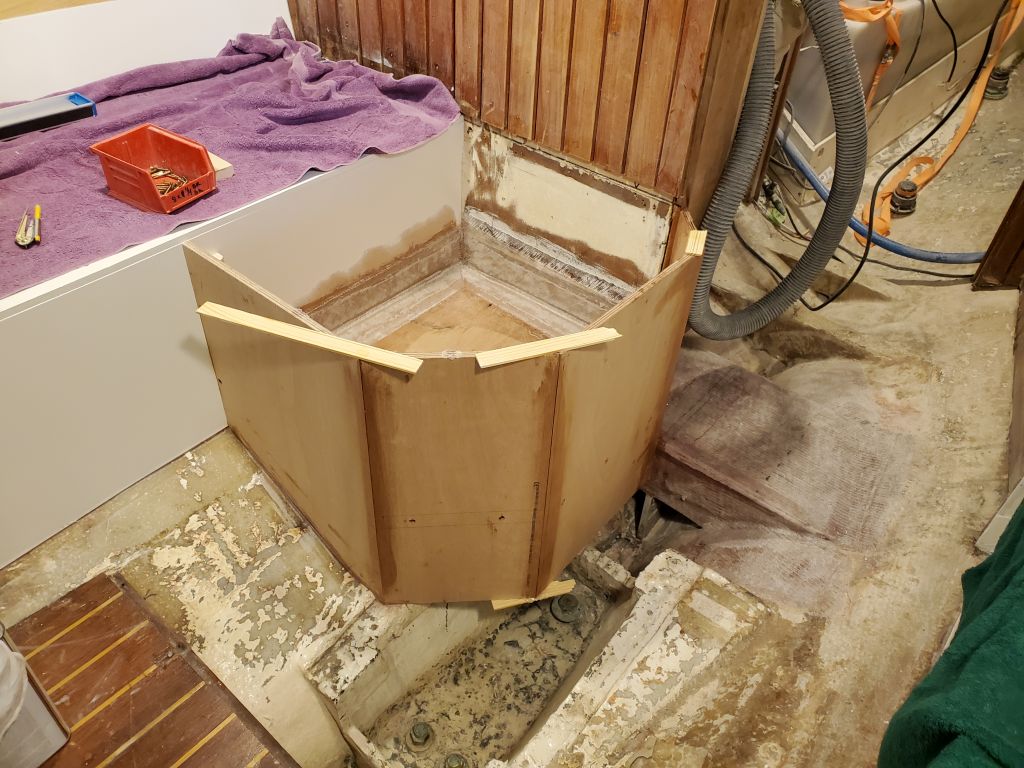
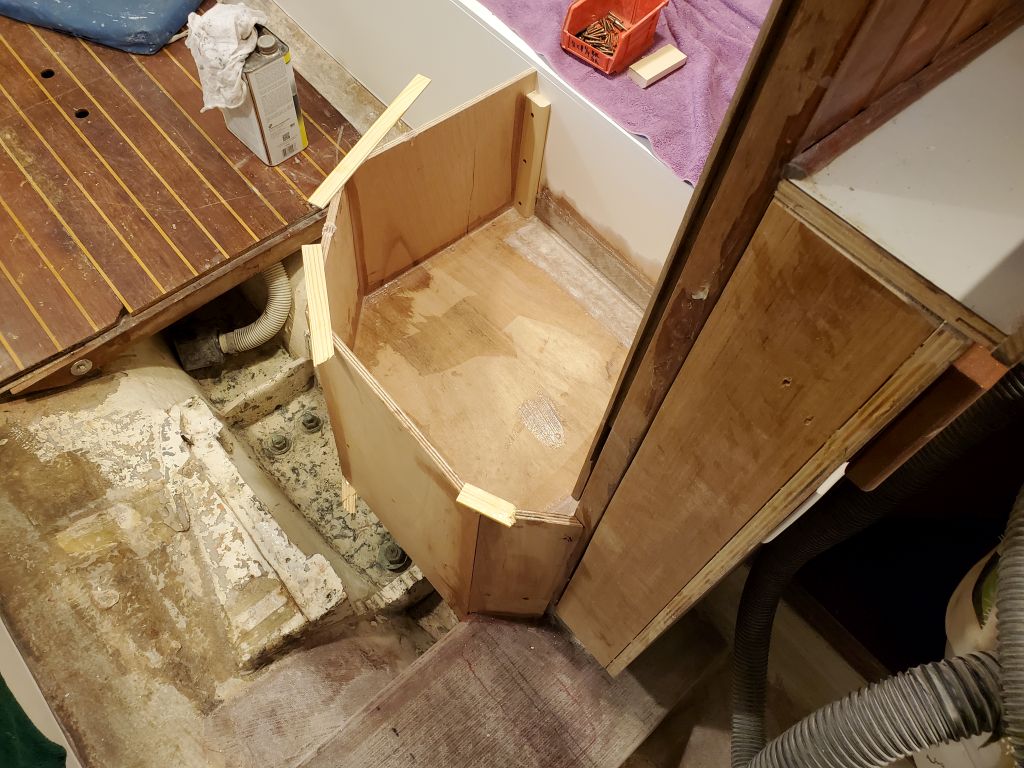
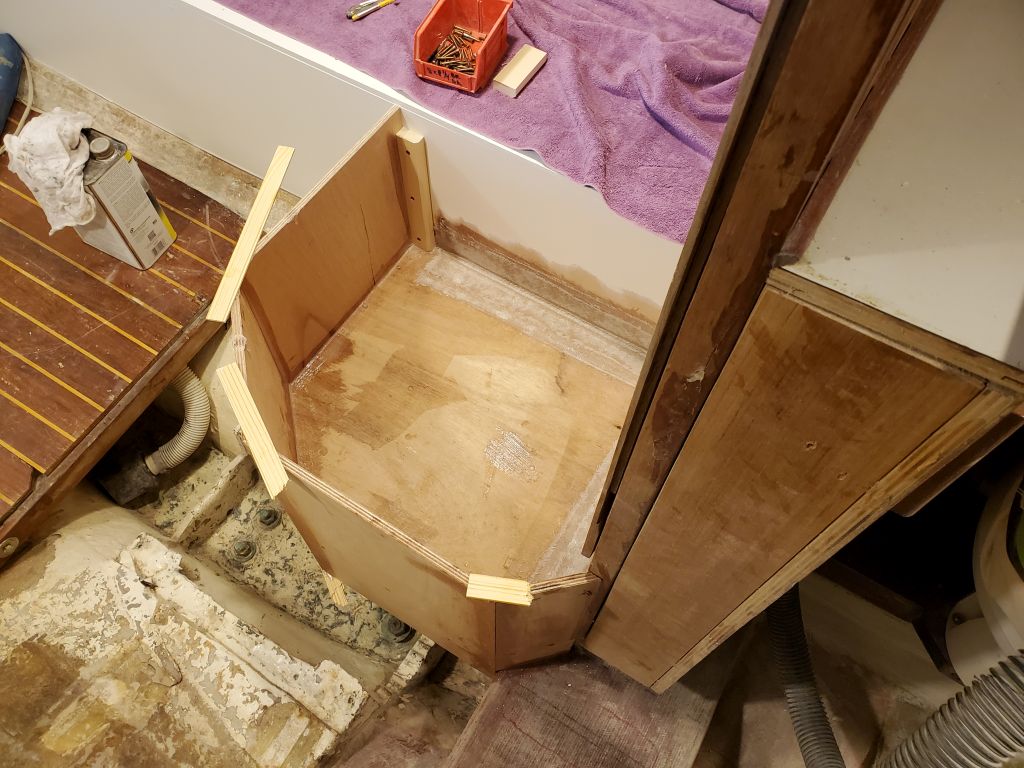
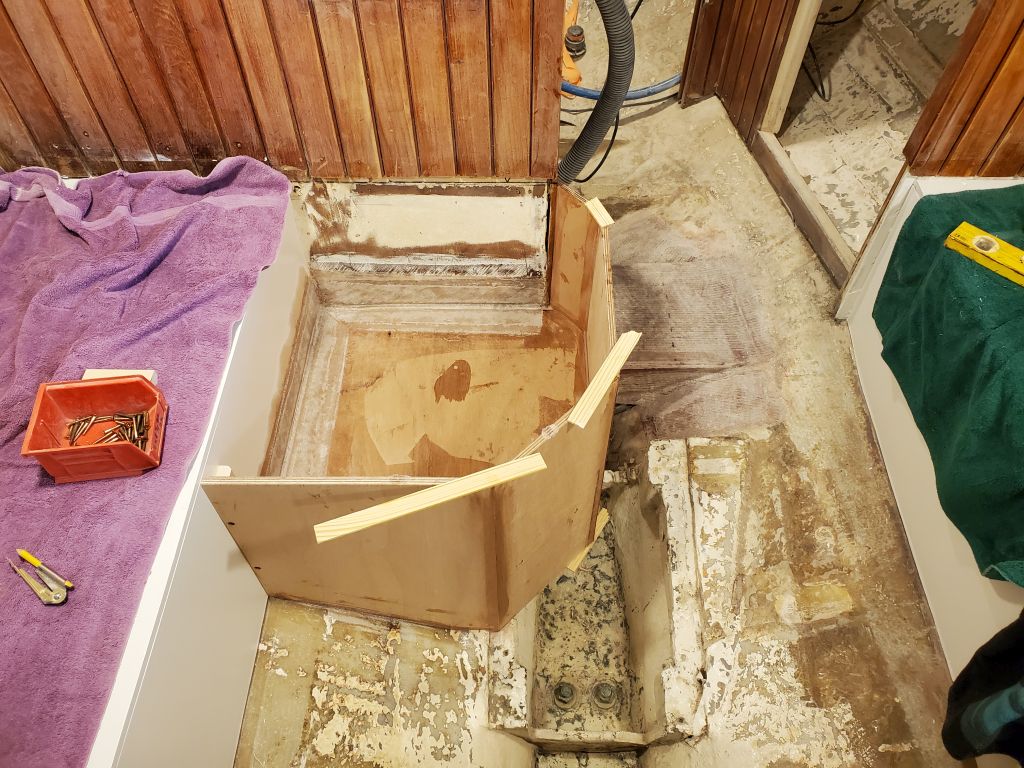
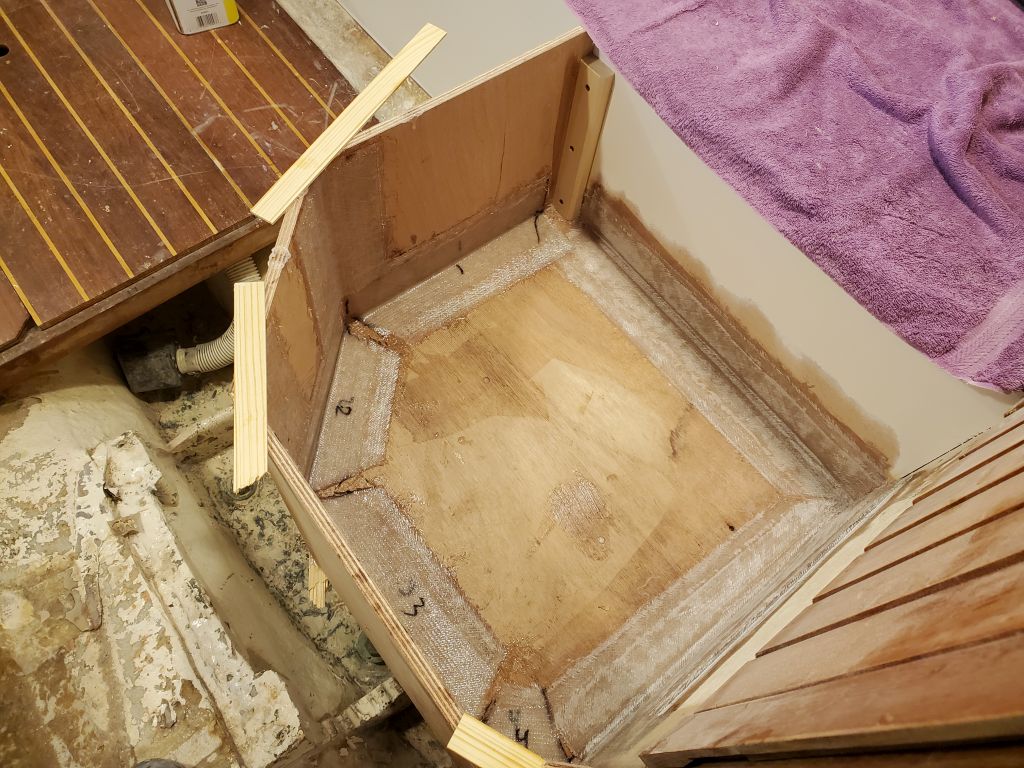
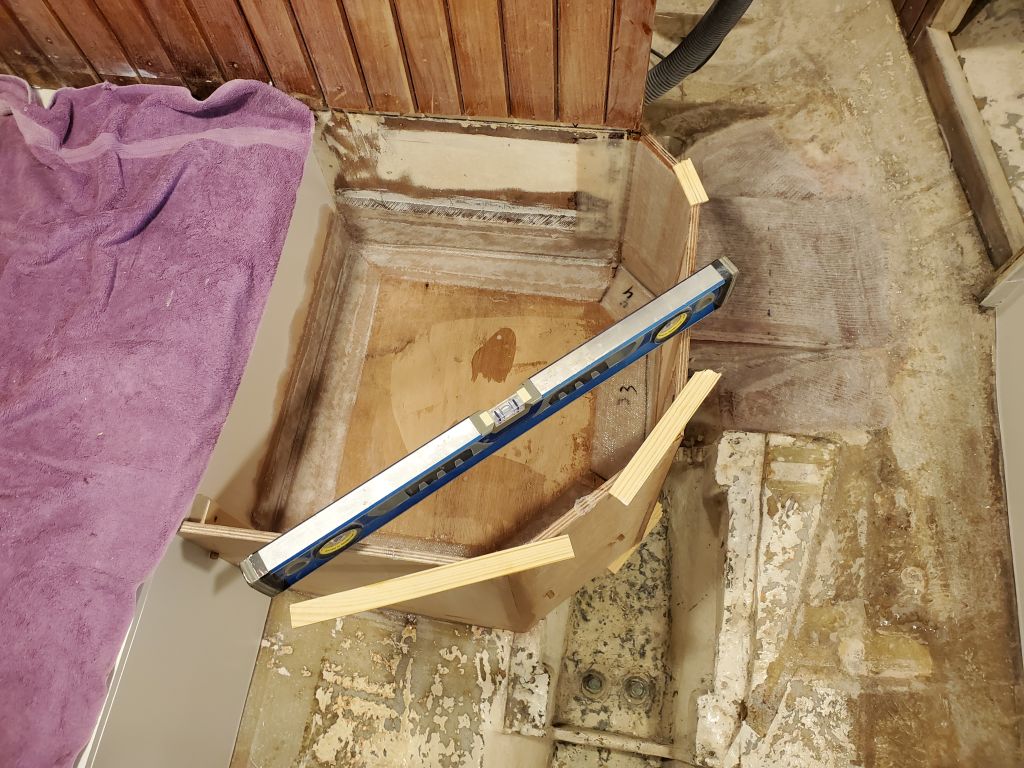
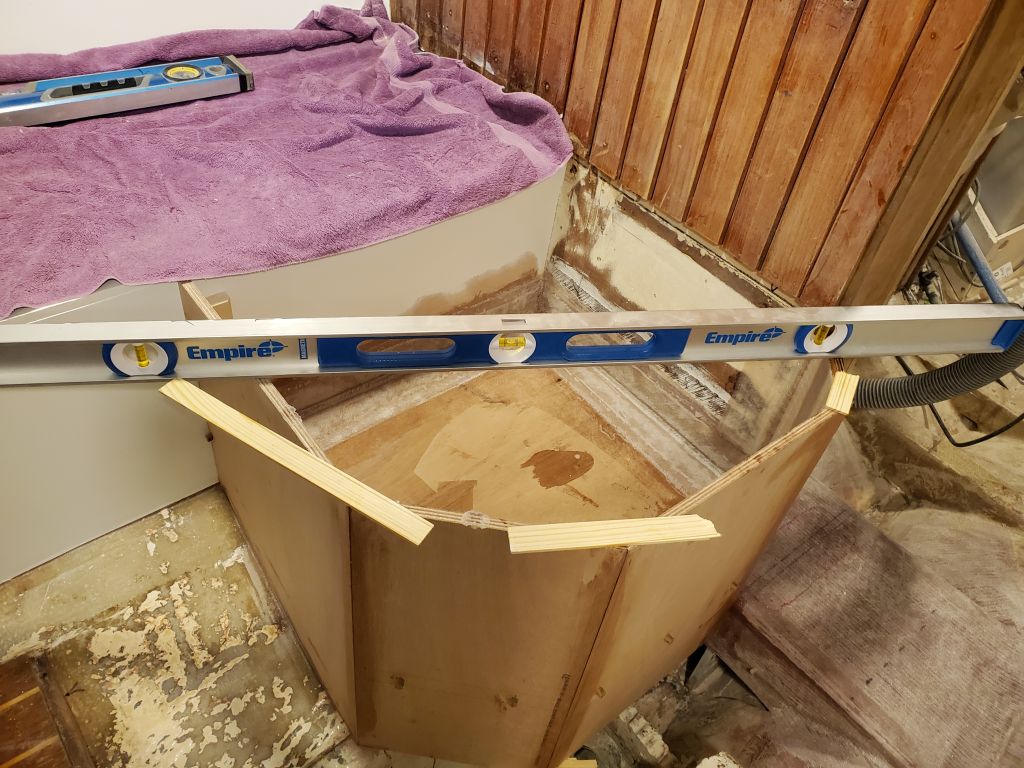
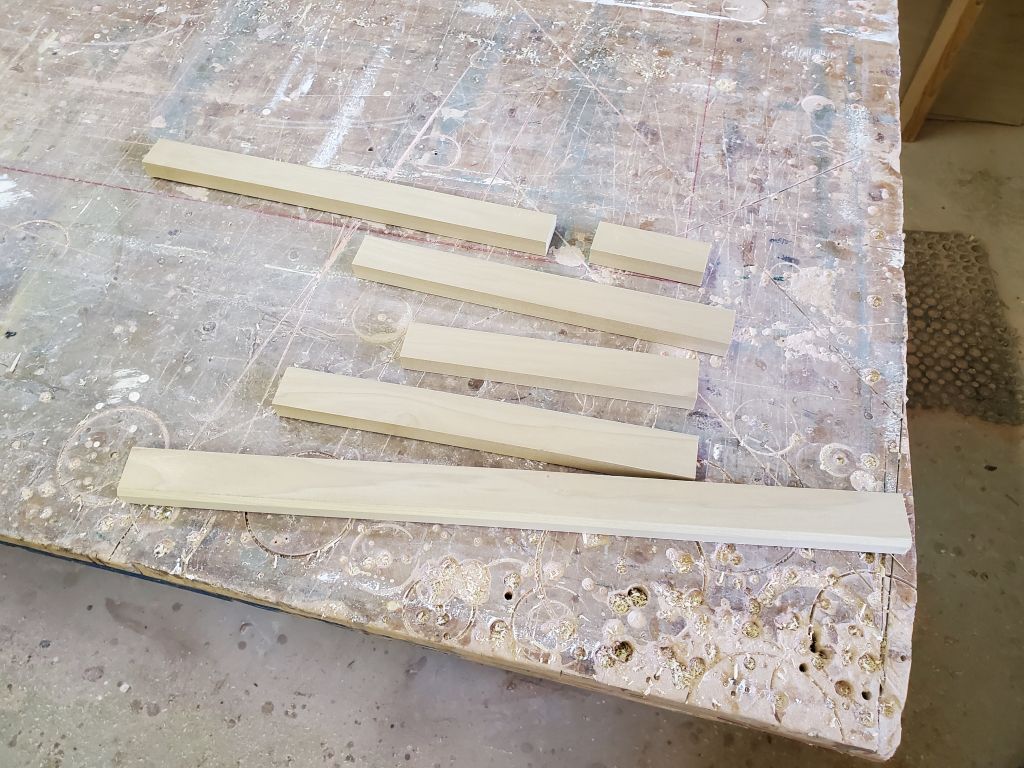
Next, I cut two layers of tabbing to secure the sides to the platform, much as I’d done with the two sides adjacent to the main bulkhead and port settee earlier, and added a single layer of tabbing at each of the vertical seams to tie everything together with great strength. Then, preparing for next time, I measured all the sides and cut pieces of cleat stock to fit so they’d be ready for installation once the enclosure was cured.


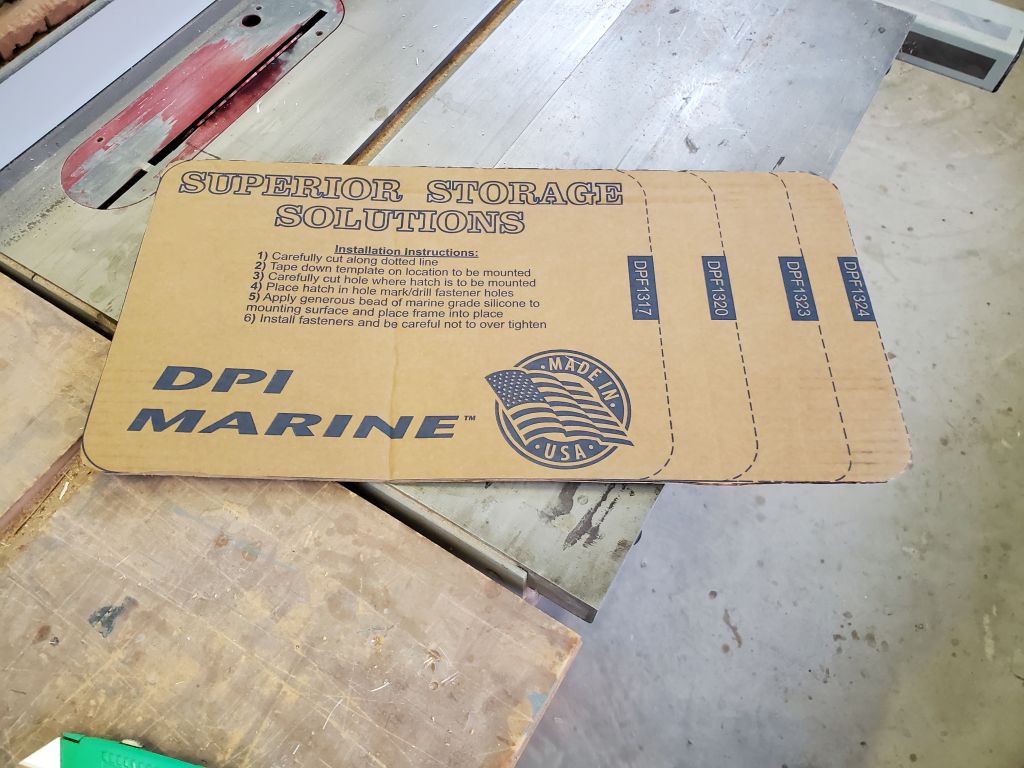
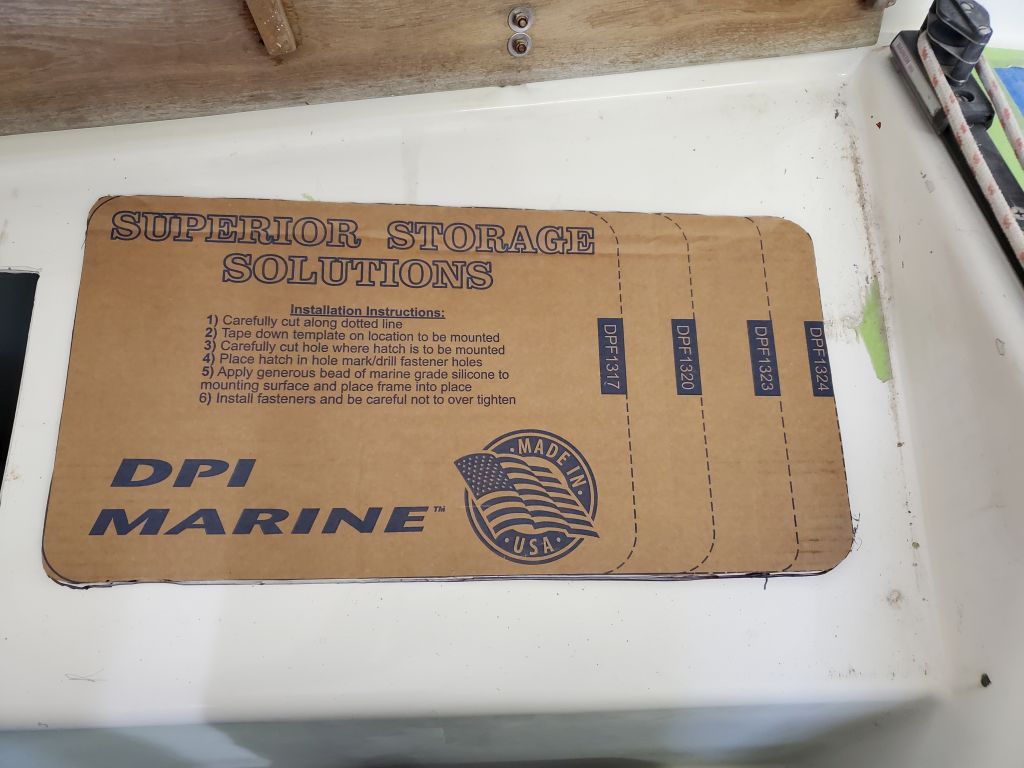
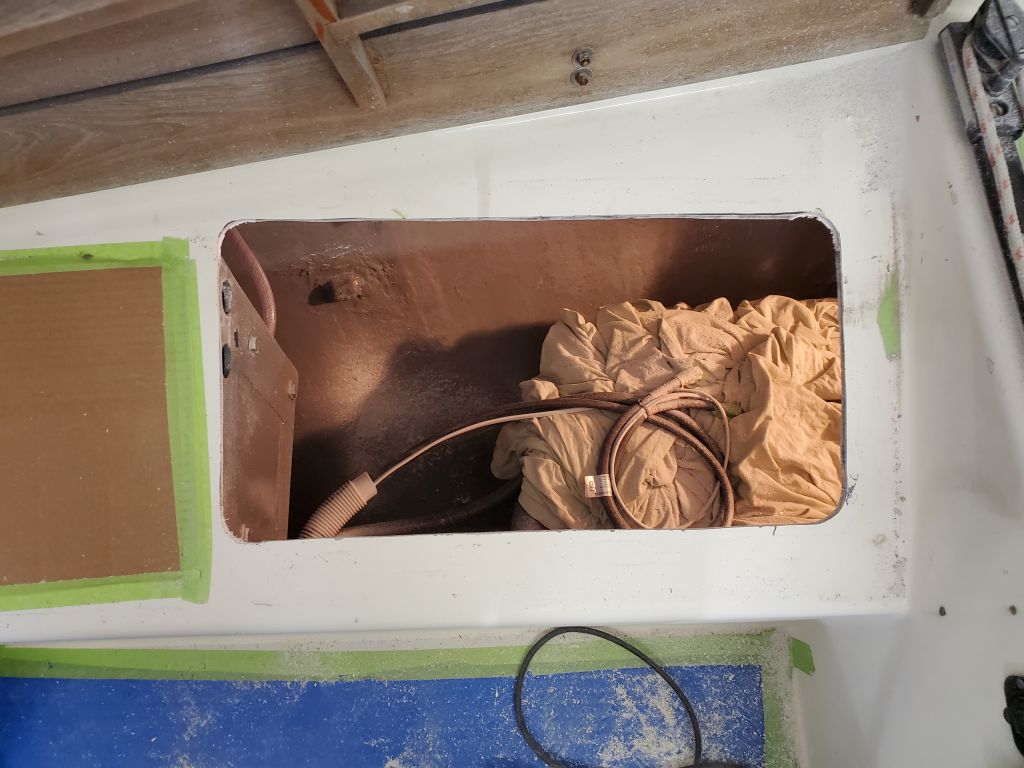
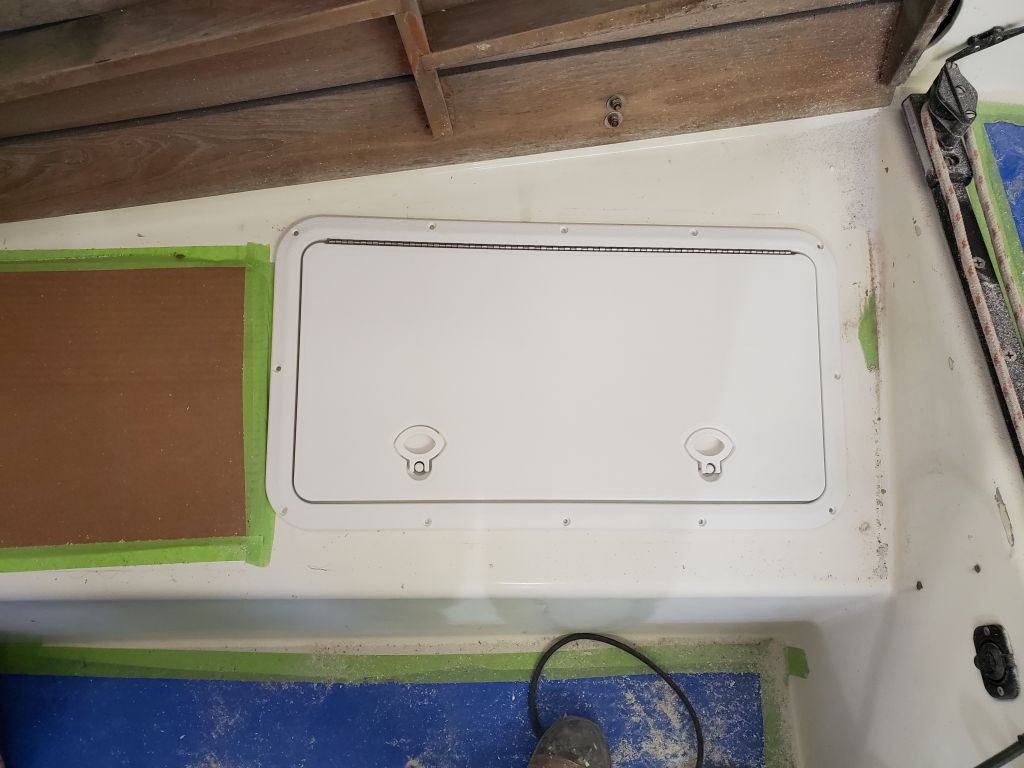
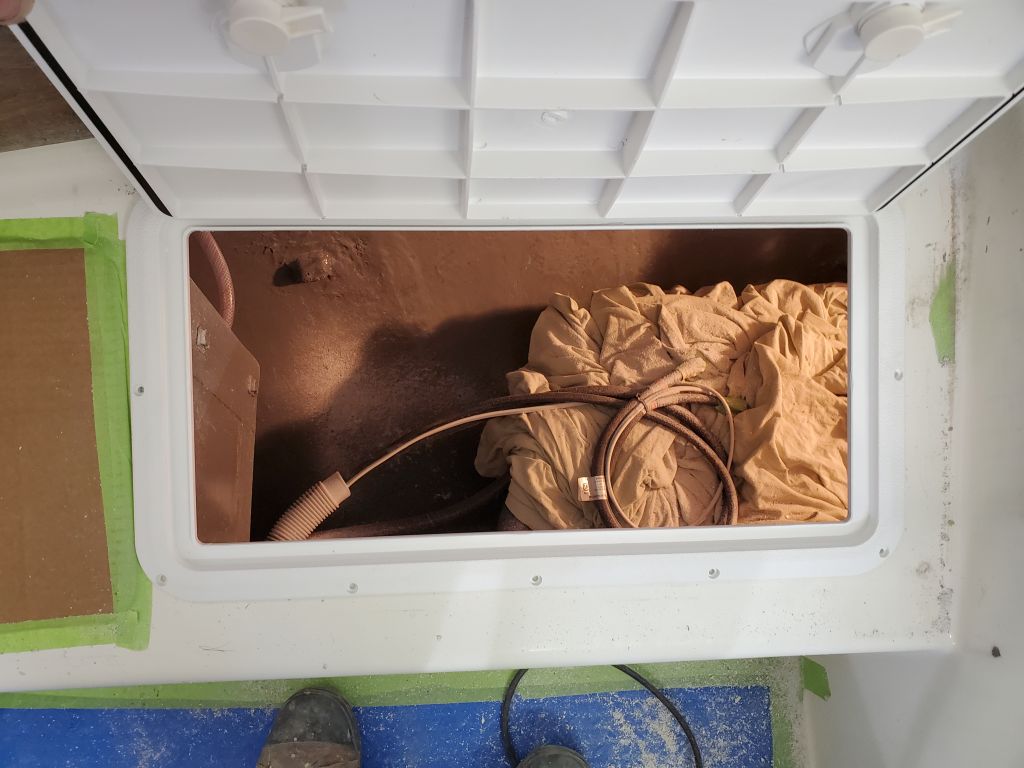
With the time left in the way, I worked on the new cockpit access hatch, to be located forward of the propane box on the port side. The shipping box provided a cutout template on the side, which I carefully cut out and then used to lay out the hatch’s position on the cockpit seat after first making a couple reference marks off the hatch itself to determine its best alignment, specifically so the forward support from the hinged wooden lid would miss the forward end of the hatch.
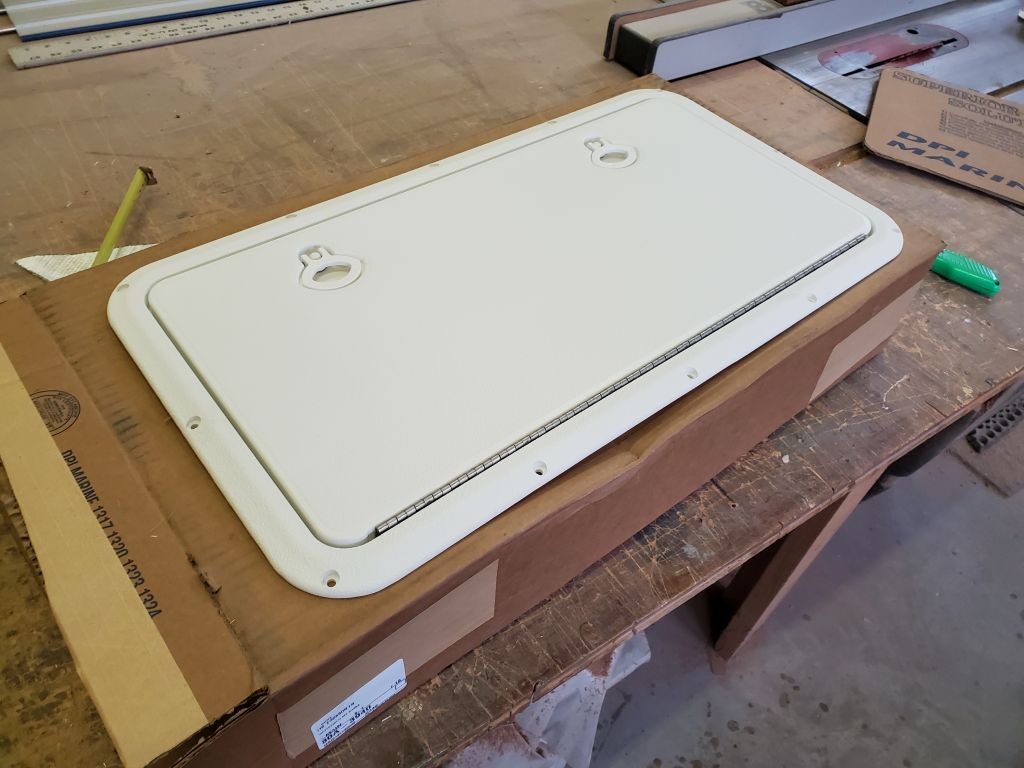
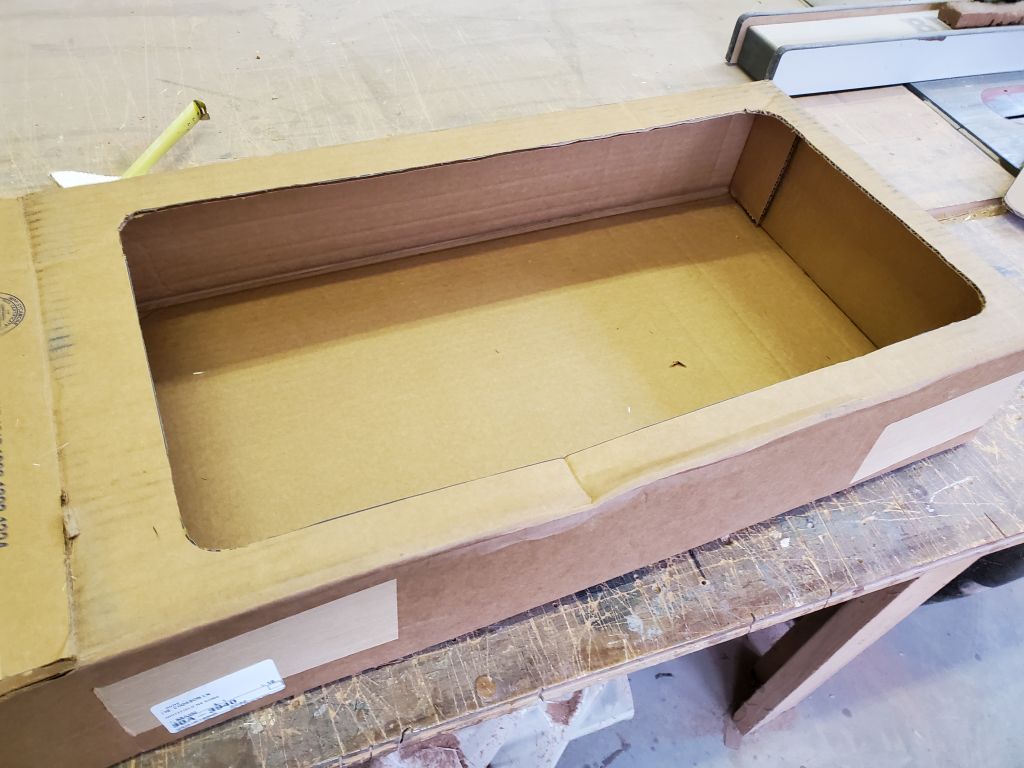
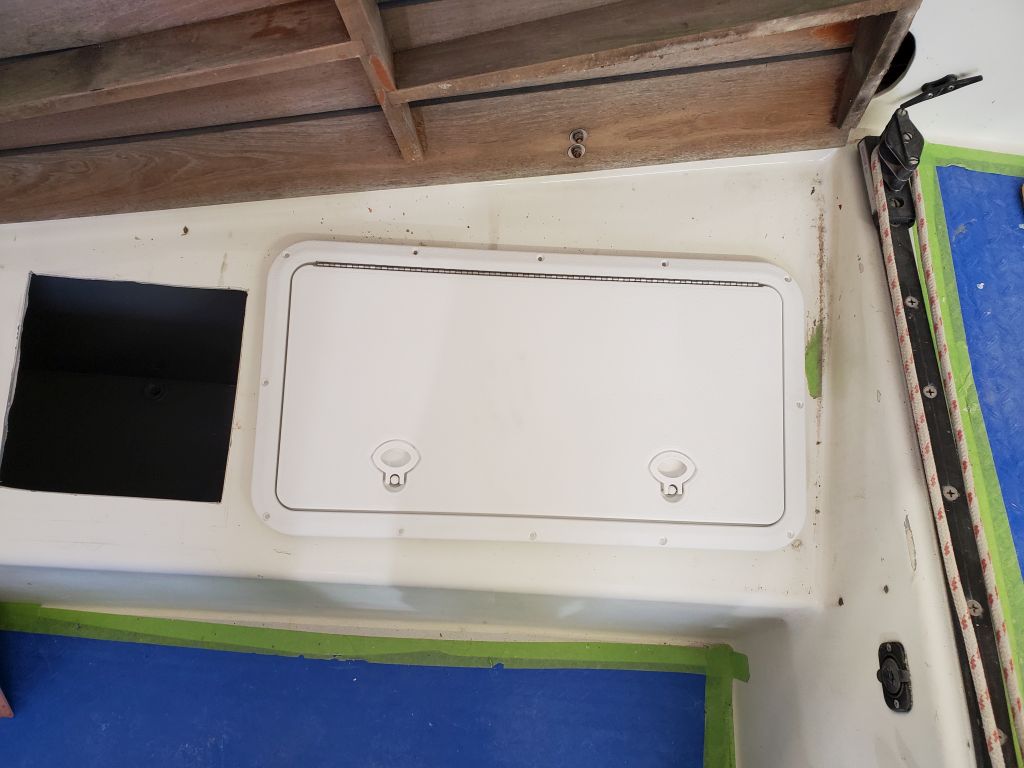
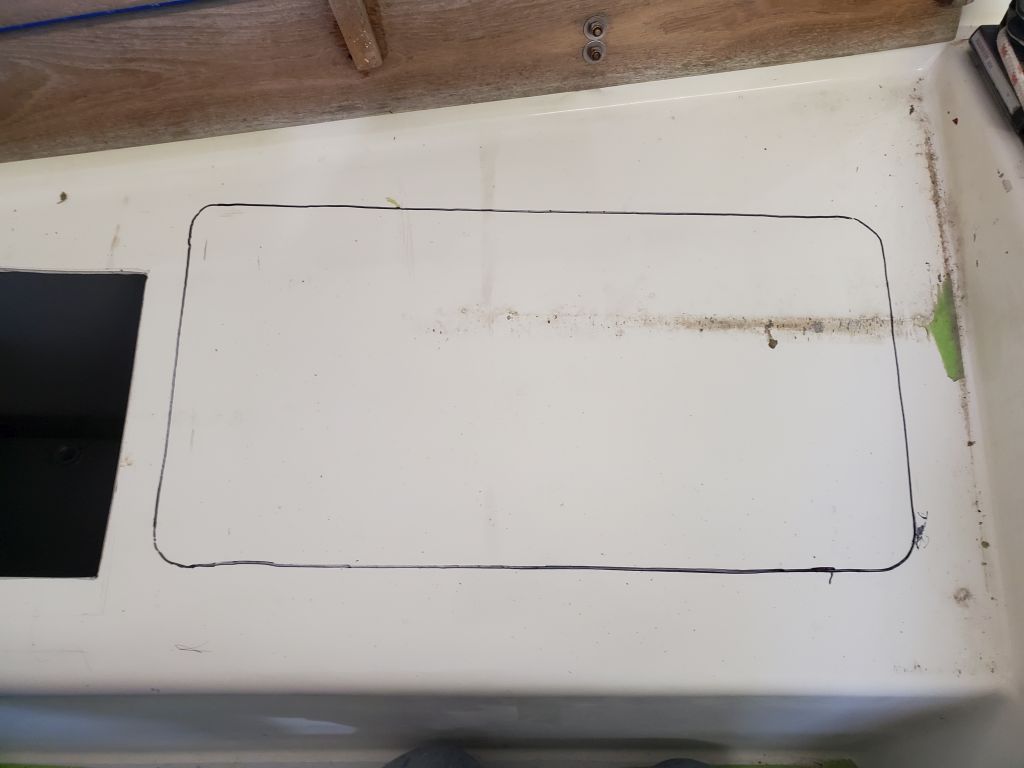
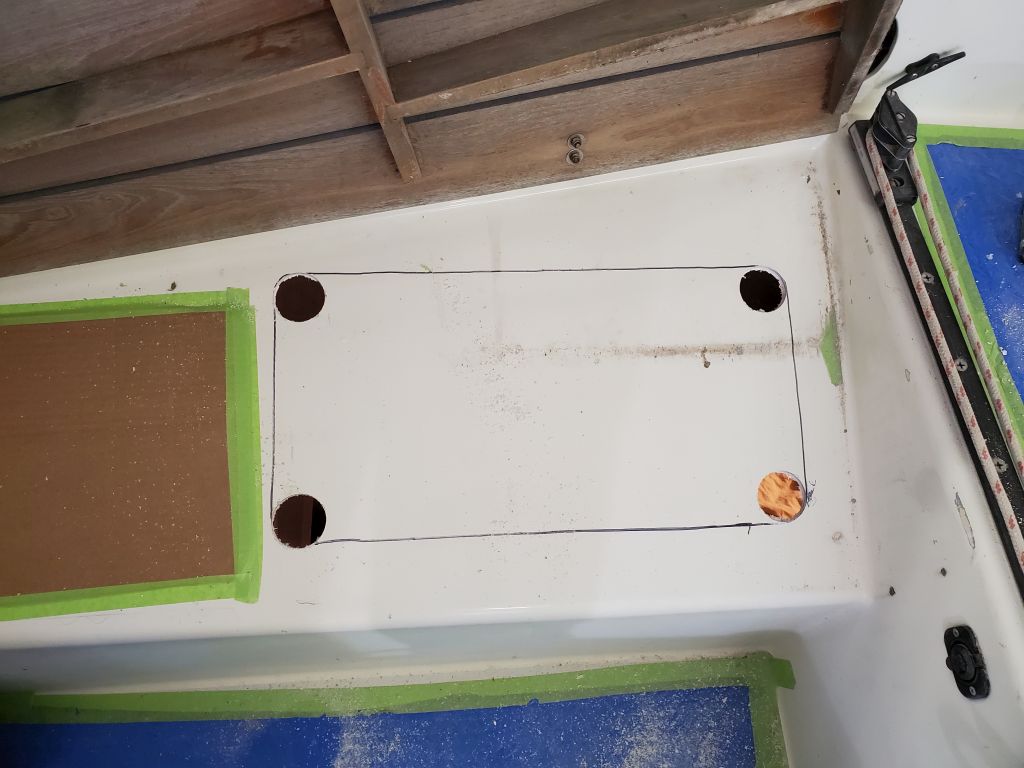
With the position determined and the template marked, I cut out the opening and dry-fit the hatch. I held off on final installation for now because I had to first make some modifications to the hinged seat so the supports could clear the hatch, as well as the hatch for the propane locker. There wasn’t enough time left in the day for this now, but I’d be continuing work as time allowed between some of the larger ongoing projects over the remainder of the week.
Total time billed on this job today: 6.5 hours
0600 Weather Observation: 35°, overcast. Forecast for the day: Showers, then rain, 45°