


January 15, 2024
Calliope Girl 43
Monday
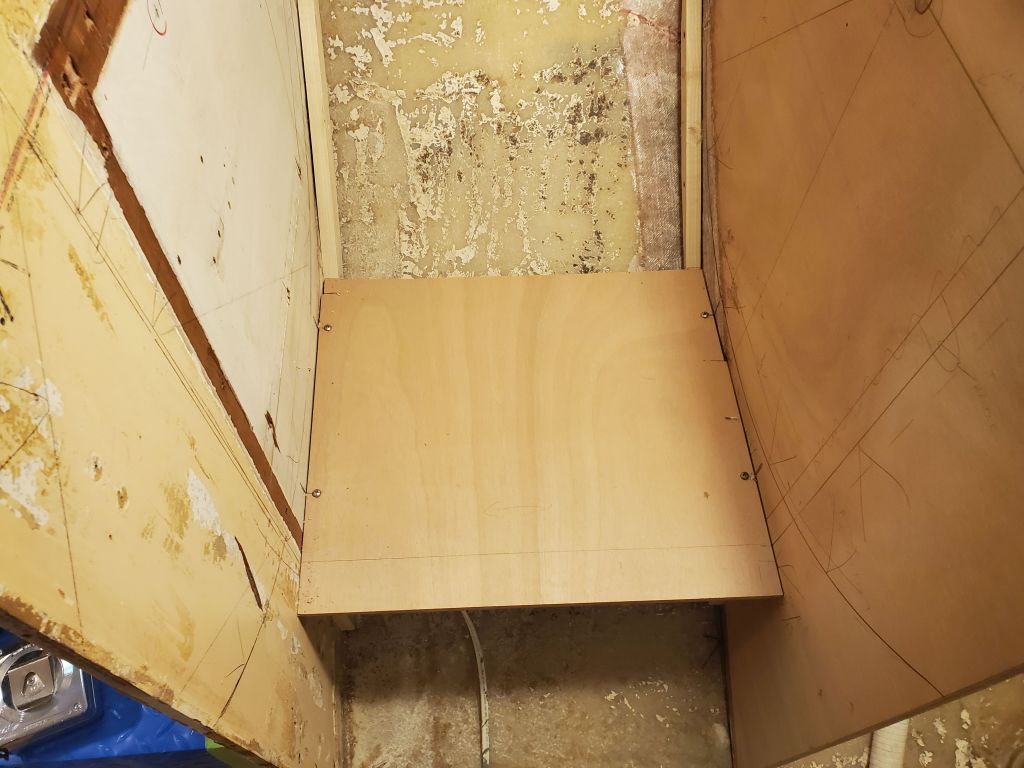
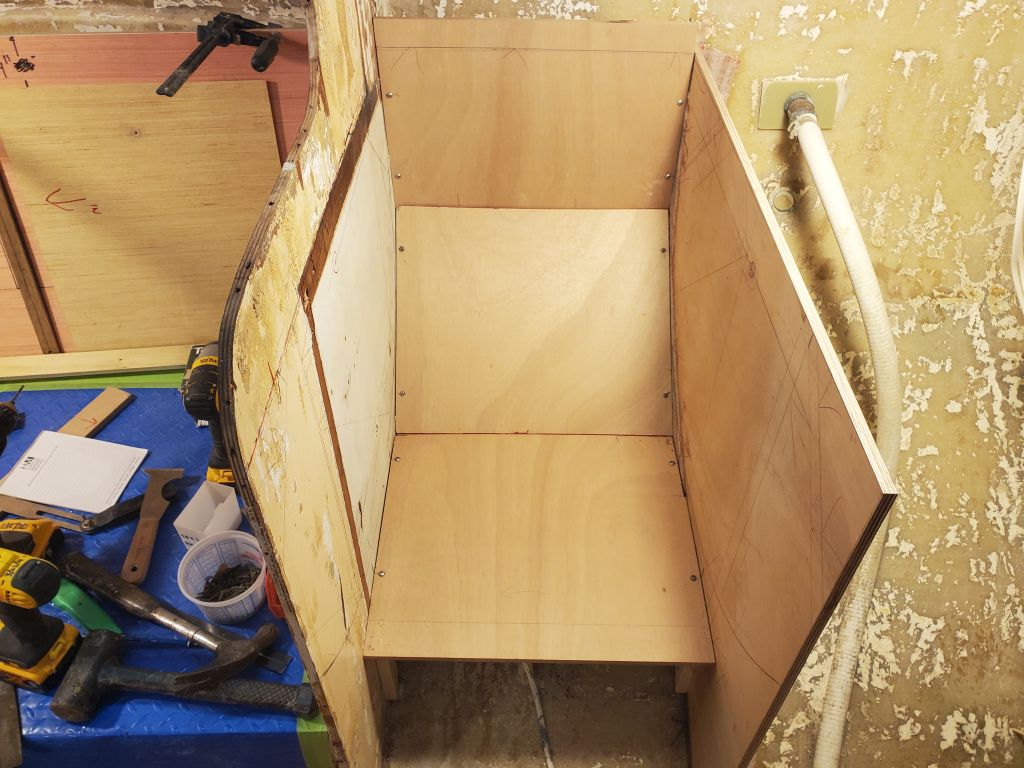
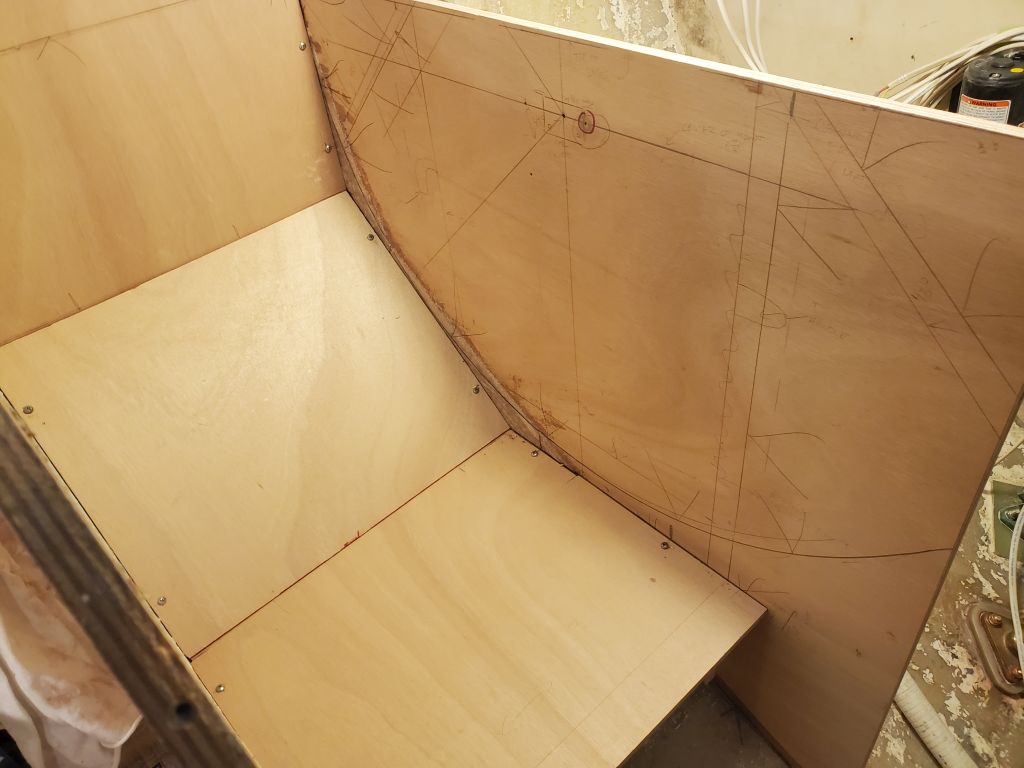
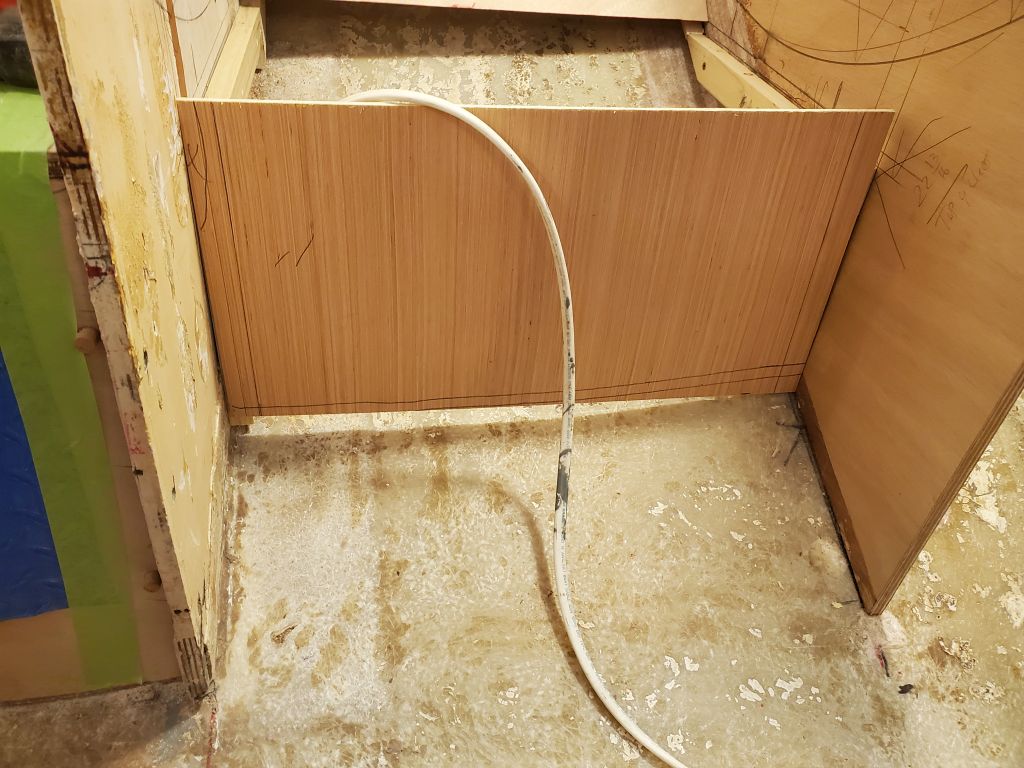
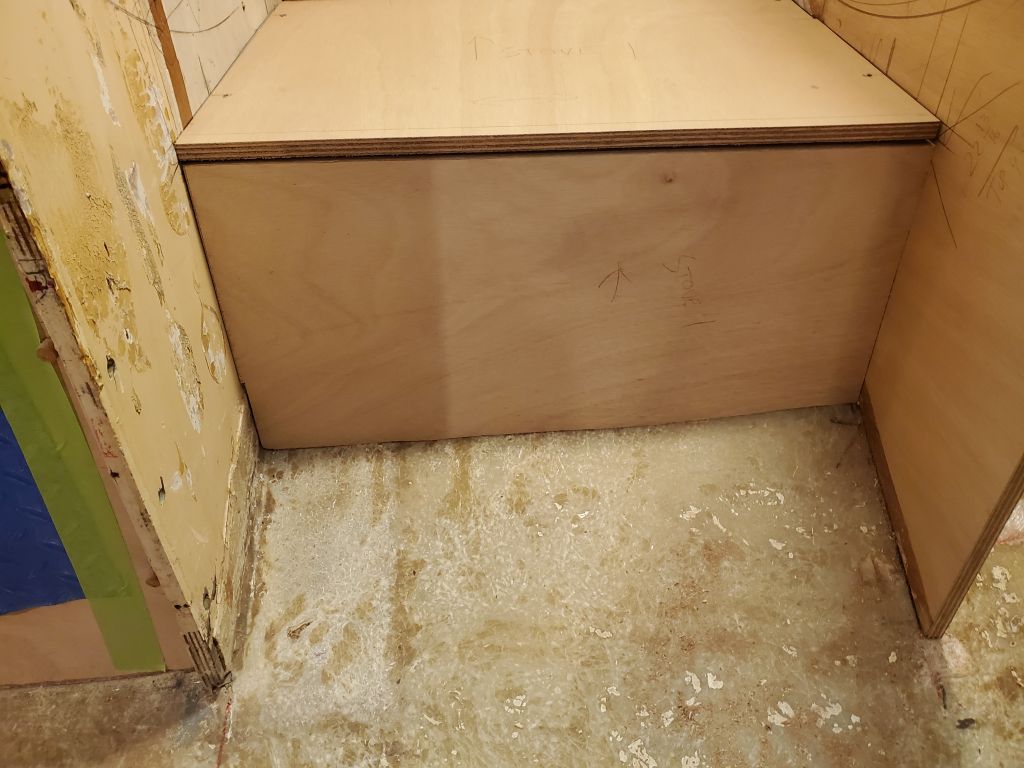
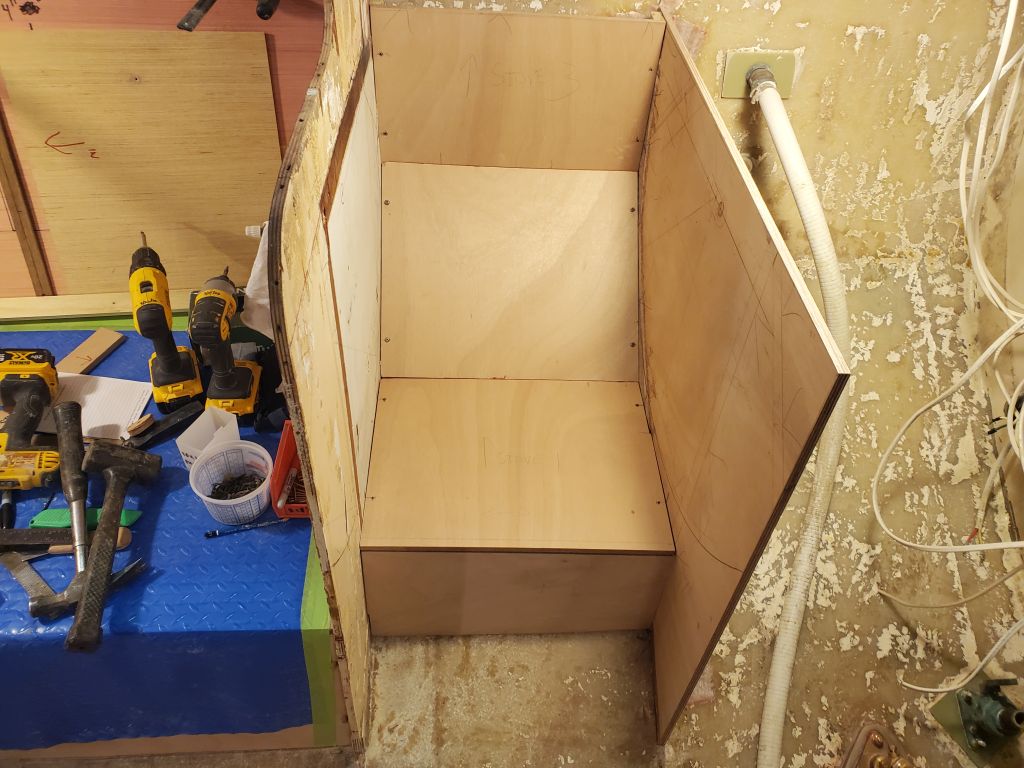
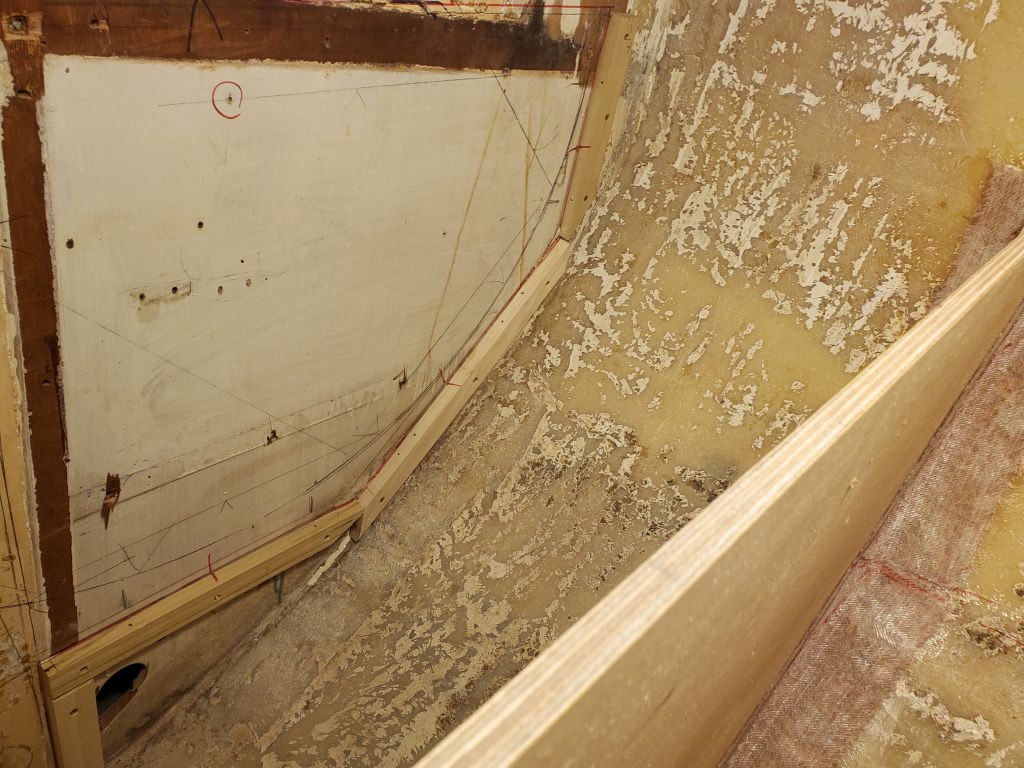
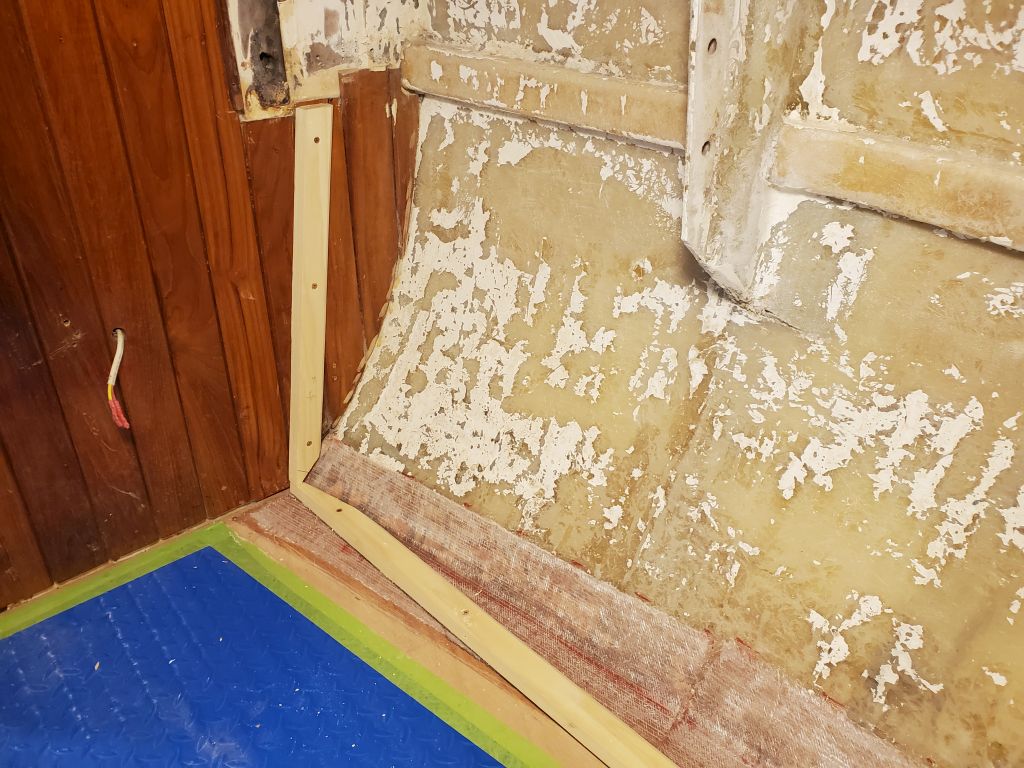
The next step for the stove compartment was to cut and fit the three panels to make up its interior. I began with the base (floor) and the vertical back panel, using basic thin plywood templates to determine the size and shape, then transferring these to the 12mm okoume for the final panels. I left the ends run wild for later trimming flush with the tops of the bulkheads (back panel), and the short vertical front panel (floor) later. I secured the plywood panels with four screws each, which is how they’d ultimately be installed when all was said and done.
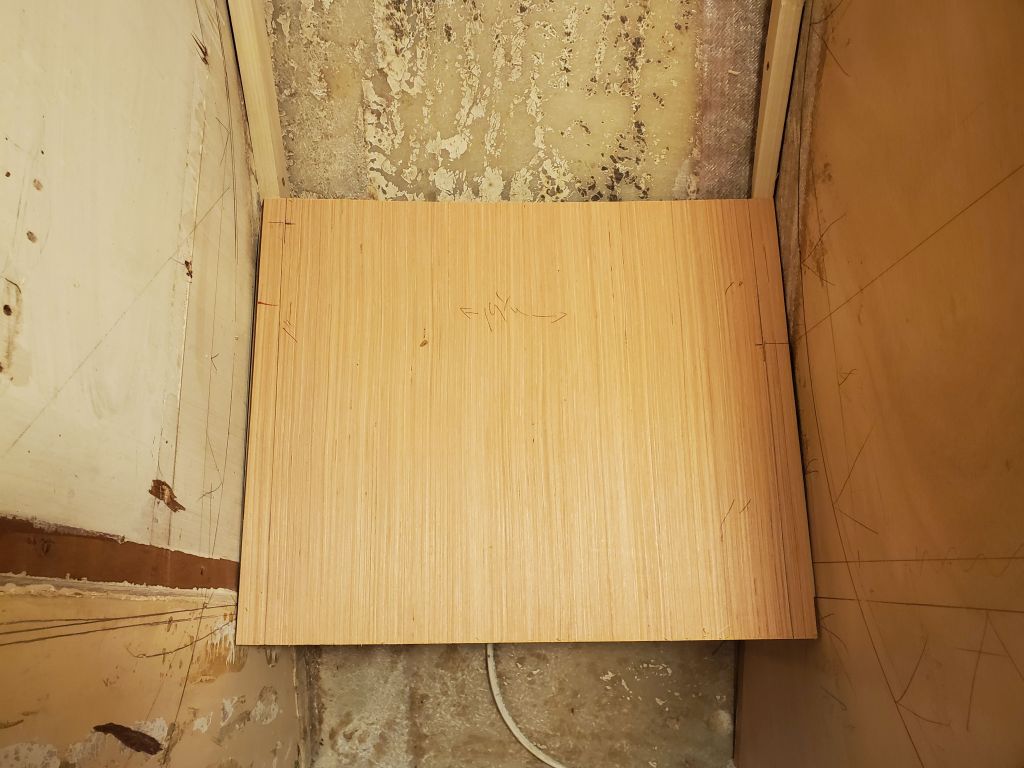

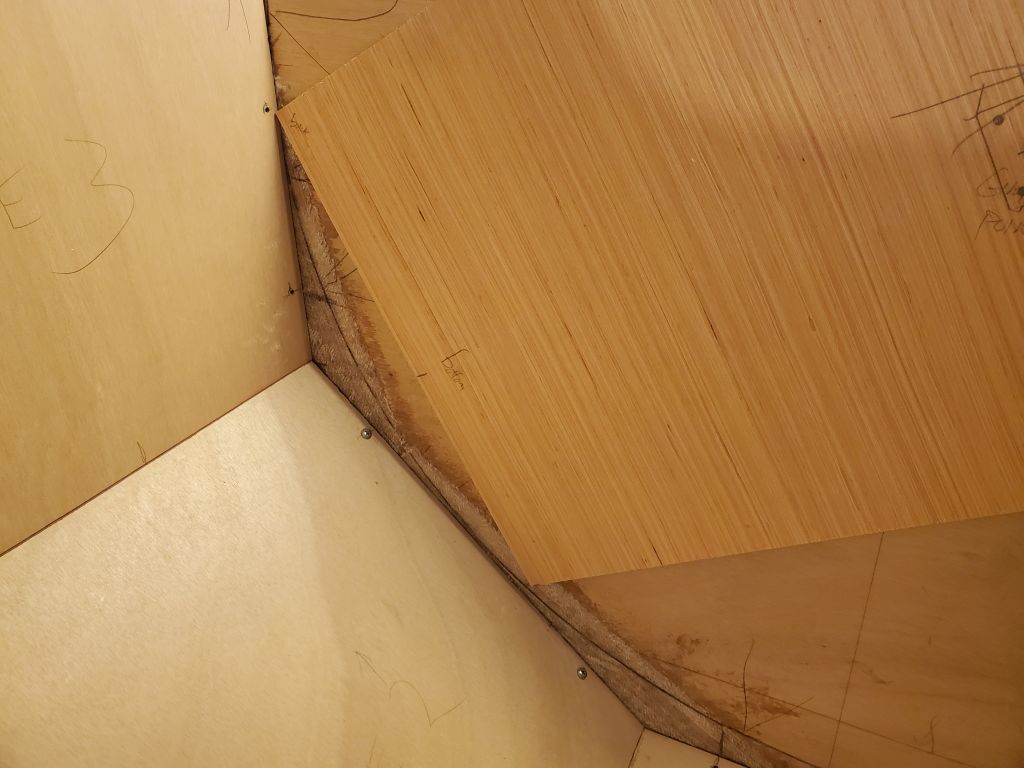
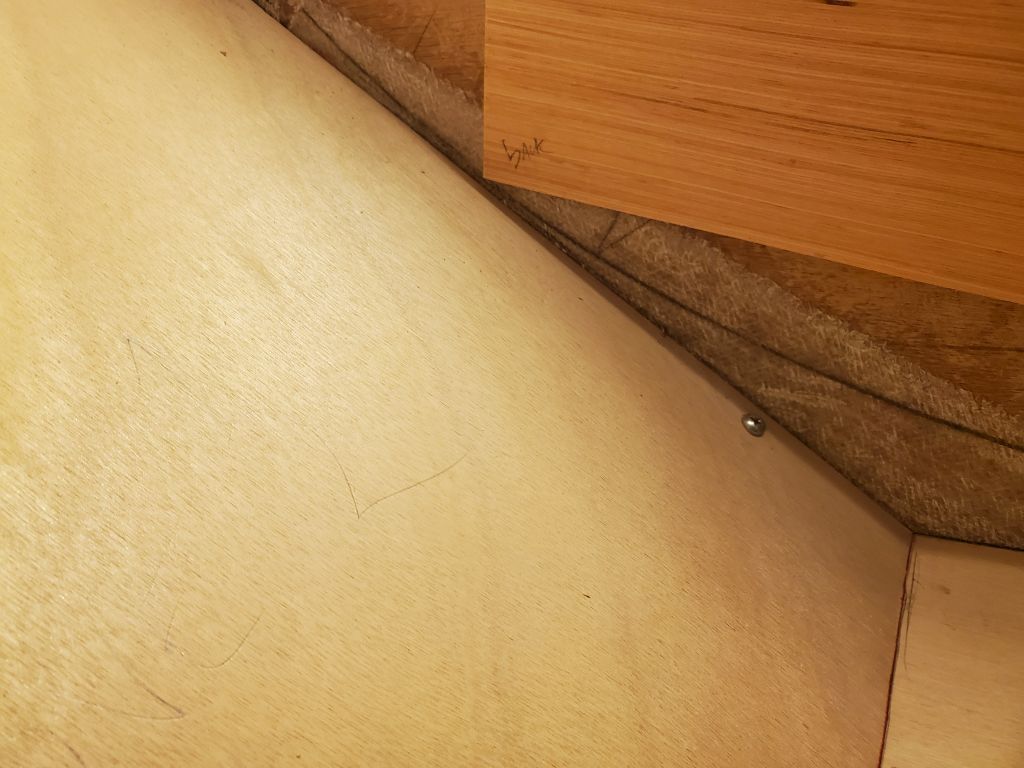
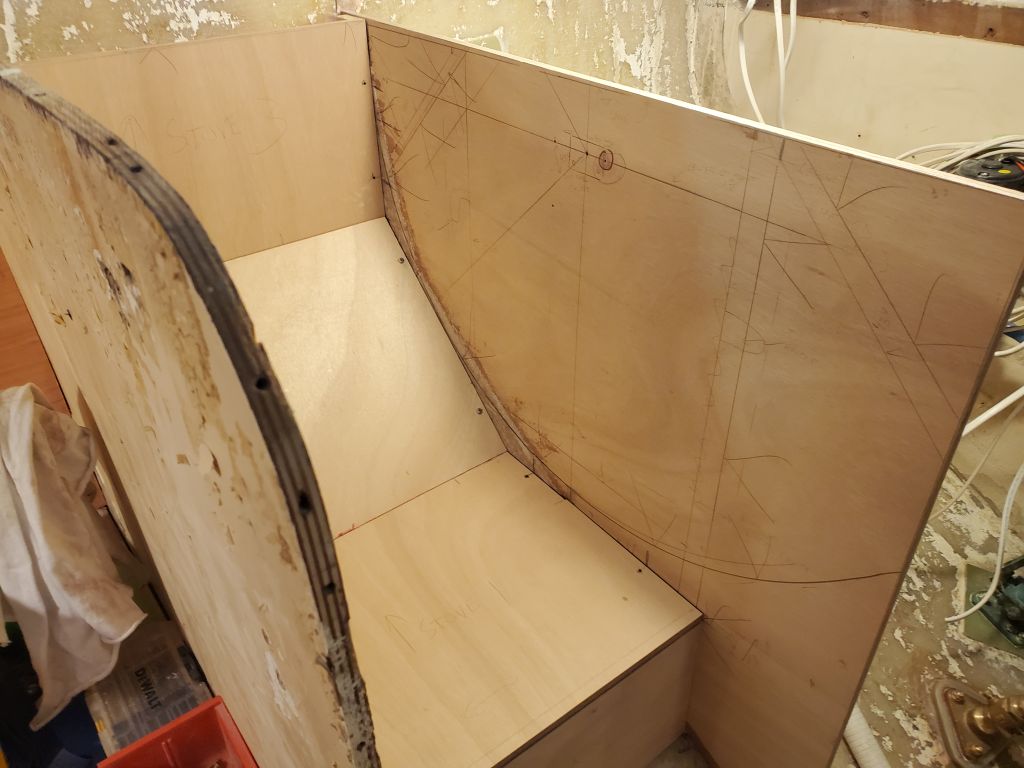
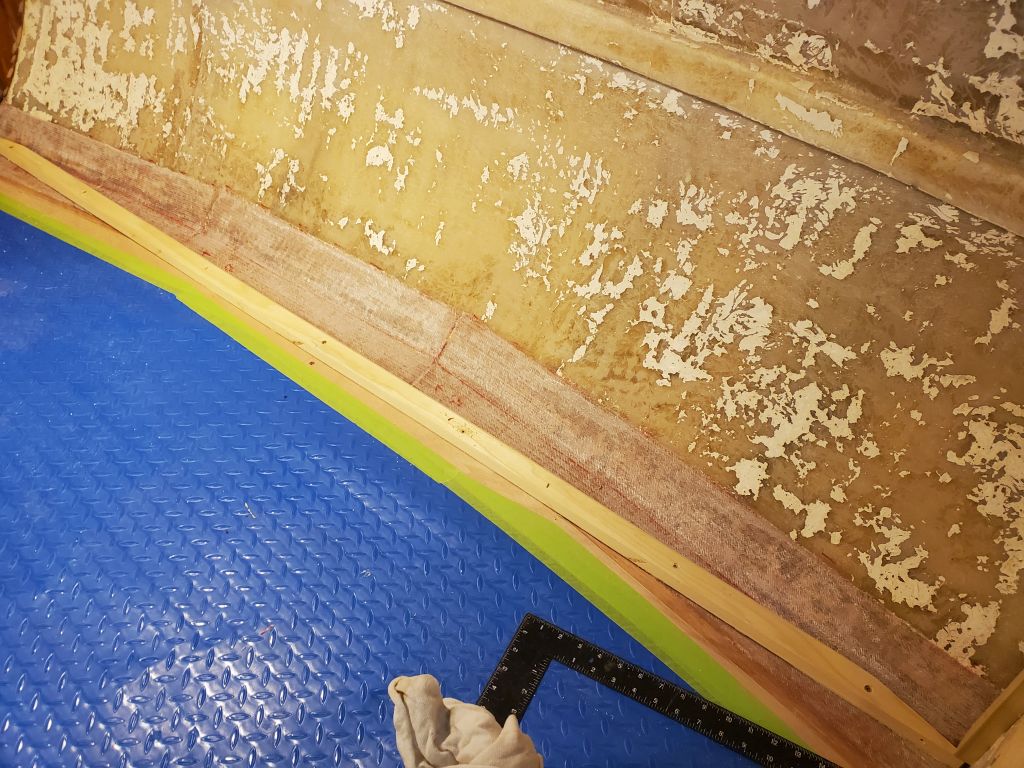
For the angled center panel, I cut two 6″ wide pieces from scrap 12mm okoume, each piece slightly narrower than the actual width of the space, then beveled one edge to the angle required to mate with the other panels; the mating angle was greater than 45°, so first I cut the panels on the table saw at the maximum angle, then increased the bevel on the bench with a sander. I secured each panel tightly with temporary screws, ensuring the beveled ends mated properly with the adjacent horizontal and vertical panels, then secured them together with several hot-glued sticks to hold the orientation and give me the finished length. I marked the edges in the usual way–a 1″ metal ruler to provide the offset from the bulkhead sides–then cut the final panel from plywood, securing it in place along with the others.
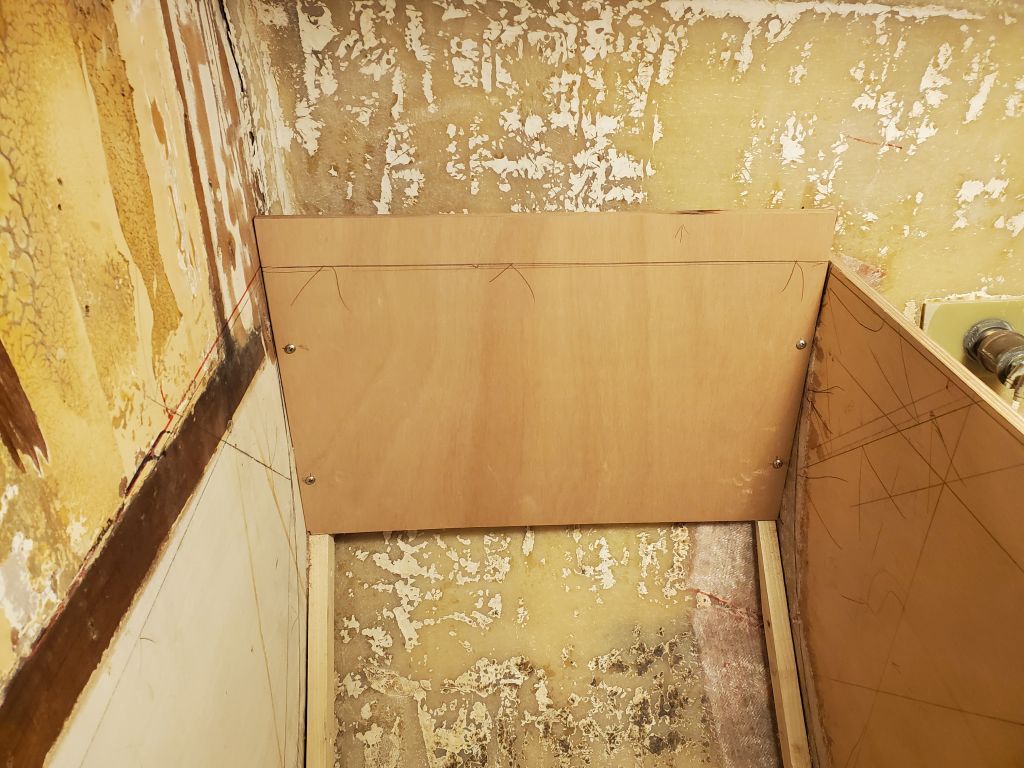
With my stove template secured to each side in turn, I checked the swing clearance, which was fine on both sides.
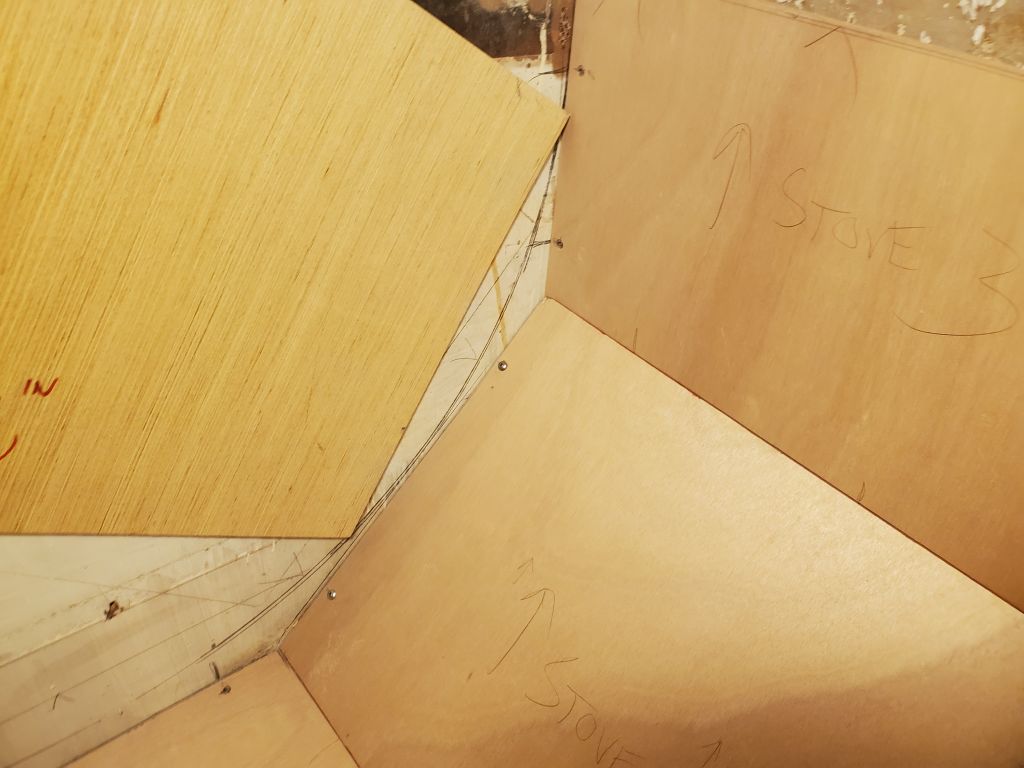
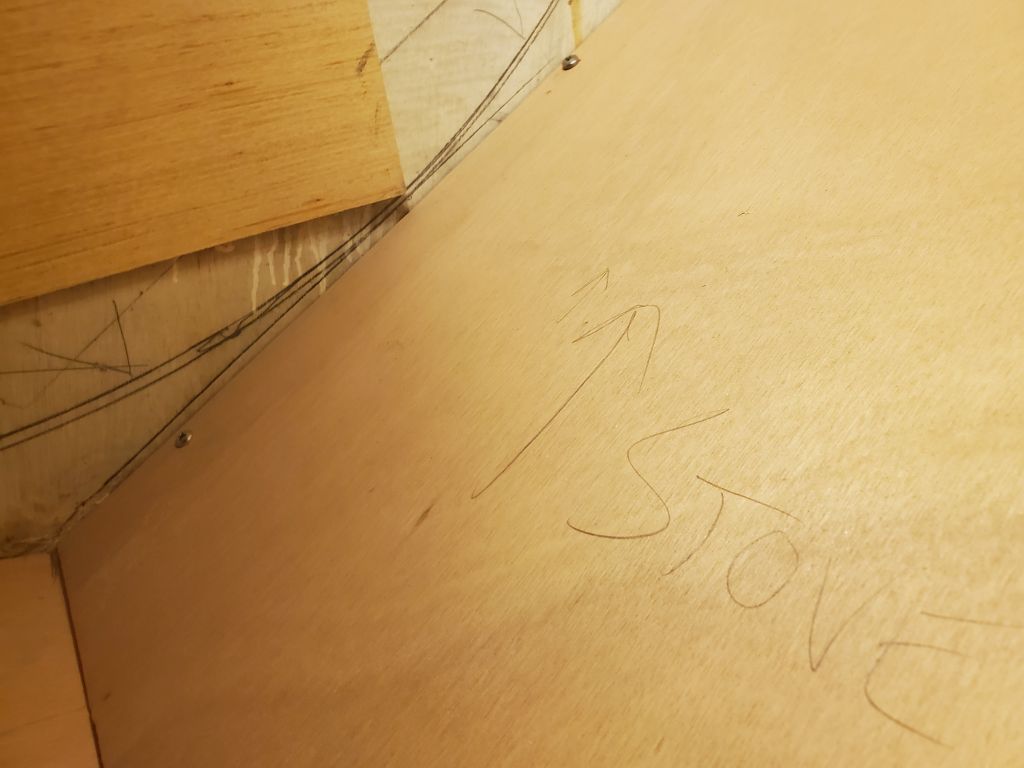
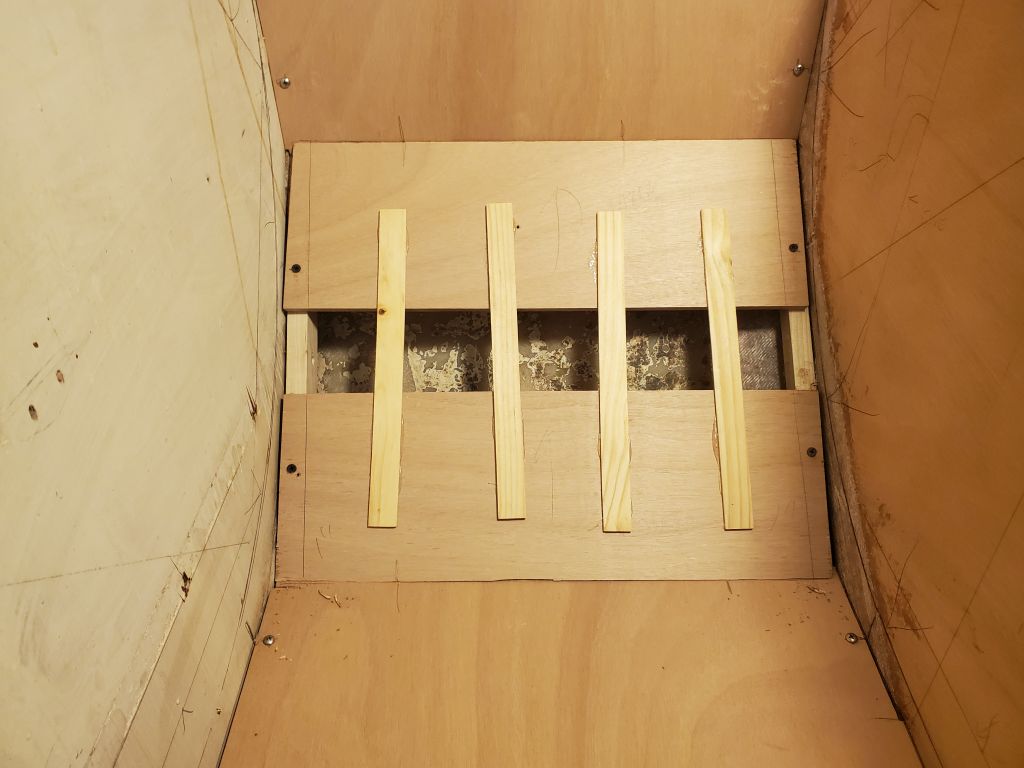
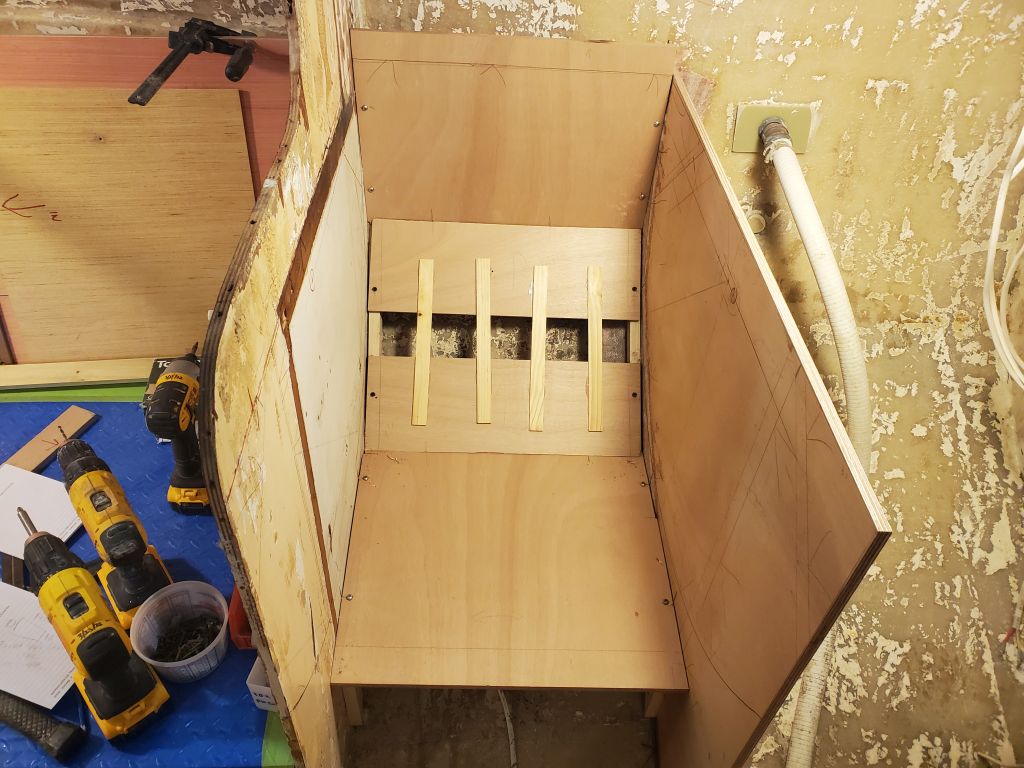
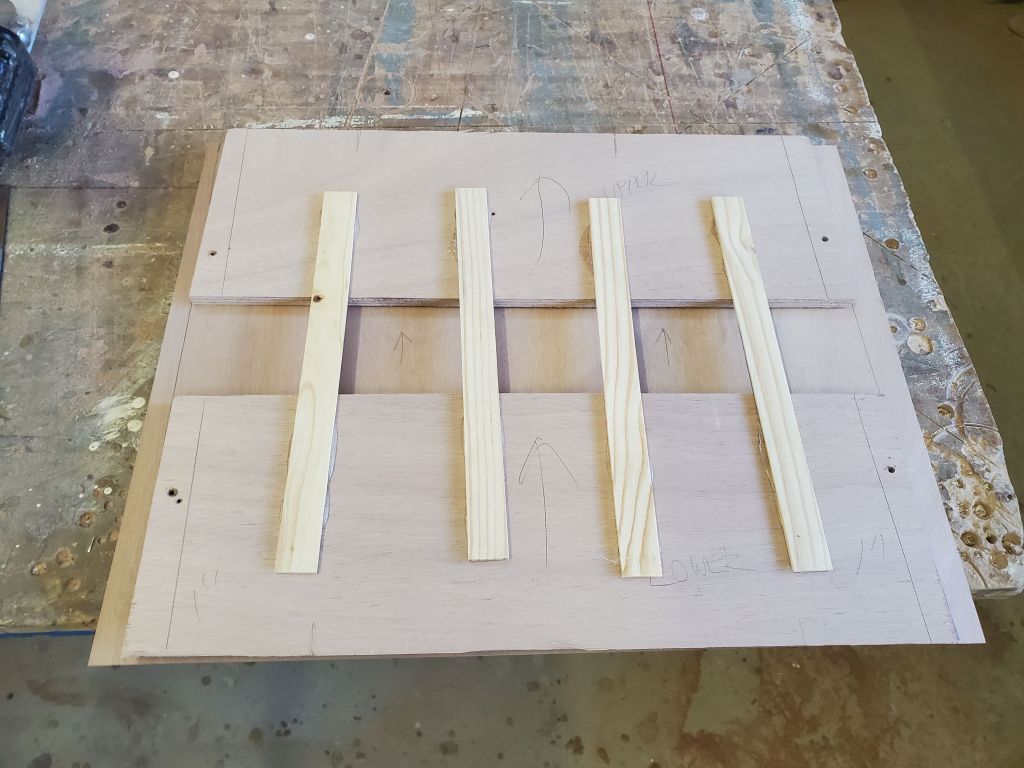
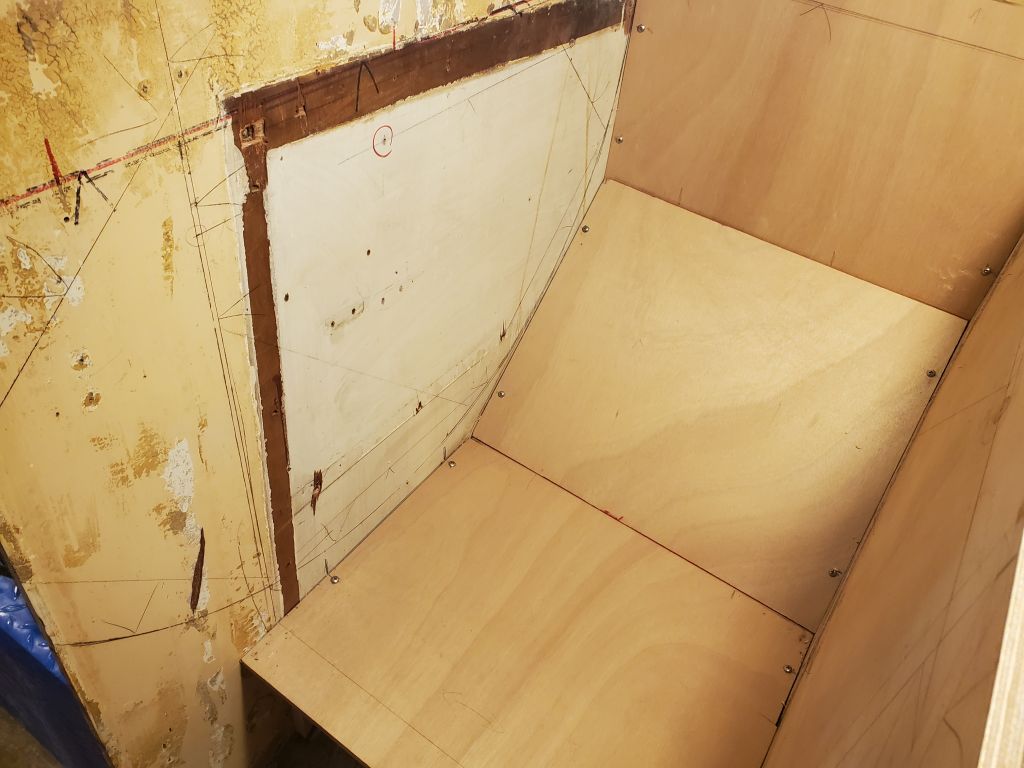
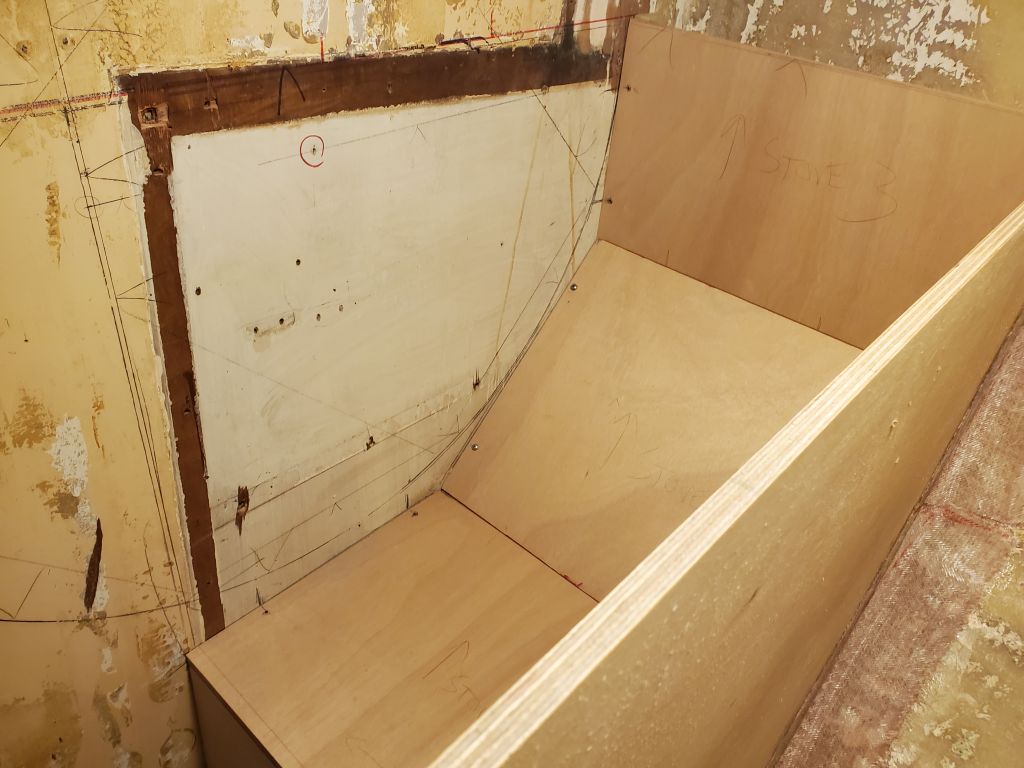
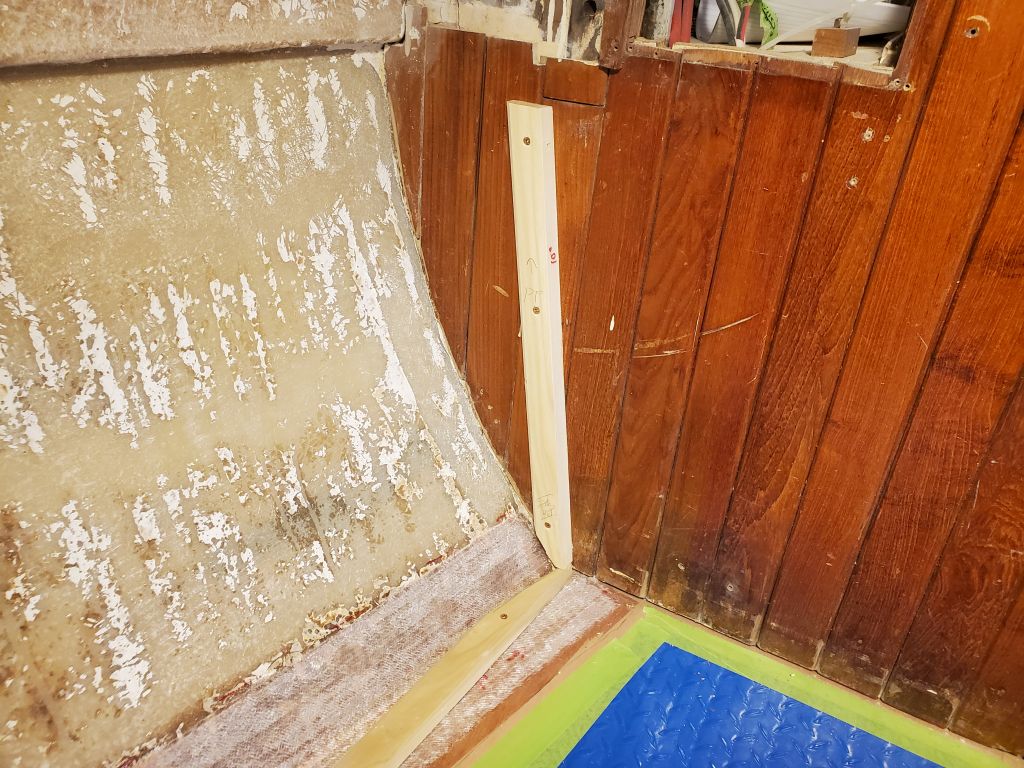
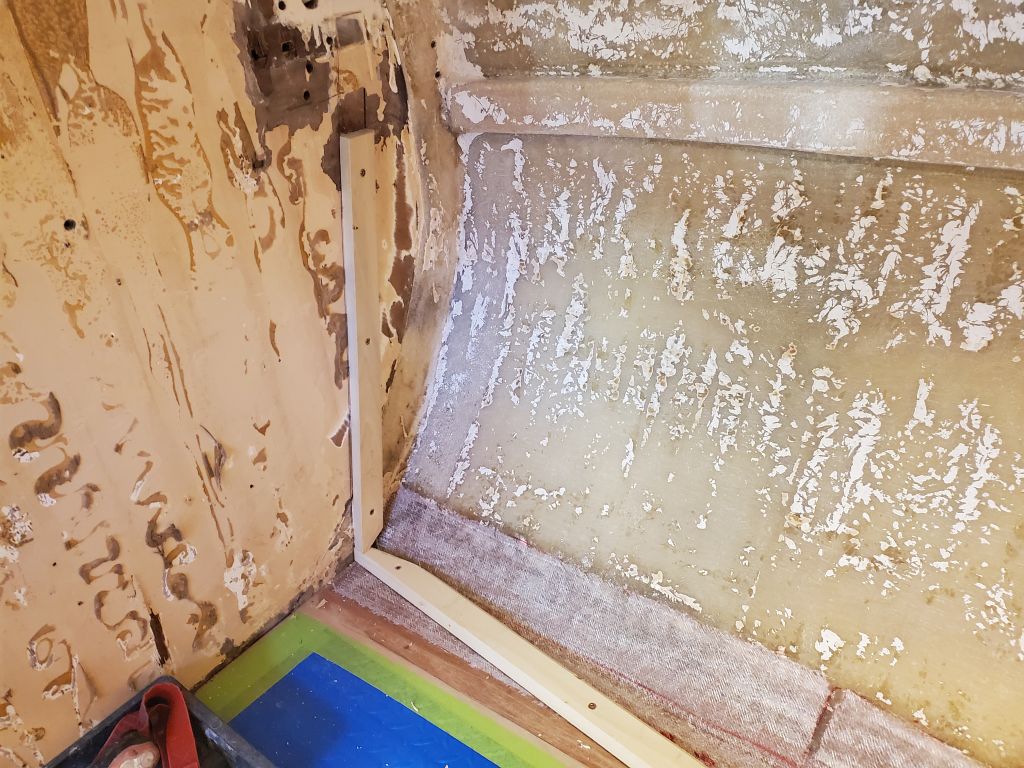
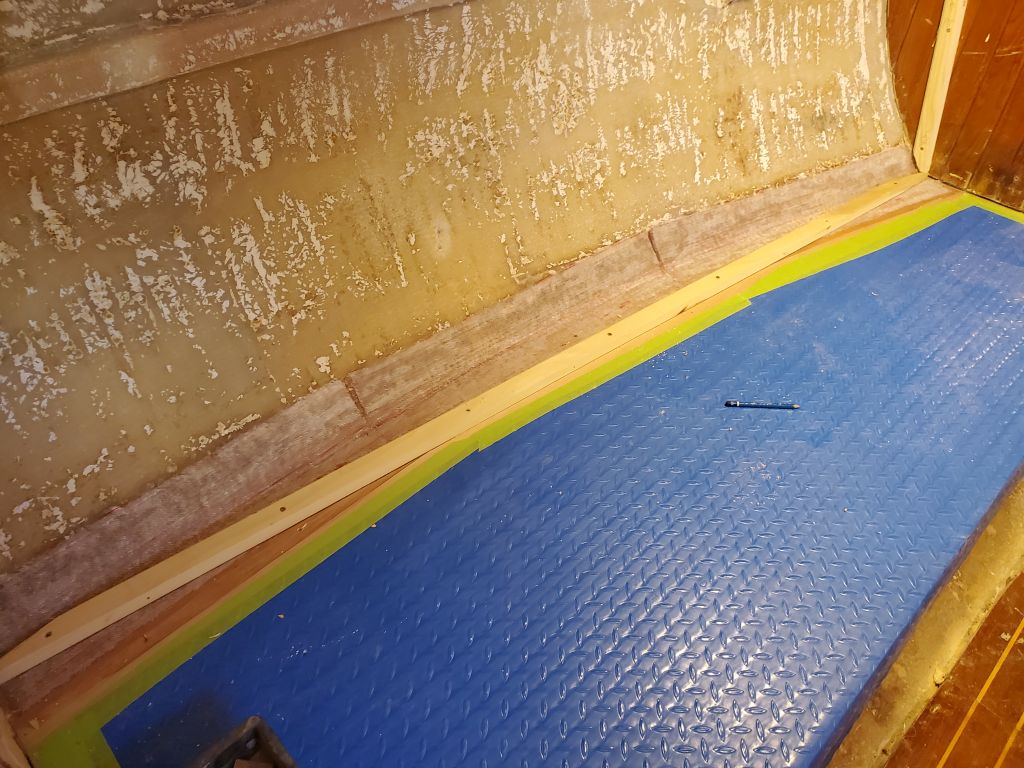
To finish up the surround for now, I templated and cut the short vertical panel on the inboard side of the enclosure, then cut the base panel flush with the edge of the new panel, and marked and cut the back panel so it was flush and level with the bulkhead. The sides of the enclosure, plus the three panels I’d just cut, would be faced with stainless steel for heat resistance and to complement the stove itself (24 gauge stainless with a #4 brushed finish), so I removed the panels and measured them (along with the bulkheads on either side) so I could order the sheet metal to complete the enclosure. Then, I removed each of the support cleats in turn and permanently installed them with glue and additional screws as needed.
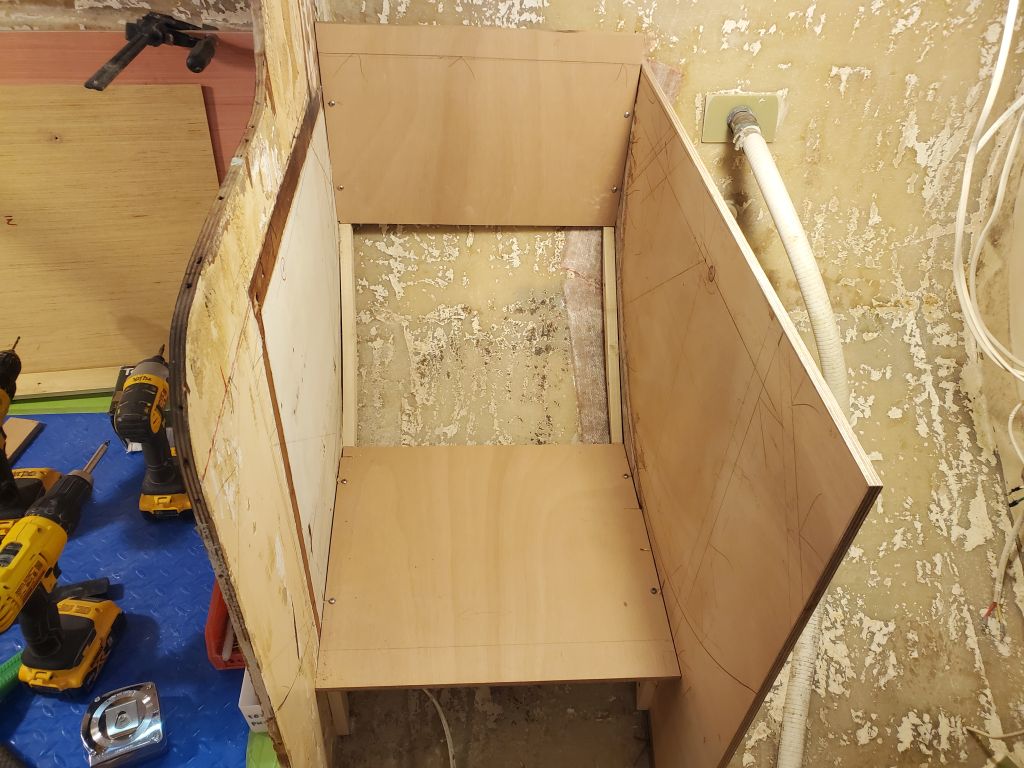
With the stove at a natural stopping point, I turned back to the settees, first scribing the plywood templates at the ends so I could make the final panels to fit. Then, I removed the templates and permanently installed the six support cleats (three per side) with glue and additional screws, cutting the angled backrest cleats to their final lengths in the process.
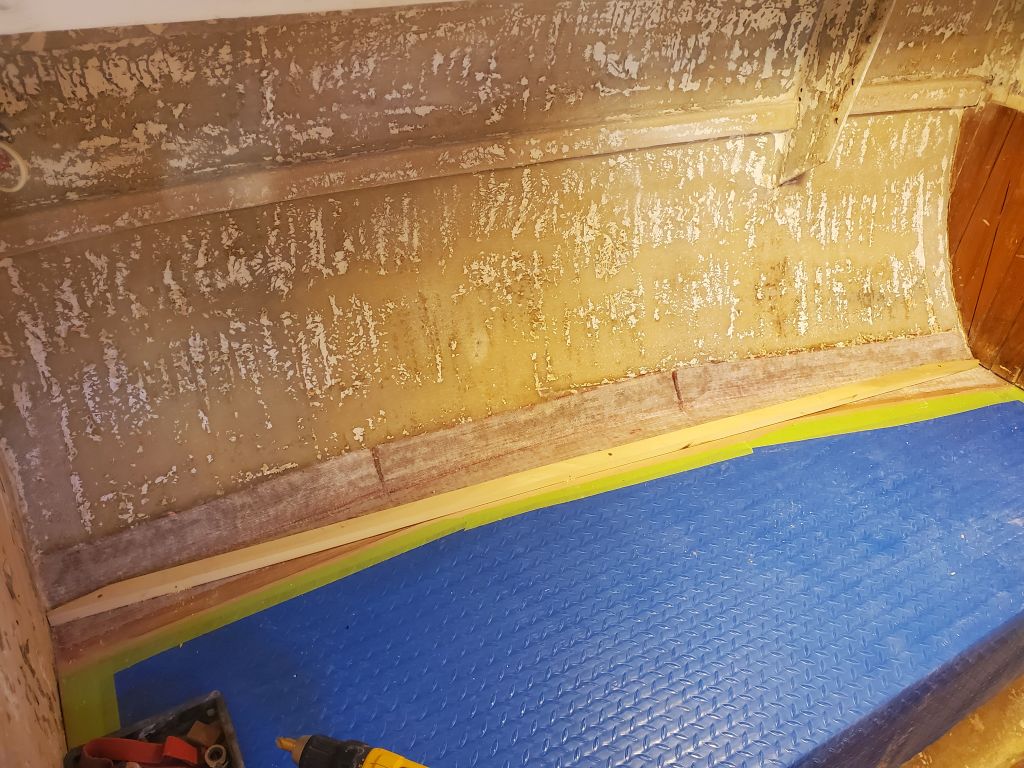
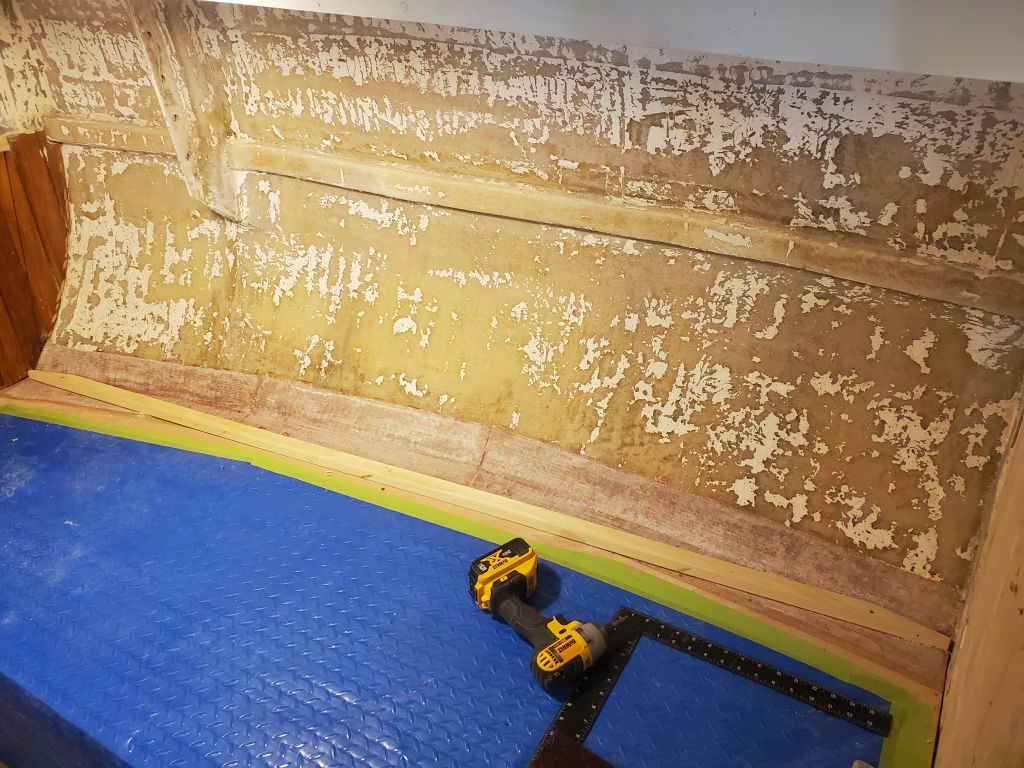
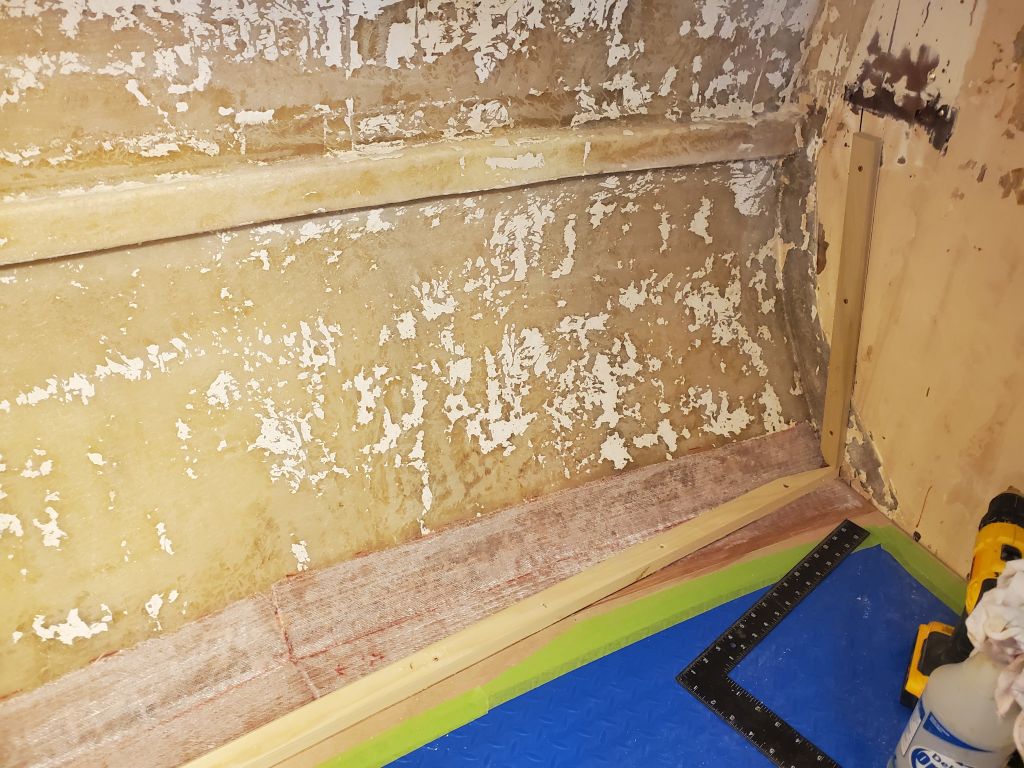
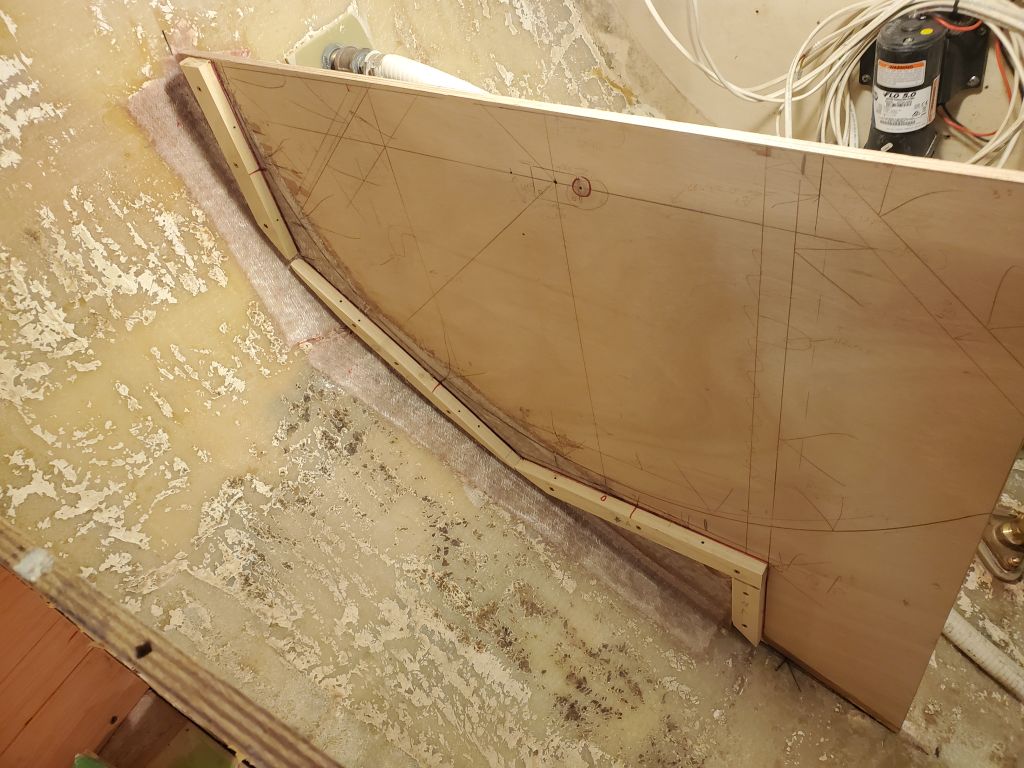
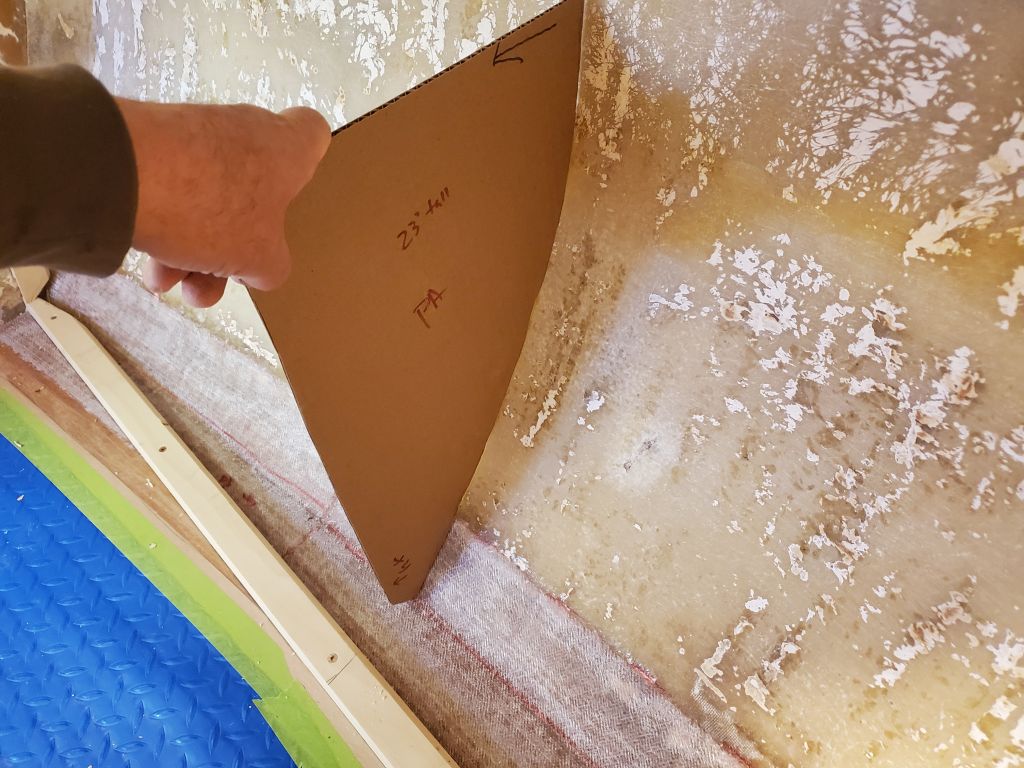
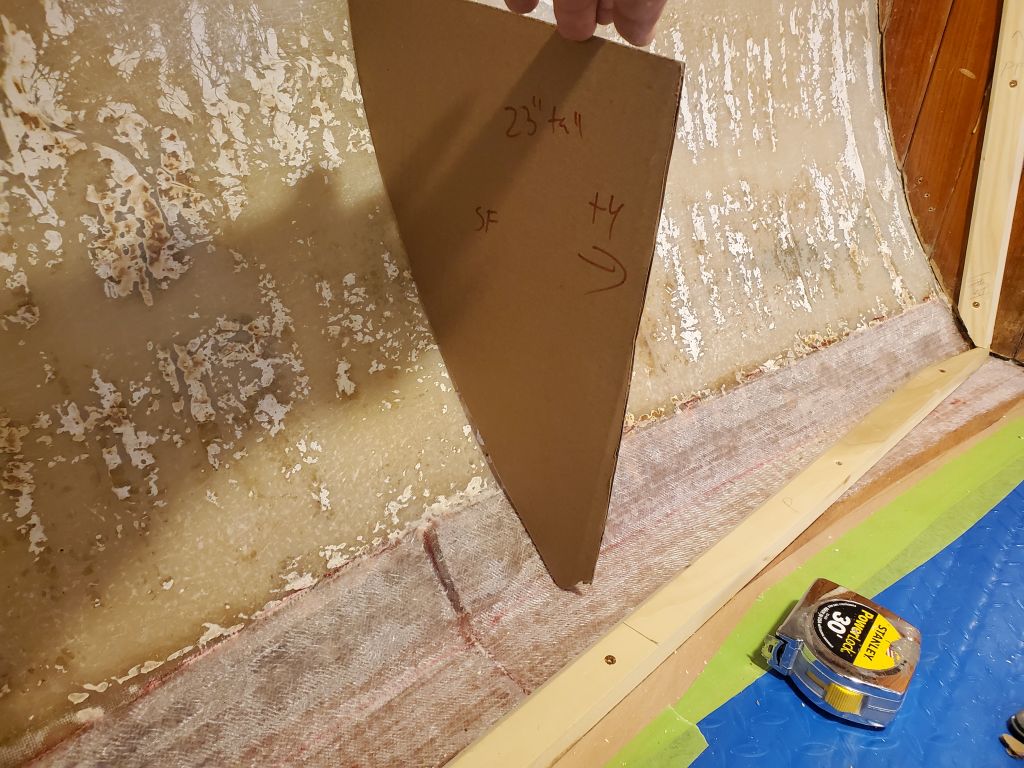
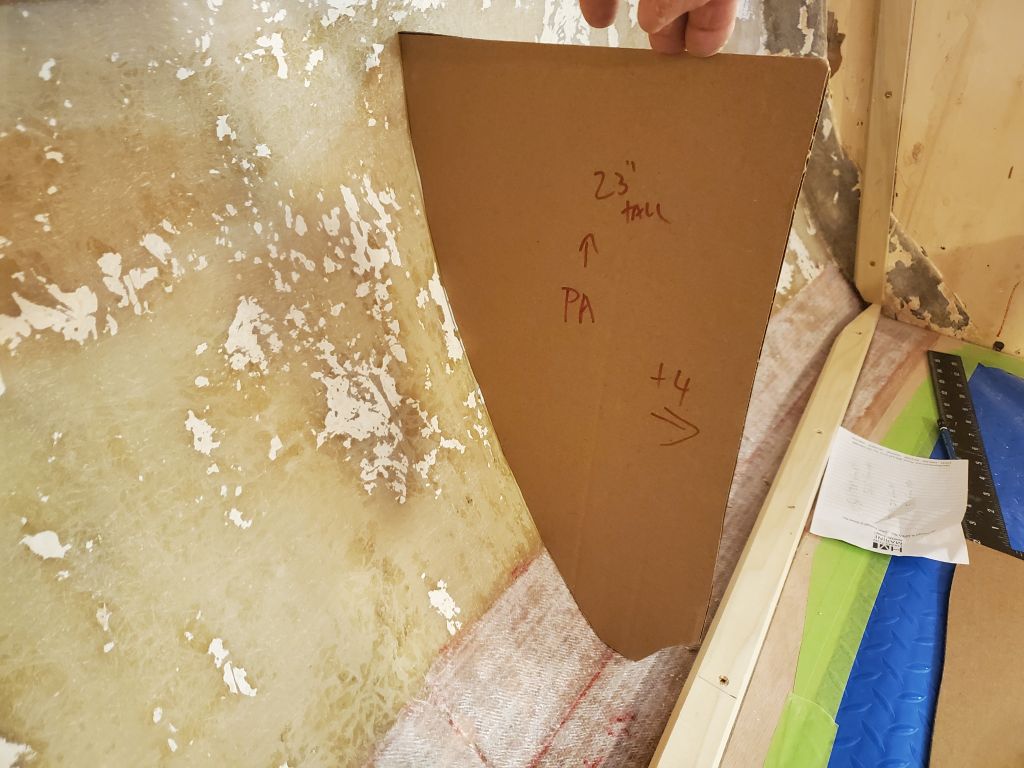
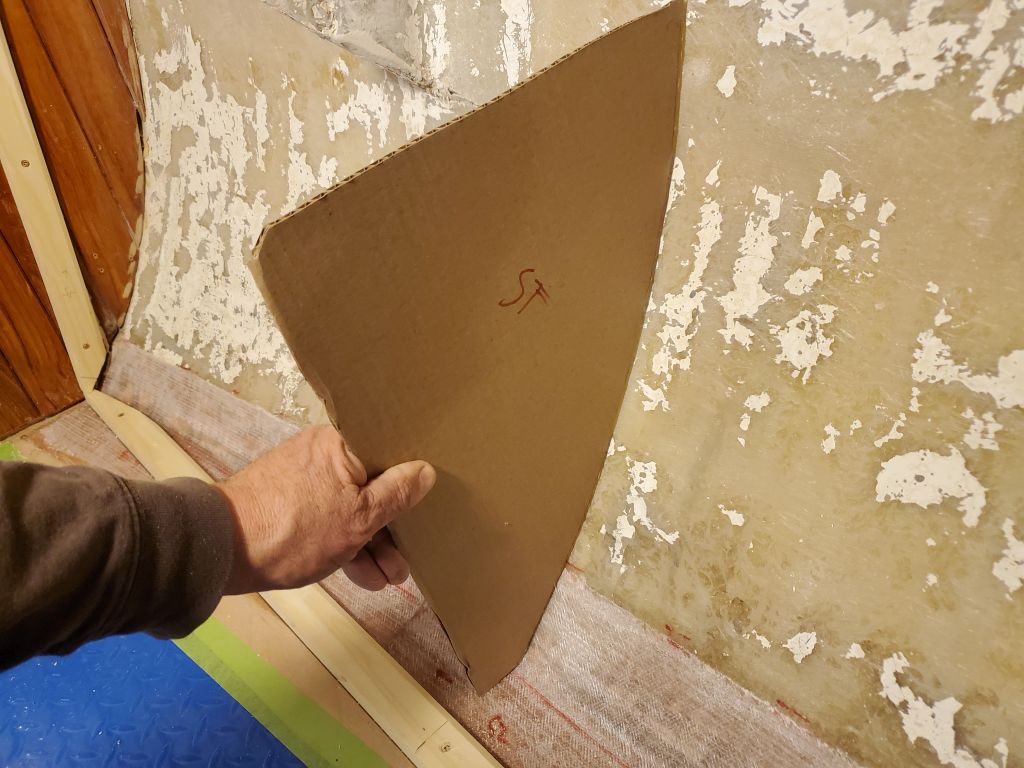
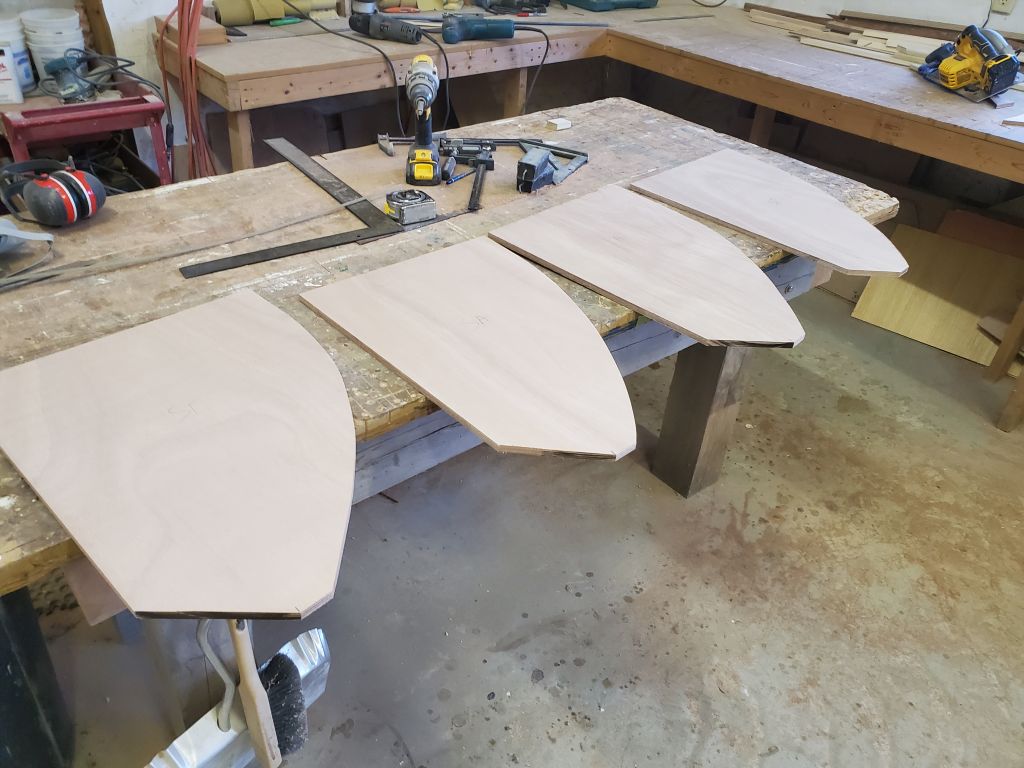
To support the settee backrest and divide the storage lockers accordingly, I planned two small bulkhead dividers on each side. Working from the templates and the layout for the locker openings I’d designed, I determined the positions of the bulkheads, and up in the boat I made some basic plywood templates to get me started on the hull shape for the final bulkheads. At some point I got lost in my labeling of these templates and marked several in the same way–these things happen–so ignore the markings on the four templates. Each template photo does show a different location, but the markings caused consternation when I was back in the woodshop trying to cut the oversized plywood blanks and every template seemed to say “SF” or “PA”. We all get our lefts and rights and ports and starboards messed up sometimes. Eventually I got it worked out and created four bulkhead blanks, each cut roughly to the hull shape at this point and oversized to allow final fitting and cutting to the necessary shape next time. The angled cuts at the bottom would allow the panels to clear the lower support cleat for the backrest.
Total time billed on this job today: 8.25 hours
0600 Weather Observation: 18°, clear. Forecast for the day: Sunny, 30°