


January 4, 2024
Calliope Girl 35
Thursday
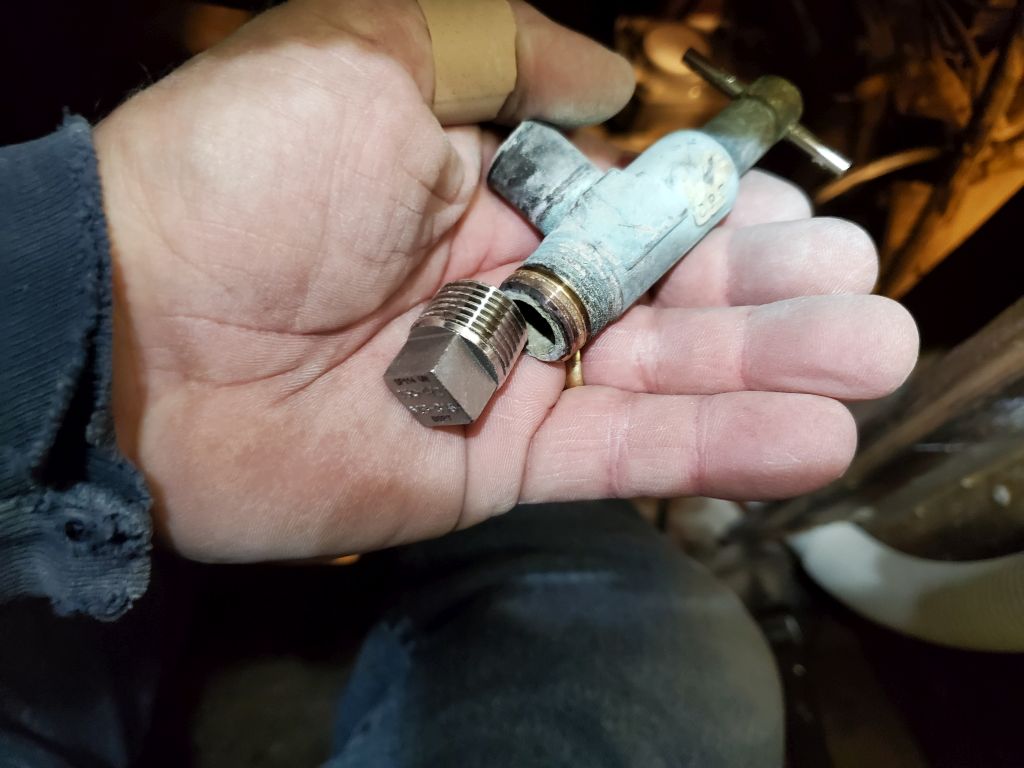
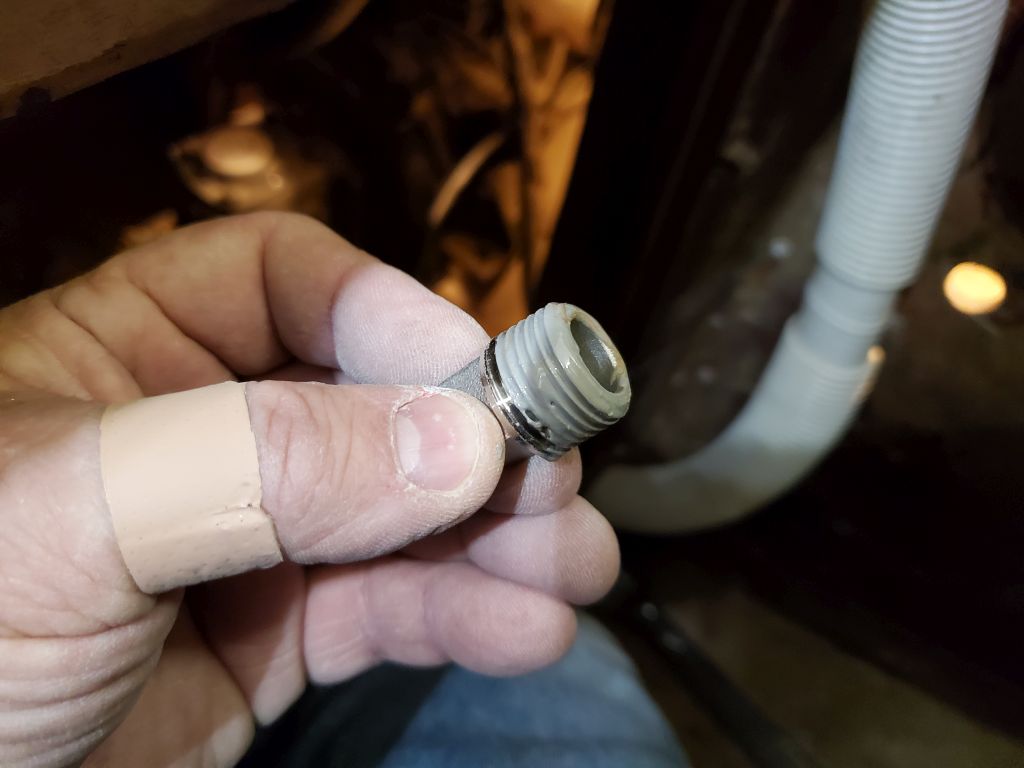
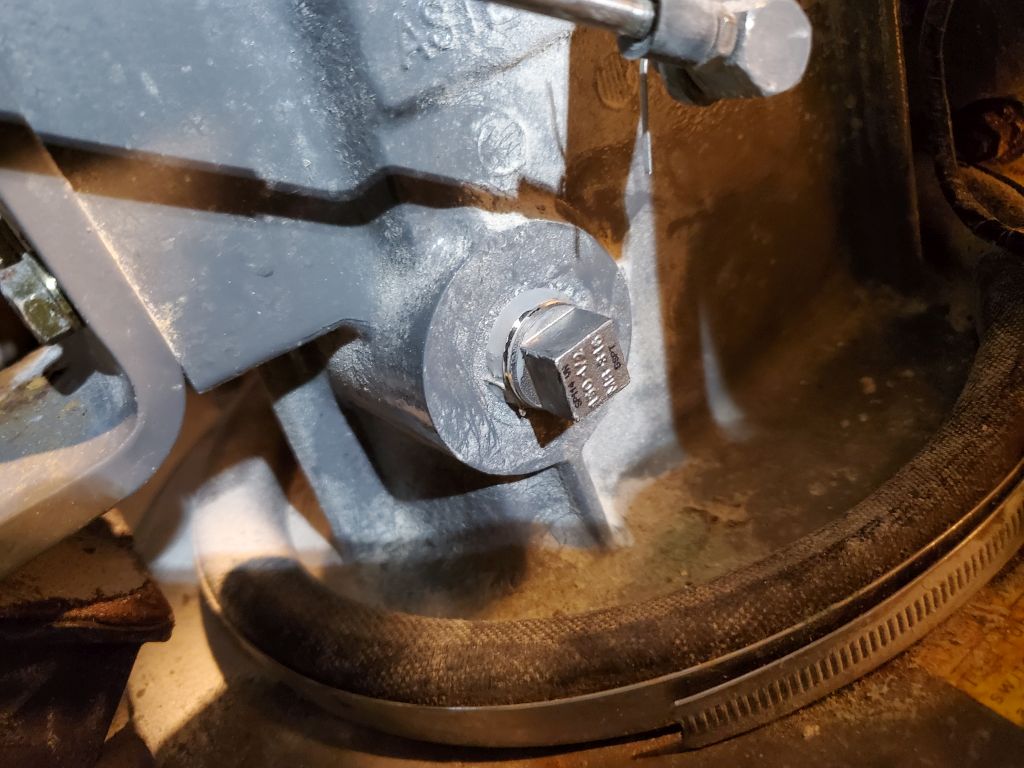
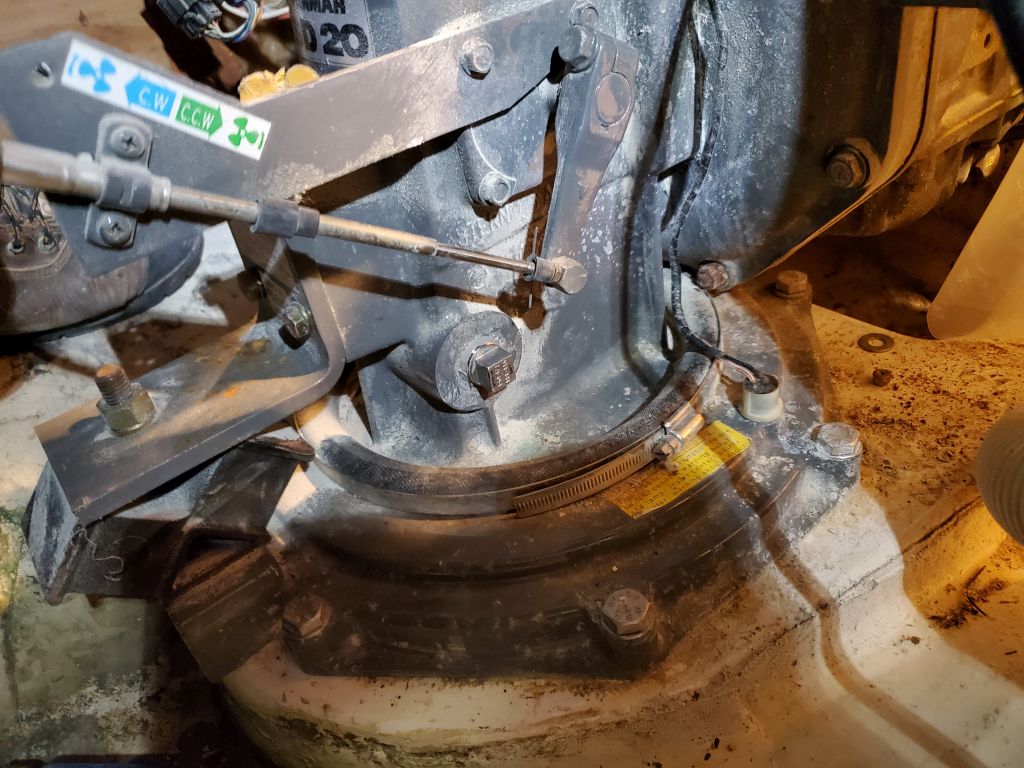
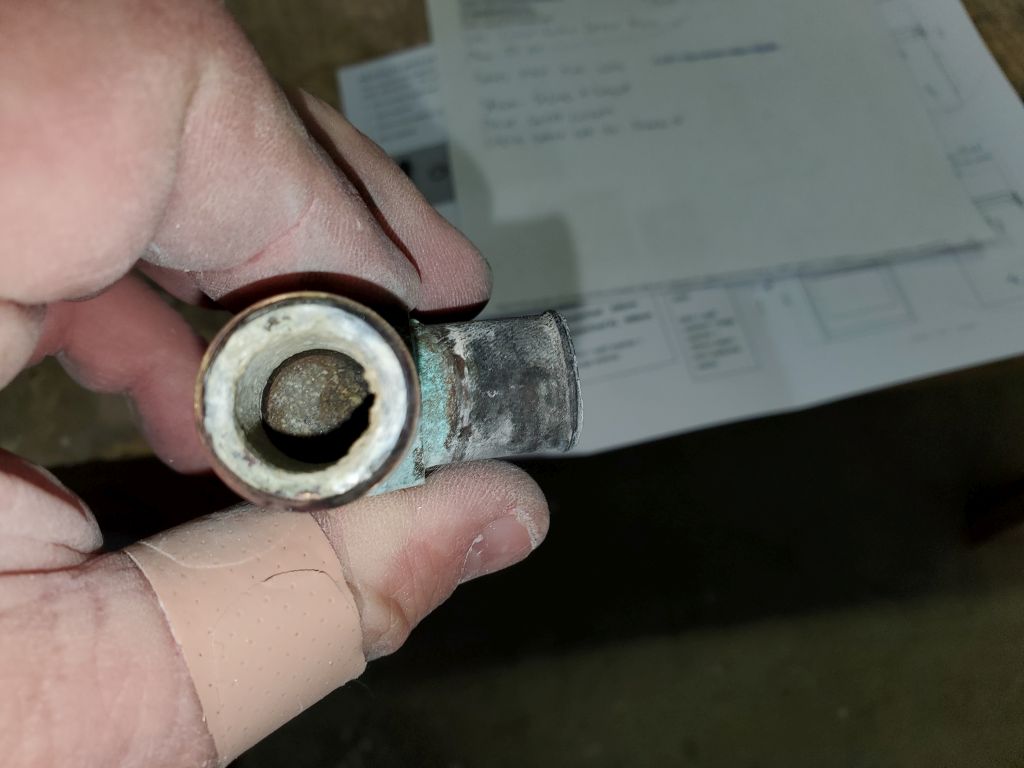
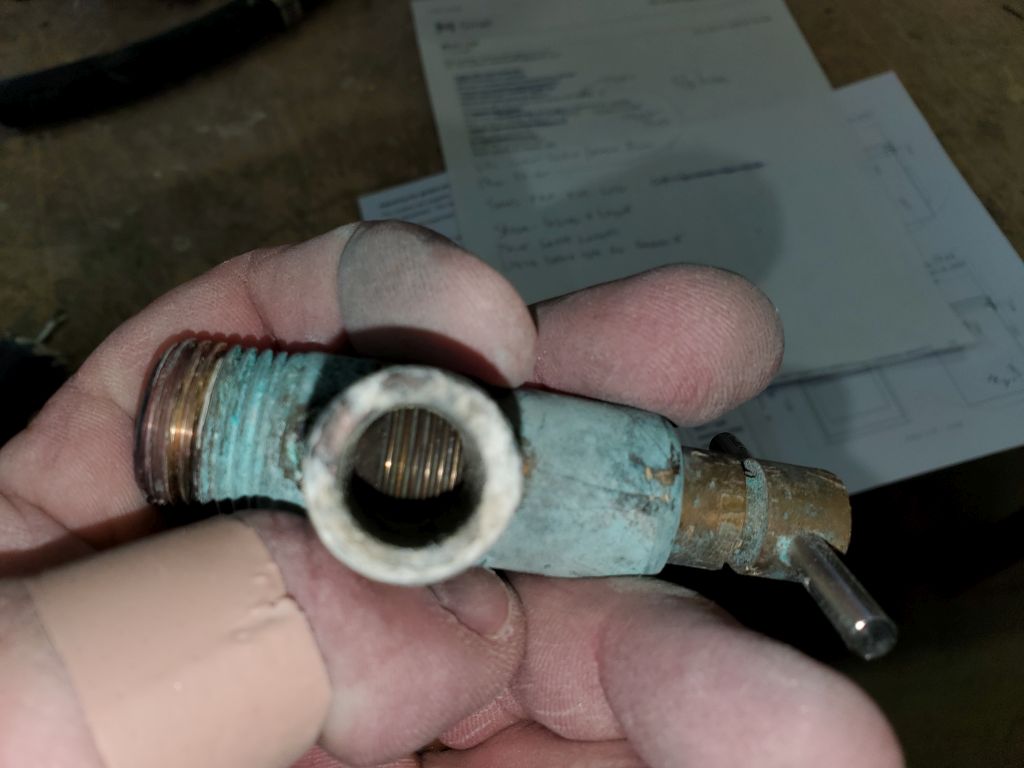
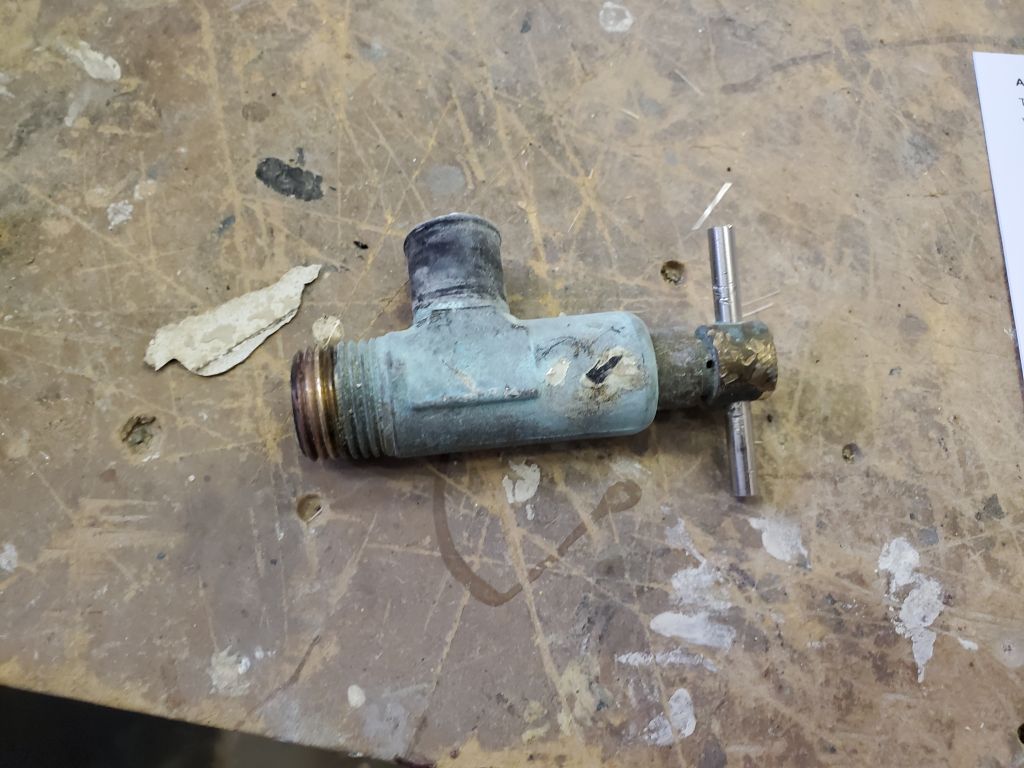
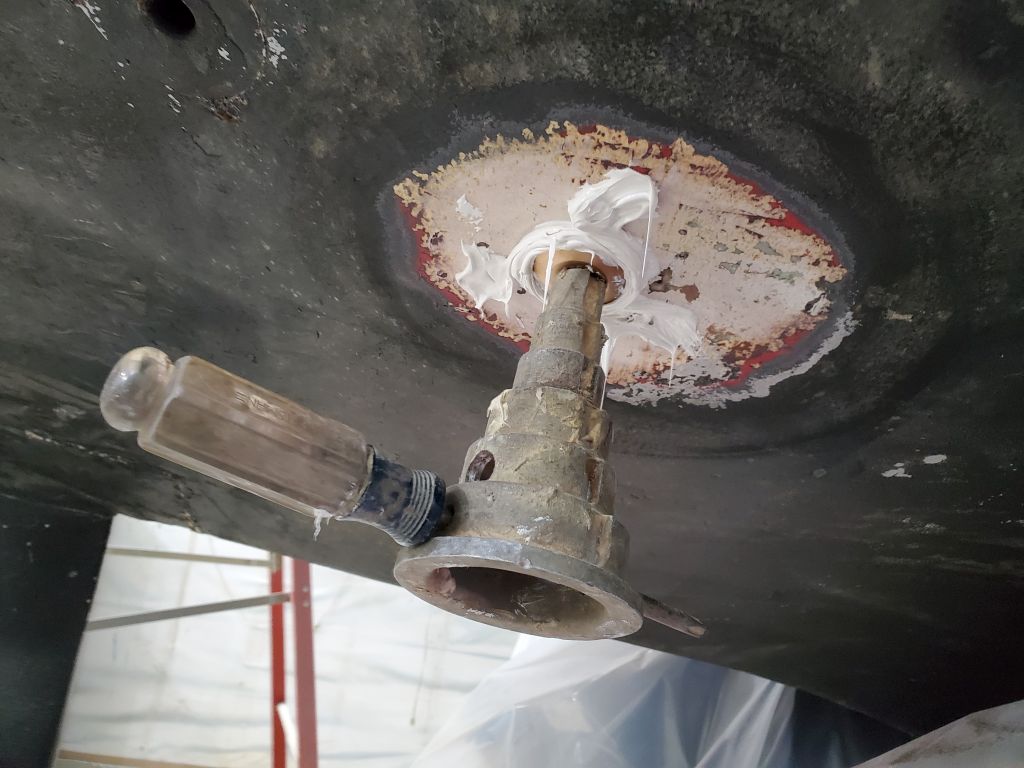
I picked up where I left off last time, continuing work on the engine intake replacement. I’d ordered a plug to replace the old intake valve at the top of the drive unit–316SS, since I could find no source for a bronze plug in the correct thread type (1/2″ BSPT)–and now I removed the old valve (this came out easily) and replaced it with the plug, which I coated first in thread sealant in part to help act as a corrosion barrier between the plug and the housing. I set the valve aside for the owner’s parts box as it still functioned correctly, at least in a visual sense that I could confirm the valve closed all the way.

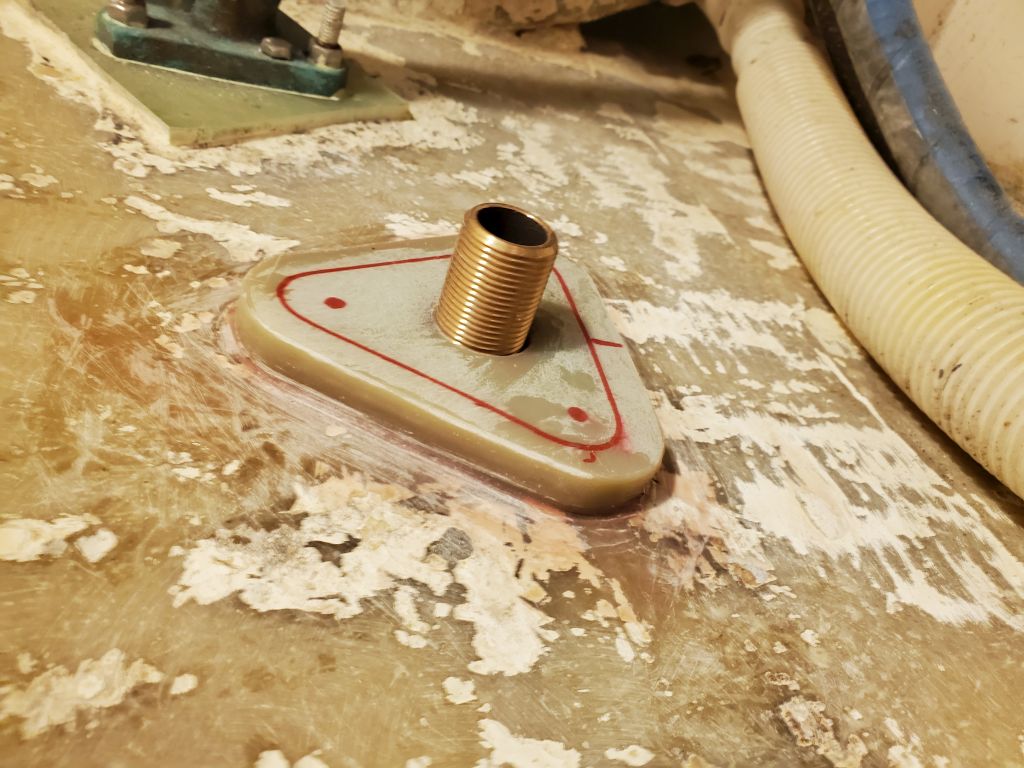
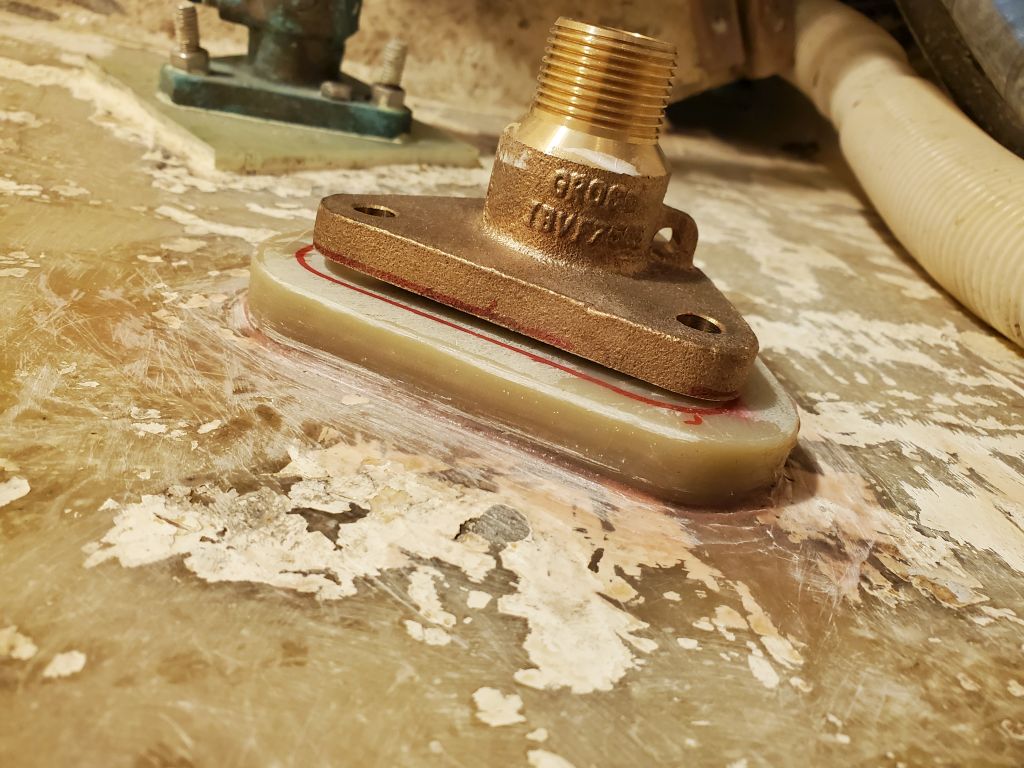
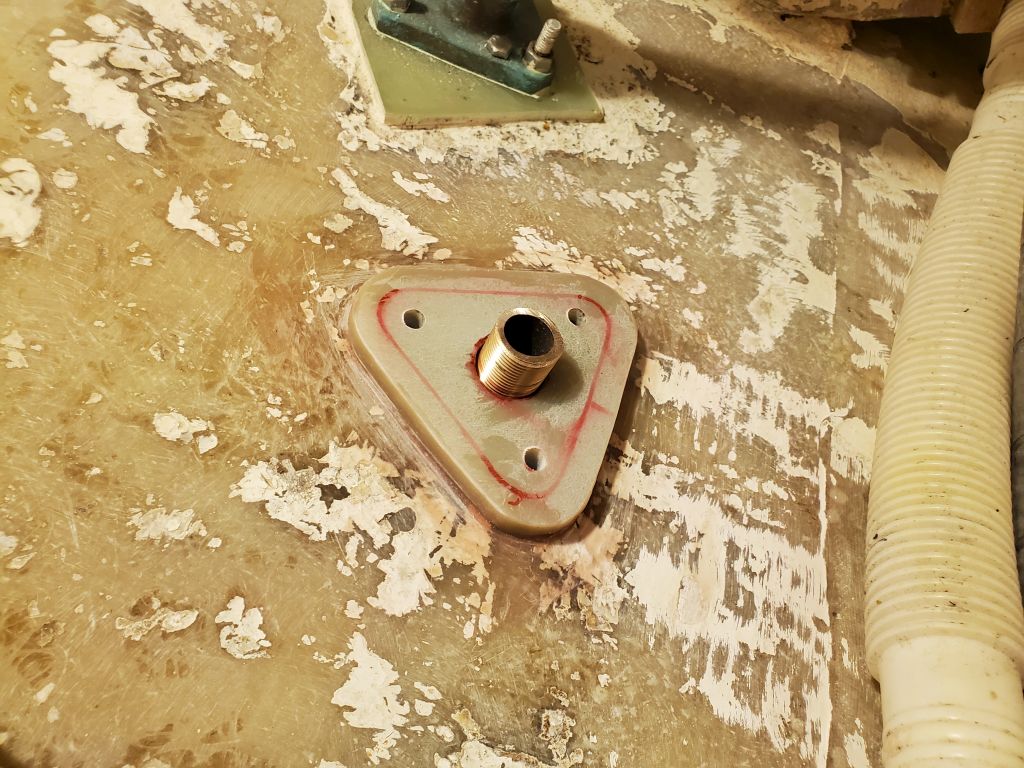
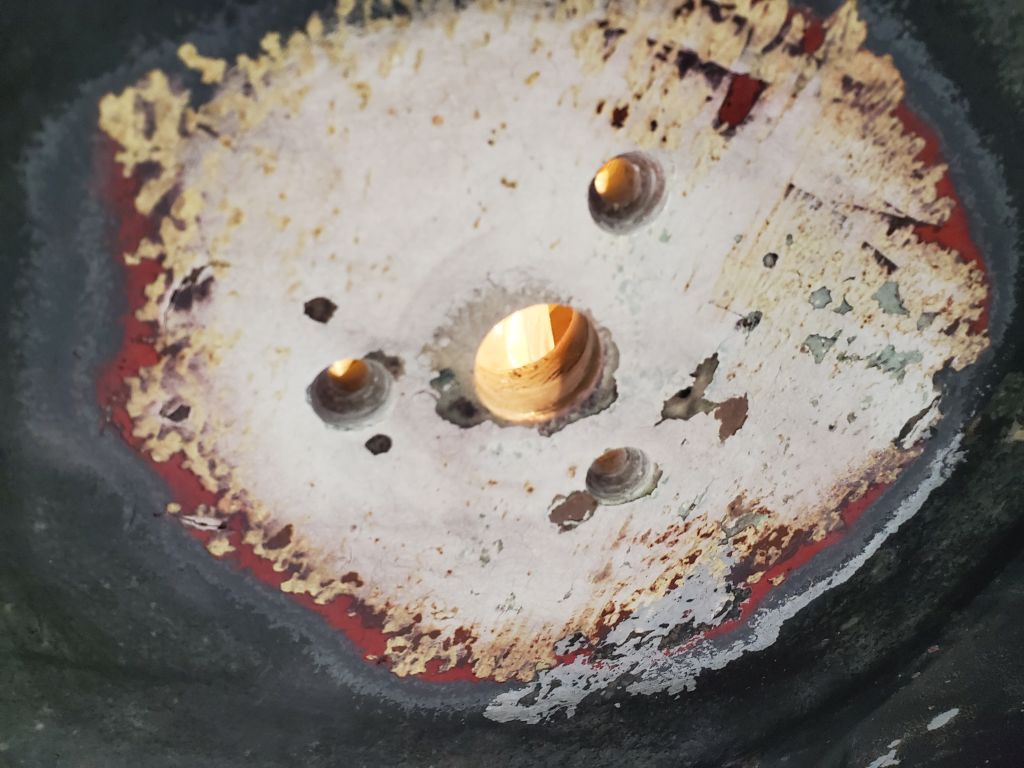
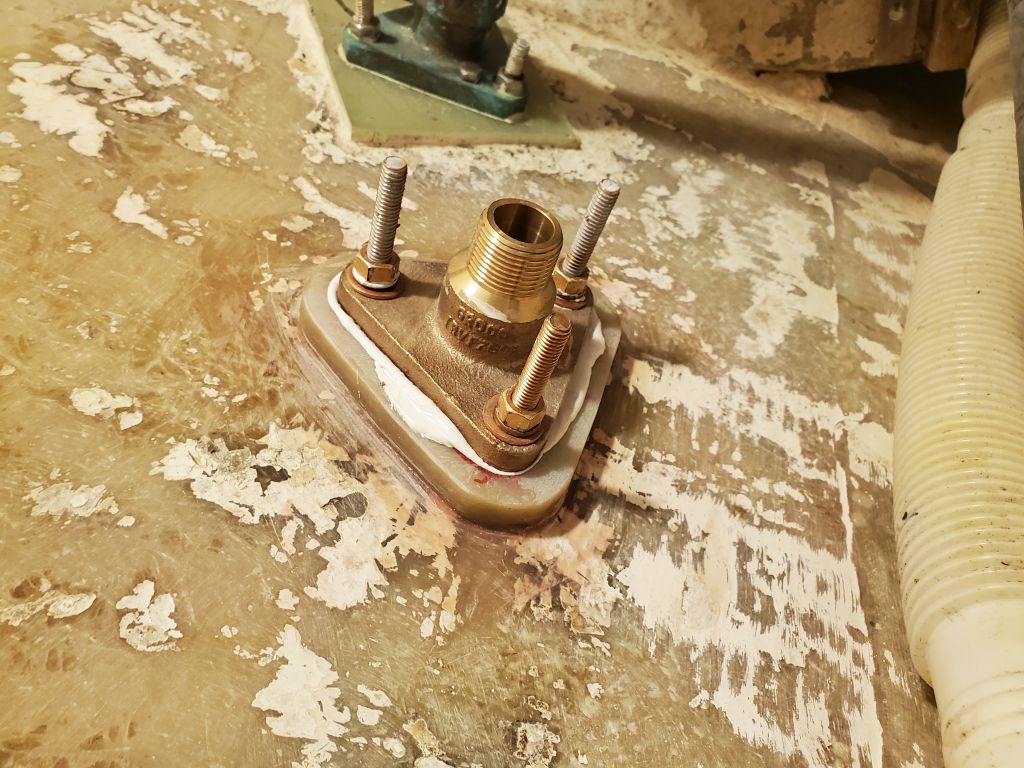
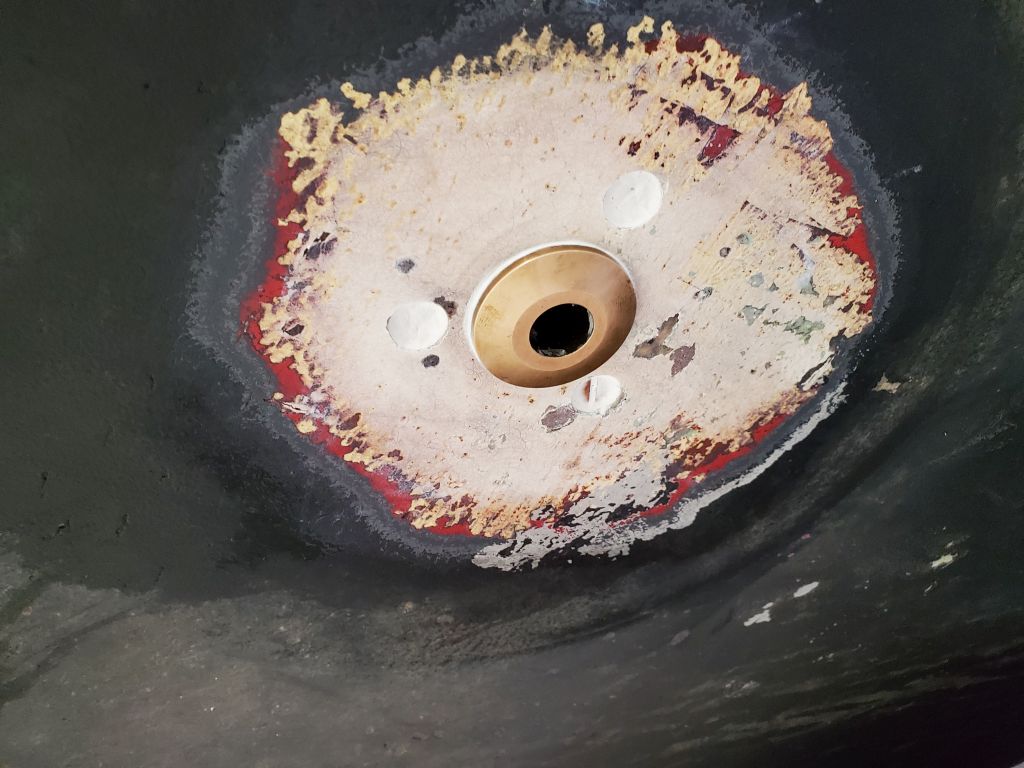
Moving on to the other part of the conversion–the new through hull–I cleaned up the backing pad and mounting hole as needed, and removed the bottom paint in way of the new installation. Then, I secured the through hull from beneath, and threaded on the flange base from above to find out how much (if at all) I had to trim the through hull neck to allow proper installation. The base threaded nearly all the way down, but I’d need to remove 3/8″ or so of the through hull threads, which I did next with a cutoff wheel down on the bench.
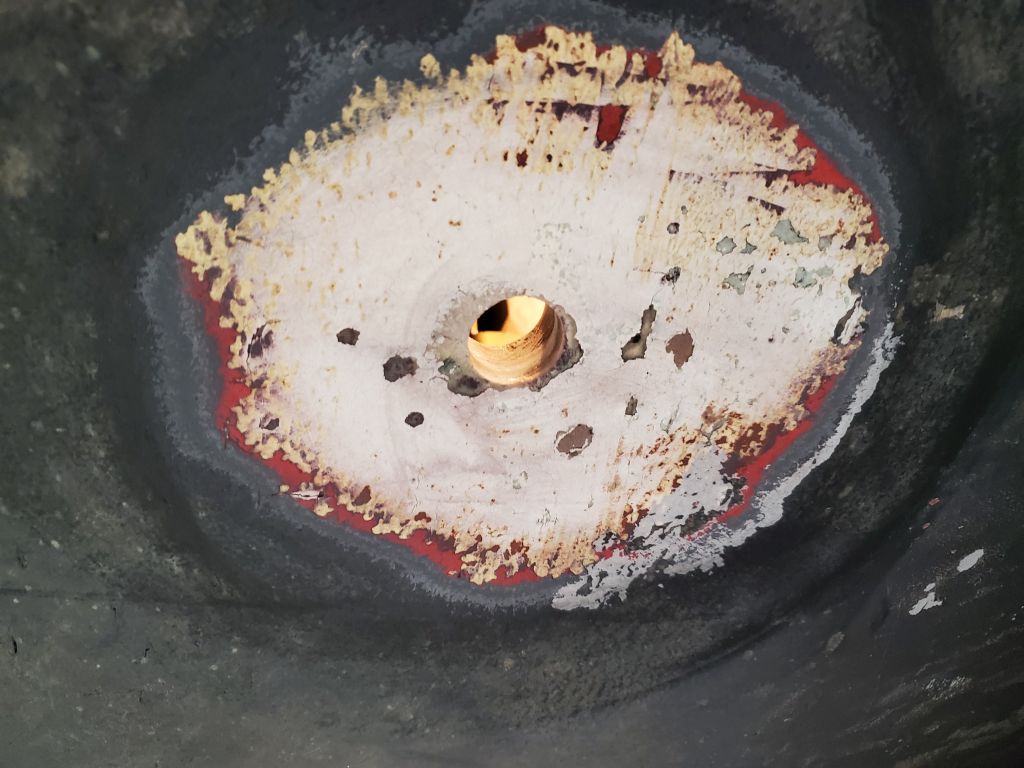
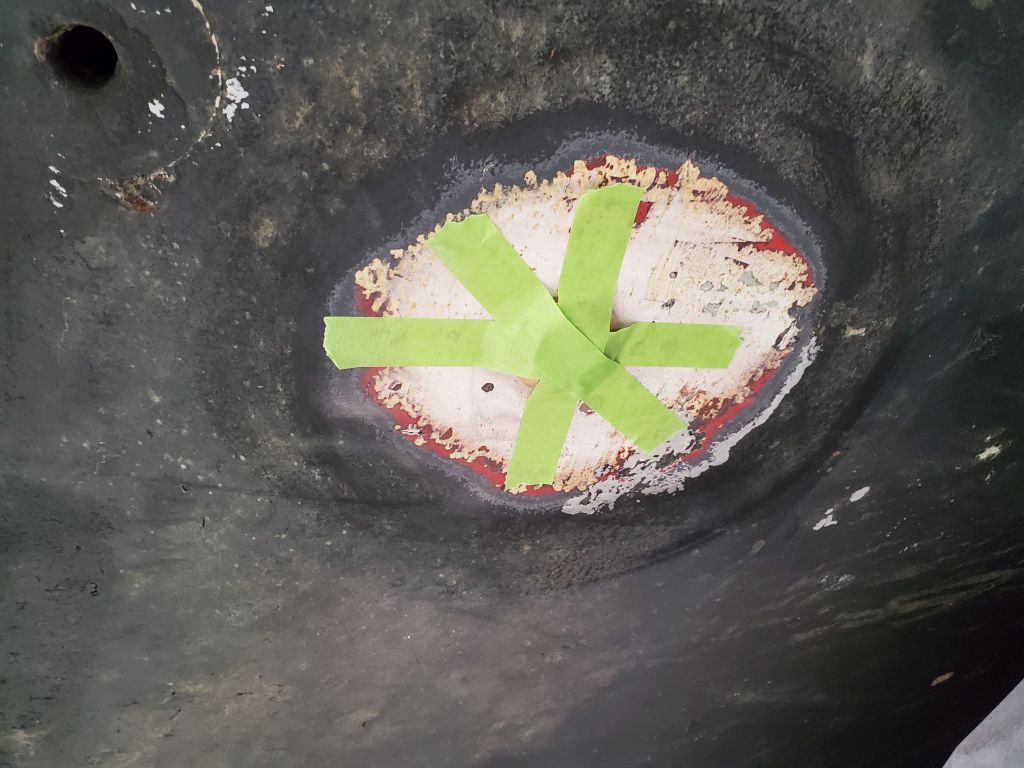
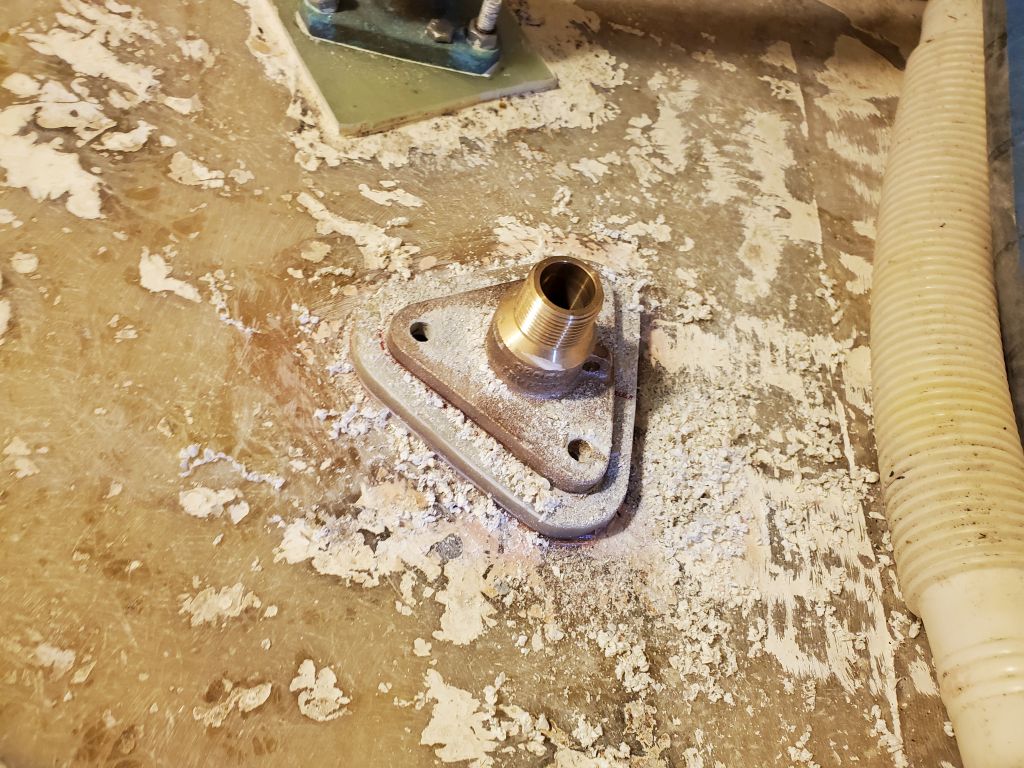
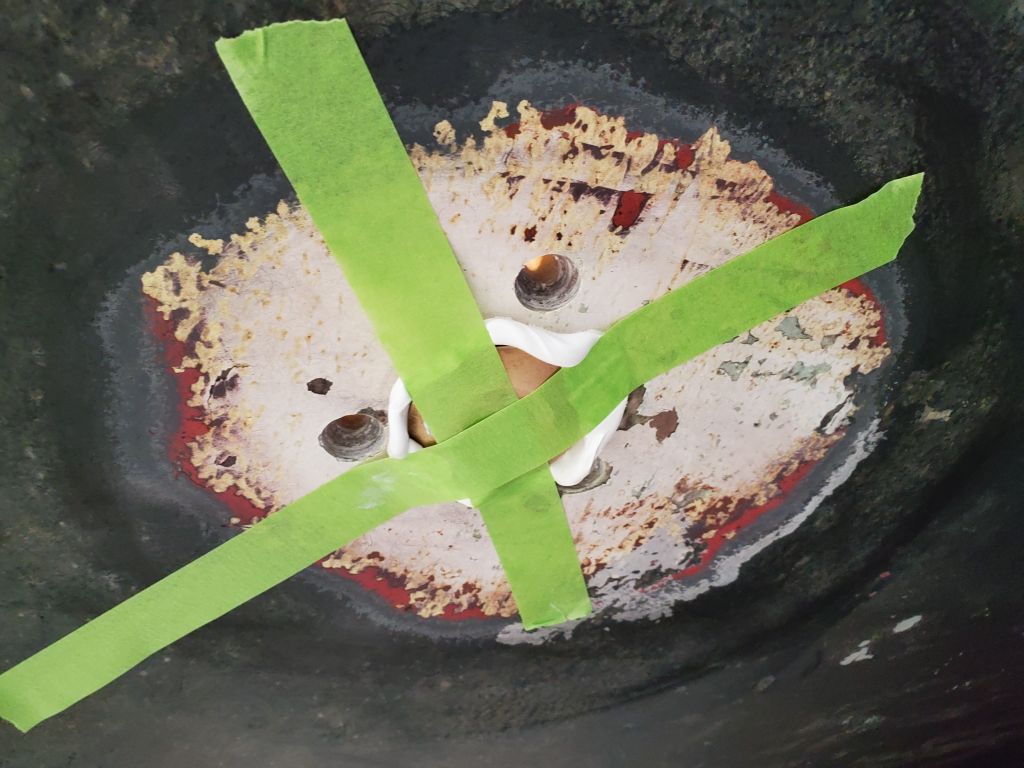
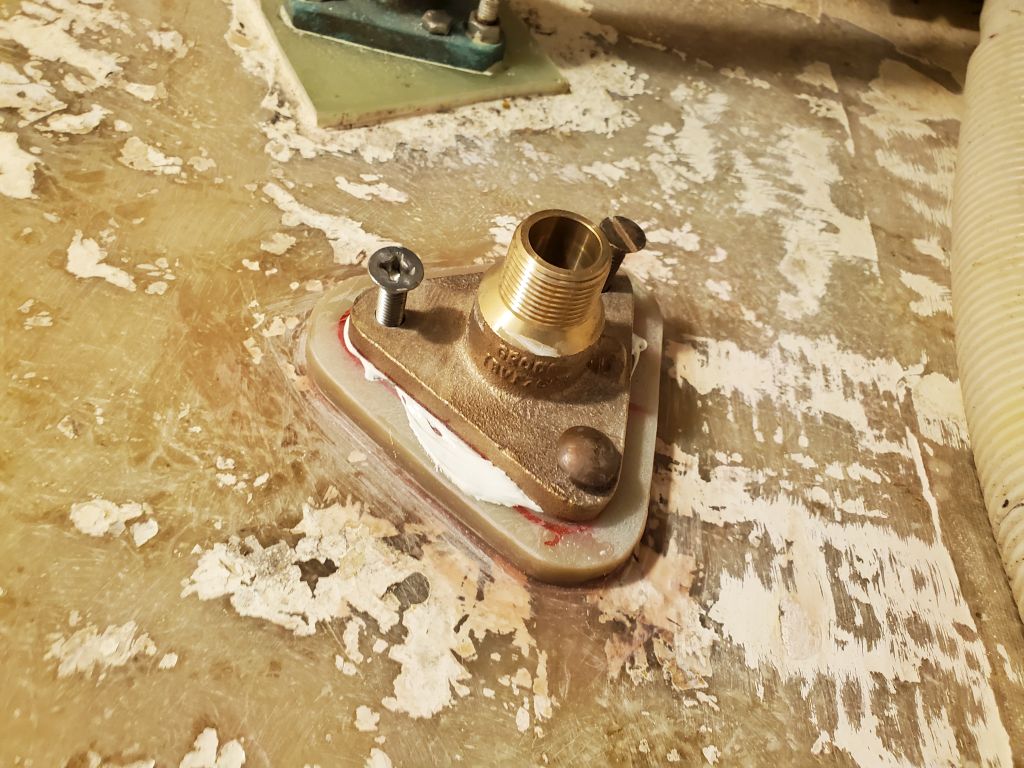
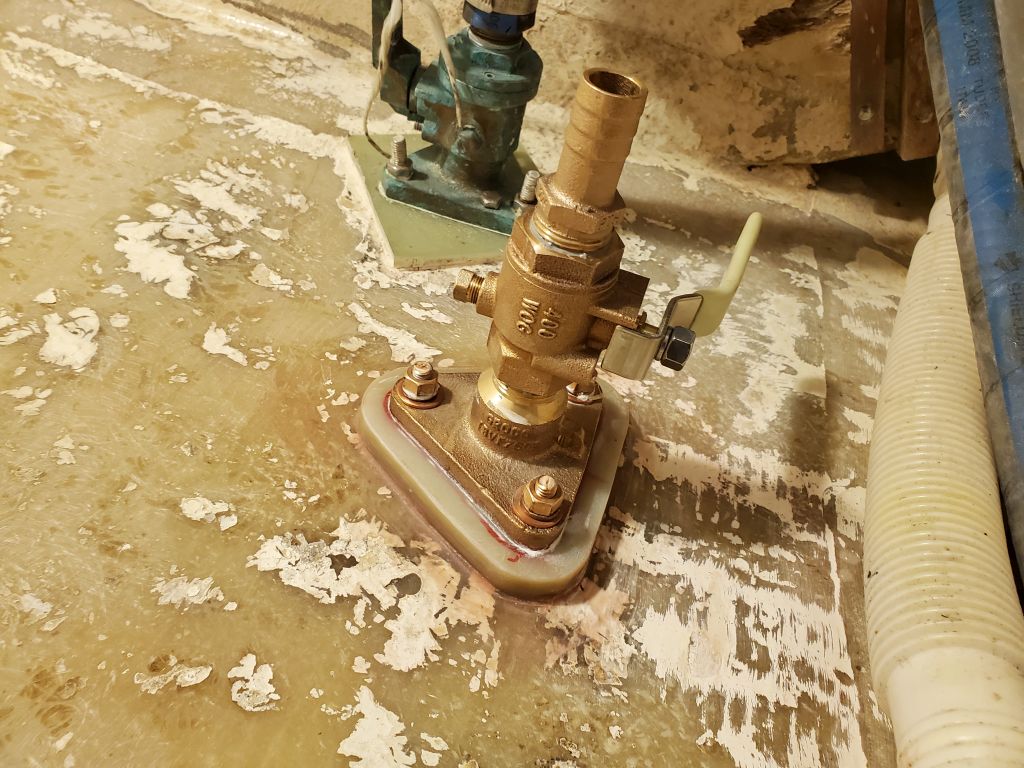
With the through hull cut to length and the threads cleaned up as needed to ensure the pieces mated correctly, I reinstalled the mushroom fitting from below and threaded the flange base into its final position, then, from above, drilled the through-bolt holes. Removing all the hardware, I finished up the new holes from below with a countersink to allow the bolt heads to mount flush or below the surface. After final cleanup, I installed the through hull and base permanently using 4200 sealant on the fitting, mounting bolts, and beneath the flange inside the boat. I started outside the boat with the through hull well-coated in sealant, pressing it into the hole and securing it with tape, then, from inside the boat, threaded on the base till I could install temporary place-holder bolts from above, after which I returned to the outside to install the final bolts (bronze flathead machine screws), well-gooped with sealant, and thread in the through hull the rest of the way with a special tool. Then, back inside once more, I secured the bolts with nuts and washers before cleaning up all the excess sealant in all areas and, finally, threading on the shutoff valve and hose barb to complete the installation. Sometime later, once the adhesive sealant was fully cured, I’d come back and flush-fill the bolt holes on the outside.
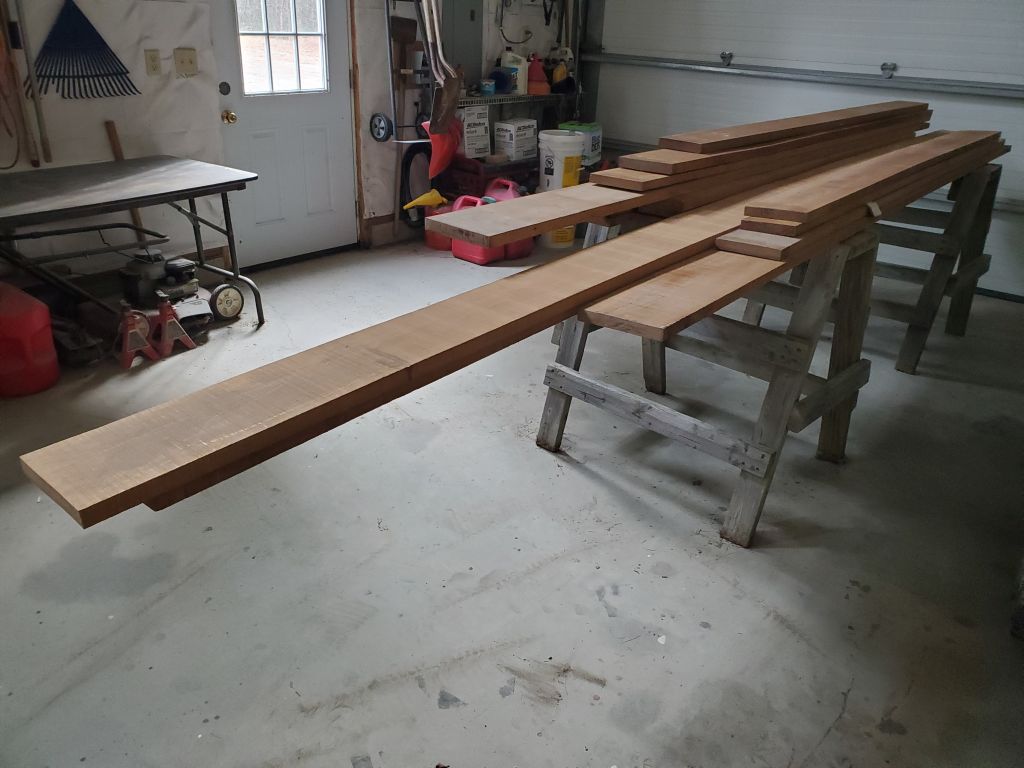
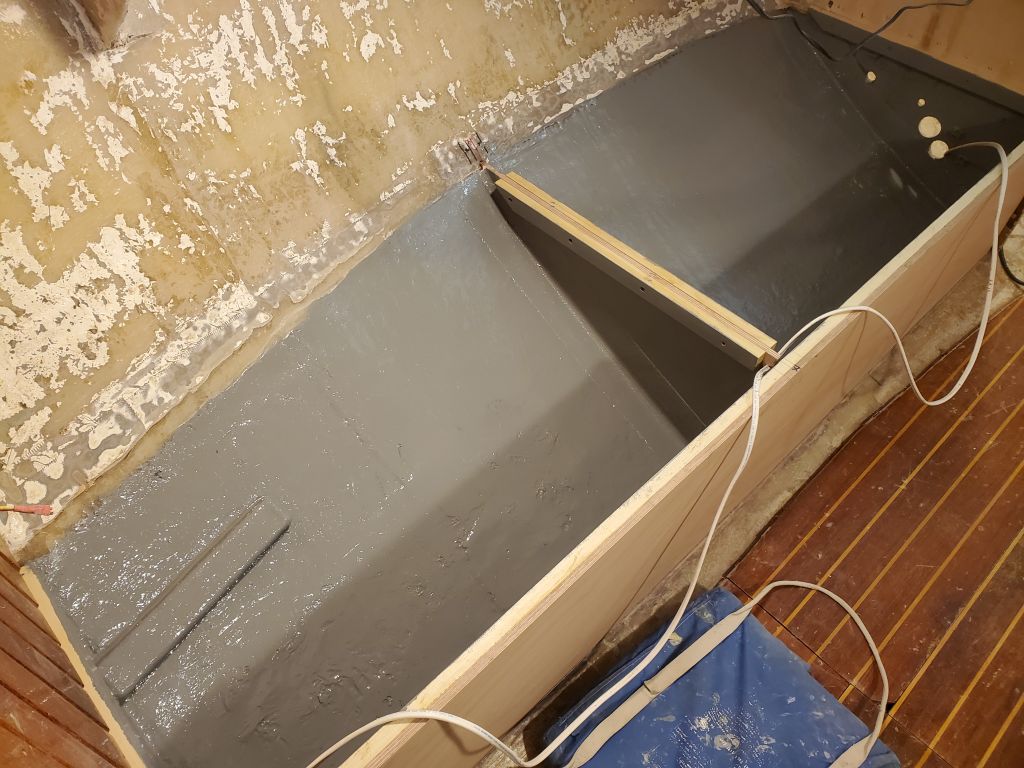
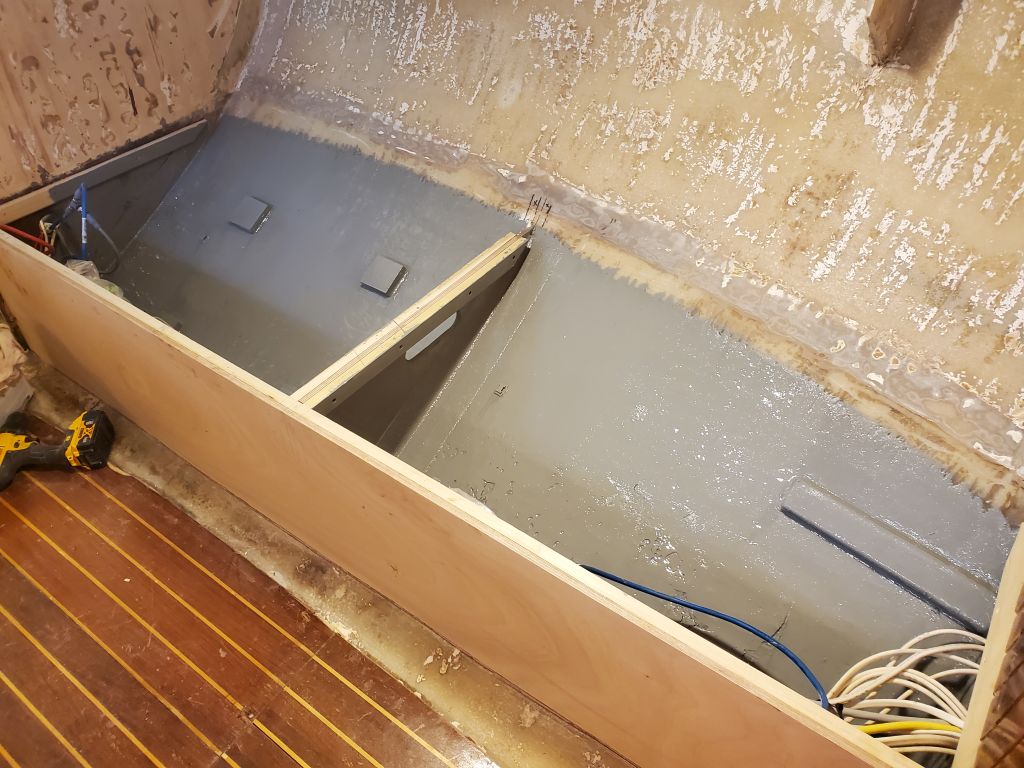
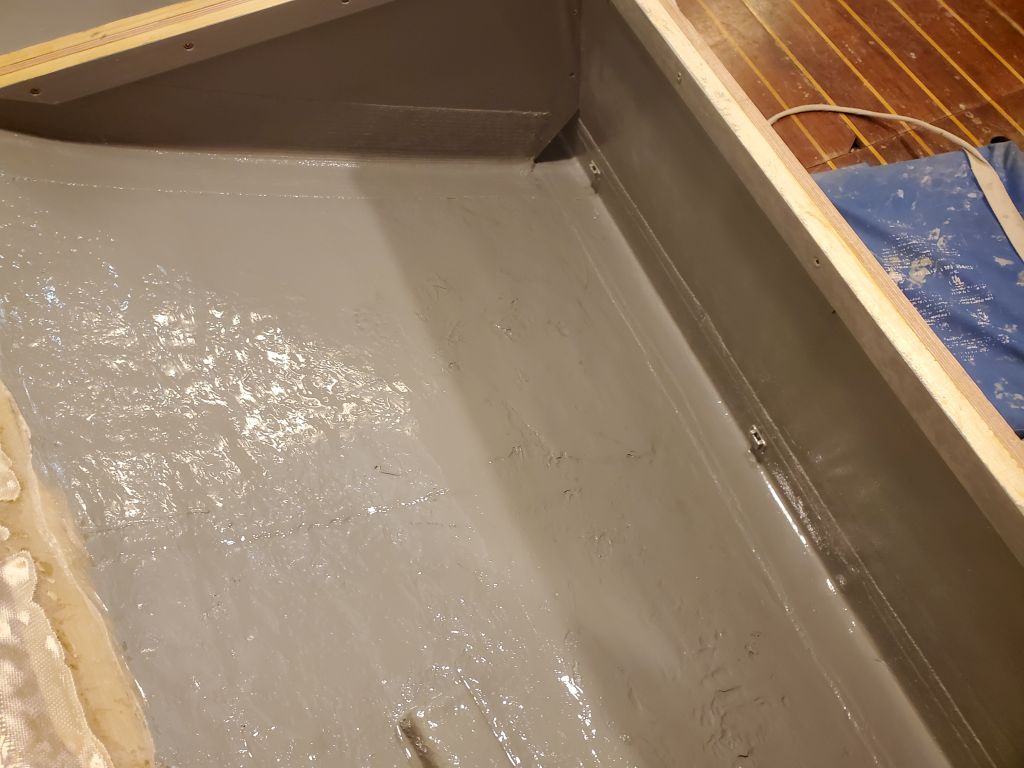
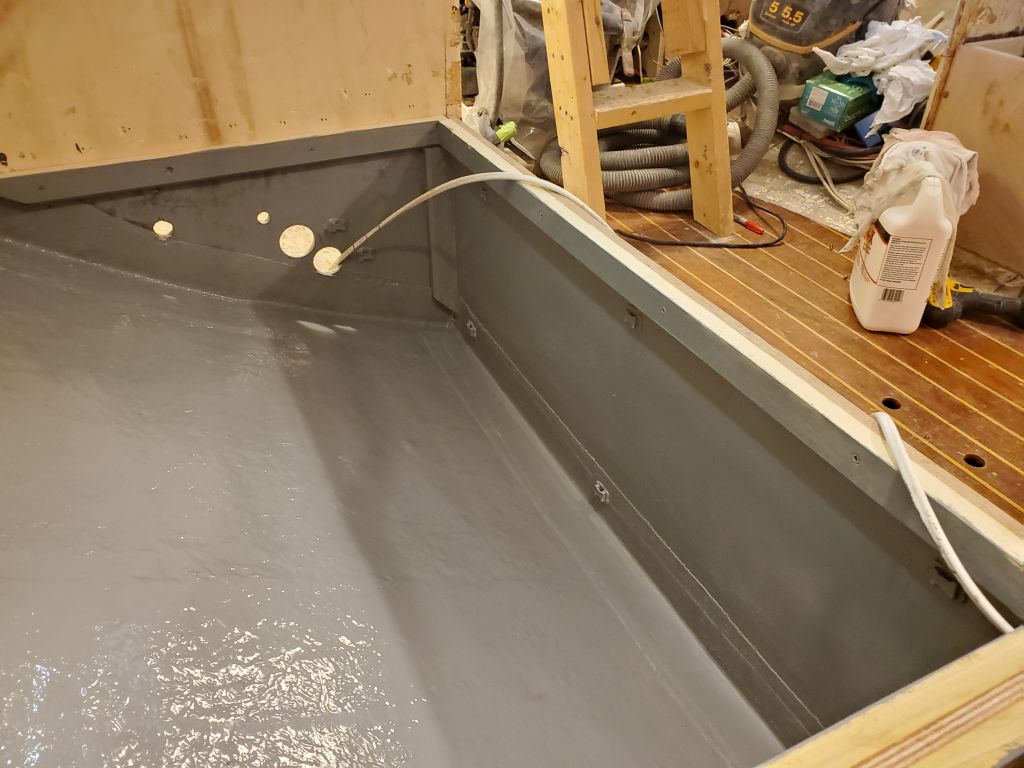
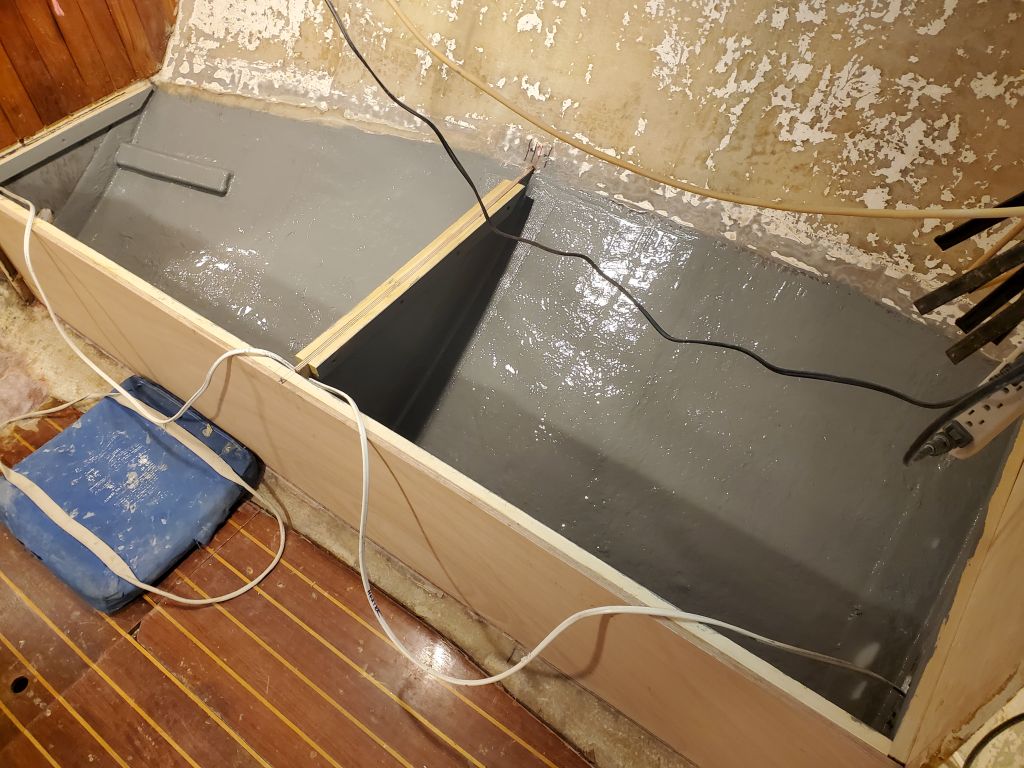
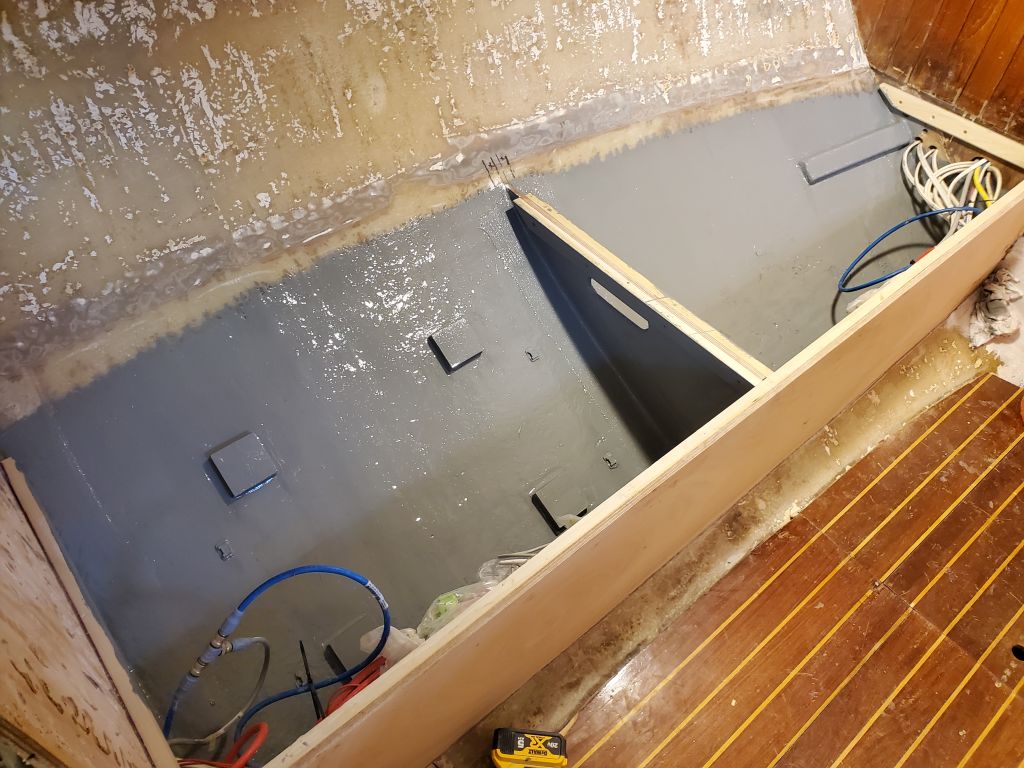
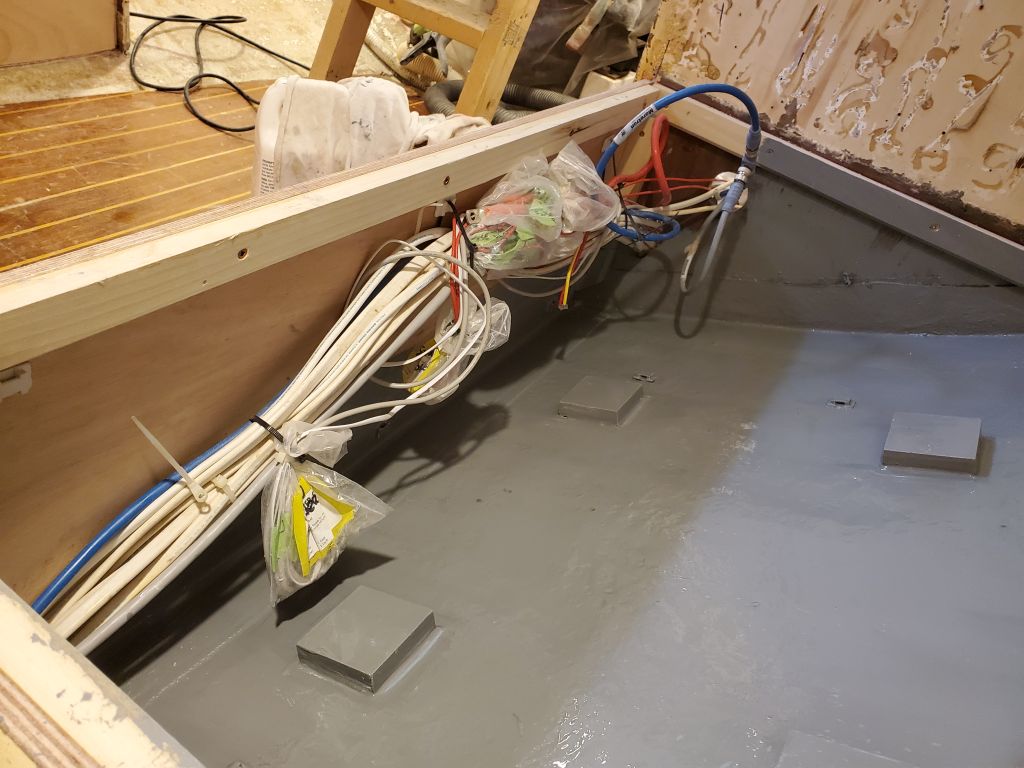
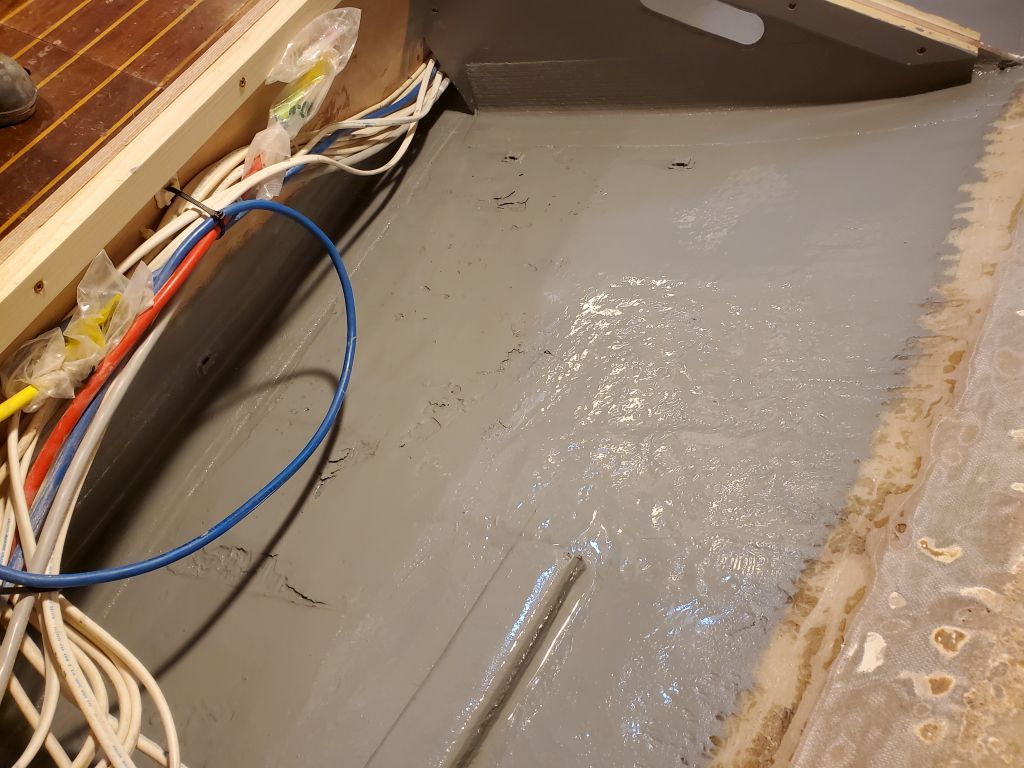
After receiving an order of rough teak stock to be used for interior trim later in the project, I turned to the settee lockers, ready now for their final coating and the final steps before I could install the berth tops and continue construction. With just a single wire on the starboard side, I could paint all surfaces inside the locker, but on the port side, with its large wire bundle secured as much as possible up at the top of the settee front, I’d need to complete the painting over two days, starting now with the hull and as many other surfaces as I could do while the wires were out of the way.
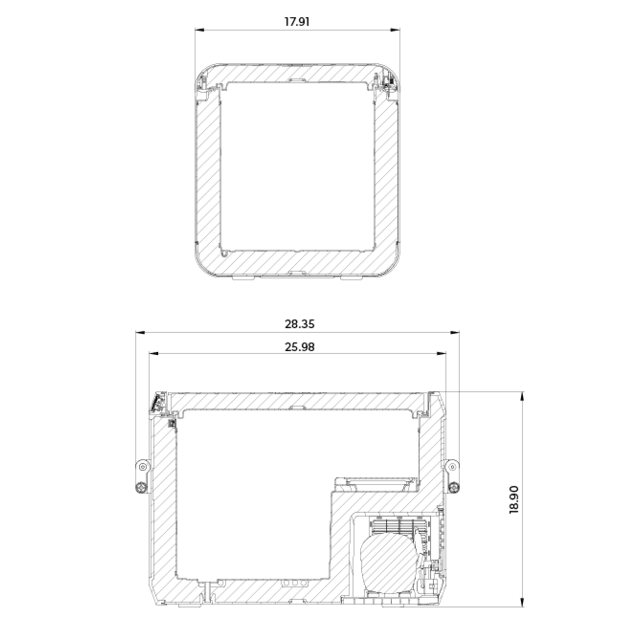
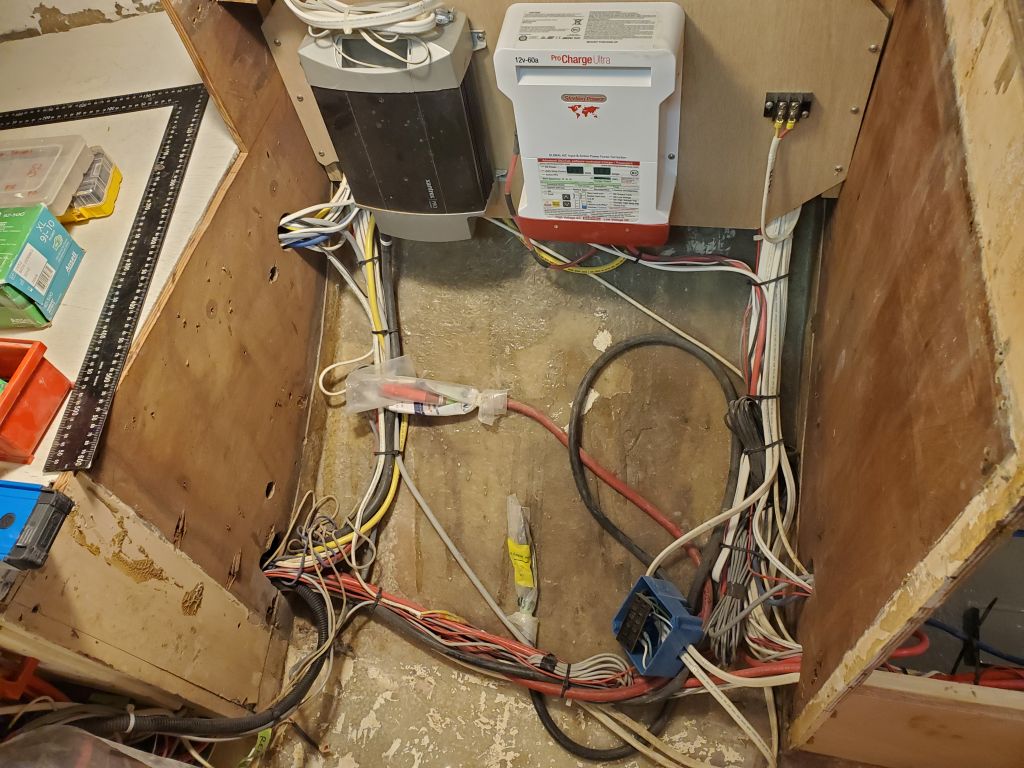
With the settees slowly coming together, one of the next focuses in the interior was going to be the galley construction, and to that end I spent some time going over the installation details for the new propane stove/range, to be installed in gimbal mounts on the starboard side of the galley, and the “portable” refrigerator/freezer the owner purchased to go in the old nav station to port. I’d get to the stove and its required construction soon enough, but for now decided to cogitate the enclosure required for the refer on the port side, in part because it was a more (relatively) straightforward conception and also because I wanted to confirm beyond all doubt that the unit would fit as planned. I’d done the measurements earlier to approve the fit in concept, but with the unit on hand and unpacked, it was time to find out for real. The measurements all fit, but there wasn’t a lot of extra room in any direction. The refer also needed some space around it for ventilation, some of which could be enhanced by openings in the panels when possible.
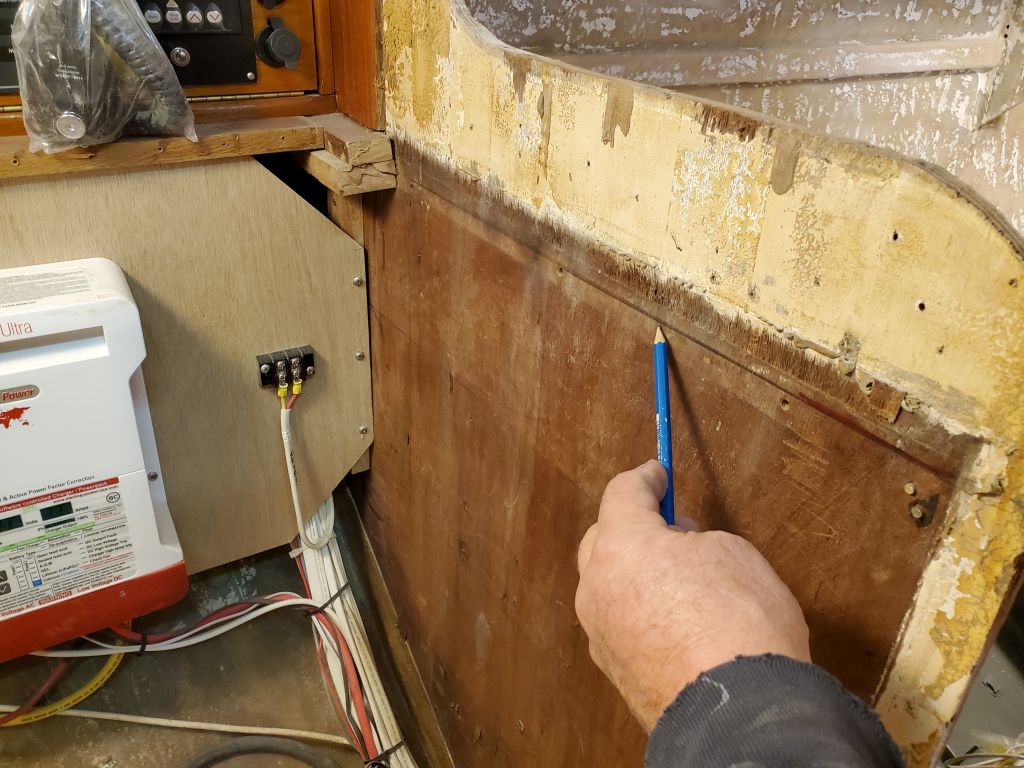
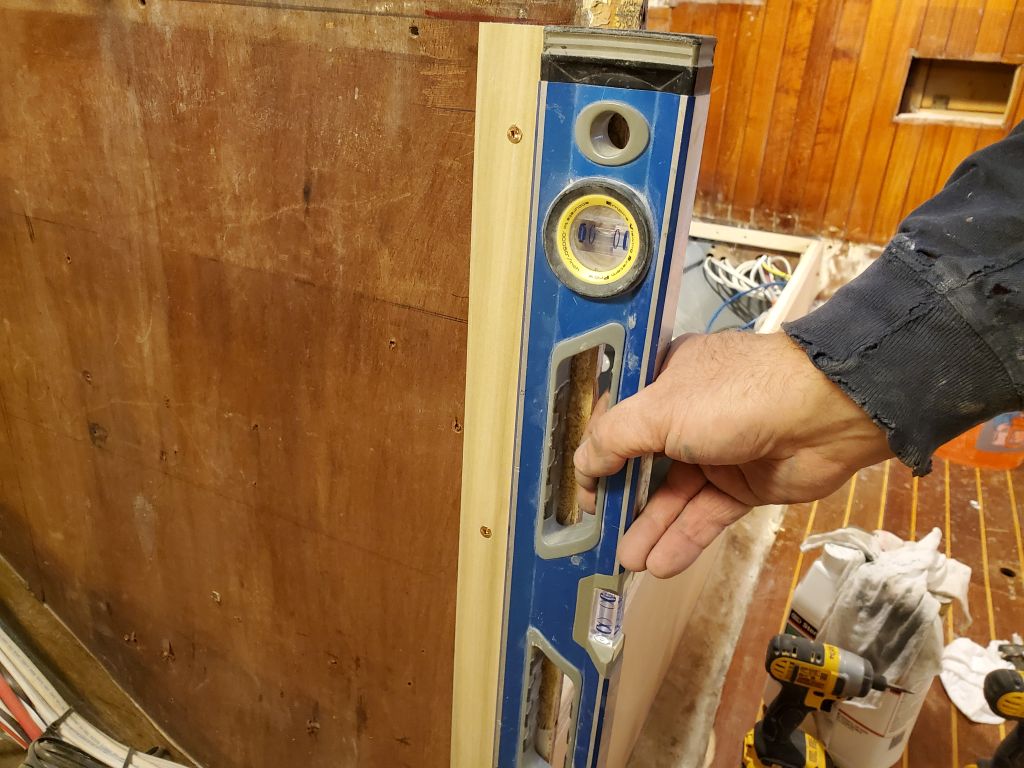
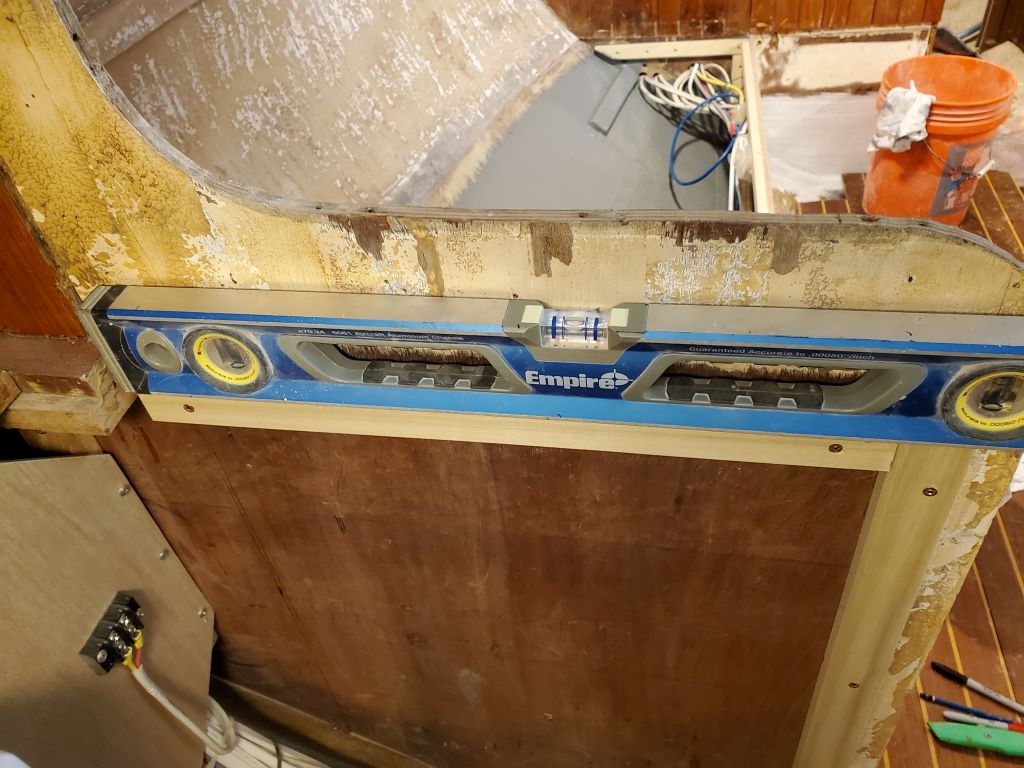
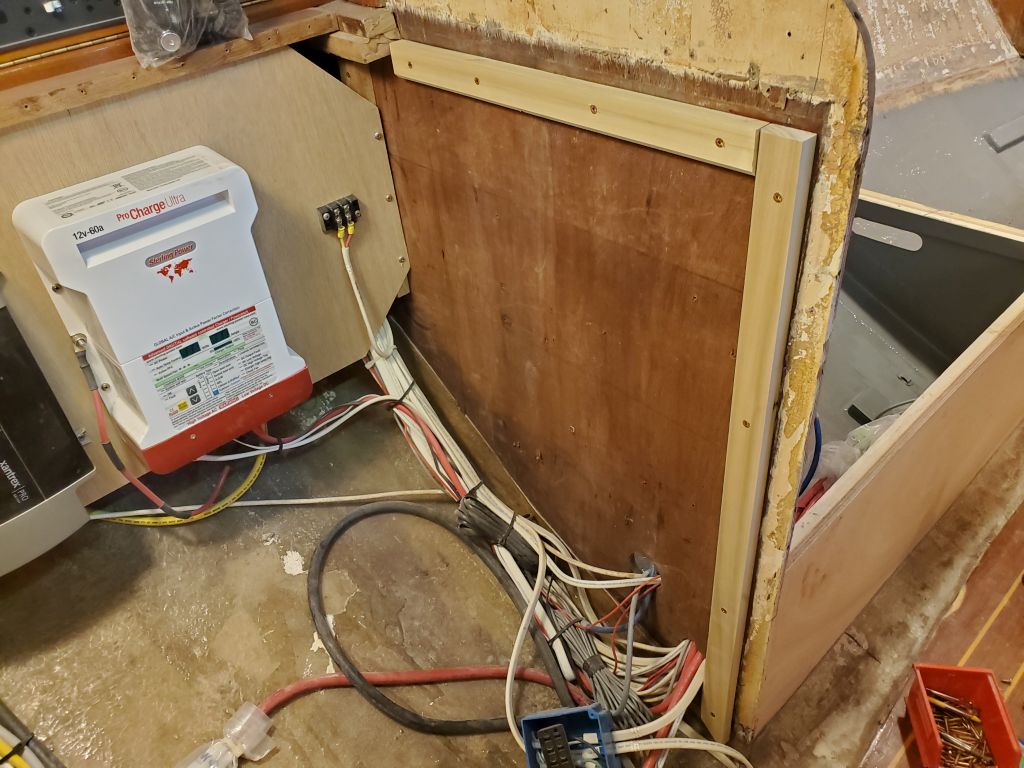
I started with the proposed countertop height off the existing sole, 36″, and made a level mark on the forward bulkhead in the space. From that reference, I could start to work out the size of the space actually available, between the curvature of the hull, the height required to fit the refer, and the existing wiring and other installations in the space, and from there determine the other fixed points from which to work. Matching the settees, I dry-installed a vertical cleat 1″ in from the edge of the bulkhead (so the face of the new cabinet would end up roughly 1/2″ inset, like the settee), then dry-installed a cleat at the countertop height. All this work brought me to the end of the day, but next time I’d continue with a full dry-fit of the cleats and panels in this space before committing to the final installation.
Total time billed on this job today: 7.5 hours
0600 Weather Observation: 32°, partly clear. Forecast for the day: Overcast, chance of snow showers, 44°