


January 31, 2024
Calliope Girl 55
Wednesday
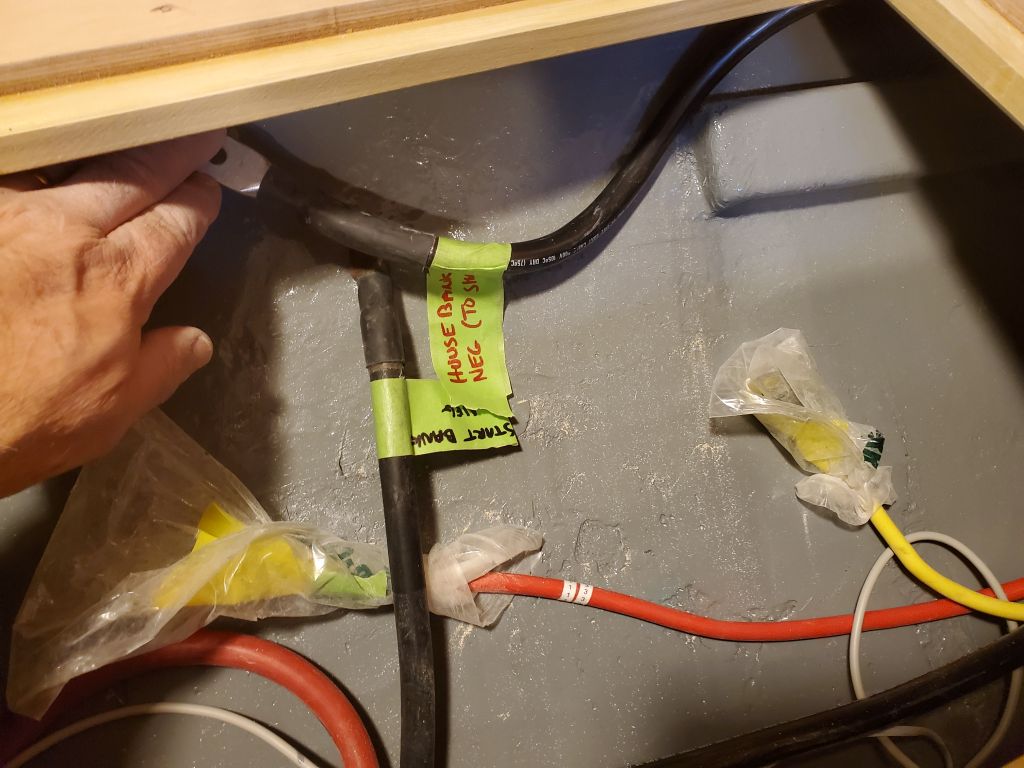
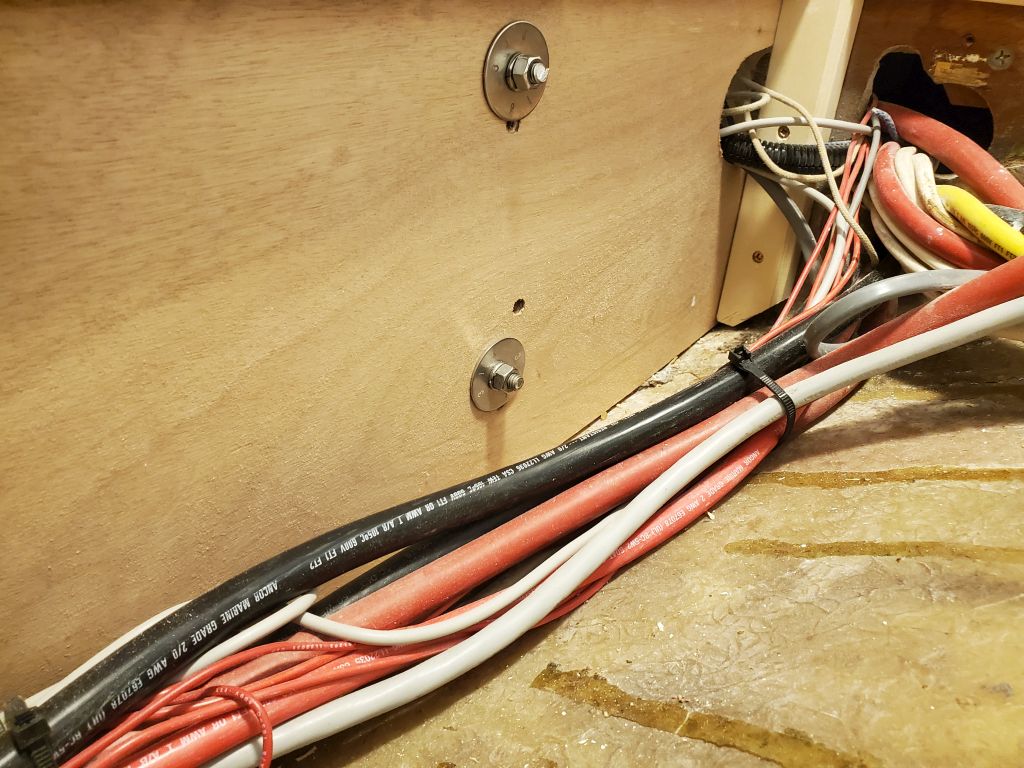
To prepare for “final” installation of the newly-painted panels for the refrigerator enclosure (these panels were built to be removable for service later), I had a couple tasks to complete first, starting with leading a 2/0 negative battery cable for the house bank, running from an engine room shunt forward towards the eventual battery compartment. I recycled one of the cables that had once led to the starboard battery bank, and snaked and secured it through the wire runs as needed, leaving the end in the forward port settee locker for now, along with other wires awaiting final and additional attention once the batteries were in place.

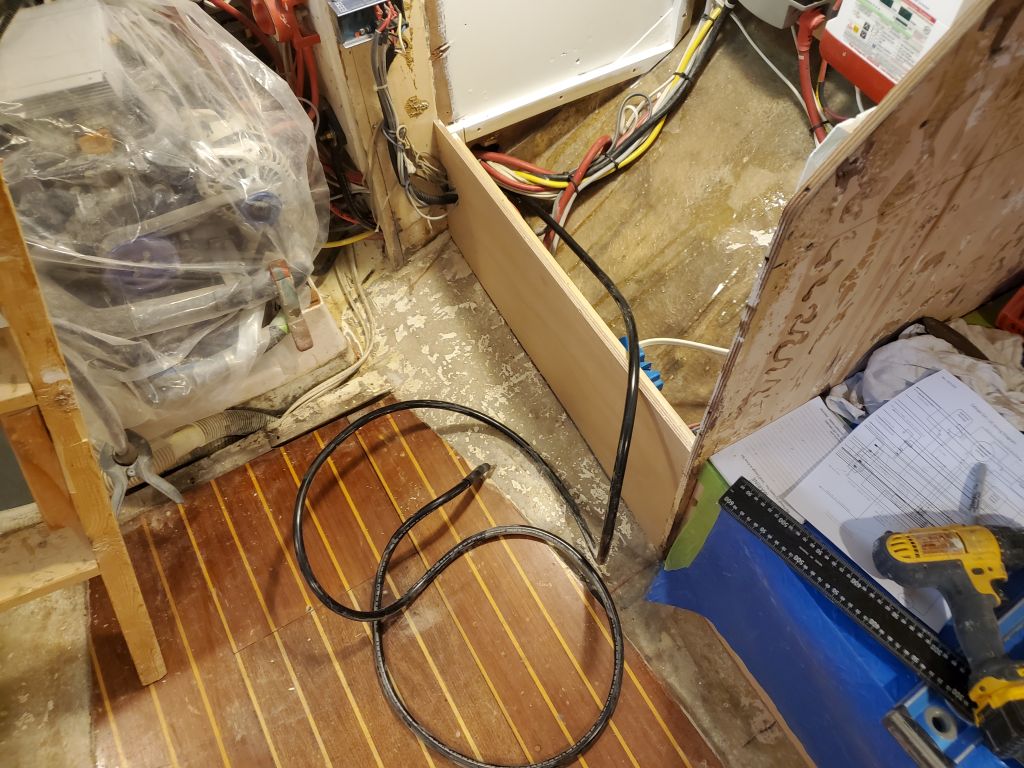
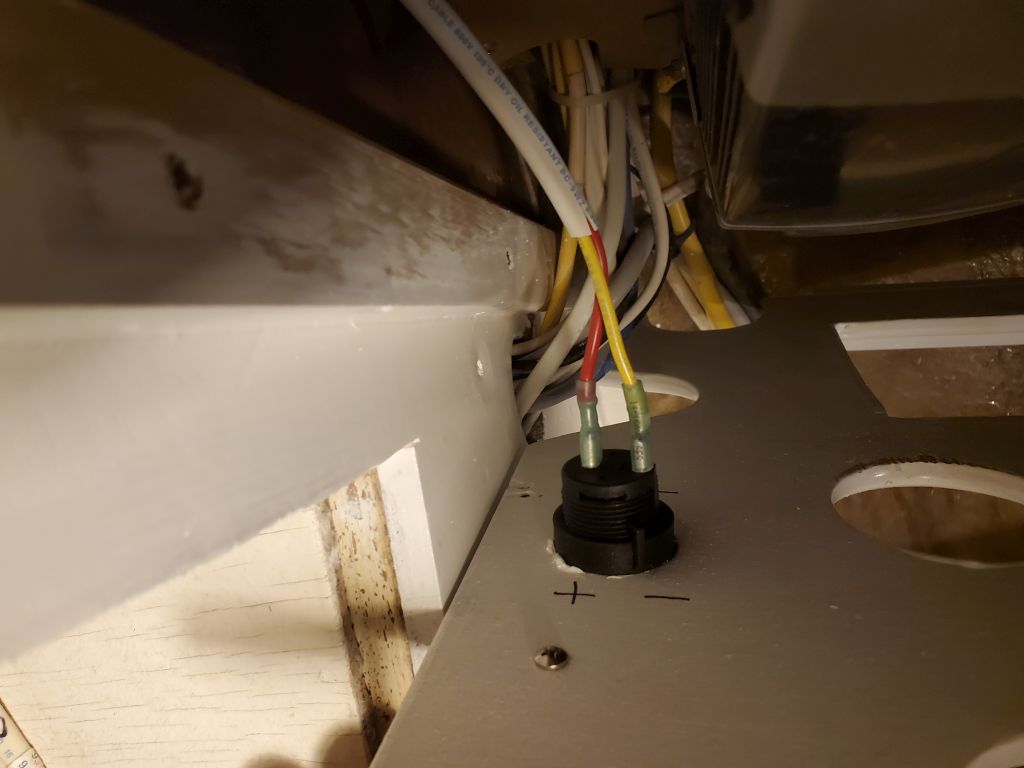
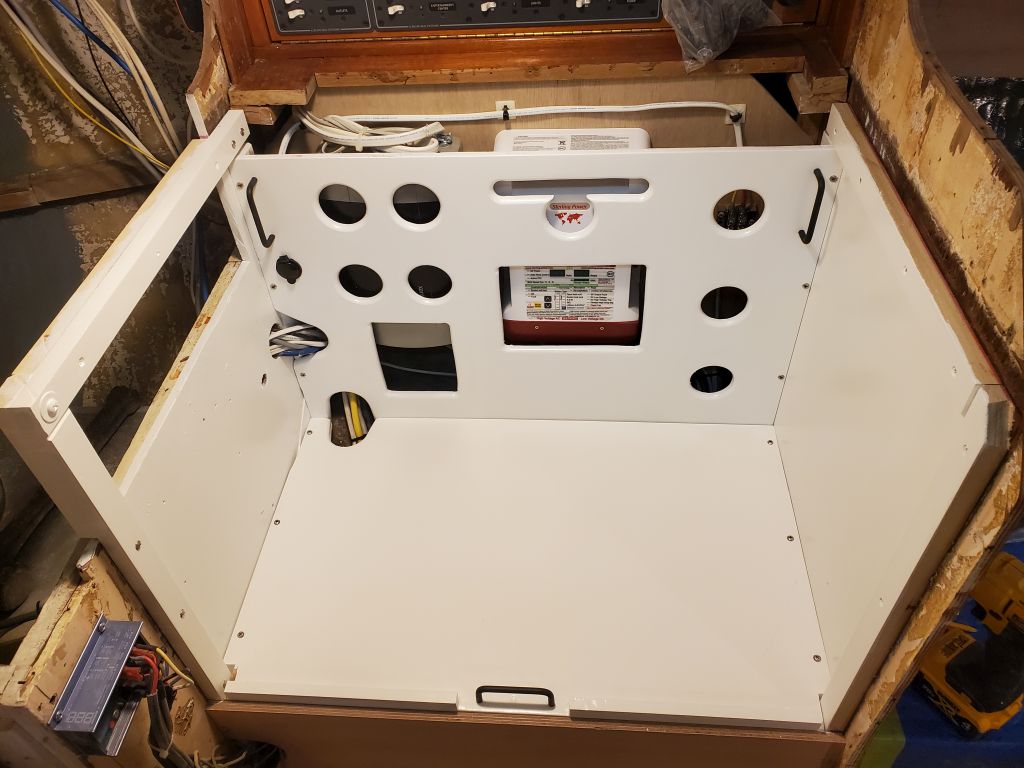
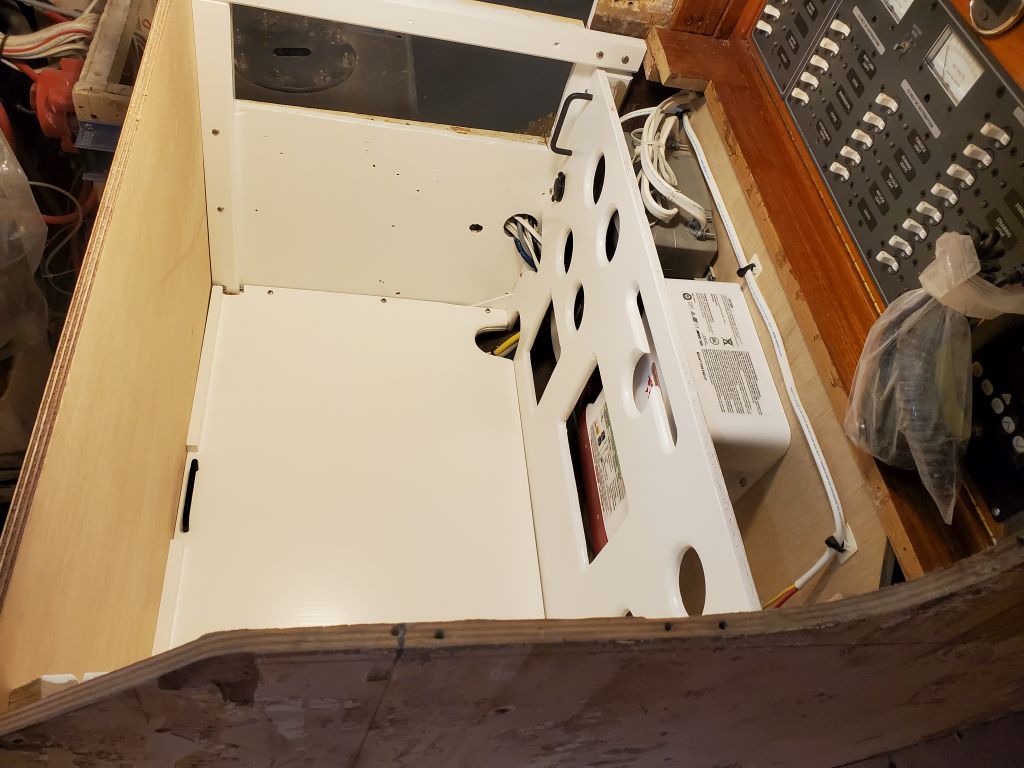
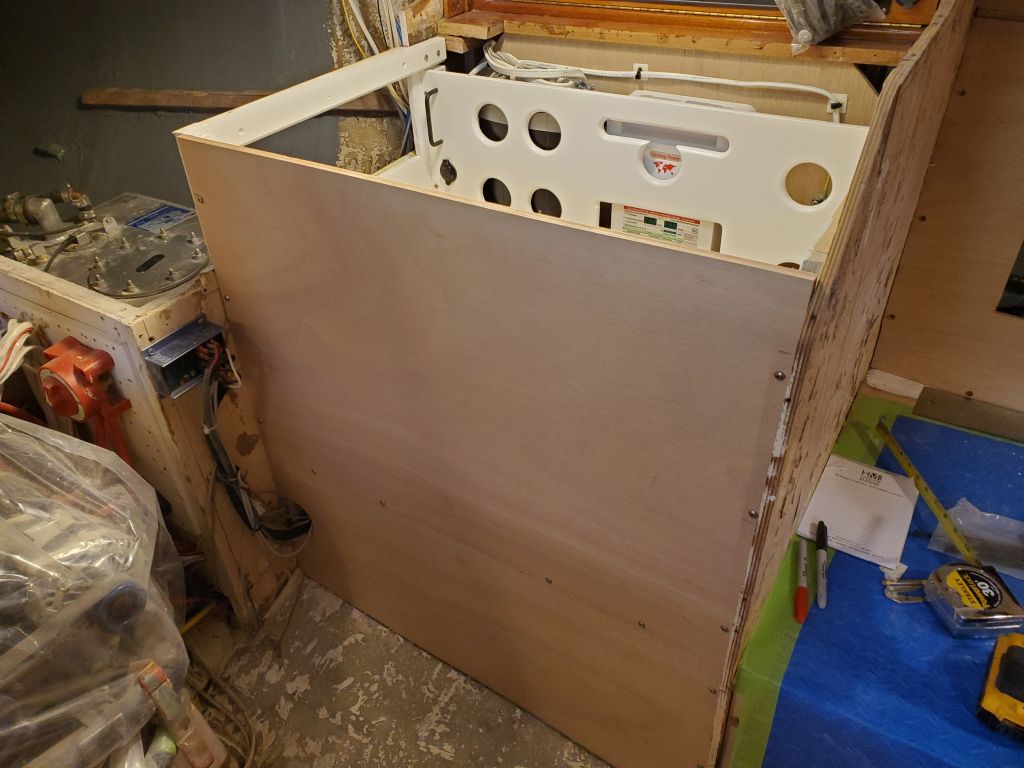
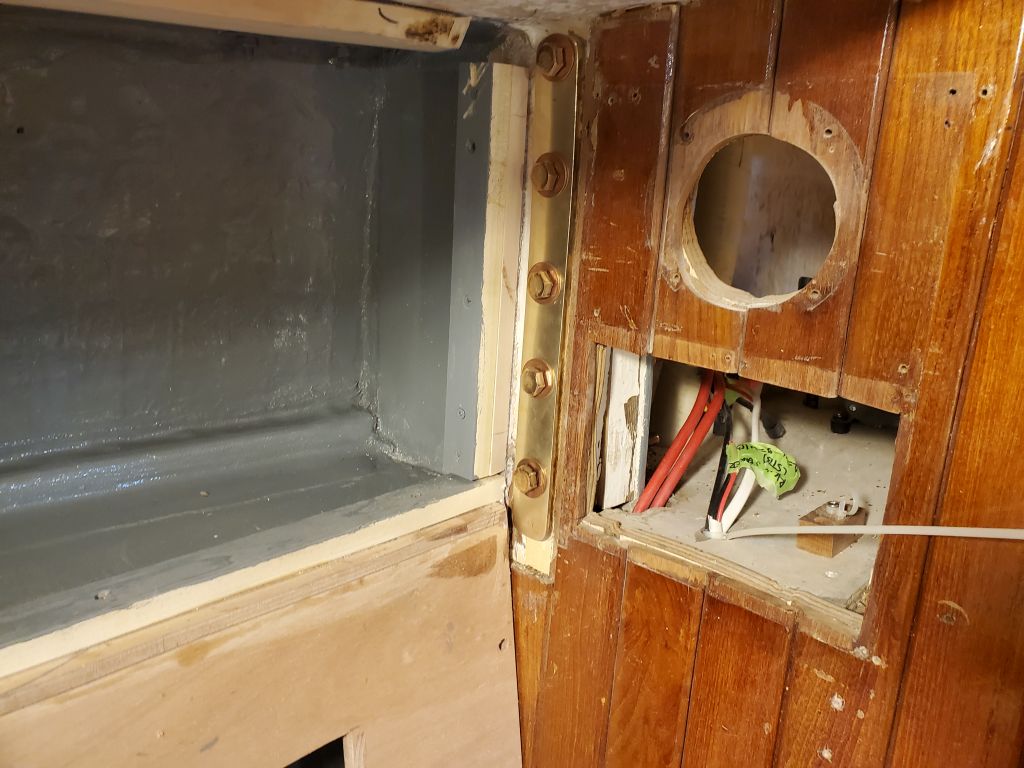
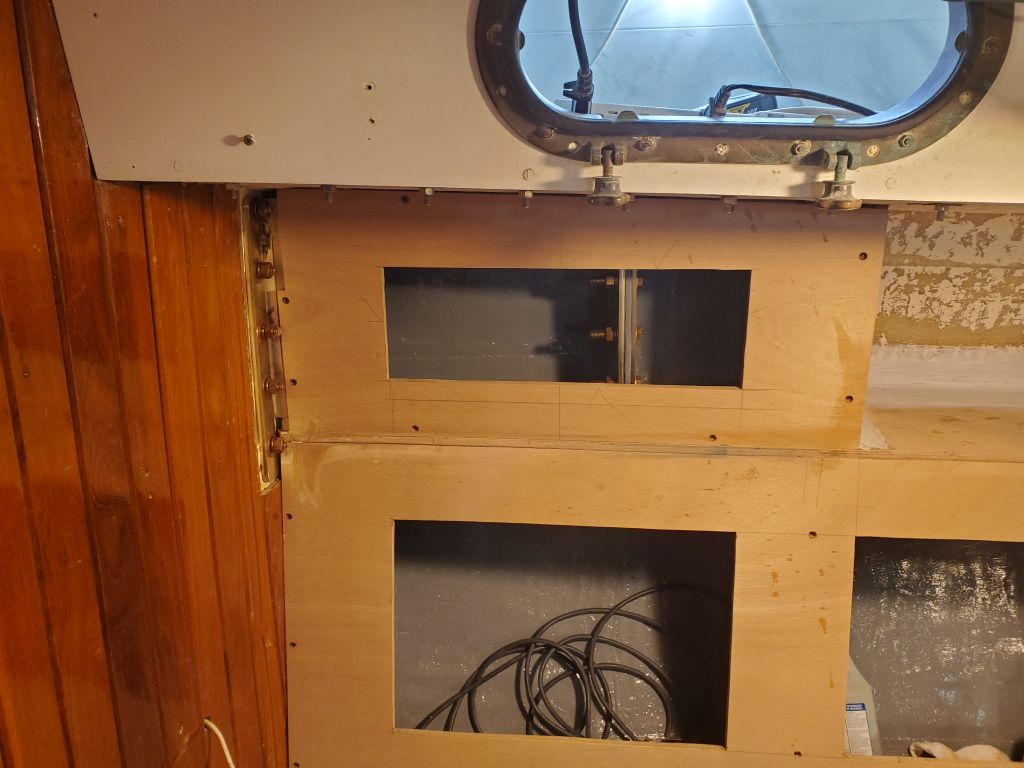
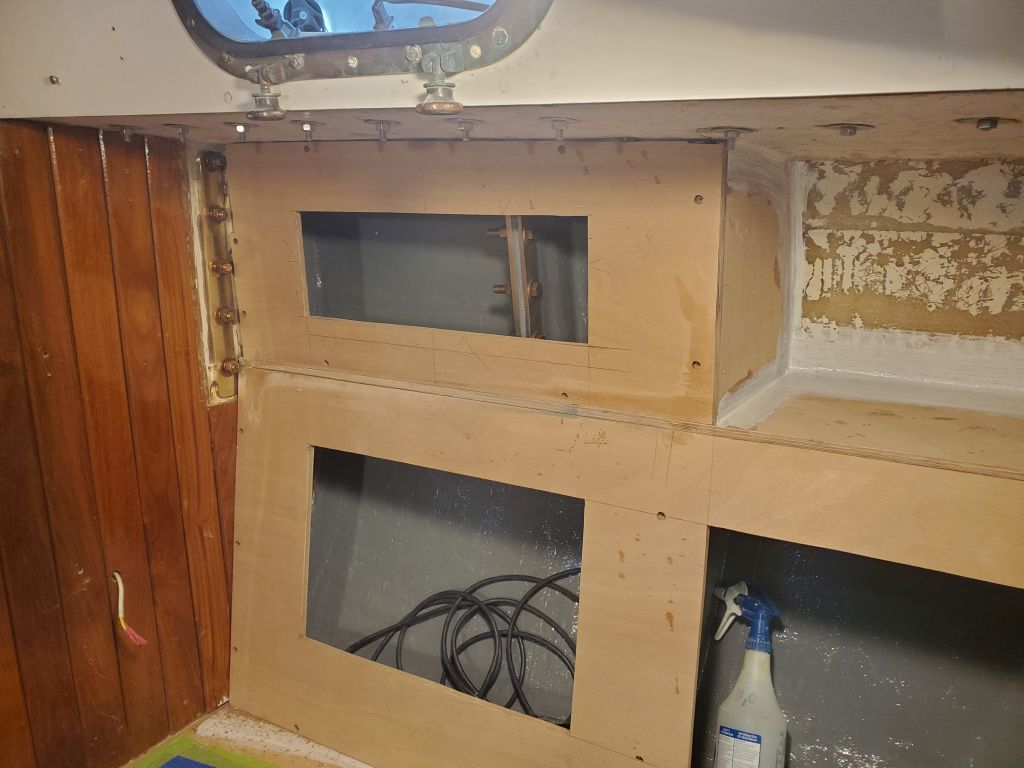
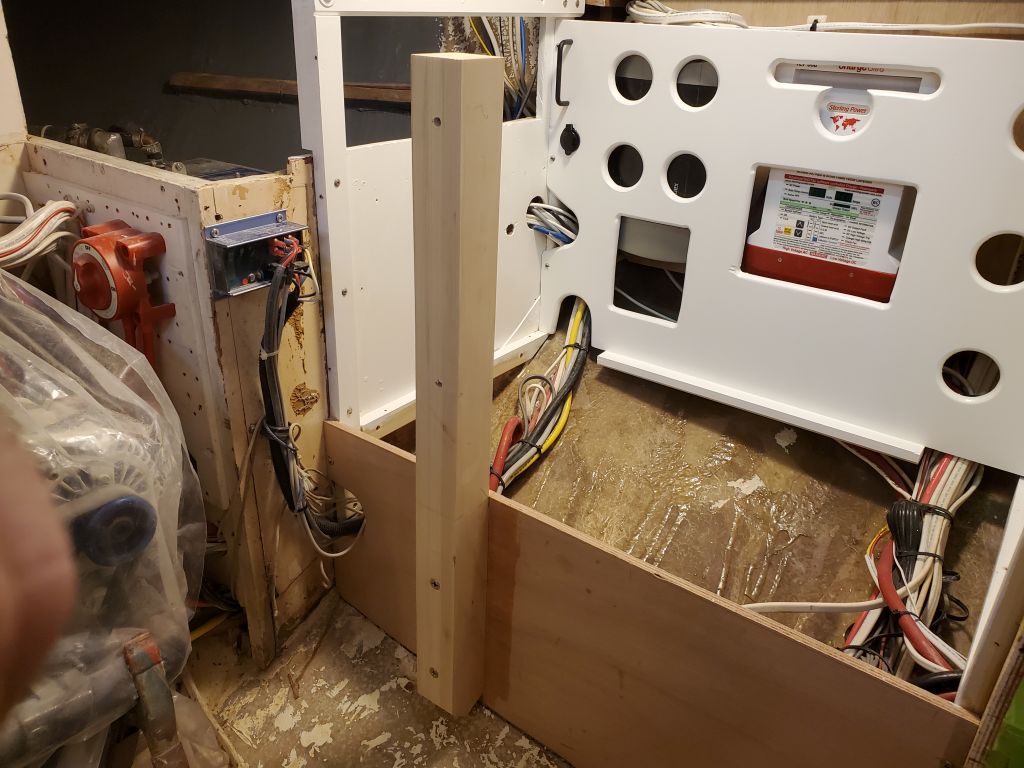
The electrical connection for the refrigerator was located on its aft side in this installation, and to prepare for this I installed a 12-volt receptacle in the vertical panel (I’d cut the hole earlier, before painting), and led a new wire from the existing terminal block, which was mounted on the forward end of the backing panel, around to the aft side, leaving enough wire there to allow the panel to be removed and the wires disconnected if needed. Then, I installed the vertical panel, as well as the floor of the space.


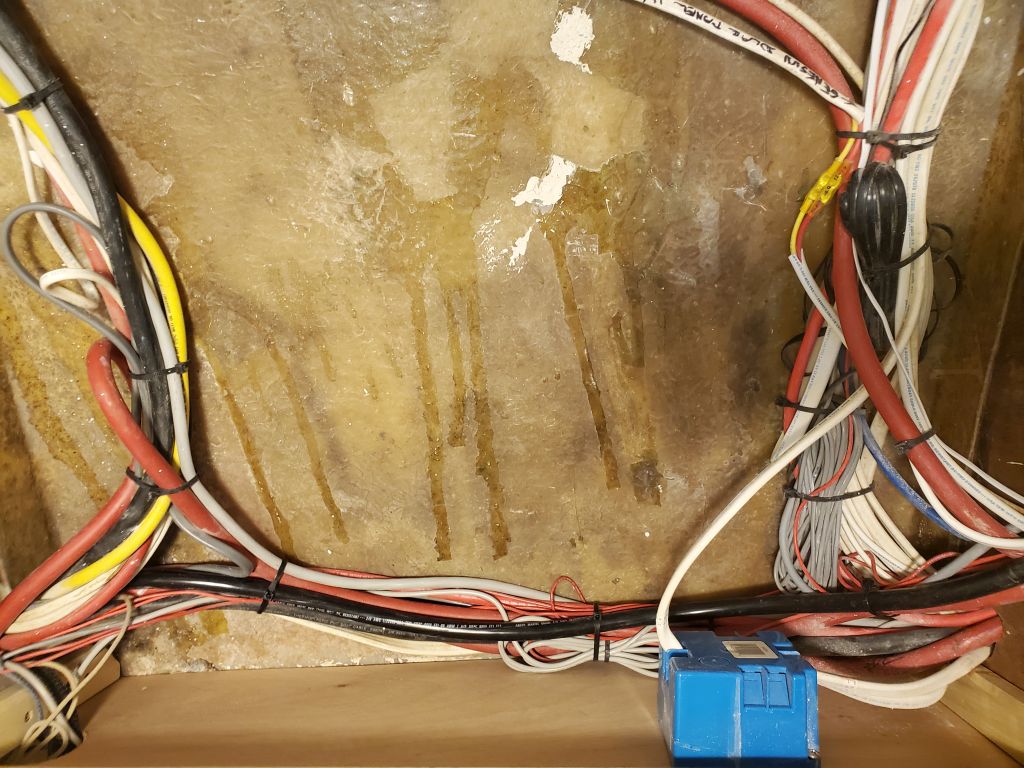
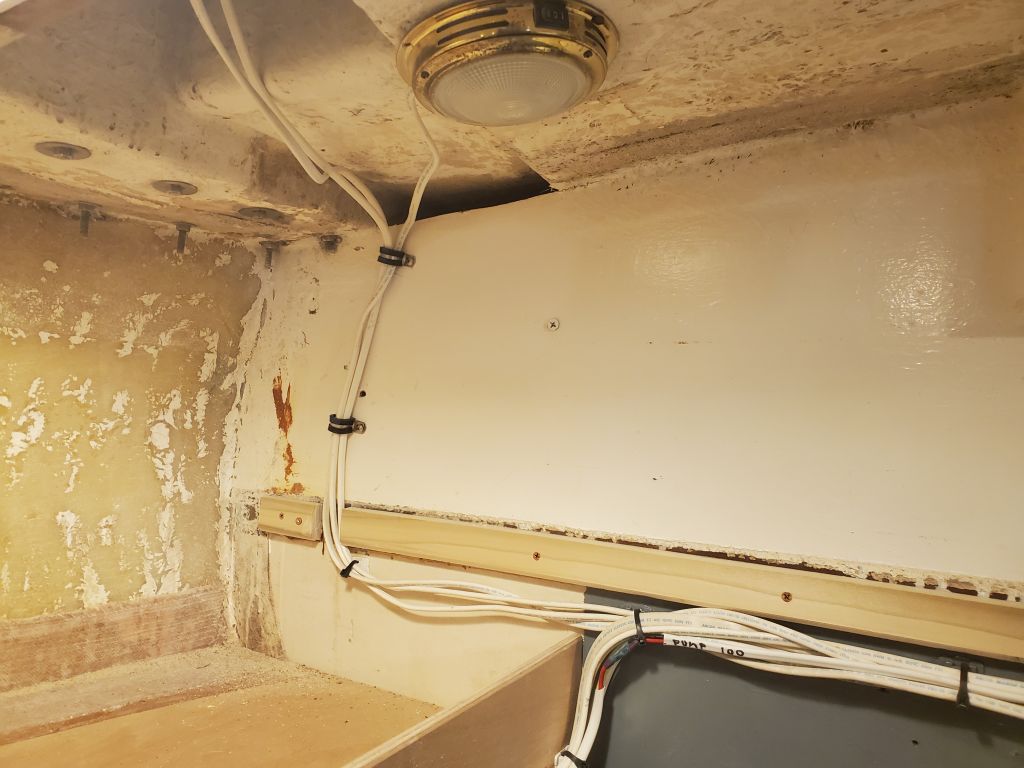
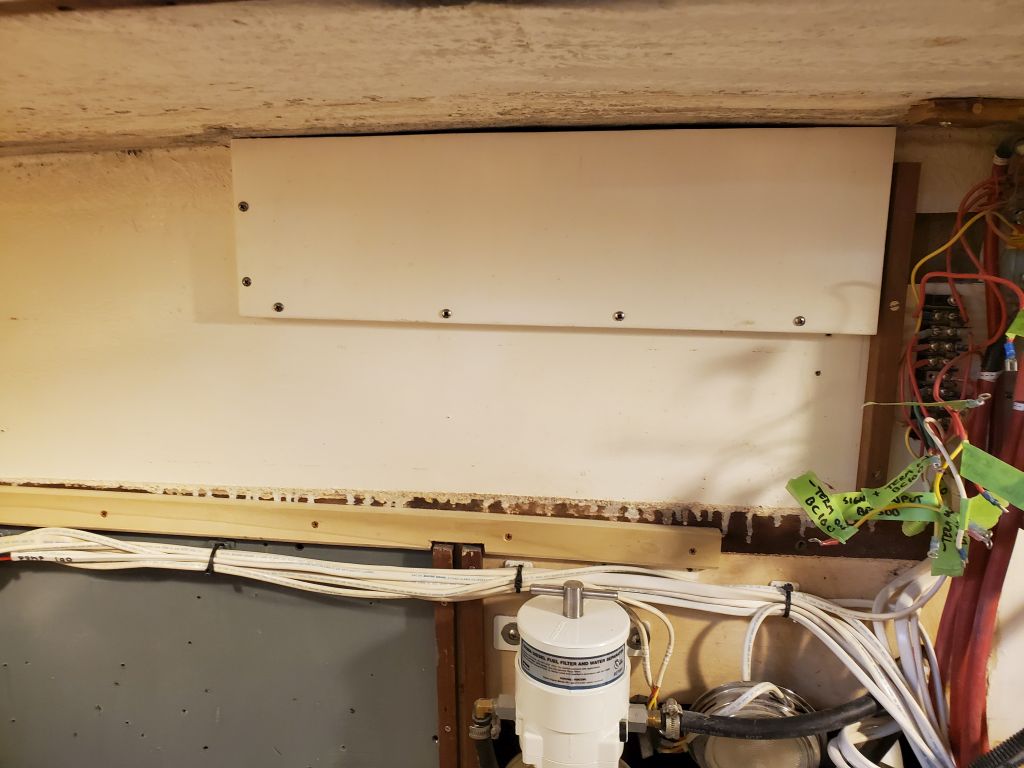
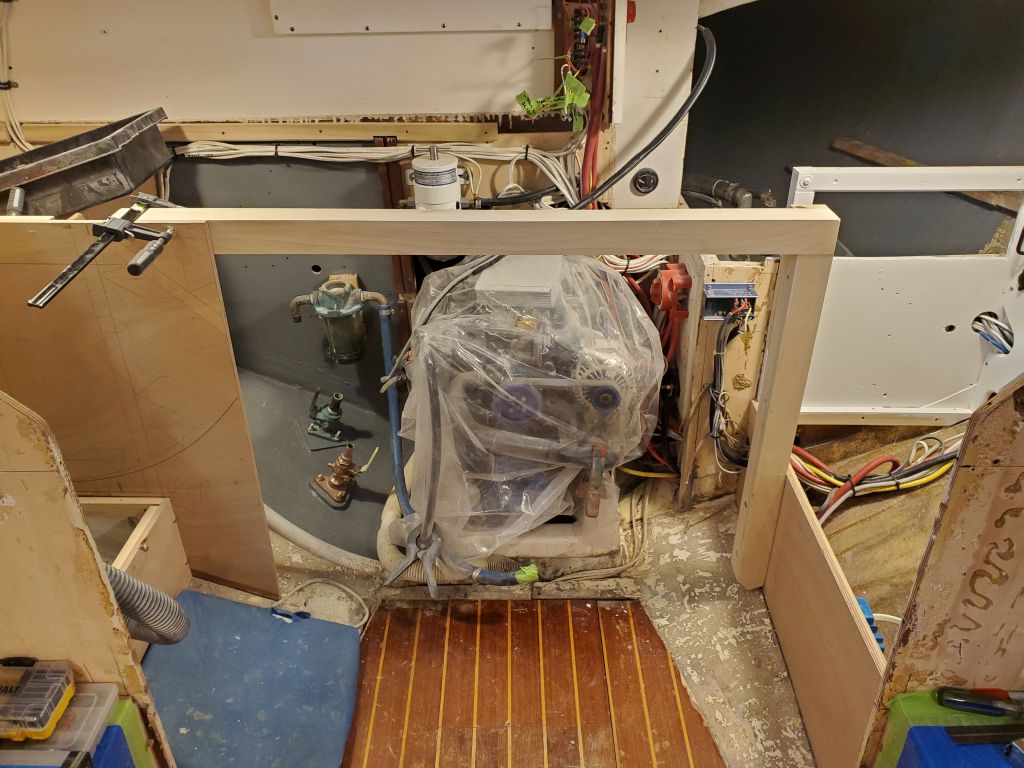
While I was doing electrical-y things, I cut an opening through the galley countertop support cleat and led three existing wires through, and secured them to the aftermost bulkhead out of the way; cutting through the cleat meant the wires would be tight to the bulkhead and taking up less space when the countertop was installed. These would eventually be hidden inside an upper galley locker. I also reinstalled a wooden cover panel for the engine panel and shore power outlet in the forward end of the cockpit; I’d removed this earlier in the project, thinking I might need access, but there was nothing in there that was related to anything I was working on in this project.
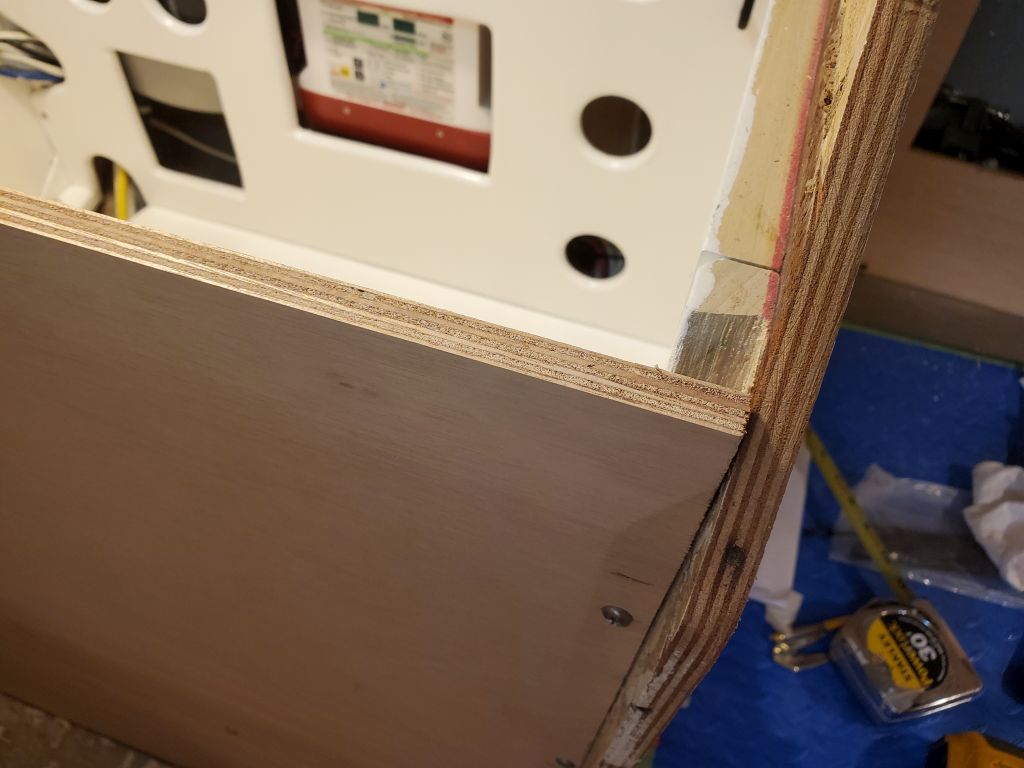
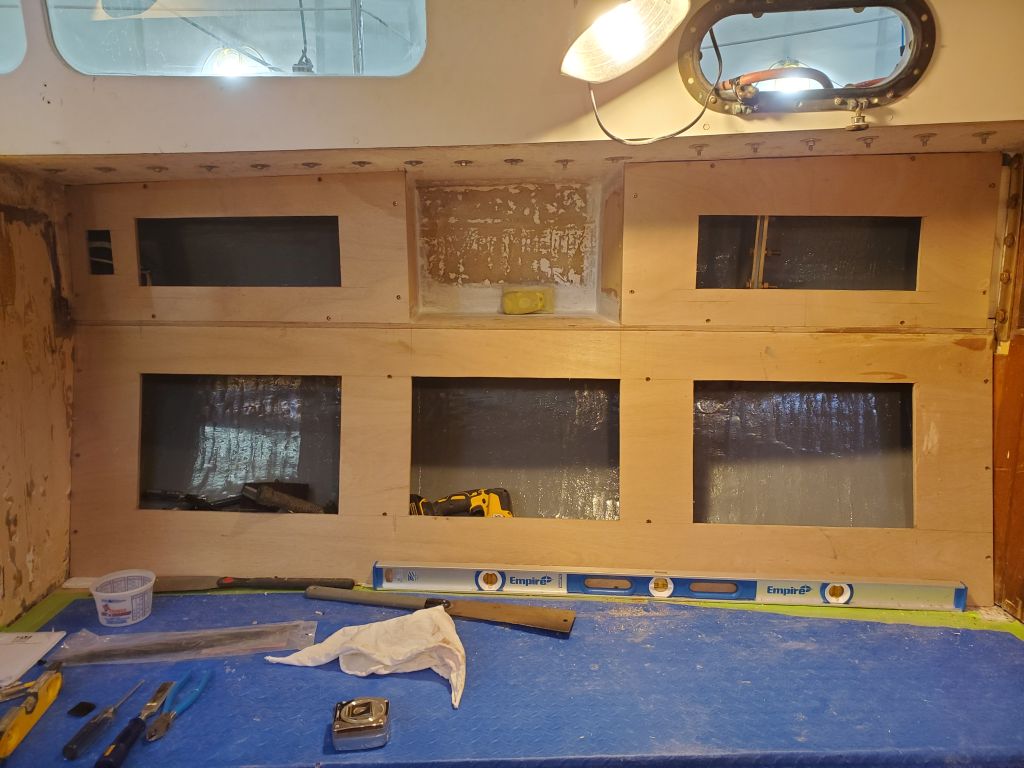
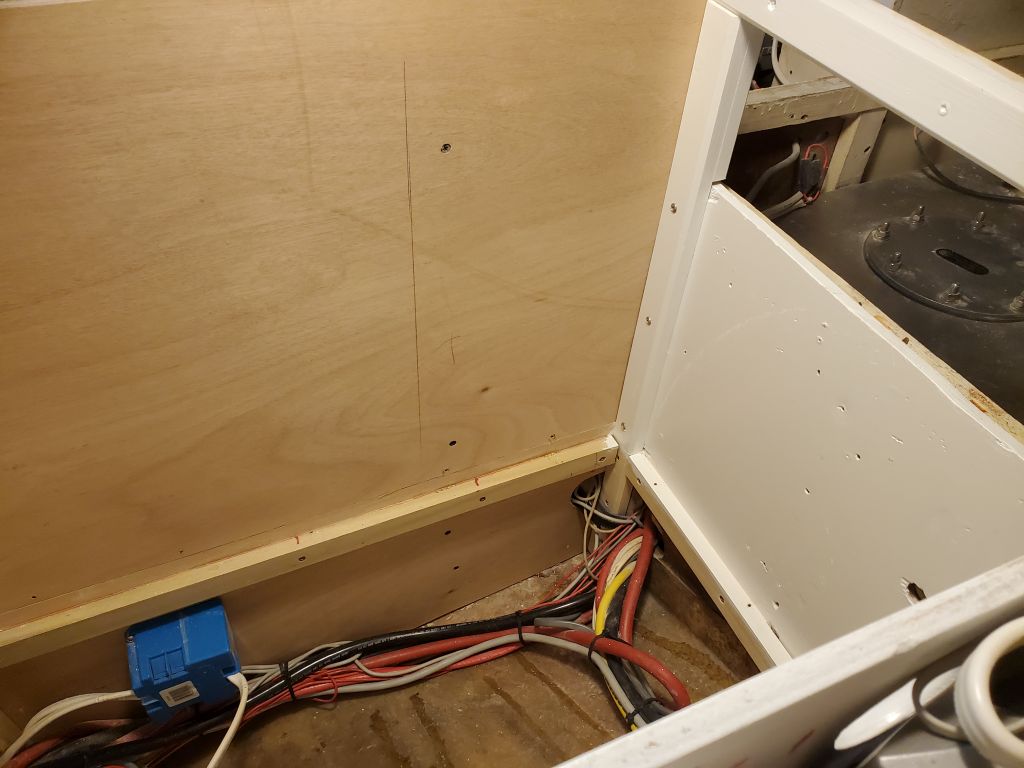
I test-fit the new inboard panel for the refer/engine room, and marked and cut the top to the correct (countertop) height. Sometime later, I’d figure out how the forward end would interact with the bulkhead trim and corner handles and finish it off appropriately.
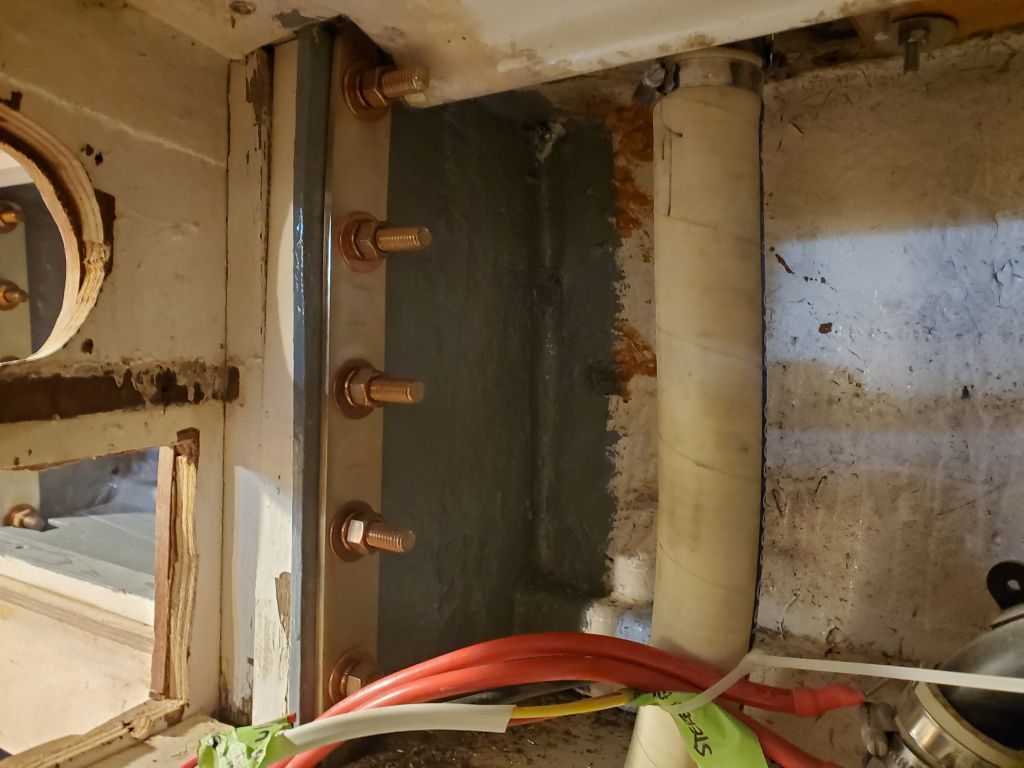
The additional bronze bolt and washers I needed for the chainplates had arrived, so I finished up the installation of the main chainplates on both sides.

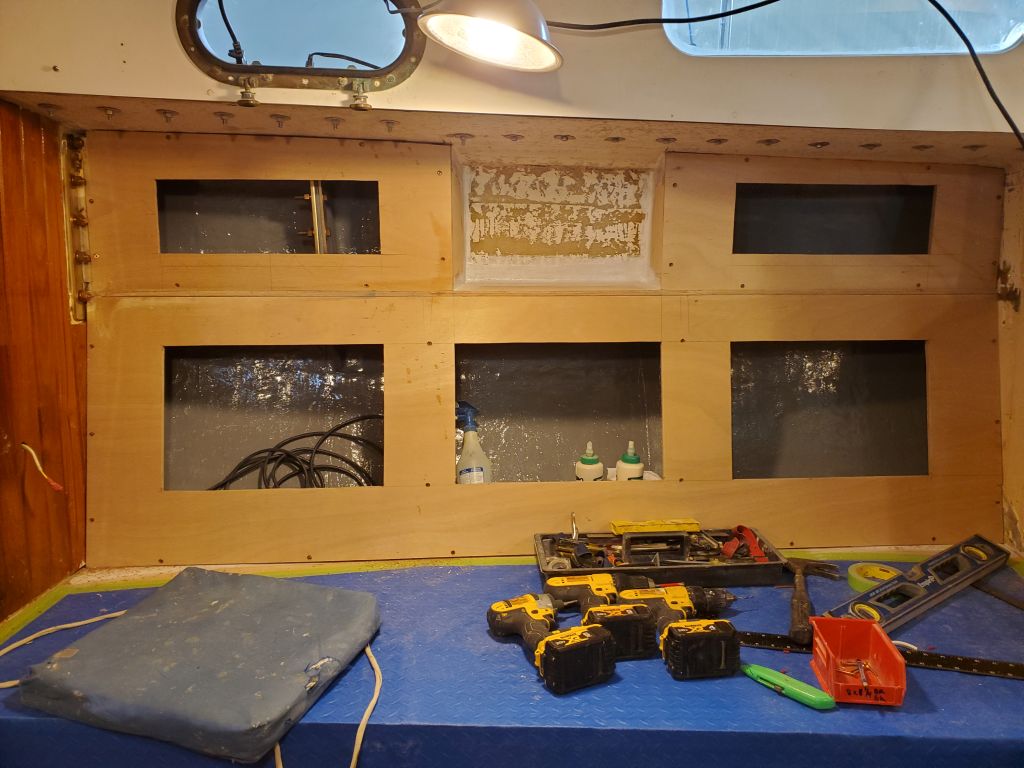
This meant that I could also do the final installation of the forward upper settee locker panels with glue and screws.

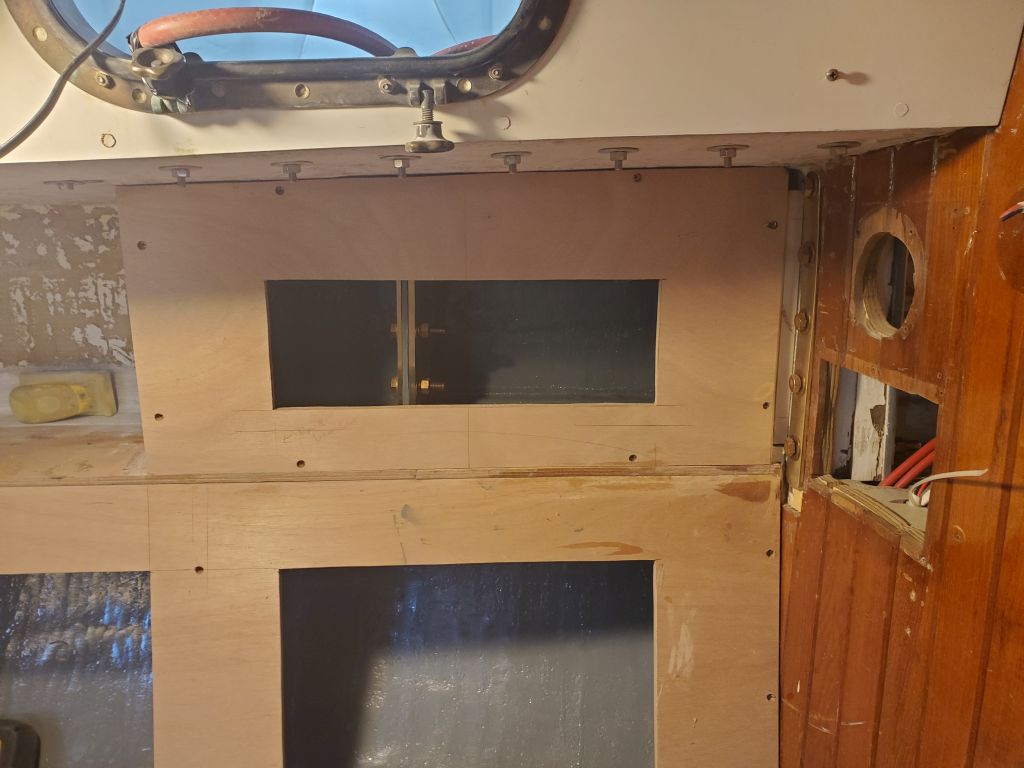
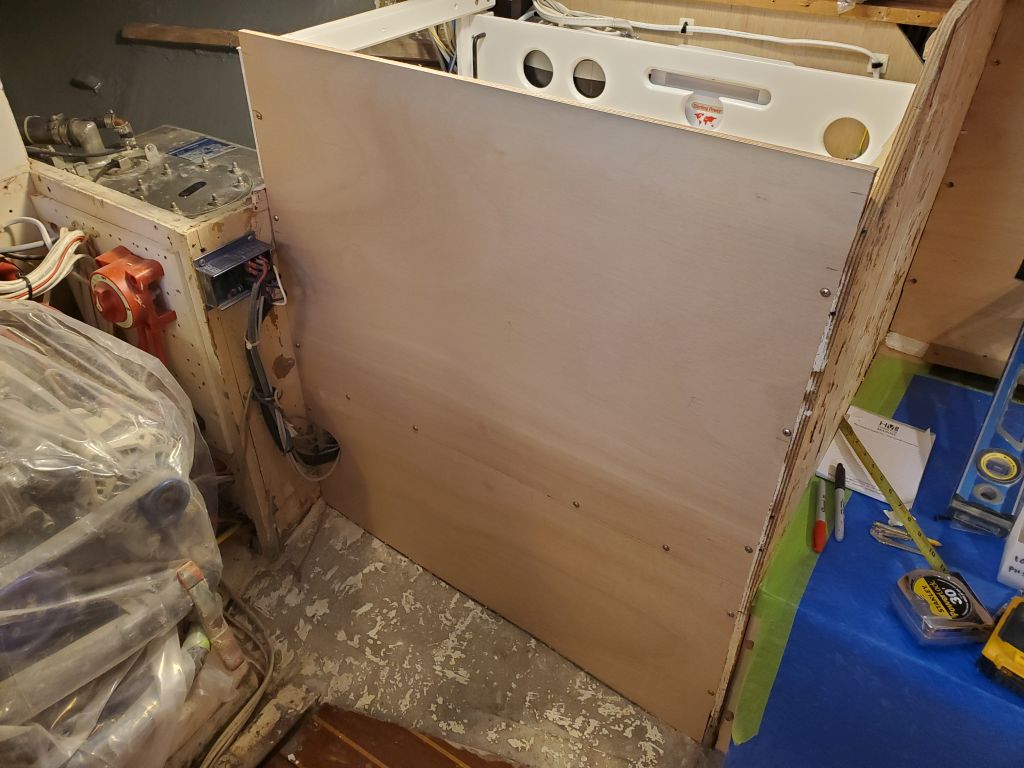
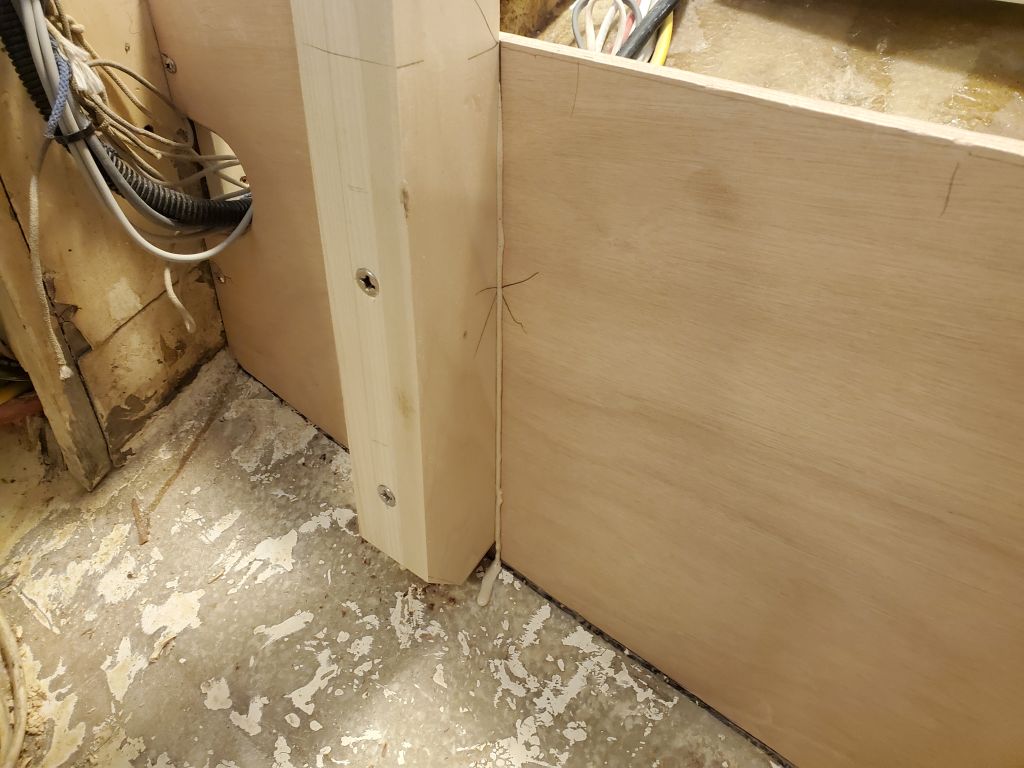
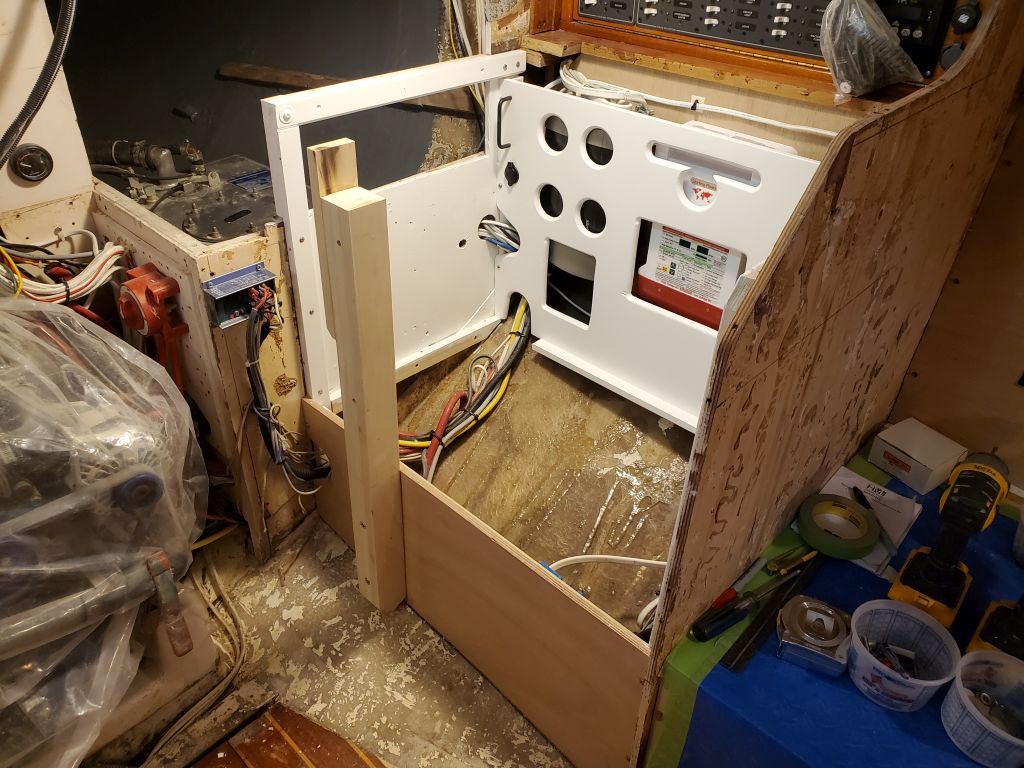
I spent the afternoon in the galley, working on the main support beam and post to define the remainder of the galley and engine room lockers. I clamped the 4′ laminated beam I’d built across the space so its end was tight and square to the new panel on the refer compartment (all level as it should be), and made a reference mark so I could strike a plumb line down to locate the support post, for which I measured, then cut the blank to the appropriate length so the horizontal beam could rest atop. I temporarily secured the post to both the upper and lower sections of the refer compartment with some screws from the back side (having first removed the refer floor), ensuring it was properly aligned and plumb.

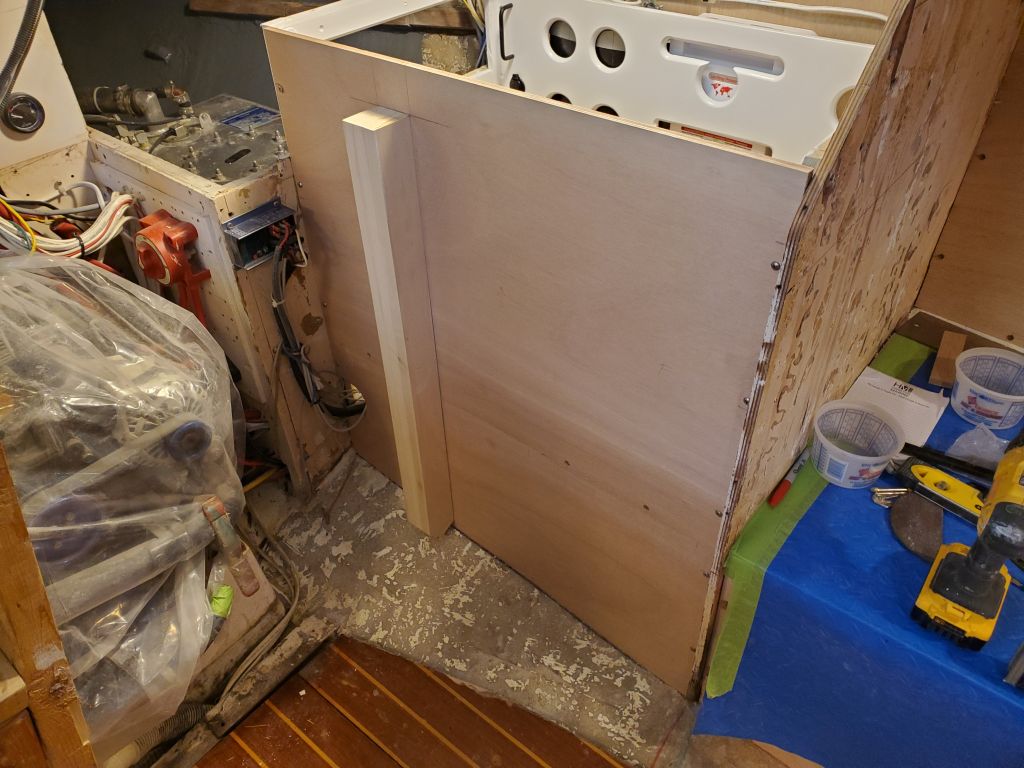
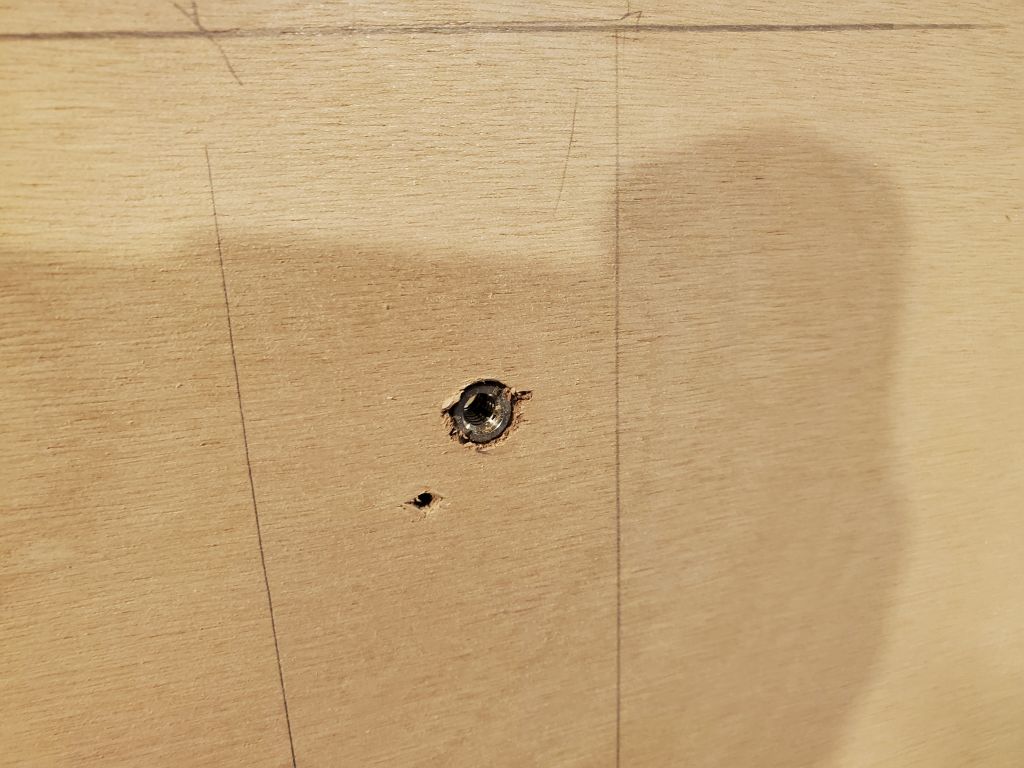
To secure the post to the top (removable) section of the port galley, I planned to use machine screws and threaded inserts. Through the top section of the post, I drilled two 5/16″ holes, just far enough to dimple the plywood beneath for reference, then removed the panel so I could drill for and install the stainless steel inserts to accept 1/4-20 machine screws. While the top panel was out of the way, I completed the final installation of the post to the lower panel (which was still intended to be removable, though would likely rarely or even never need to be) with glue and two 5/16″ bolts.
While I had the panel out, I laid out and cut a large ventilation opening in the section aft of the support post, which would communicate with the business end of the refrigerator compartment. I forgot to take a picture of this, but it will show up the next time this panel makes it into the description.
Meanwhile, to capture and eventually secure the horizontal beam, I installed a board on the aft side of the post, flush with the countertop height, with glue and screws, bringing me to the end of the day.


Total time billed on this job today: 7.5 hours
0600 Weather Observation: 13°, clear. Forecast for the day: Mostly cloudy, 30°