


February 9, 2024
Calliope Girl 62
Friday
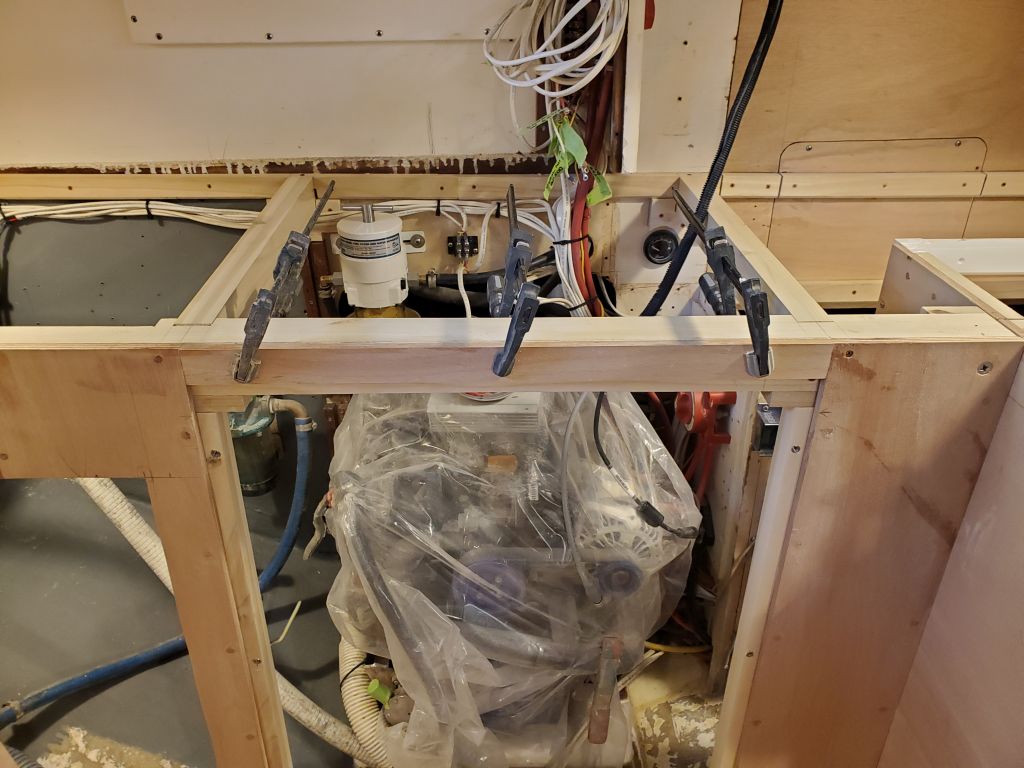
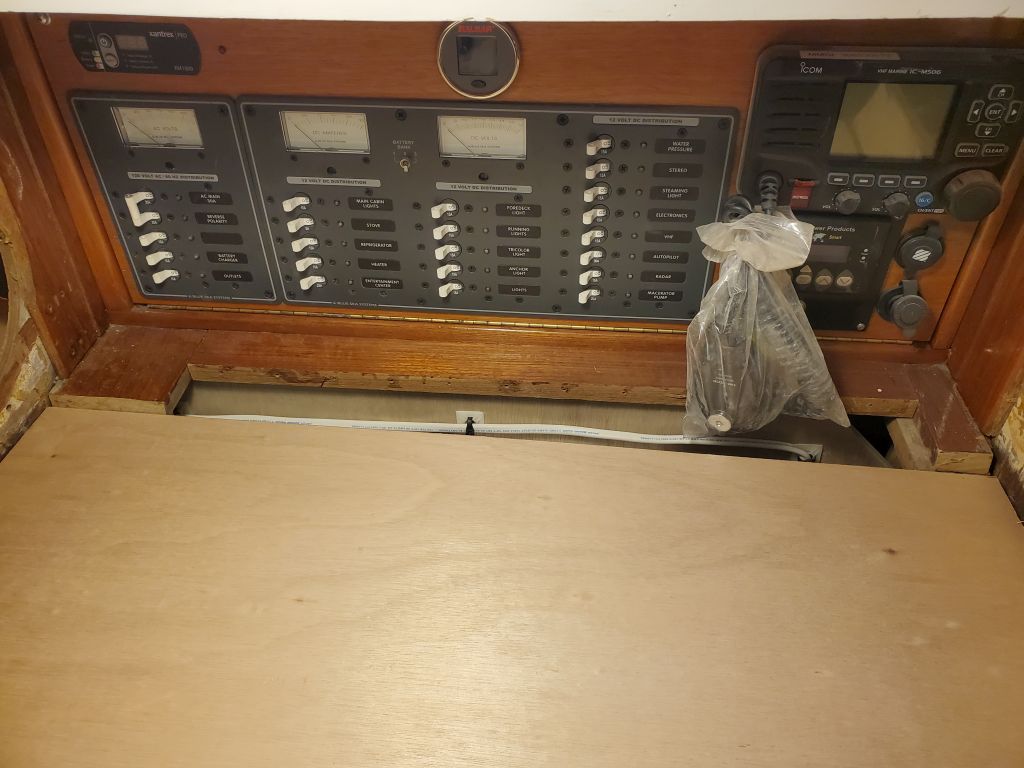
I started out by finishing the engine room pane, cutting it to the proper height (as marked in place), then cutting off a fixed section that I adhered at the top section, so that any trimwork would bypass the operating hatch.
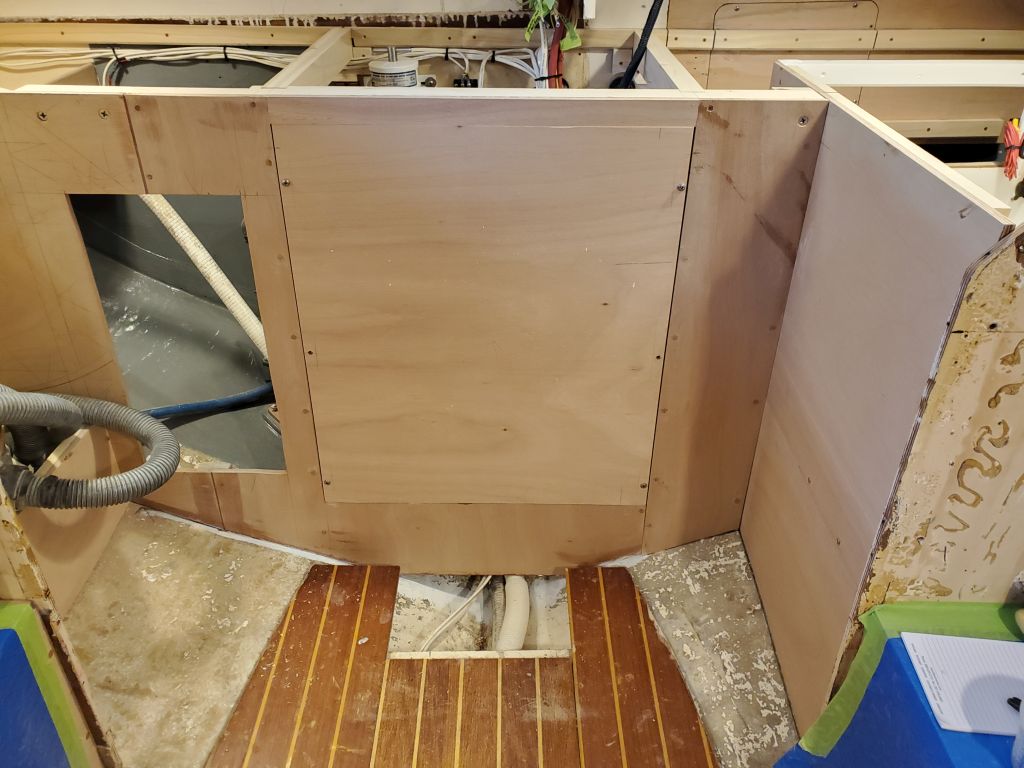
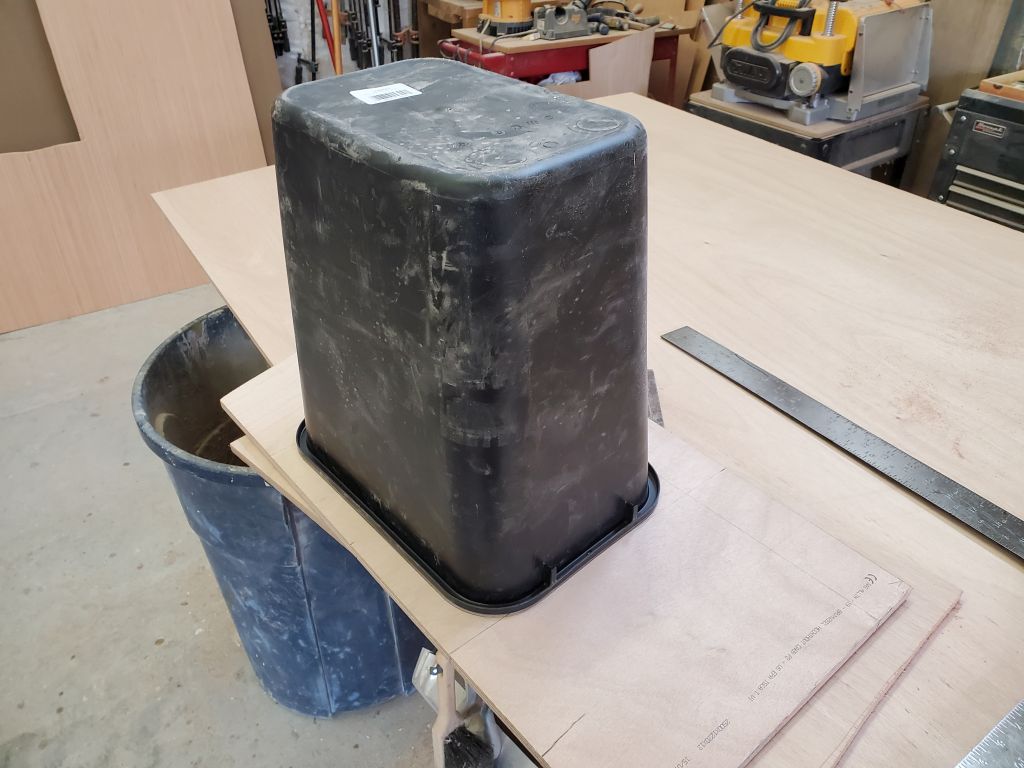
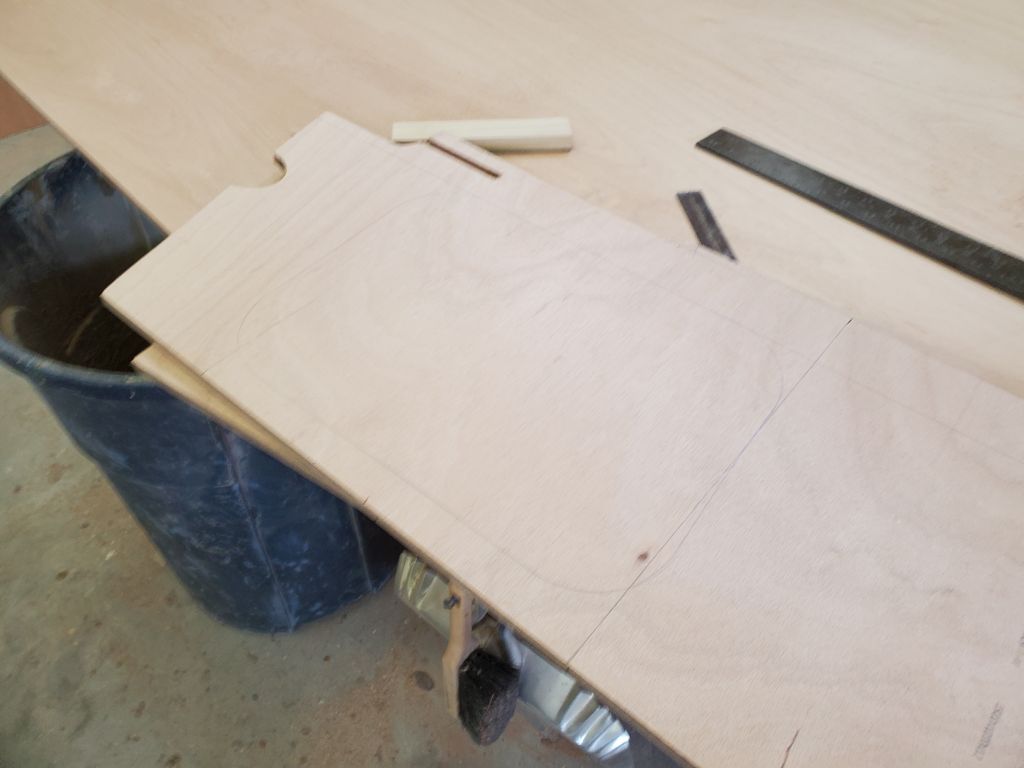
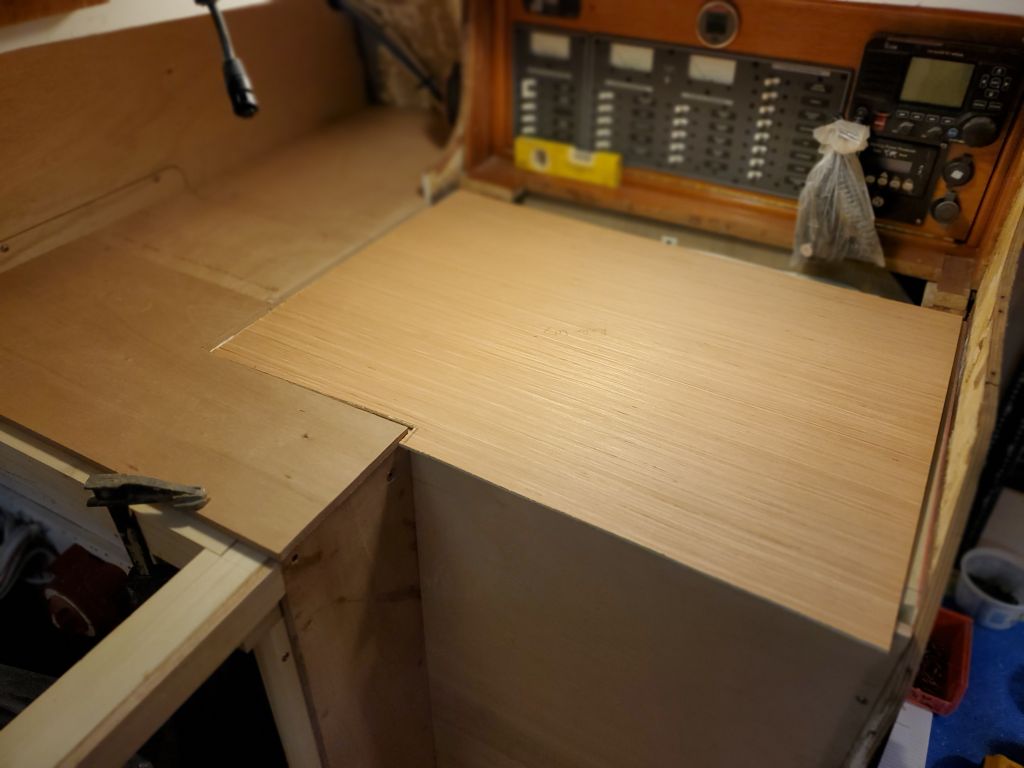
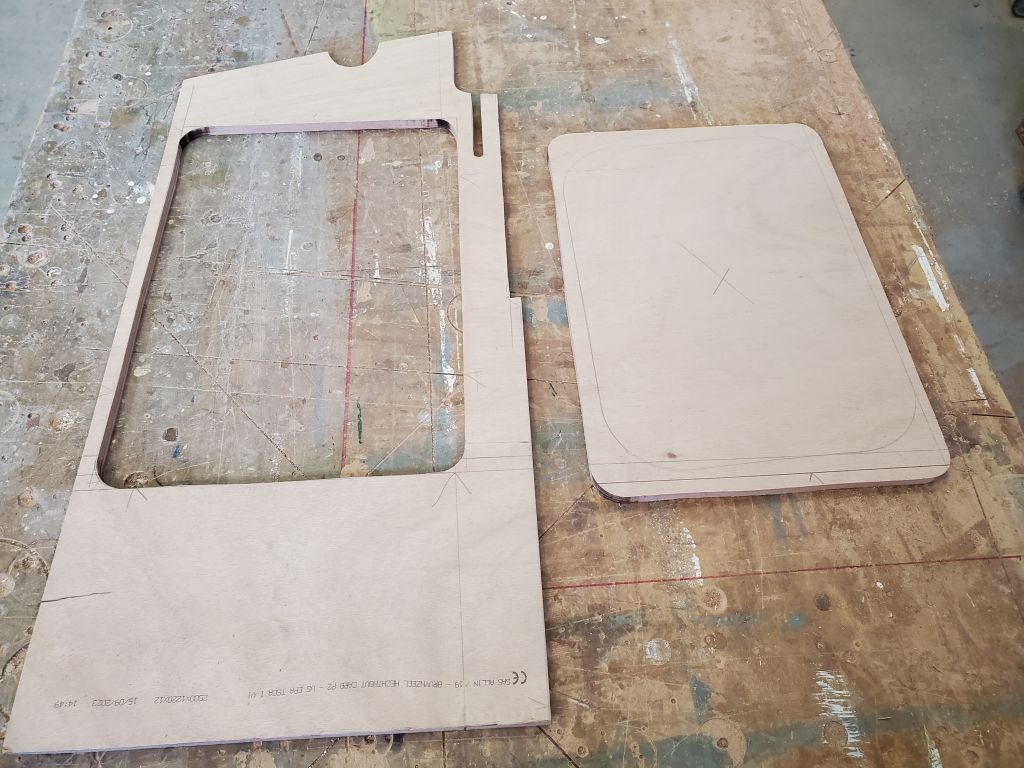
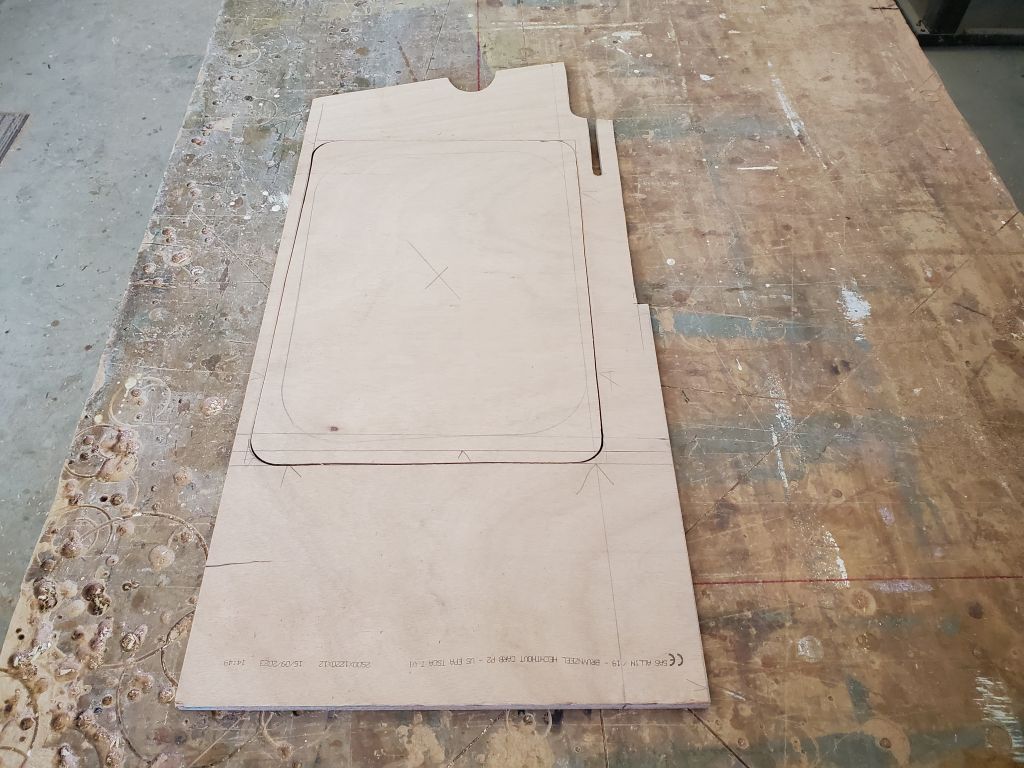
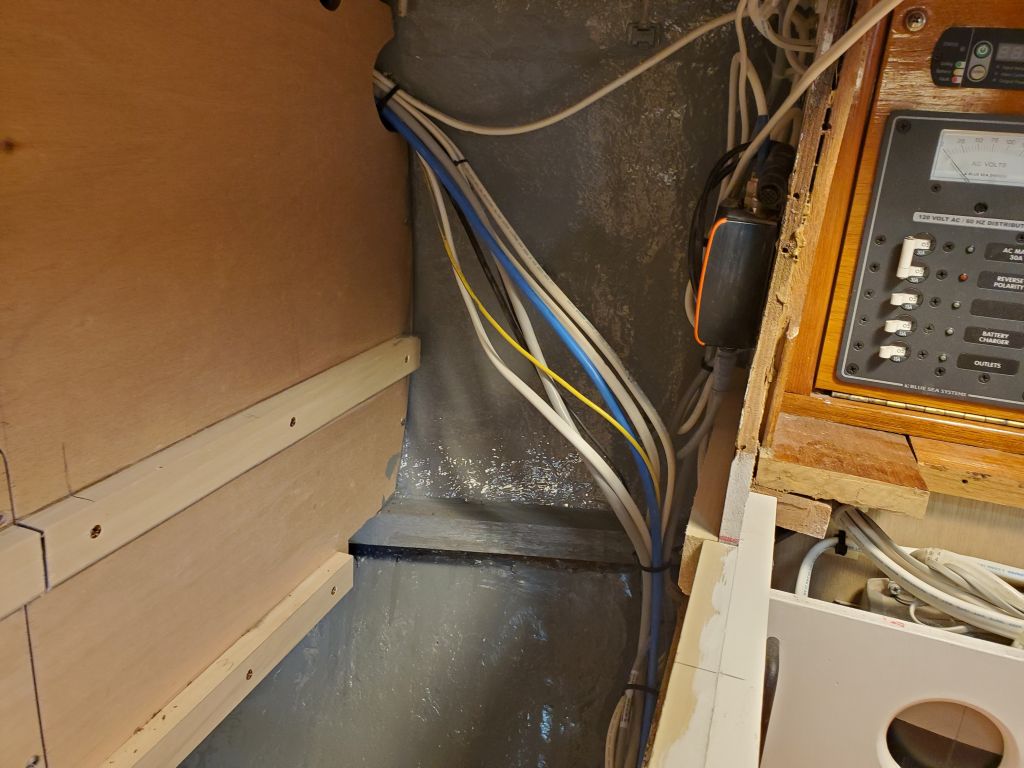
Next, I cut several rough-sized thin plywood templates from measurements I’d made earlier for the various countertop sections; there’d be at least three separate sections when all was said and done. I began with the port corner section, starting with a new cleat on the aft side of the bulkhead to accept the forward edge of the countertop. After a couple iterations of scribing and cutting, so that the countertop could clear the various wires in the compartment, I cut the final piece from 12mm plywood. With the trash can in place below, I set the countertop in place, then marked the outline of the top of the trash can from beneath, enough of a reference so that I could then trace the actual shape onto the bottom of the countertop and figure out the size of the hatch required. I’d cut the hatch later, but for the moment my goal was to get all the countertop sections templated and cut.
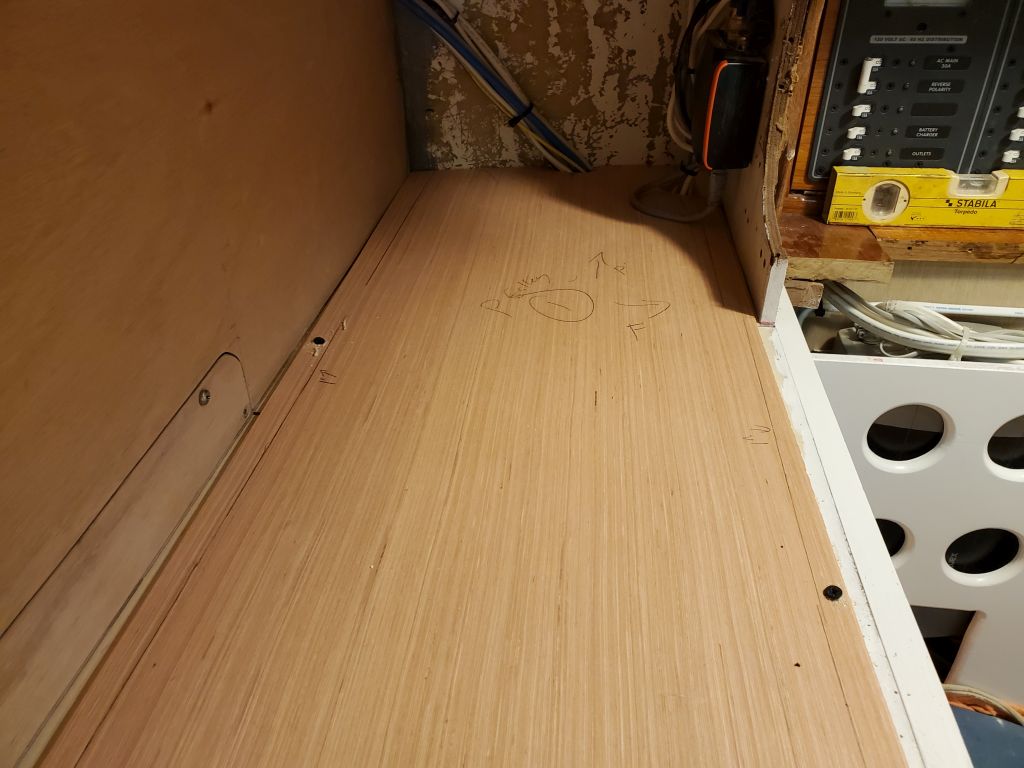
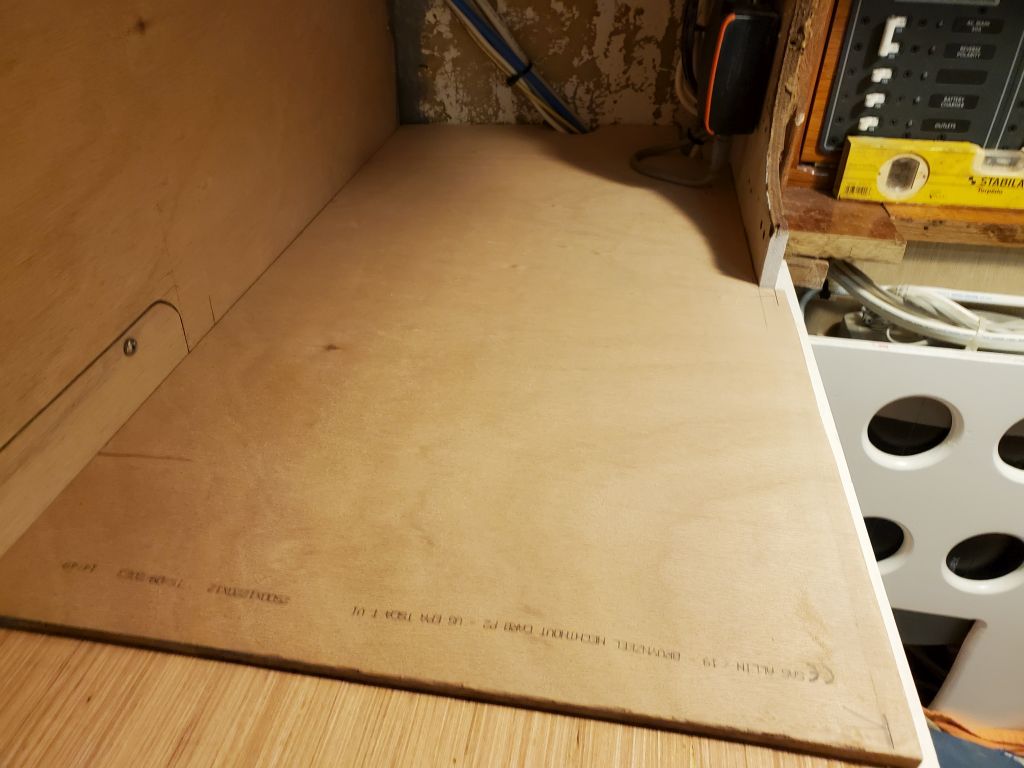
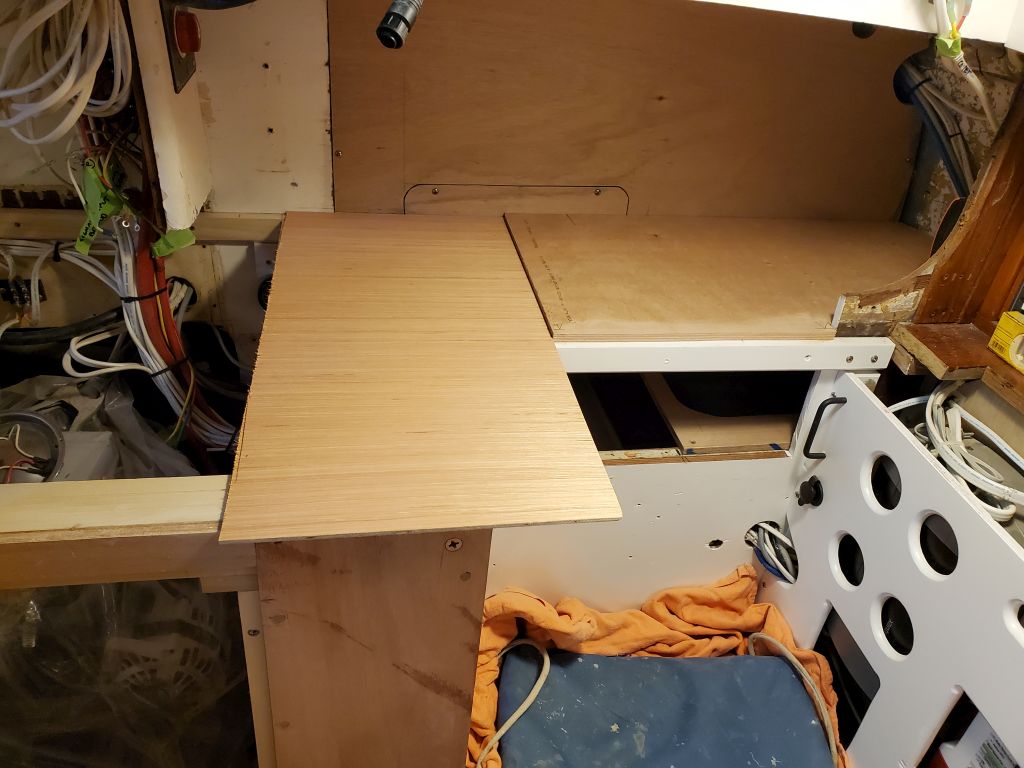
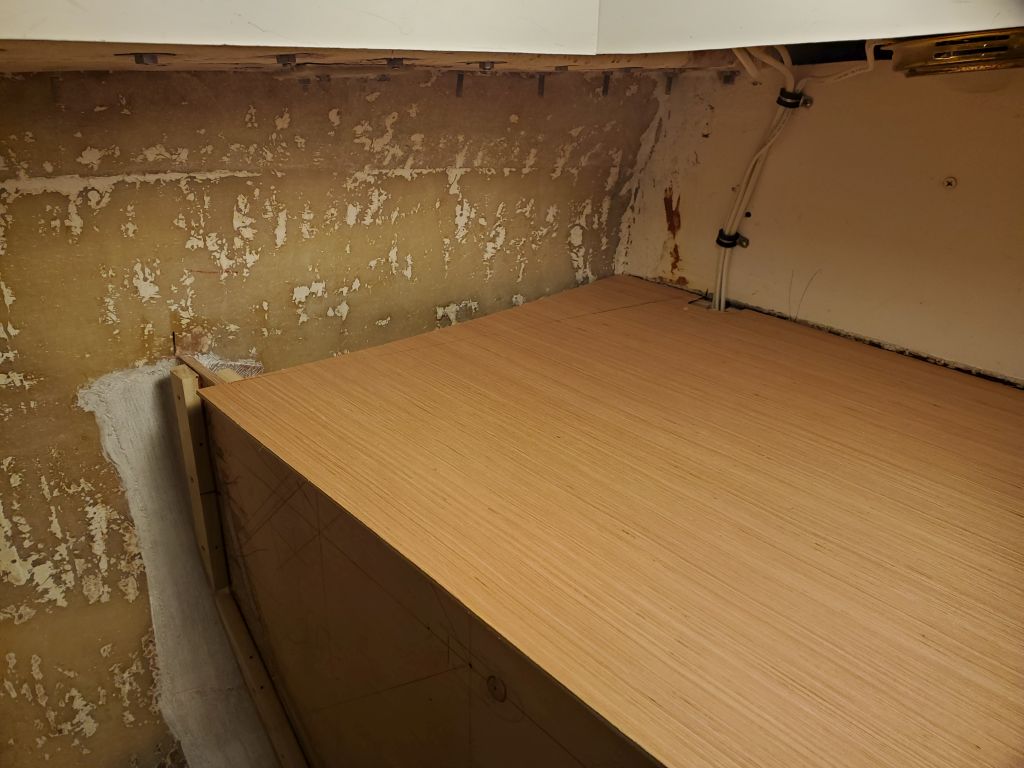
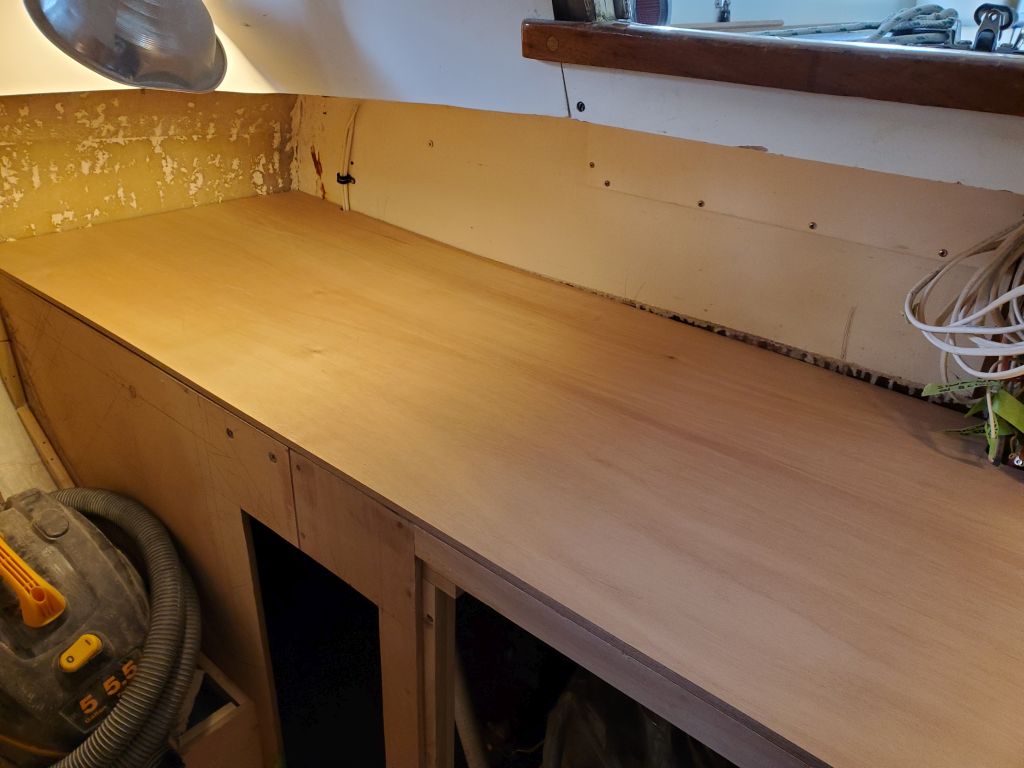
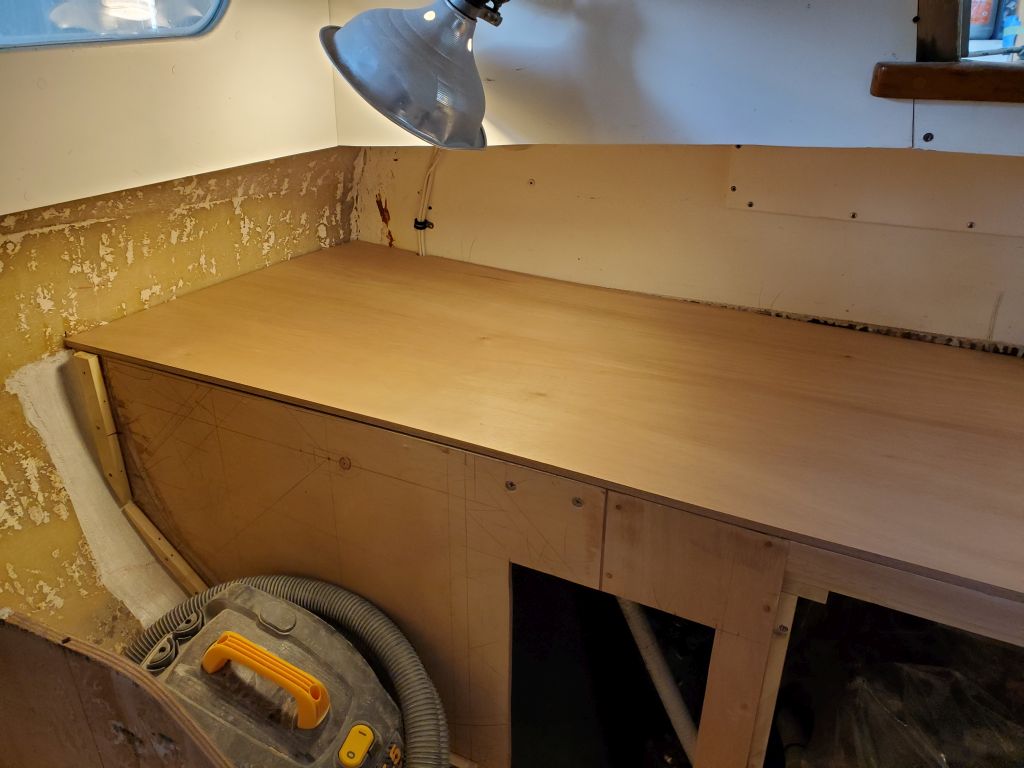
I continued with the next section of countertop, running between the port side and the center of the port support beam. This section, and the first, would remain removable when all was said and done. I’d taken advantage of some proper-sized scraps of plywood when making these two sections, but was considering connecting them together into a single piece before installation.
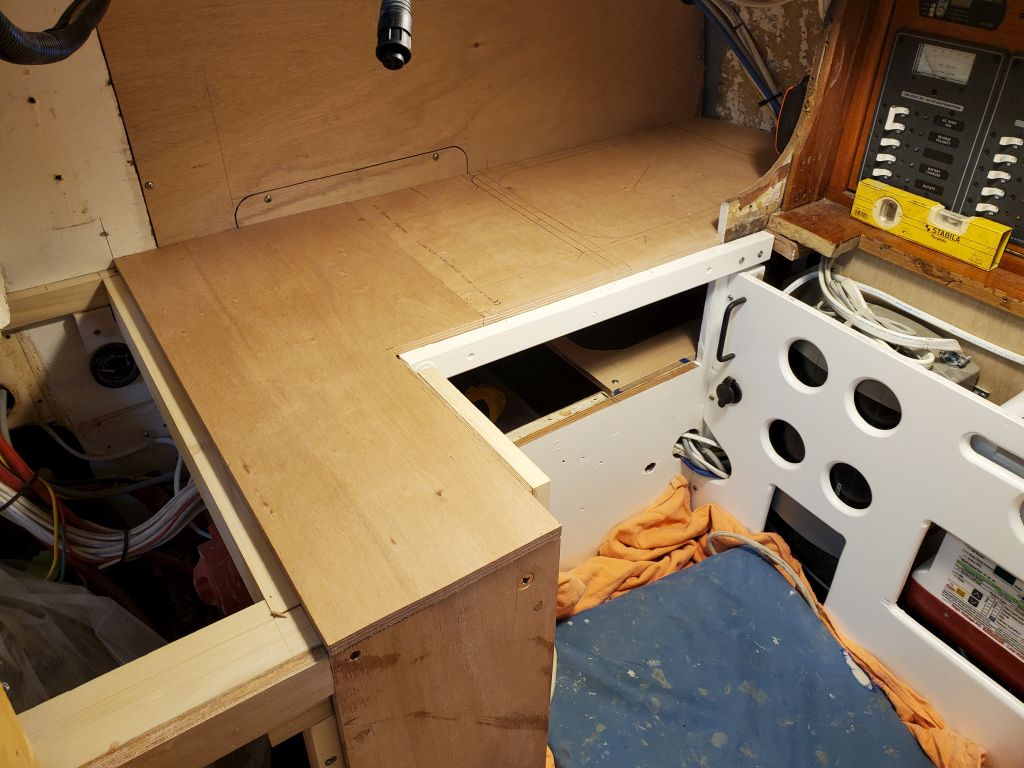
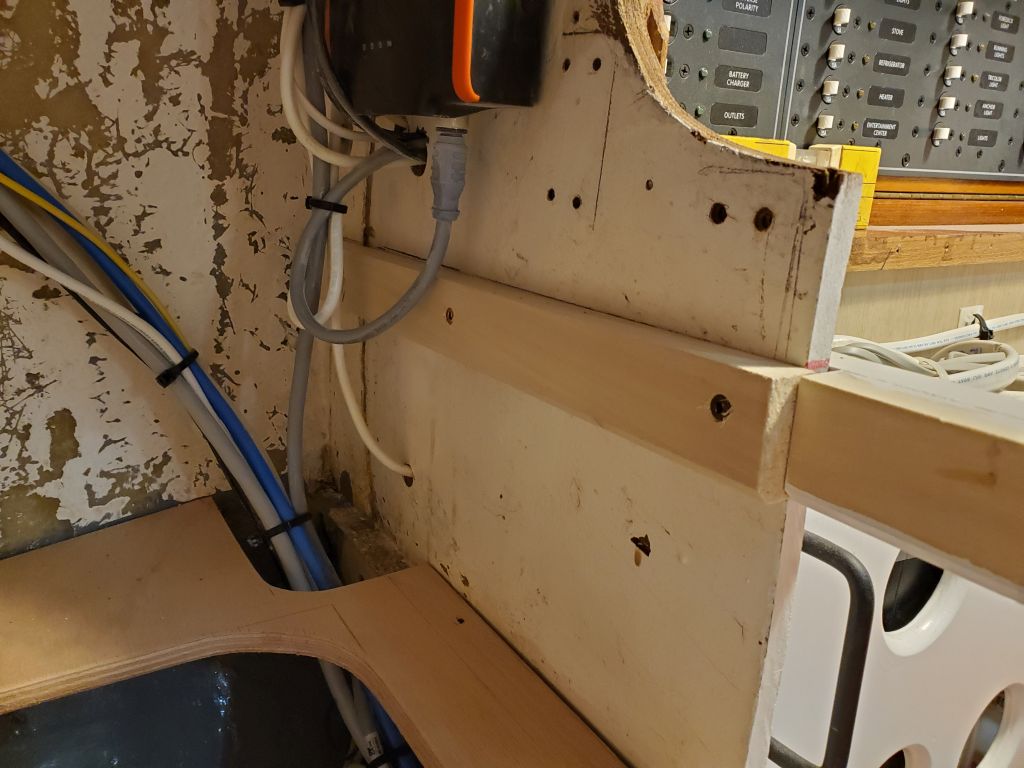
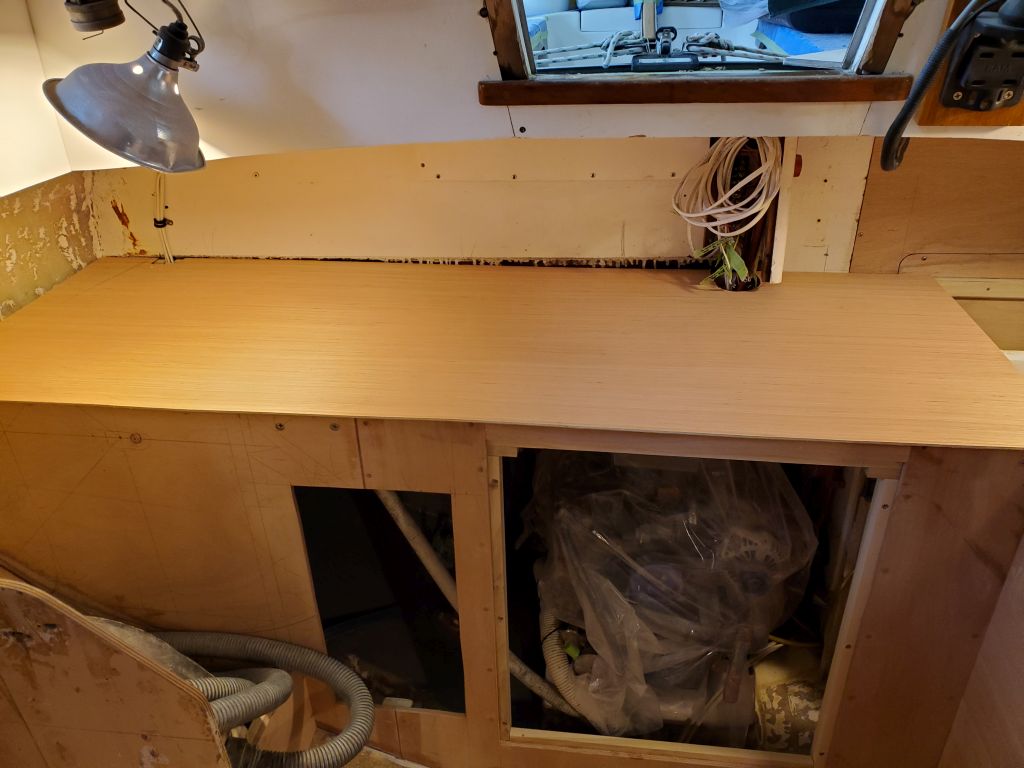
Next, I templated, then cut and sized, the lid over the refrigerator compartment. I’d eventually cut this near the outboard side to allow for hinging the lid, and I had a trim plan for the gap at the outboard side, to cover and tie in as needed the existing cabinetry below the electrical panels, so I didn’t extend the countertop into the space.

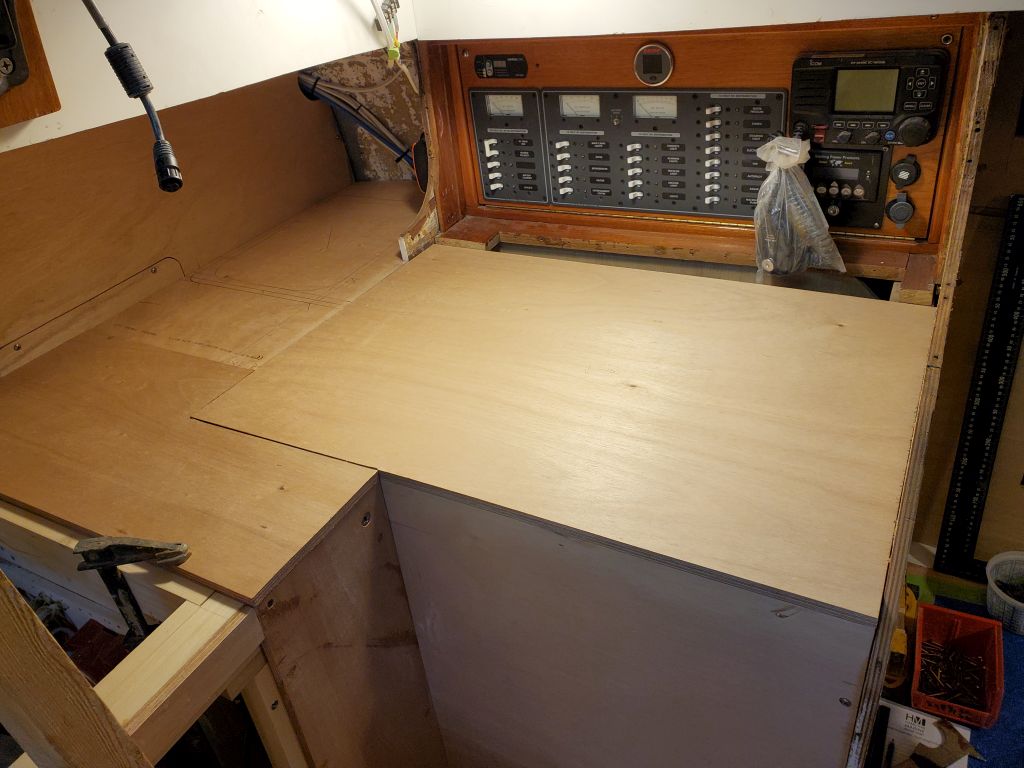
Each of these three smaller panels required multiple steps to scribe the template, transfer to and cut the actual plywood countertop, perhaps some minor adjustment, then trimming any overhanging edge to fit with the existing cabinetry.
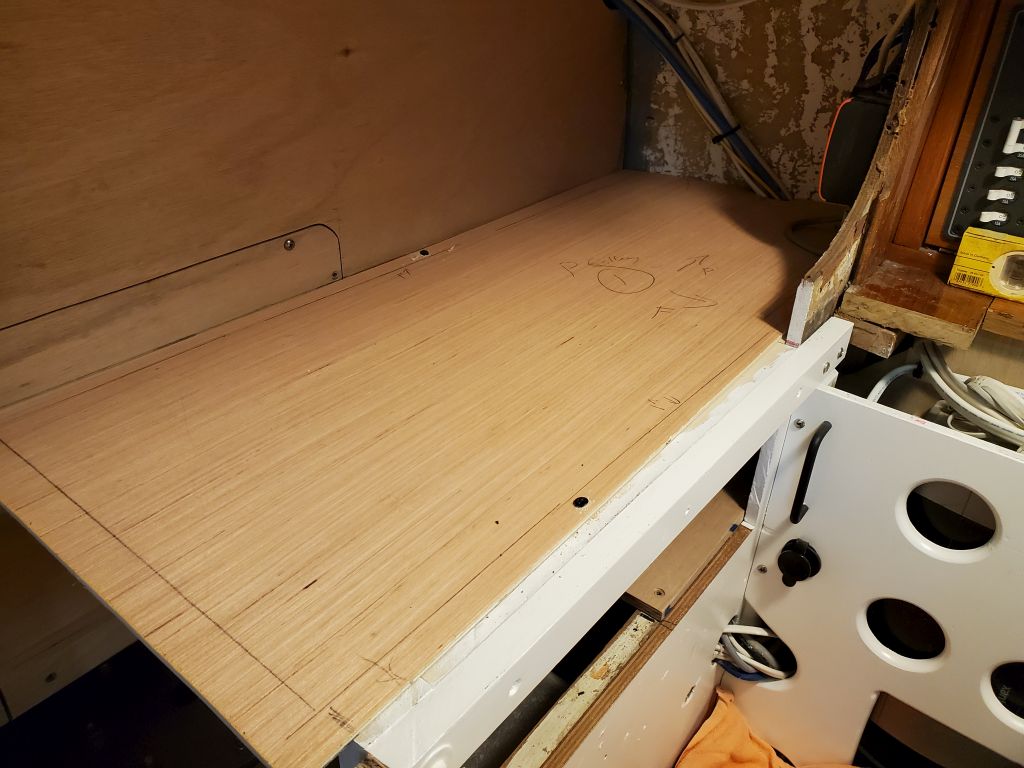
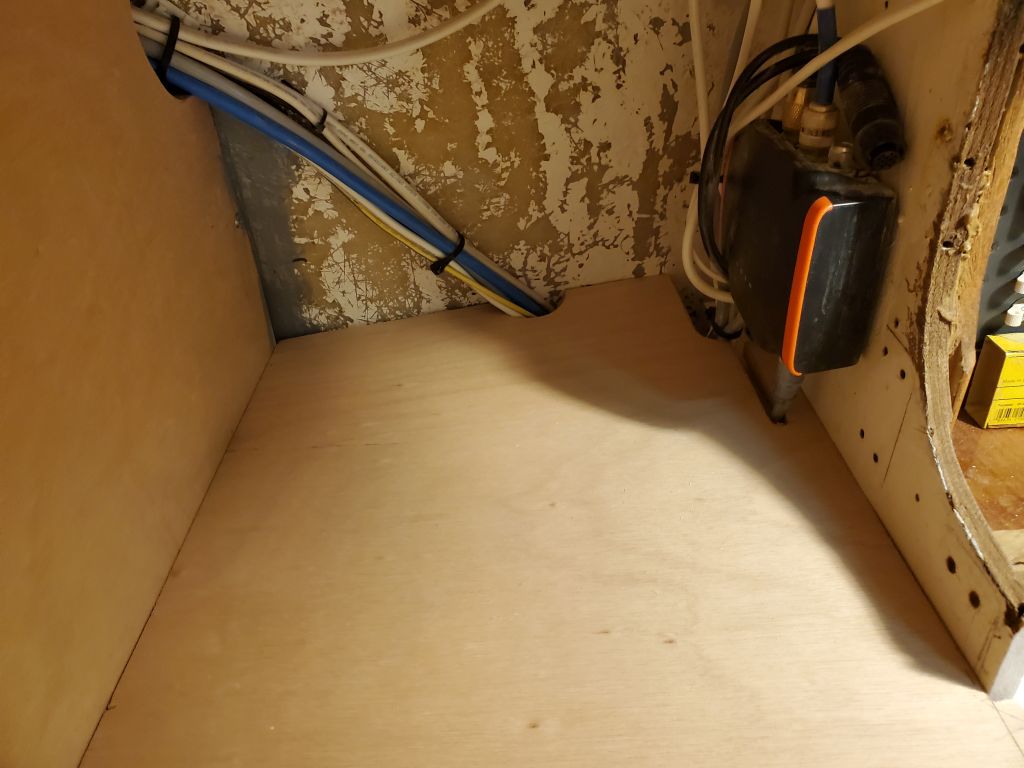
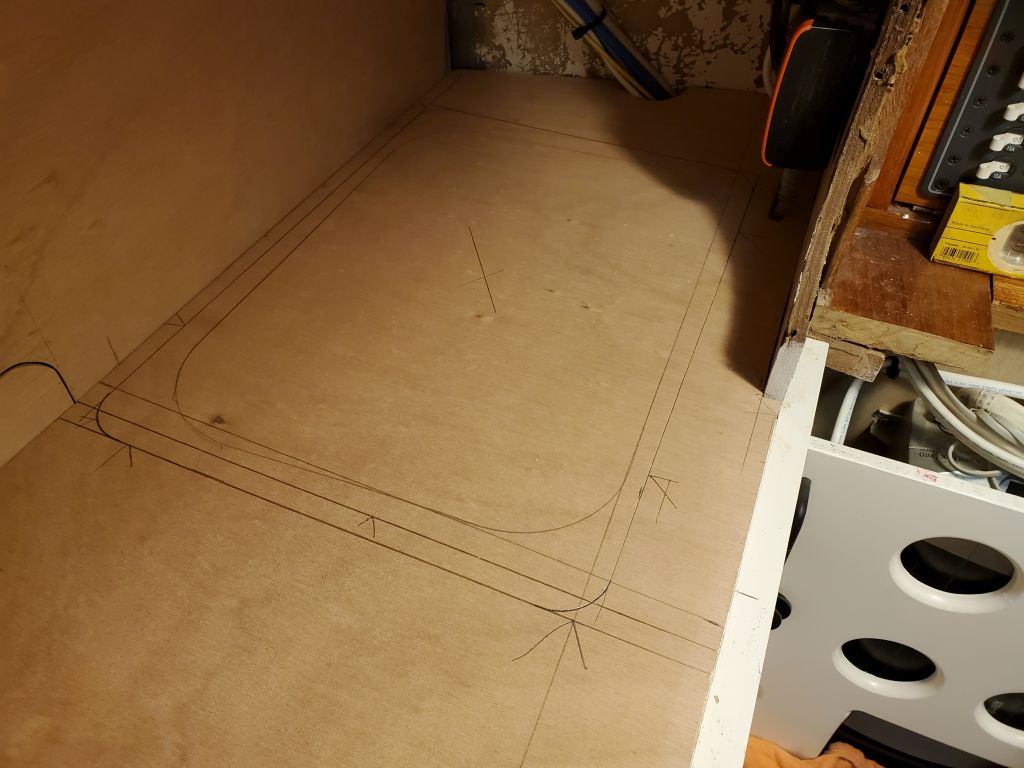
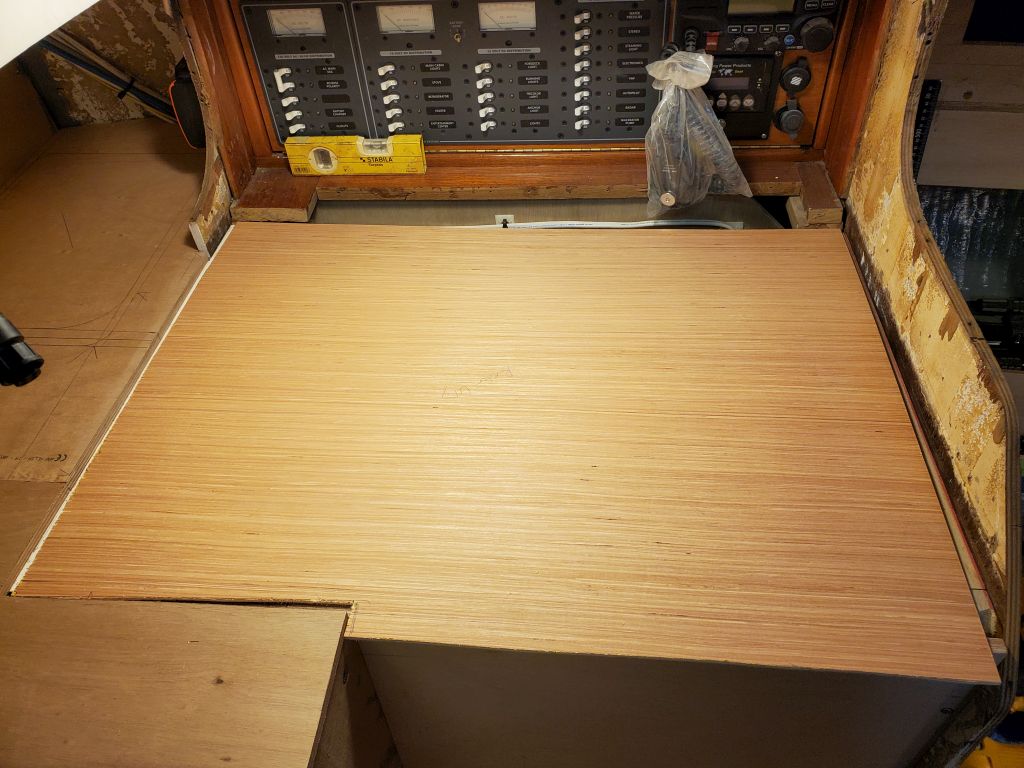
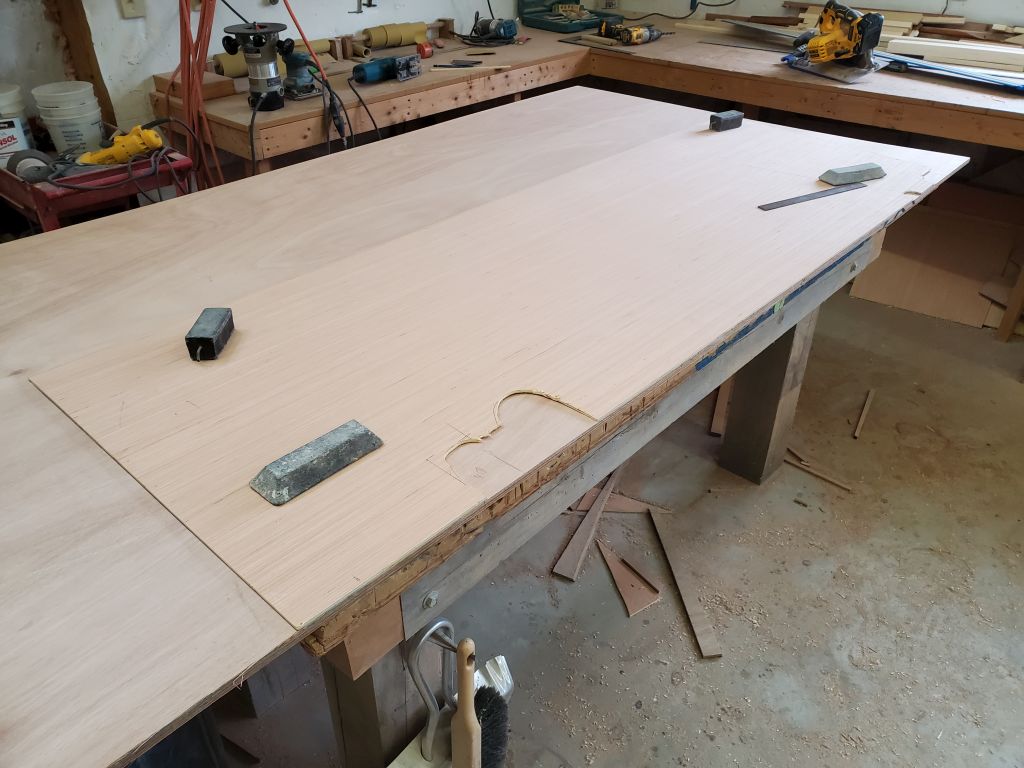
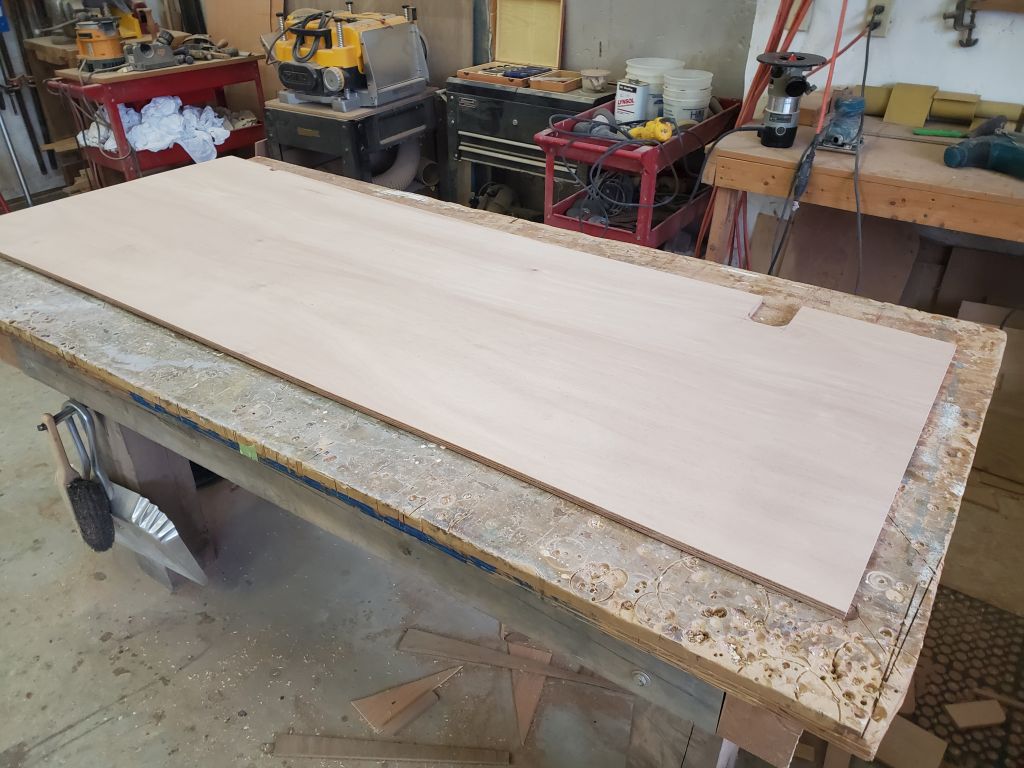
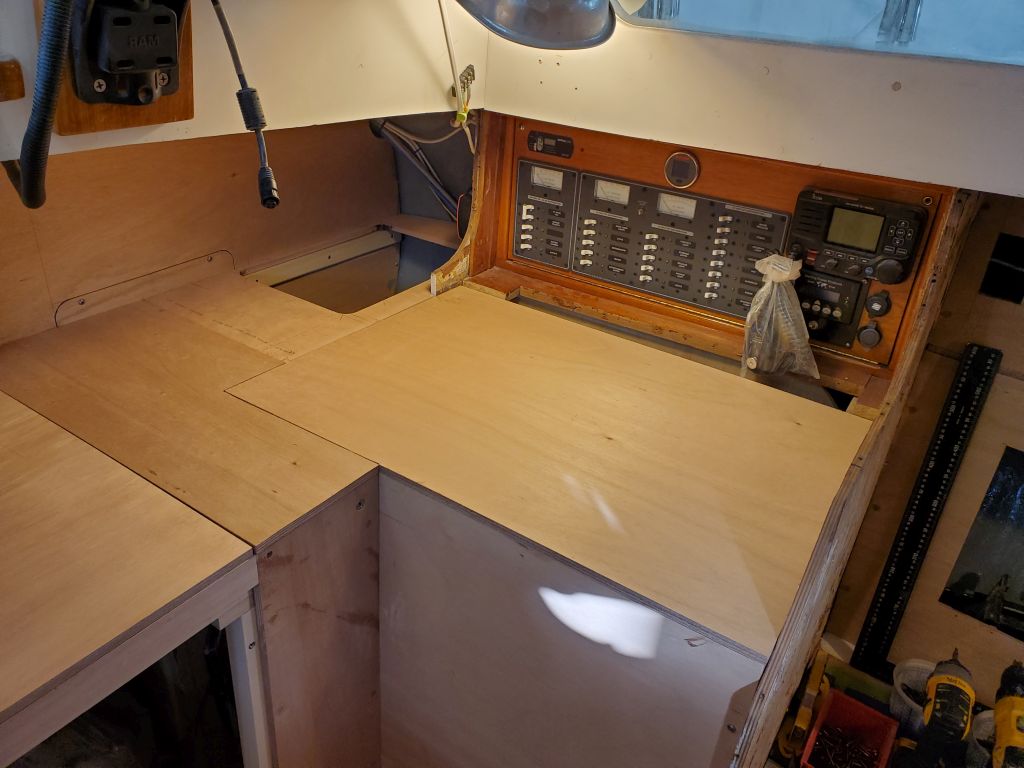
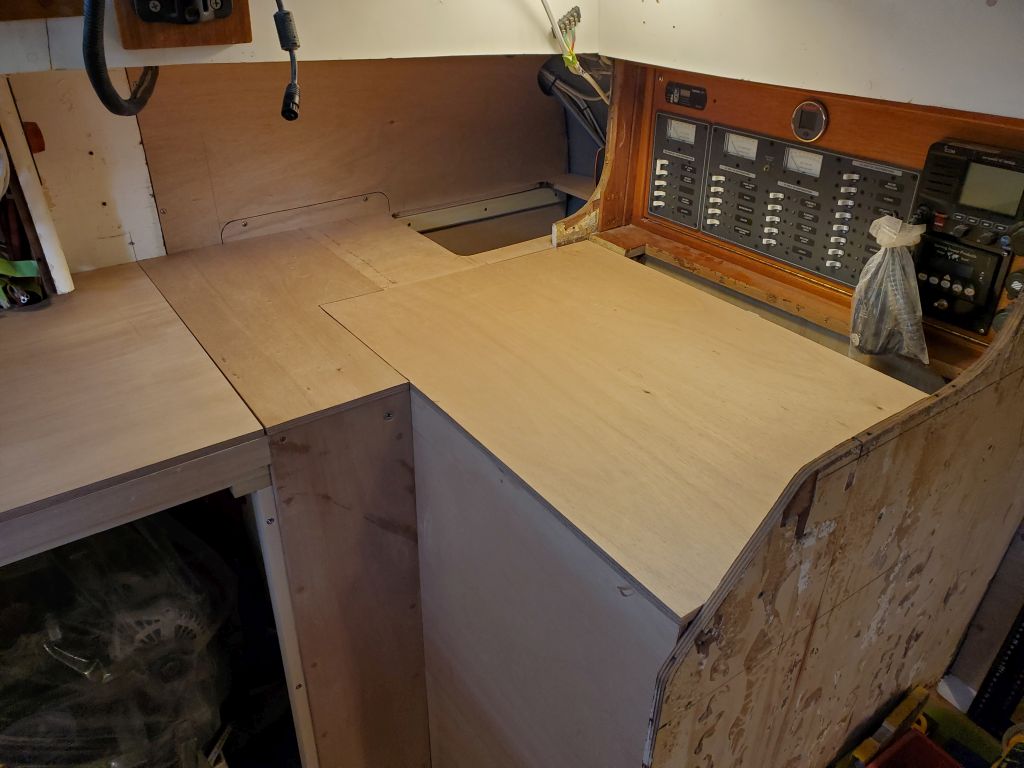
Next, I moved on to the largest piece, which would cover the remainder of the galley and engine room. I started by scribing my template to the hull on the starboard side, added a couple notches to clear the wiring along the aft side in two places, and fitted the template for any final marking required. Then, I cut the actual top to size, leaving it a bit wide to overhang the forward edge of the cabinet for final marking in place. I also marked, from below, some critical structural members and other things that I’d need to cut out for the sink opening and for fuel filter access from above, which I’d do in the near future.

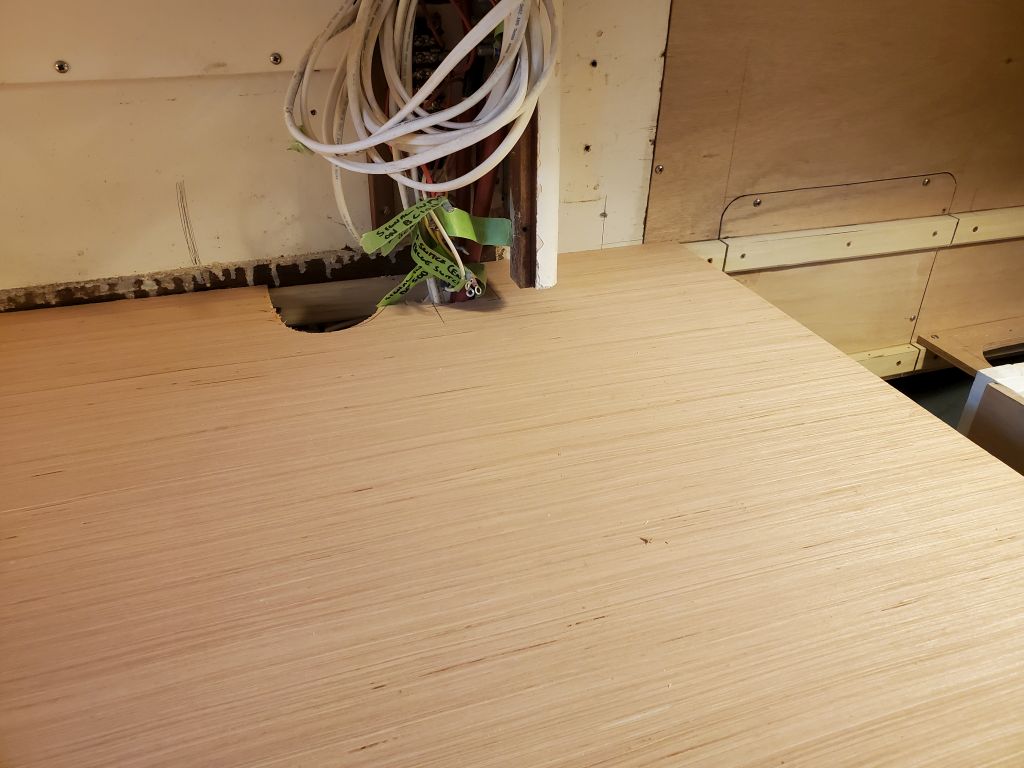
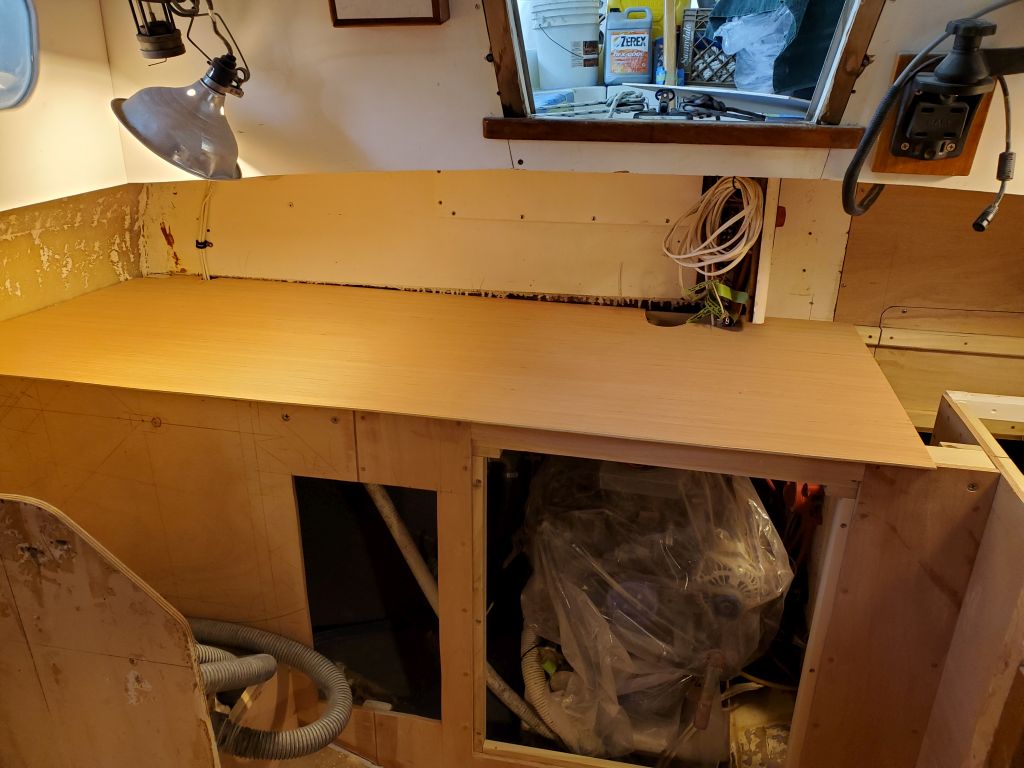
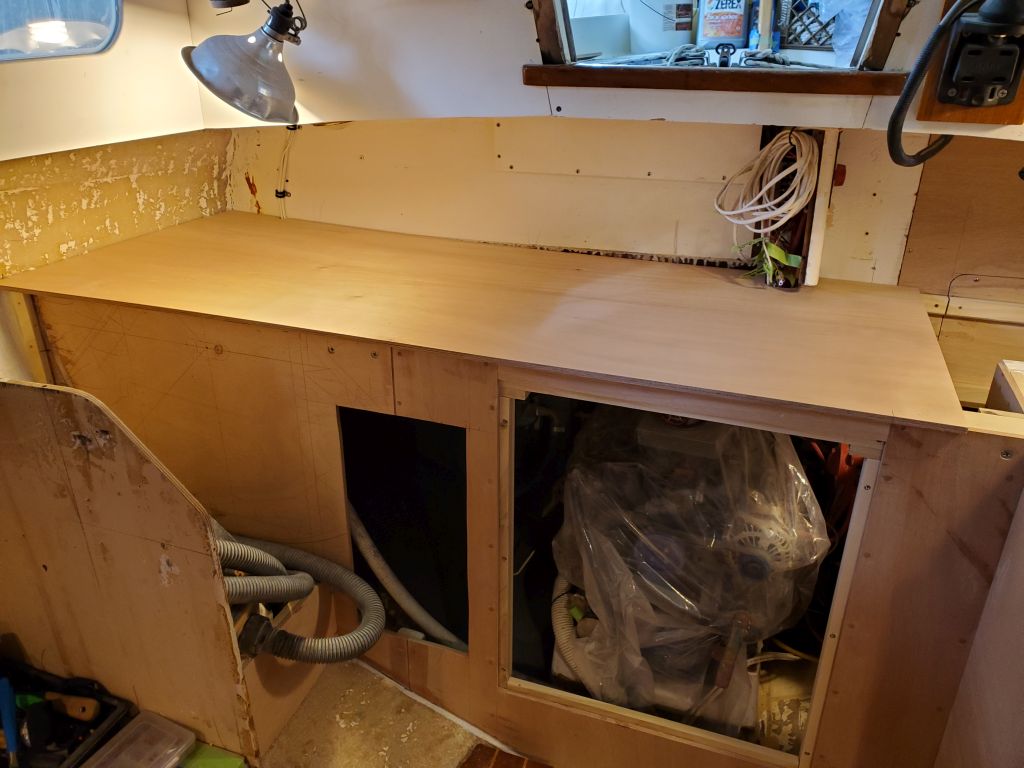
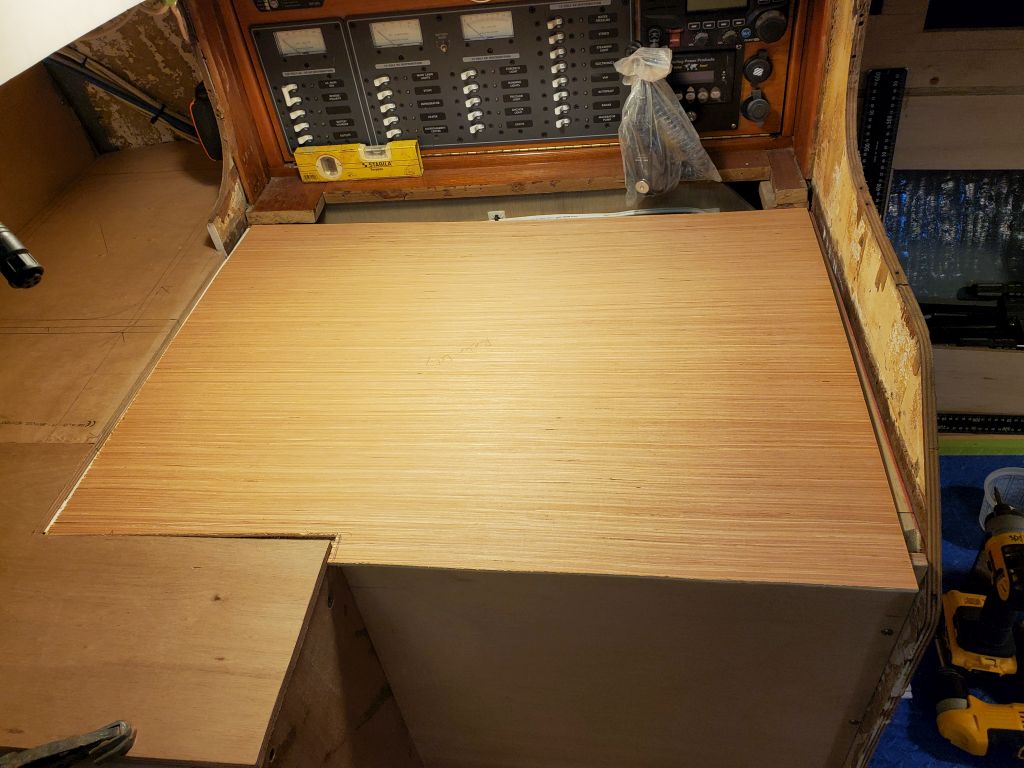
Next, I cut out the access hatch for the trash can (I’d need to add some support cleats for the lid, but didn’t bother with them now), then installed all sections of the countertop for a glimpse at the entire space.
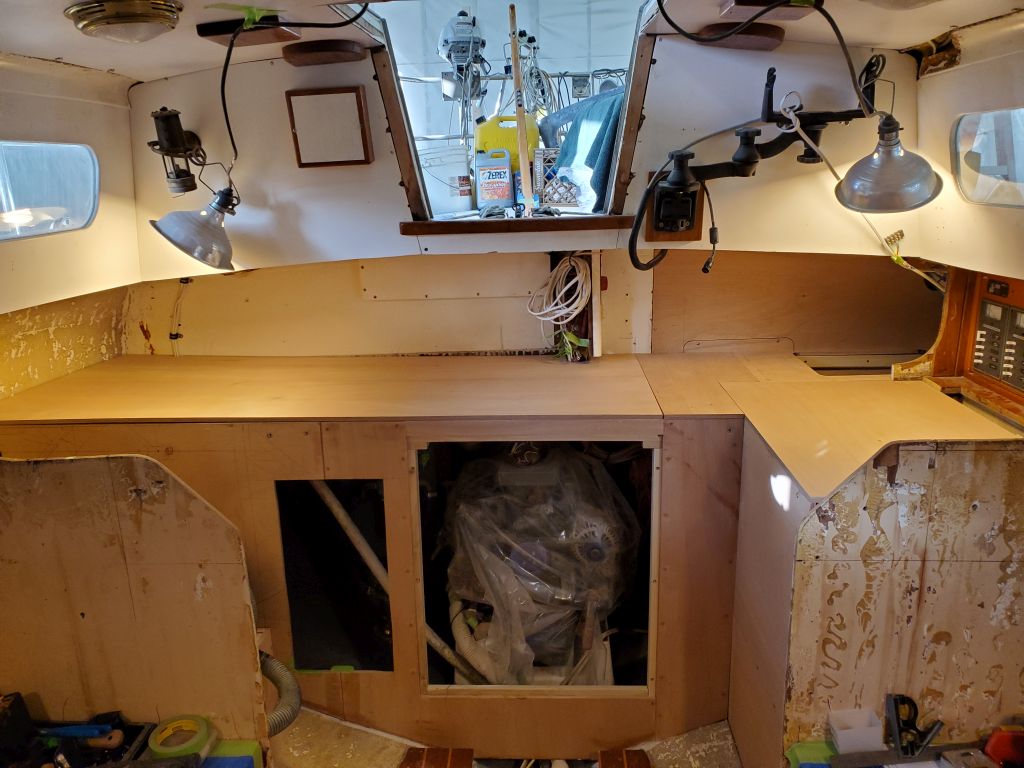


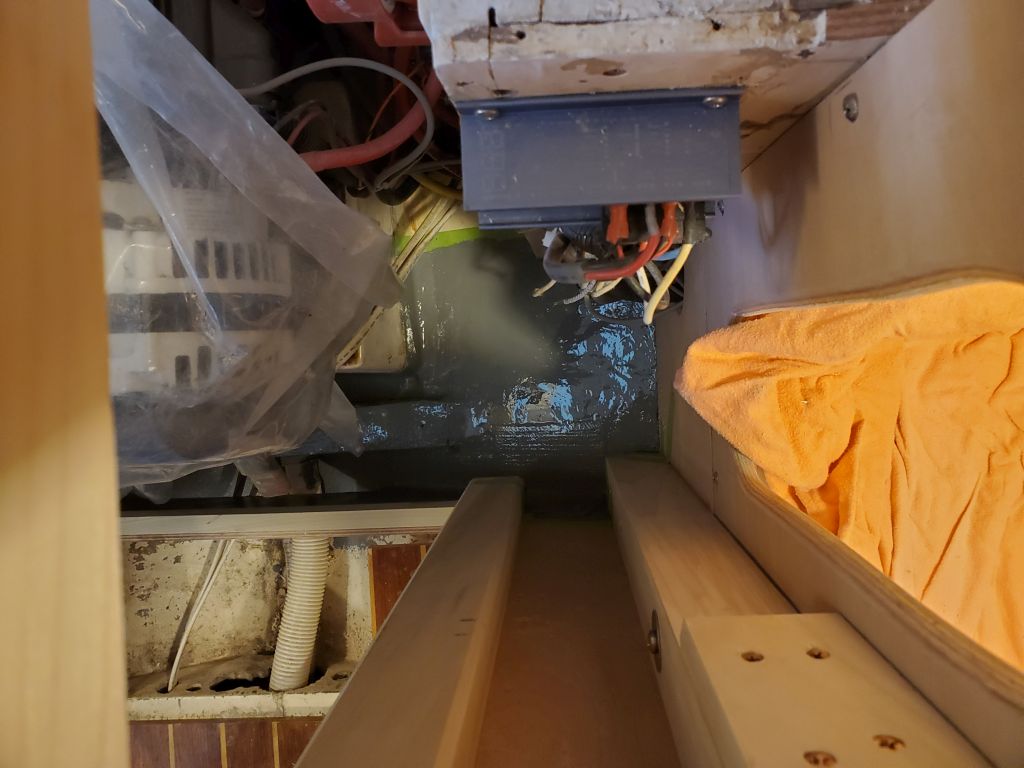
To finish up the day, I painted the forward portion of the engine room and the upper hull outboard of the port countertop with gray bilge paint.

Total time billed on this job today: 7.75 hours
0600 Weather Observation: 21°, clear. Forecast for the day: Mostly cloudy, 40°