


January 9, 2024
Calliope Girl 39
Tuesday
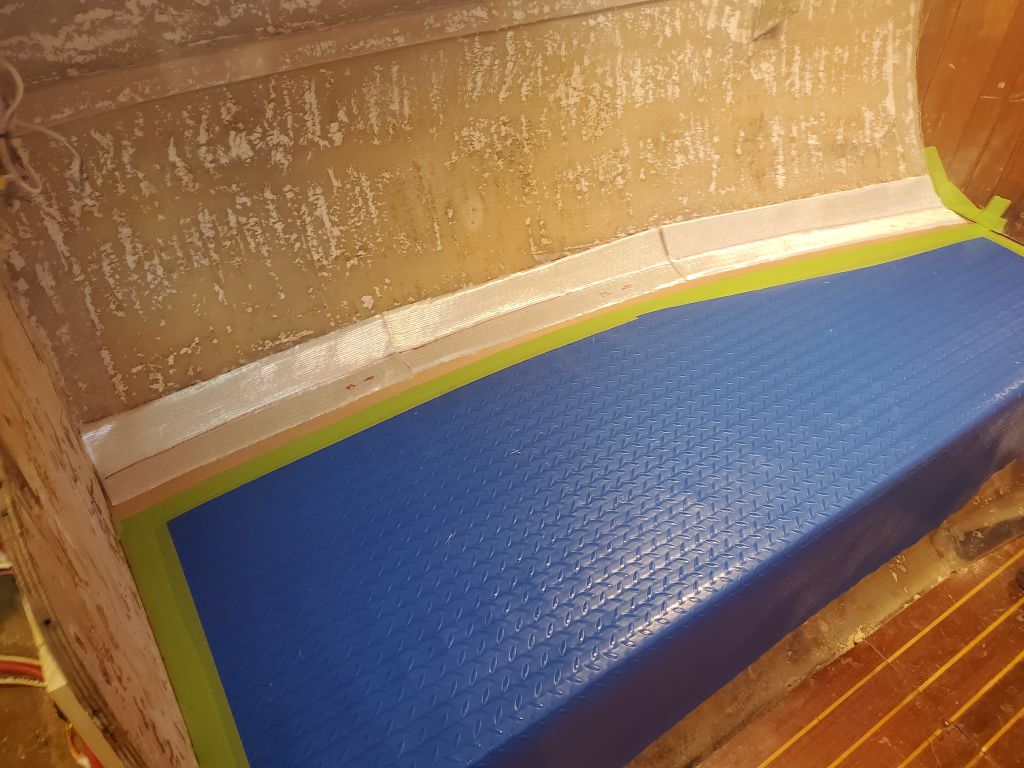
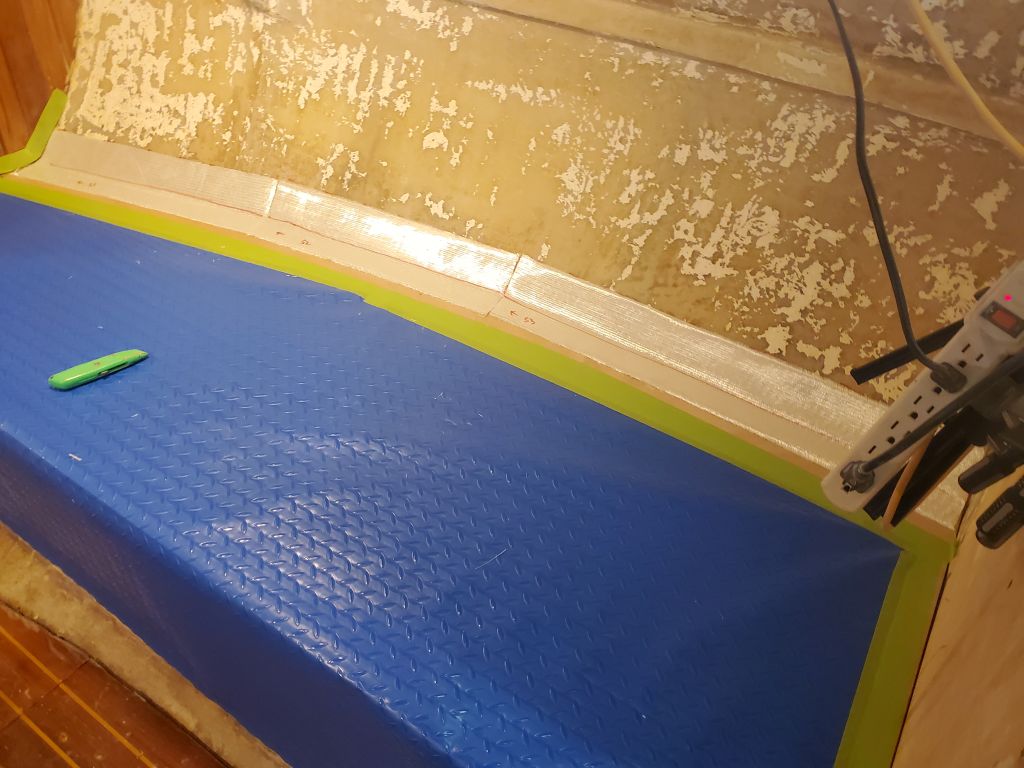
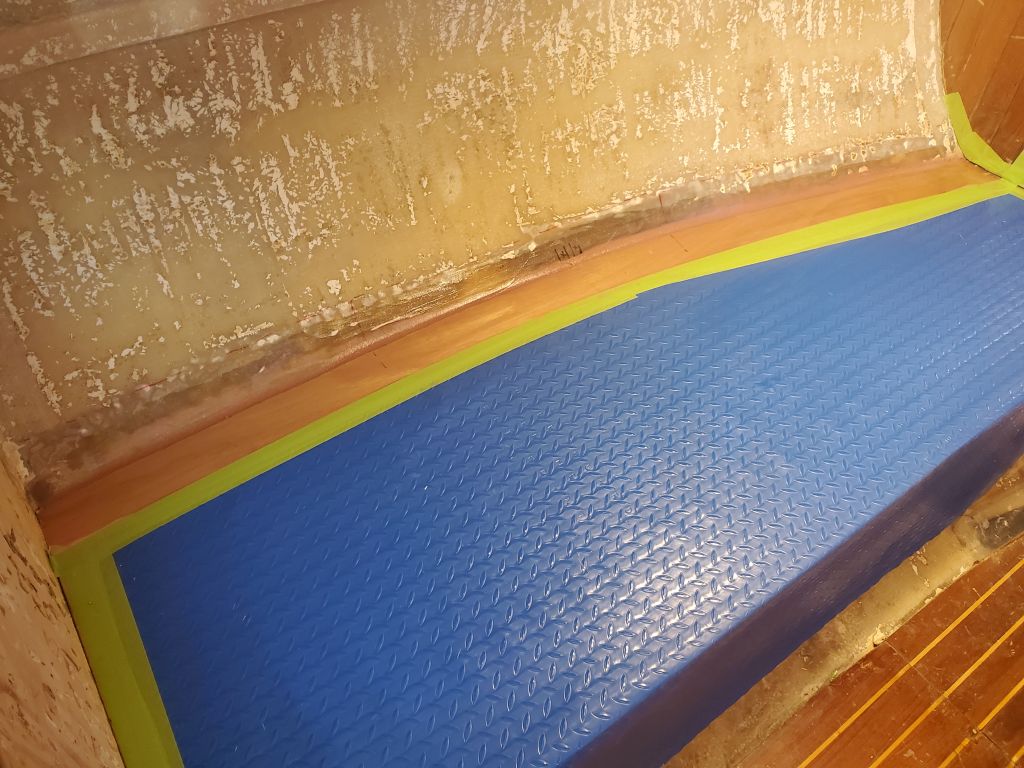
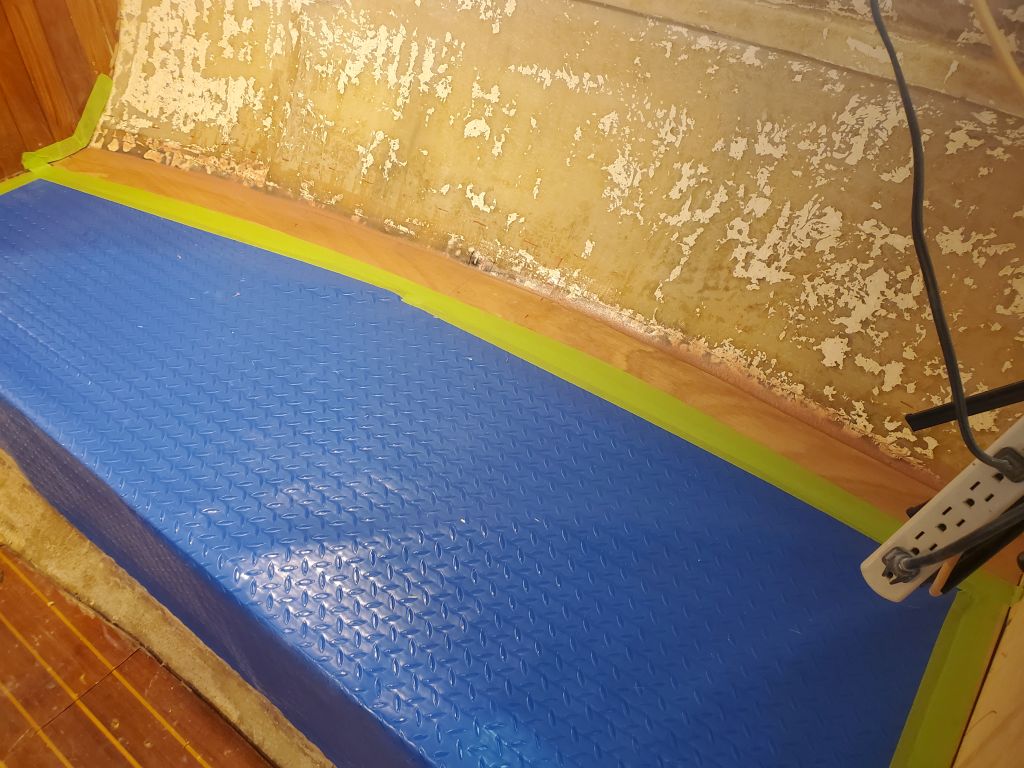
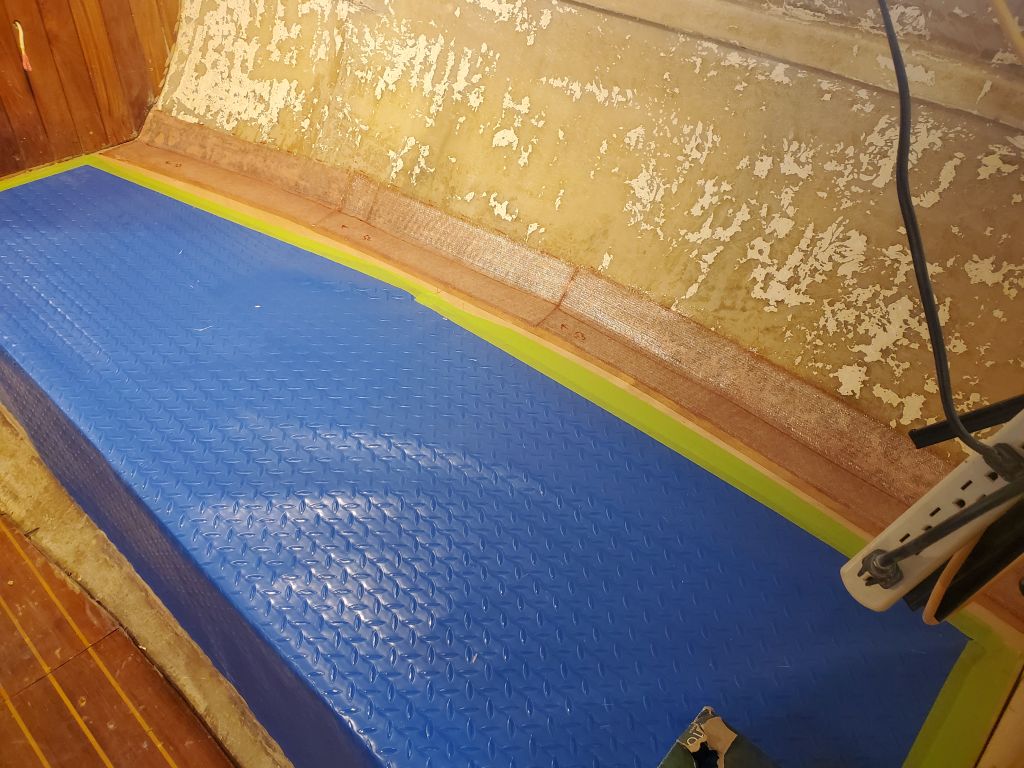
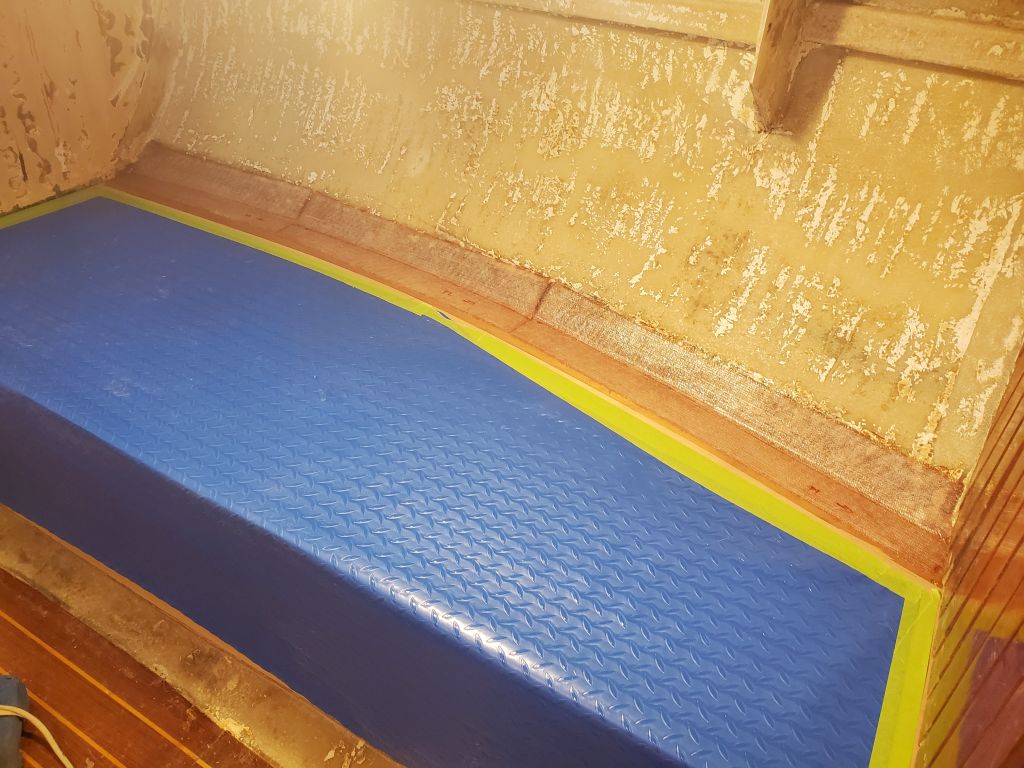
I masked off and covered the settee tops to protect them during the various upcoming constructions, as well as (immediately) during the fiberglassing of the seam at the hull, which was my first task. I cut 6″ tabbing to fit, then applied a thickened epoxy fillet to the seam before wetting out and installing the tabbing on both sides.


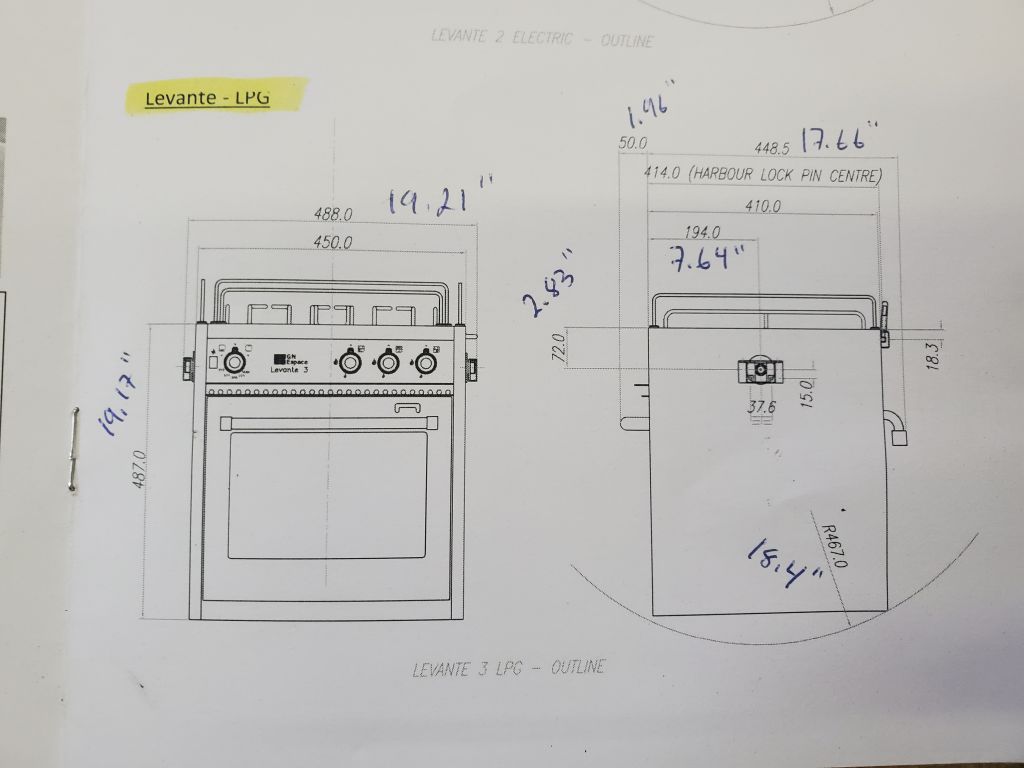
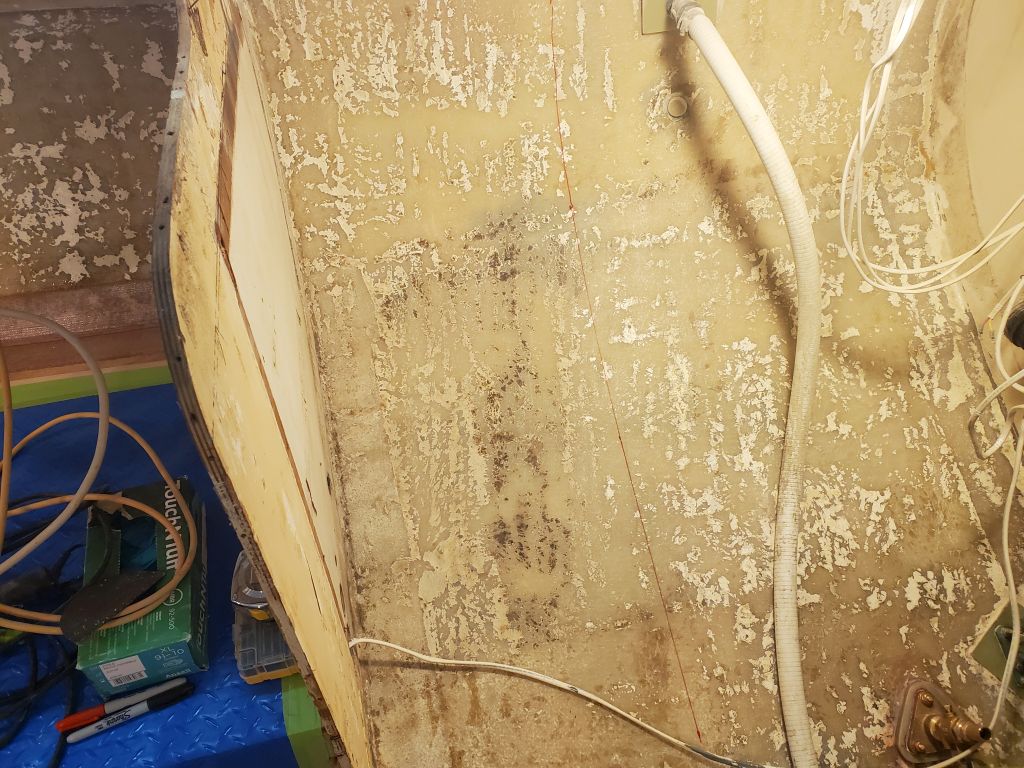
I planned to continue work on the settees–backrests and upper cabinets–soon, but for now, while the epoxy cured, I turned to the galley and the new bulkhead required to support the new gimballed stove. The owner selected this specific stove because it was narrower than most, and would fit better in the existing galley space without compromising the settee length. It also seemed like quite a nice, well-thought-out, stove and oven unit.
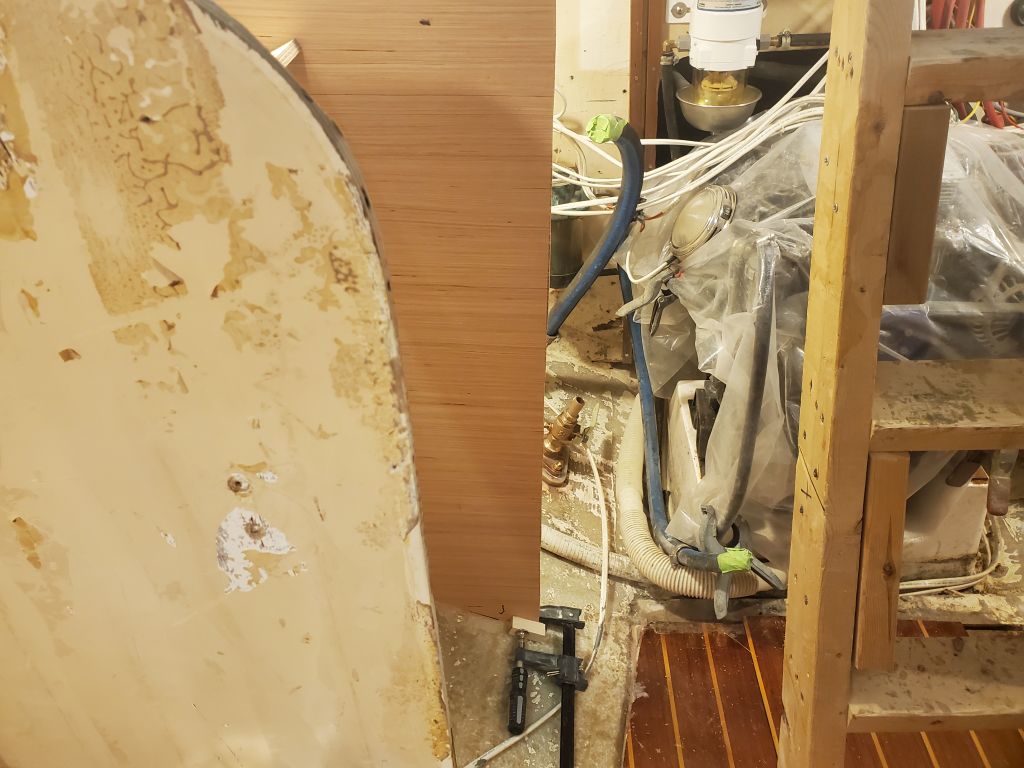
The width clearance required for the installation was 19.2″ minimum according to the stove diagram. I added a bit of clearance to allow for metal sheathing inside the opening, and, with a square, roughed out a mark on the hull where the bulkhead needed to go.
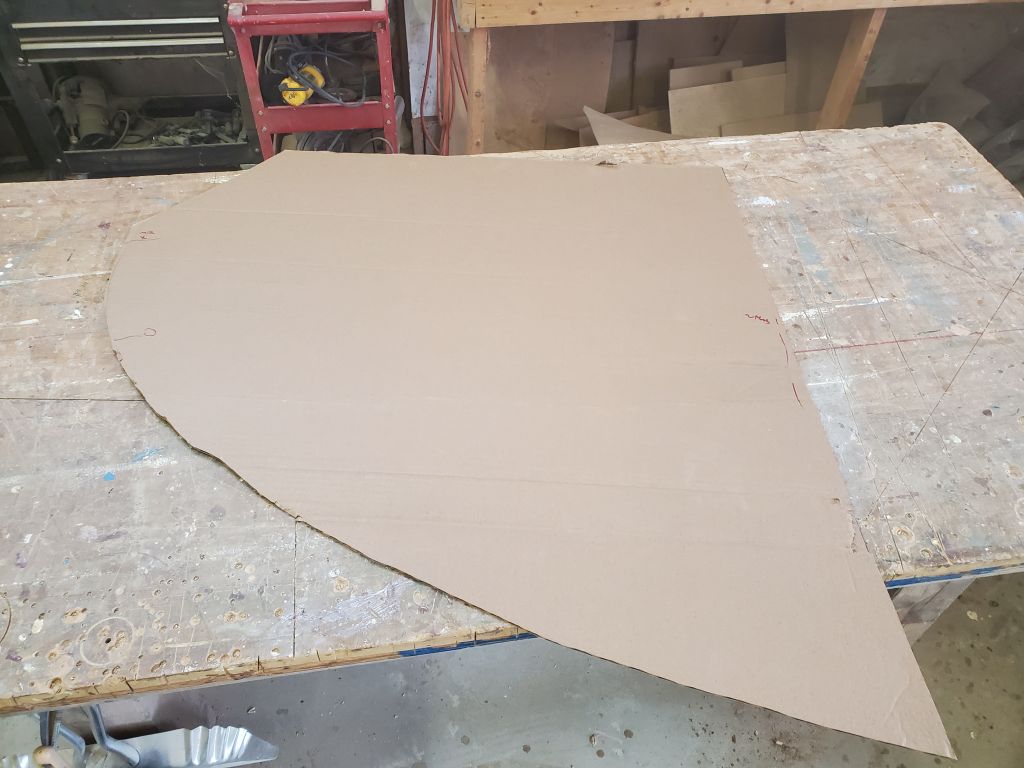
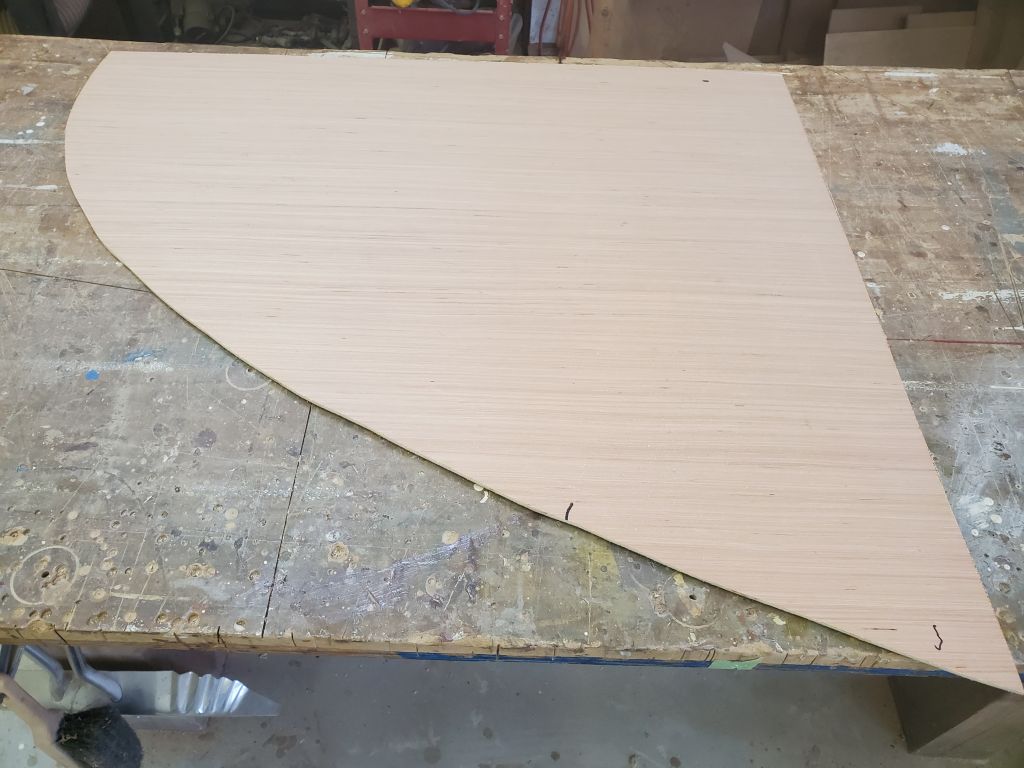
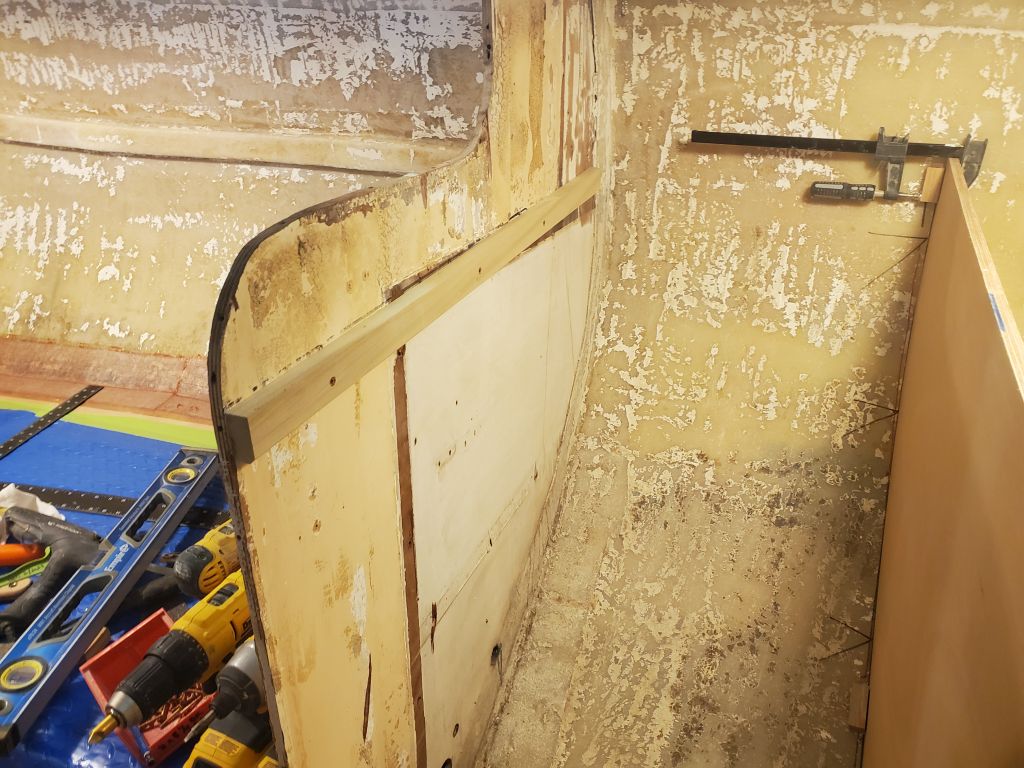
I started with a piece of cardboard cut to somewhat oversized dimensions and cut by eye to an approximate curve, then fitted it and scribed the cardboard to match the shape of the hull.
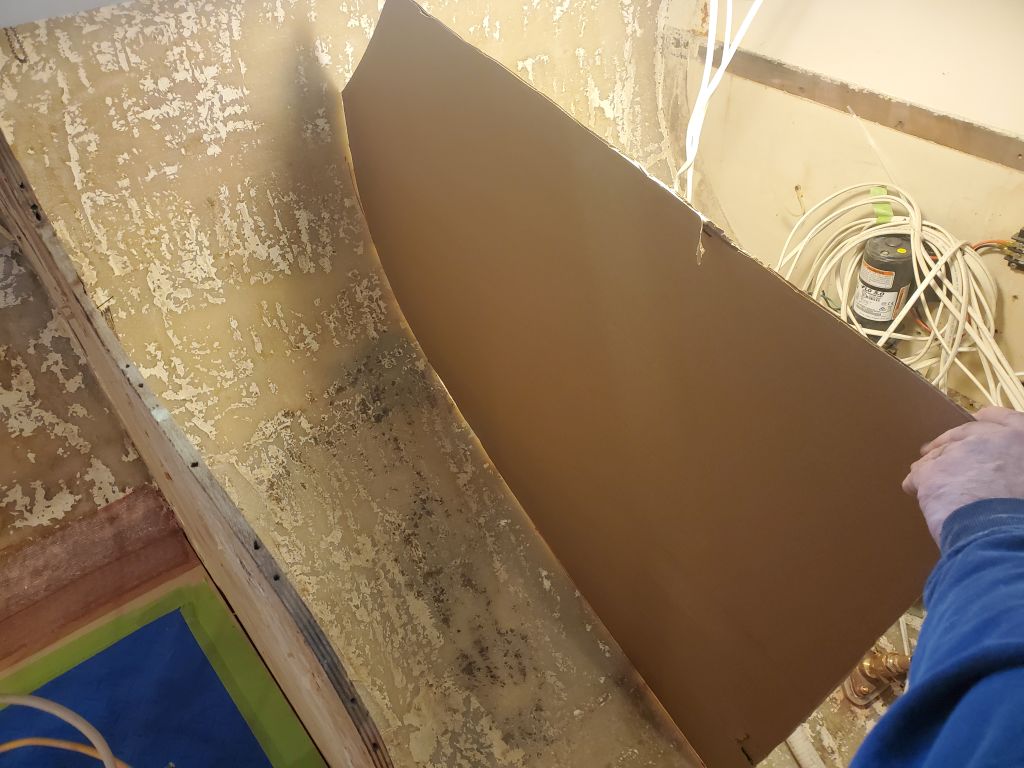
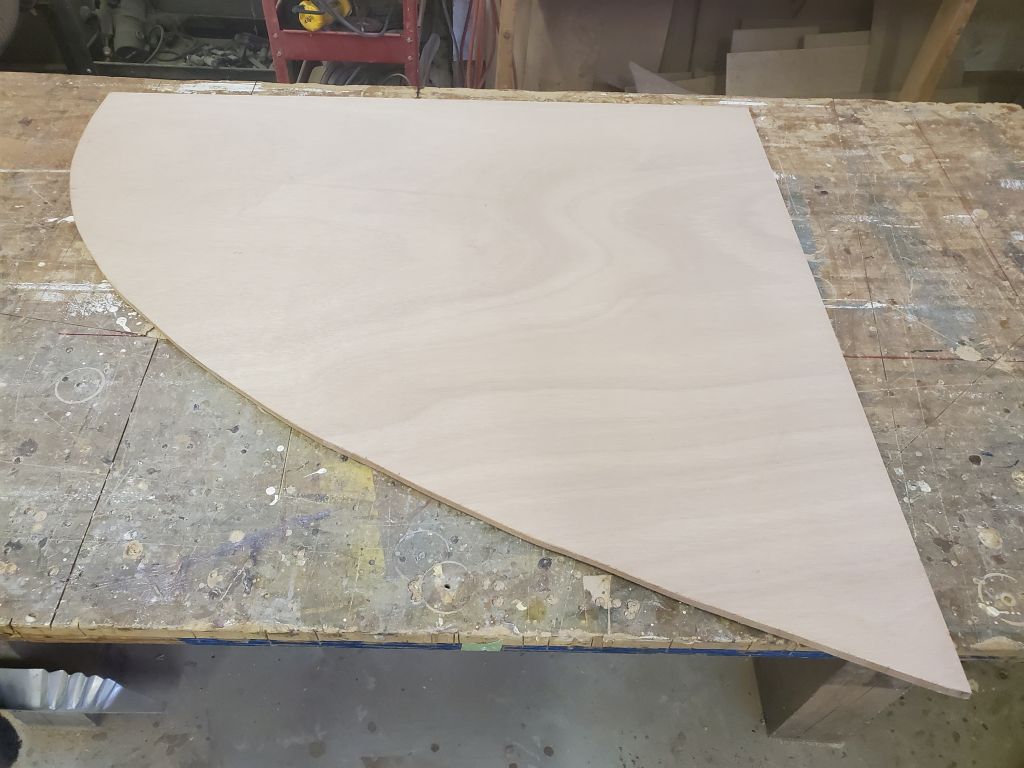
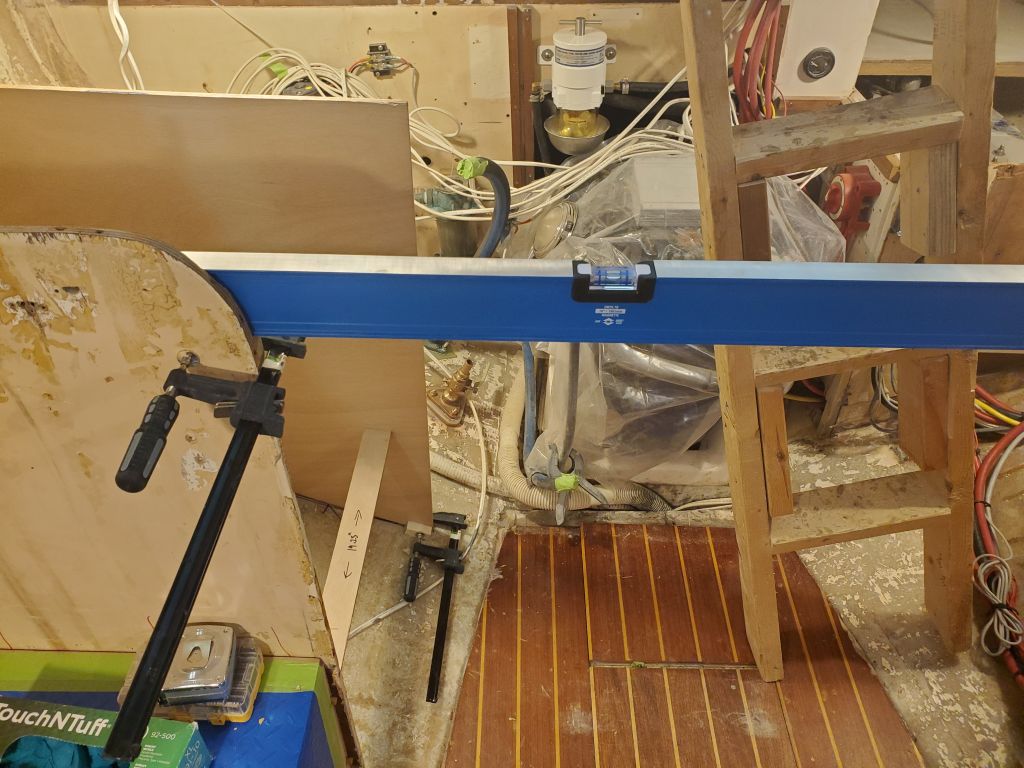
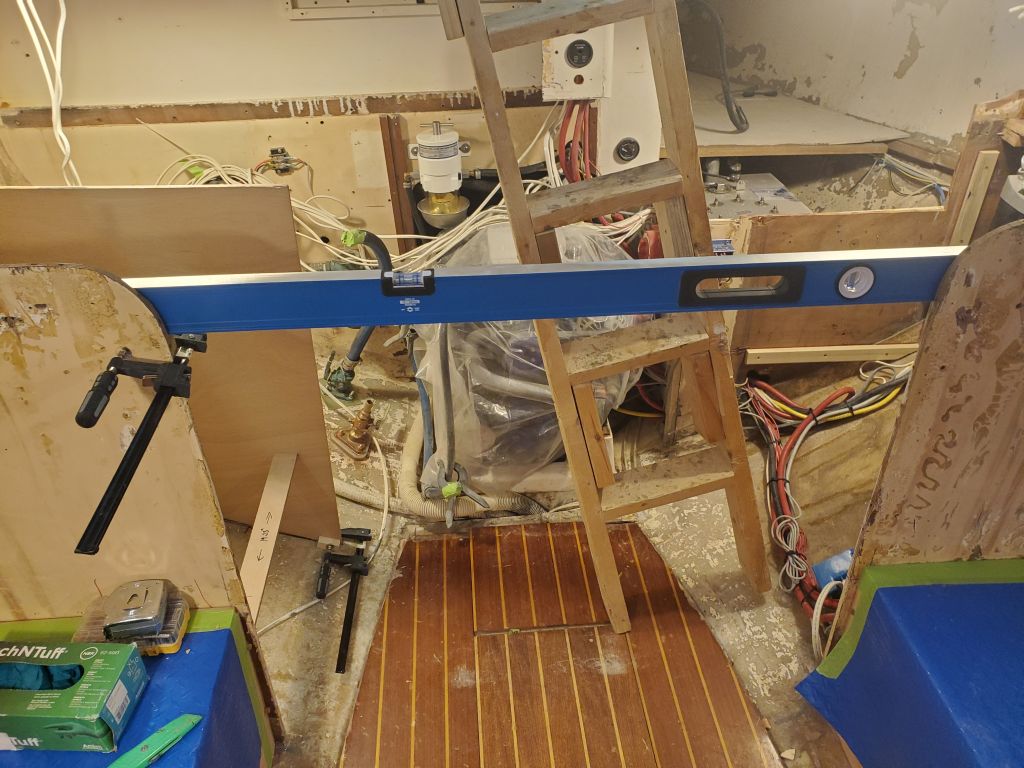
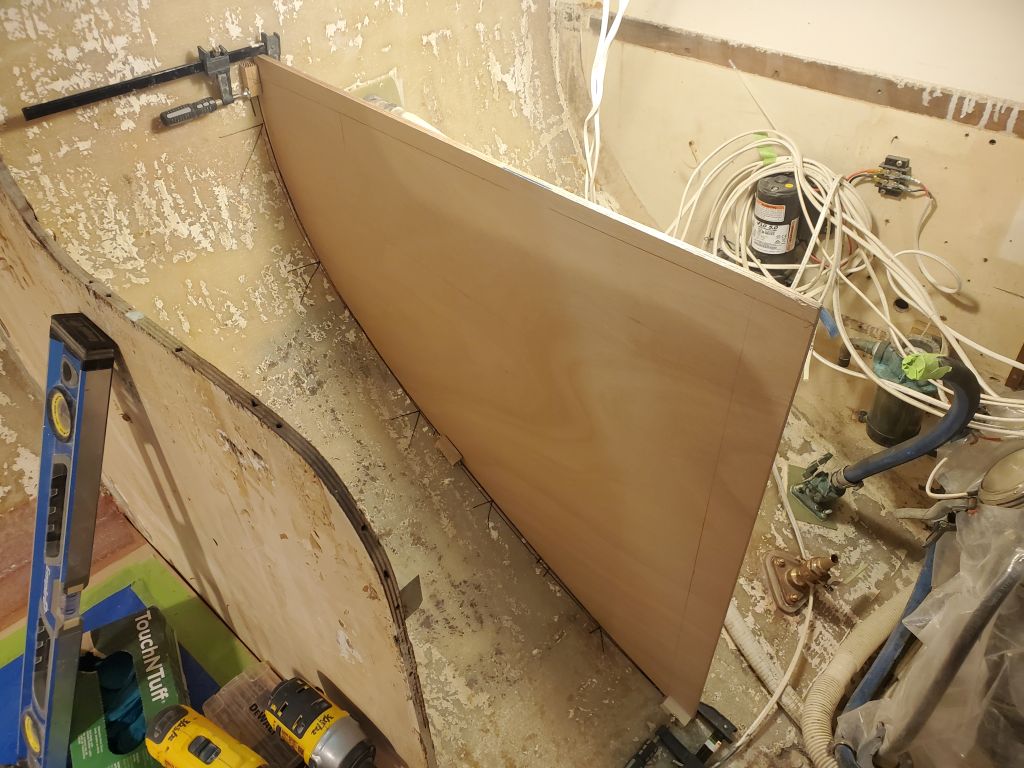
Satisfied with the rough pattern, I transferred the shape to a piece of 3/16″ pattern plywood and cut it out. Then, over a couple fittings, I scribed and cut this template to fit the hull in the required location. I left the template over-height and over-long so I could eventually mark the bulkhead for its final height and transverse width in place, level, and plumb. I held the template in place with some hot glue blocks and clamps, and cut a measuring stick to 19.25″ to ensure that the bare minimum space for the stove was provided in all areas. The forward (original) bulkhead in the galley was slightly out of plumb and out of square, so the width of the space increased as one measured closer to the hull, which provided a bit of additional room in the final analysis.
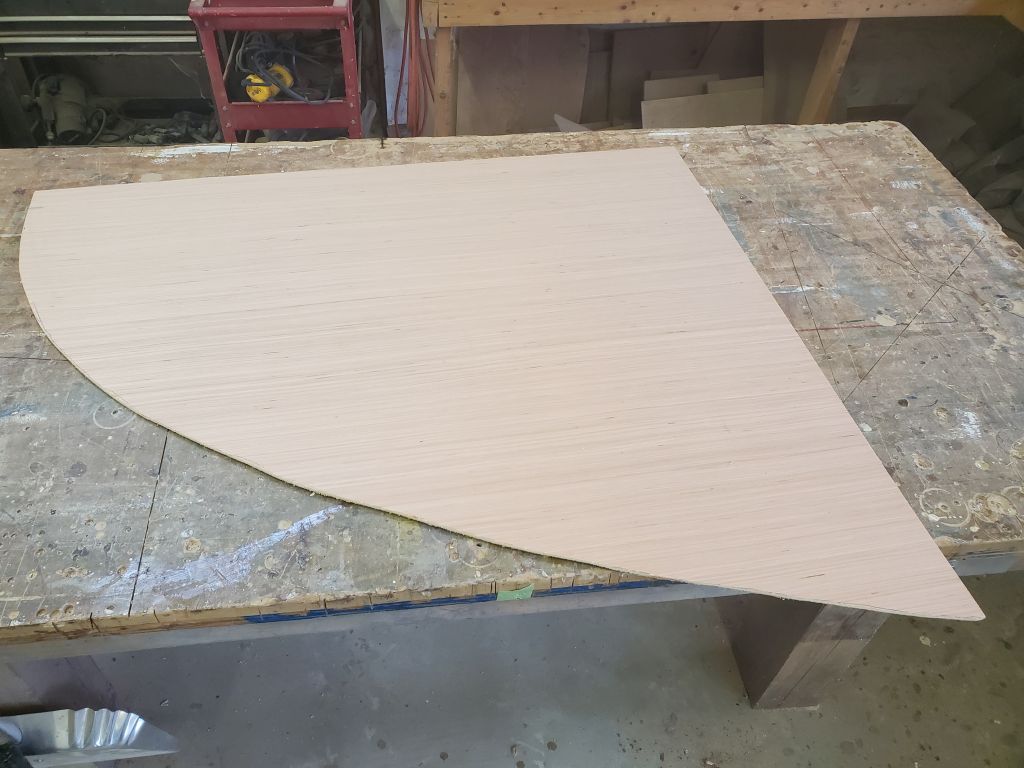
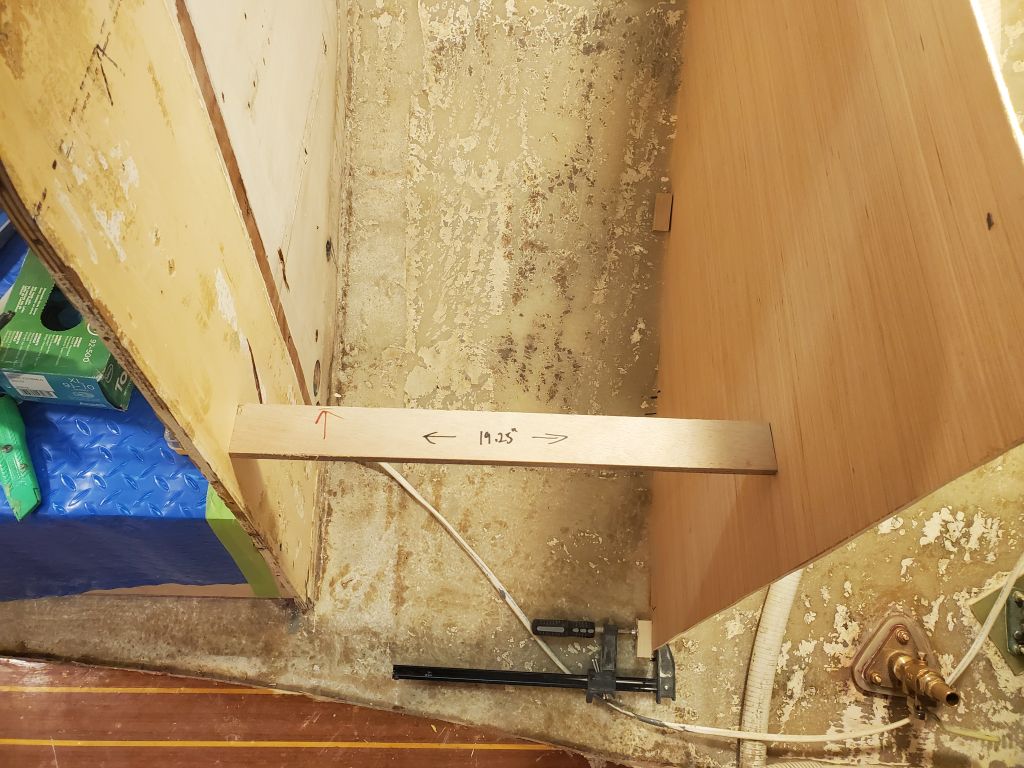
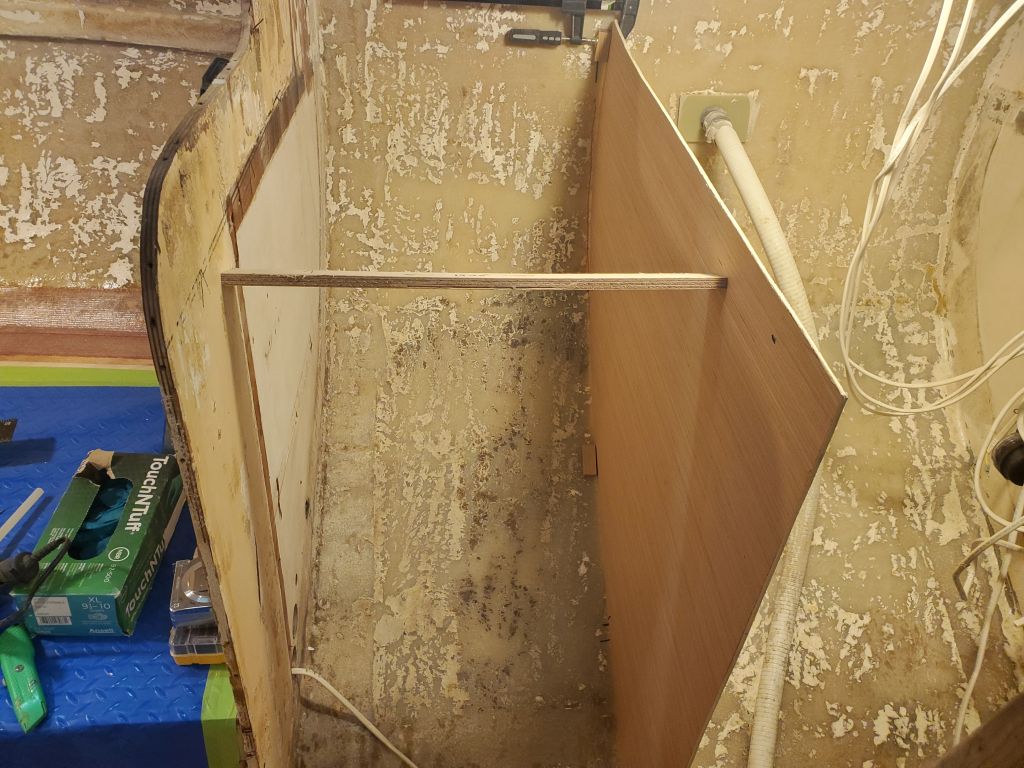
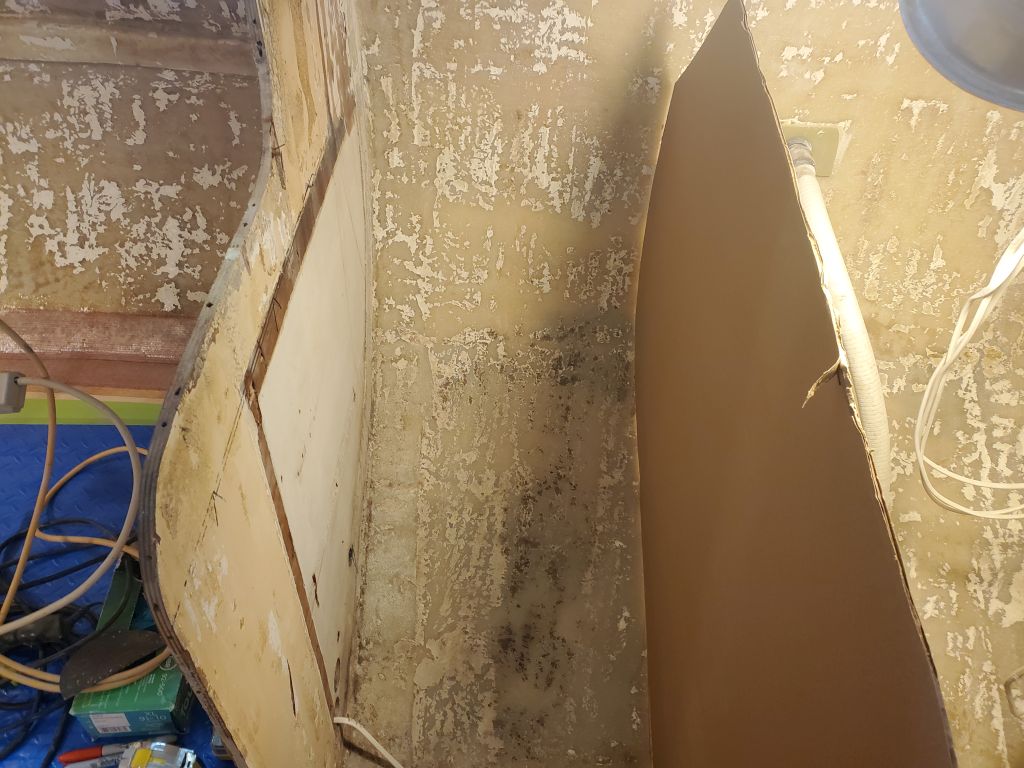
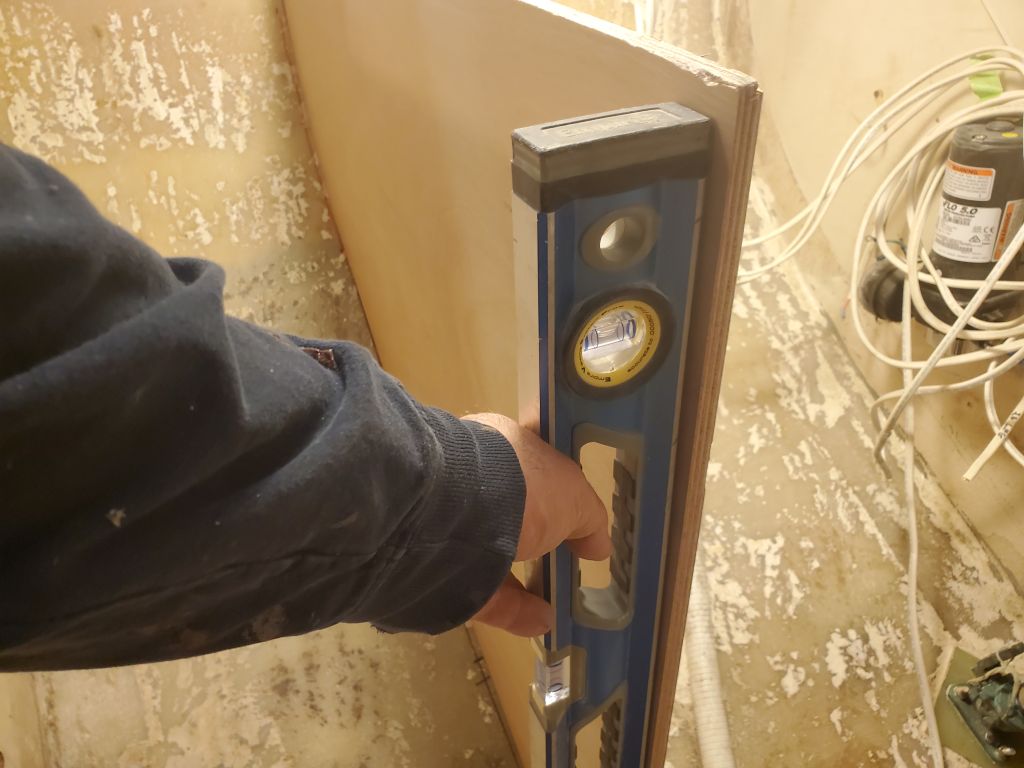
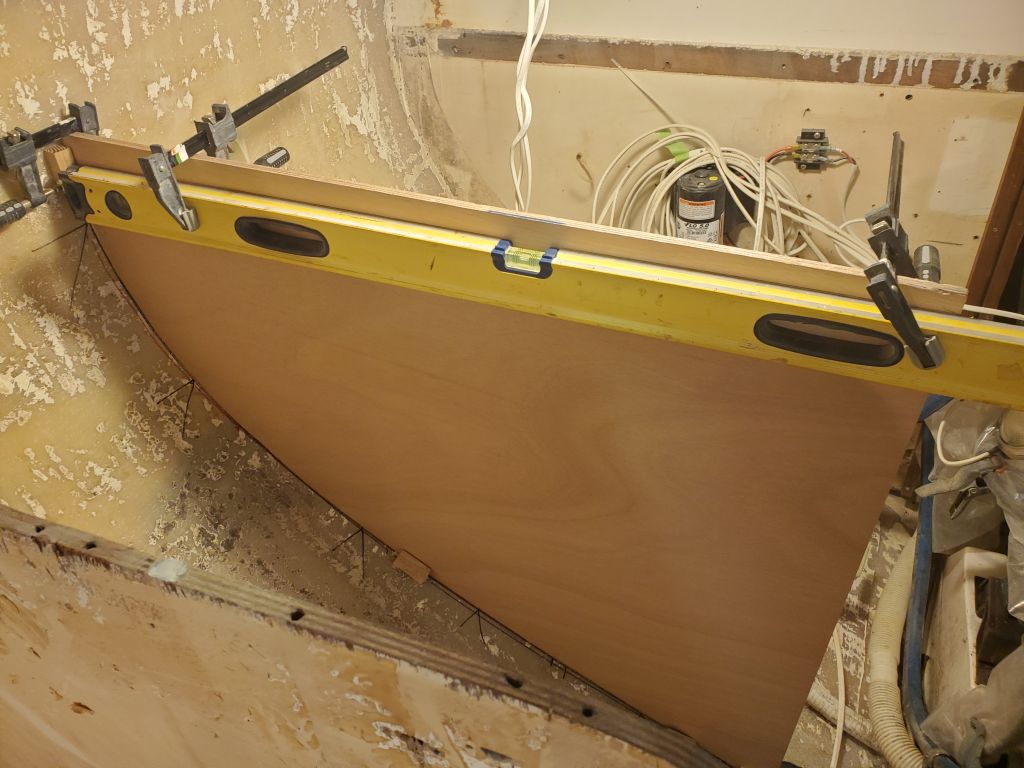
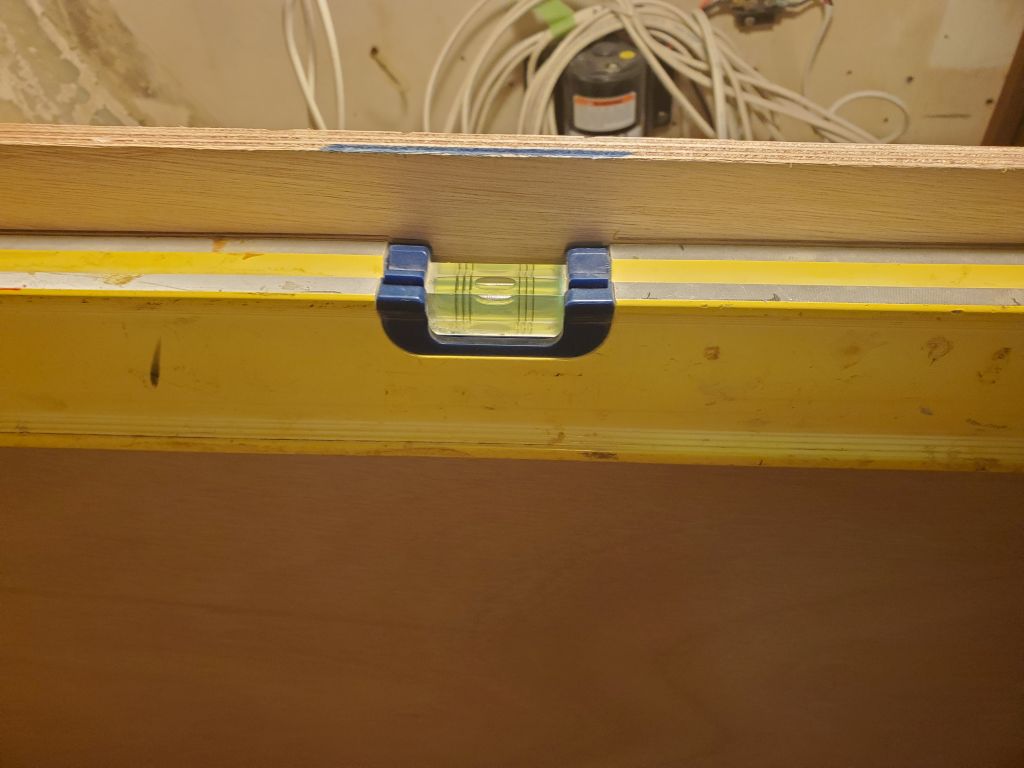
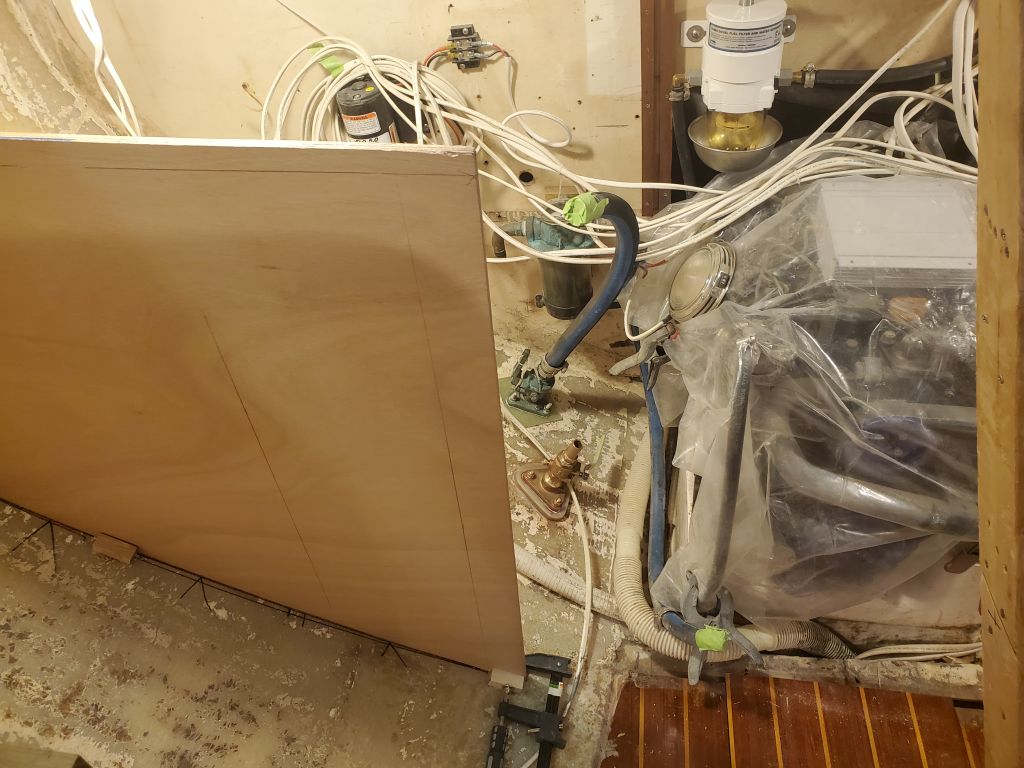
Next, I transferred the pattern to a piece of 12mm okoume and cut it to fit before setting it up plumb in the boat, clamped to the glue blocks to hold it. To help with layout and measuring, I leveled across the boat from the port bulkhead, where there was already a countertop cleat installed, and installed a temporary cleat on the stove side; this cleat was only to give me a solid reference point from which to mark the proper height and level on the new stove bulkhead, as well as set the course for the remainder of the galley construction. From this reference, I could get a tick mark and then arrange a level on the new bulkhead to mark its final height.
The plane of the new bulkhead would likely extend across the center of the boat to form the engine room and remainder of the galley before intersecting with the port side, but as of yet I’d not worked out the final details of where one panel would end and the next begin. There were various considerations, including how and where I planned to make access into the area beneath the galley and the engine room (though I planned substantial and easy access for both to the extent possible within the confines of the space).
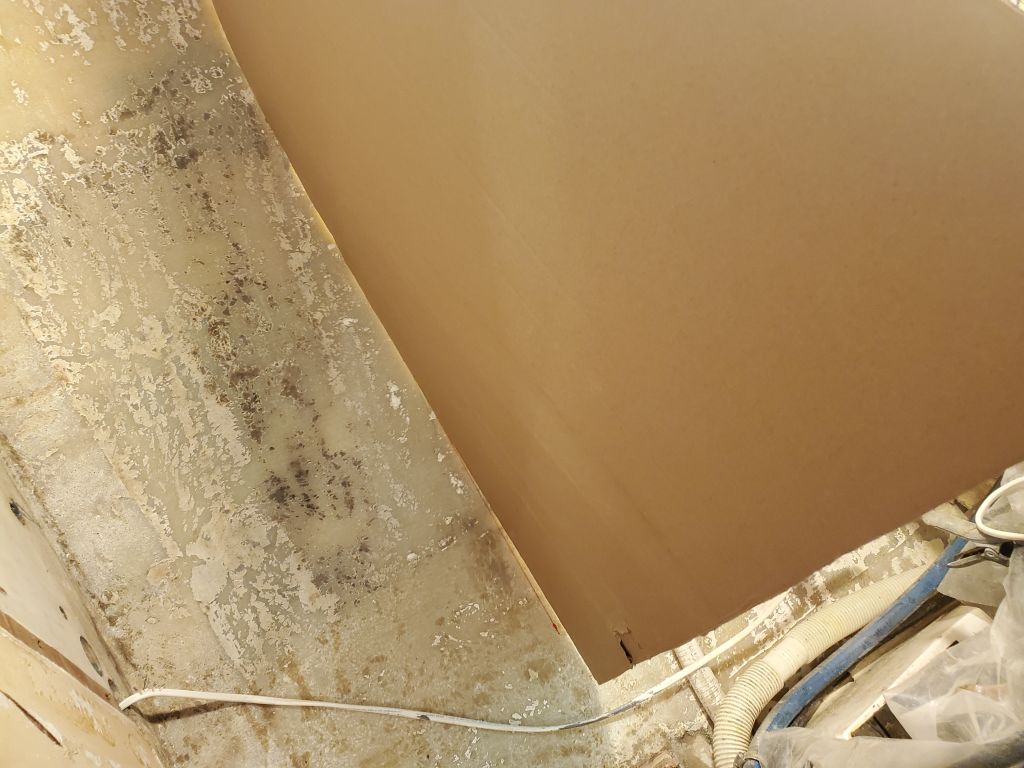
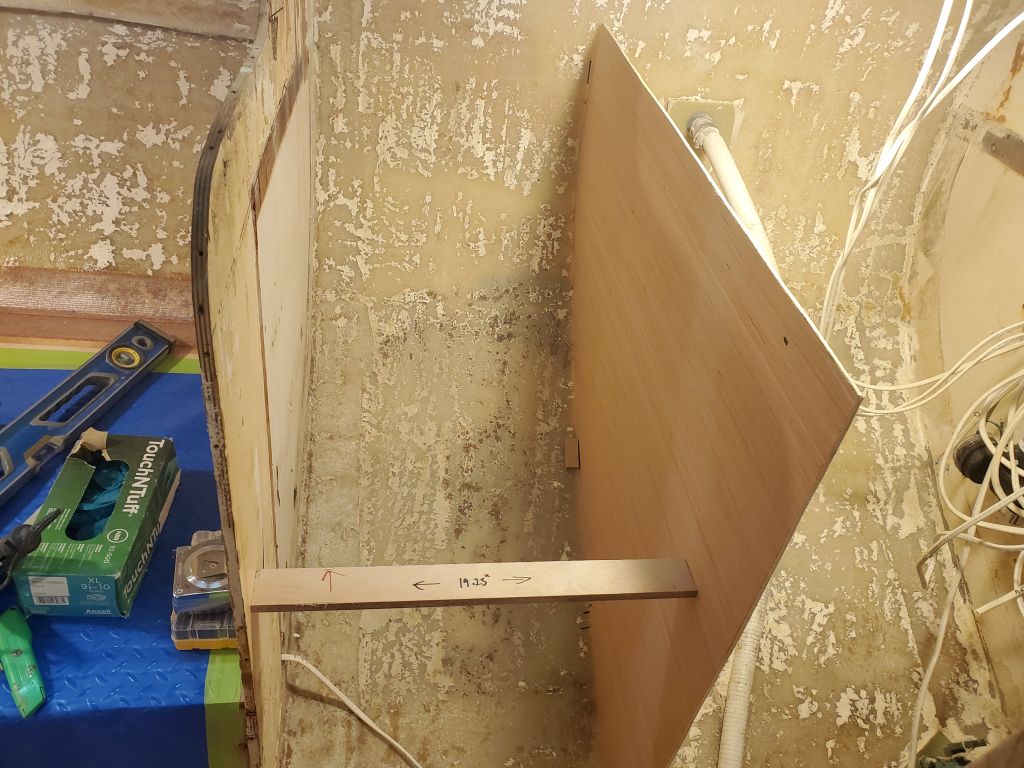
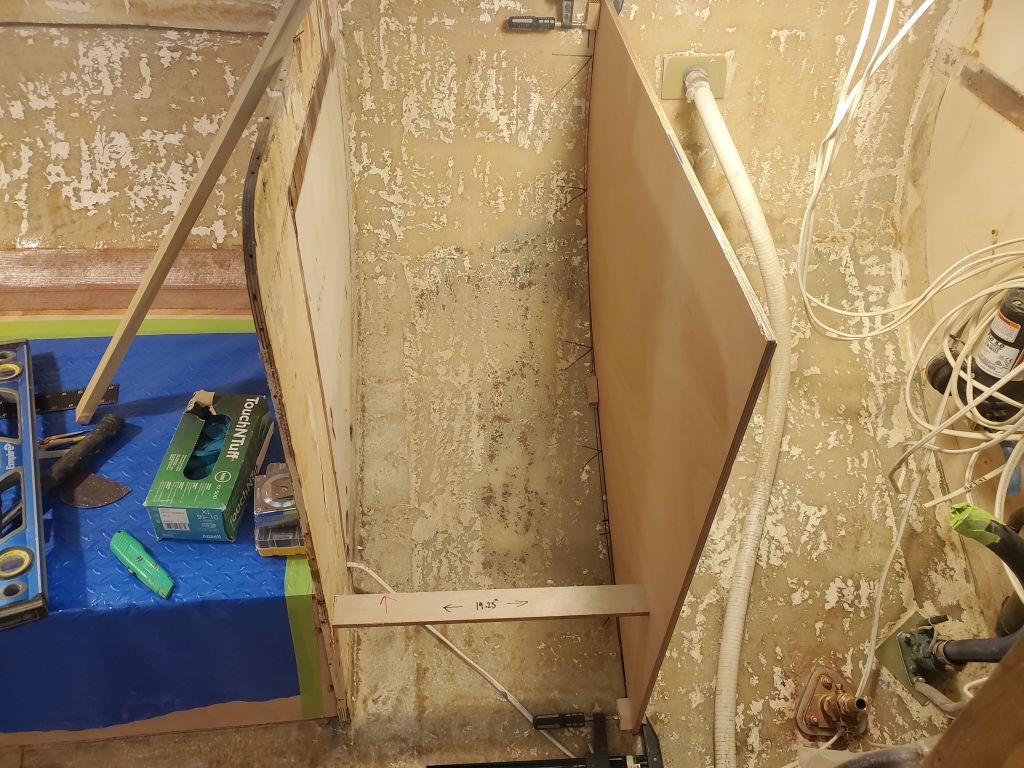
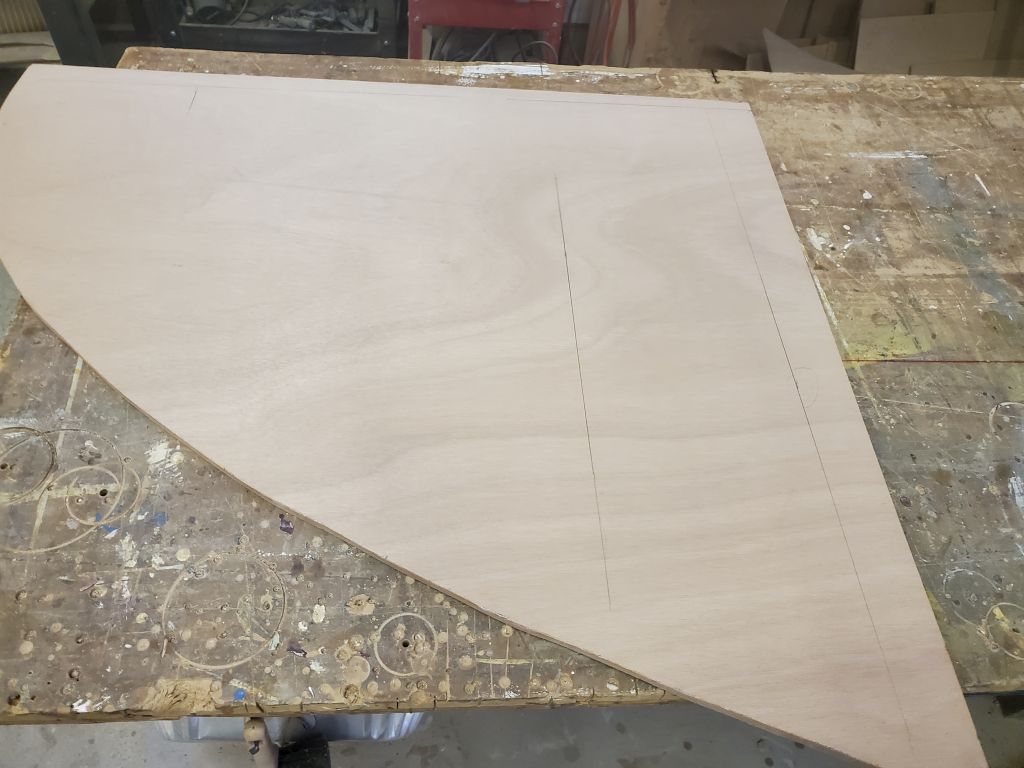
For now, I made a few marks on the new bulkhead:
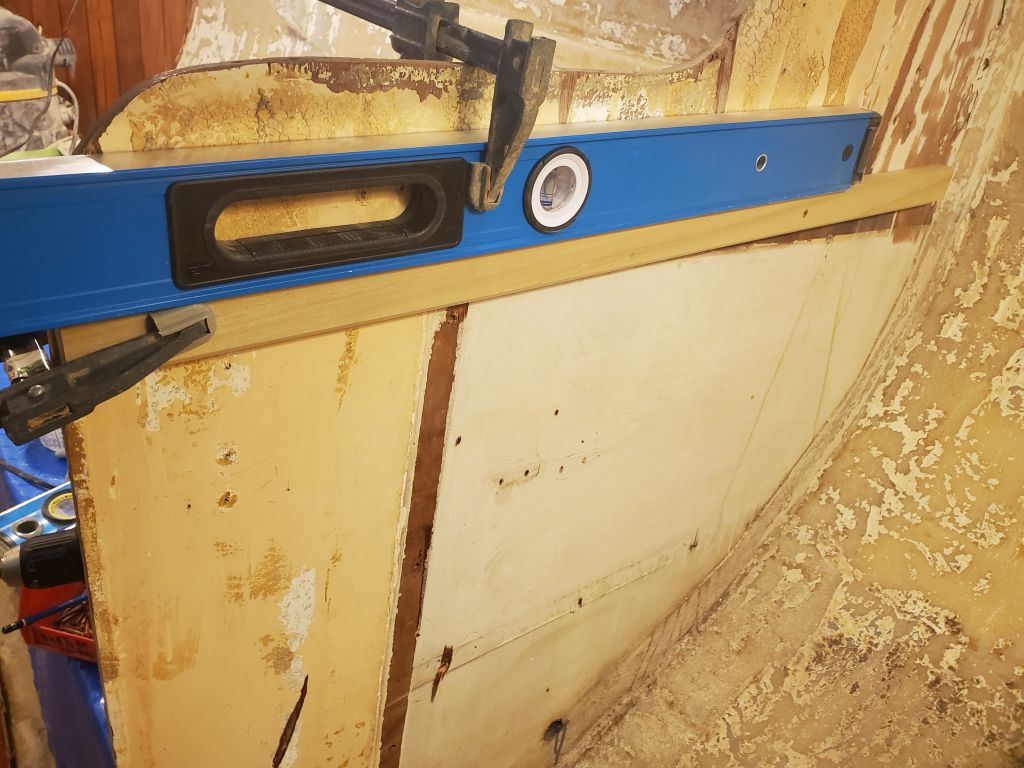
First, a plumb line even with the edge of the starboard forward galley bulkhead (furthest on the right in the photos below).
Then, a second plumb line, further outboard, to represent the location of the original longitudinal cabinet front, according to the ghost of the old cabinetry supports still visible on the aft side of the bulkhead (next line to the left in the photos below).
Finally, I made a mark closer to the hull, just at the top edge of the panel, to show the furthest-outboard point with enough height clearance for the stove, not necessarily accounting for the gimbal action; because the height of the stove itself was just under its width, I simply used my 19.25″ marking stick to provide an easy reference for this, though it was only a maximum-reference and wasn’t necessarily indicative of the back side of the eventual space (small mark closer to the outboard (left) edge of the panel in the photos below).
Next time, I’d work through some of the remaining questions, starting with the actual location of the stove mounts to ensure that the stove fit properly in the space and could gimbal as designed.
Total time billed on this job today: 6.75 hours
0600 Weather Observation: 8°, mostly clear. Forecast for the day: Increasing clouds, 30°