


March 12, 2024
Calliope Girl 82
Tuesday
After the usual round of light sanding of the newest tabbing on the water tank, I wanted the main focus of the day to be the support beams for the v-berth platform, but before I got to that I thought through the options for securing the water tank. I wanted/planned to use straps to secure it athwartships (it was already basically secure in its tray, but needed something to hold it down), but there were challenges in finding a place to secure the straps on the hull (outboard) side of the tank, where the nature of the original construction and the way the tank filled the space didn’t leave accessible space for anything to secure a strap to in a manner that was strong enough. With no good options for securing strap eyes on the hull side thanks to the shape of the tank and lack of space in the appropriate positions for such hardware, I finally decided to build rigid supports off the v-berth support beams, and possibly add straps in a fore-and-aft direction if I felt it was necessary.
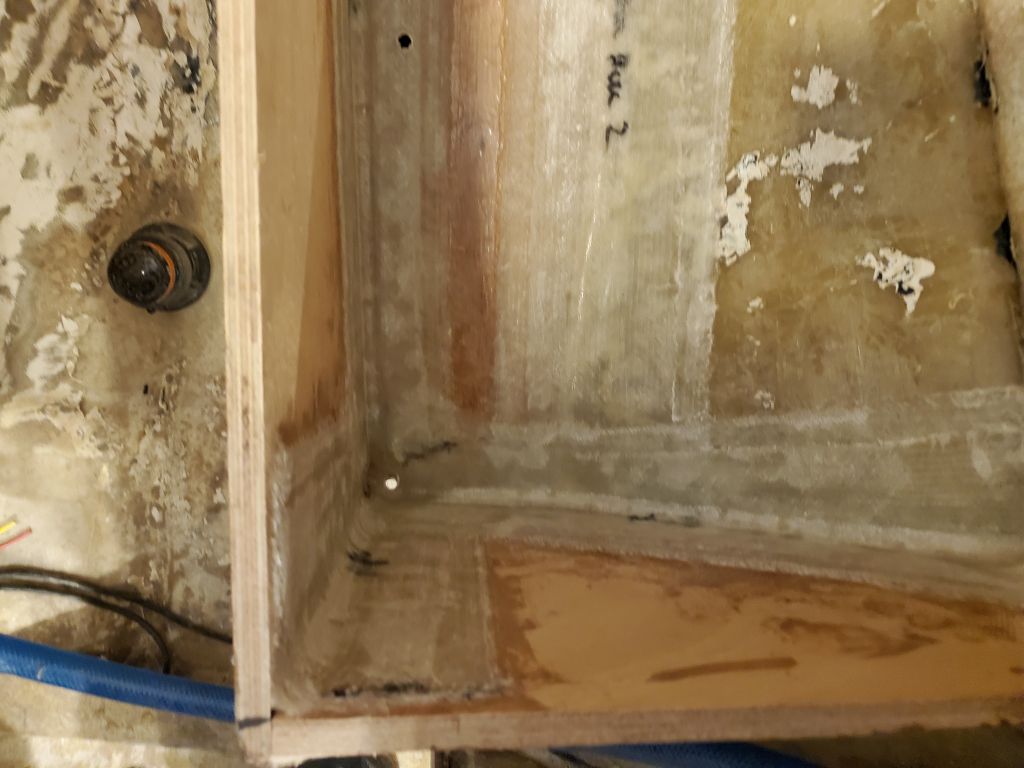
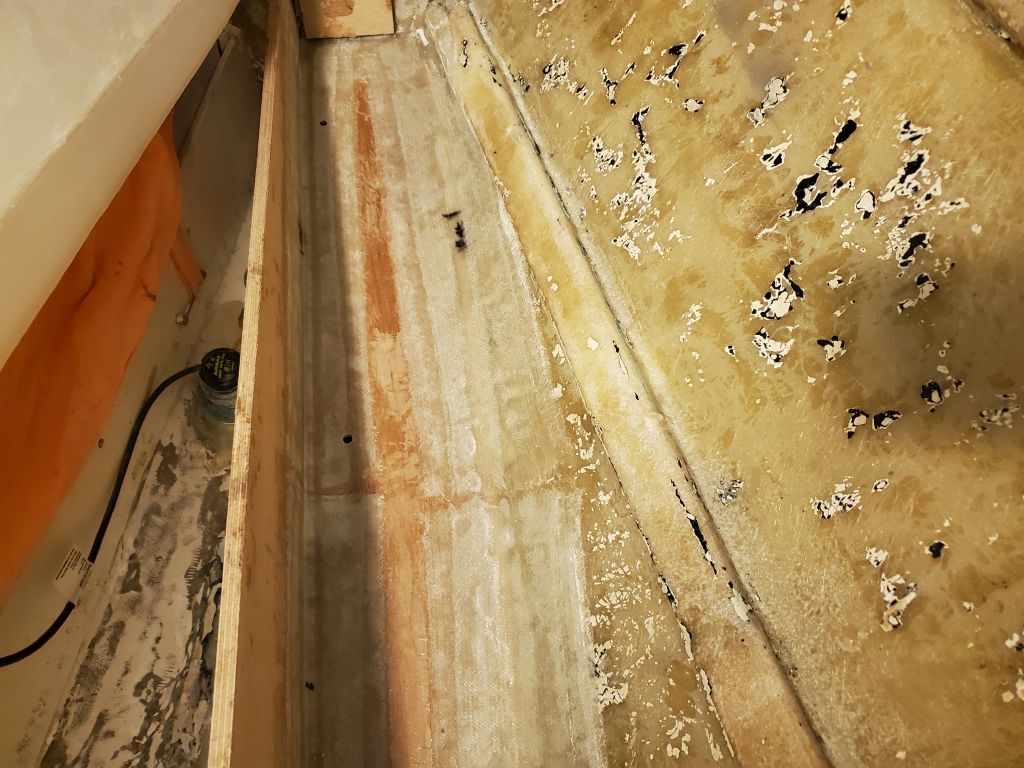
With that decision made, I could press on, but first, at the owner’s suggestion, I moved the tank once more and drilled a few small drainage holes in the bottom of the support tray; hopefully there’d never be any water in this space to begin with, but it made sense to give it a path out should it ever happen. The base angled aft and would tend to drain that direction, so I started with a drain hole in the aft end, but added a few more along the length going forward just to give any water several paths out. The space beneath the floor of the tray was open to the hull for drainage beneath in any event.

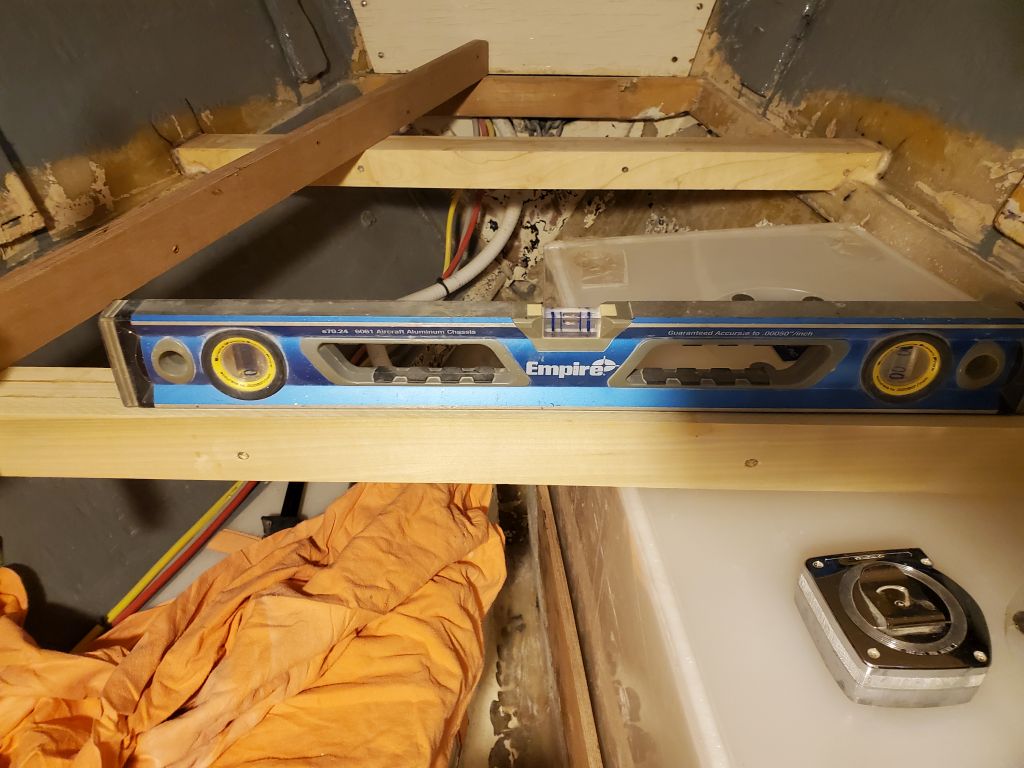
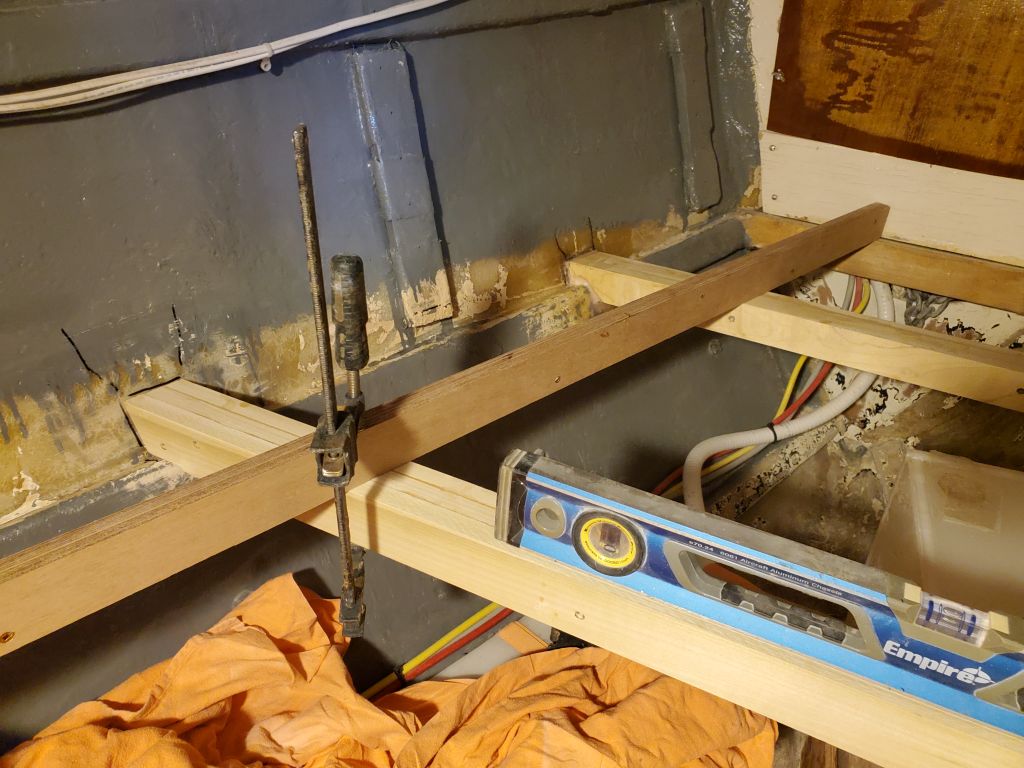
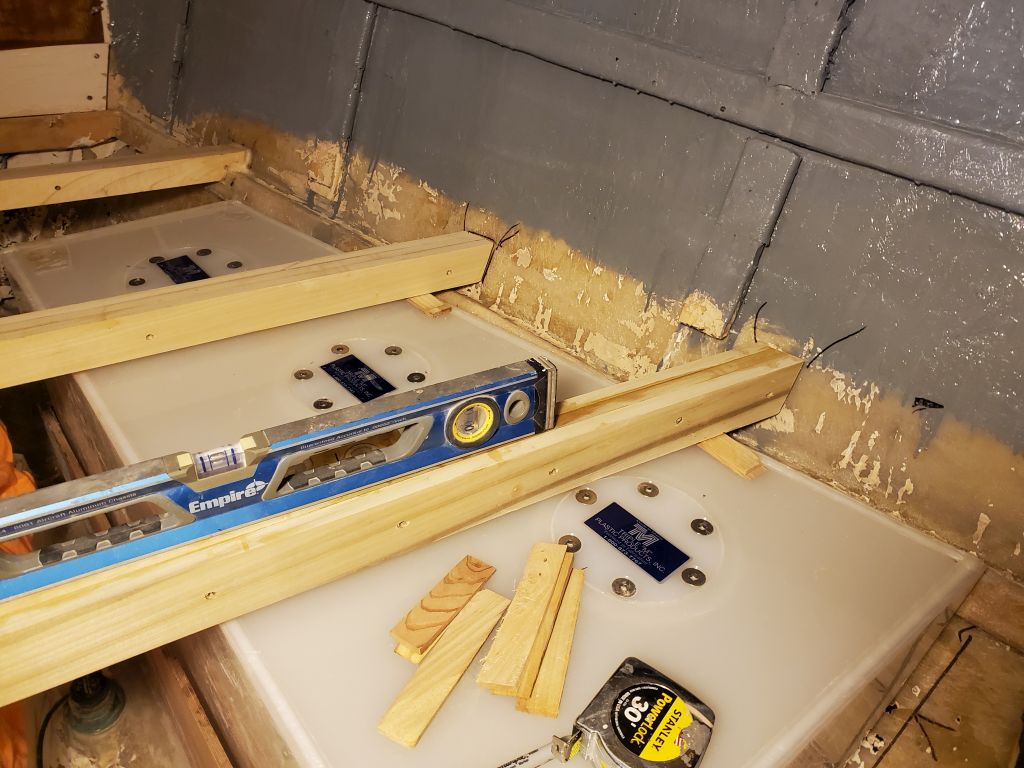
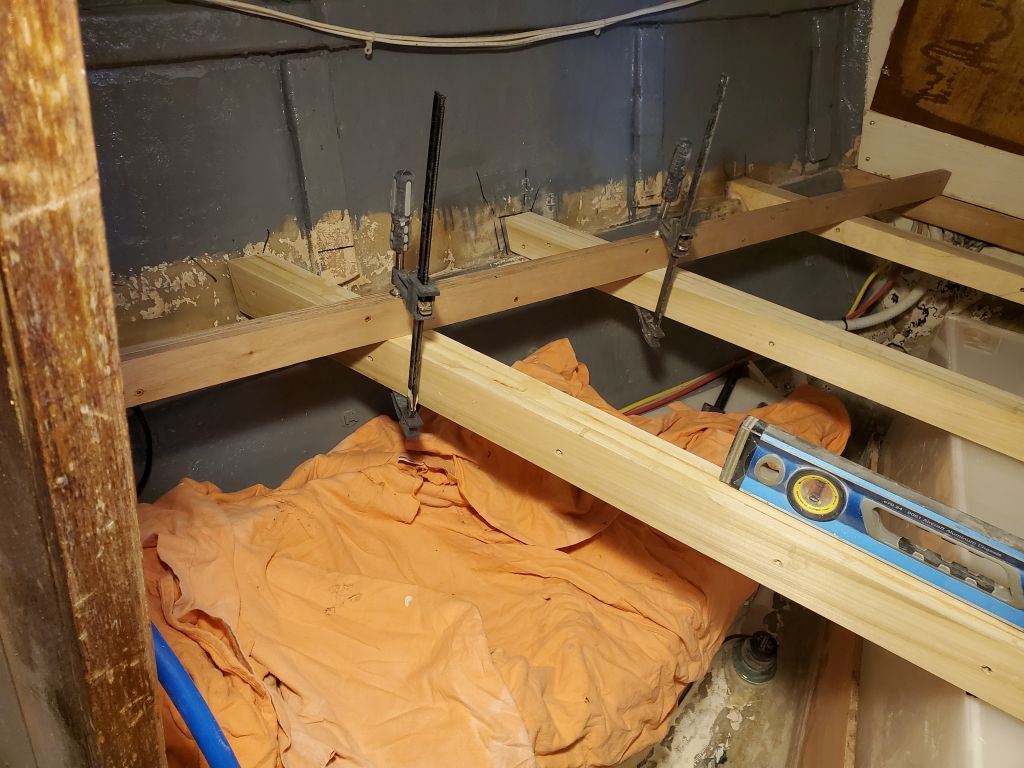
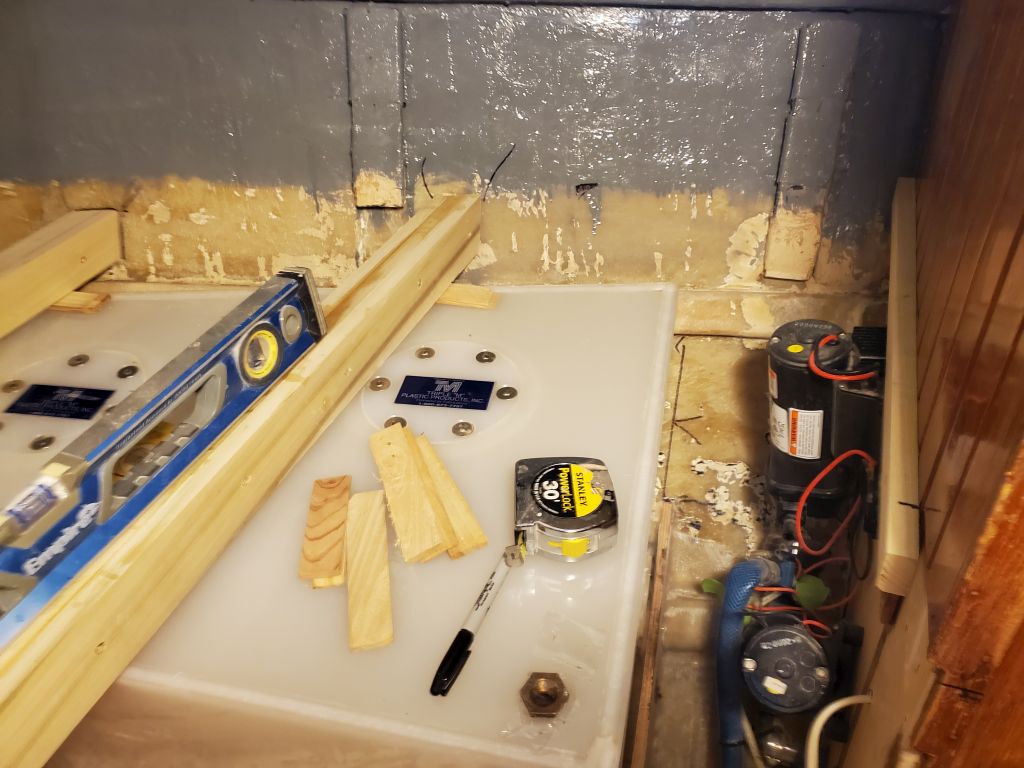
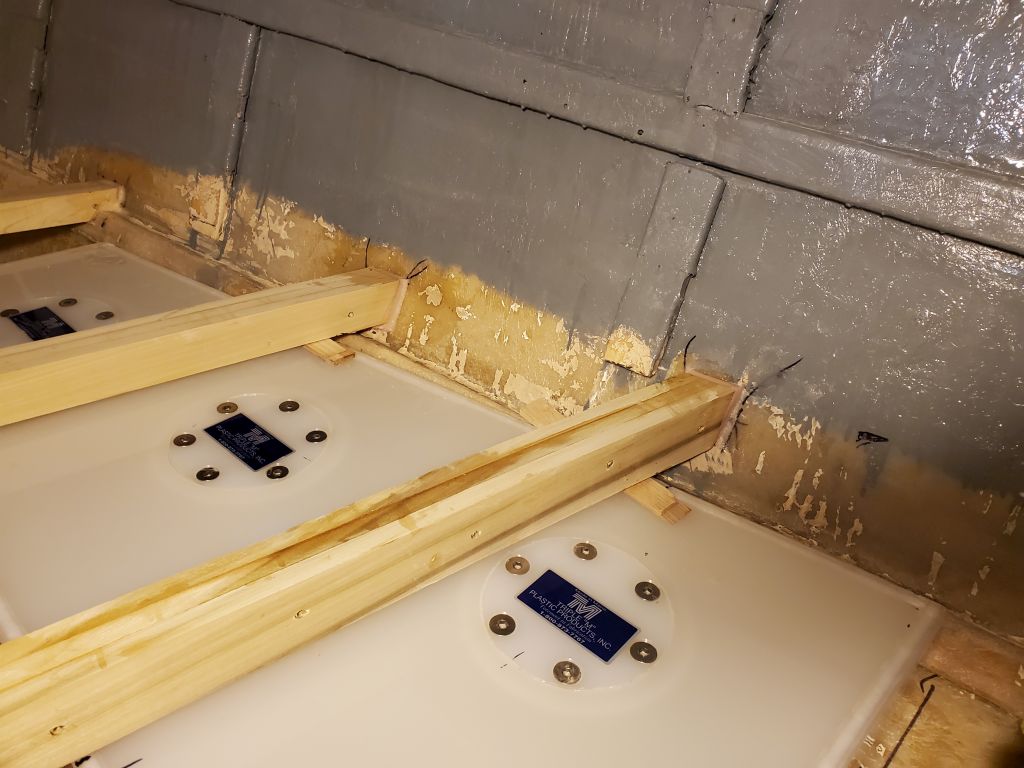
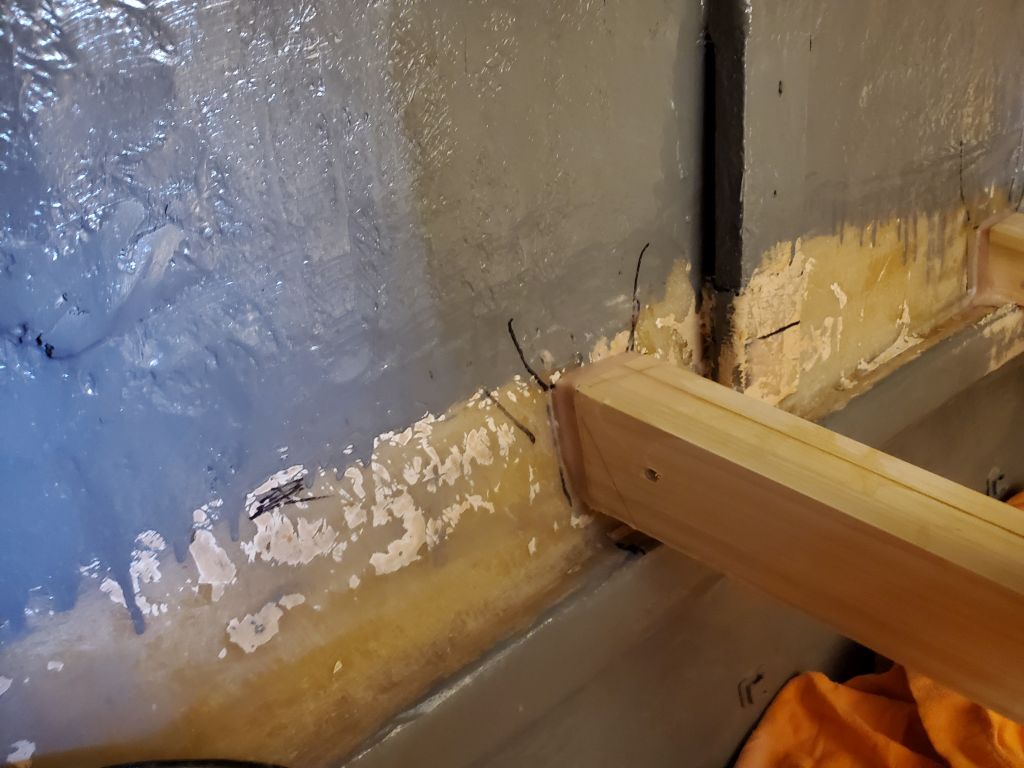
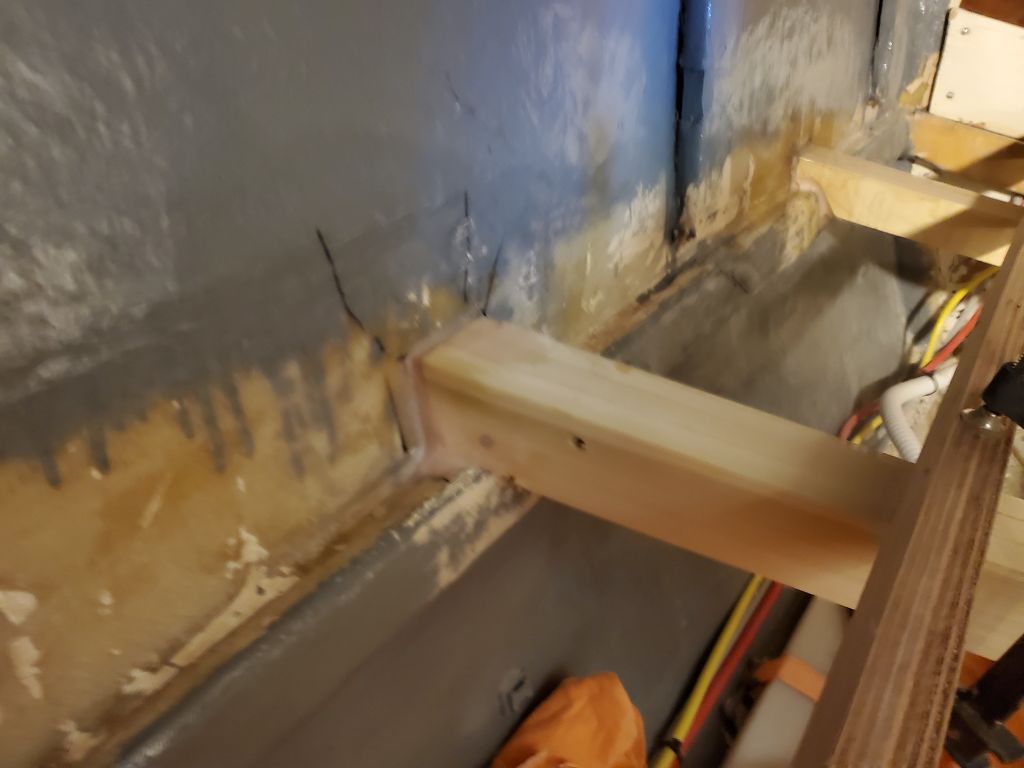
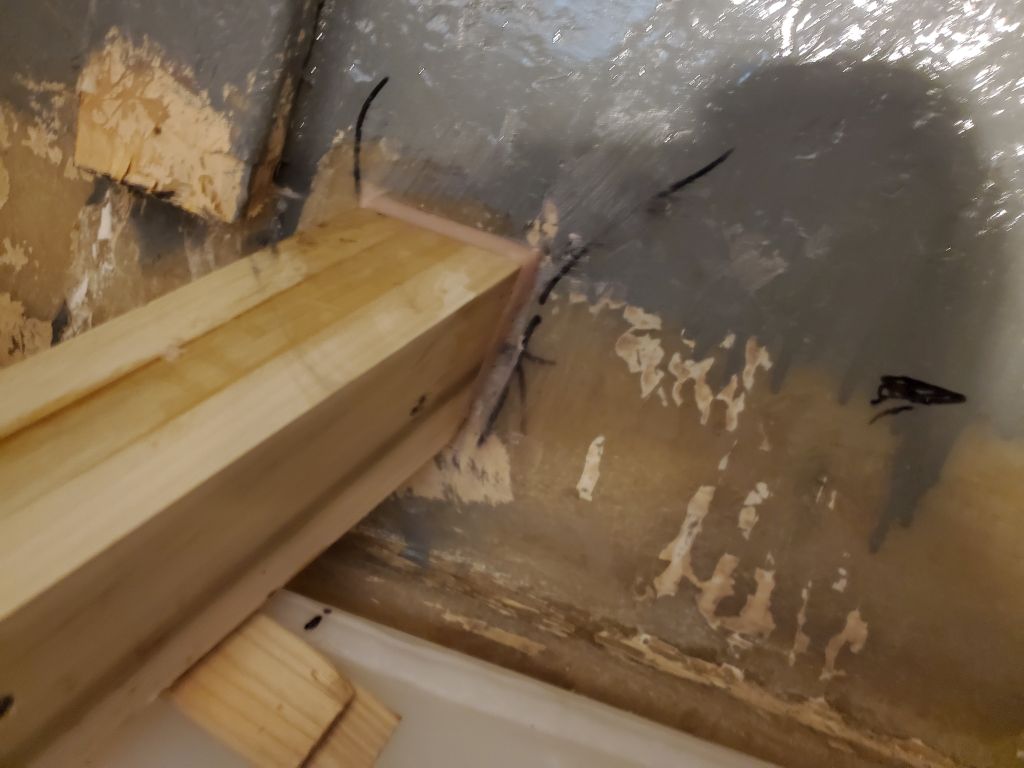
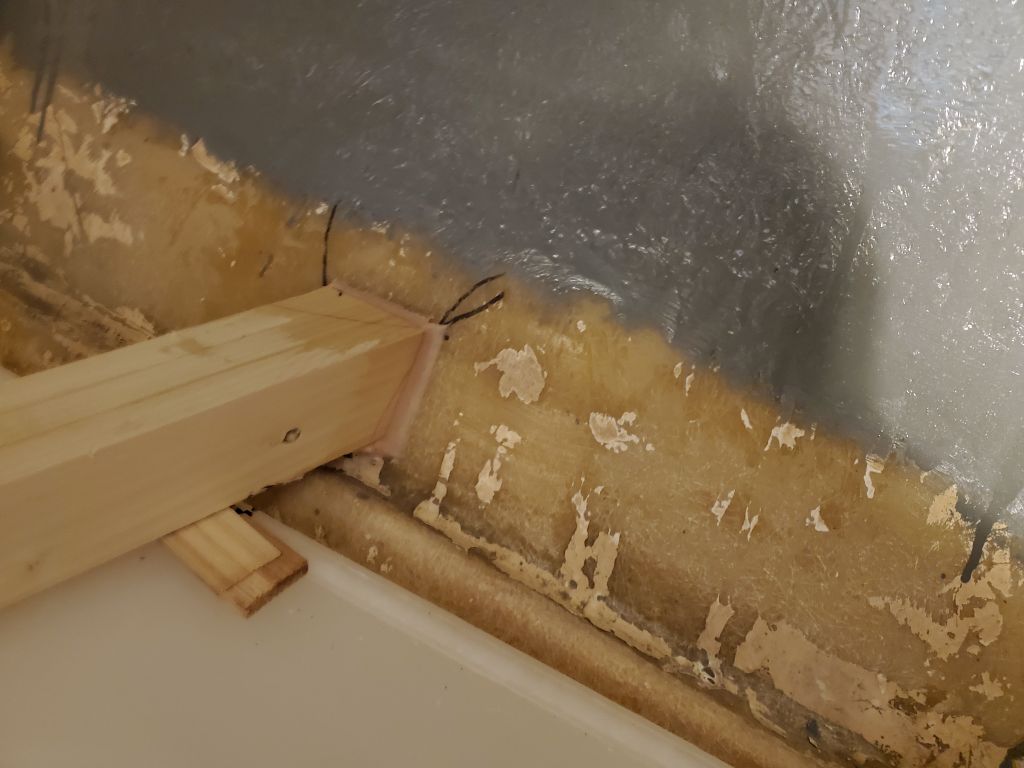
I planned three cross beams to support the v-berth platform, generally evenly spaced from forward to aft, but I planned the two after ones to roughly align with the baffles inside the water tank, the strongest part of the tank to use for bracing. Starting with the forwardmost beam, with some rough width measurements and a template of the shape of the hull, I cut one of my laminated beams to size and adjusted it in place till it was level side to side and fore and aft, in line with the long plywood straightedge I’d made for this purpose. This beam was forward of the water tank. Once I was satisfied with the fit, I secured the beam to the hull, and in this case to the protruding hull stringers on each side, in a bed of thickened epoxy. It was nearly lunchtime, and with a couple heat lamps on the epoxy to speed its cure, I figured I could get it secure enough to remove the temporary clamps after break and continue with the remaining two beams.

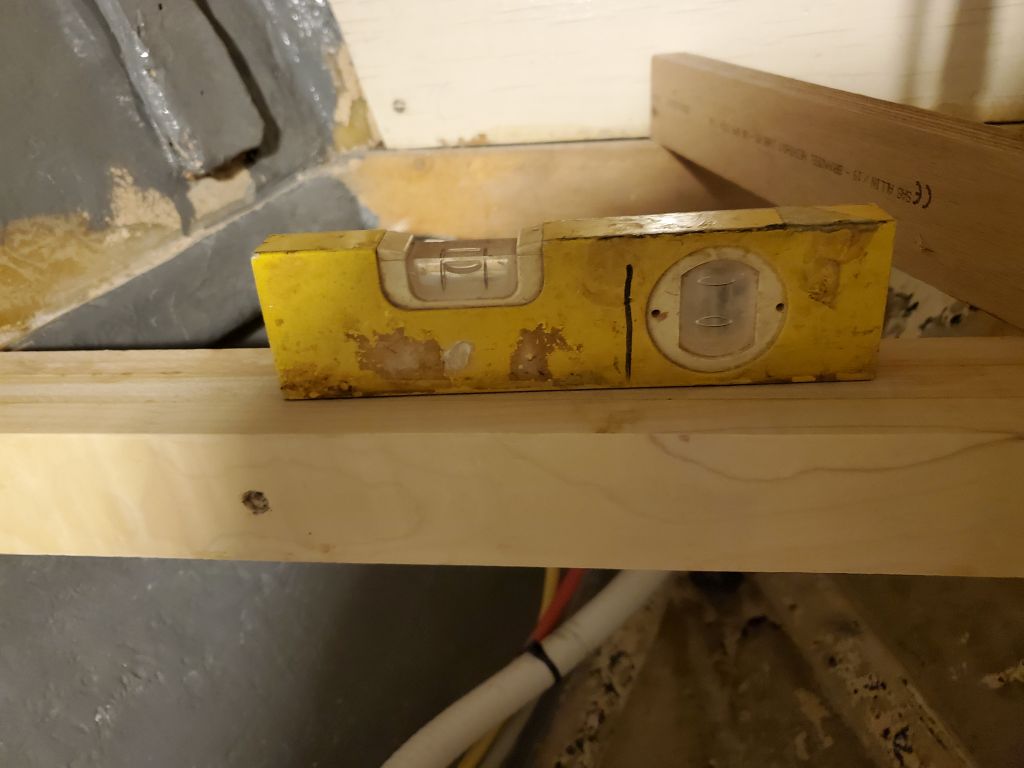
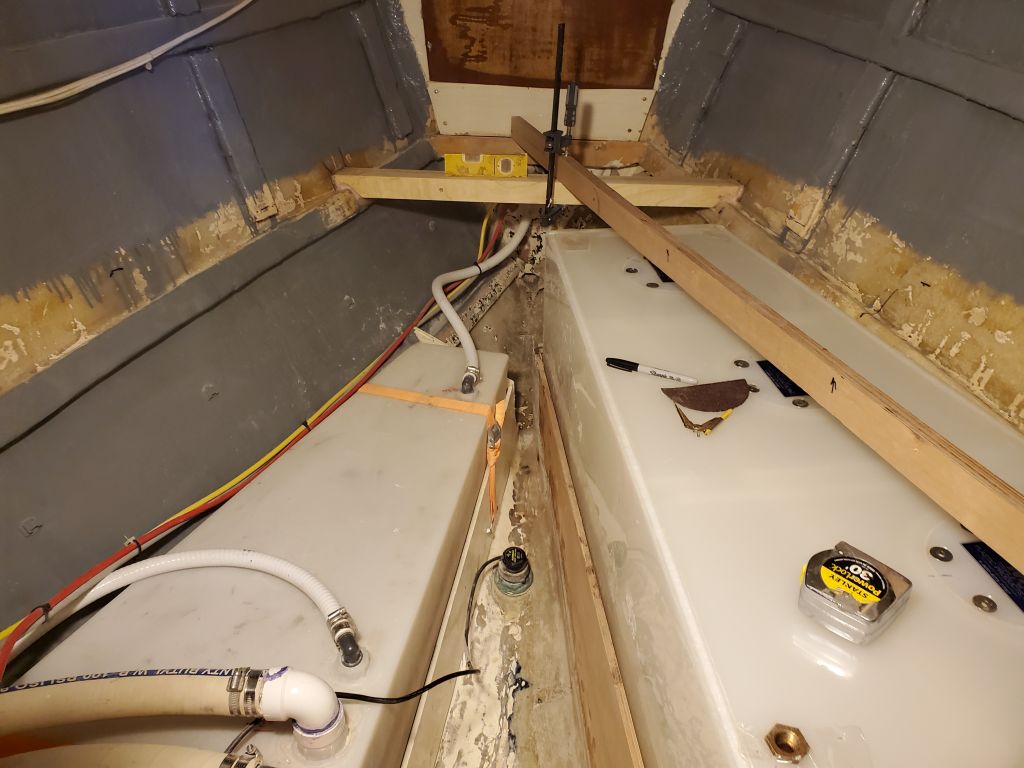
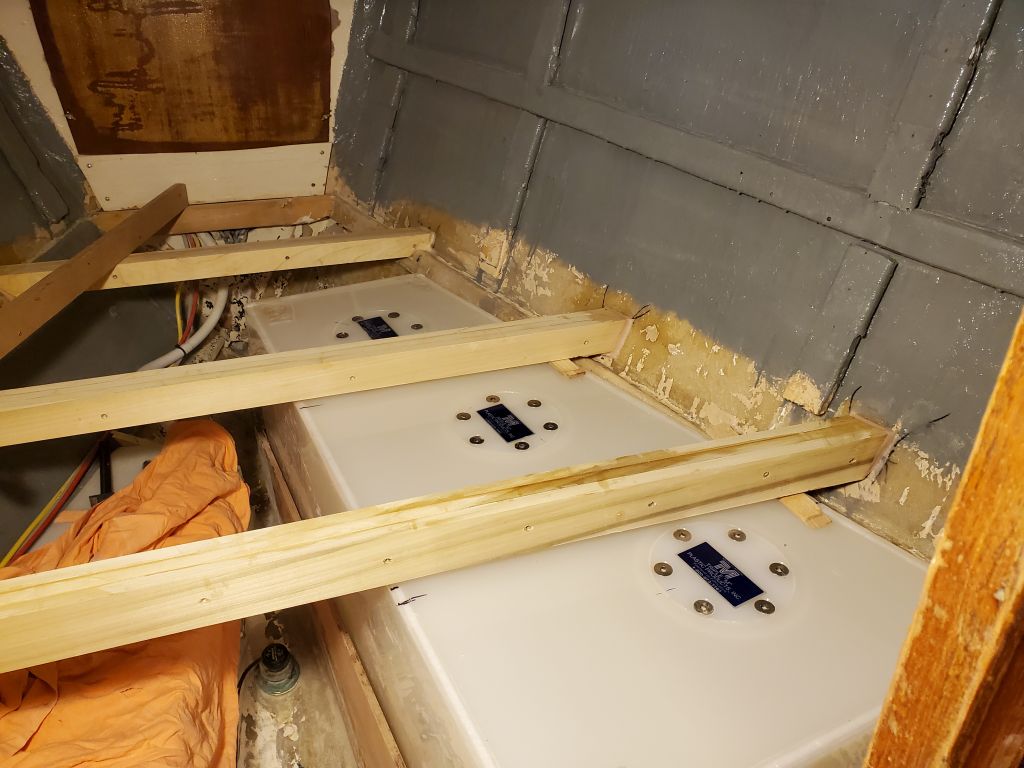
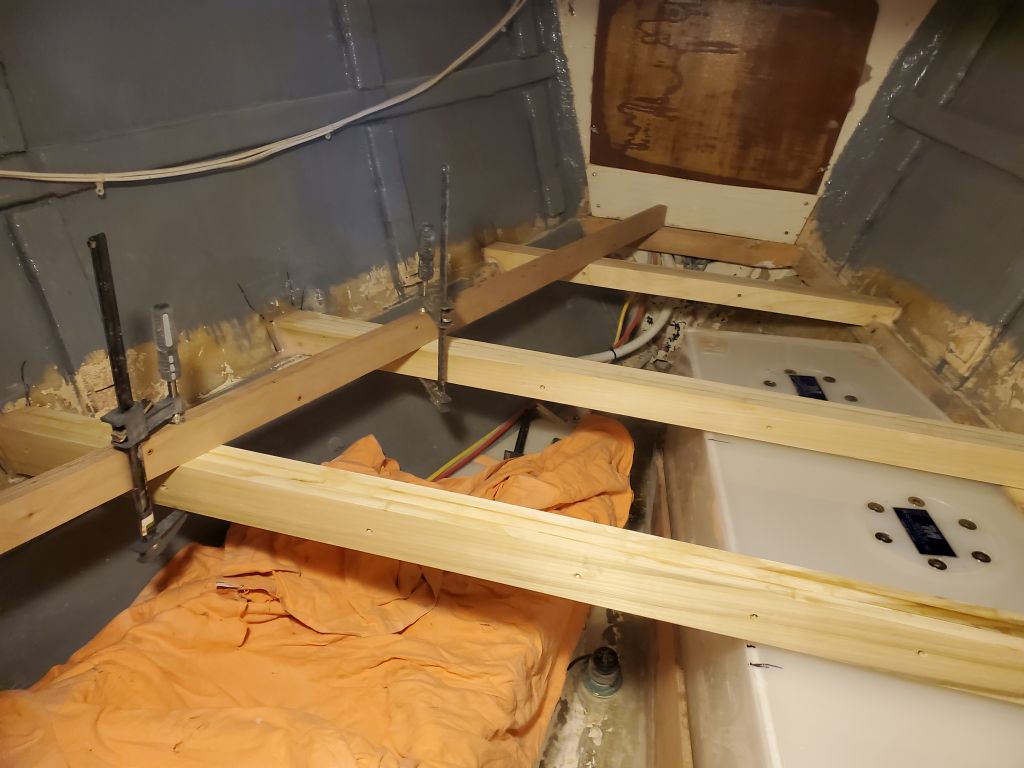
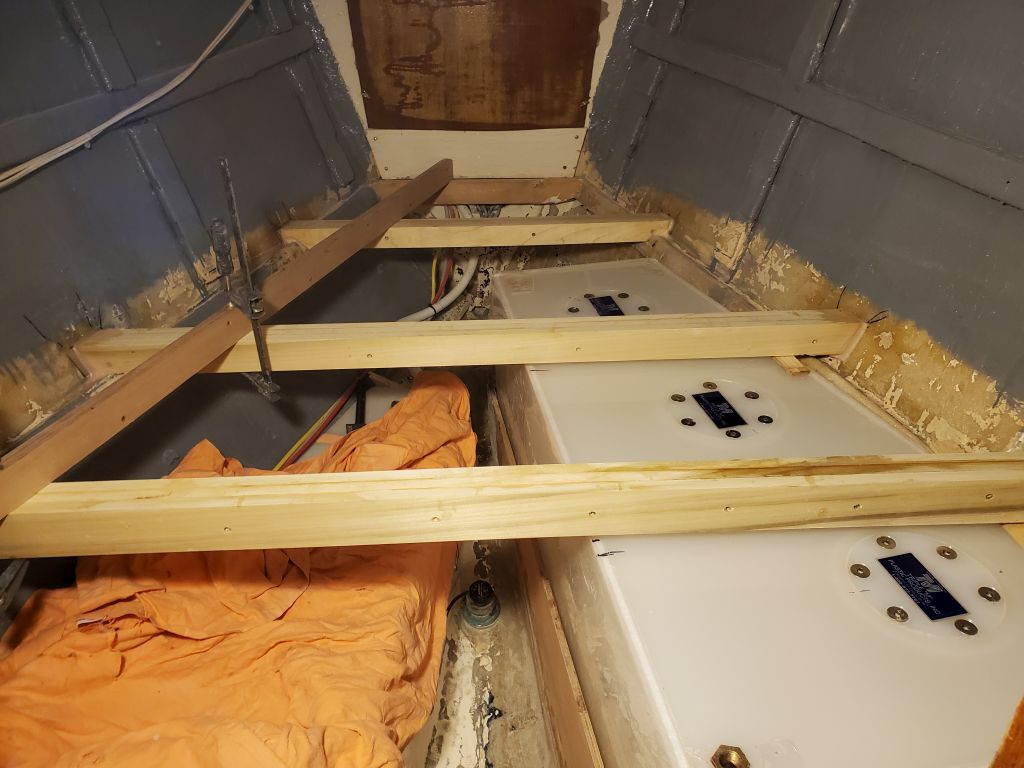
In the afternoon, I cut and fit the remaining two cross beams, both of which ran across the water tank generally in line with the baffle positions inside the tank. I also worked to ensure the beams would remain clear of the inspection ports into the tank. To help hold the beams in their proper position, I could use some shims between the beam and the tank on the starboard side, and to port I clamped the beams beneath the plywood straightedge that ran between the forward and aftermost supports already in place. This ensured the beams were level from side to side, and also fore and aft.
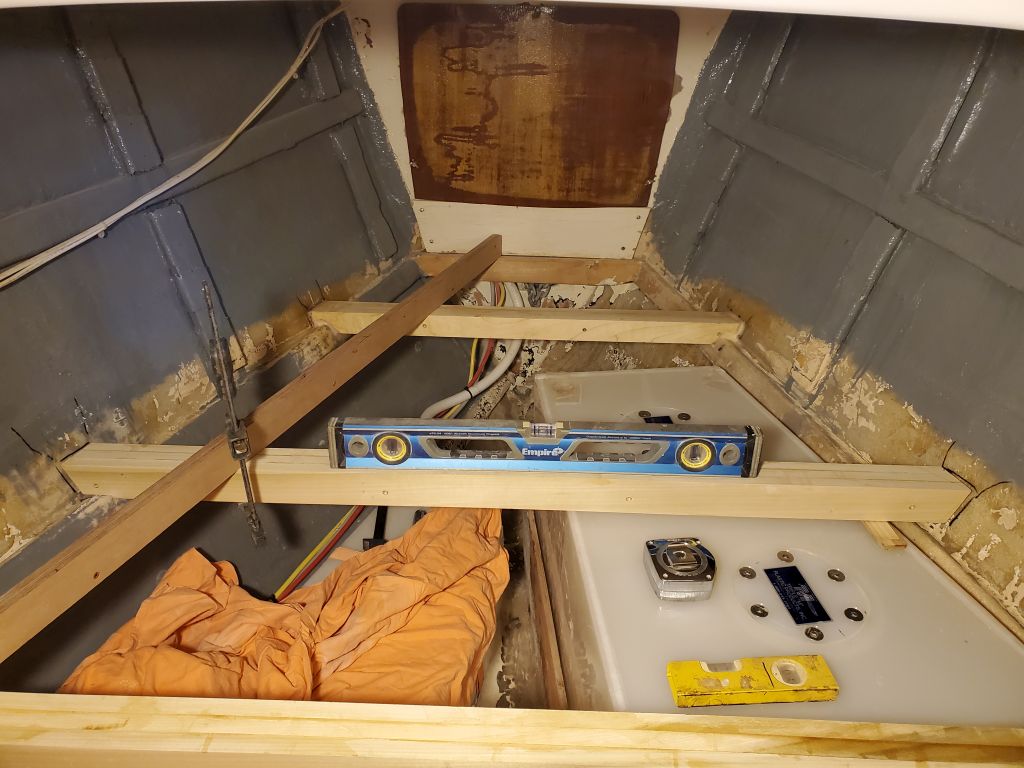
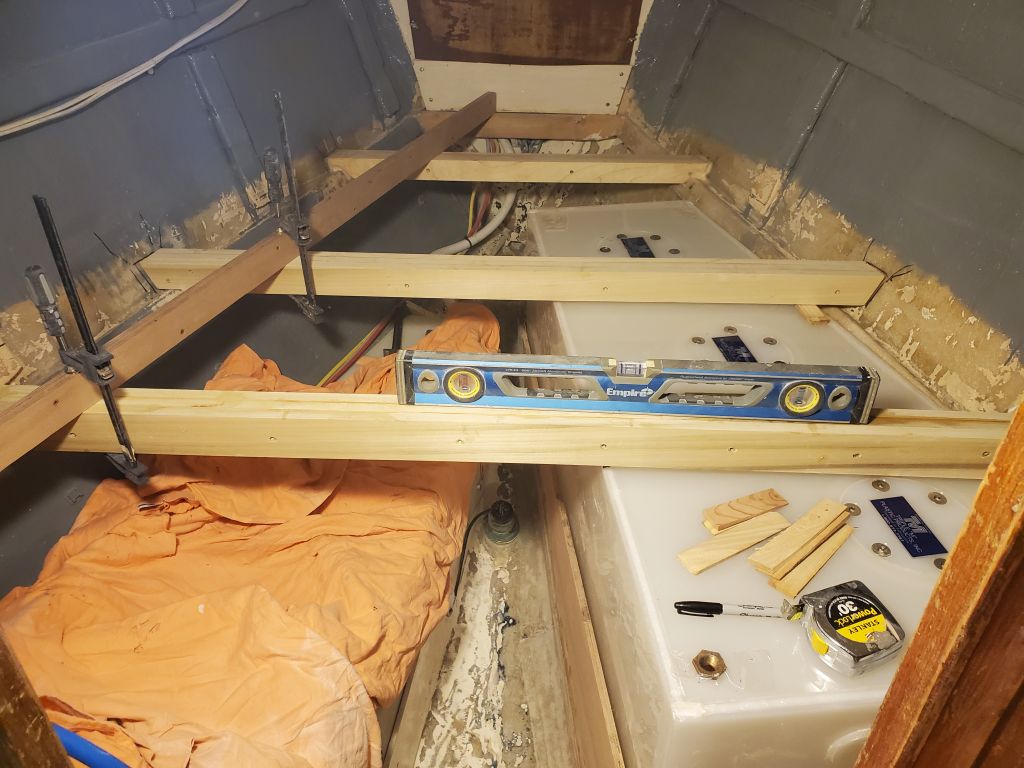
With the dry fit complete, I secured both beams permanently with thickened epoxy adhesive. I left these to cure overnight, and next time would finalize the installation with tabbing between the beams and hull at each location.

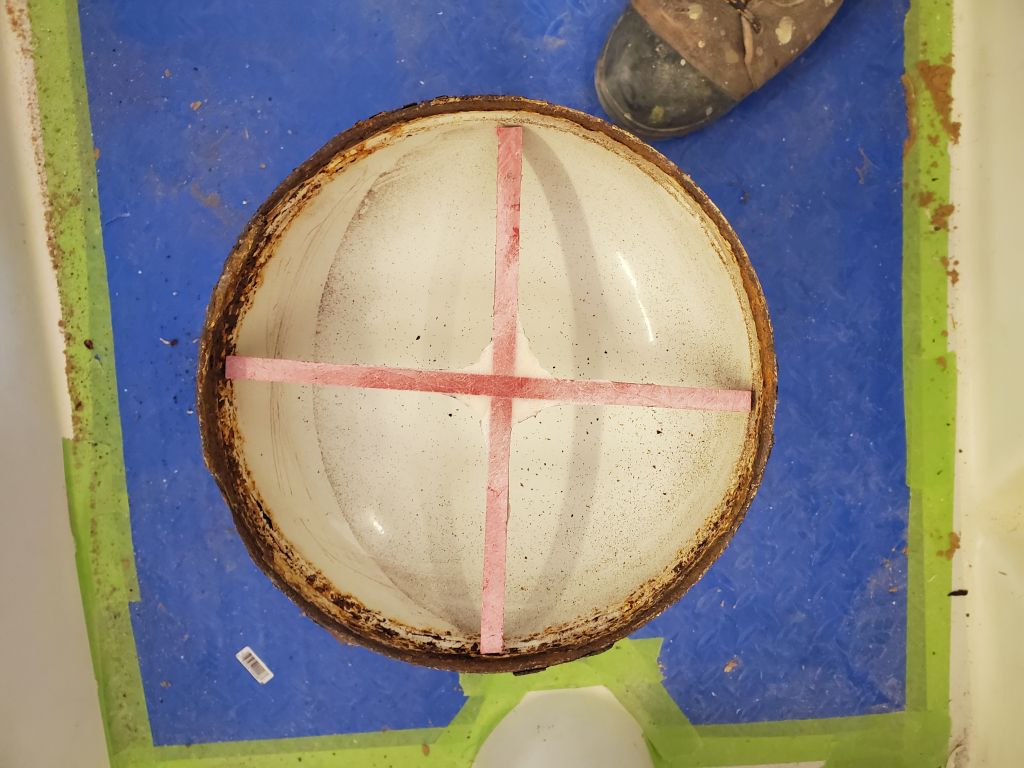
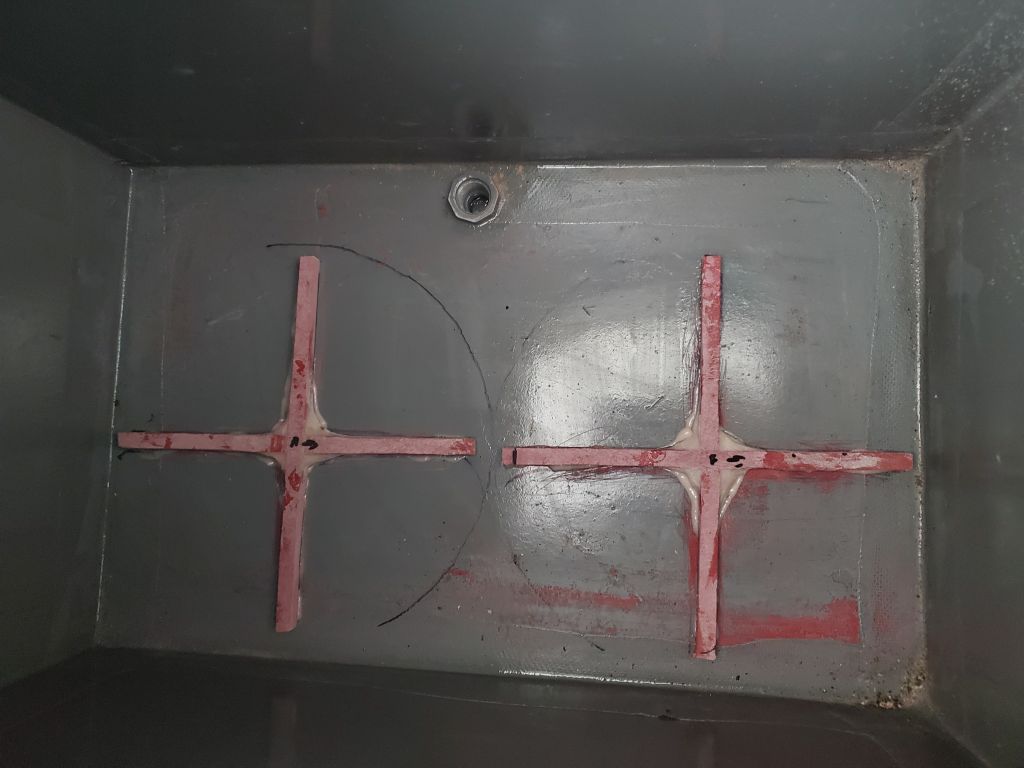
There was nothing else I could do in the v-berth for the moment, so I turned to the propane locker. I’d meant to add some little cleats in the bottom of the locker for the hollow bases of the propane bottles to rest upon, holding them from sliding, and it would have been easier to do so before the locker was fully built and in place, but the detail had slipped through the memory cracks. But now, earlier I’d made up some basic cross-shaped braces from strips of prefab fiberglass that just fit within the round bases of the tanks and would hold them from any movement. Now, I removed the paint from the bearing surfaces inside the locker, and epoxied the crosses into place.

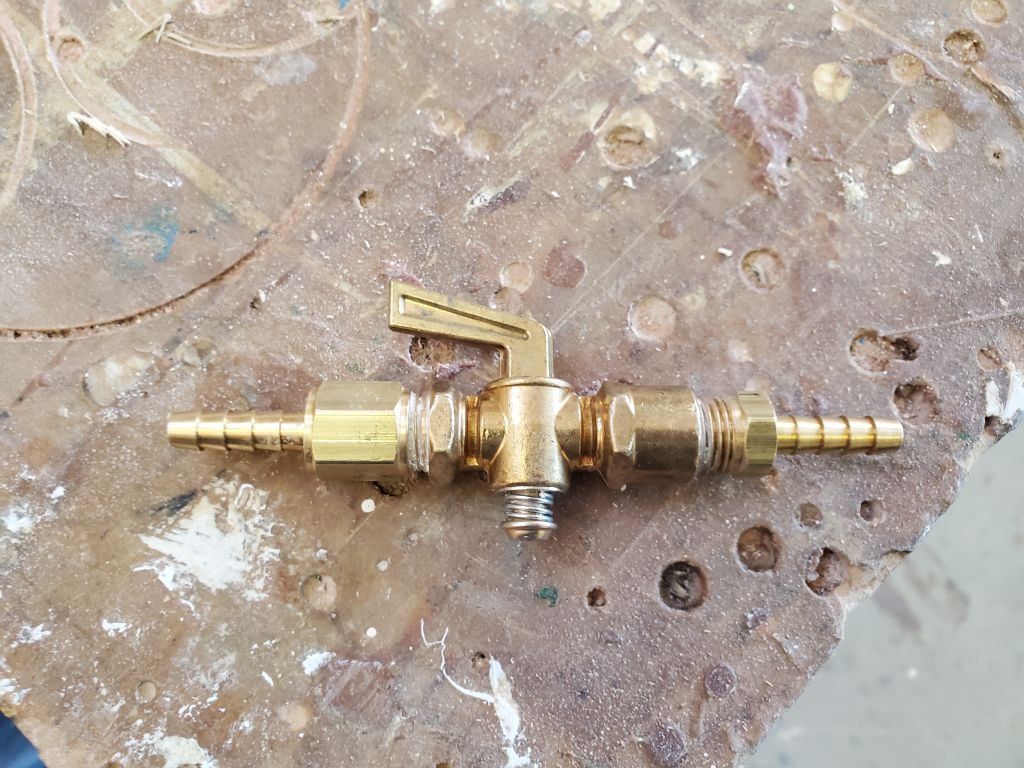
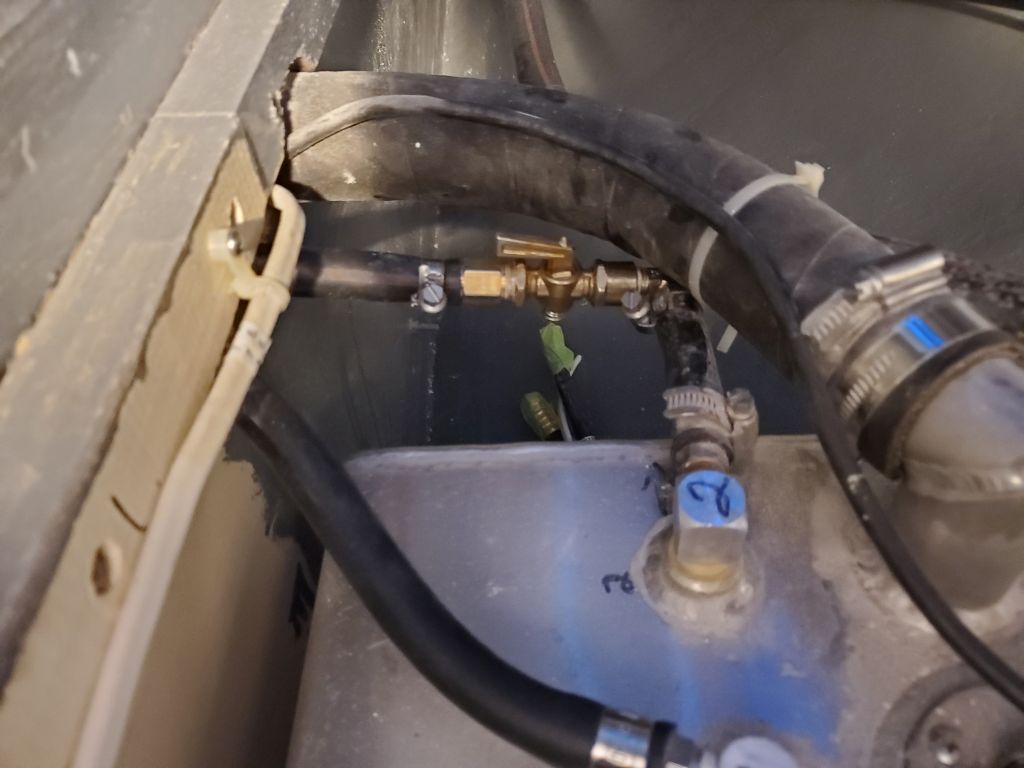
I had time to knock one additional small project off the list: installing a shutoff valve at the inception of the fuel supply line at the fuel tank, which the owner had asked me to do. When I’d initially glanced at the hoses connected to the tank, it looked like a simple job to install a straight inline valve, which I assembled on the bench with two straight hose nipples, but up in the boat I discovered that the line I’d been imaging was actually the return line, and the supply line hose took a sharp bend right after the tank and required a different configuration. This was simple enough, fortunately, as I could swap out one of the straight hose barbs for a 90° elbow, which then allowed the valve to fit well within the natural course of the existing hose.
Total time billed on this job today: 6.5 hours
0600 Weather Observation: 31°, mostly clear. Forecast for the day: Sunny, 47°