


December 11, 2023
Calliope Girl 21
Monday
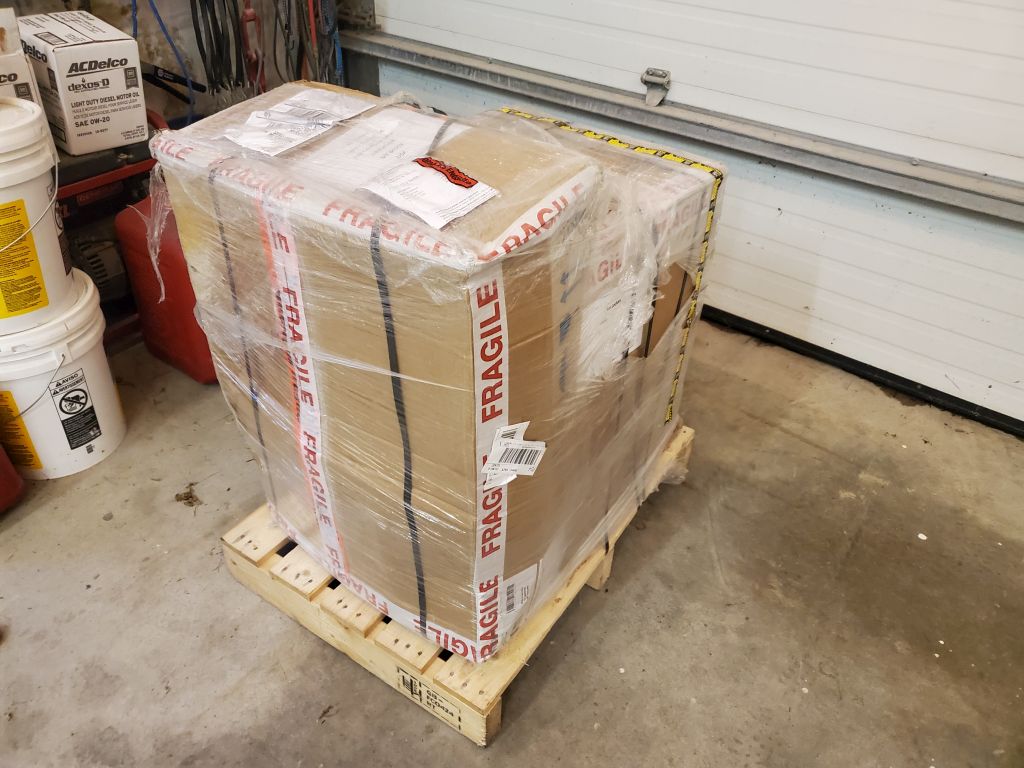
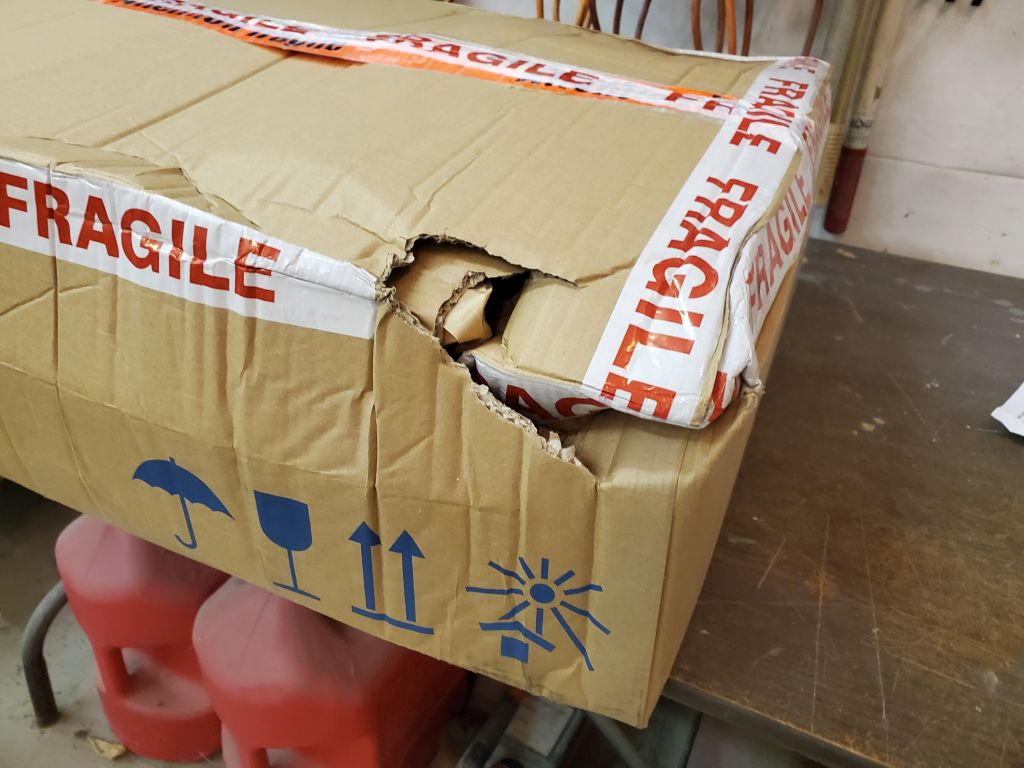
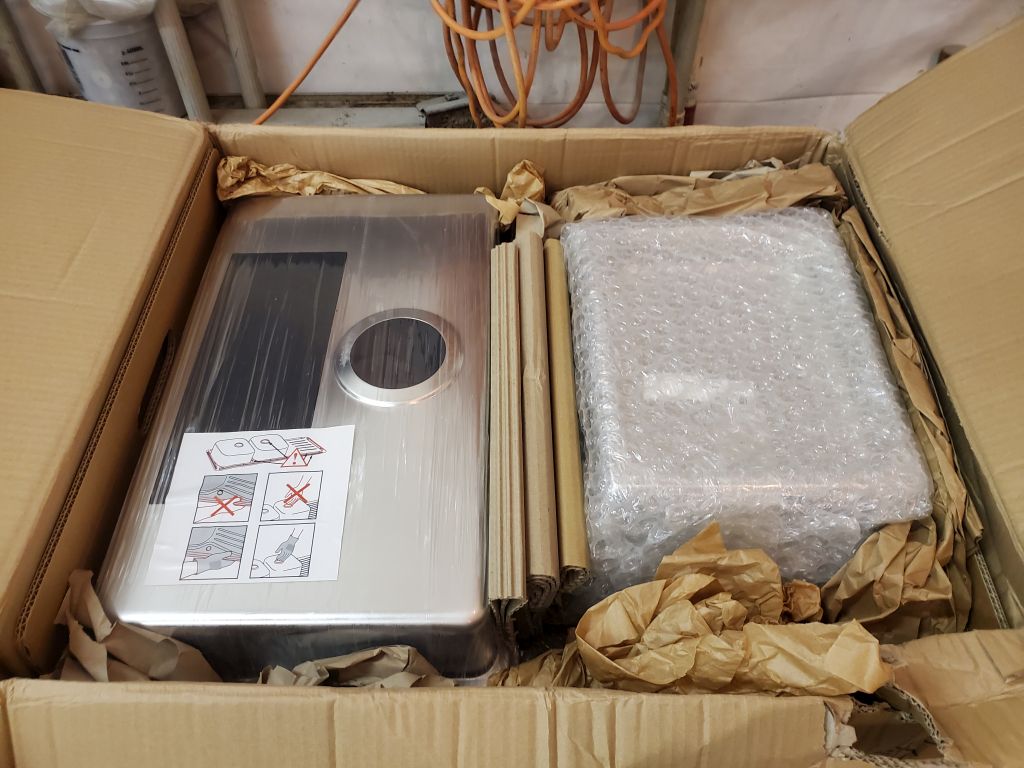
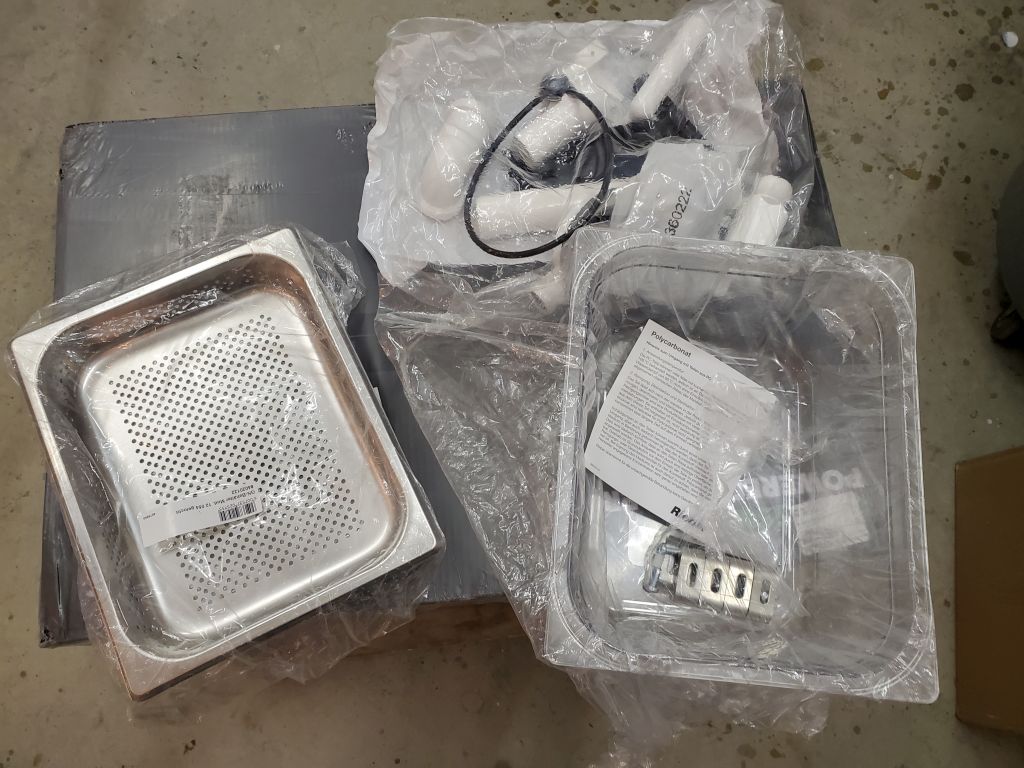
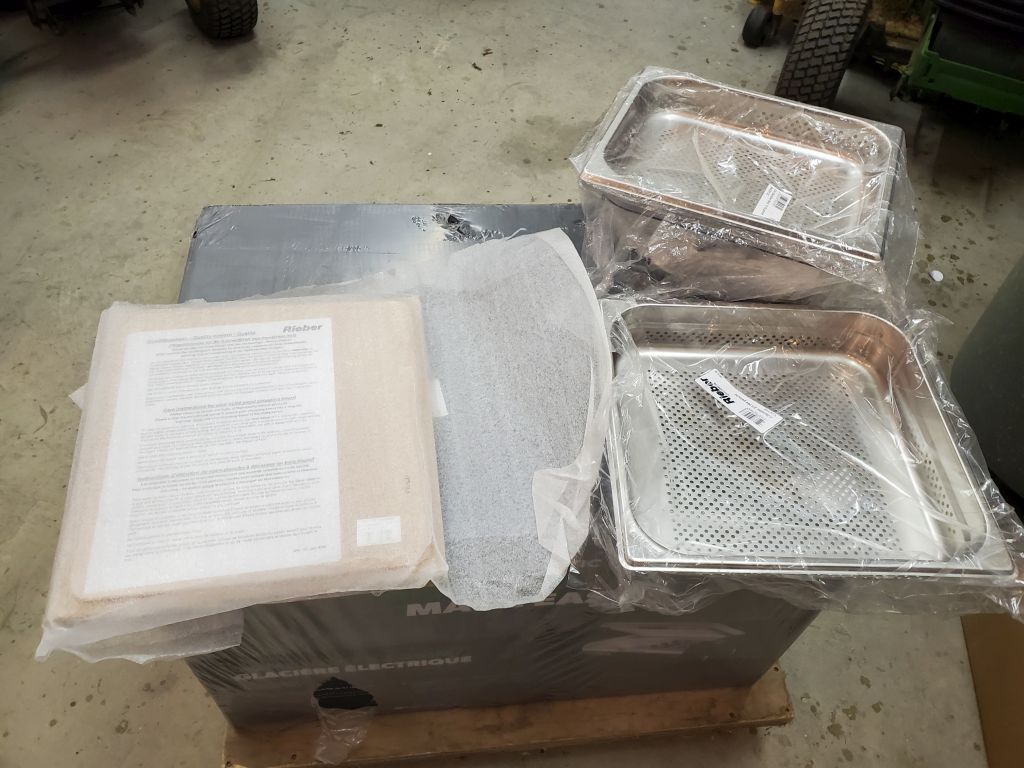
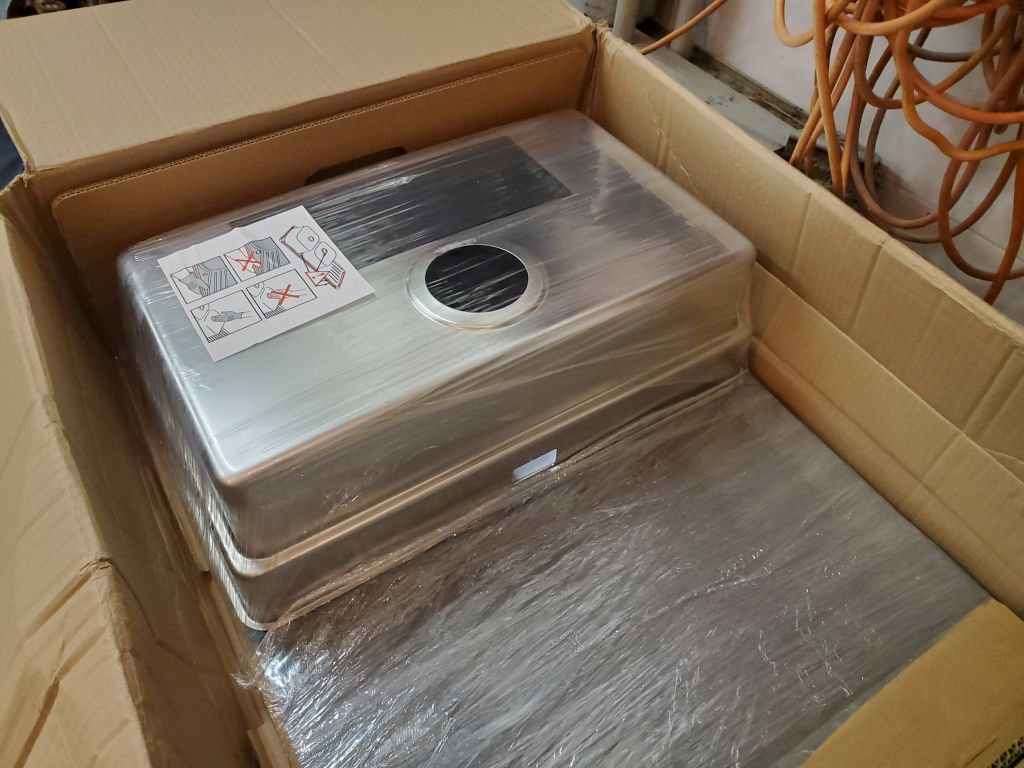
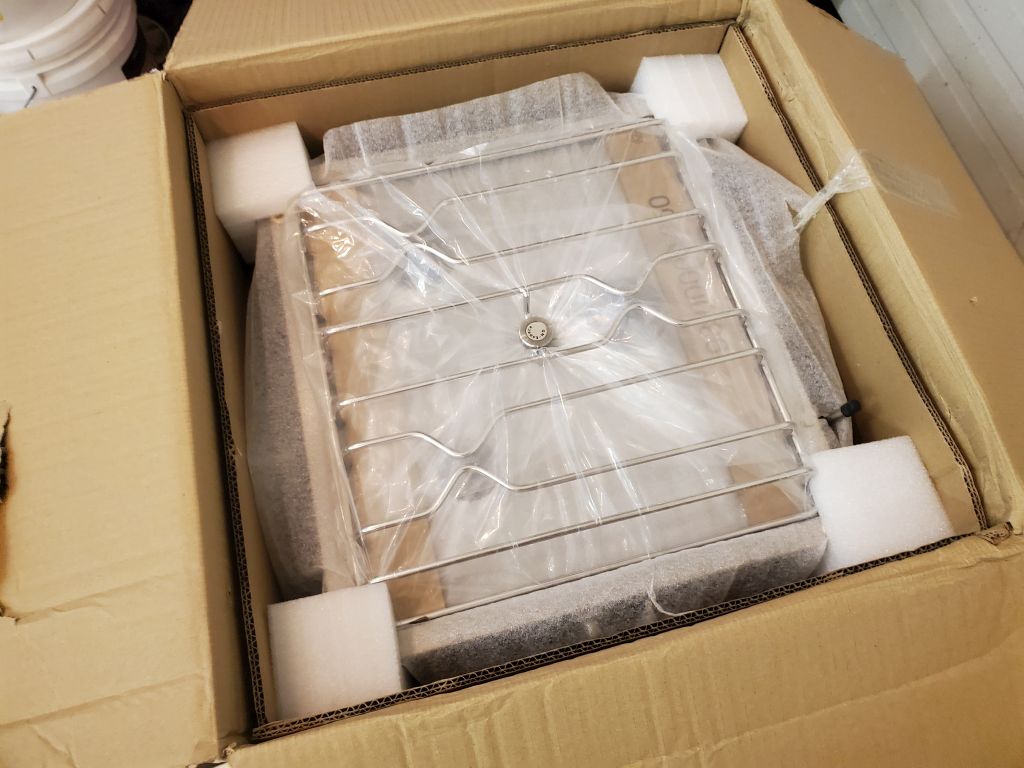
I began the week by unpacking and inventorying the new stove and sink, which had recently been delivered from Great Britain, to ensure that the items were in good shape and that everything the owner had ordered was here. Despite some external box damage, fortunately nothing inside was harmed.
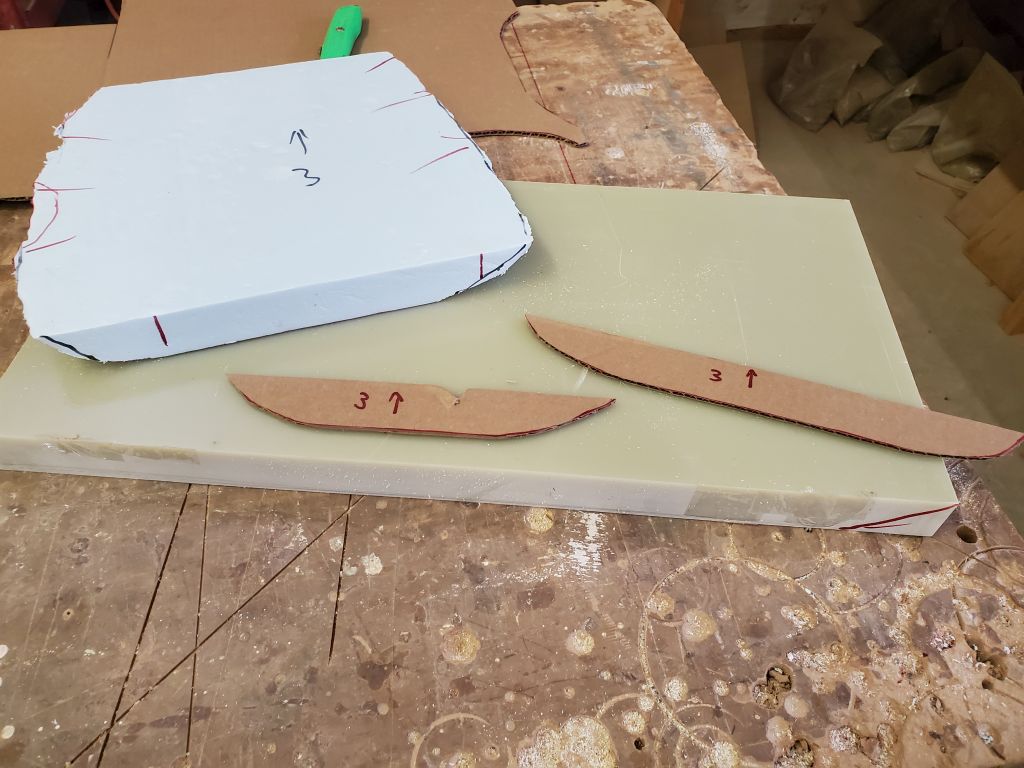
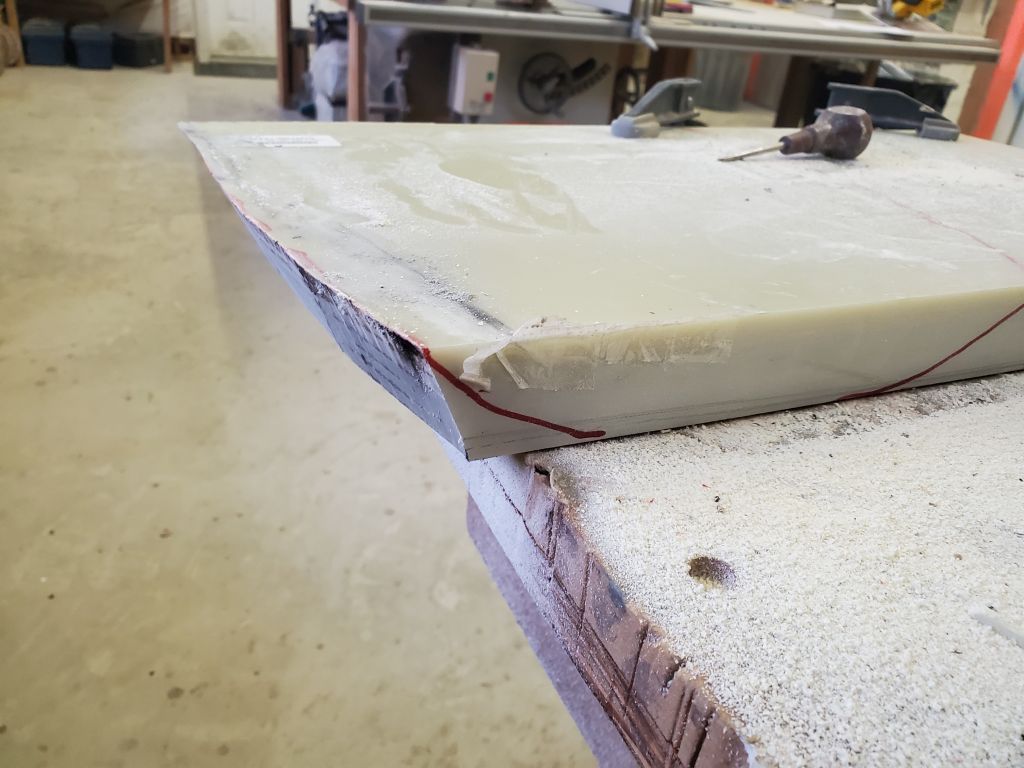
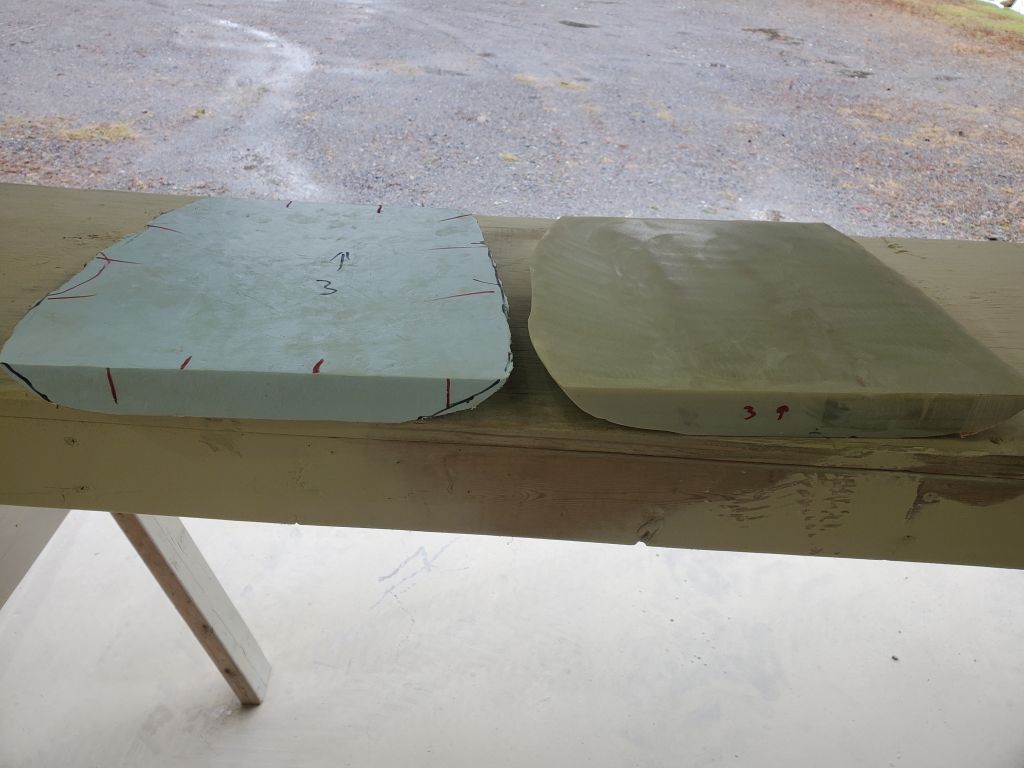
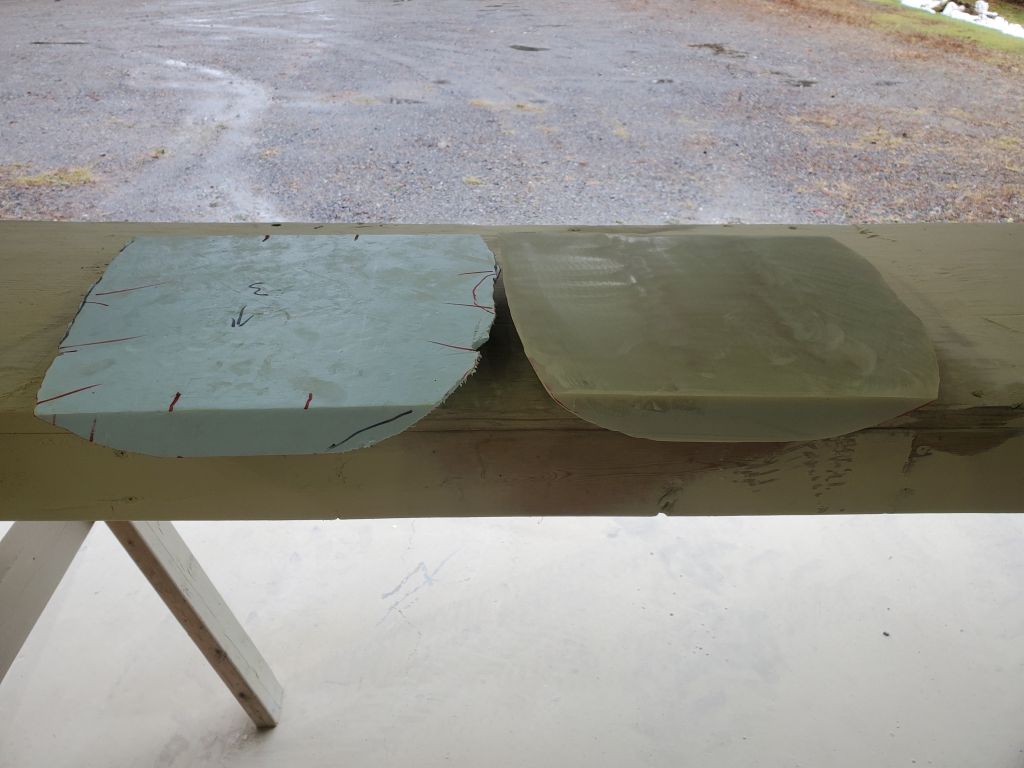
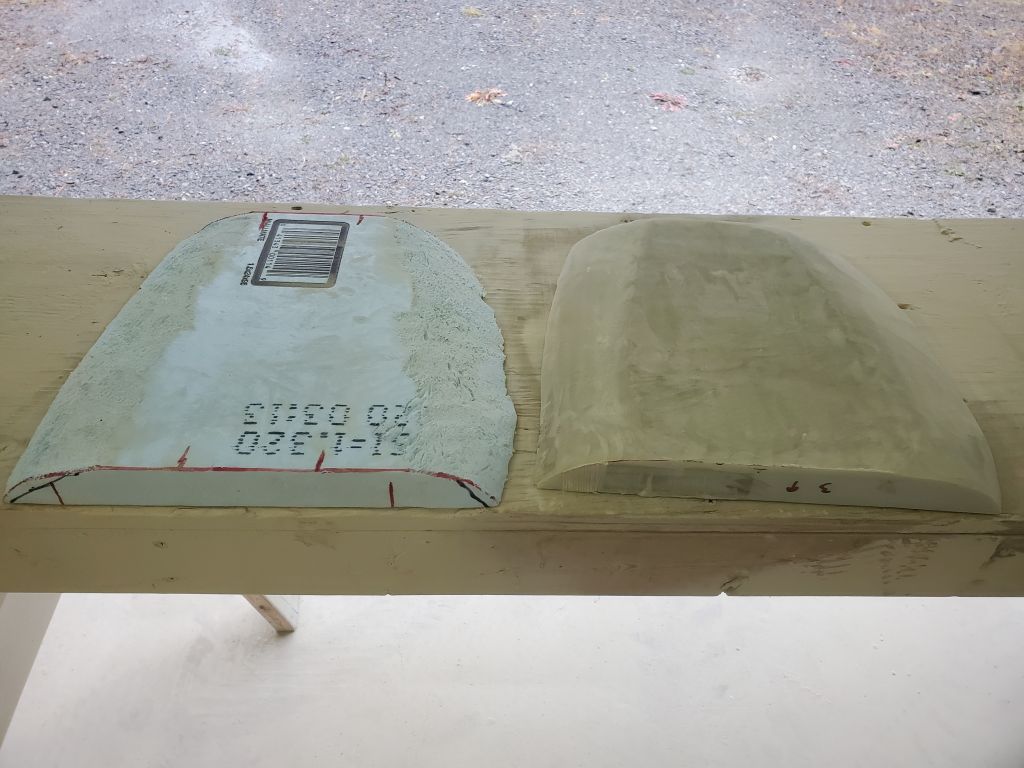
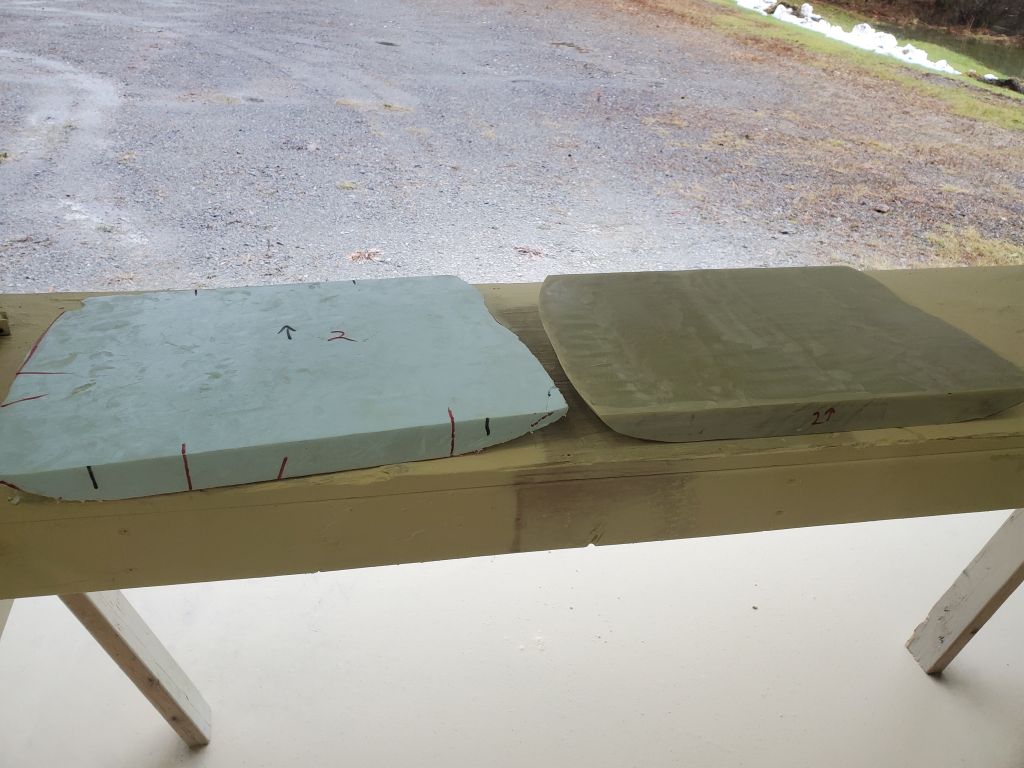
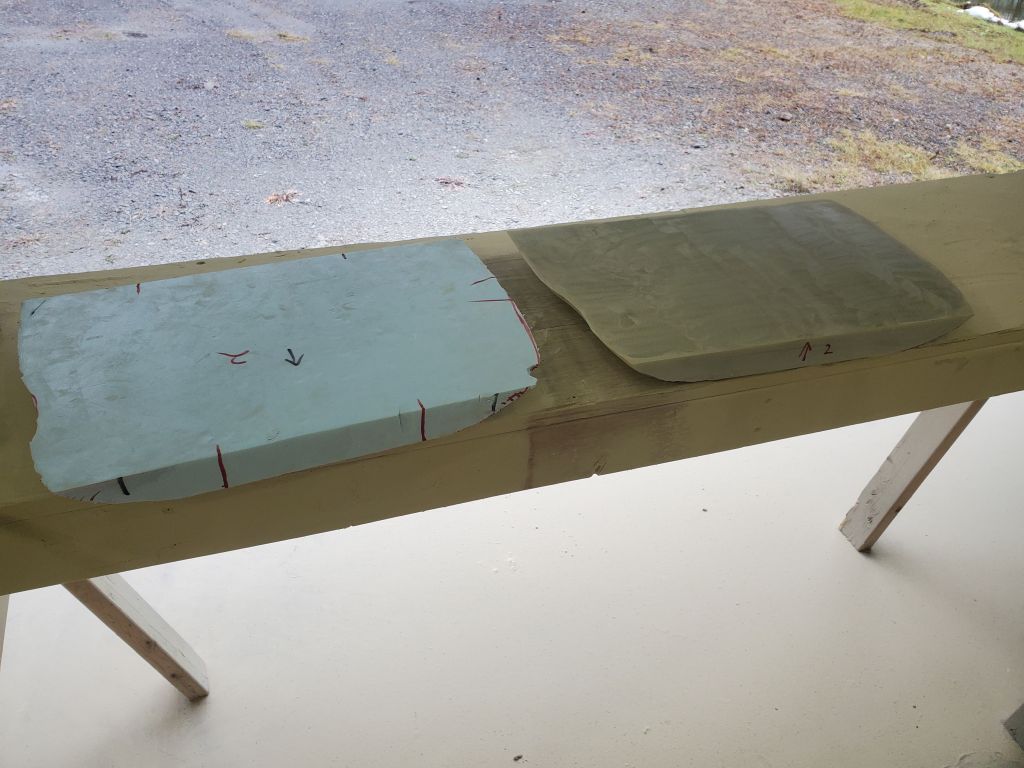
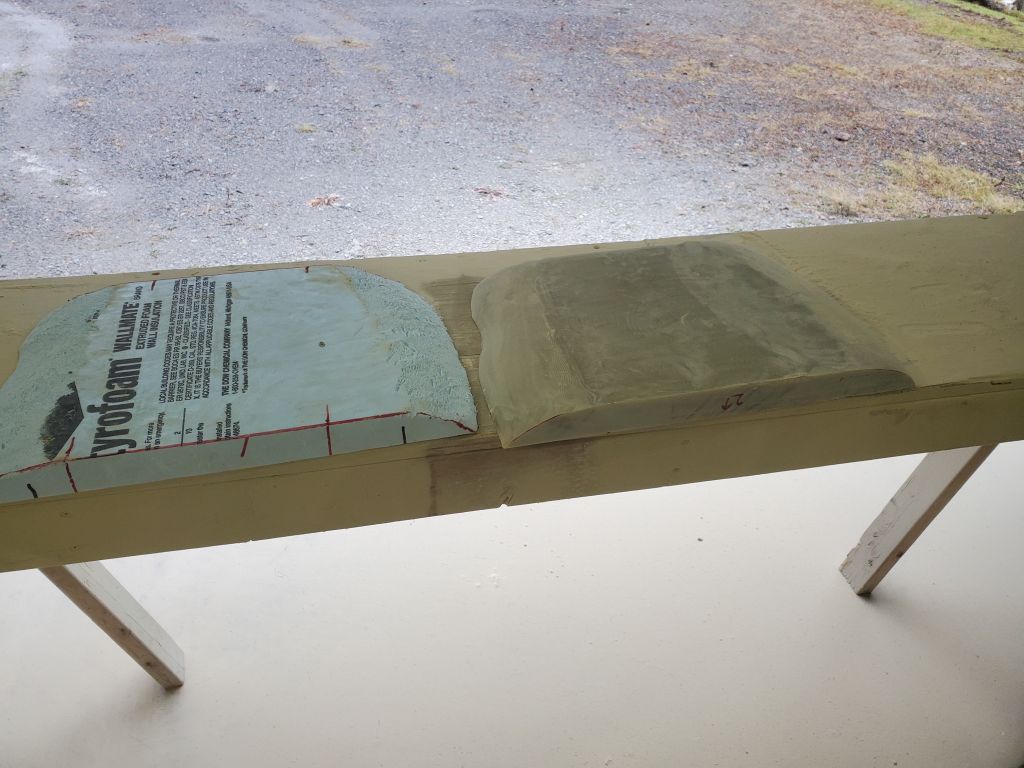
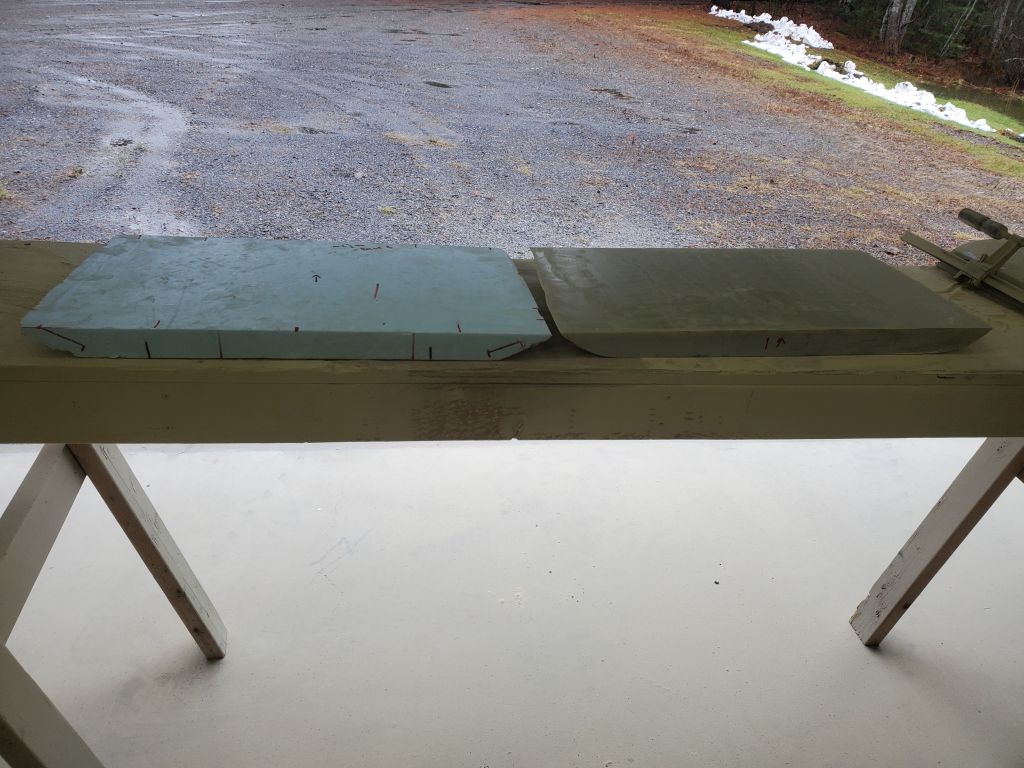
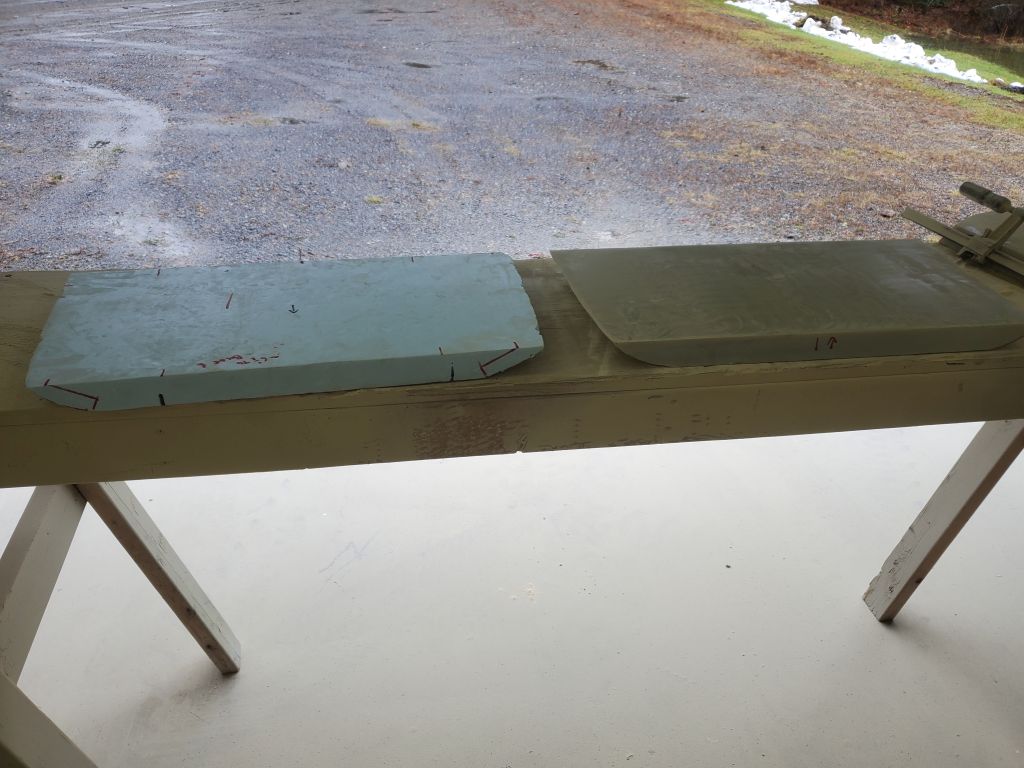
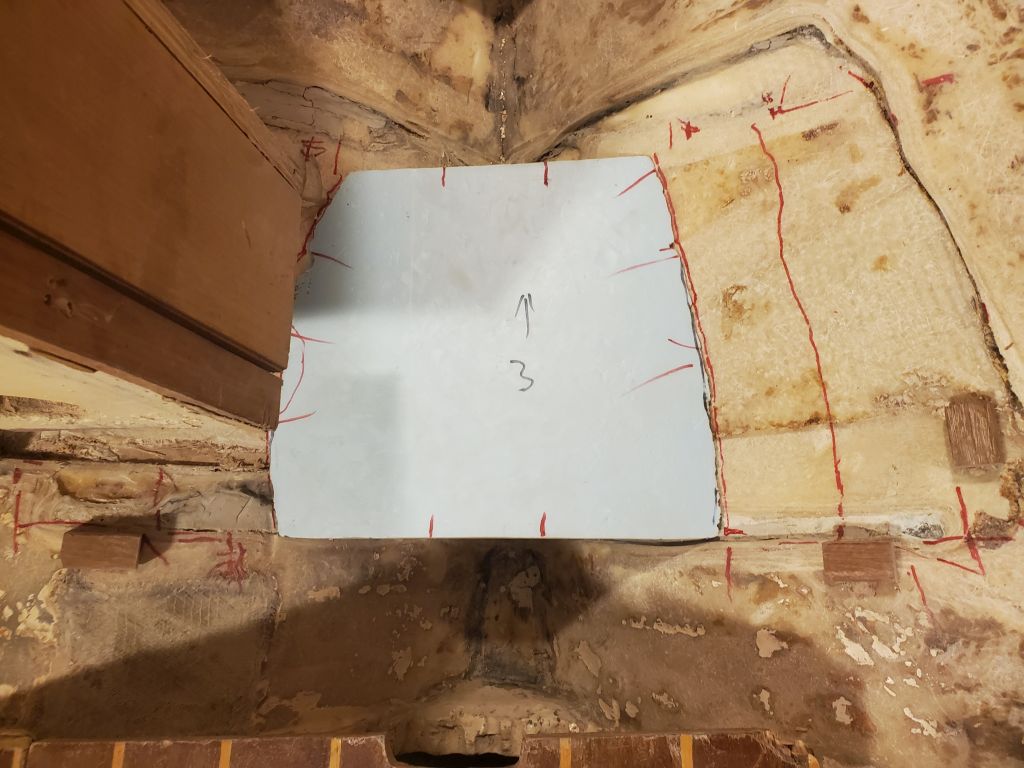
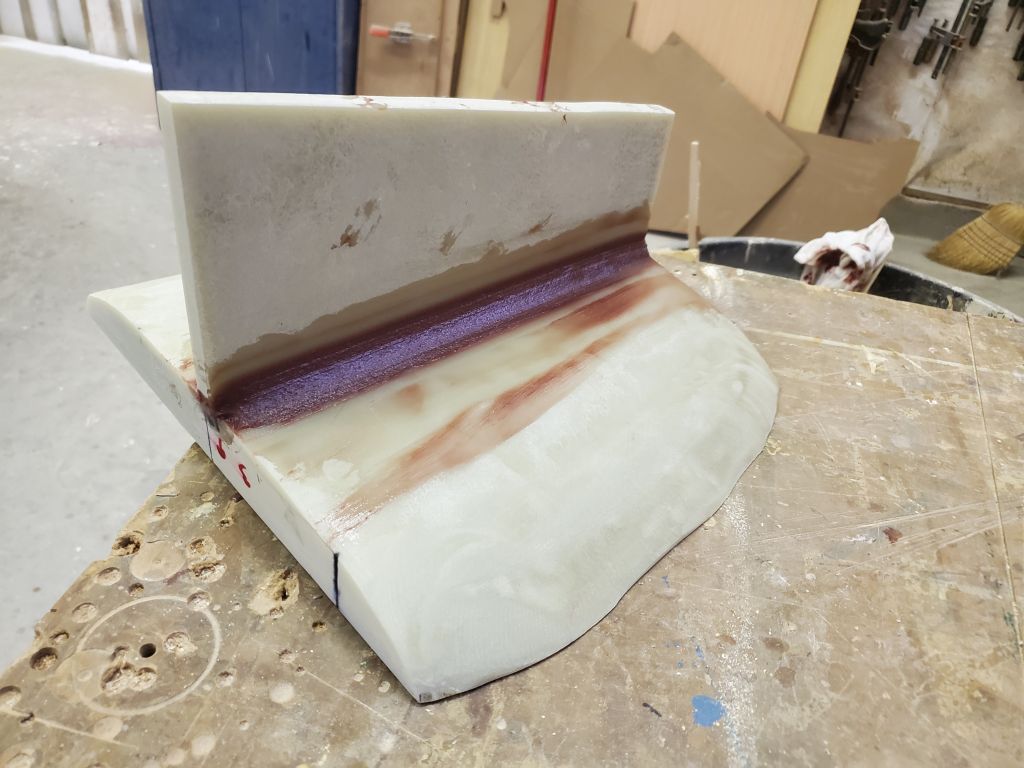
My focus for the day was the new mast step. With the major unbuilding in the cabin complete, and awaiting new materials for the reconstruction, this was the perfect opportunity to prepare and install the new step assembly. I’d had the raw materials on hand for a while: three pieces of 12″ x 24″ x 1-1/2″ G-10 fiberglass, which I now had to shape to match the foam patterns I’d made several weeks before.
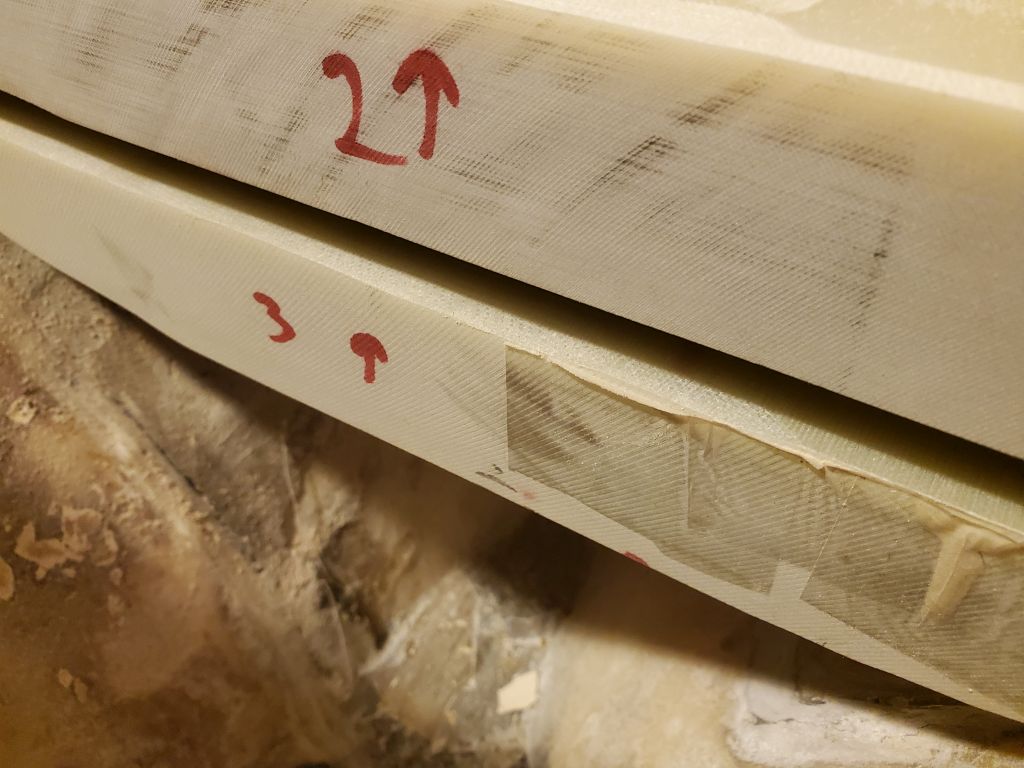
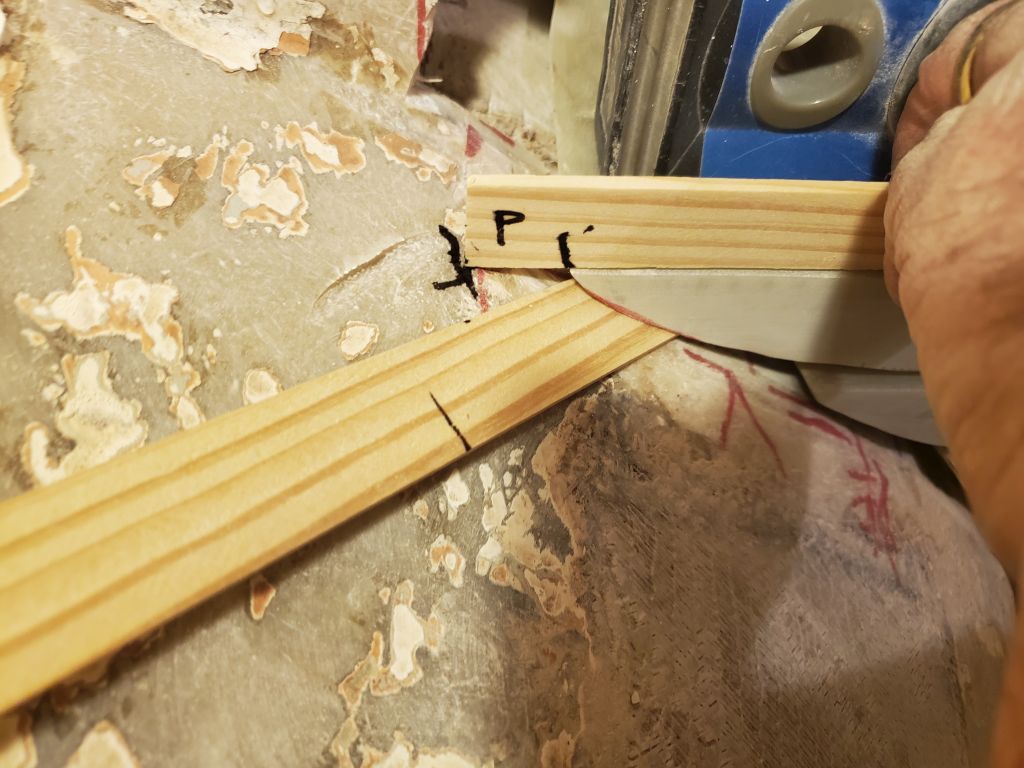
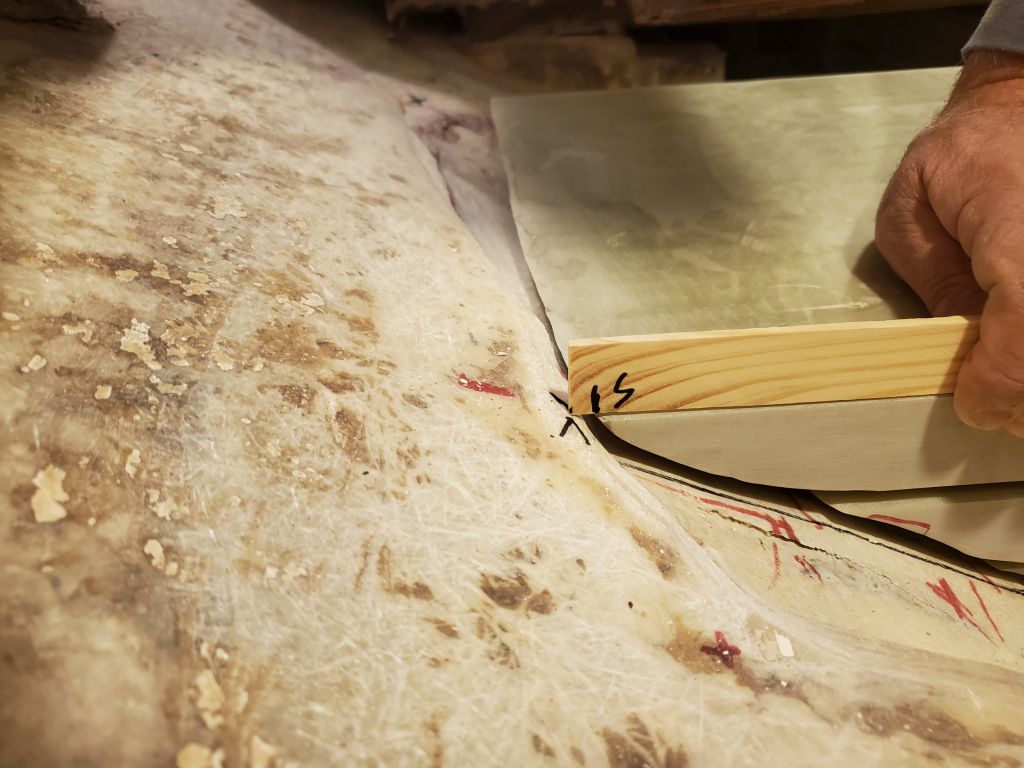
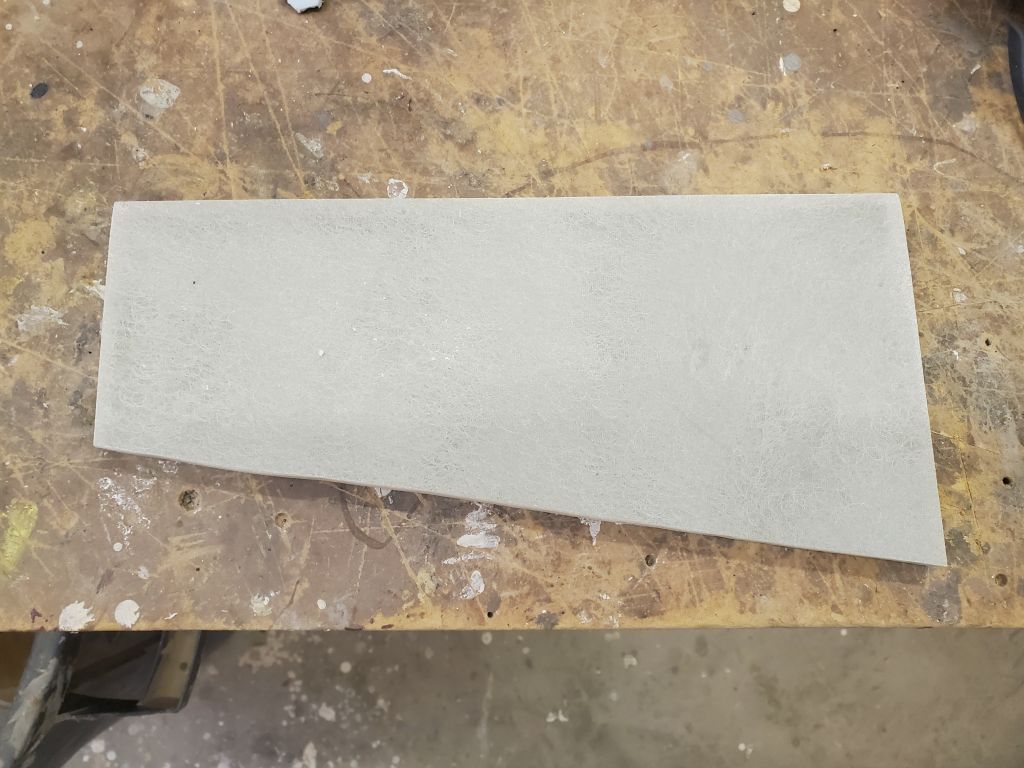
To transfer the basic profile from the patterns to the new material, I made cardboard patterns of each end of the three layers, which I could then trace onto the fiberglass sheets, along with a rough tracing of the fore and aft shape of the pattern. I did the same process for all three pieces of the new step, though I’ve only illustrated the first (smallest) piece below.
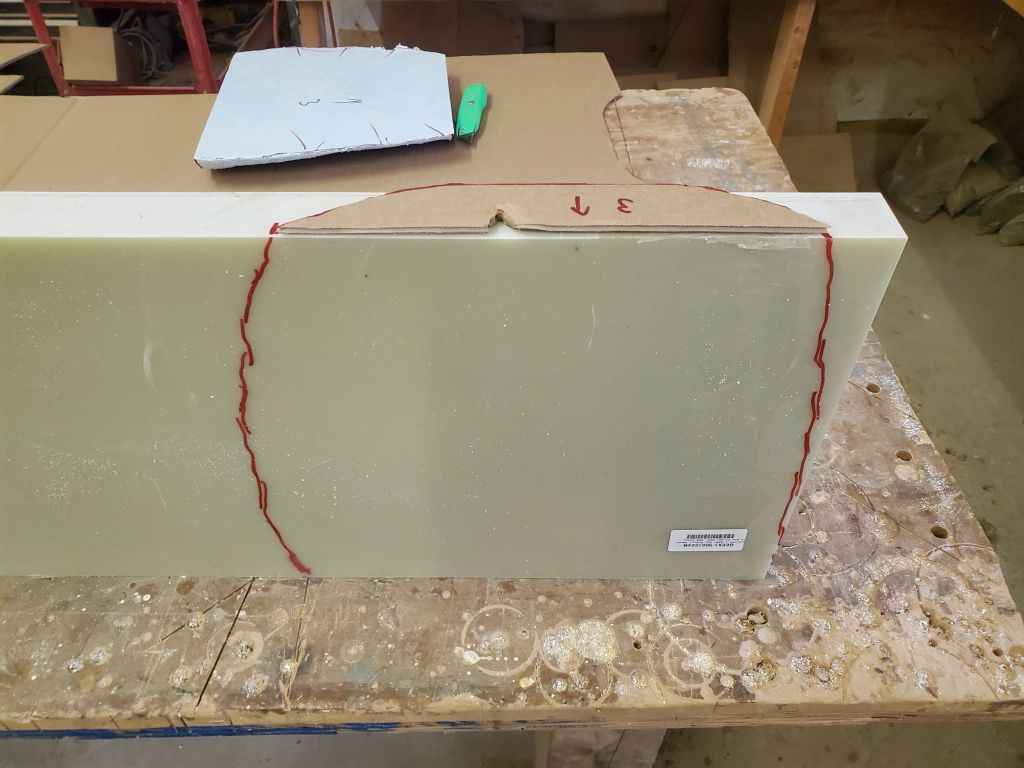
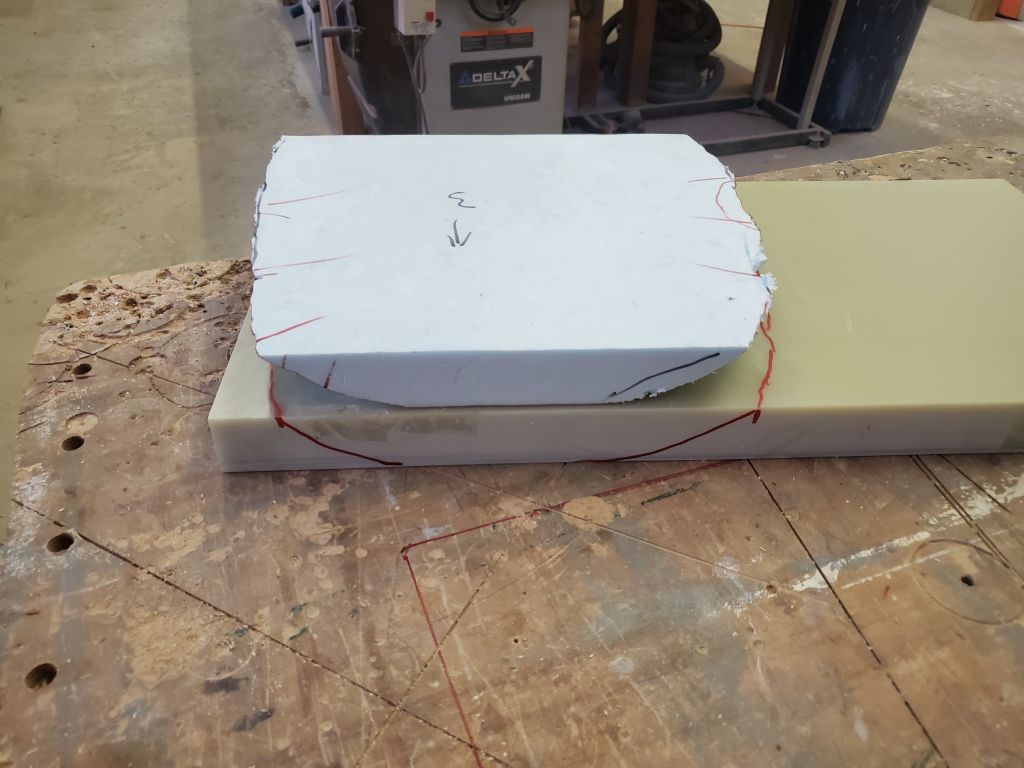
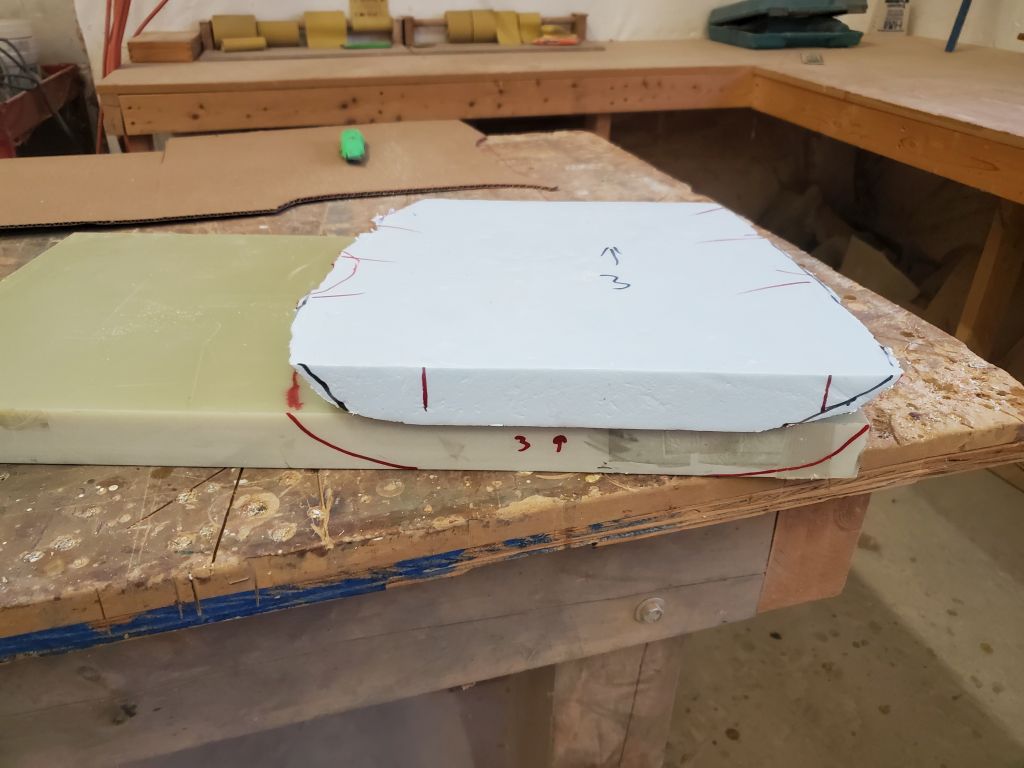
With the basic shapes transferred, I started by cutting along the lines with a jigsaw with carbide saw blade set at the maximum angle to remove as much of the material as possible. I repeated this process with all three layers to rough out the profile.
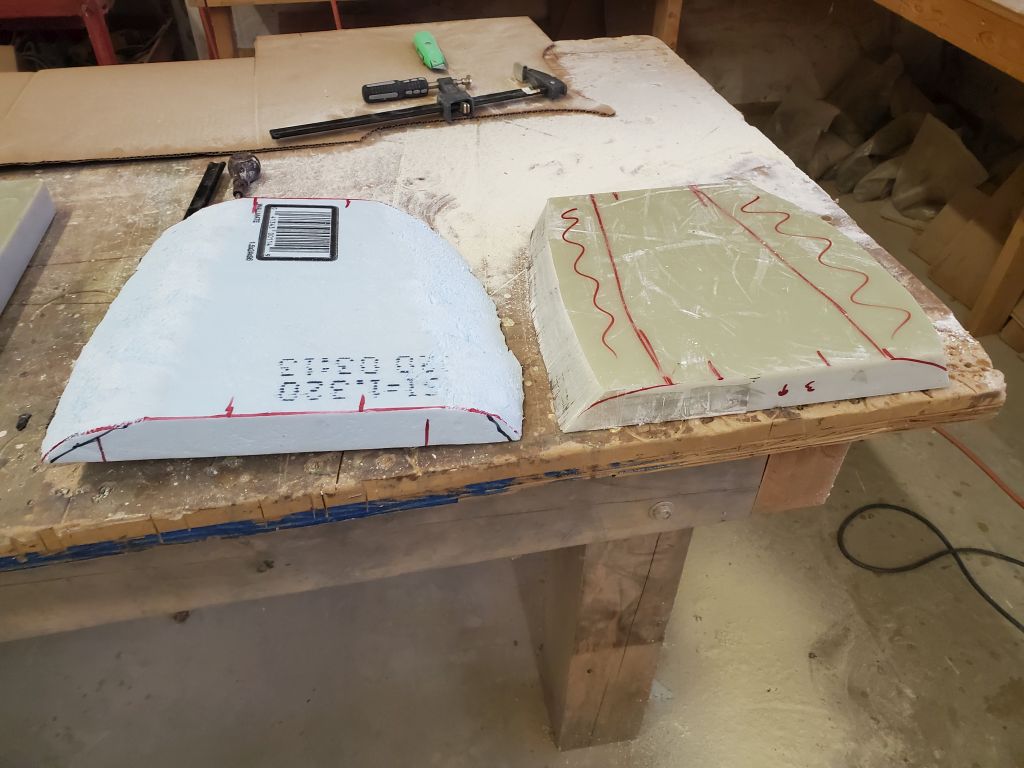
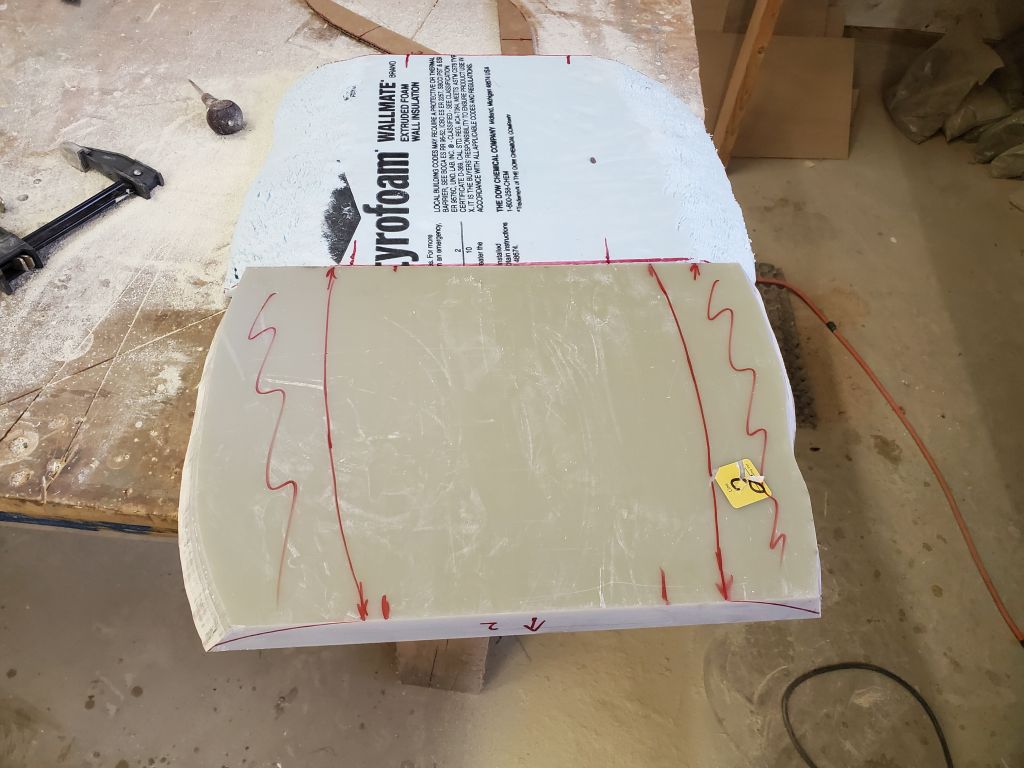
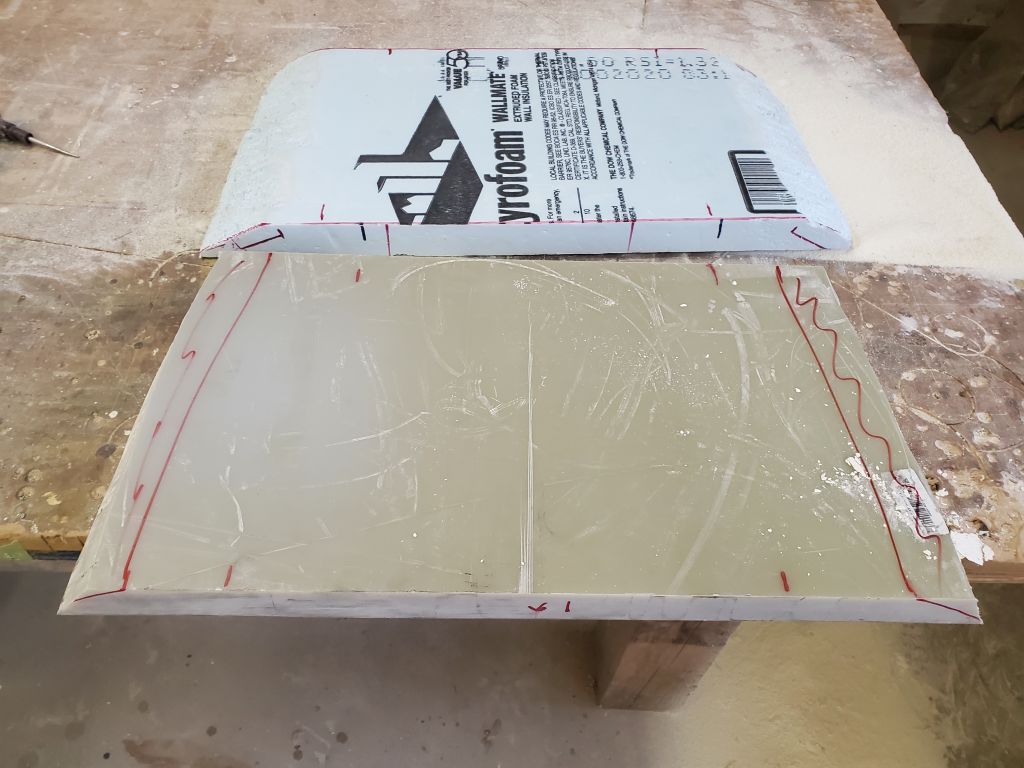
To complete the shaping, I set up a grinder and fan station near the shop door–I would have done the work outdoors but for the rain–and used a grinder and several coarse flap wheels to shape the three pieces of fiberglass to match the layout lines and the foam patterns as much as possible.

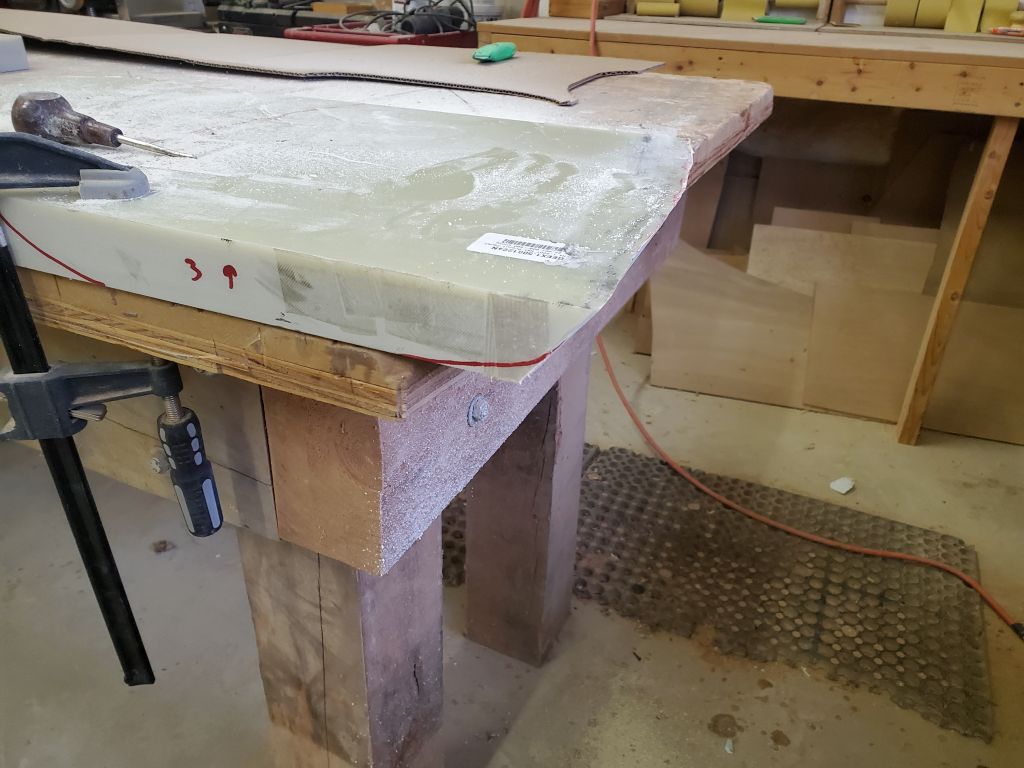
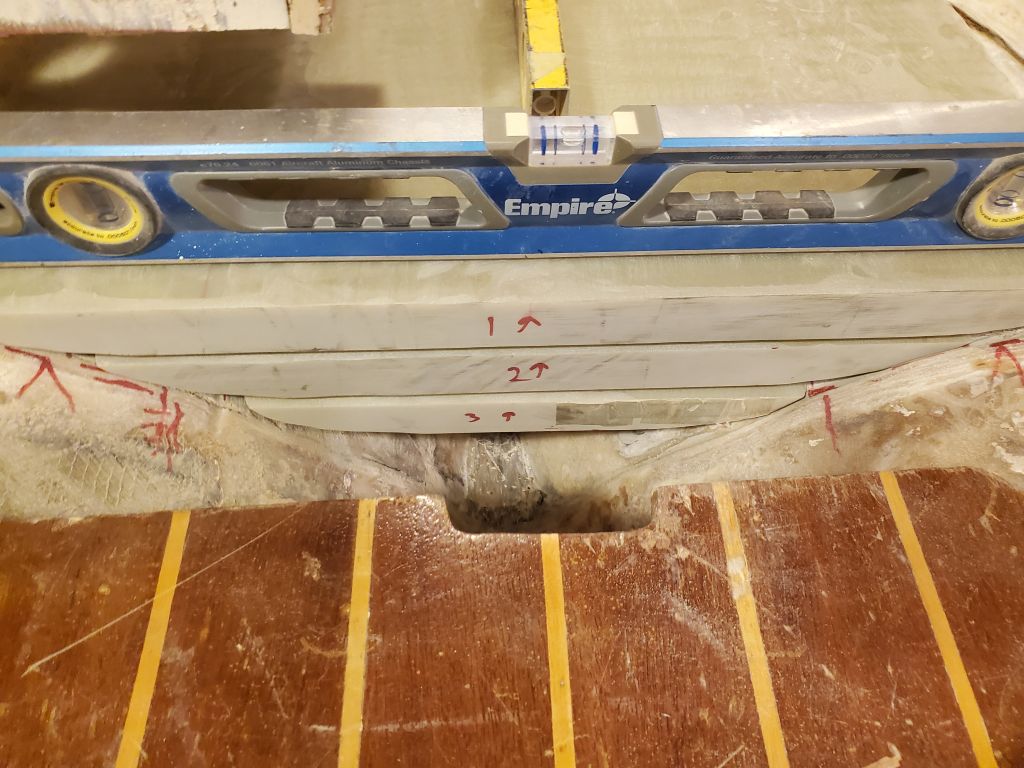
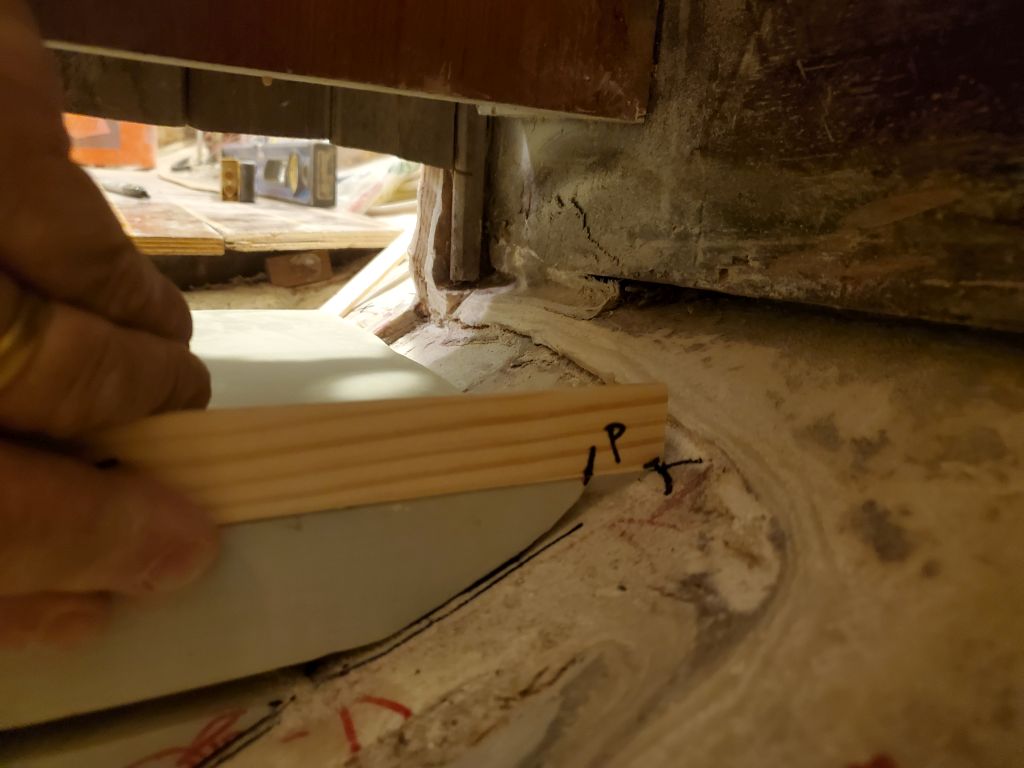
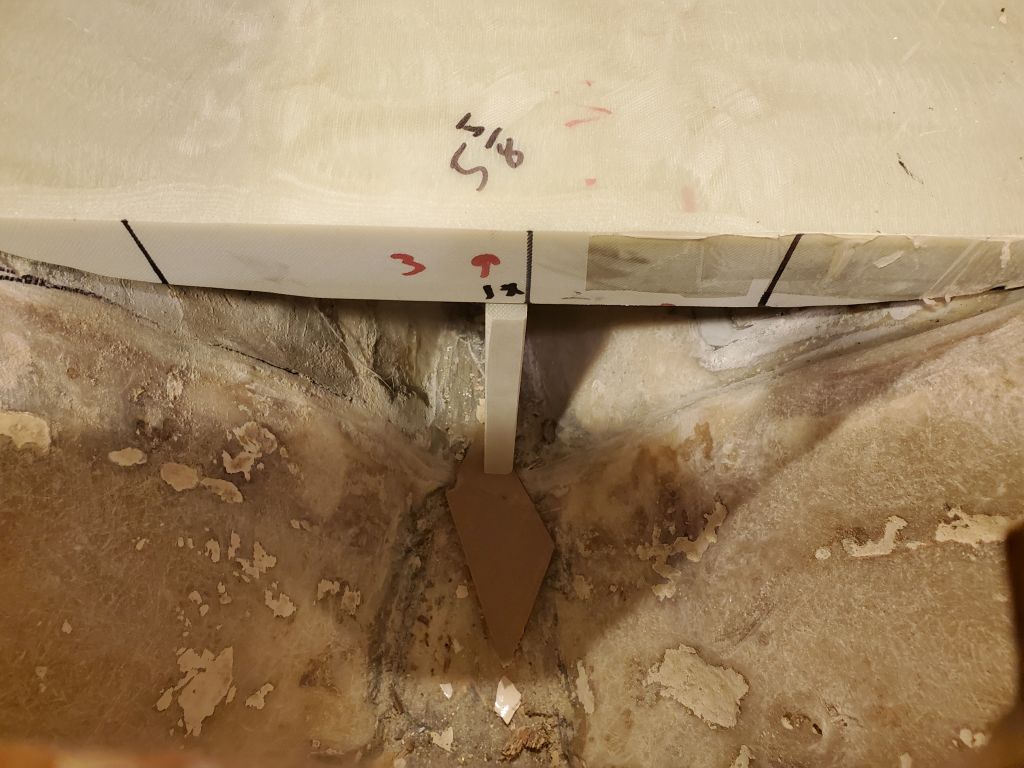
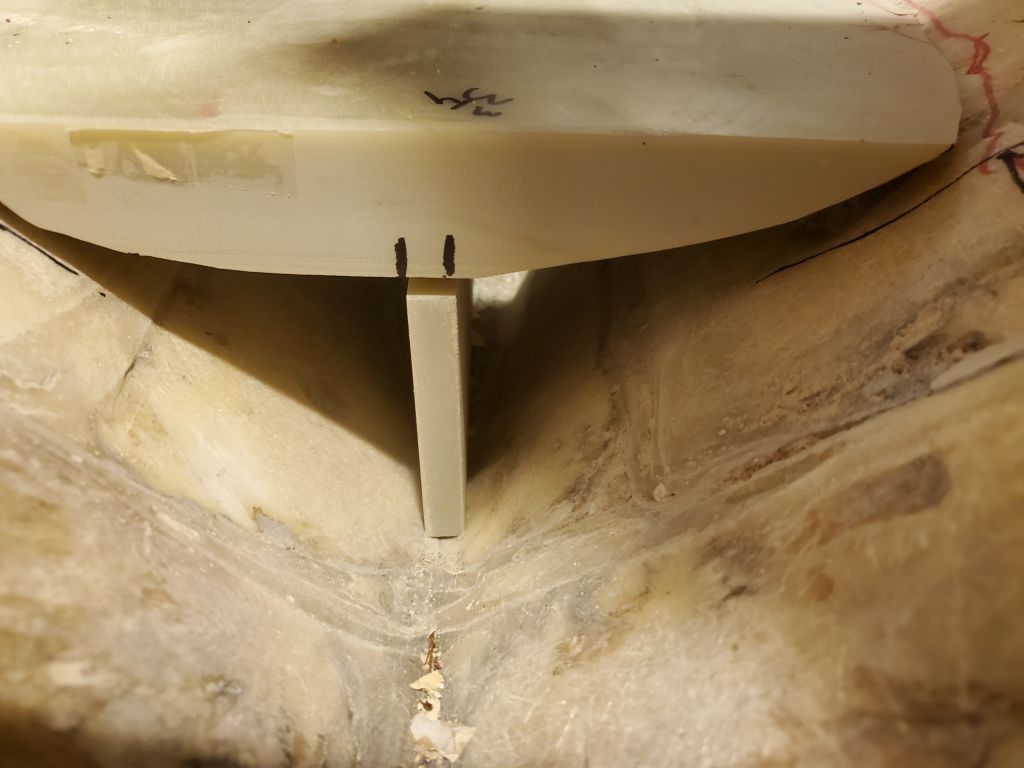
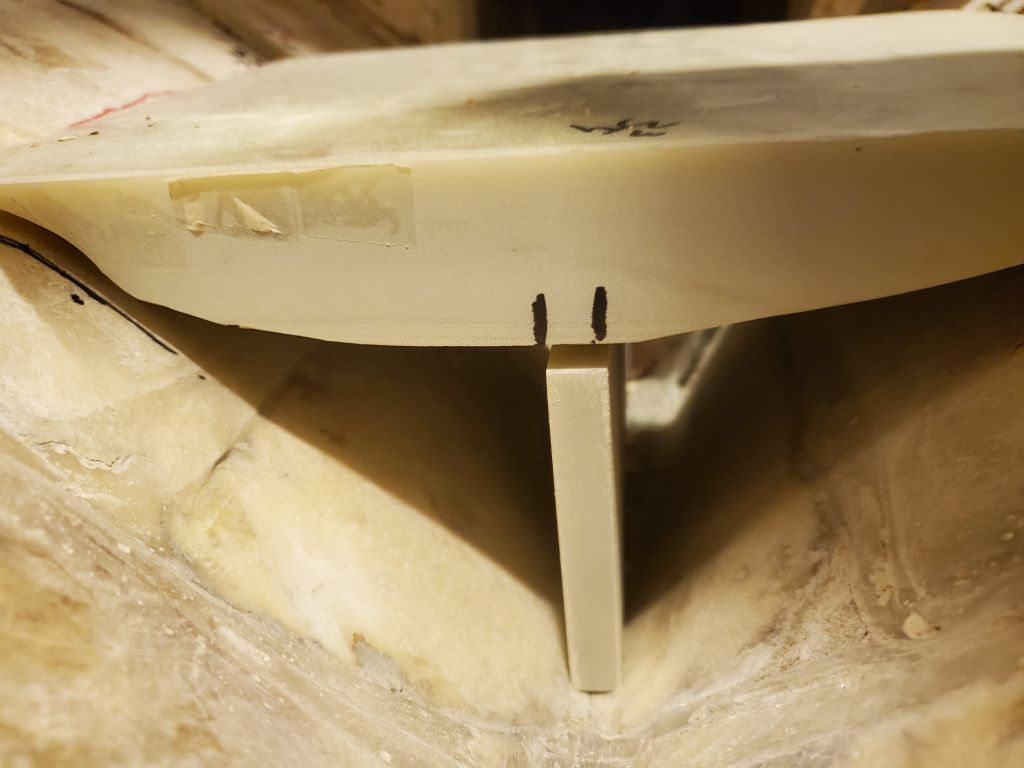
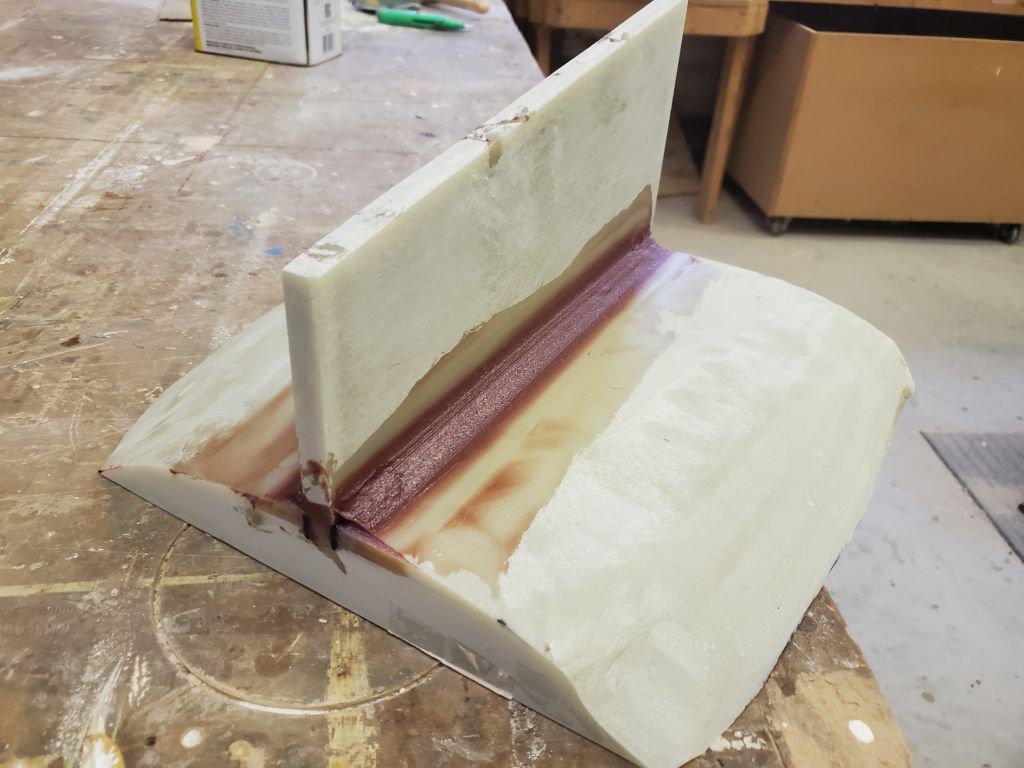
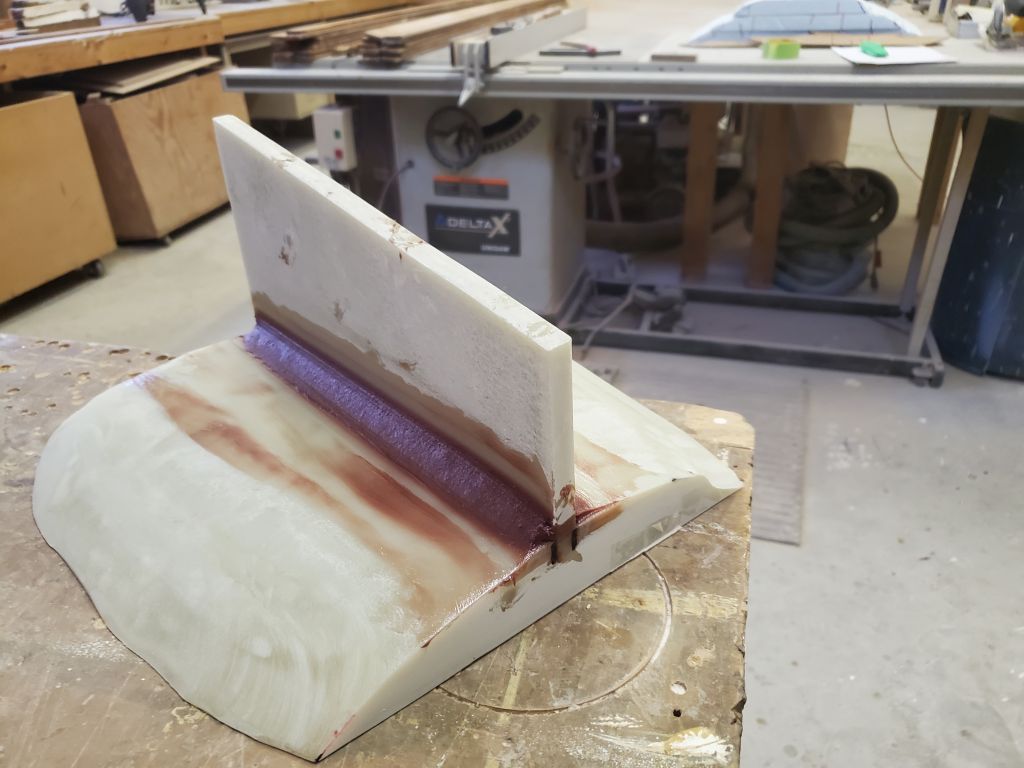
From here, it was a multi-step process involving many trips up and down the ladder into the boat with heavy G-10 panels as I made adjustments to each of the three layers, in turn, so they fit properly in the boat and at the proper heights, as well as level in both directions. I had some layout marks from the patterning to go by. The first piece (#3) took the most time to fit, as it ended up a bit high and I had to keep recontouring the fiberglass sheet till I finally got it down to its layout marks, and level. Once the first section was in, the remaining two went more quickly, though each piece required several trips up and down to grind some more material from the high spots. The spaces between each layer are intentional and designed to allow room for fiberglass tabbing on each individual layer to add to the overall strength of the assembly.
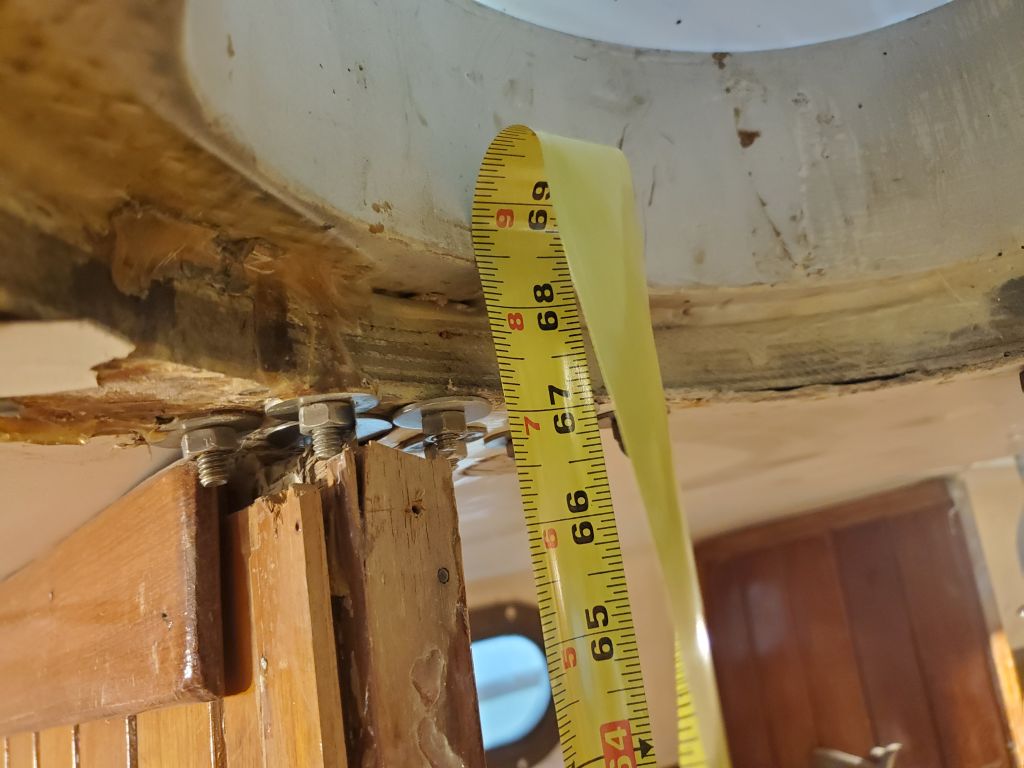
The most important thing when all was said and done was that the top layer ended up at the proper height to ultimately match exactly the height of the old mast step. I’d built the patterns so the top layer ended up 68-1/2″ below a known point on the mast collar in the deck above, which allowed 1/4″ of space for fiberglass over the top and to fine-tune the final-final height to 68-1/4″, which was the original measurement. I strove throughout the patterning process to ensure that if anything, the final platform ended up lower rather than higher.
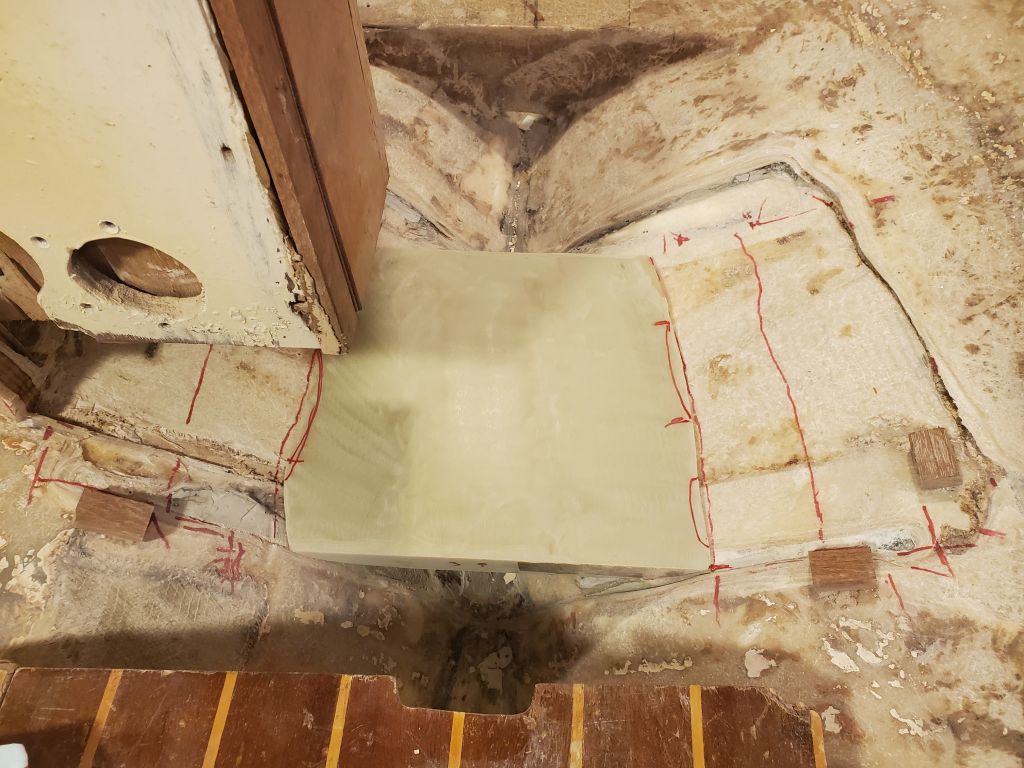
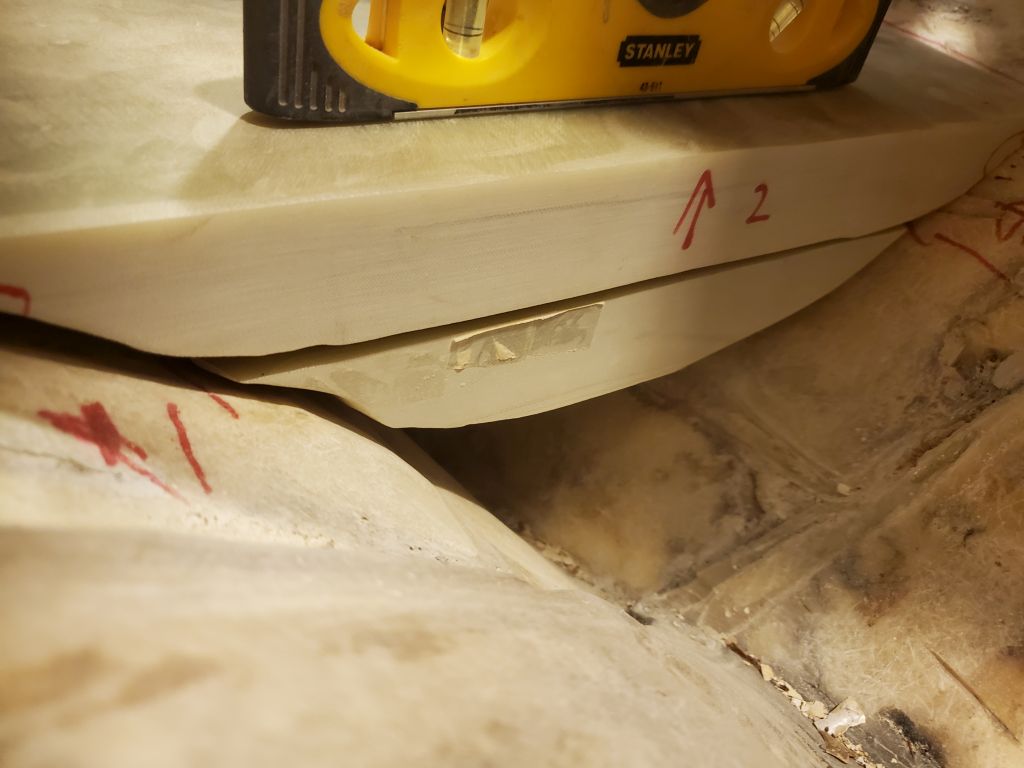
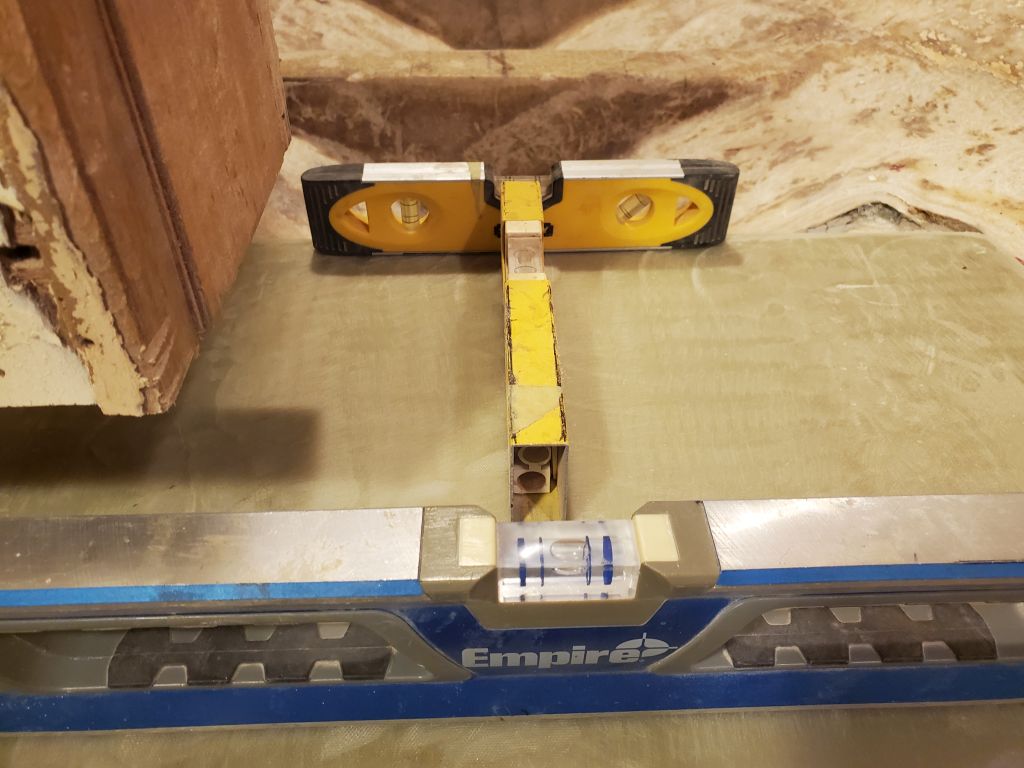
To help me easily keep the pieces in alignment during installation, and to provide reference points for height and position as I went, I used a straightedge held flat to each corner of each of the three layers to mark points on the hull that I could quickly and easily use during installation and keep the lower layers where they needed to be, rather than risk any possibility of the layers “growing” as I worked up to the critical top.


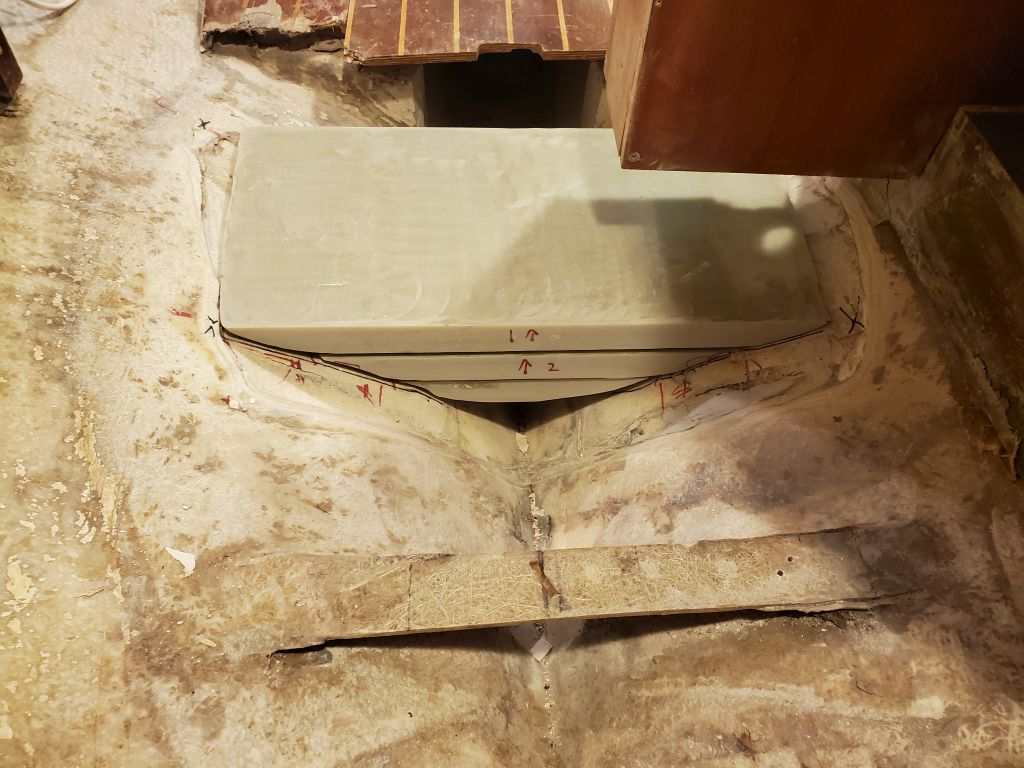
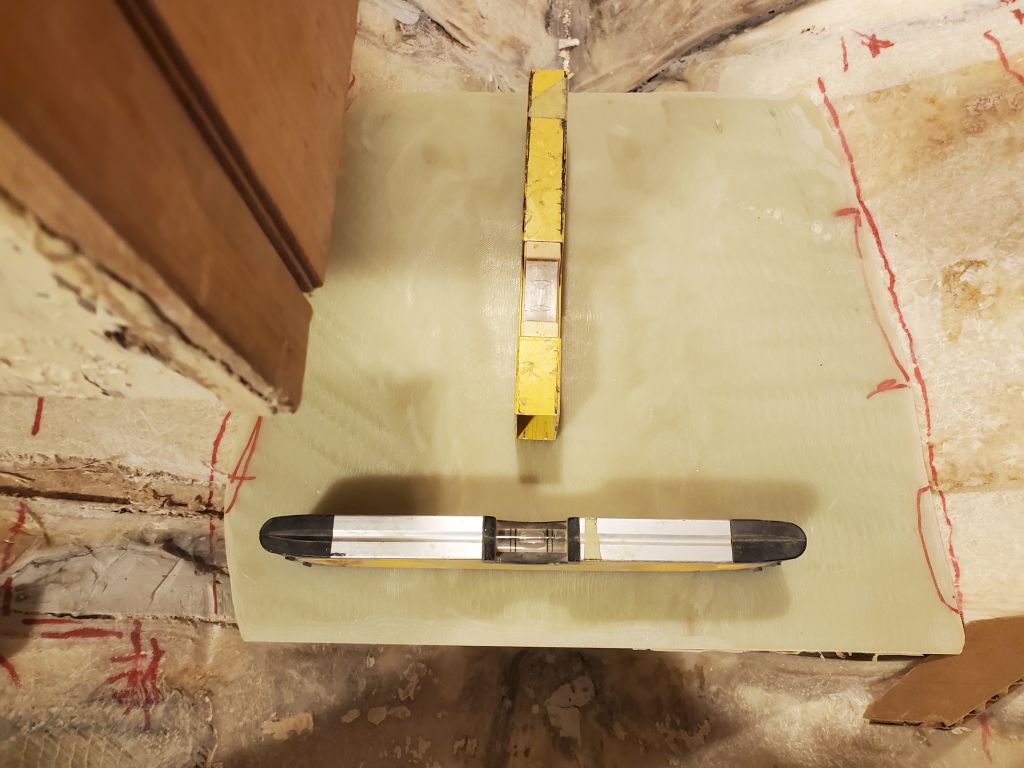
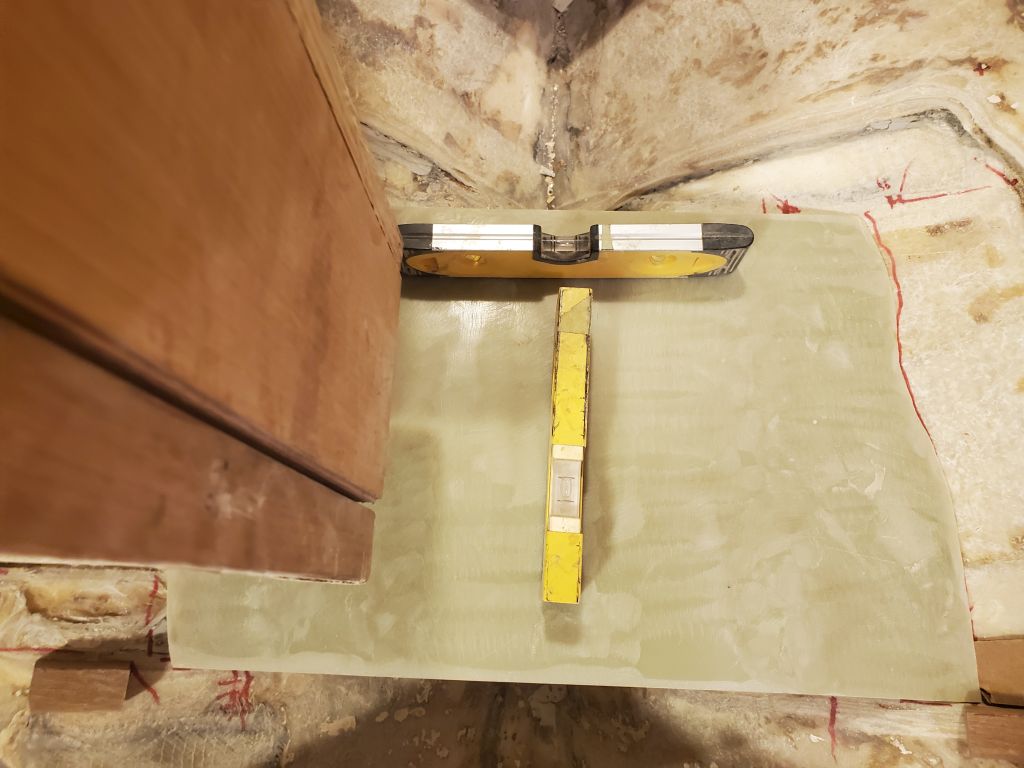
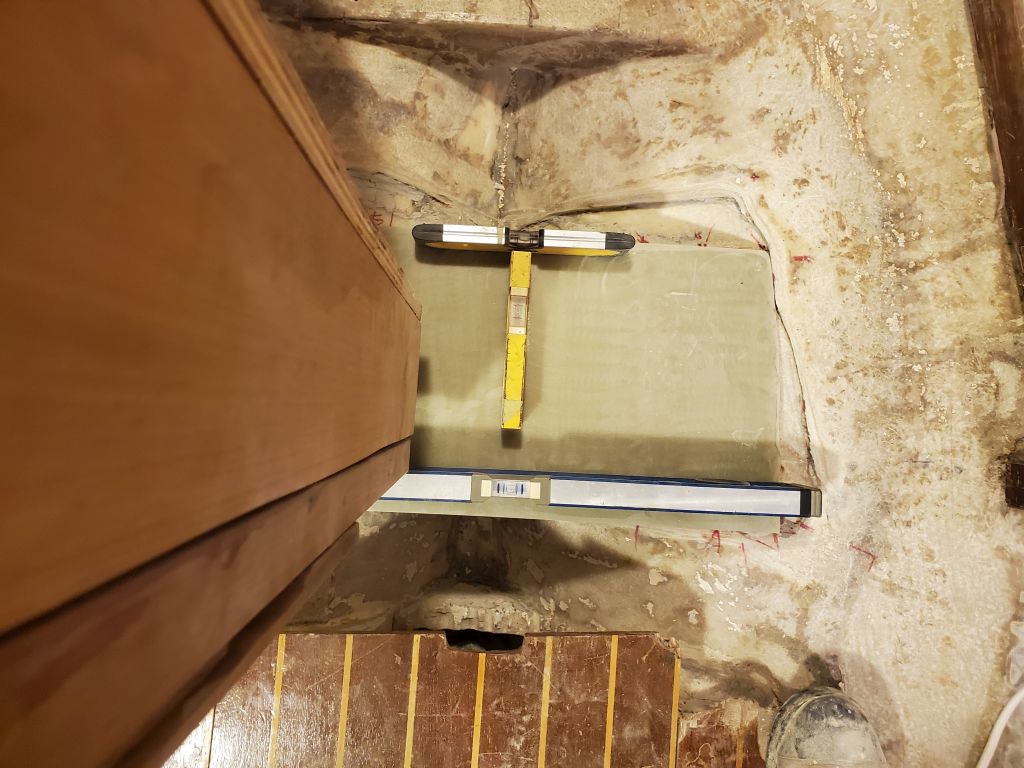
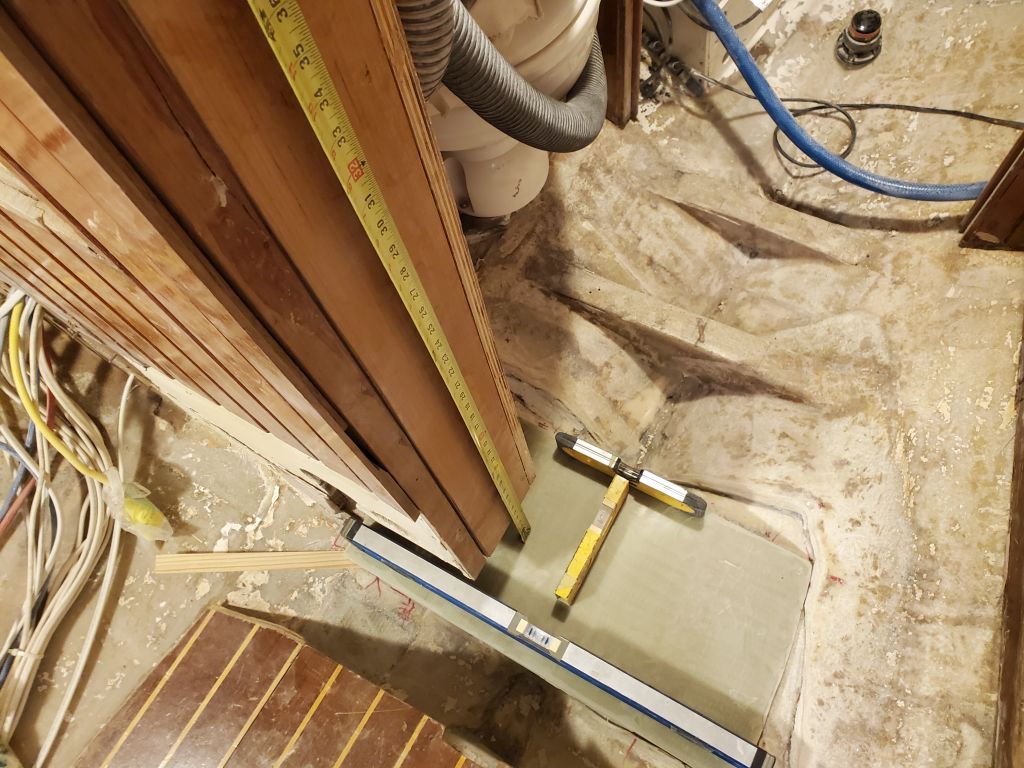
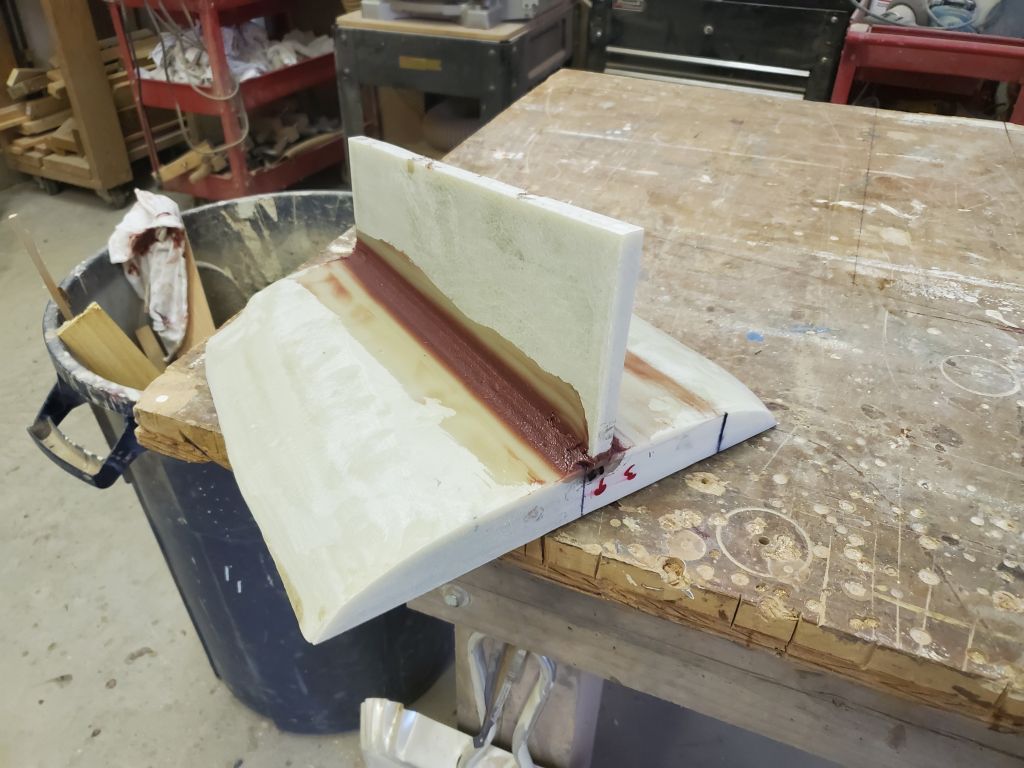
When these layers were fully installed, they’d surely be strong, but as an added hedge and to help transfer the loads all the way to the bottom of the boat, I patterned, then cut to fit, a piece of 1/2″ G-10 to be installed on centerline beneath the lowest section, extending to the hull beneath. This left ample limber space on each side.
To prepare for final installation, I had enough time left in the day to epoxy the new support to the underside of the lowest layer. I’d install tabbing to secure the support to the bottom of the first layer before installation in the boat, then epoxy and tab the lower edge of the support to the hull as well. My epoxy hardener was dark red after sitting in the pump tank unused for some time; apparently the welded seam on the old style tanks like mine reacts with the hardeners to cause this harmless color change.
Total time billed on this job today: 8.75 hours
0600 Weather Observation: 42°. rain. Forecast for the day: Rain, then eventual clearing, 40s°