


December 26, 2023
Calliope Girl 29
Tuesday
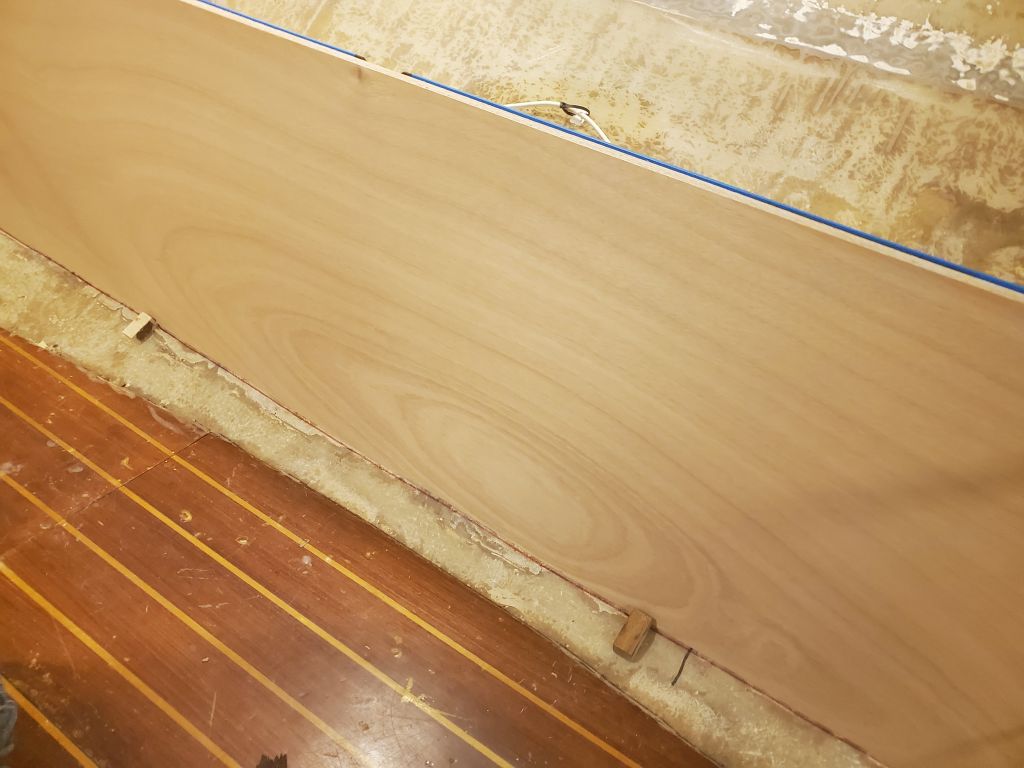
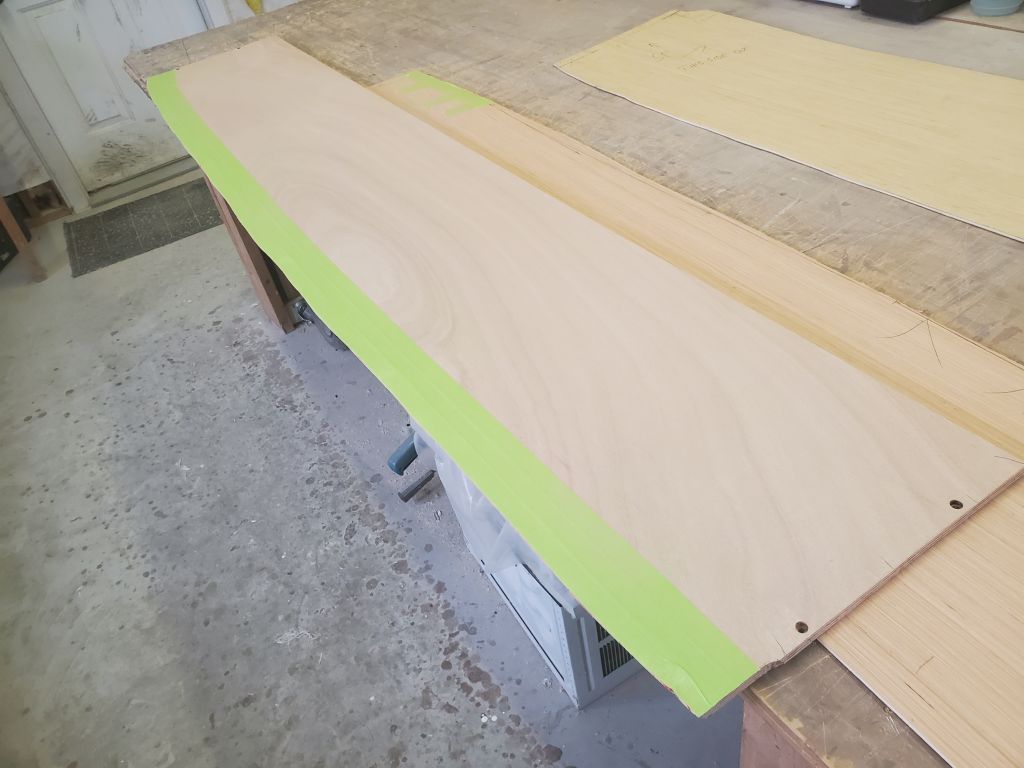
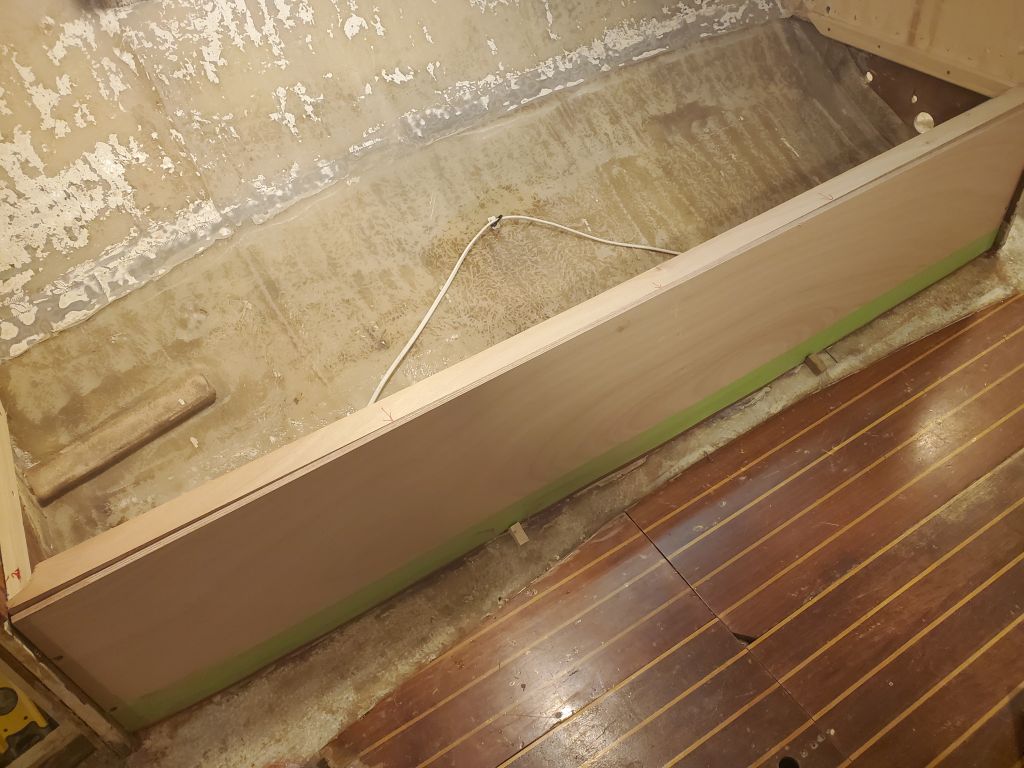
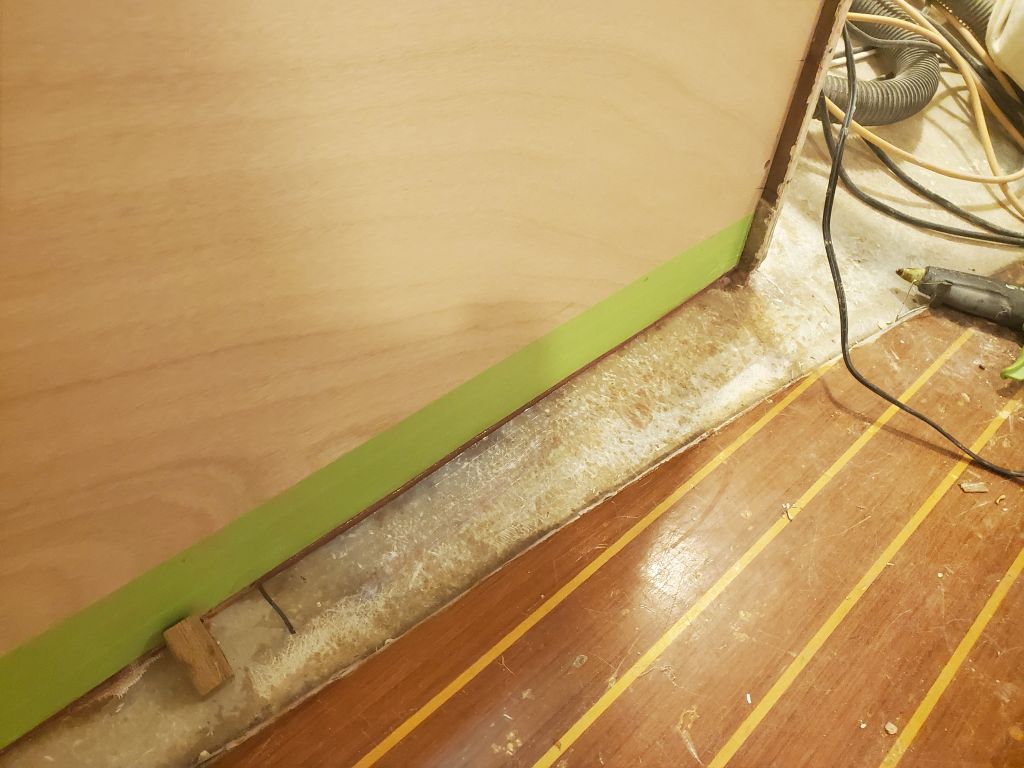
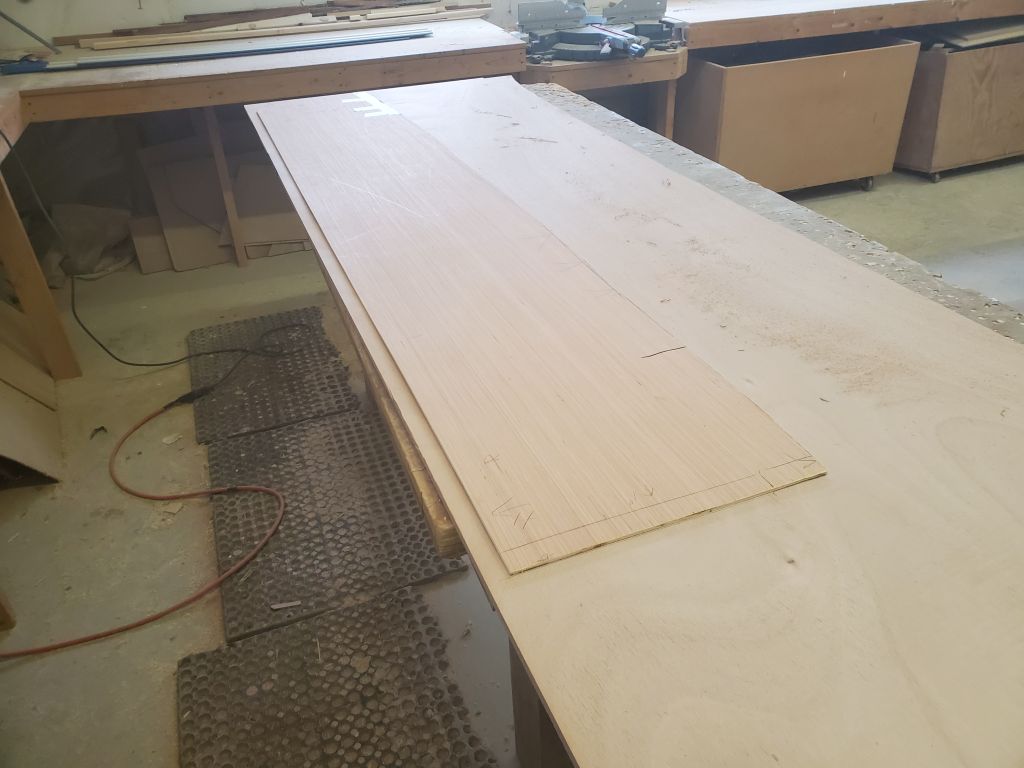
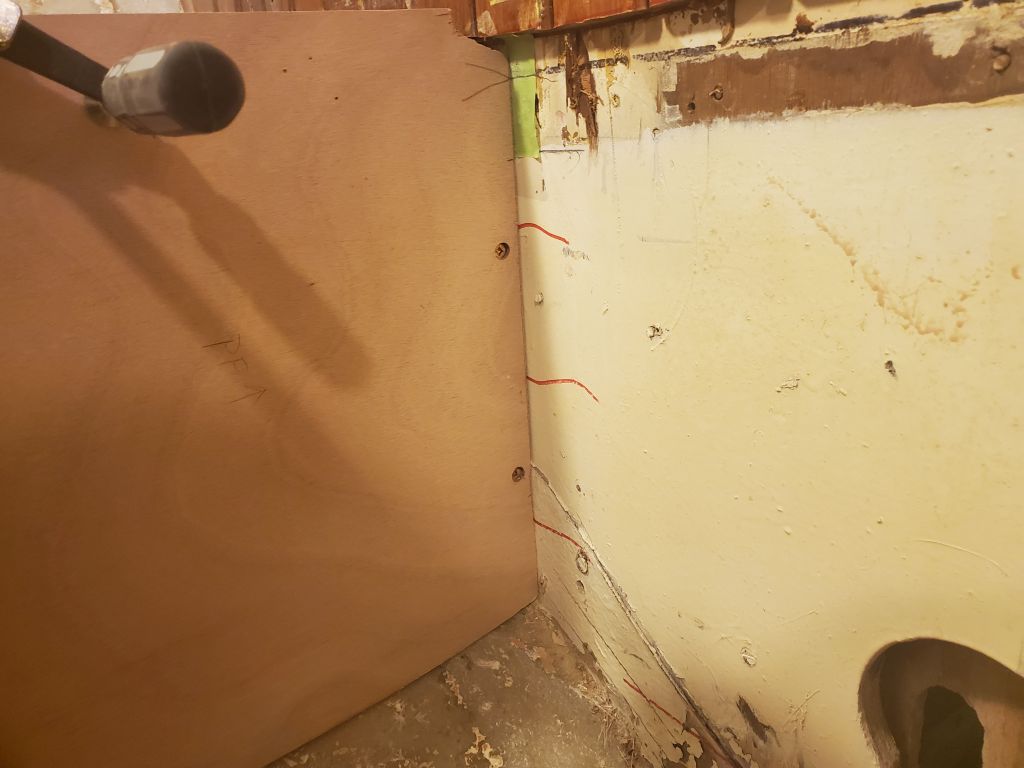
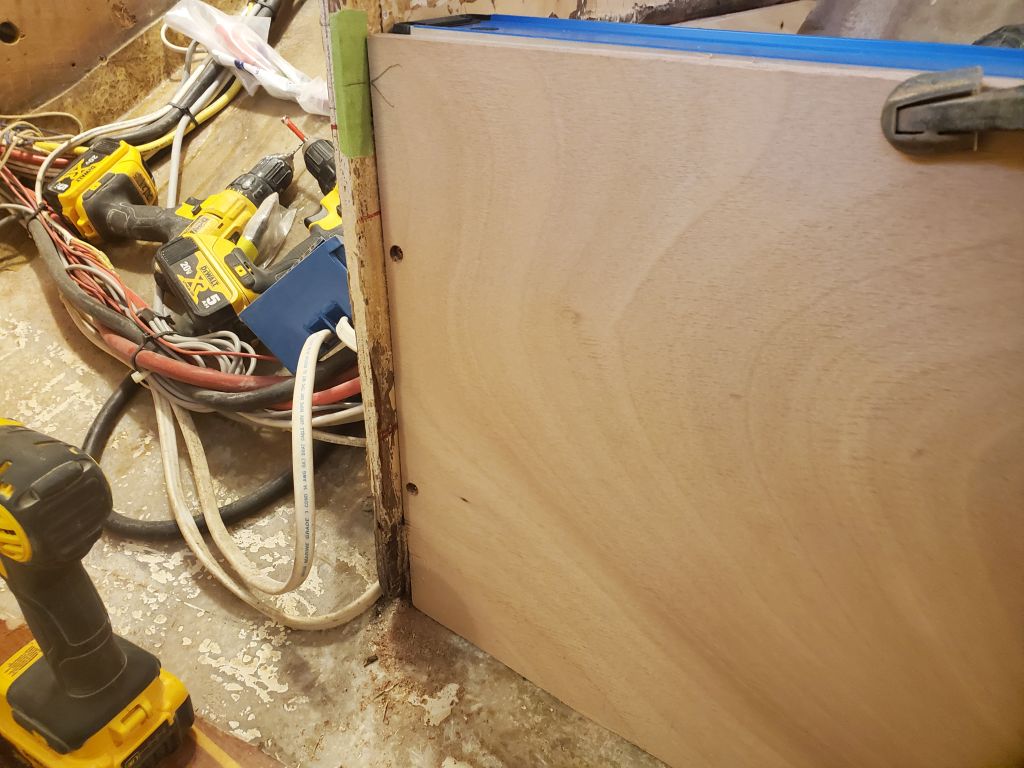
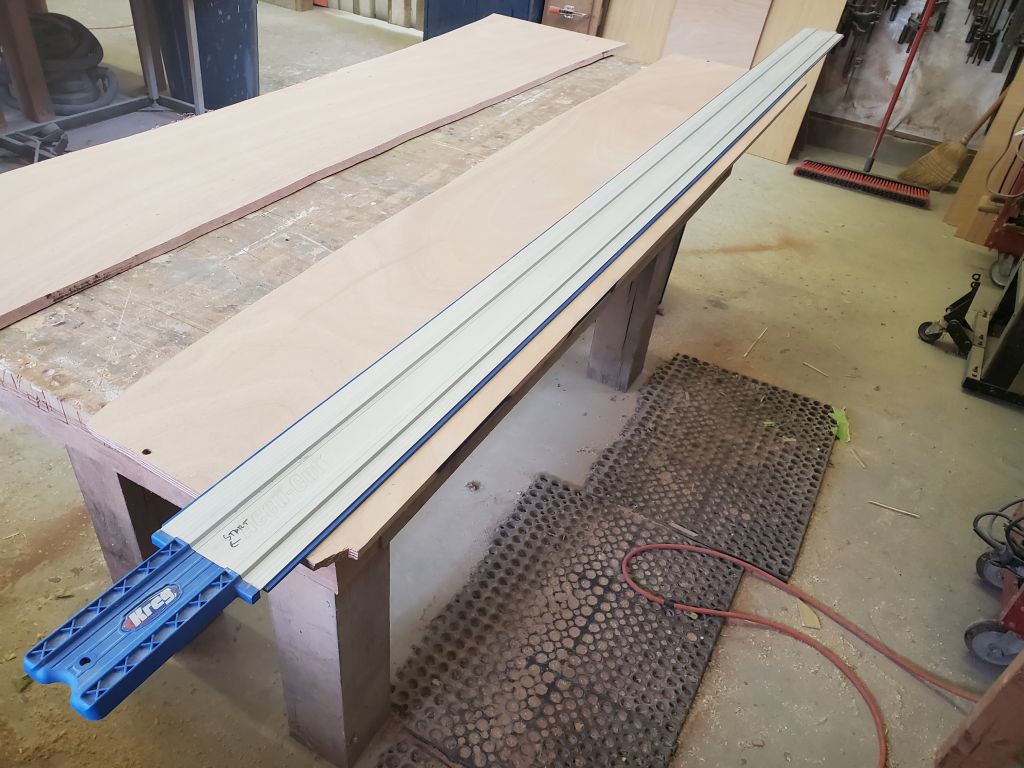
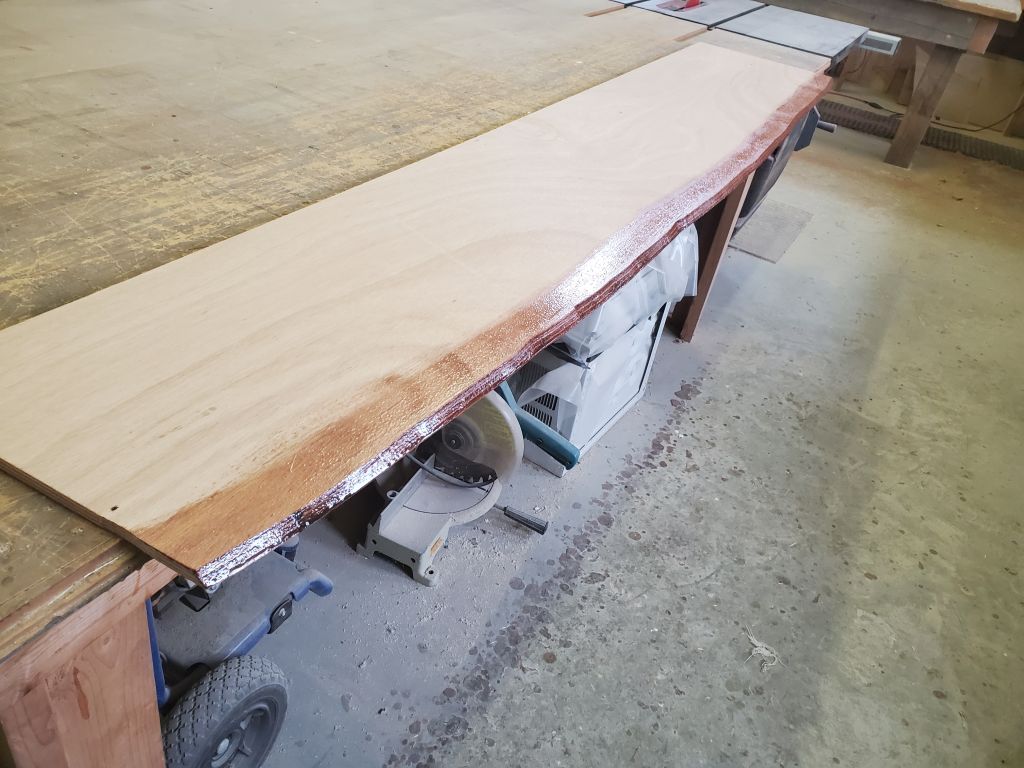
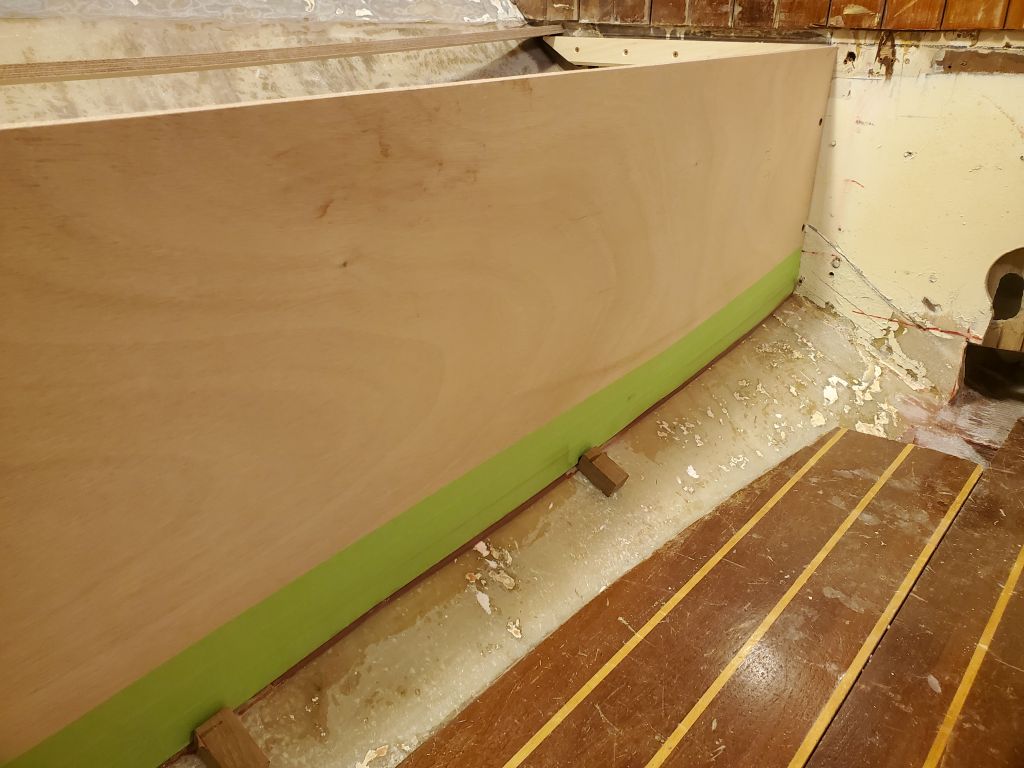
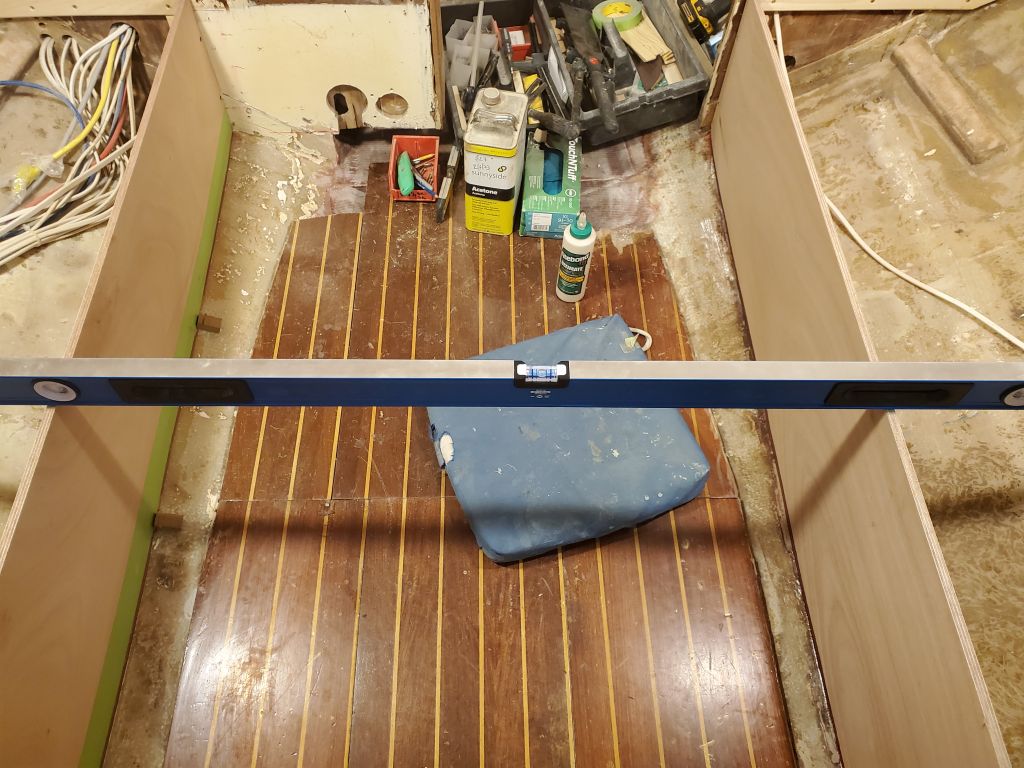
Laying the pattern for the starboard settee front on a piece of new 12mm okoume, I traced the pattern as needed, leaving an inch or so extra at the top edge for final trimming once I’d otherwise fitted the piece. I cut out the panel and test-fit it in the boat, clamping the top edge to a straightedge to ensure it wasn’t bowed.
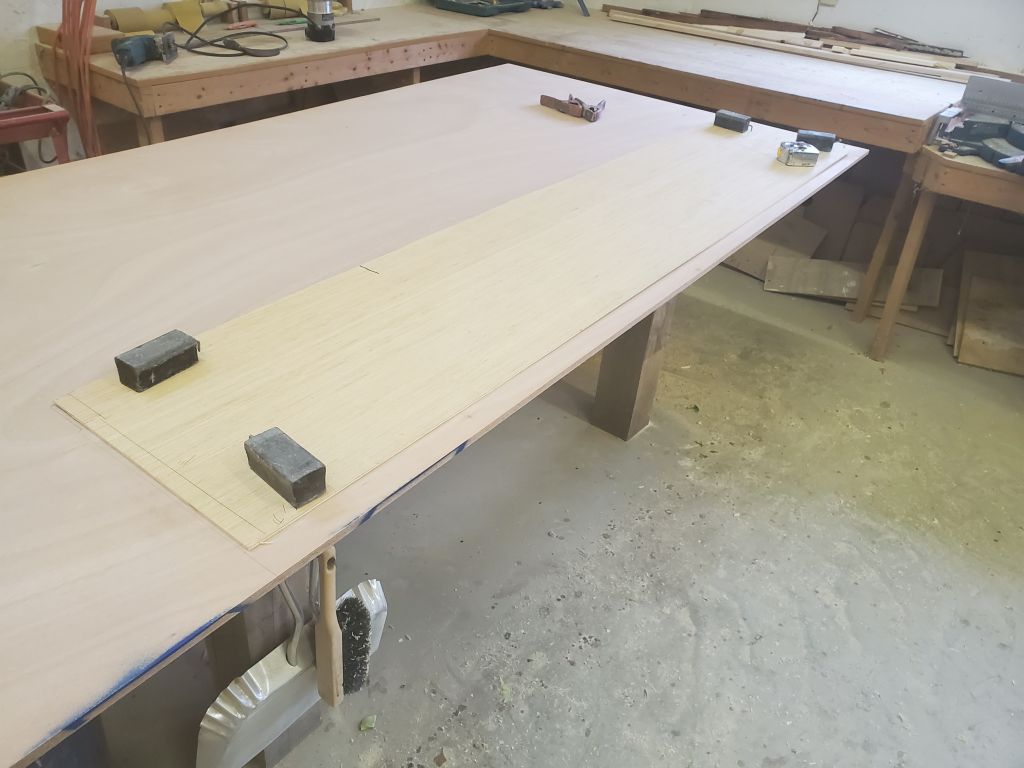
The fit was good and needed no changes other than to trim the top edge at the proper height, so I temporarily secured it at each end with two screws into the cleats behind. I’d previously marked where the fasteners in the cleats were, and also marked the height of the horizontal cleat so I could easily transfer the final height to each end of the panel.
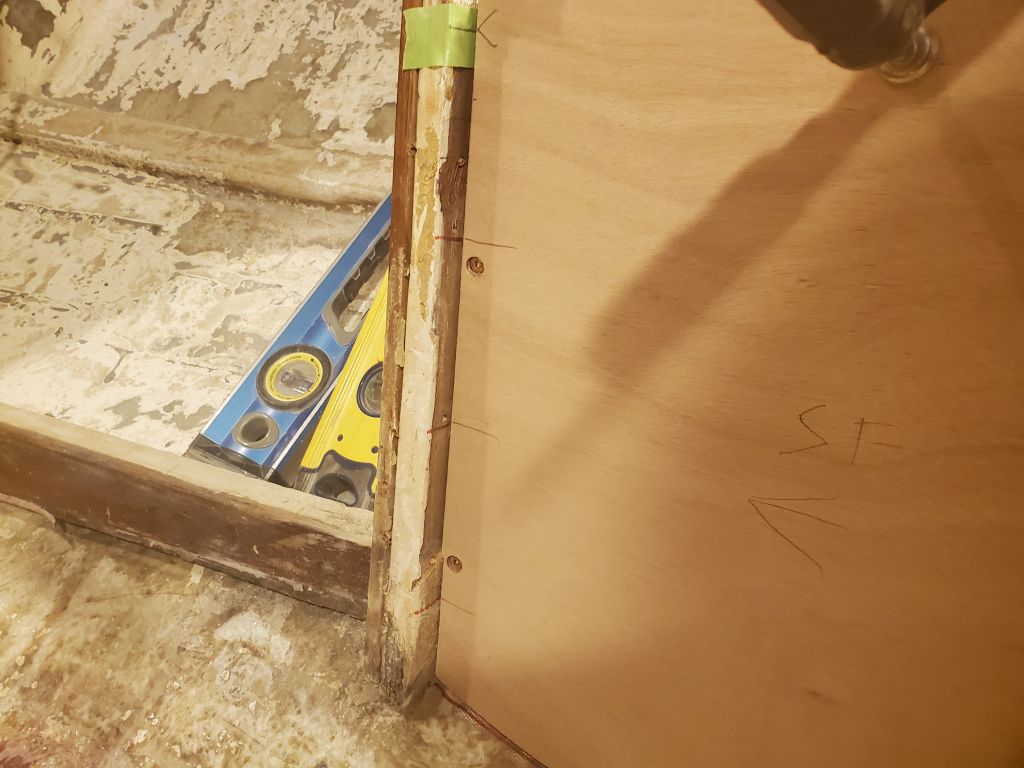
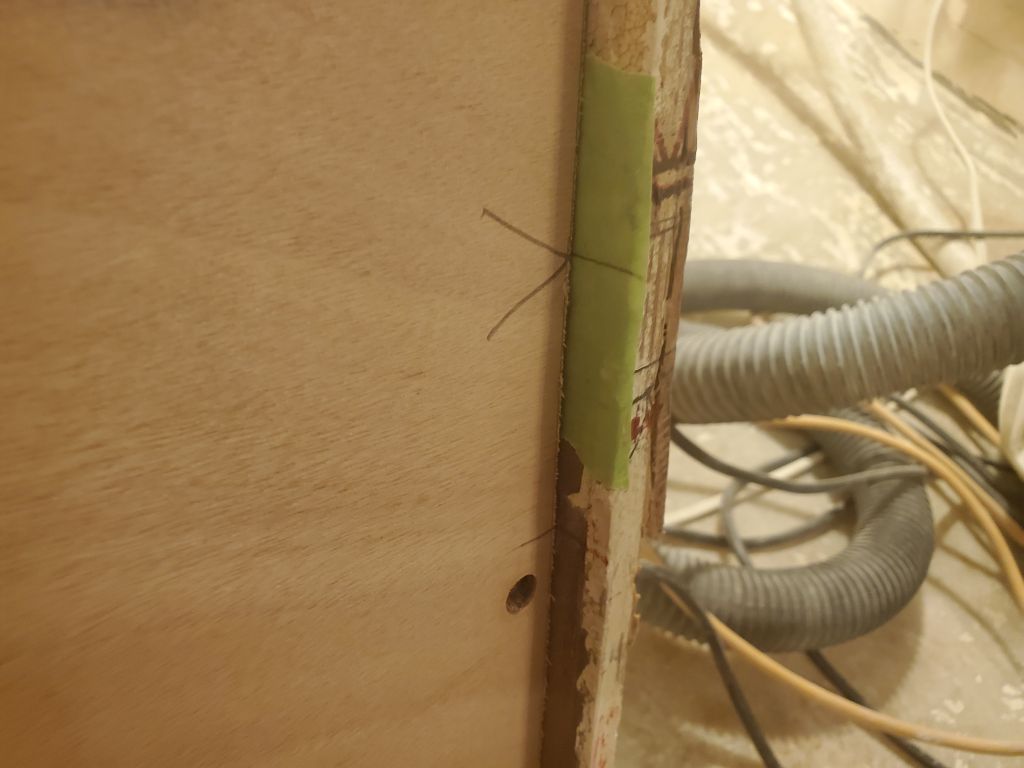
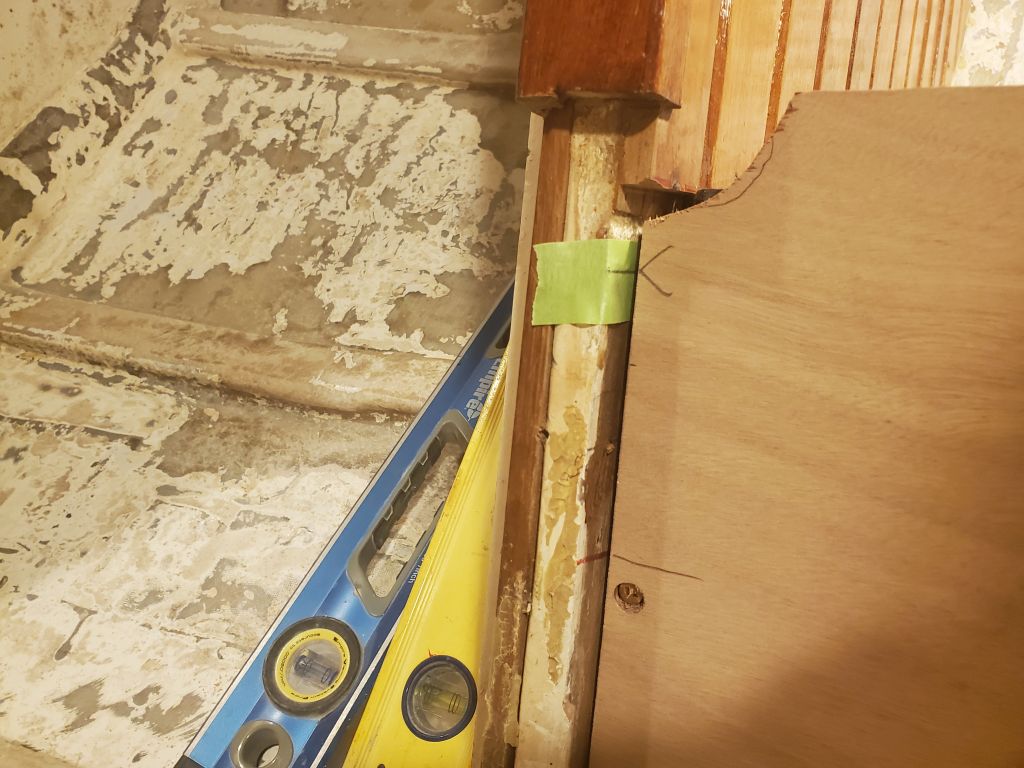
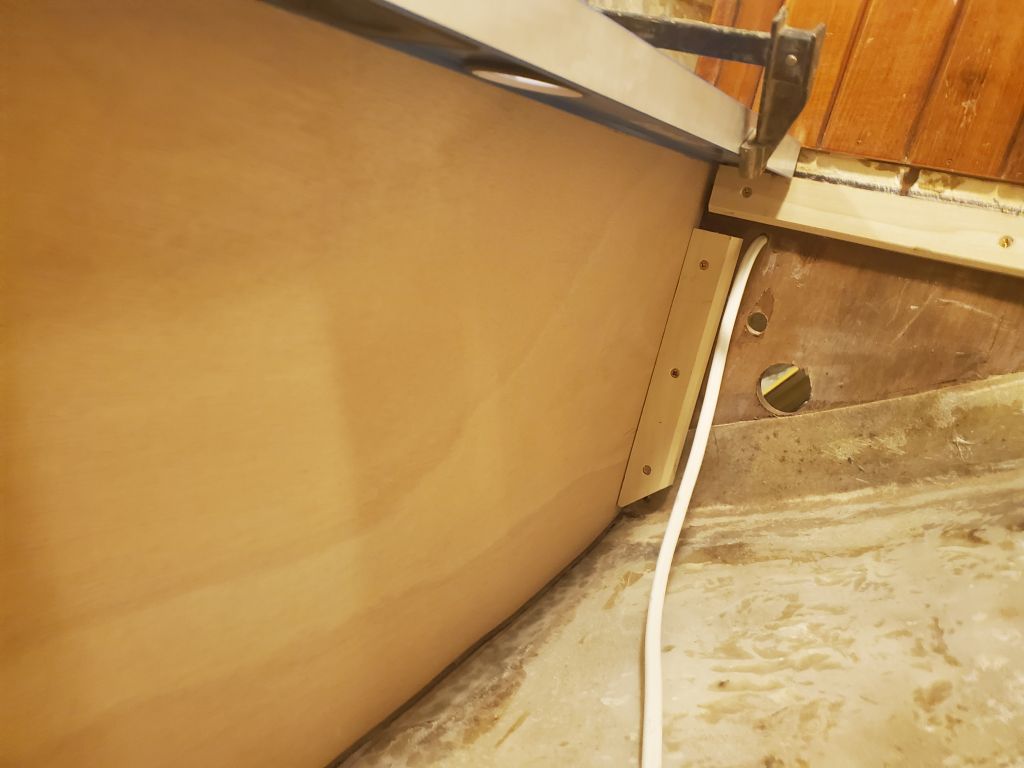
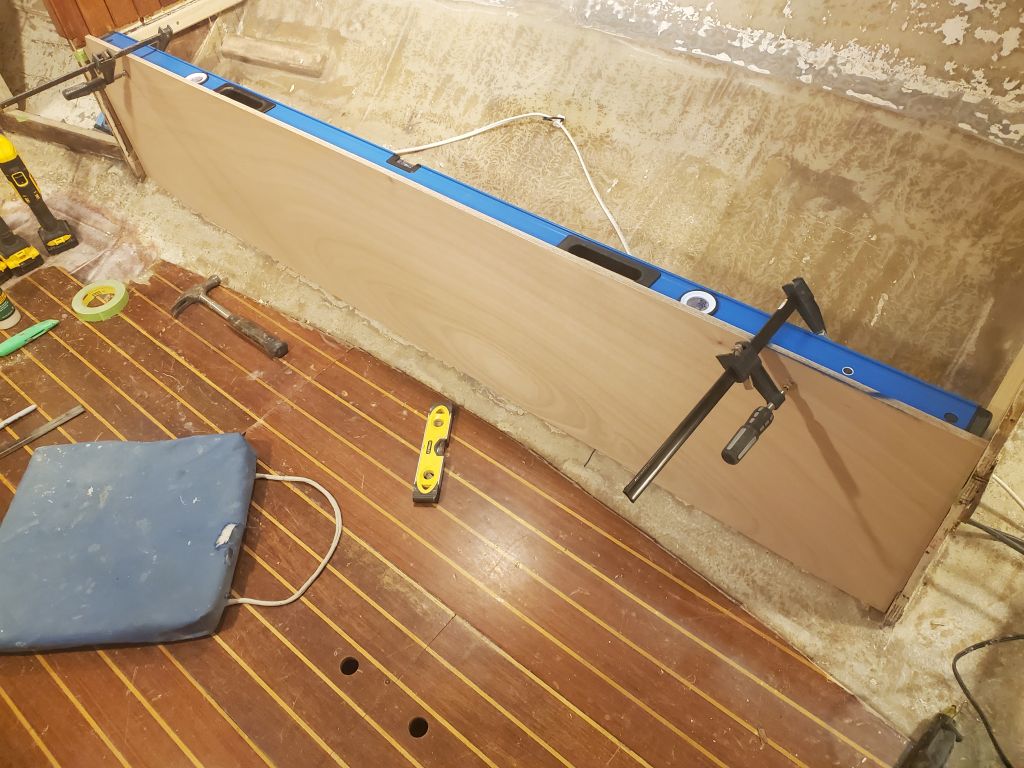
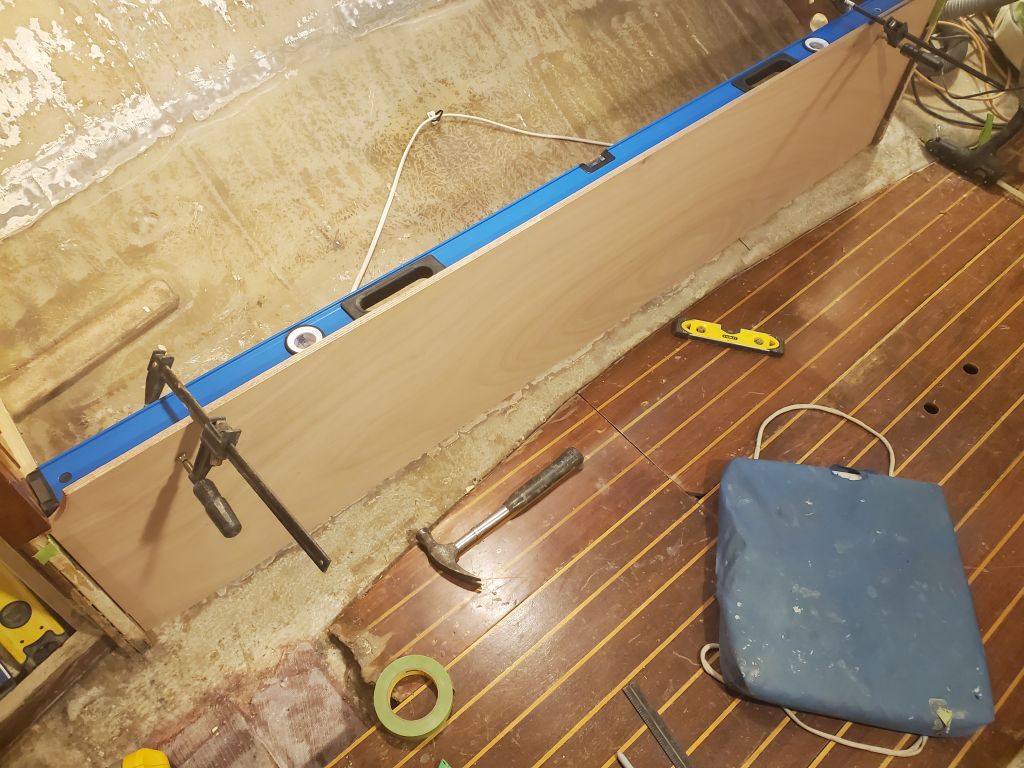
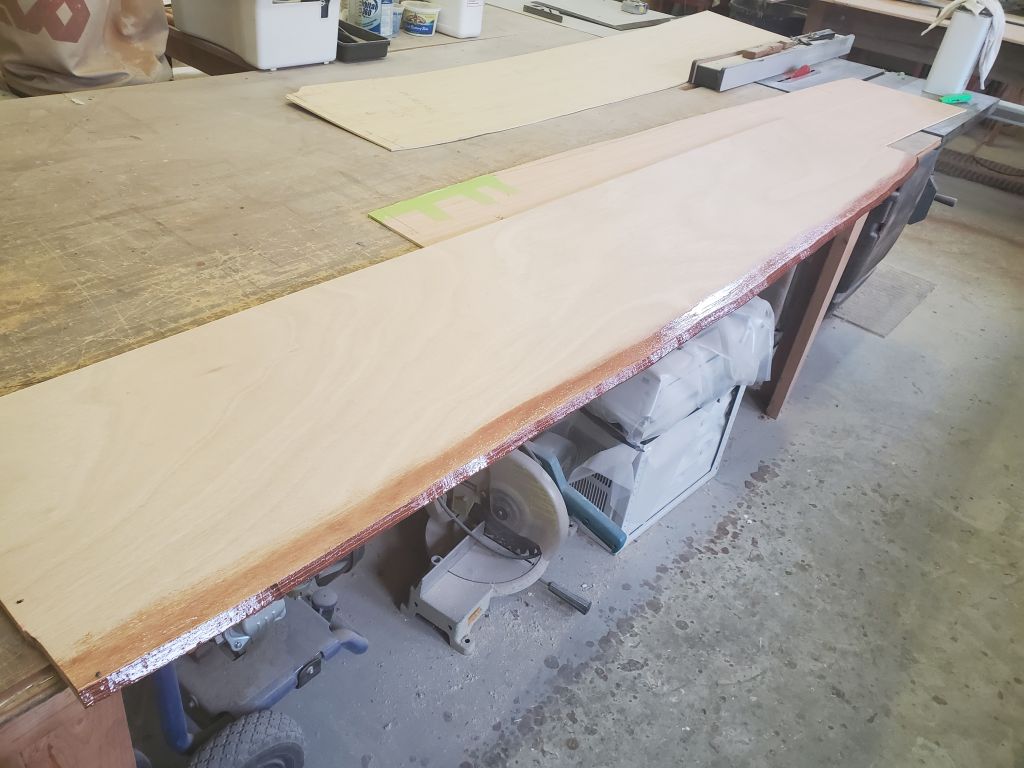
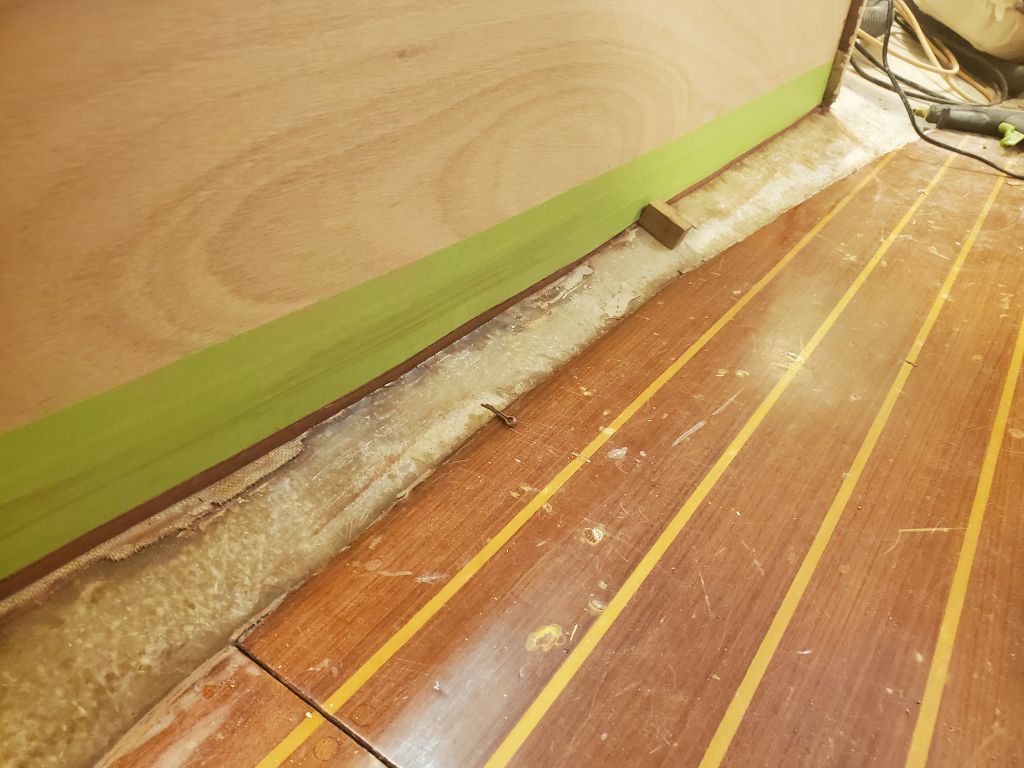
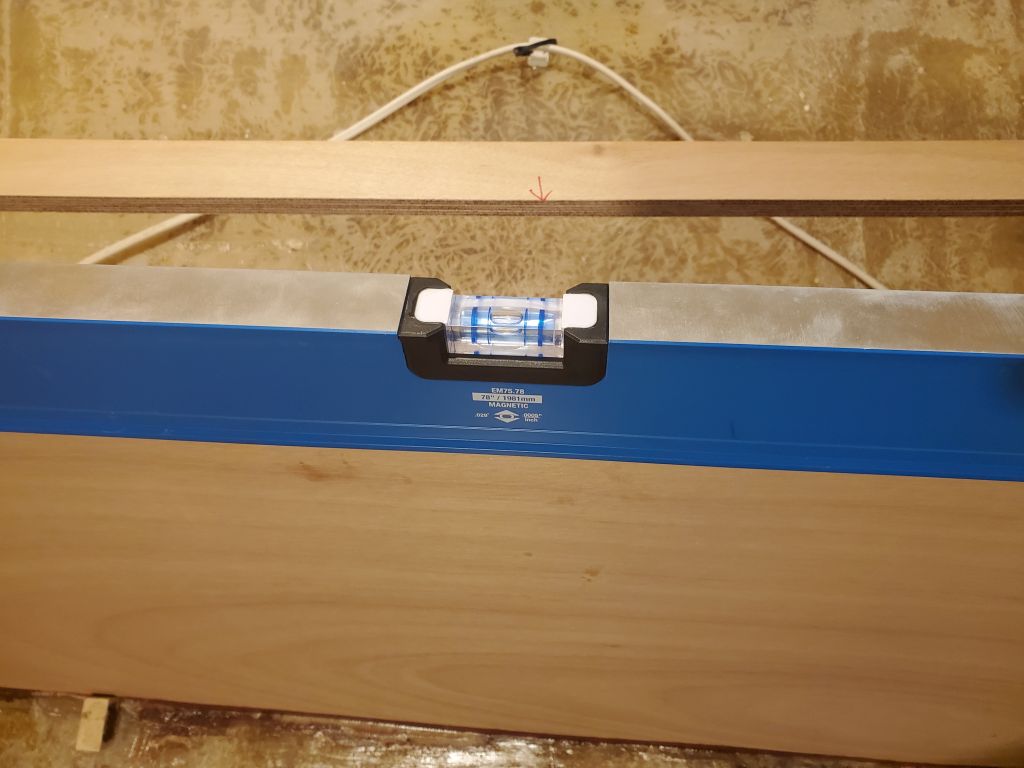
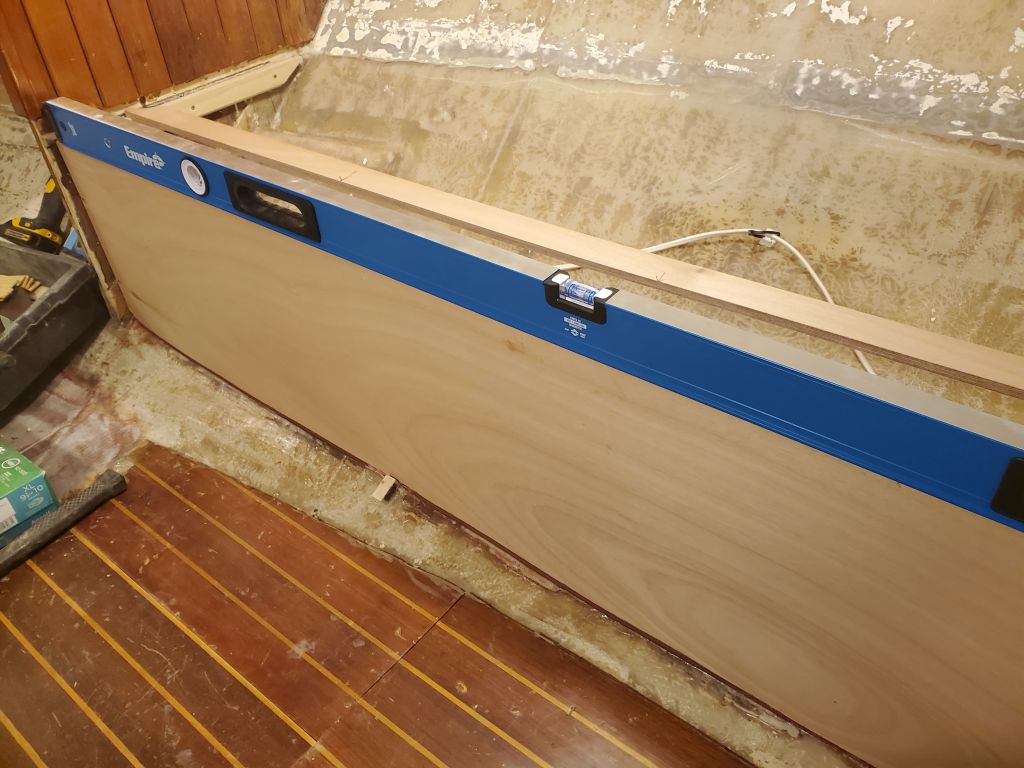
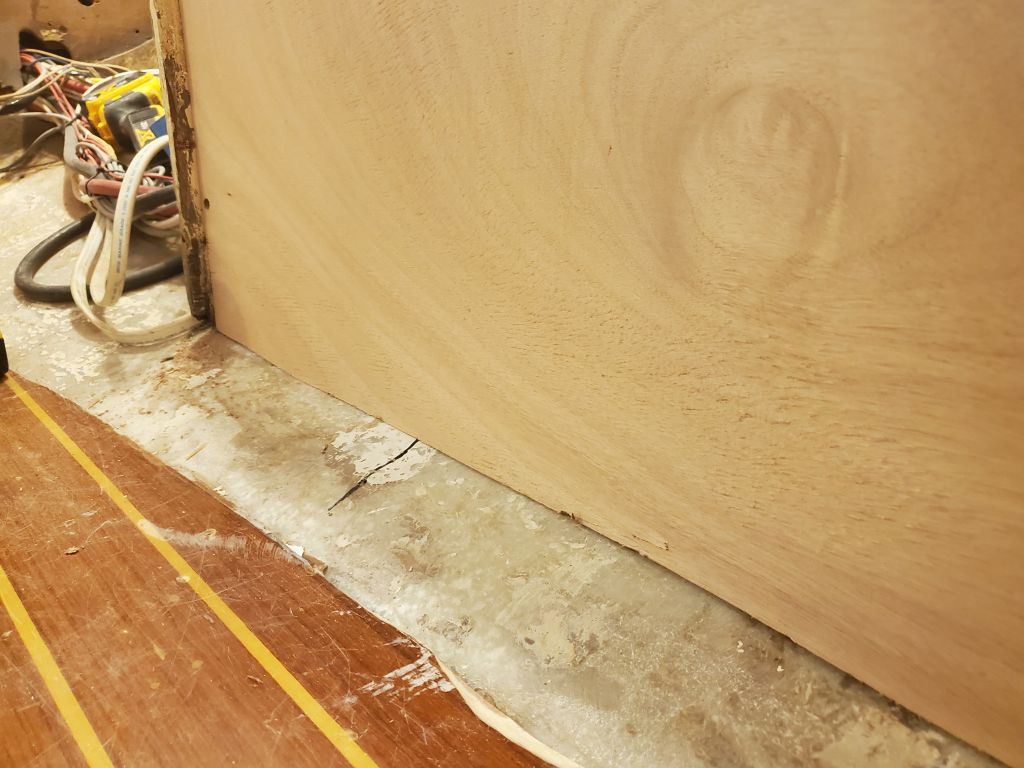
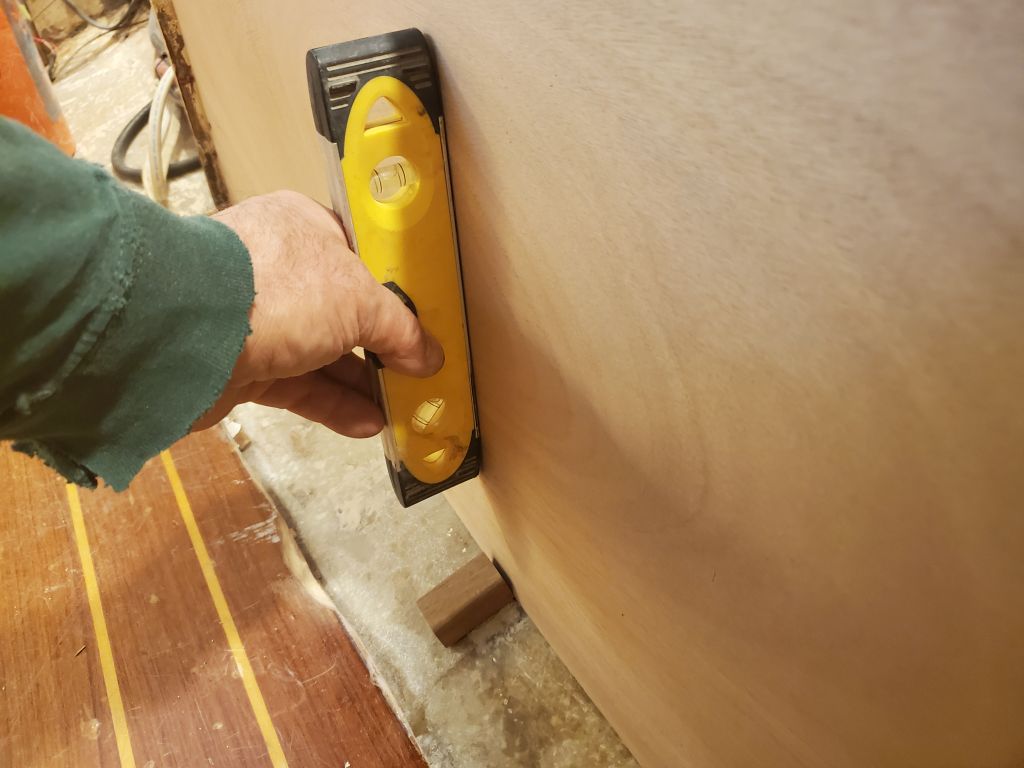
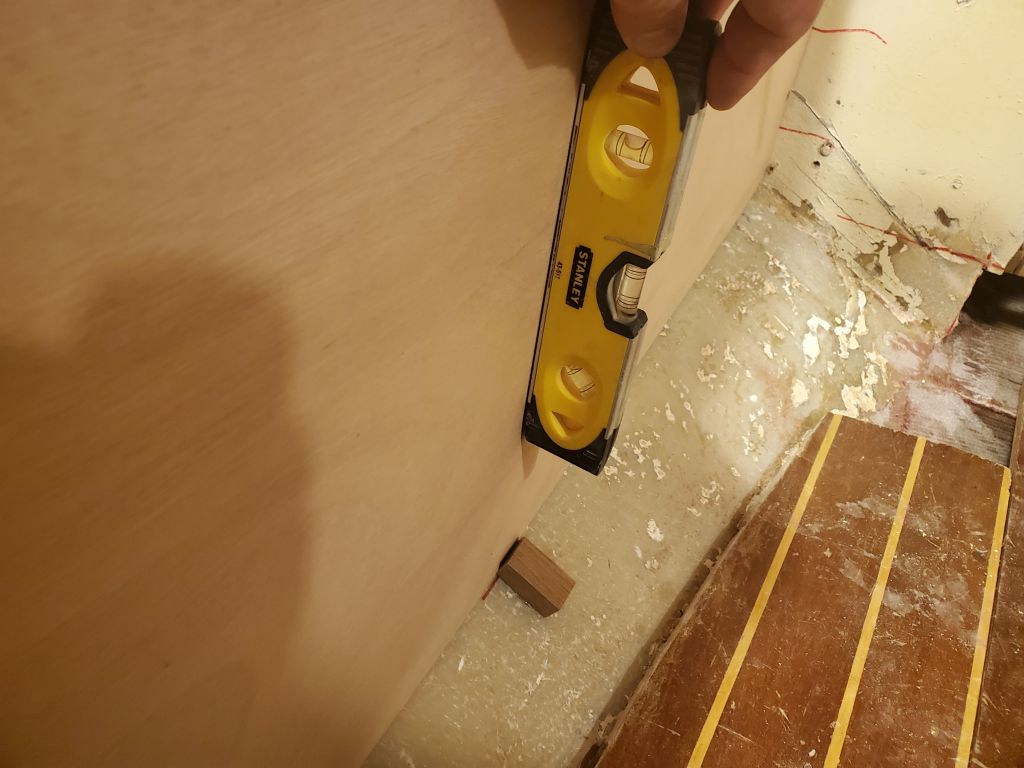
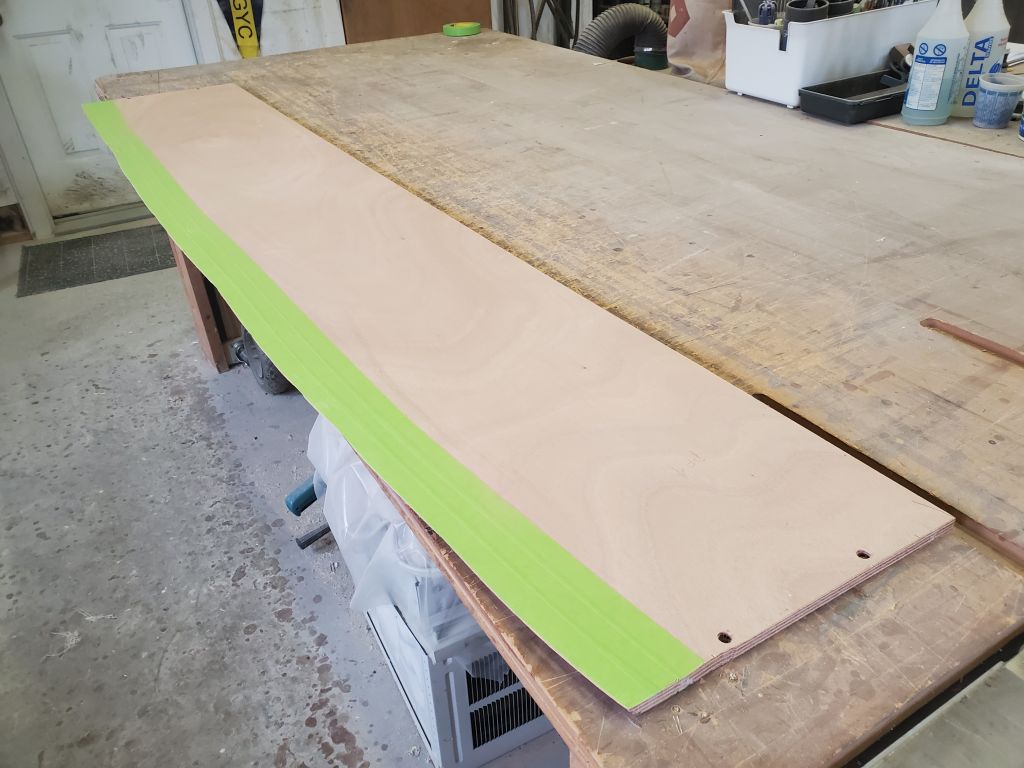
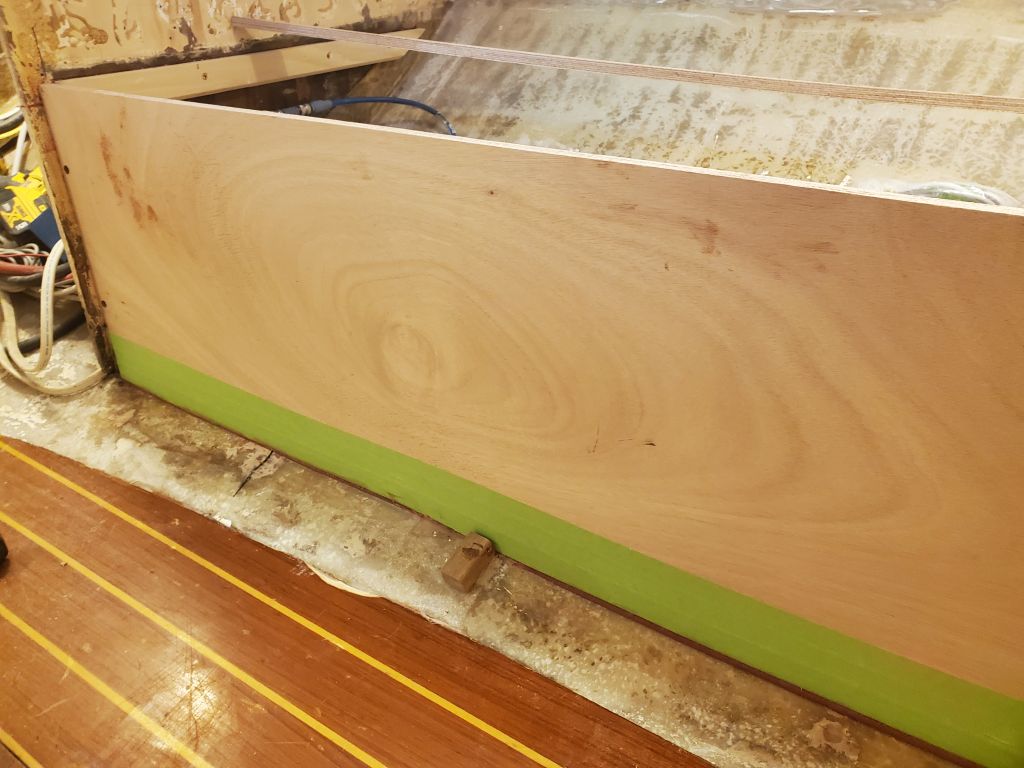
With the panel tightly secured at the ends, I ensured it was plumb in the middle (unsupported) sections and attached some small hot glue blocks inside and out to align and hold the panel properly (seen in the photos above). Then, I removed the panel down to the bench so I could trim the top edge to the marks I’d made and prepare it for installation by epoxy-coating the end grain on the bottom edge. To protect the front of the panel, I masked it off first.
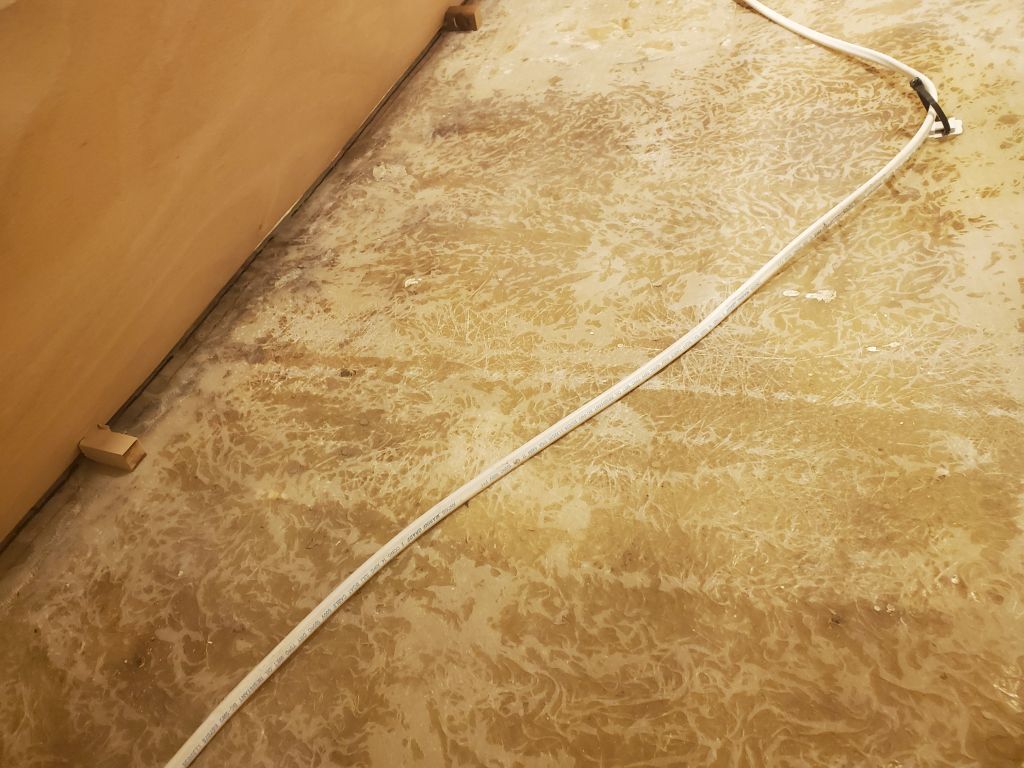
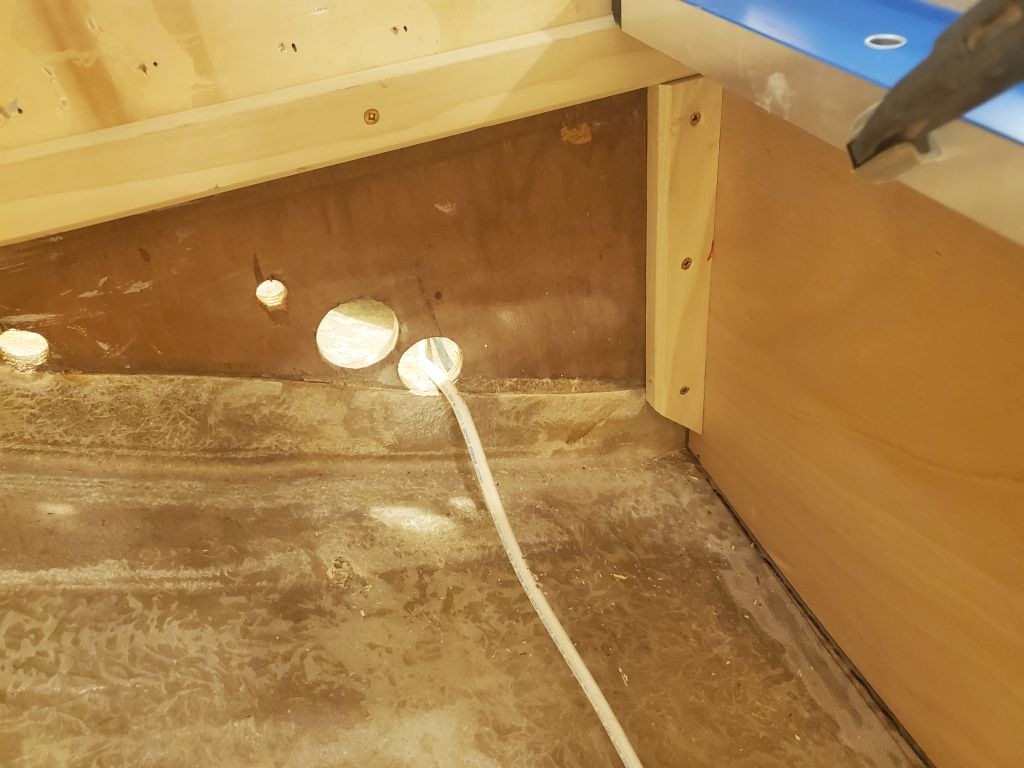
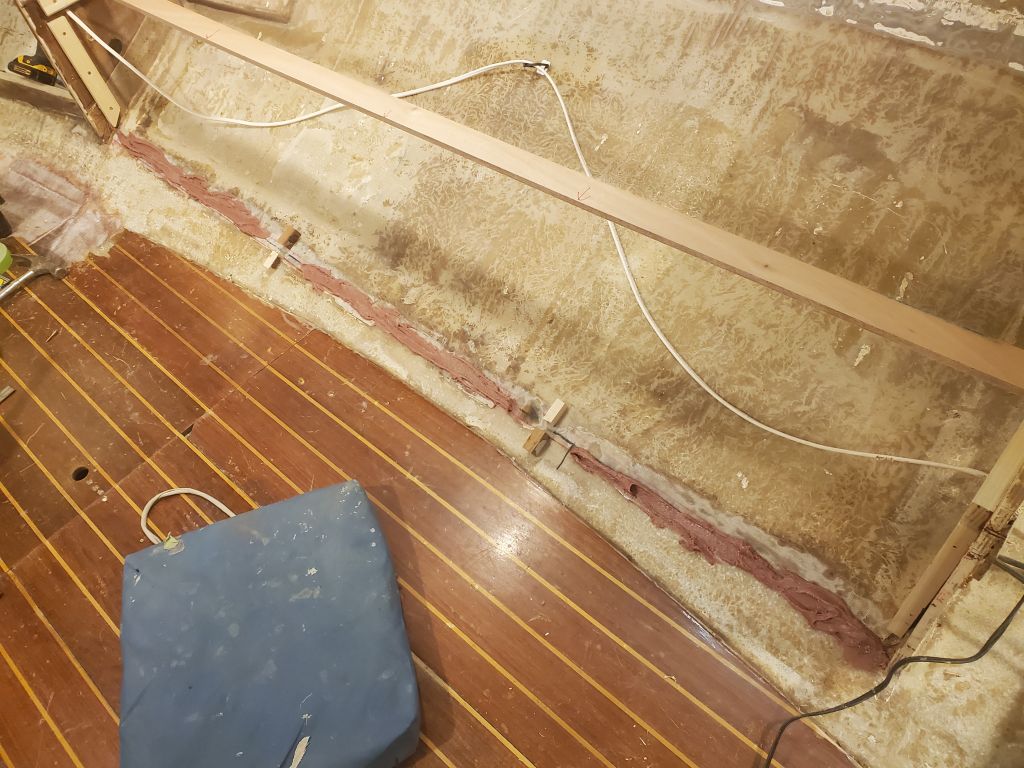
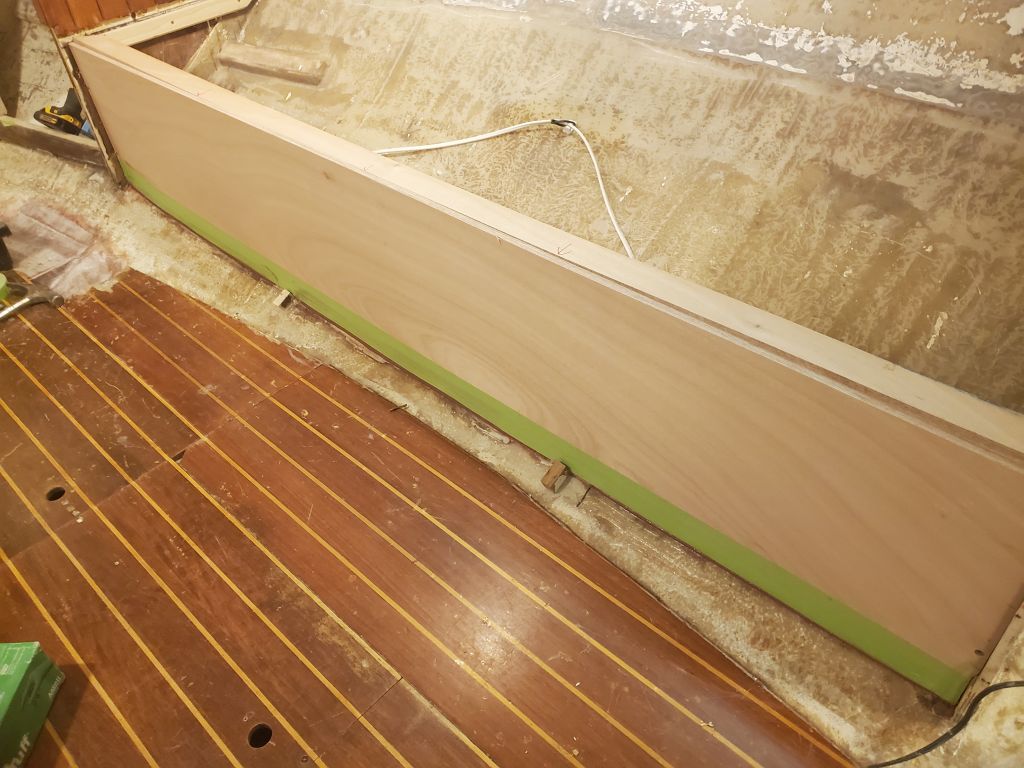
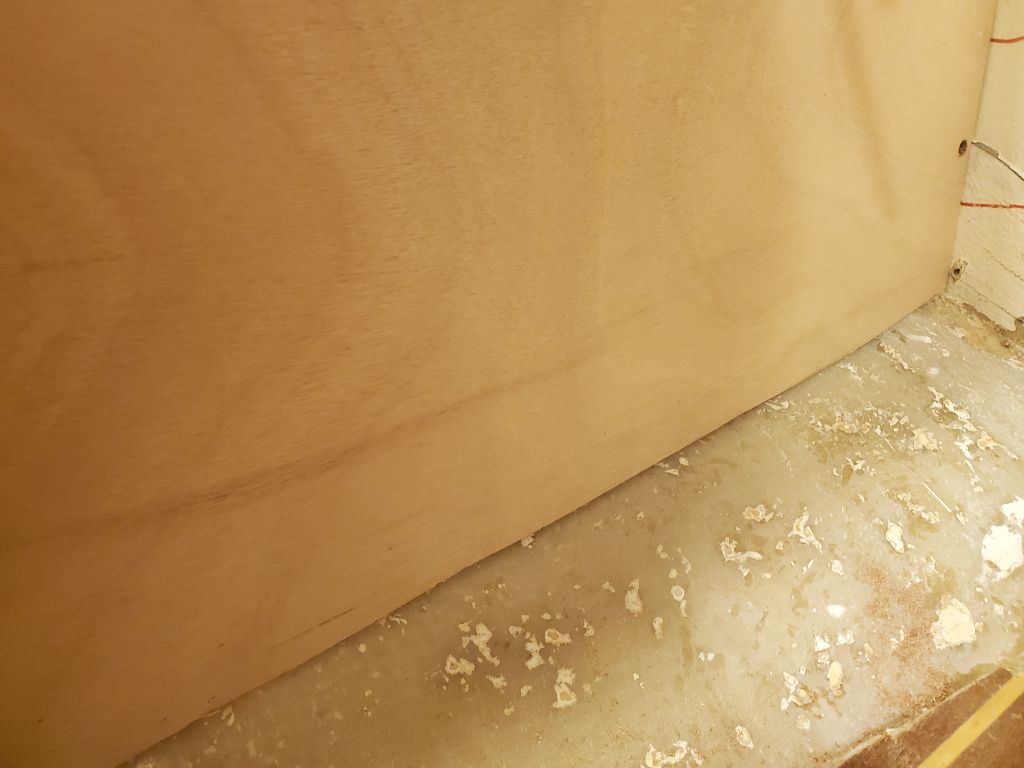
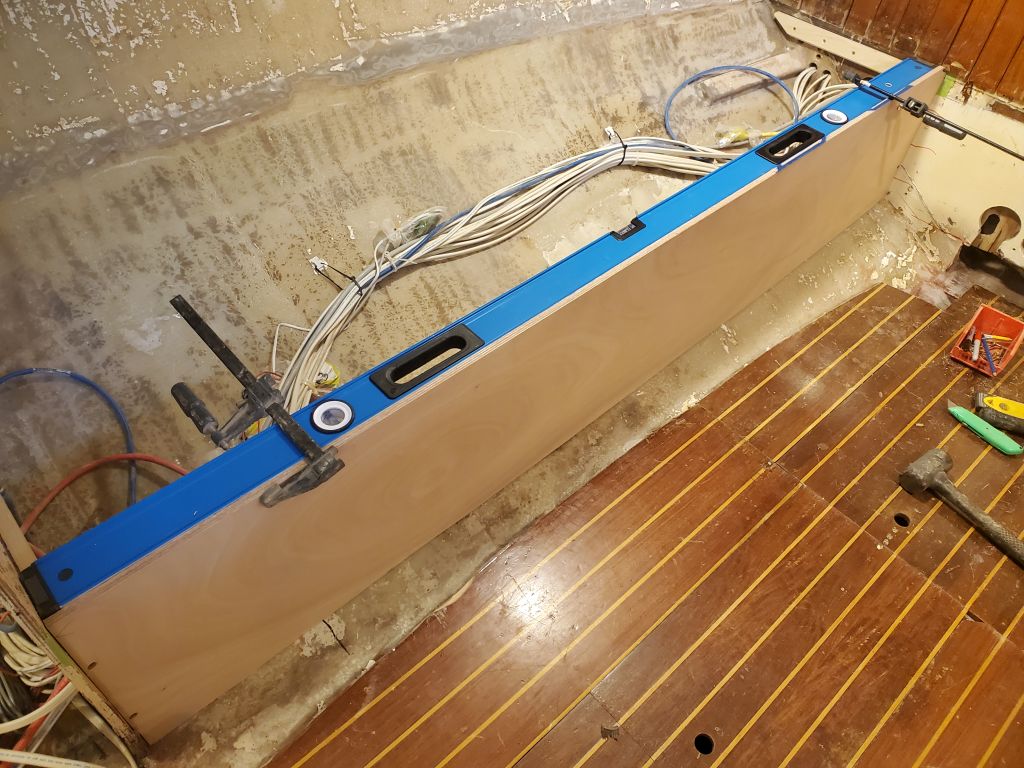
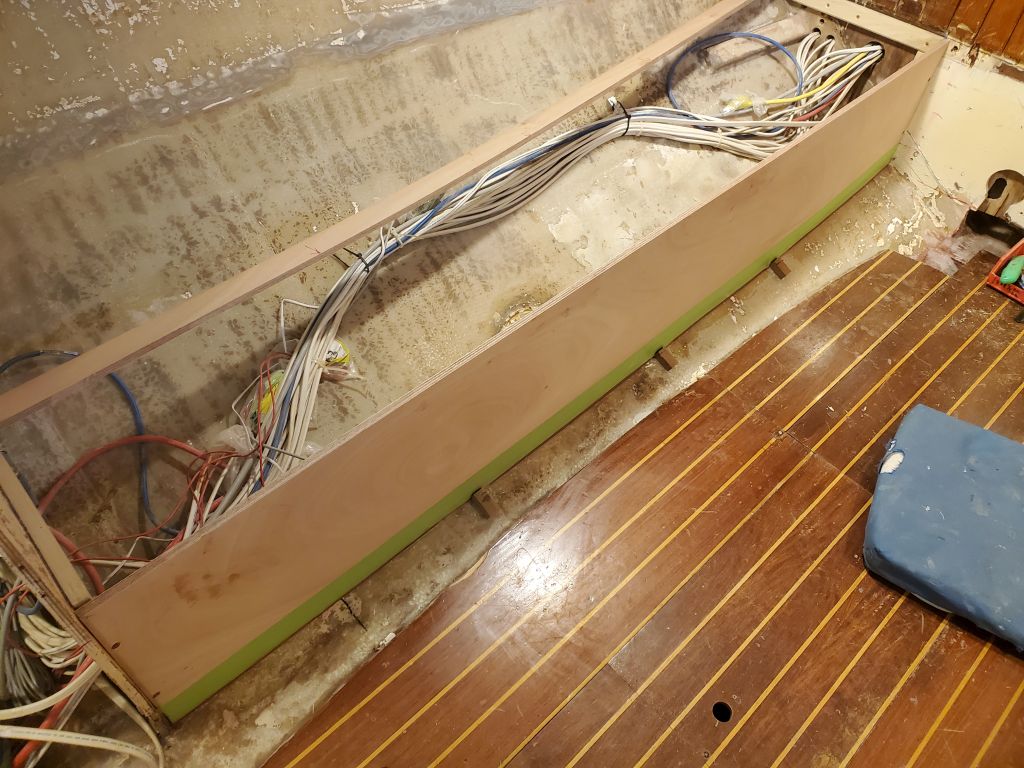
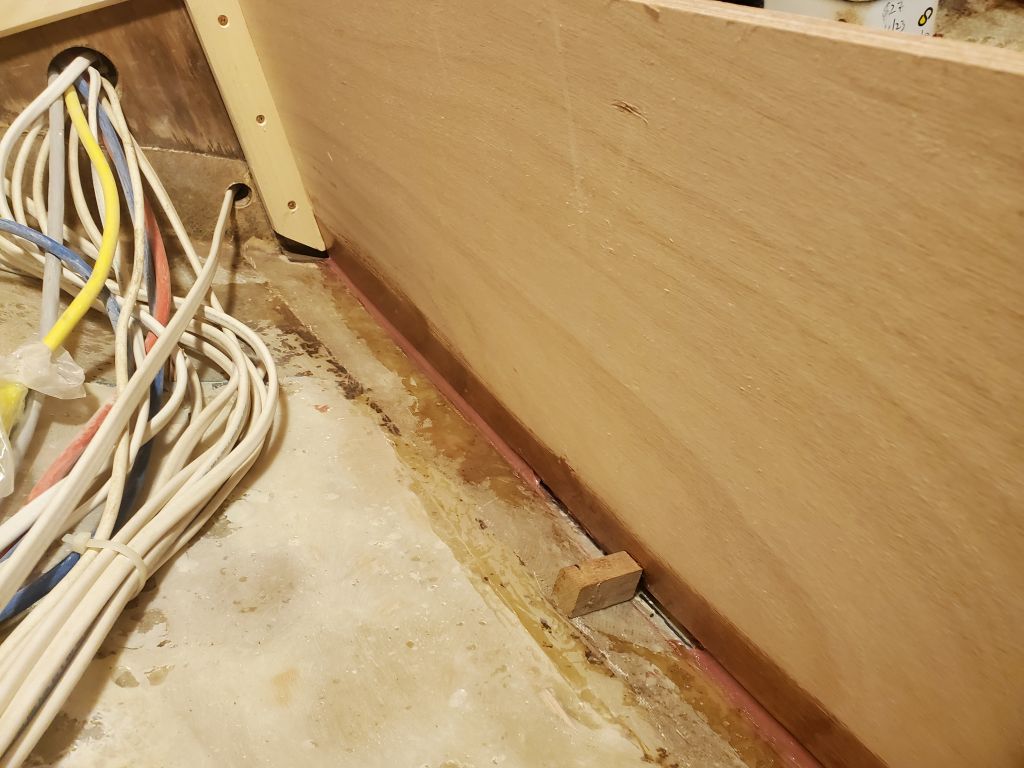
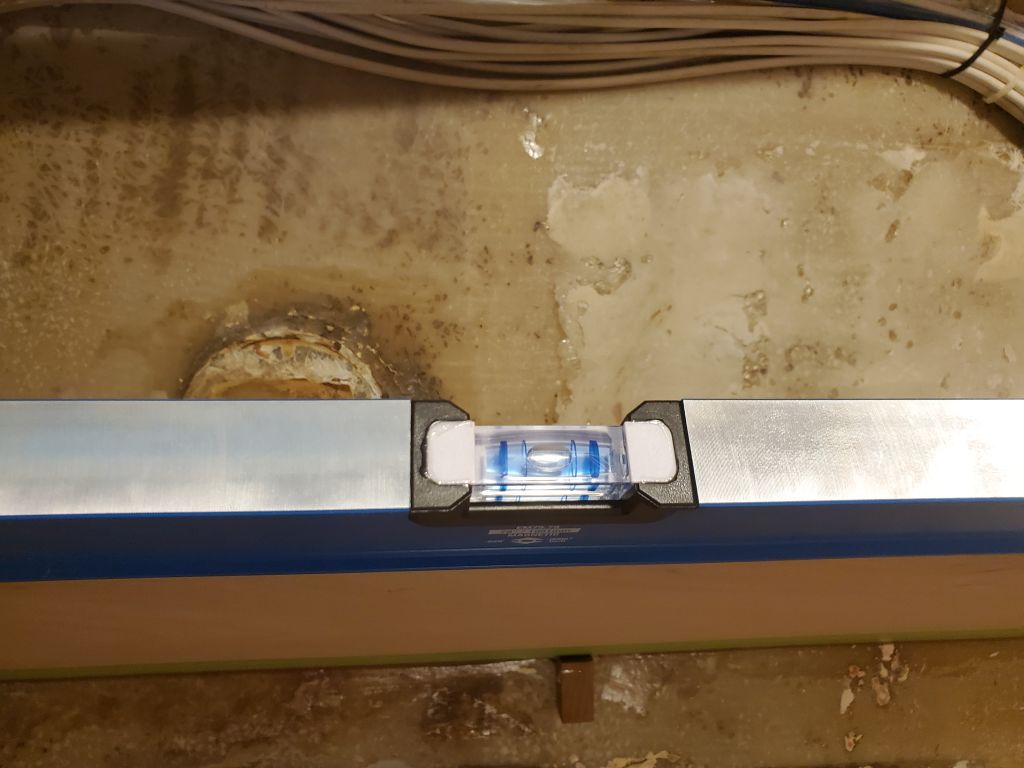
After cleaning the faying surfaces in the boat, I applied some thickened epoxy adhesive to the hull, keeping it clear of the temporary glue blocks, and installed the panel into the adhesive and with some wood glue on the support cleats to help secure it along with the screws at each end. I formed the epoxy into a small fillet on the inside edge of the panel and troweled any squeezeout flush on the outboard side. I double-checked that the panel was level across the top, and later removed the masking tape from the exposed edge.
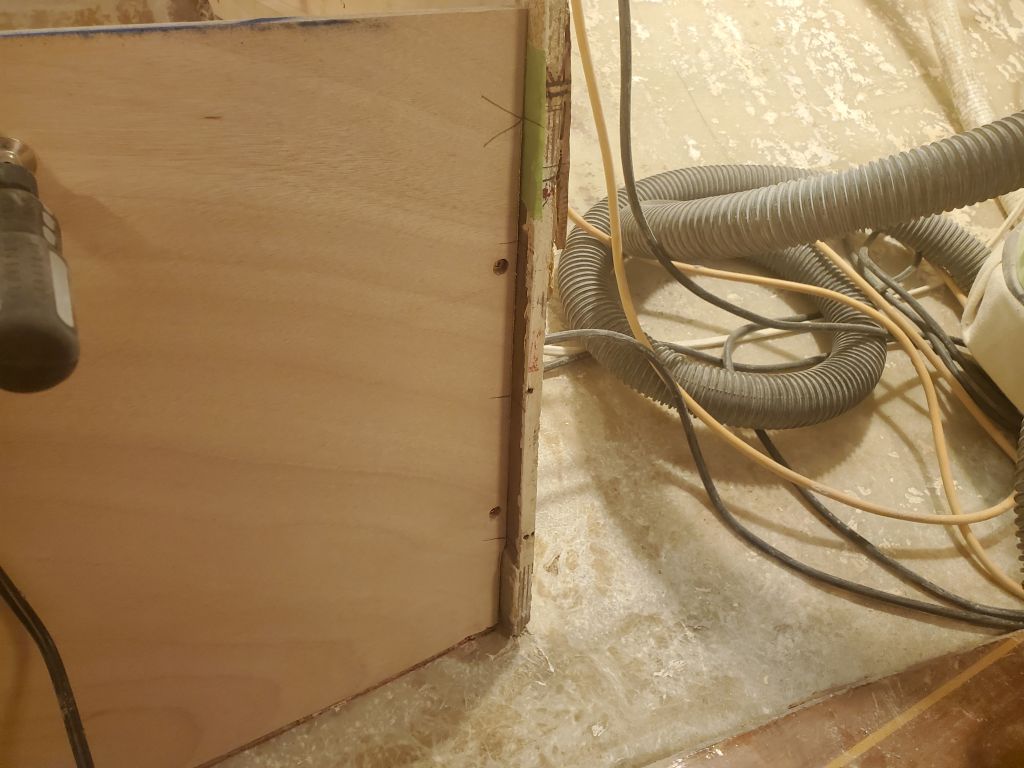
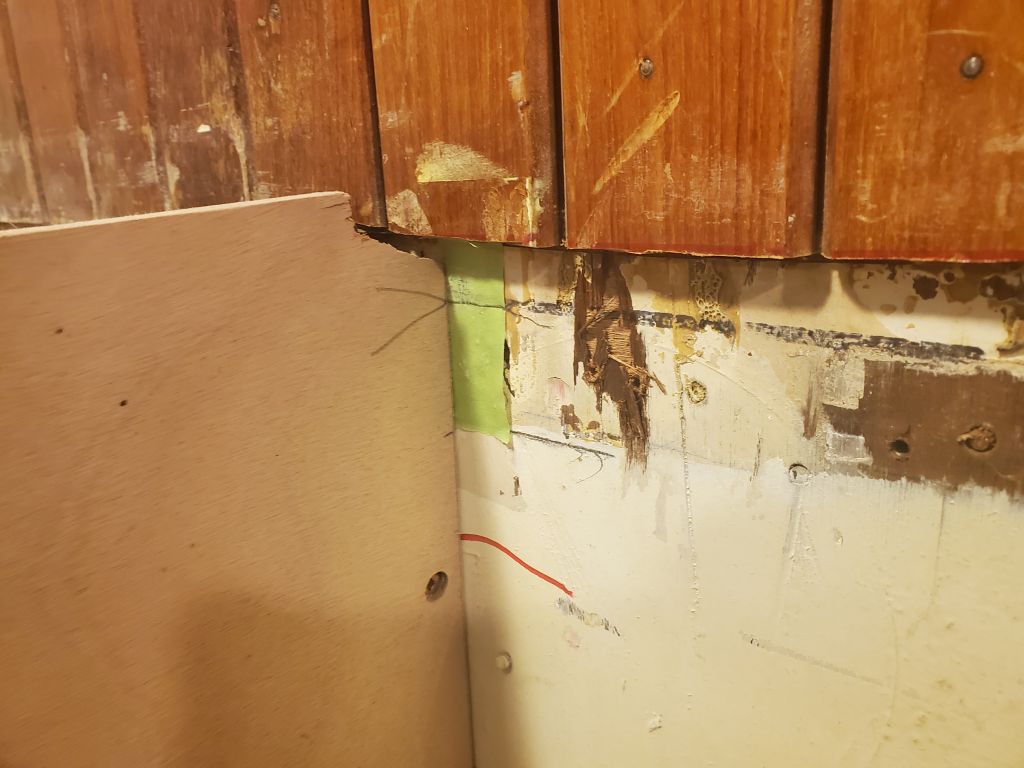
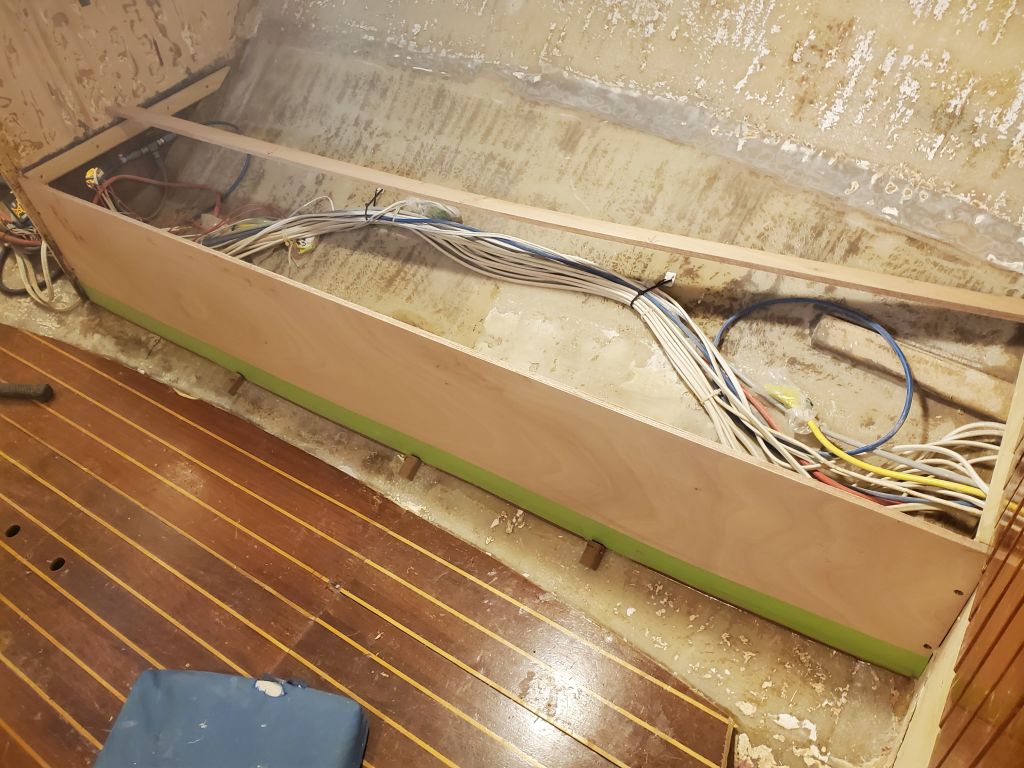
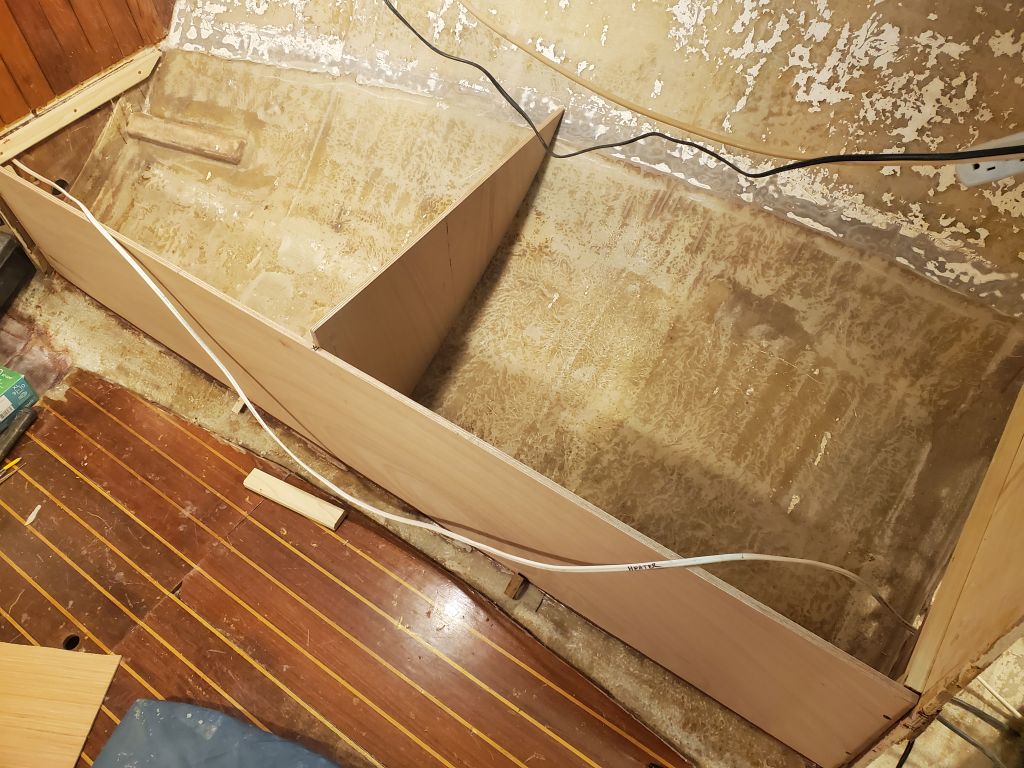
I repeated the process for the port side, first test-fitting the 12mm panel and temporarily securing and aligning it as needed. At the forward end, against the bulkhead, I planned eventually to incorporate a battery locker inboard towards the centerline, but for the moment I ran the panel straight across and would figure out the details of the additional storage area when the time came.

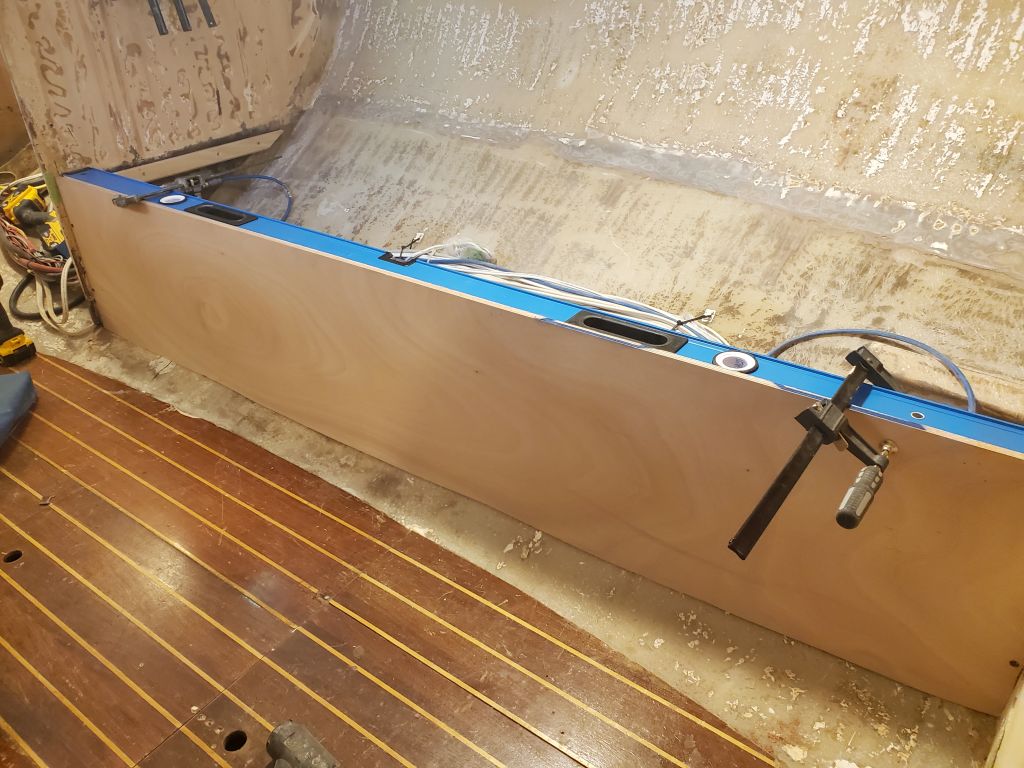
Happy with the fit, and with the panel aligned for reinstallation, I removed it to trim the top edge and epoxy-coat the faying surfaces before completing the installation as before.
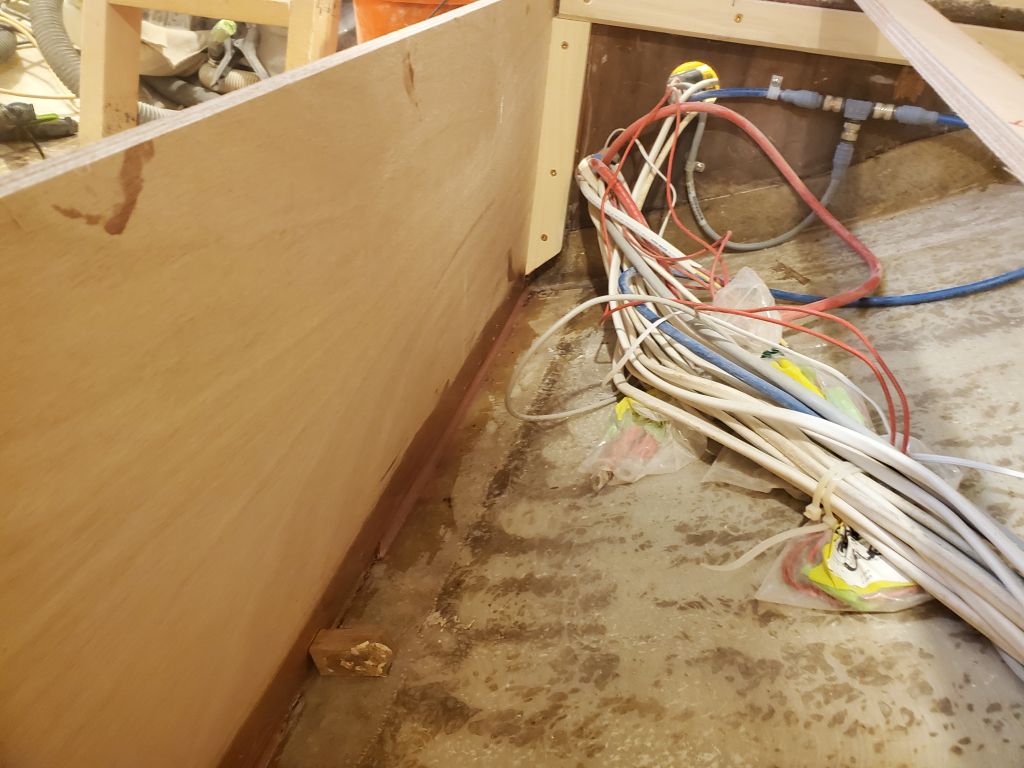

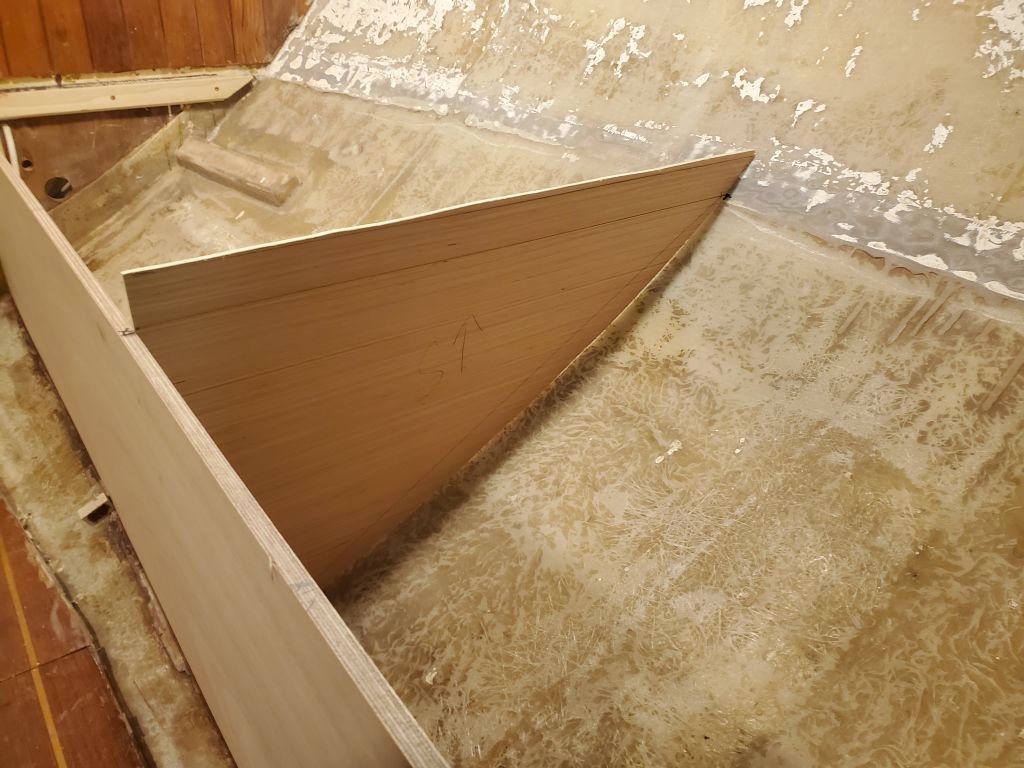
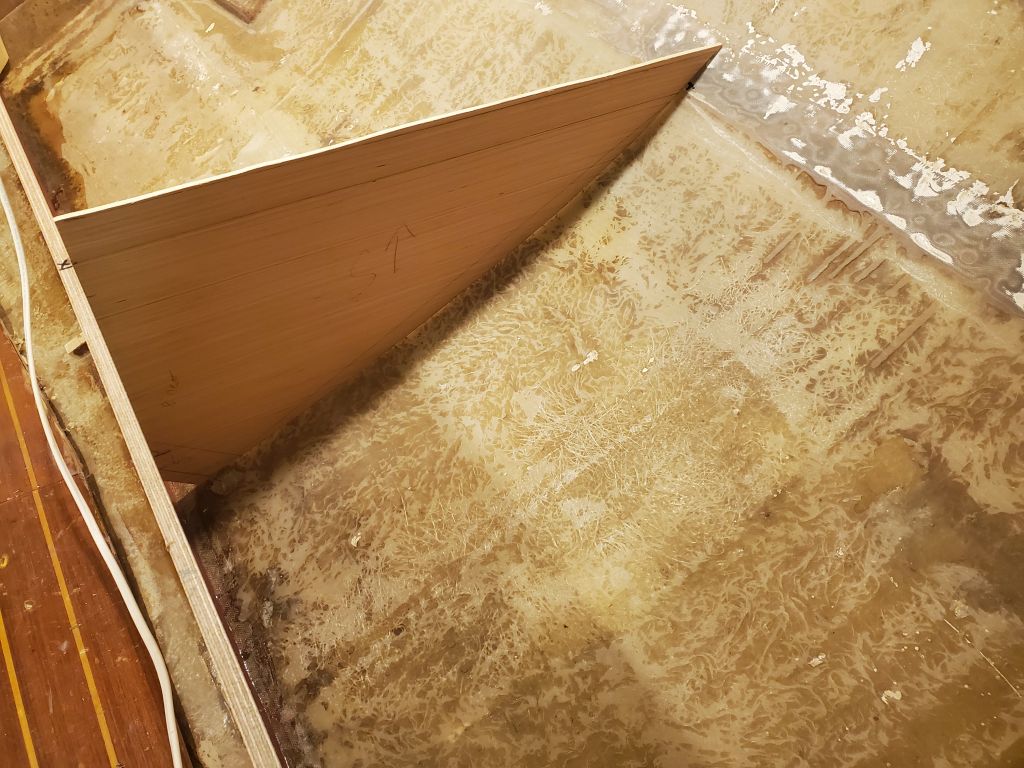
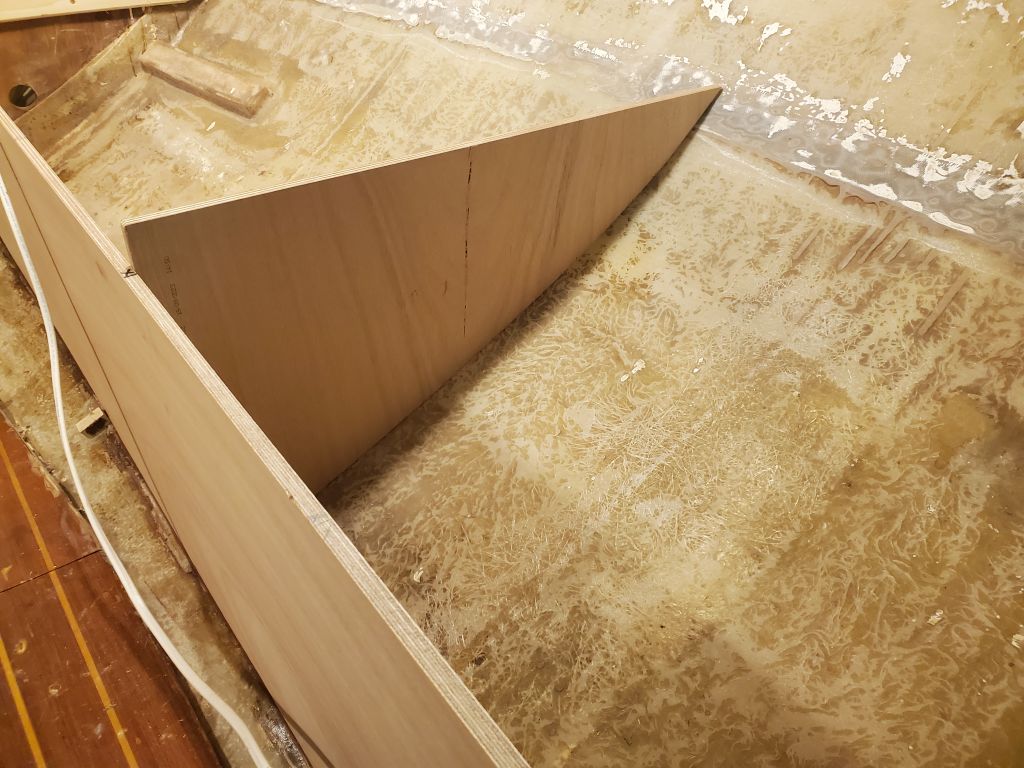
By now, the epoxy on the first side had set up to the point where I could continue working without fear of upsetting anything. From cheap pattern plywood, I made up a pattern for the center divider, a roughly triangular piece that would divide the settee locker into two sections and provide important support to the top and front panels in the process. I roughed out the shape with some basic measurements, then test-fit the panel and scribed the lower (hull) edge to fit before transferring the pattern to a piece of the 12mm okoume for the final cut. I left the top edge high for later marking and trimming. This was as far as I could take this at the moment, since I needed to install tabbing on the inside of the settee front before I could install the divider panel; similarly, on the port side, though I cut out a rough pattern, I determined I couldn’t continue the layout since I’d have to first let all the wire bundles back down to the corner of the settee front, and the epoxy adhesive there was still too fresh for that. In any event, the next steps were set up for next time.
Total time billed on this job today: 6.5 hours
0600 Weather Observation: 37°. foggy. Forecast for the day: Foggy, 44°