


March 21, 2024
Calliope Girl 89
Thursday
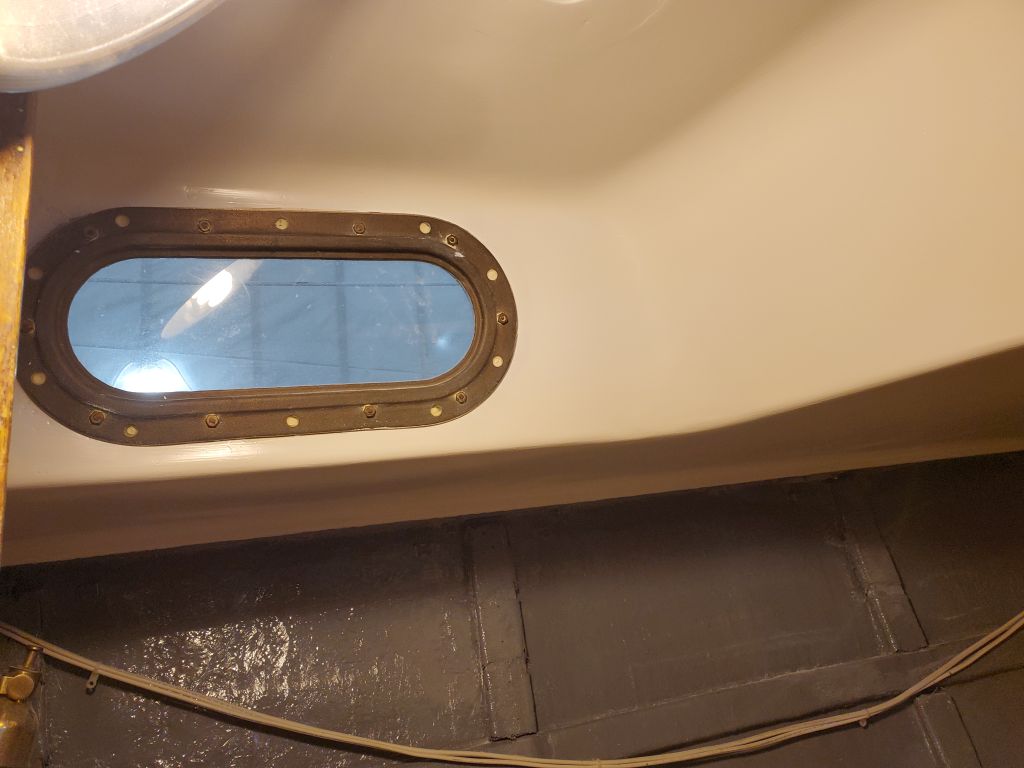
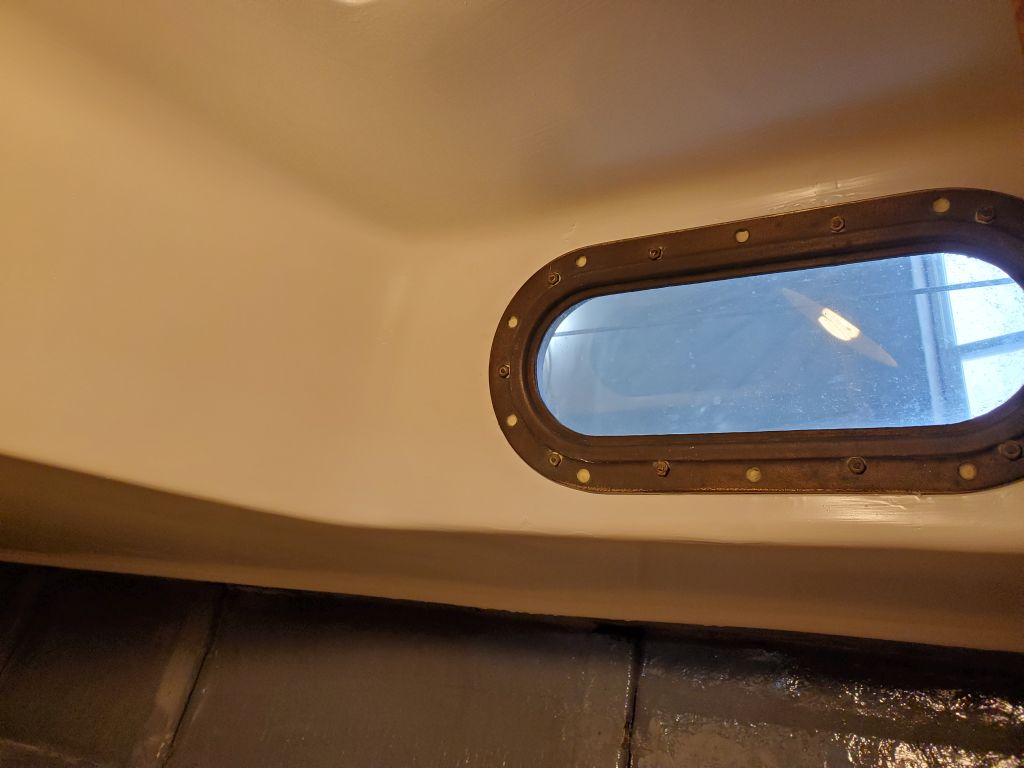
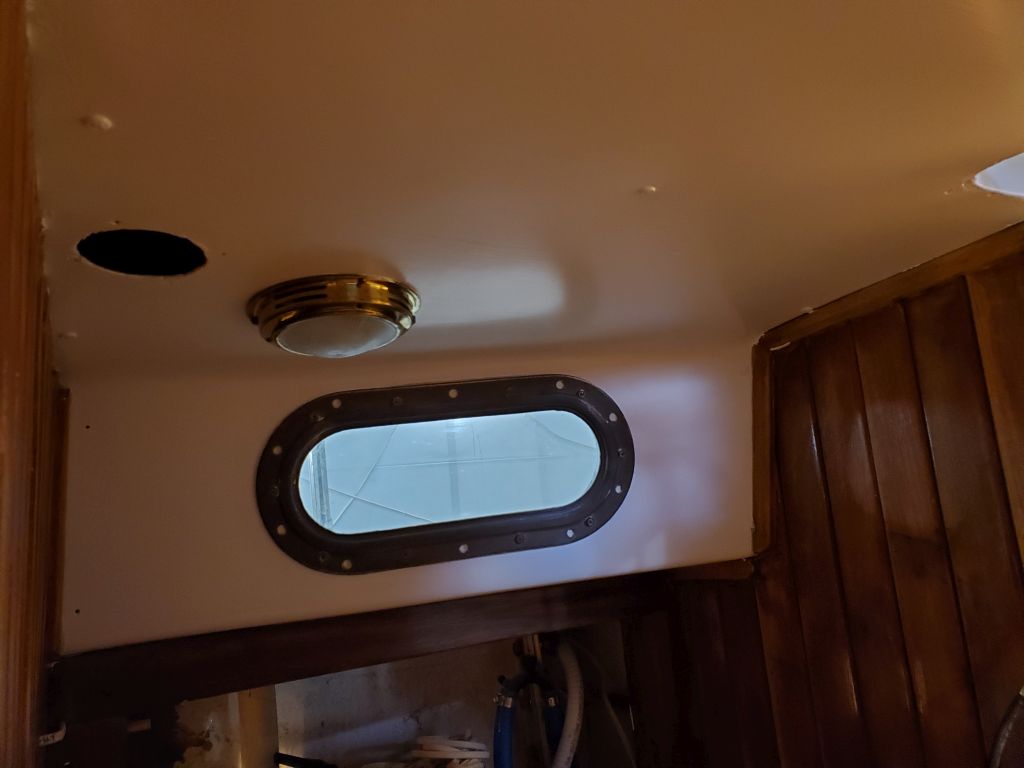
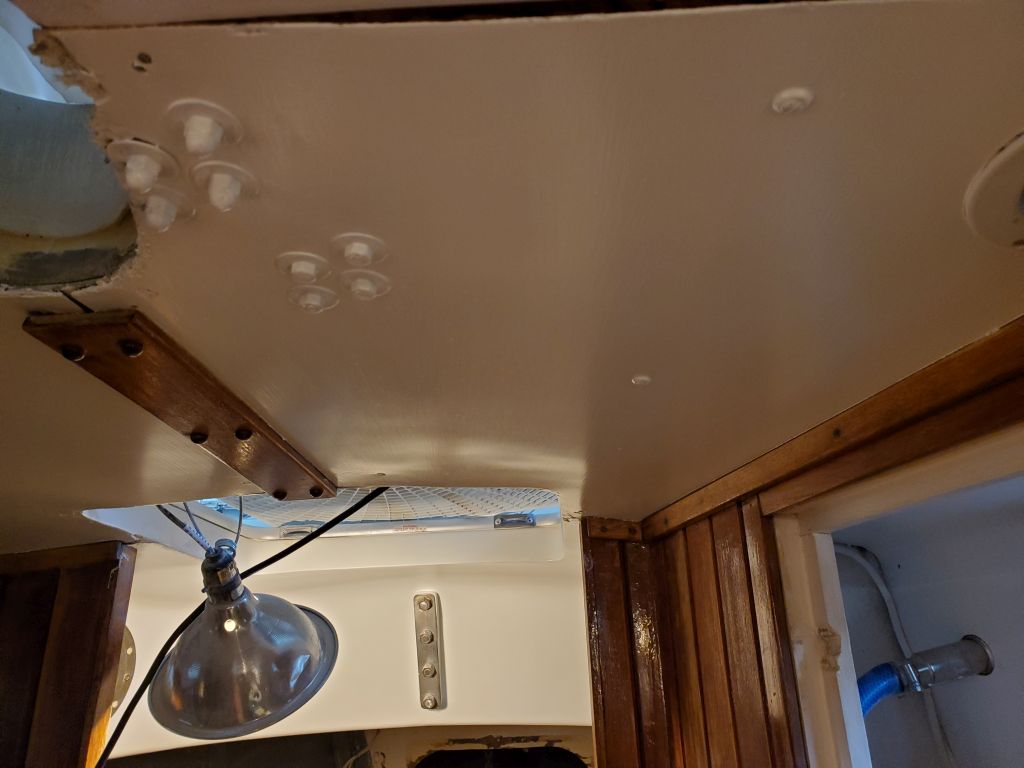
My first order of business was to wrap up securing the water tank. But first, while I was up there, I removed the masking tape from the overhead painting (and in the head), now that that work was complete.
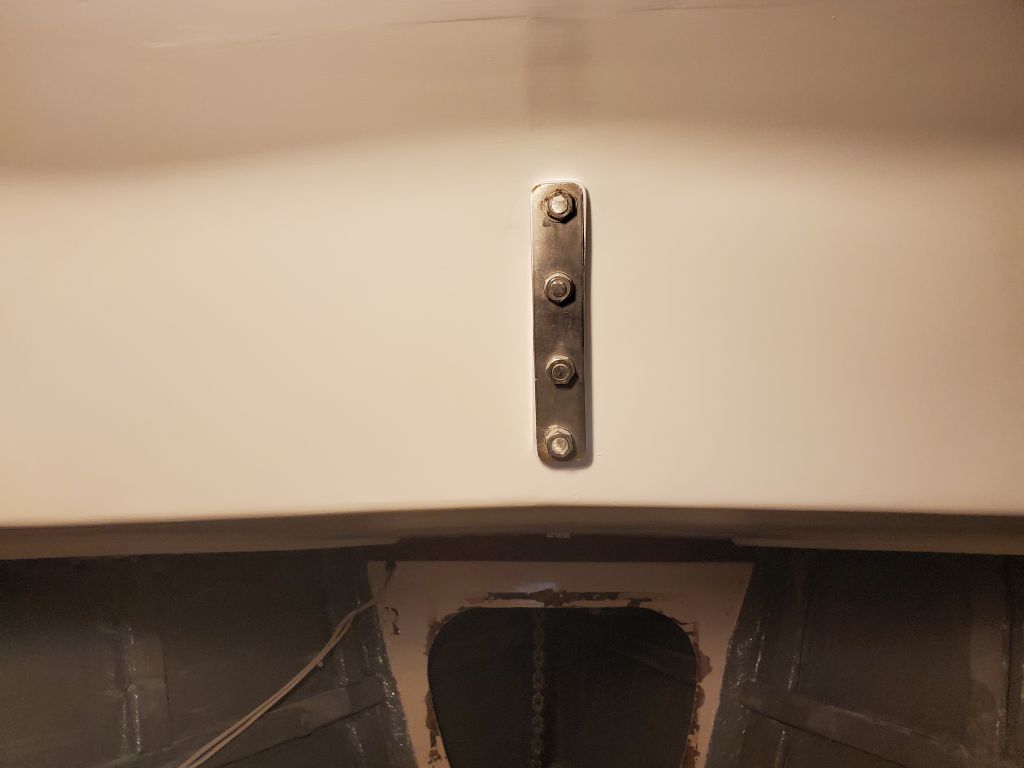


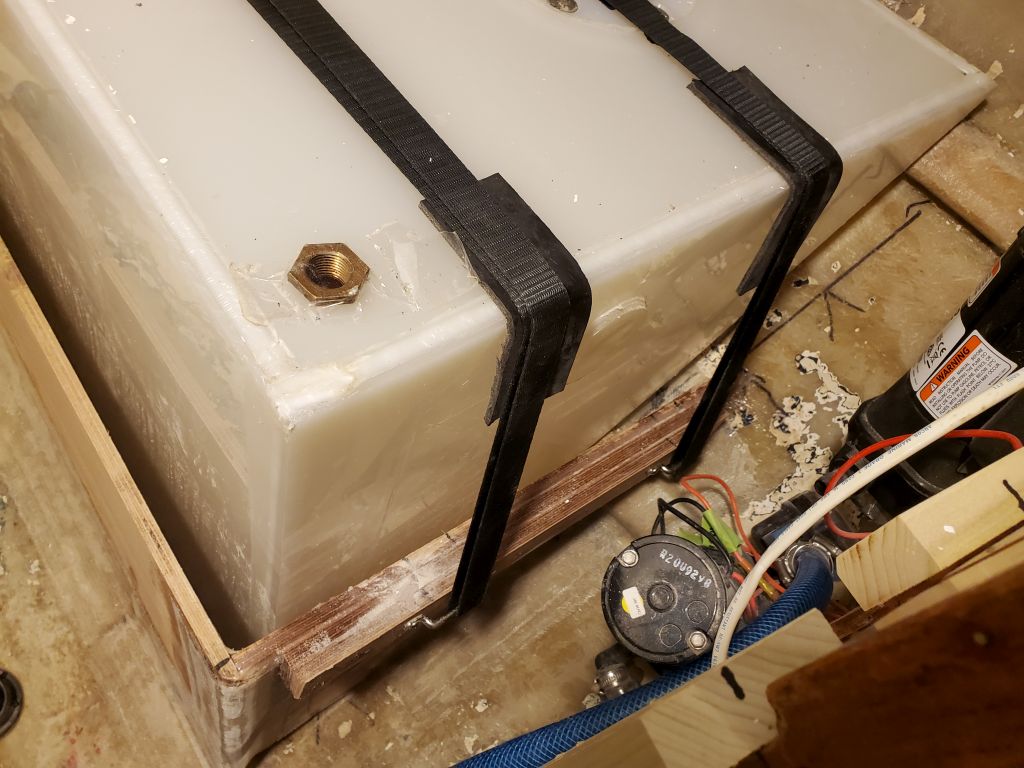
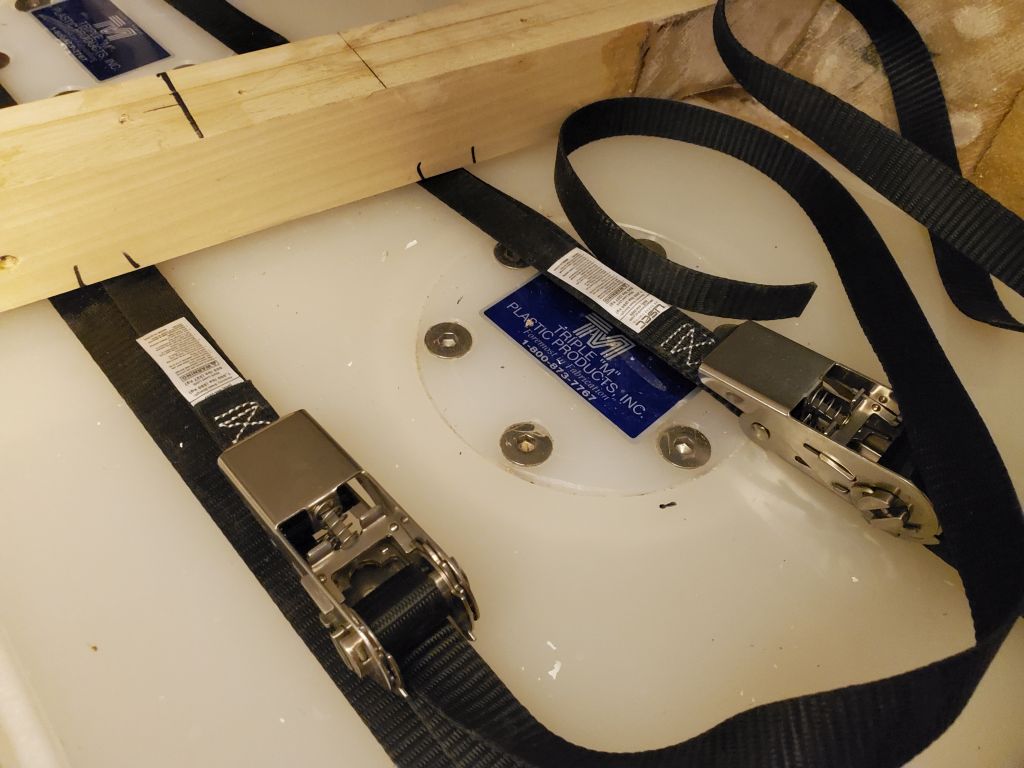
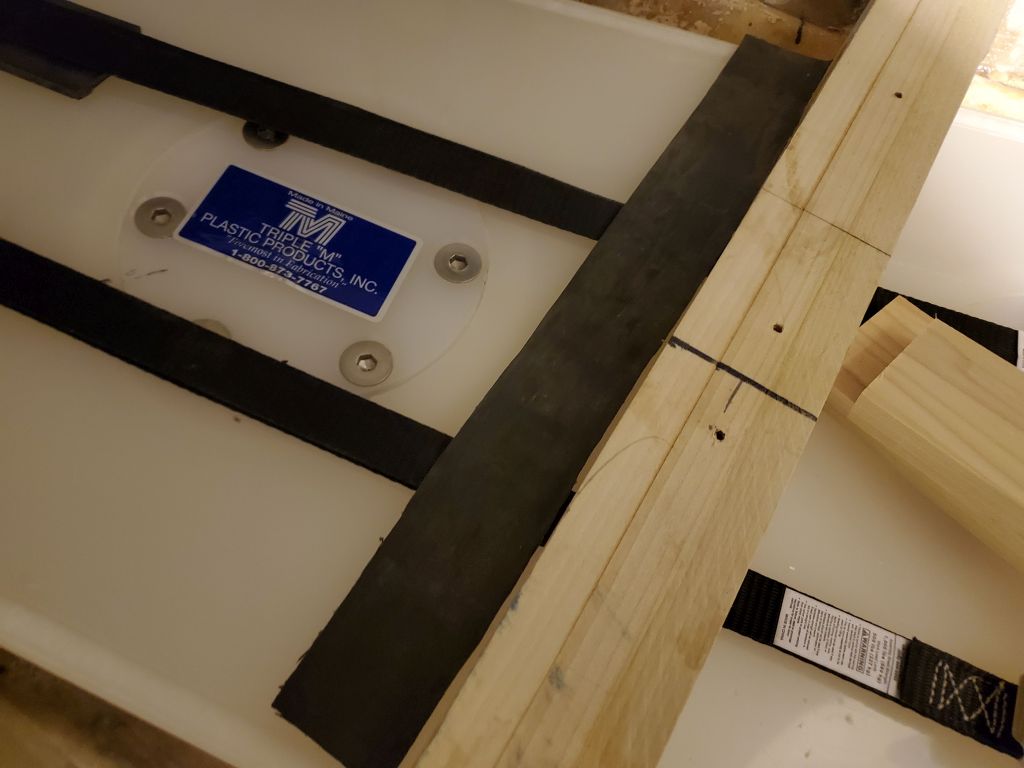
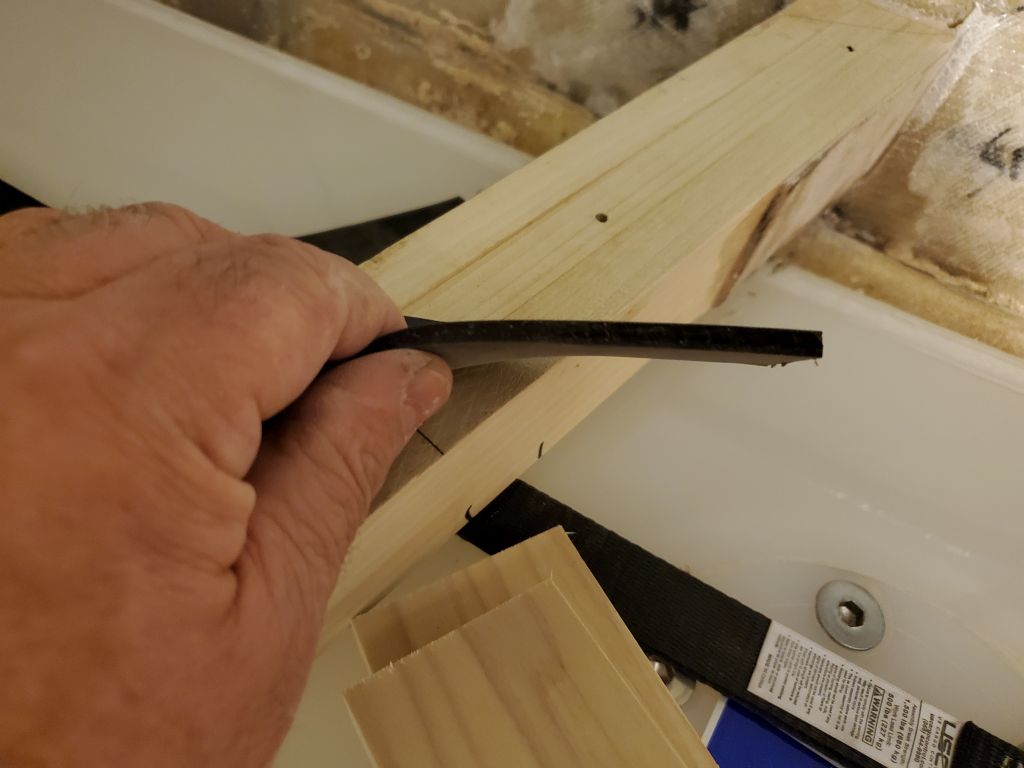
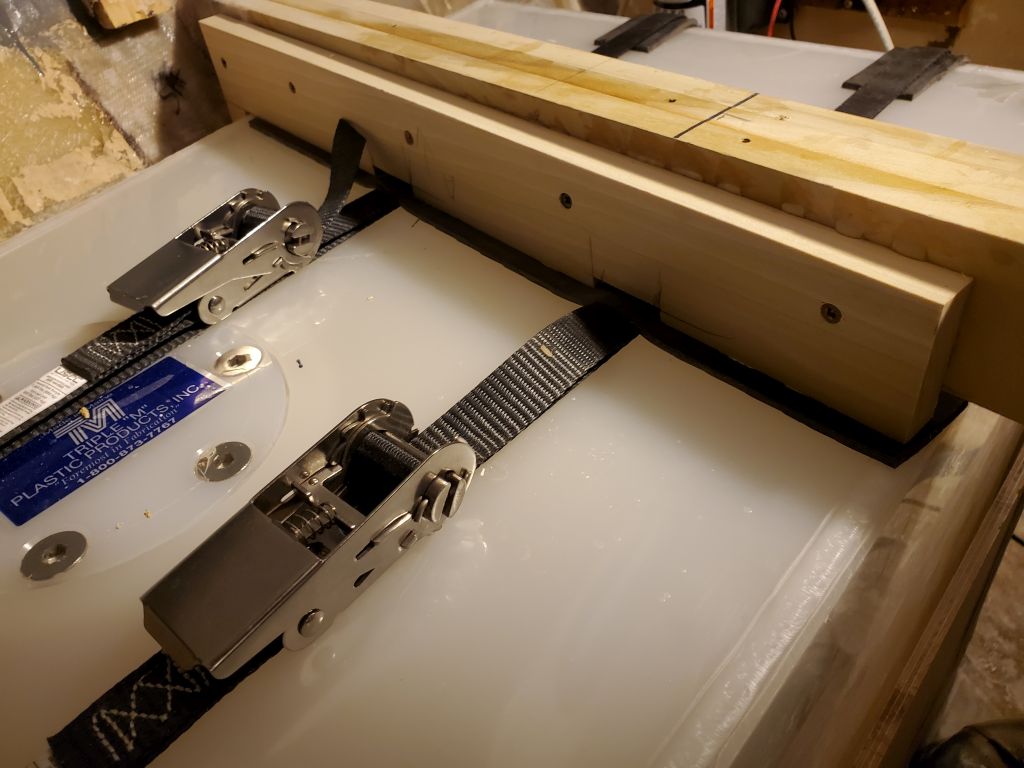
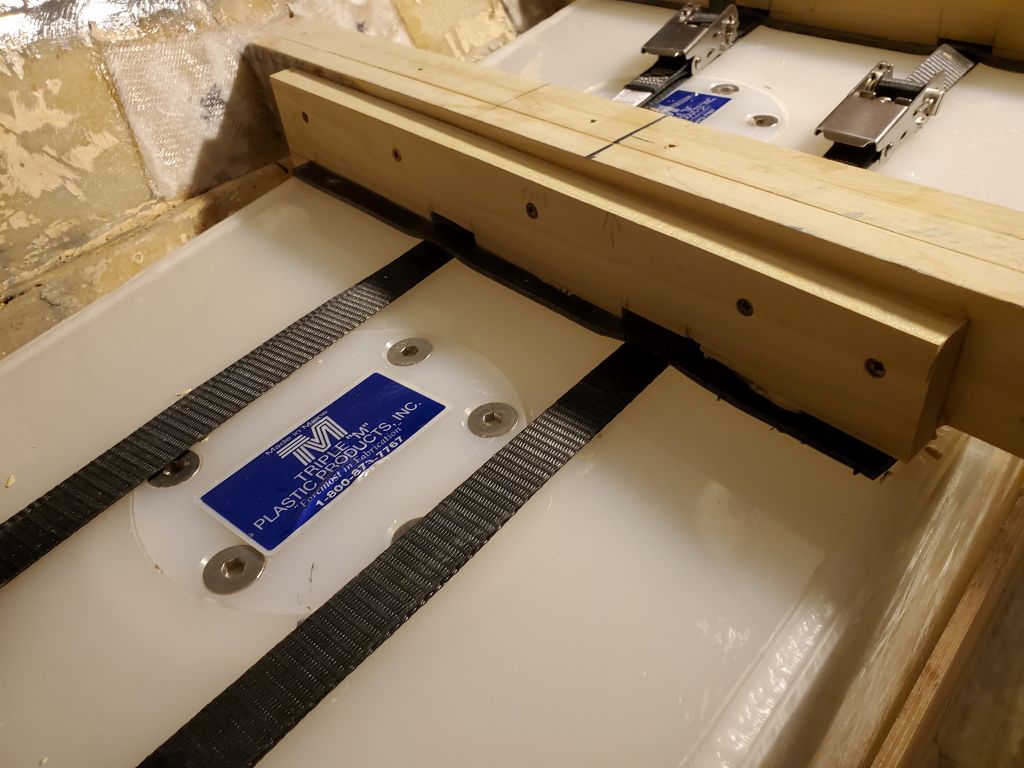
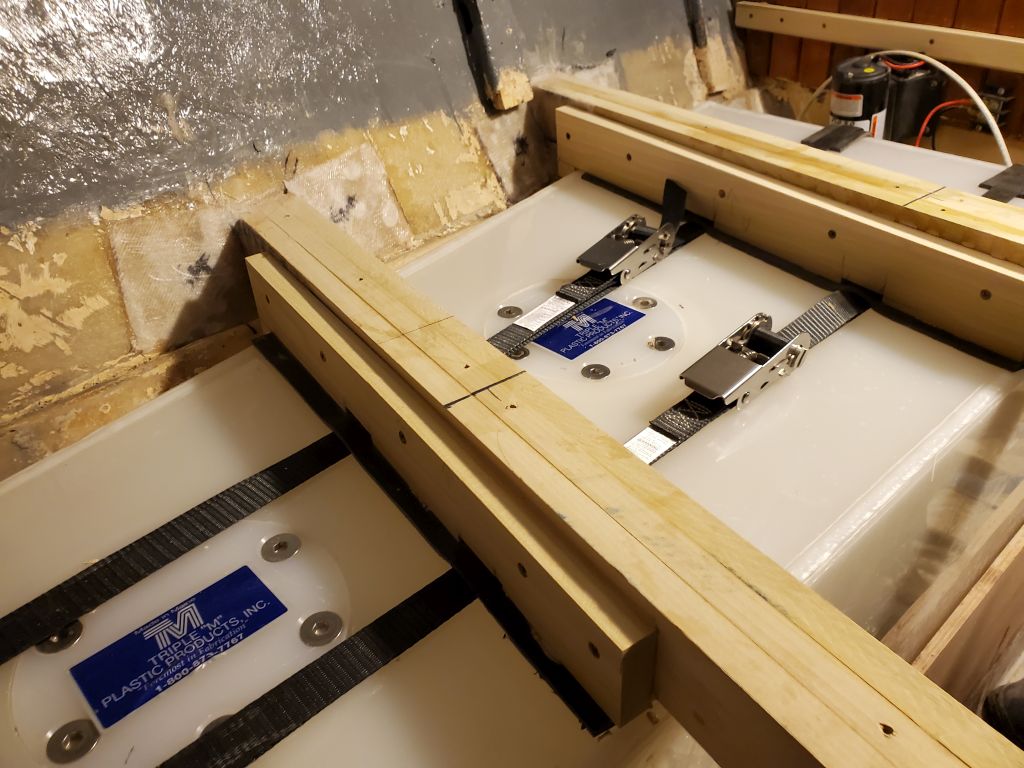
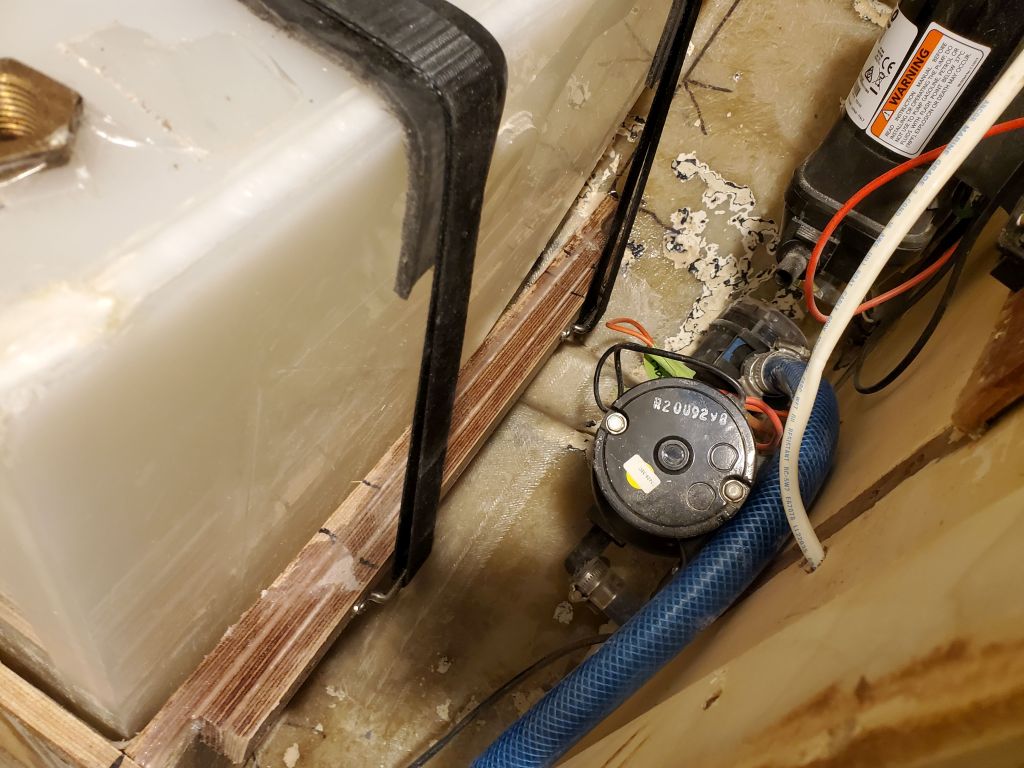
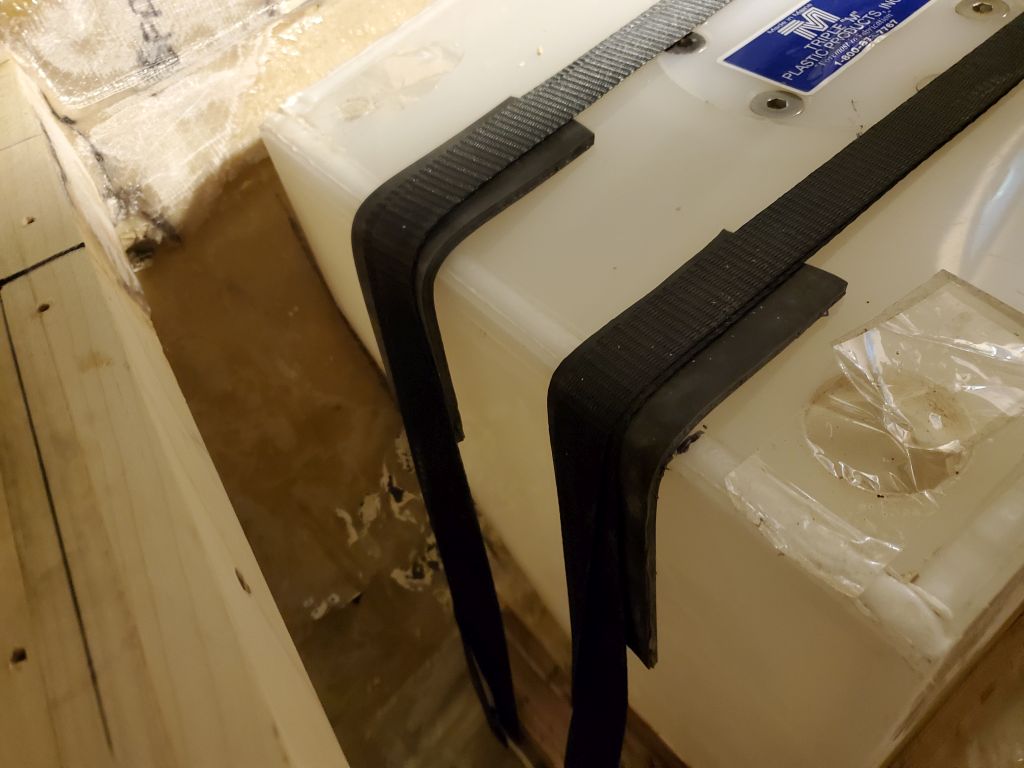
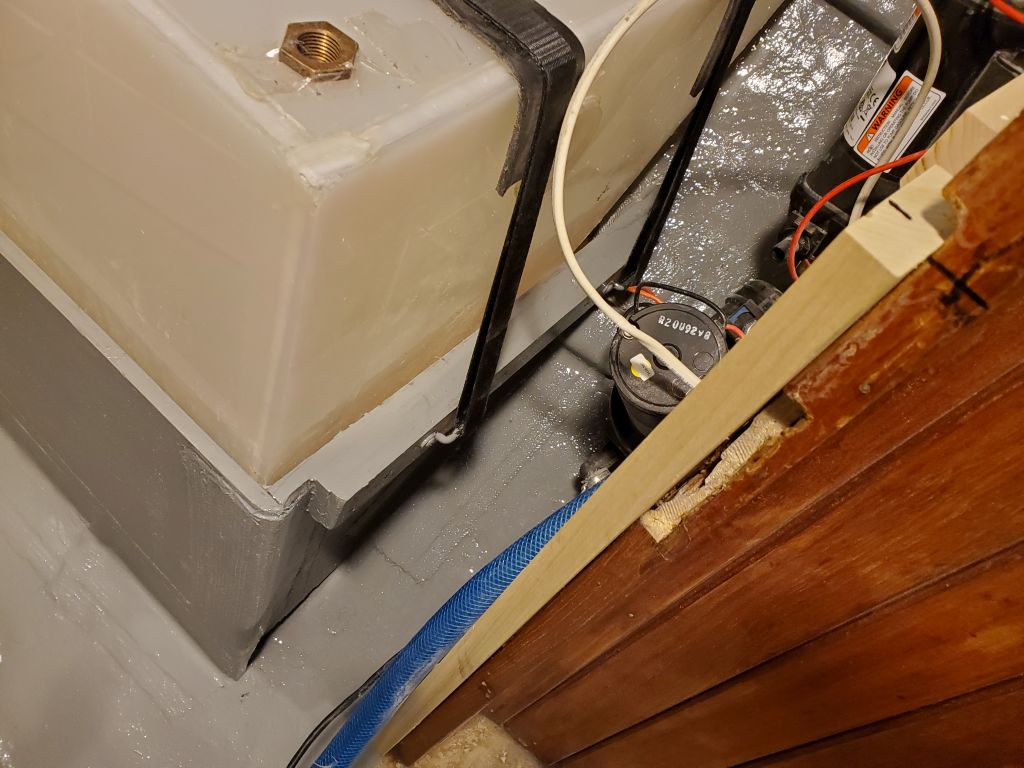
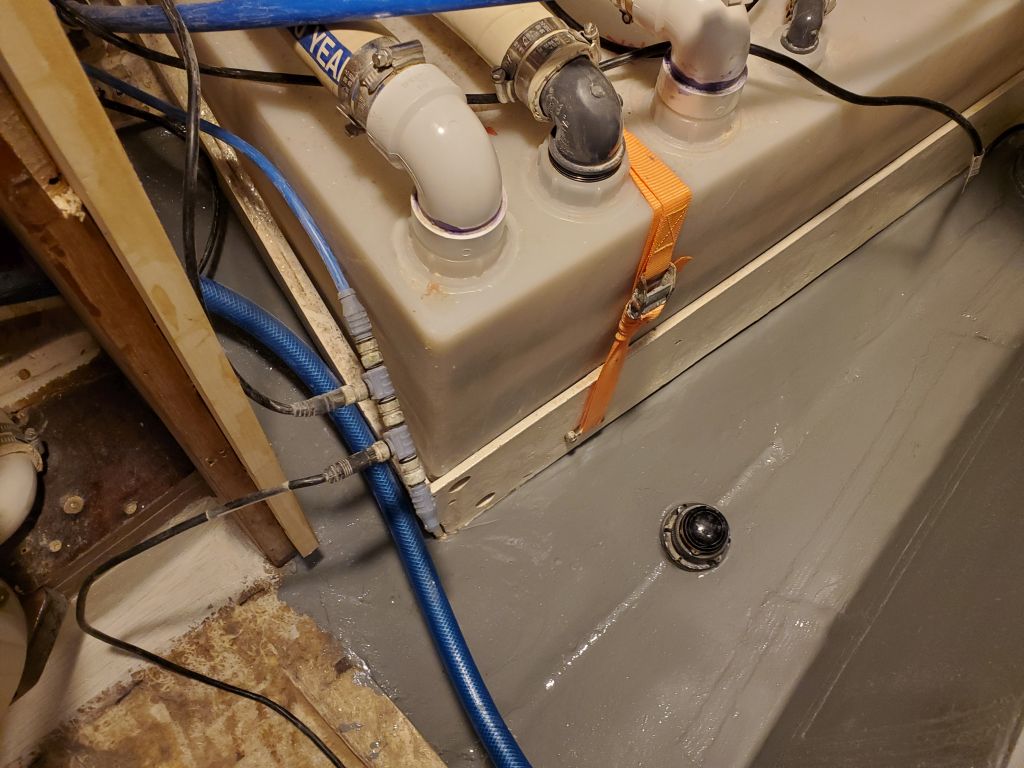
I ran straps (with stainless steel buckles) fore and aft along the tank and to the two pair of eye straps I’d installed last time. I placed 1/4″ thick Buna-N rubber beneath the straps where they passed over the edges of the tank, and tightened the straps just enough to hold them in position for now. I didn’t want to over-strain the fresh epoxy adhesive securing the mounts I’d just installed.
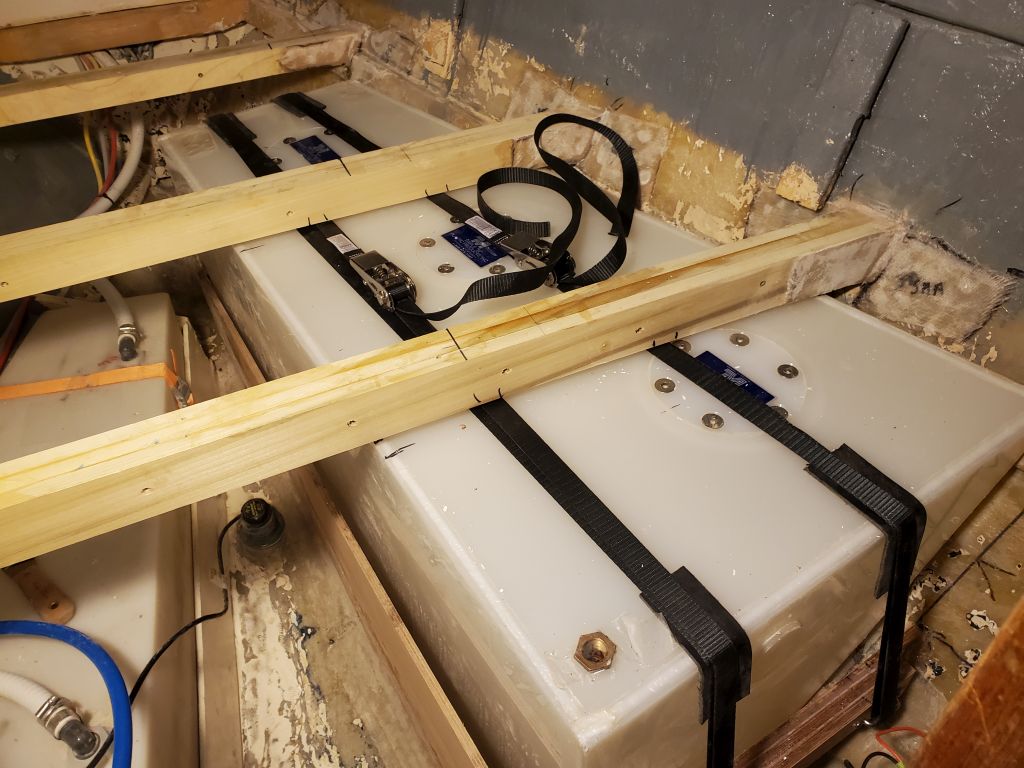
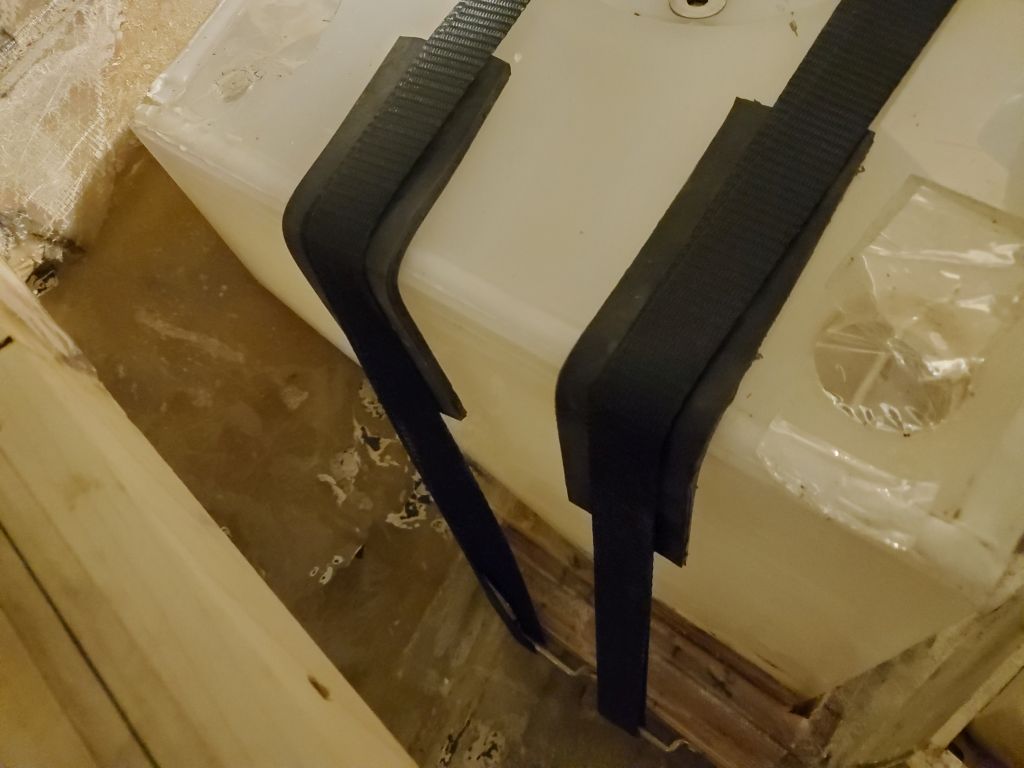
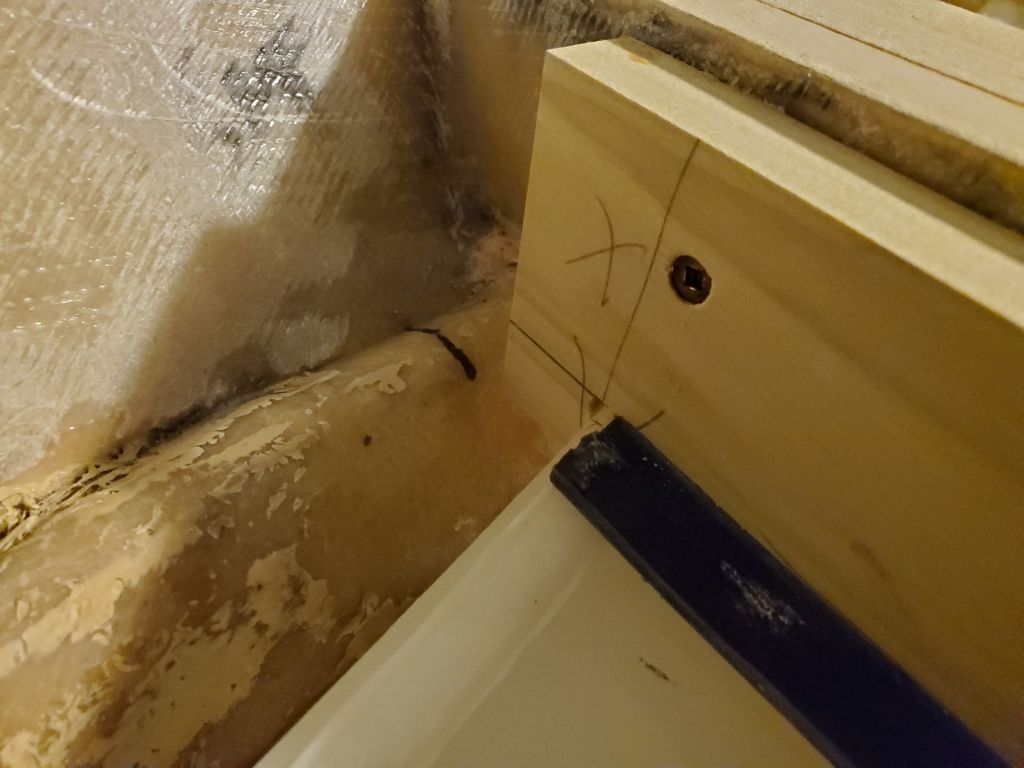
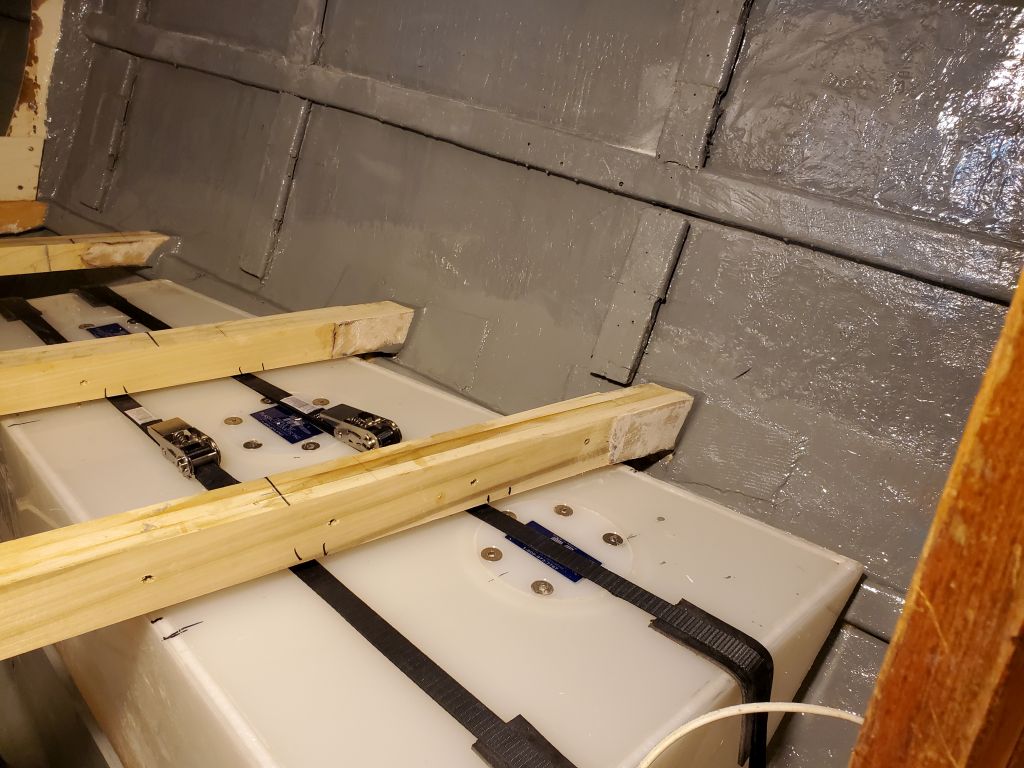
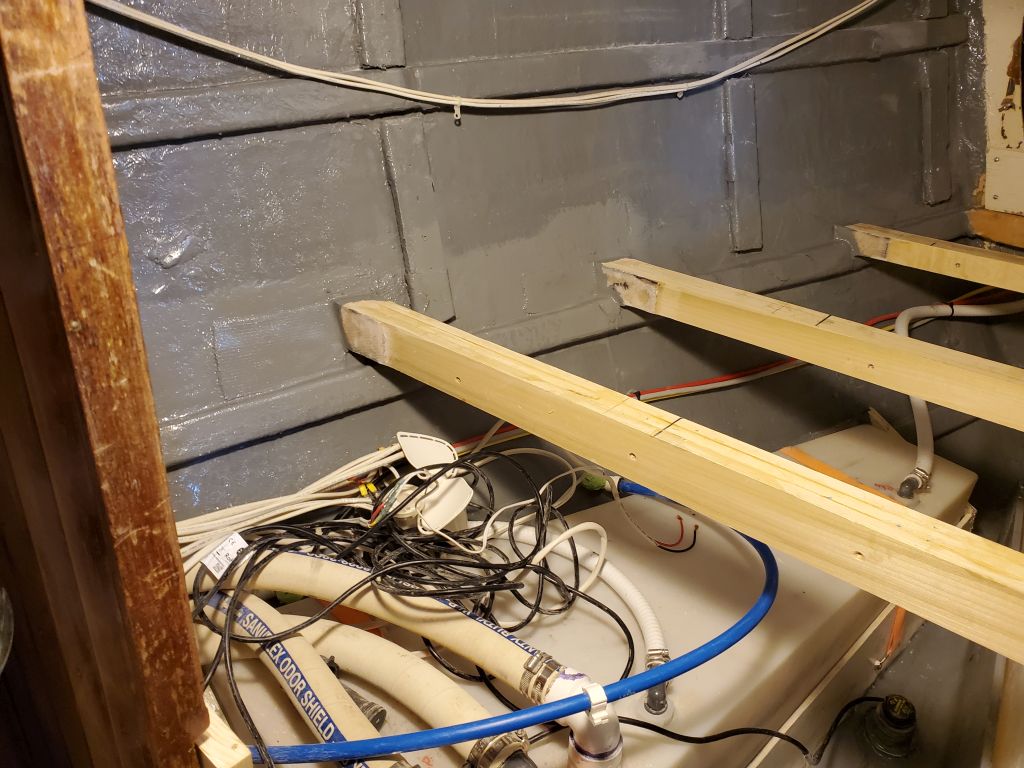
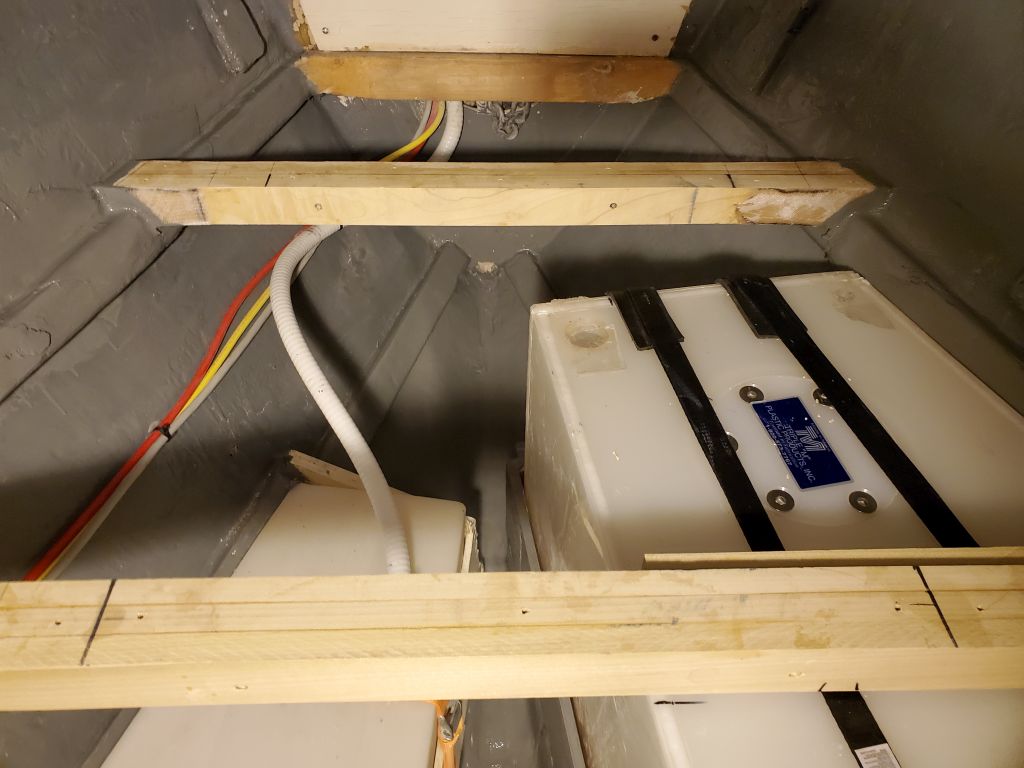
With the straps in place, I built a pair of wooden cleats to secure the tank from above, off the v-berth cross beams. These passed more or less directly over the baffles inside the tank, the strongest parts of the tank. I notched the outer edge of both cleats so they fit over the outboard edge of the tank to further help lock everything in position, and notched the bottom edges where the straps passed through so the straps would remain adjustable and not overly pinched by the cleats.
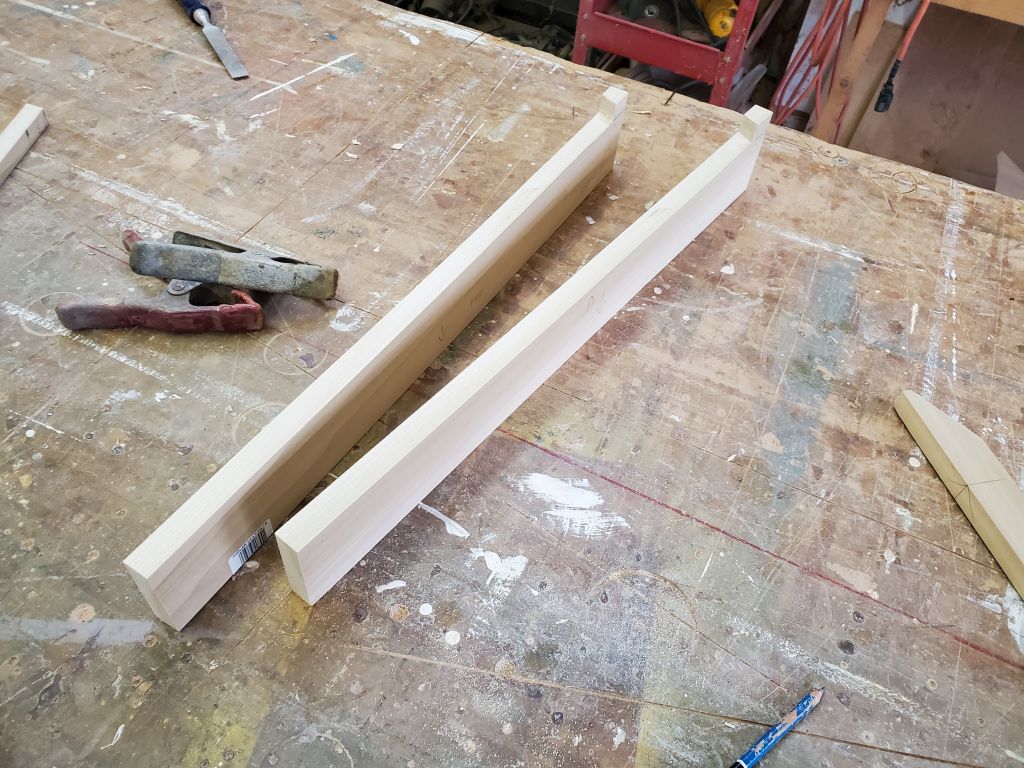
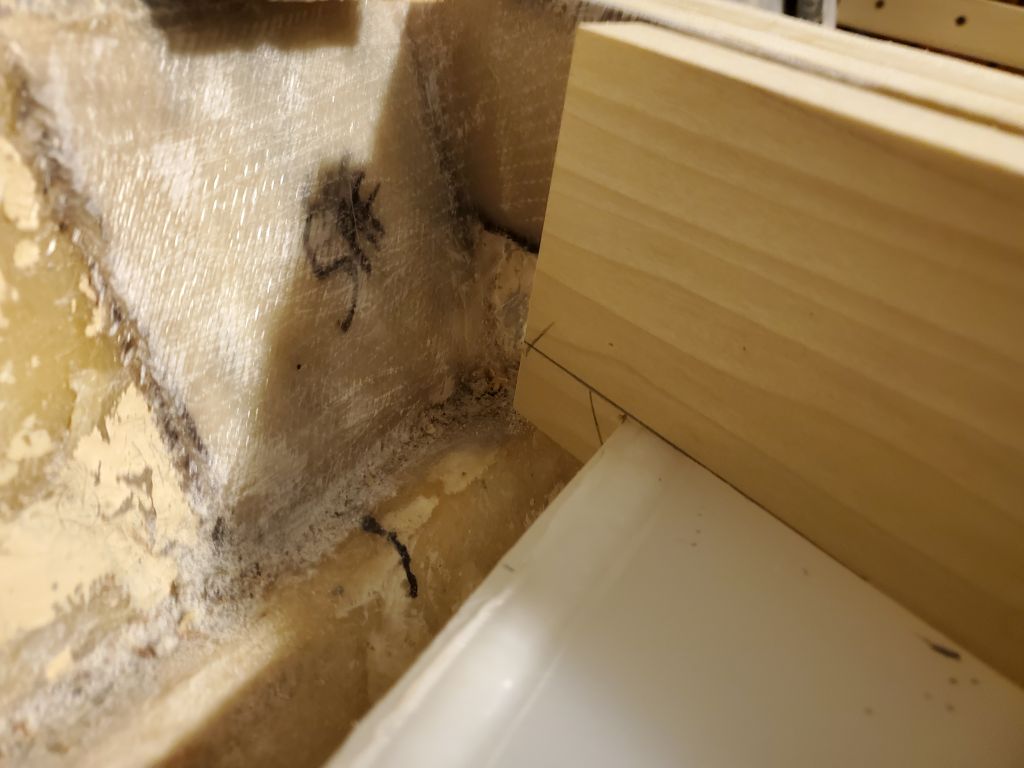
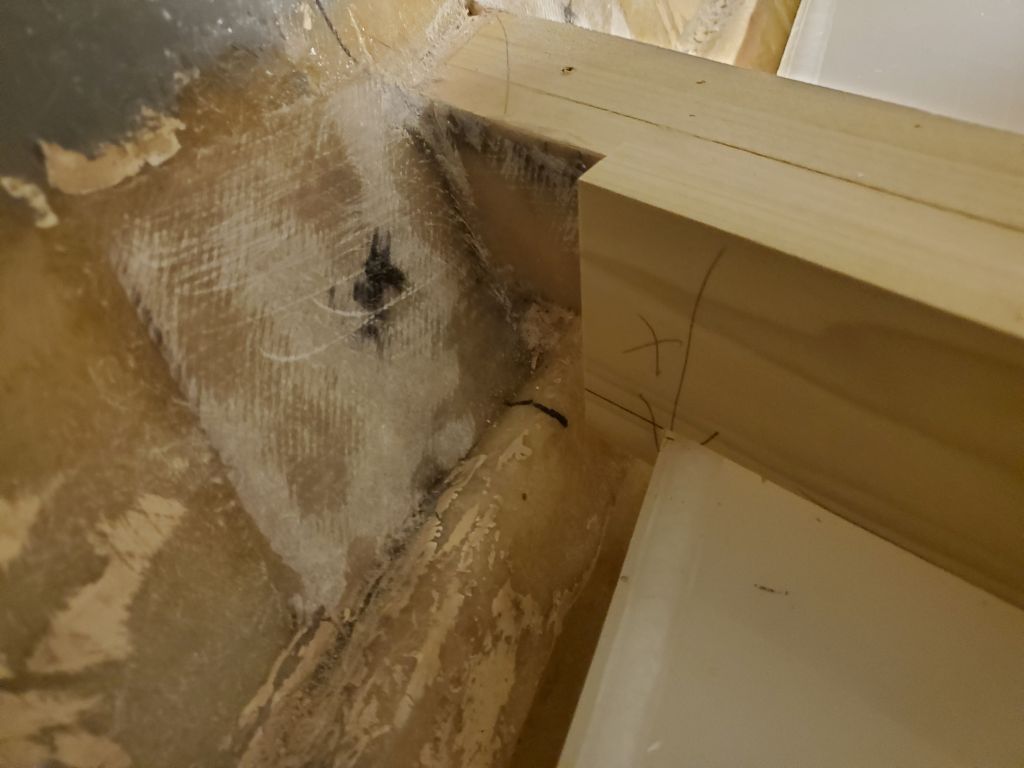
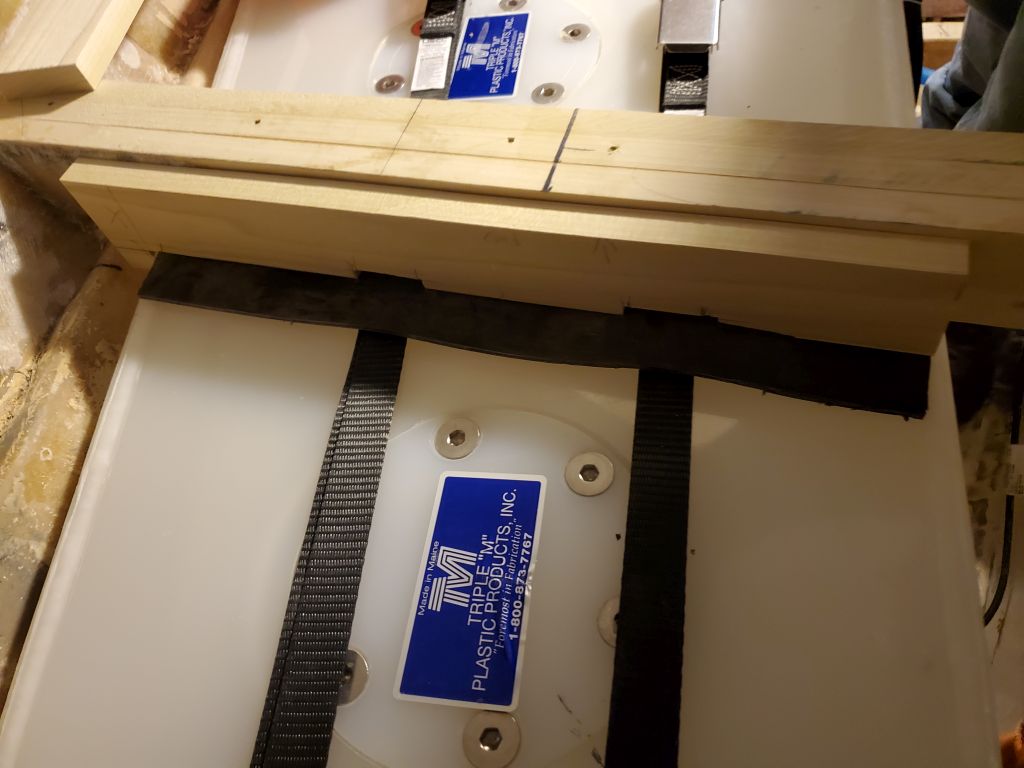
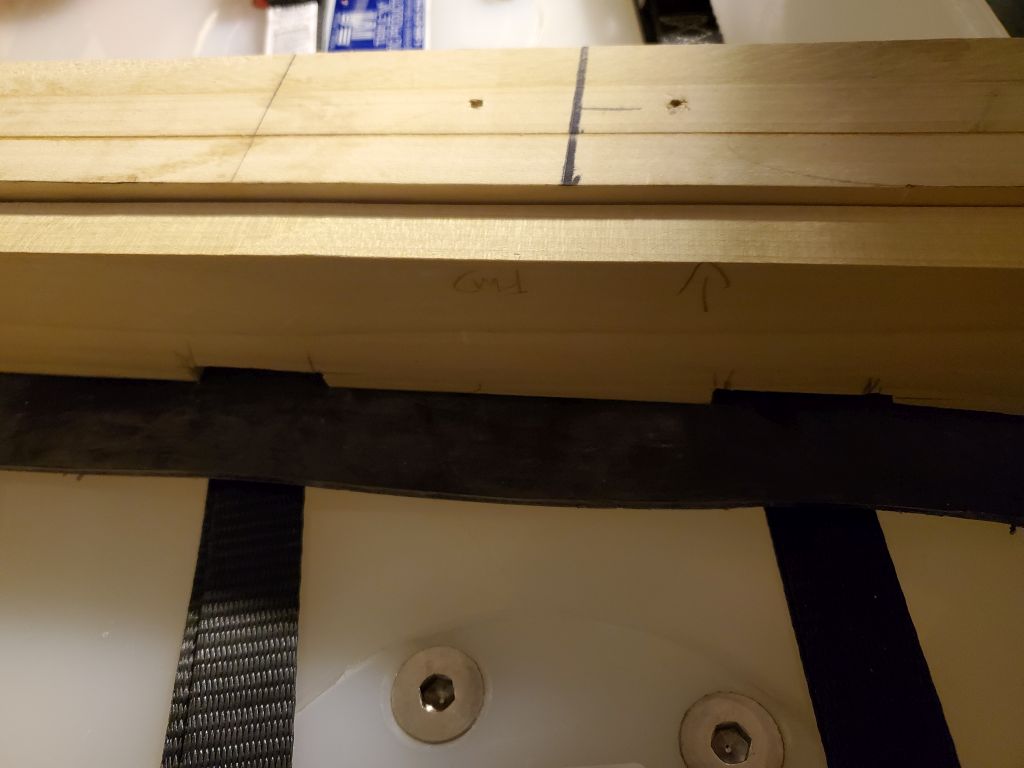
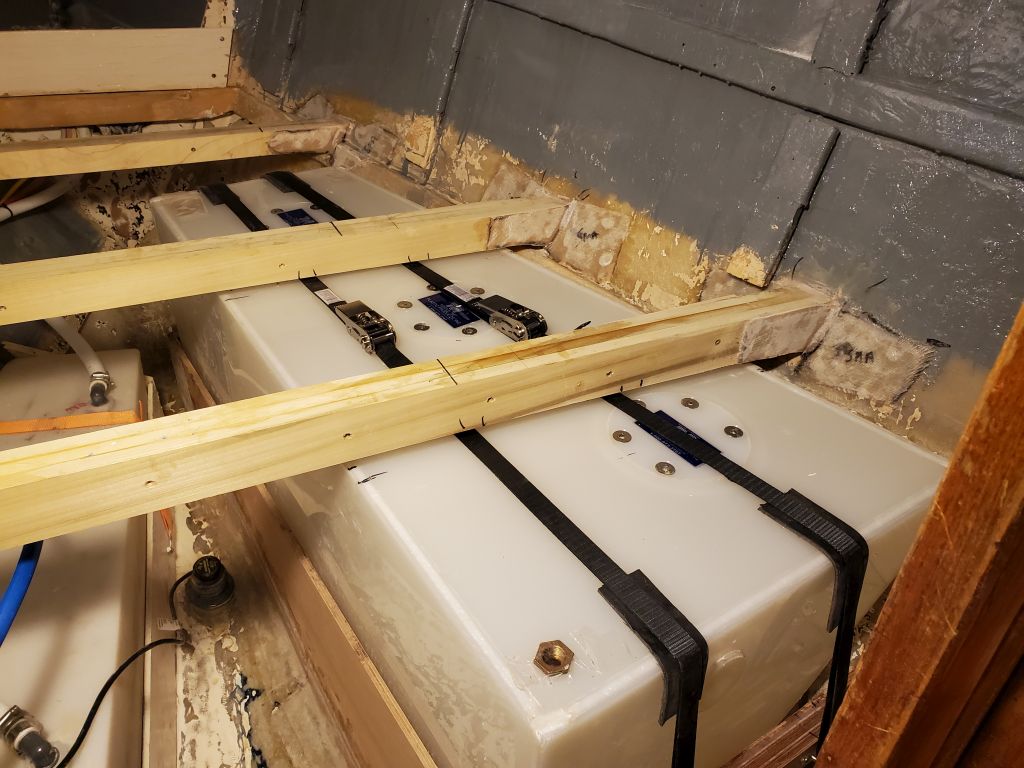
Once I had the cleats cut to the final dimensions, I laid more of the Buna-N rubber atop the tank in way of the cleats, then clamped the cleats tightly in place against the top of the tank, and the forward sides of the cross beams. Before clamping, I applied wood glue to the bearing surface, then finally secured the cleats with screws into the cross braces. This all made the tank highly secure, and later I’d crank down on the ratchet straps a bit more for extra security.

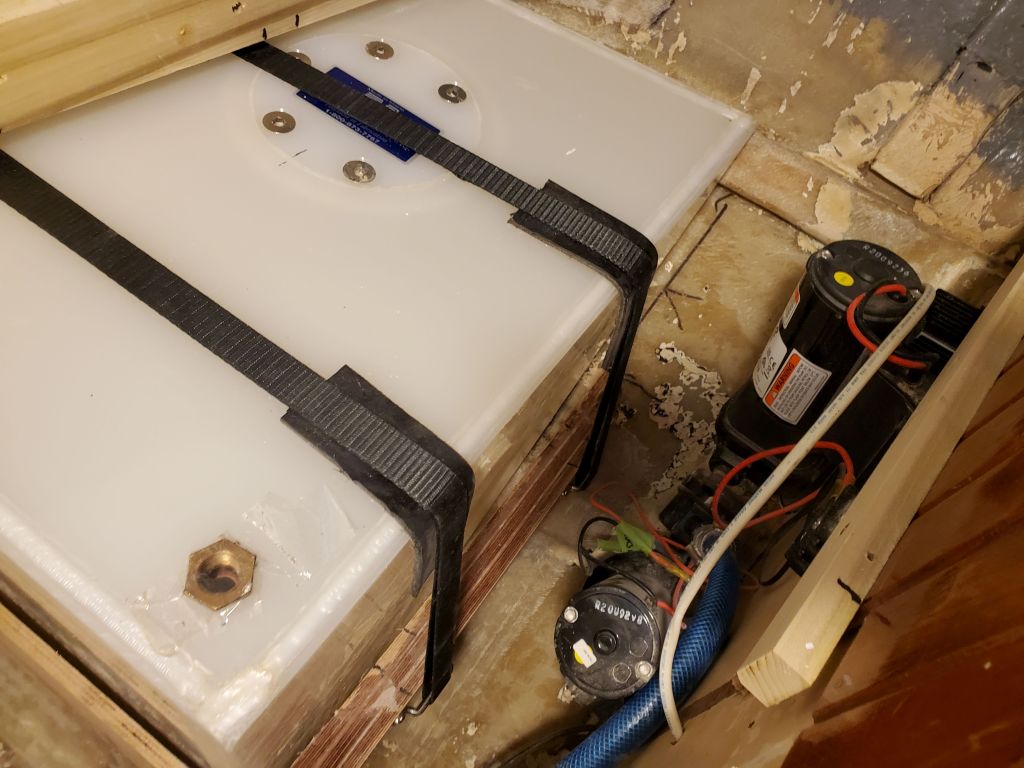
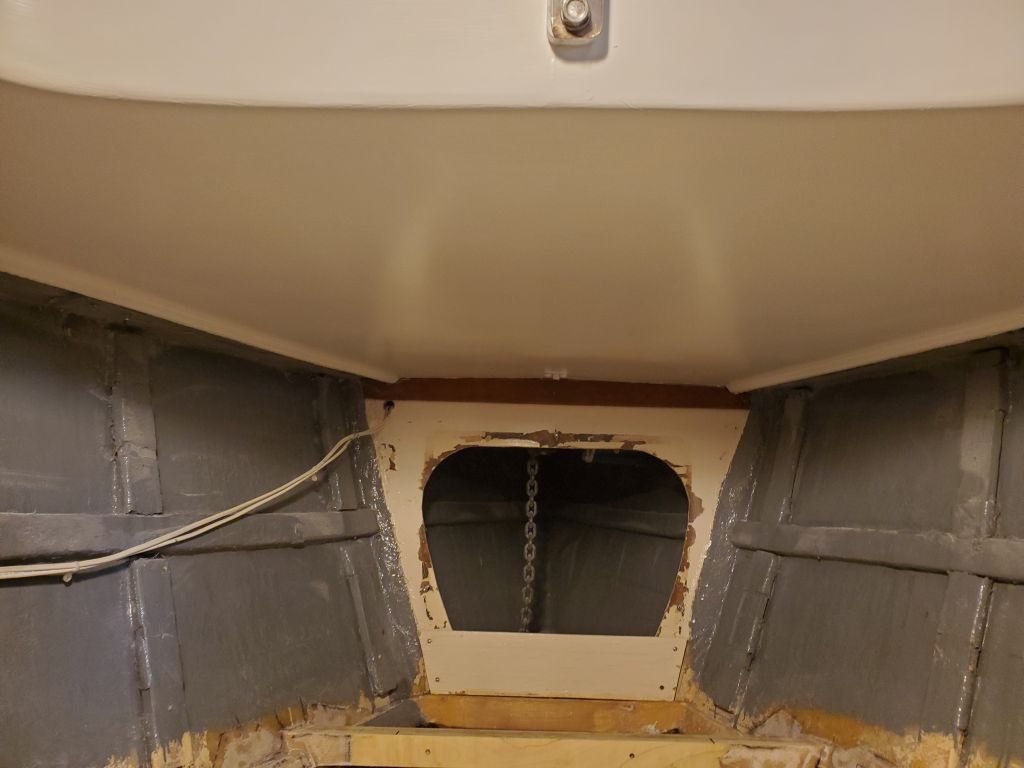
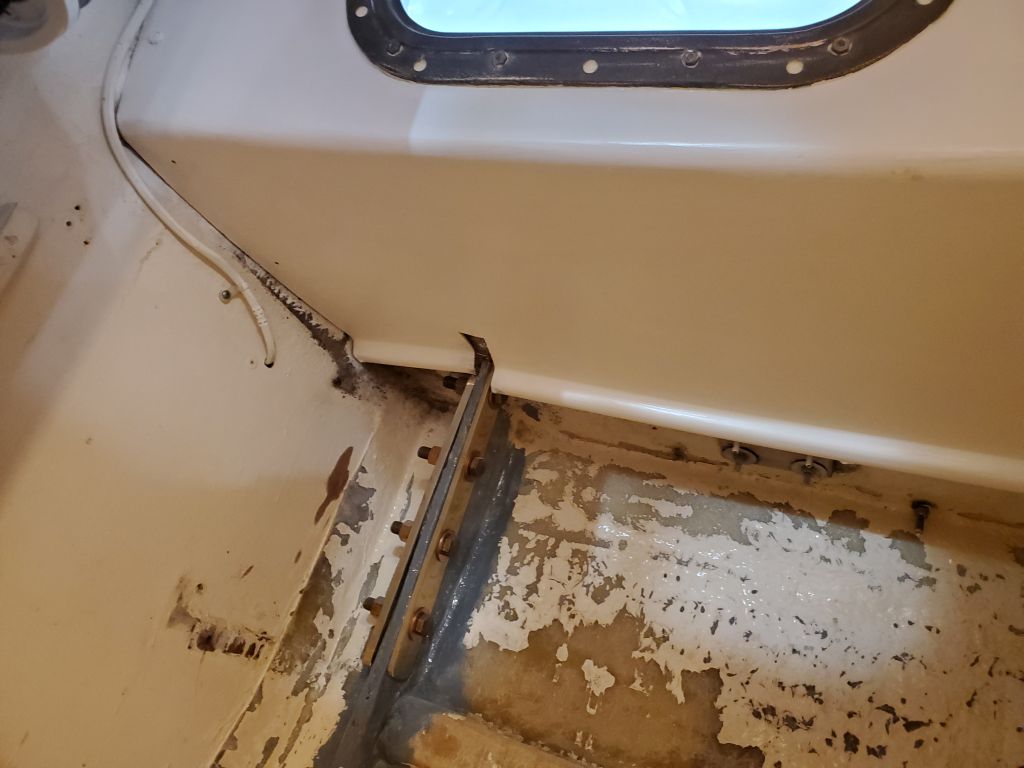
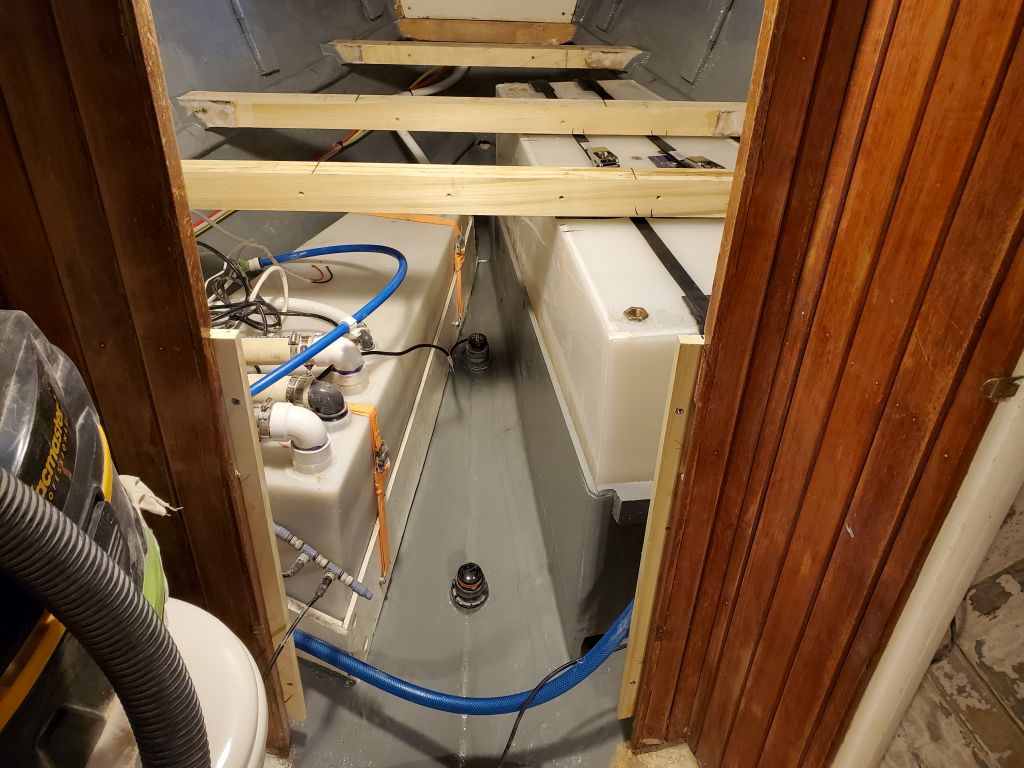
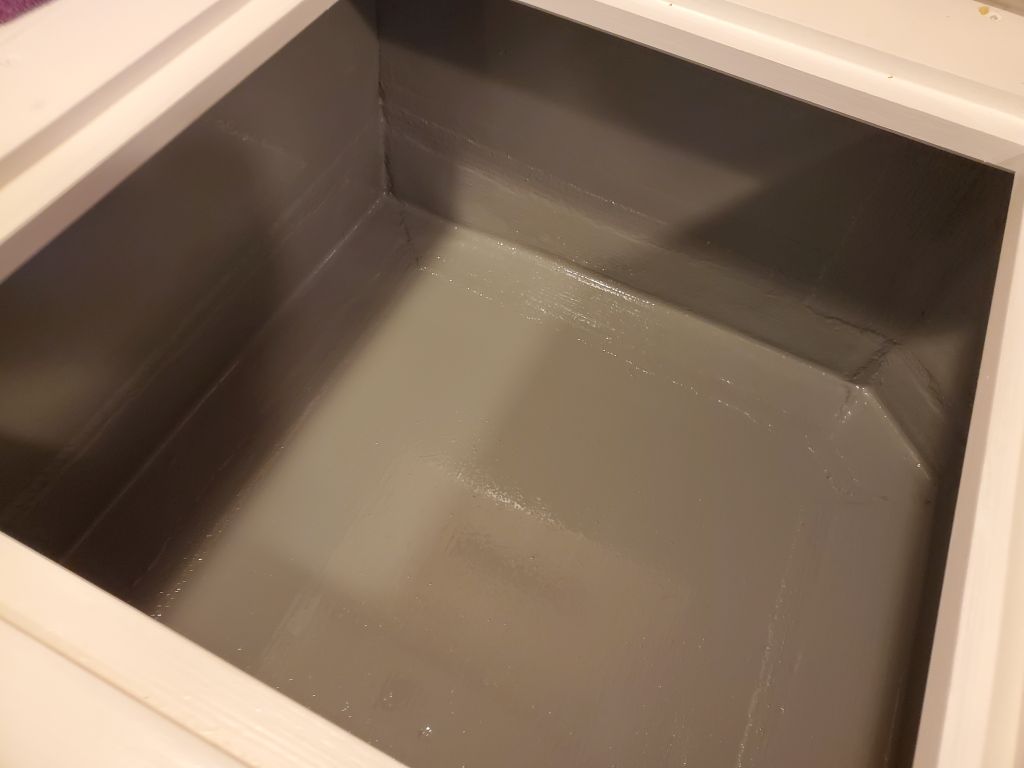
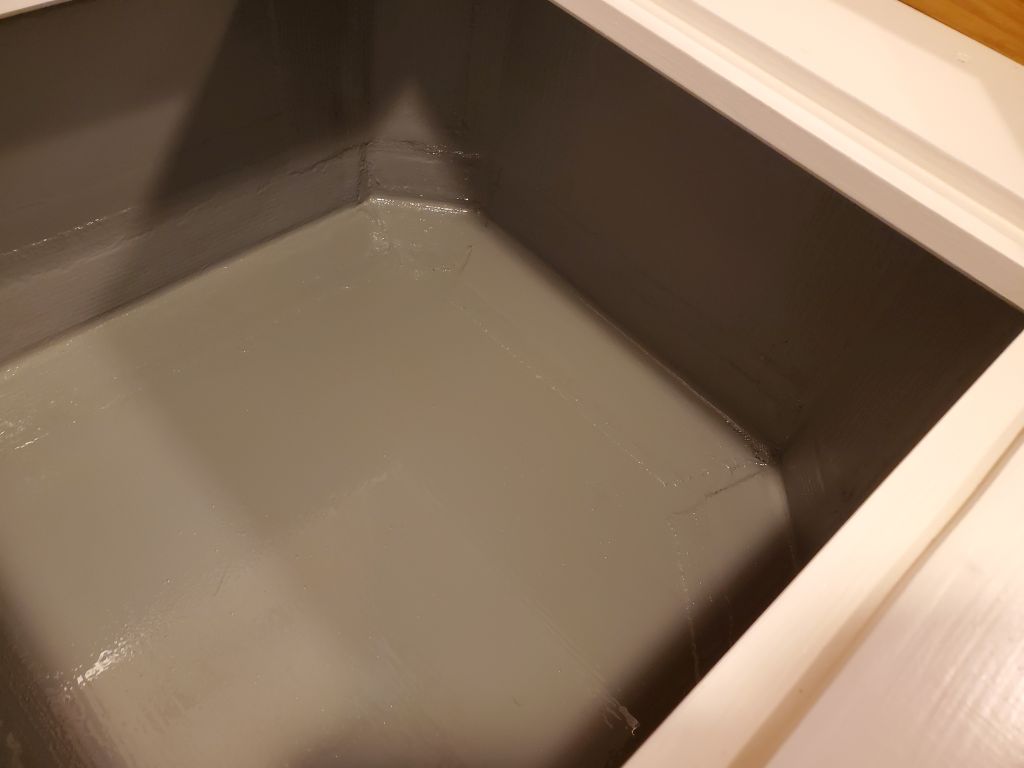
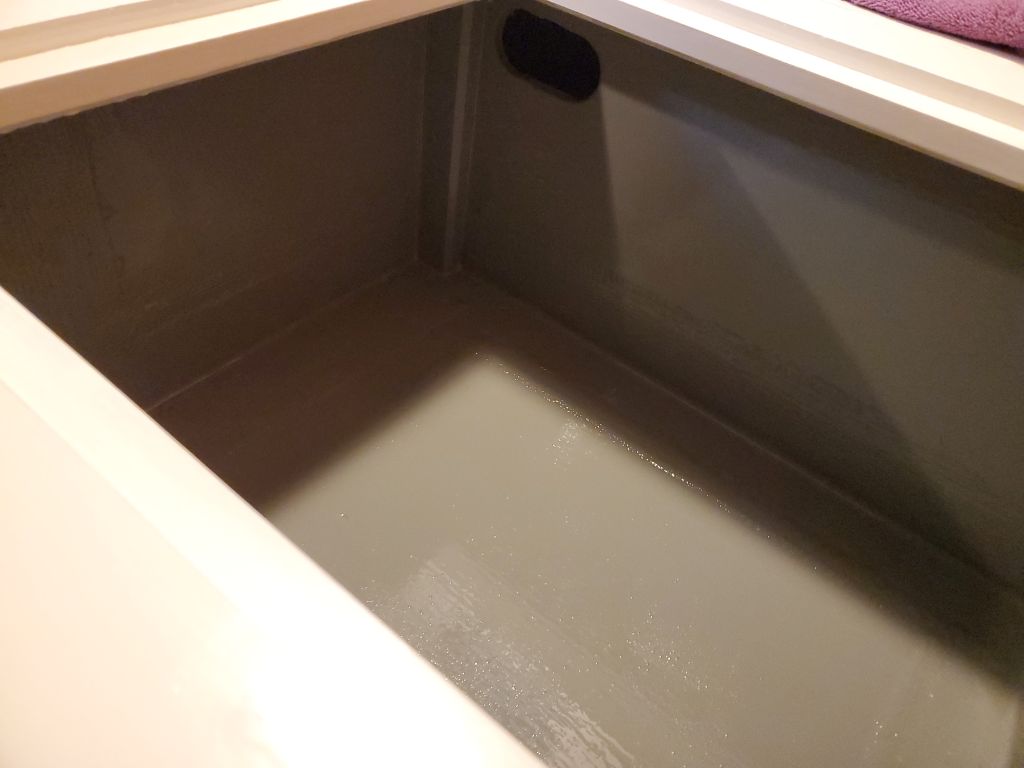
Next, I cleaned up the space beneath the berth, secured some of the existing wiring on the port side to the wire mounts I’d installed earlier, then applied more gray Bilgekote to the hull and other surfaces as required to finish off the space.
I also painted the inside of the battery locker.

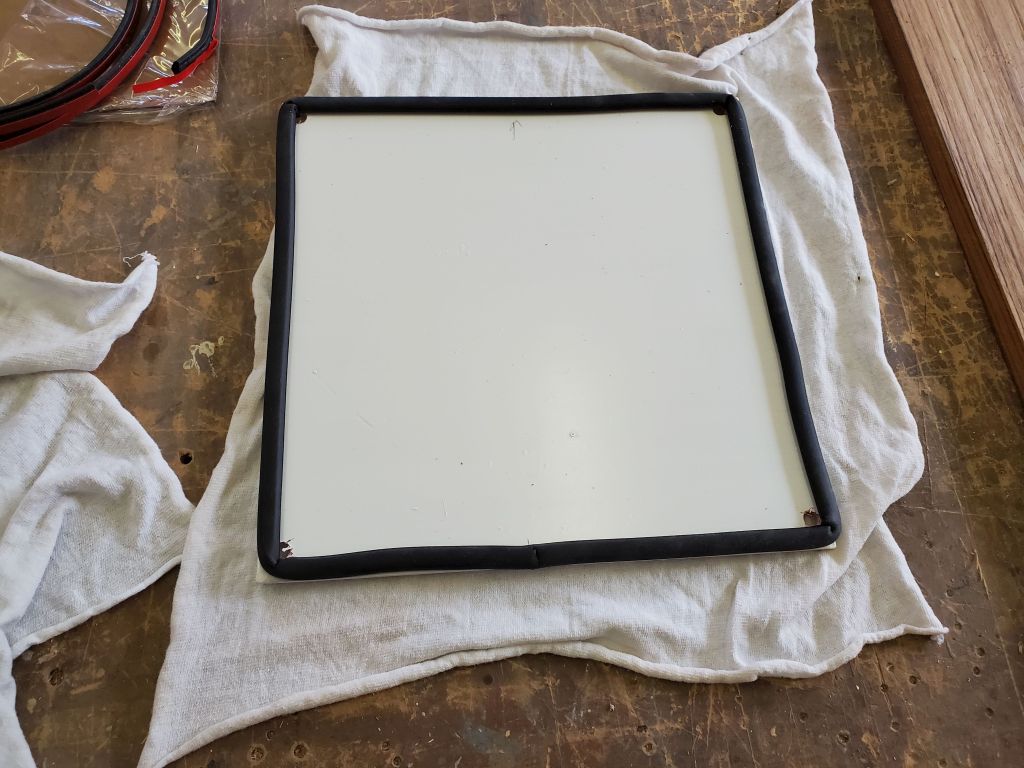
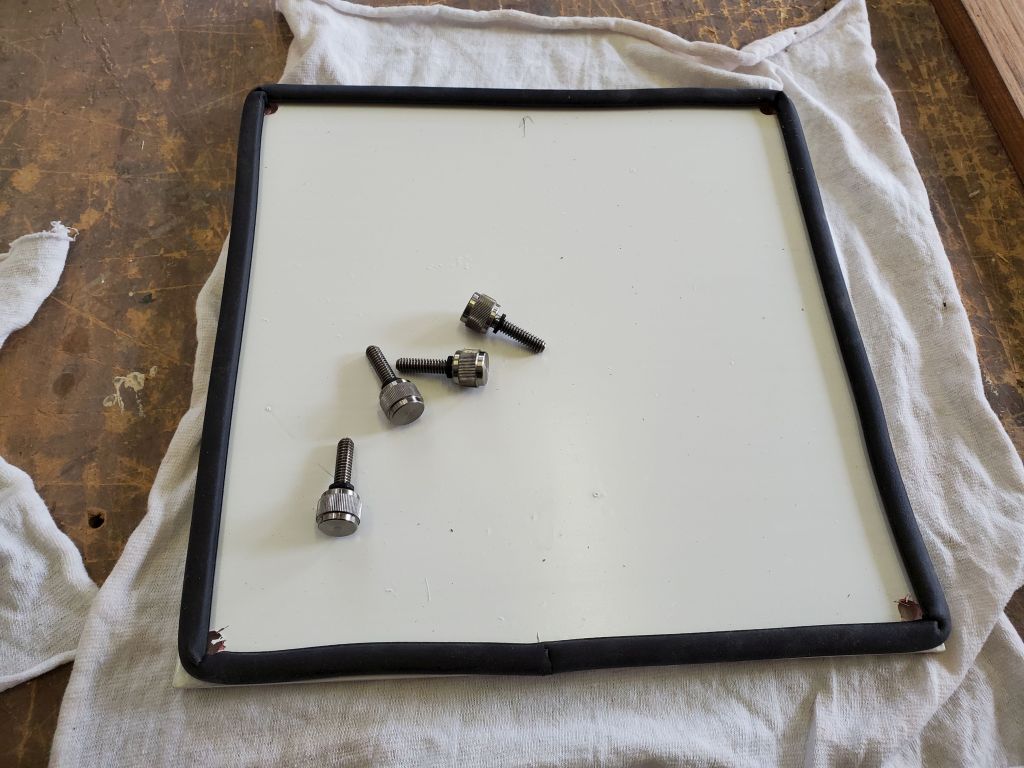
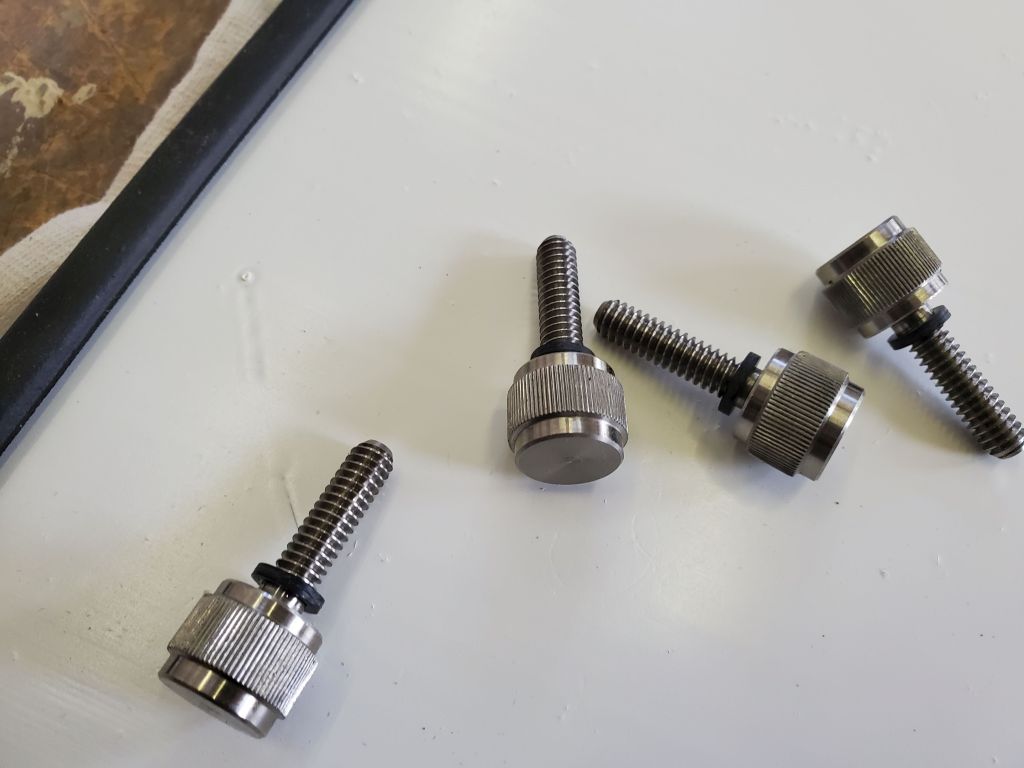
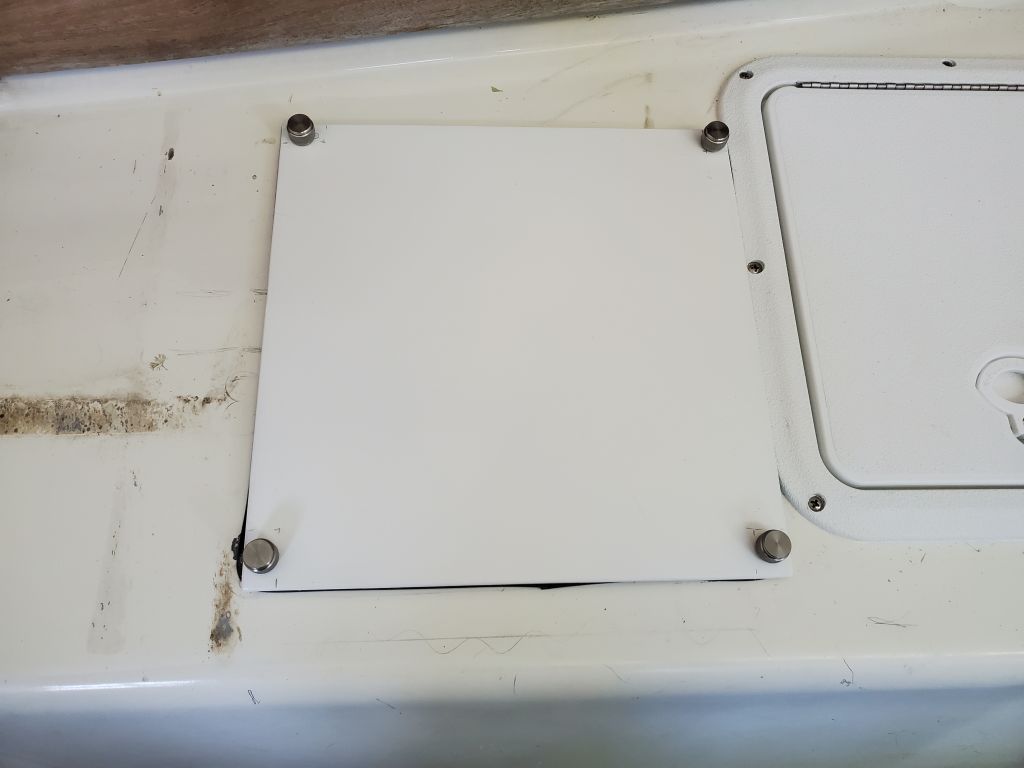
Next, I finished up the last bit of work to complete the propane locker, now that the simple fiberglass lid was painted and ready. After some basic layout, I located the four fixing holes and drilled them, then installed self-adhesive gasket material around the outer edge of the lid. With the lid in place, I drilled and tapped the fiberglass cockpit seat for 1/4-20 machine screw thread, then installed the lid with four thumbscrews, compressing the gasket.
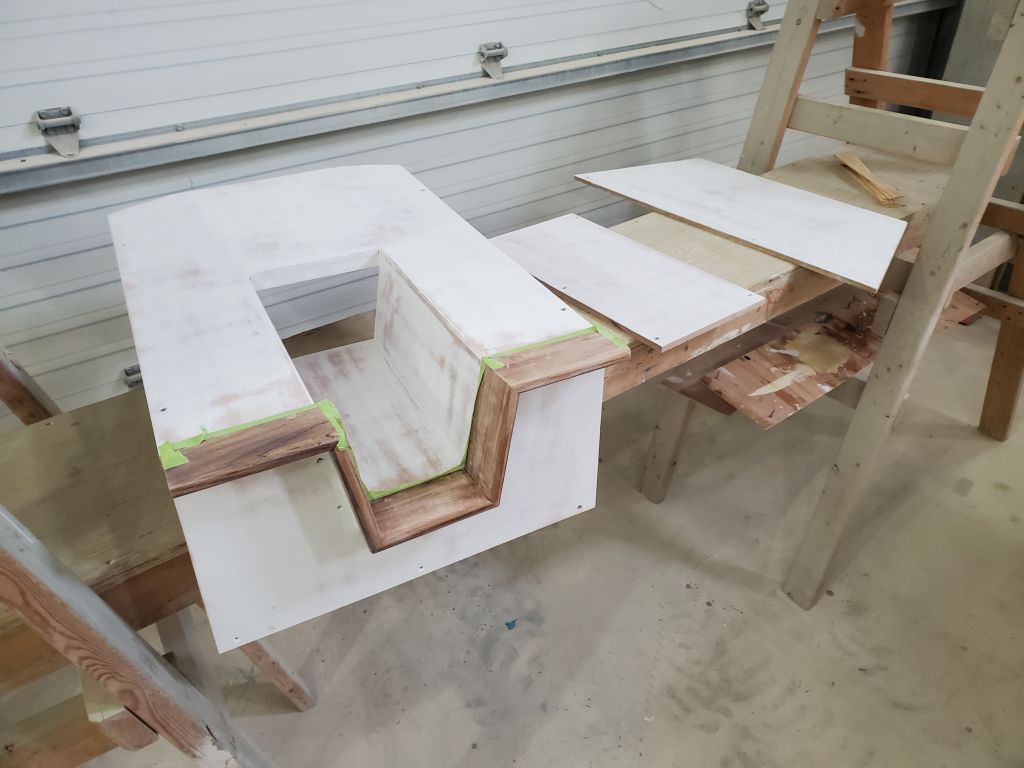
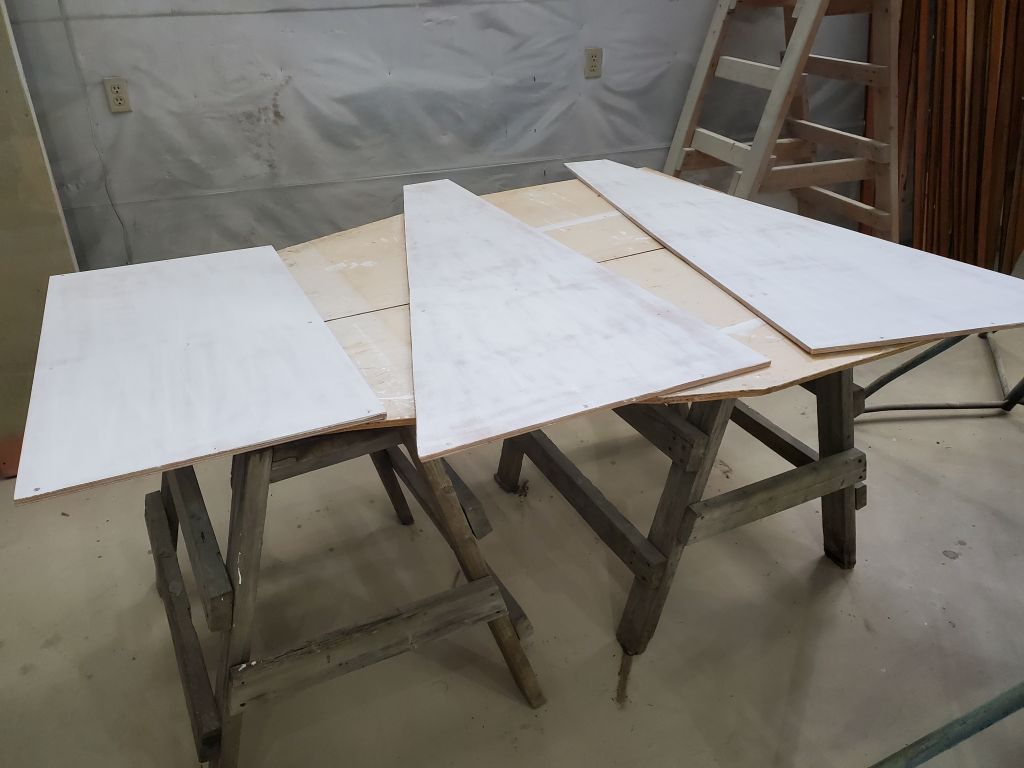
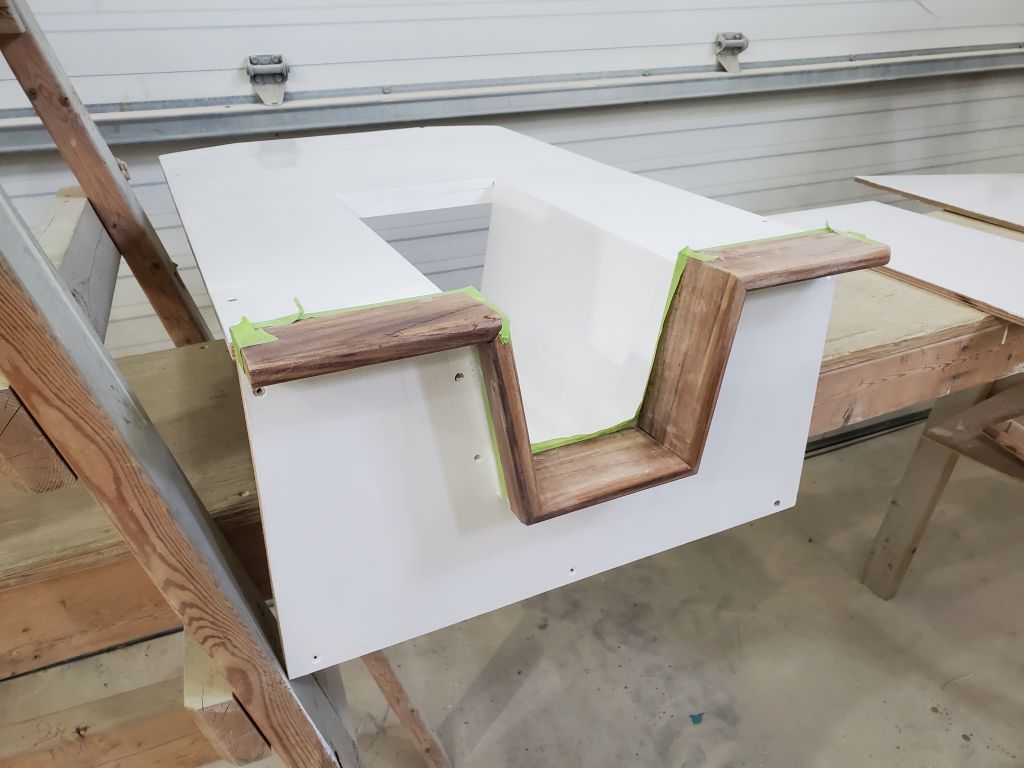
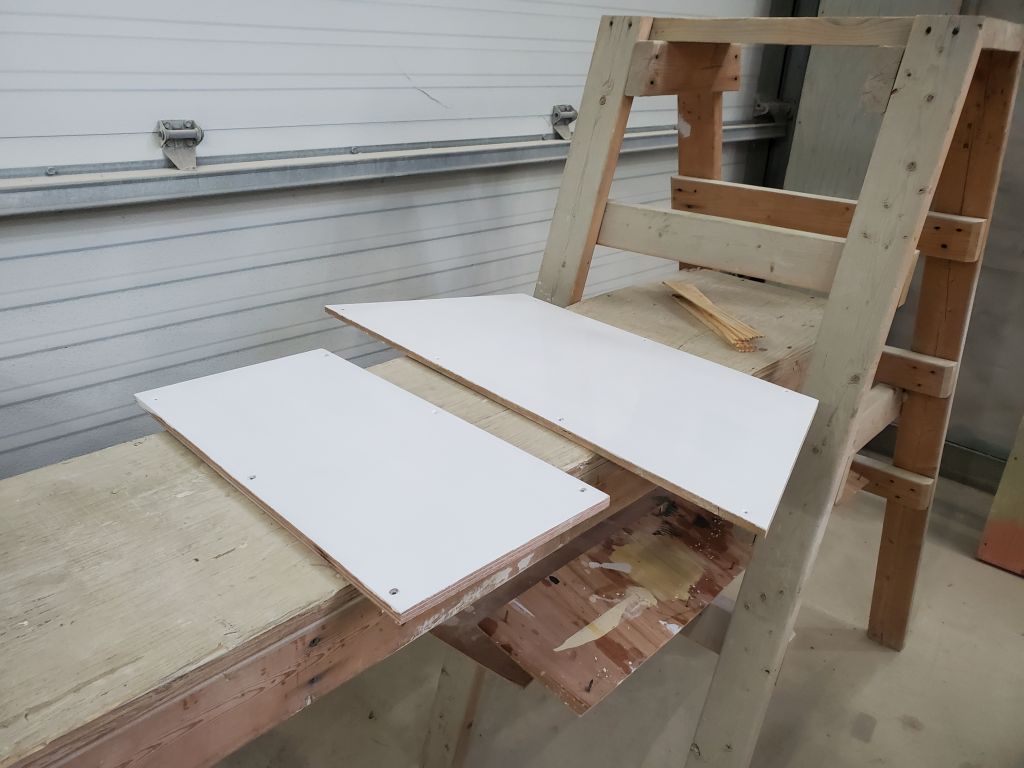
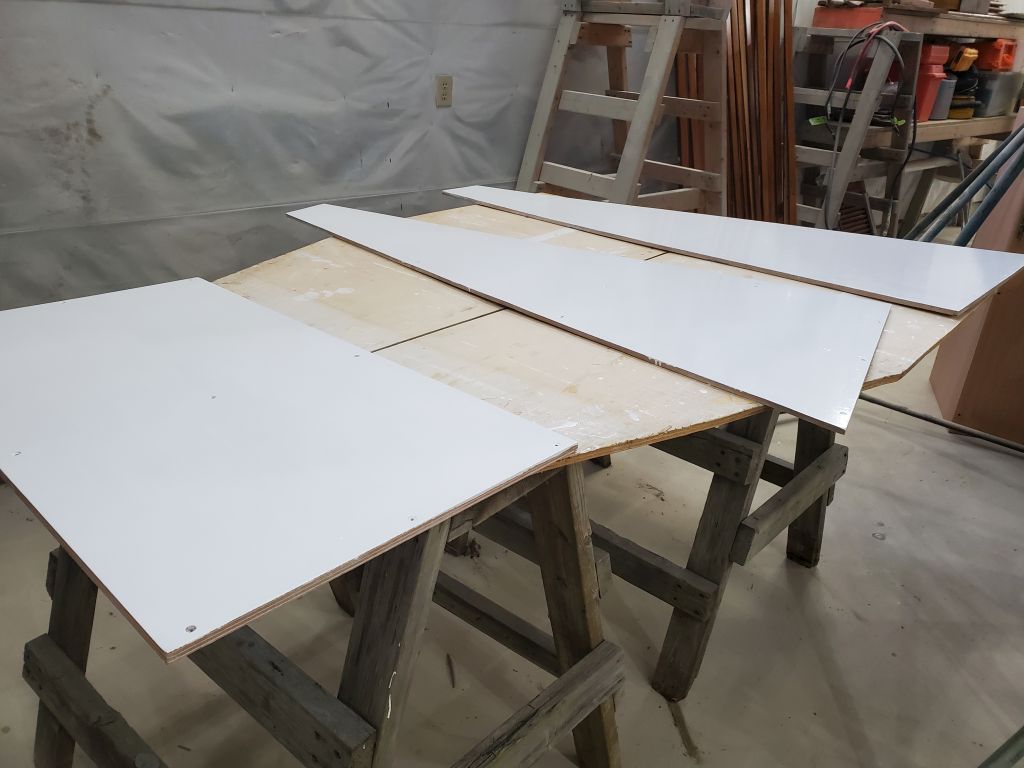
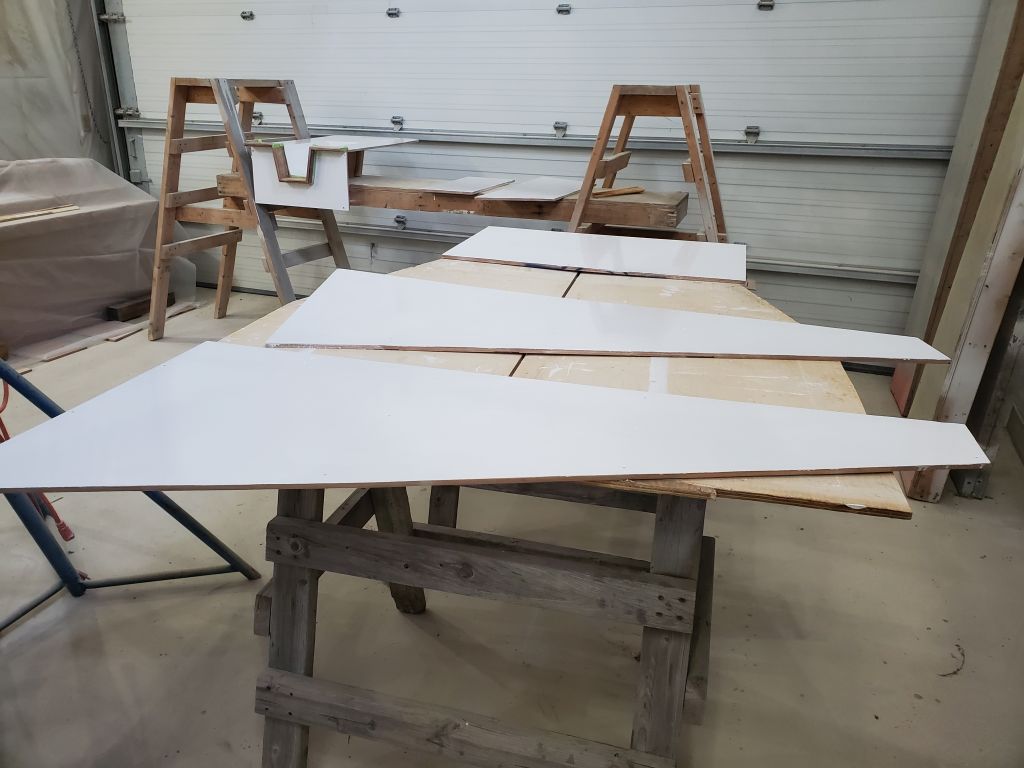
I sanded the primer coat on the v-berth panels with 220, then cleaned and prepped the panels for their first coat of white semi-gloss enamel.
Total time billed on this job today: 6 hours
0600 Weather Observation: 27°, cloudy, about 2" snow down overnight. Forecast for the day: Overcast, windy, 32°