


February 7, 2024
Calliope Girl 60
Wednesday
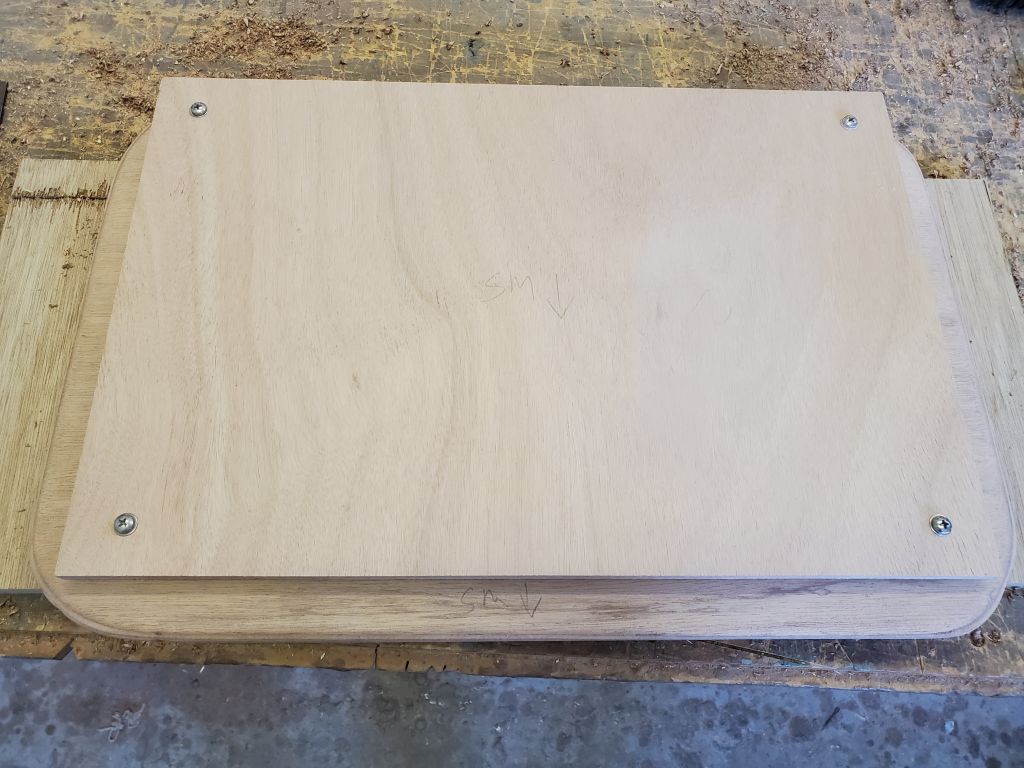
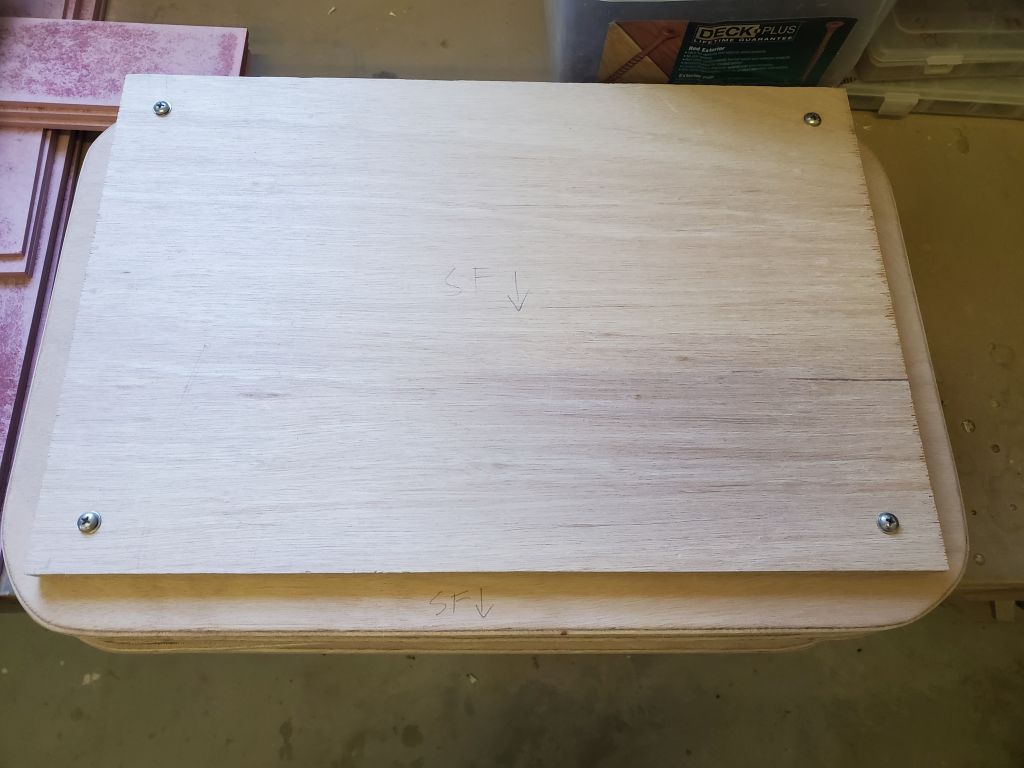
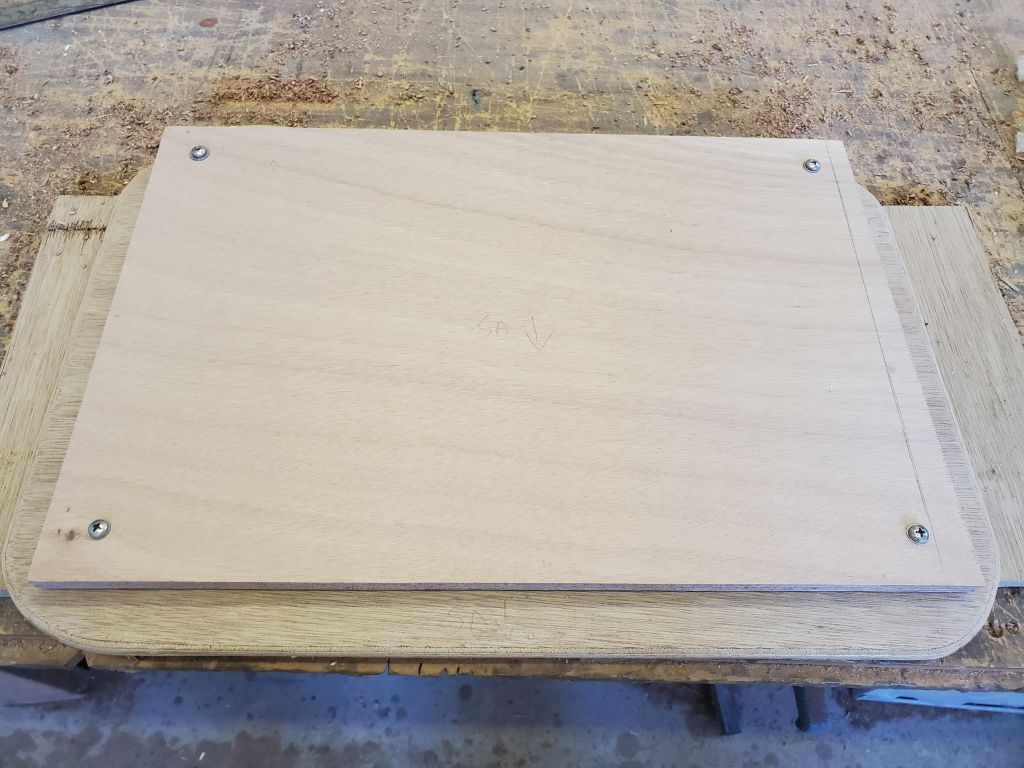
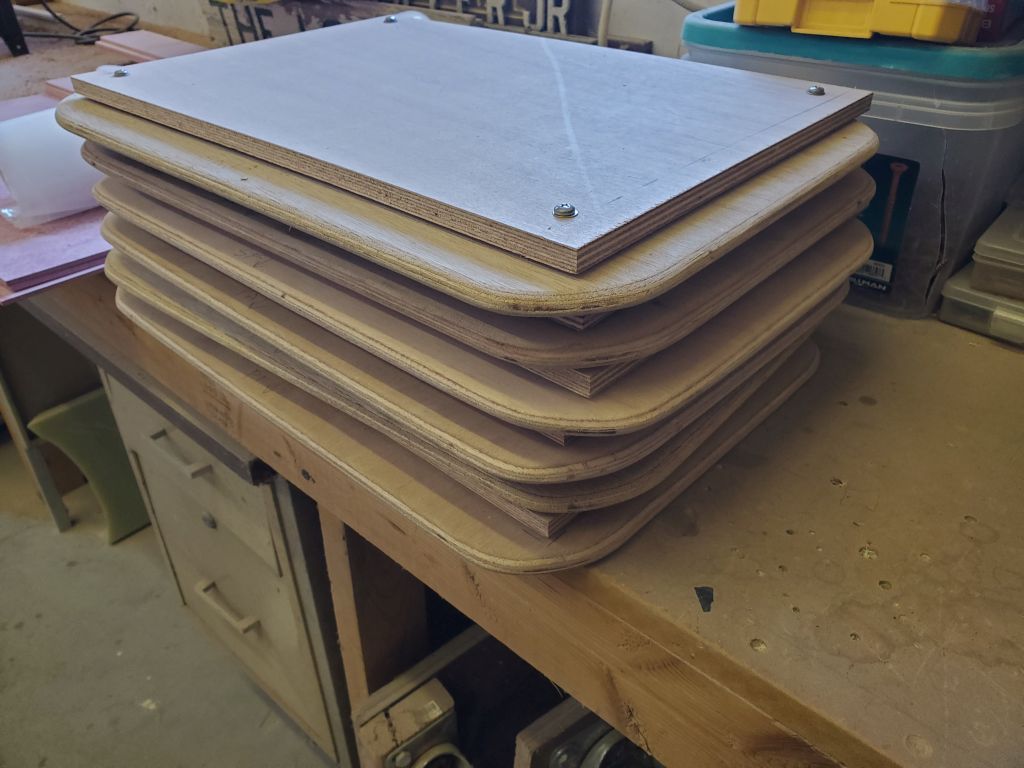
To begin, I finished up the remaining three settee locker door assemblies that I’d started last time.
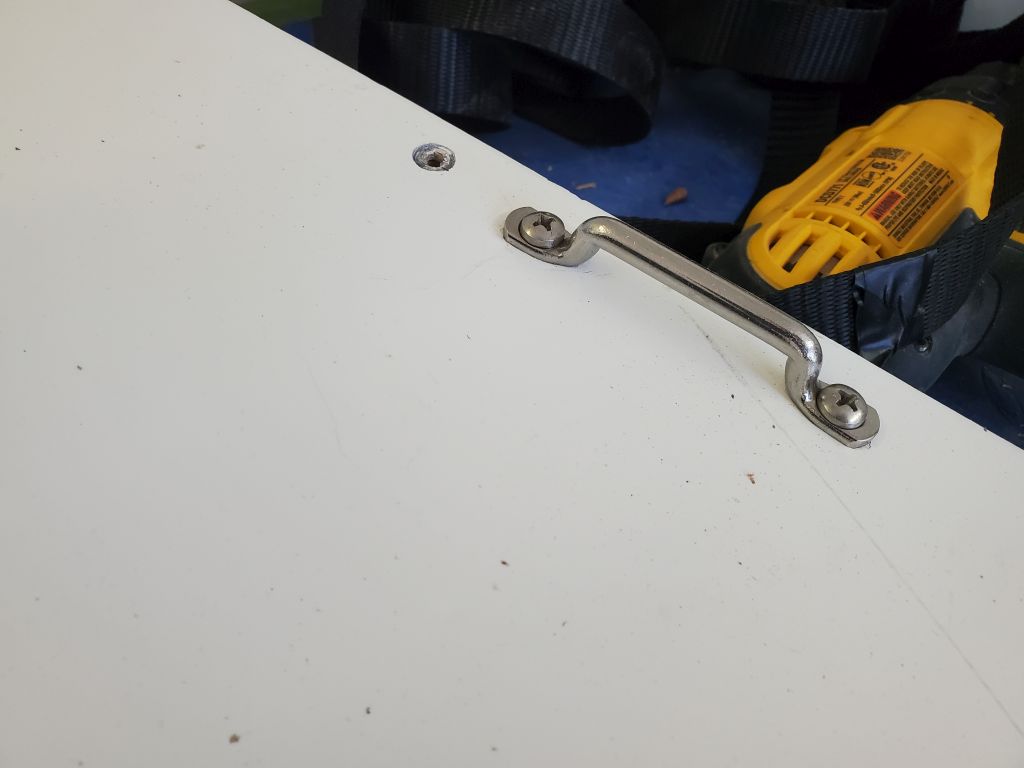
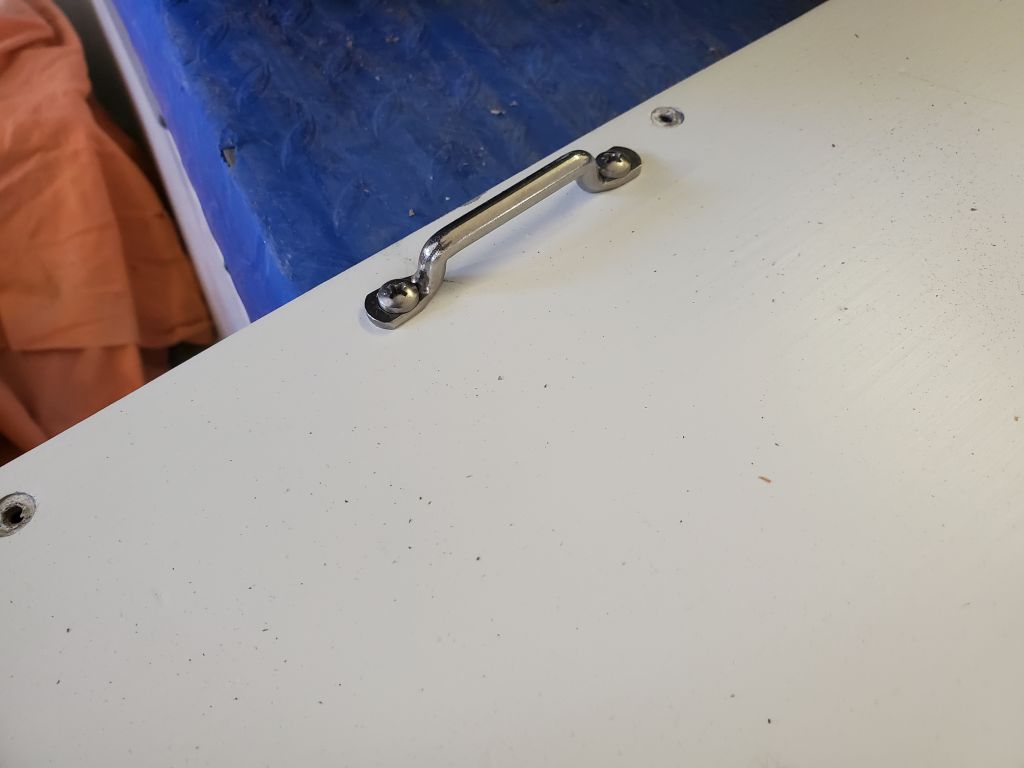
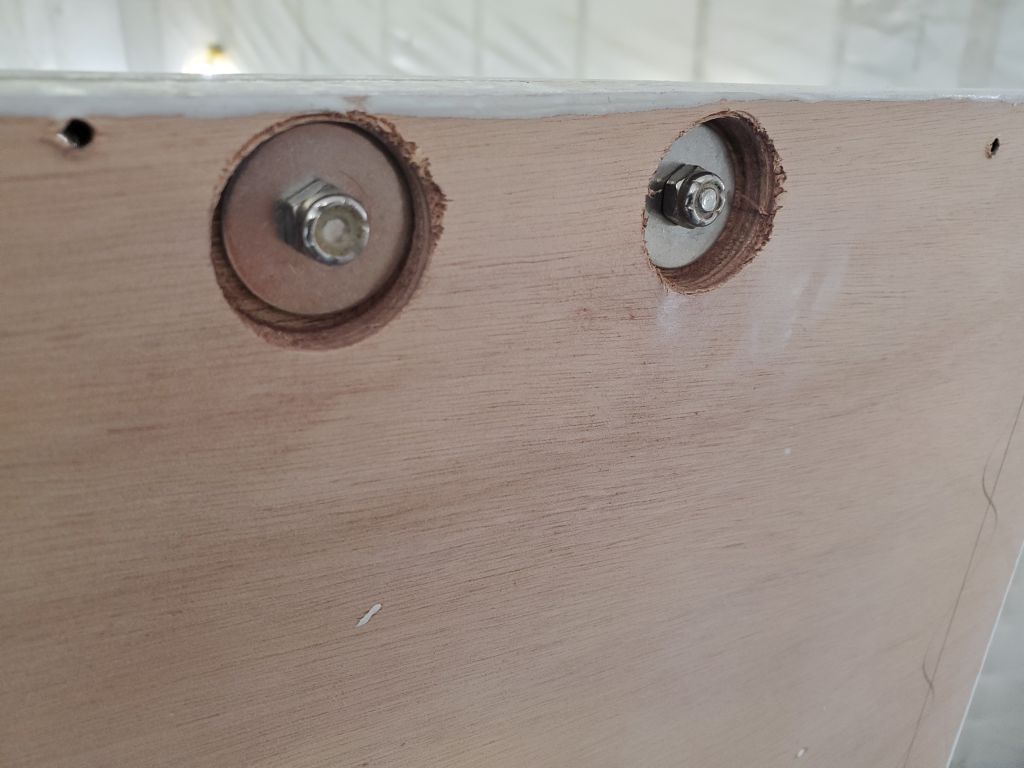
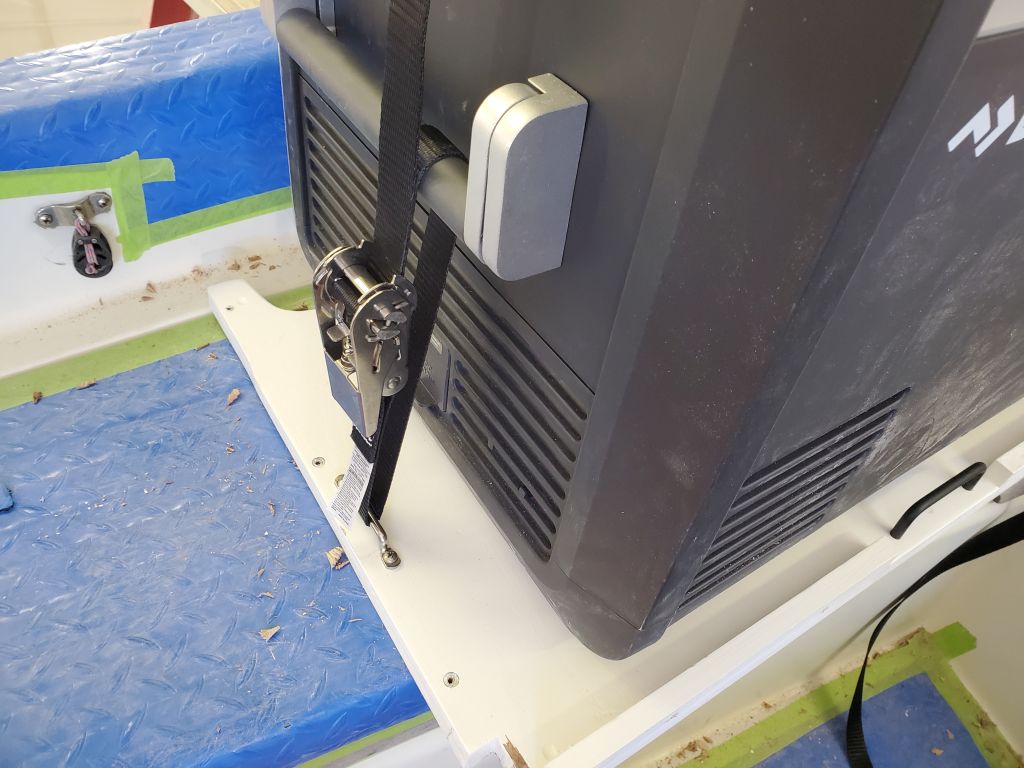
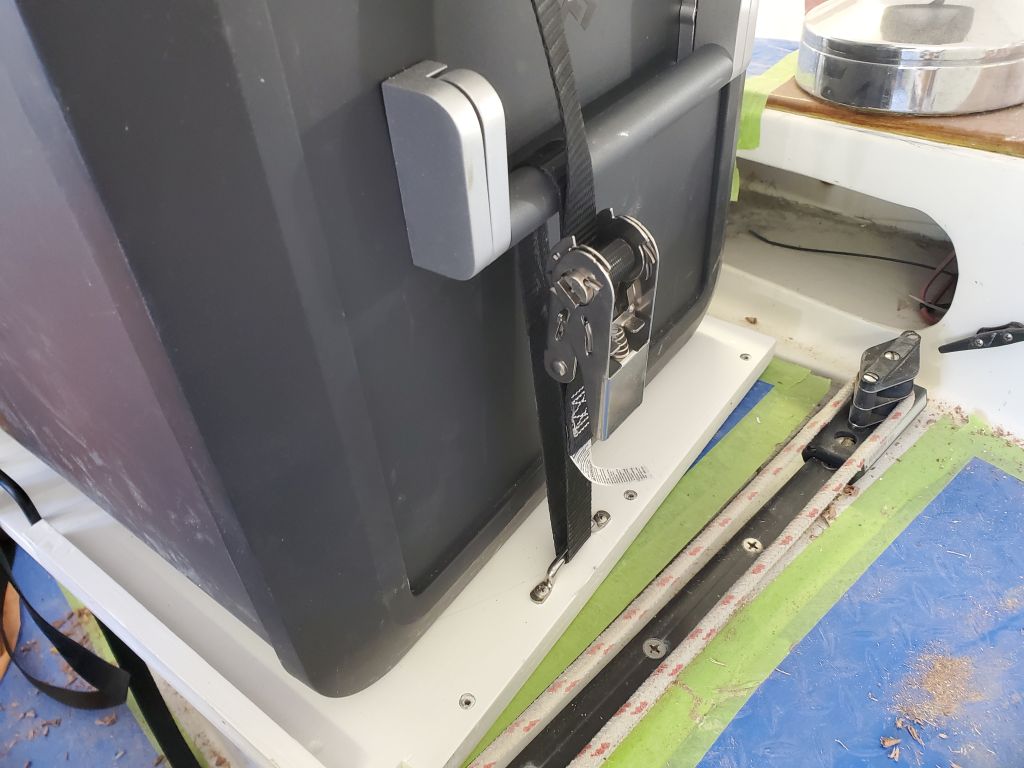
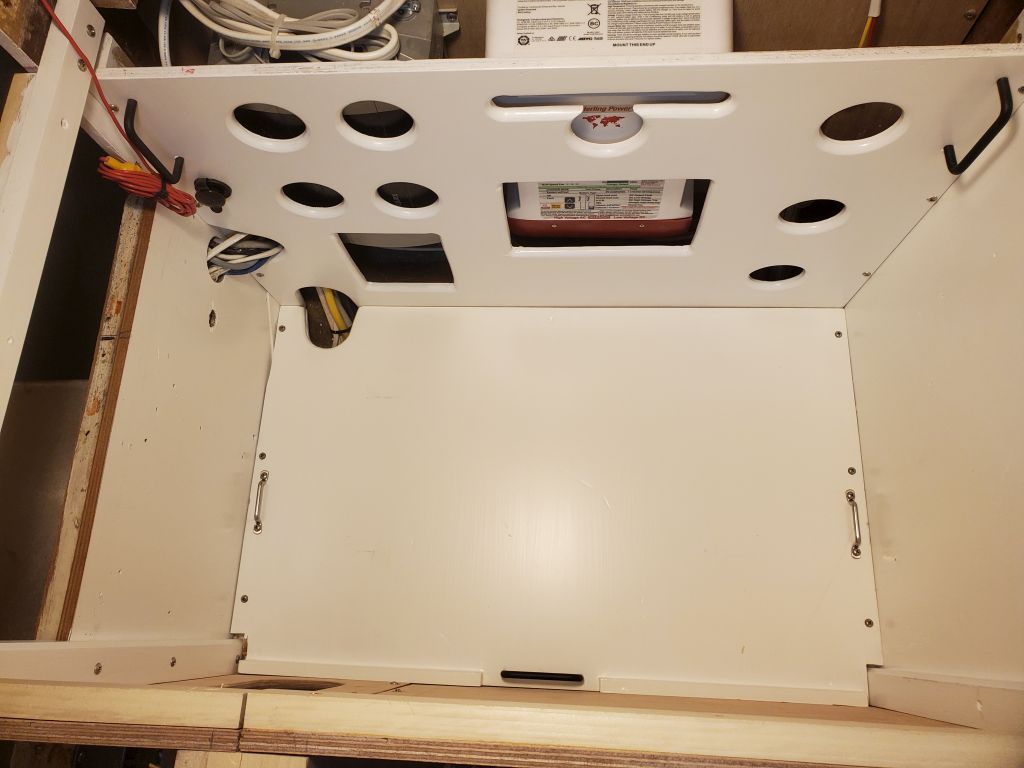
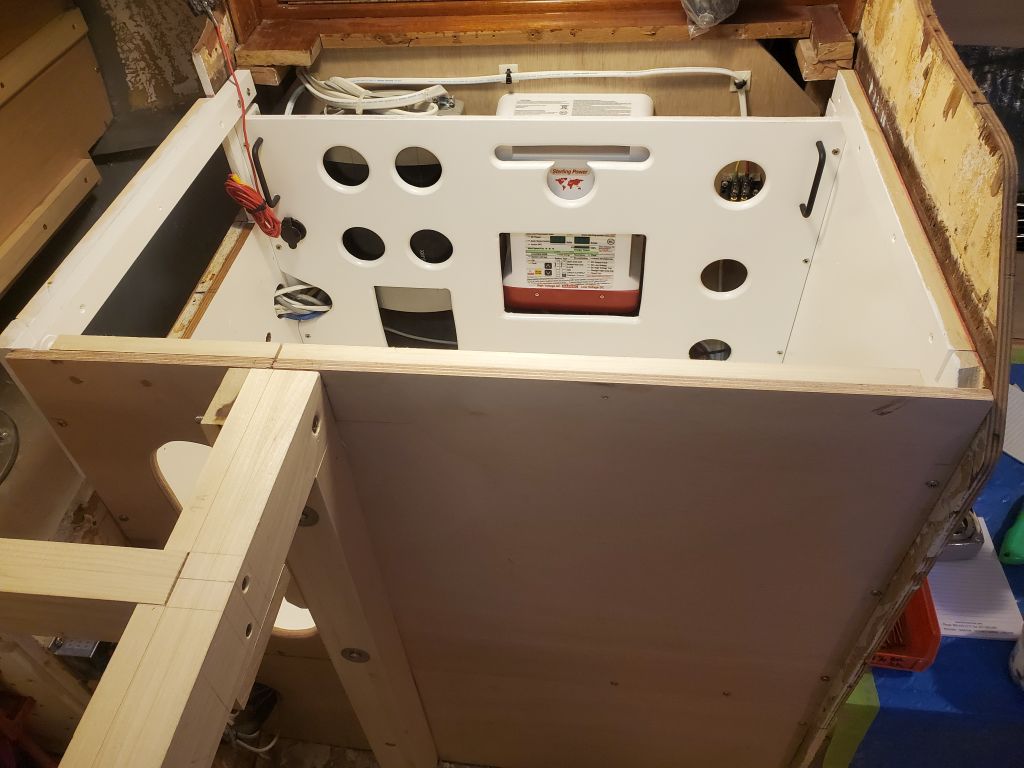
In the galley, I had a couple small jobs in the refer compartment to take care of. Over the past weeks, I’d been thinking of how to secure the portable refrigerator in place, and with sturdy handles on the case it made sense to strap it down to the base platform, so I’d ordered some stainless steel straps for this purpose, and planned to use them with some strap eyes that I recycled from the previous battery storage trays on this boat. I bolted the strap eyes to the platform near the edges, installing the nuts and washers in recesses on the bottom side so the platform would still sit on the support cleats, and test-fit the straps; it would be tight clearance against the bulkhead on the forward side once installed, but I thought it would work itself out, as there was reasonable access on the aft side. For now, I did this work in the cockpit, where I’d stored the fridge, but once I had countertops underway in the galley I planned to set the unit in place for good.

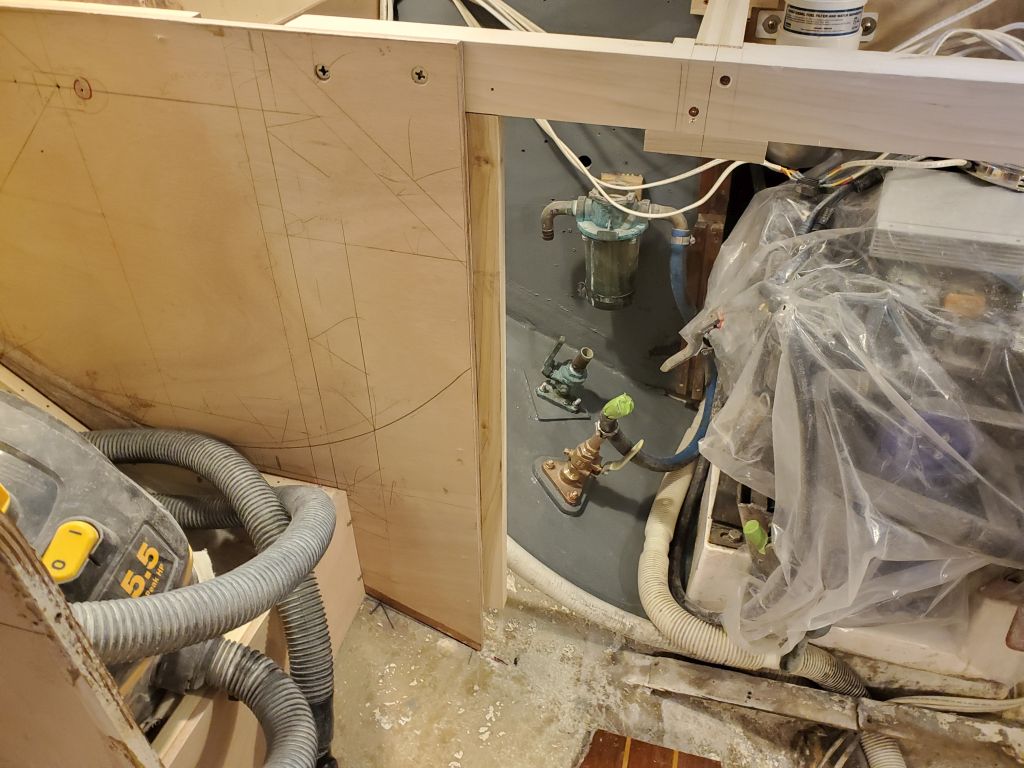
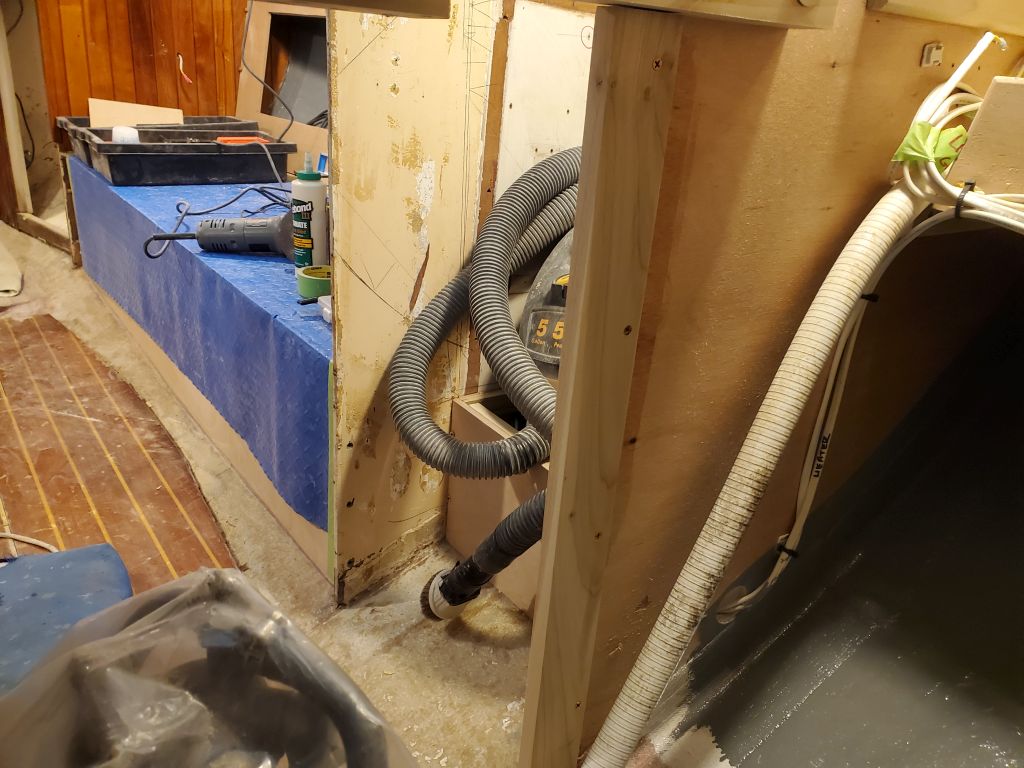
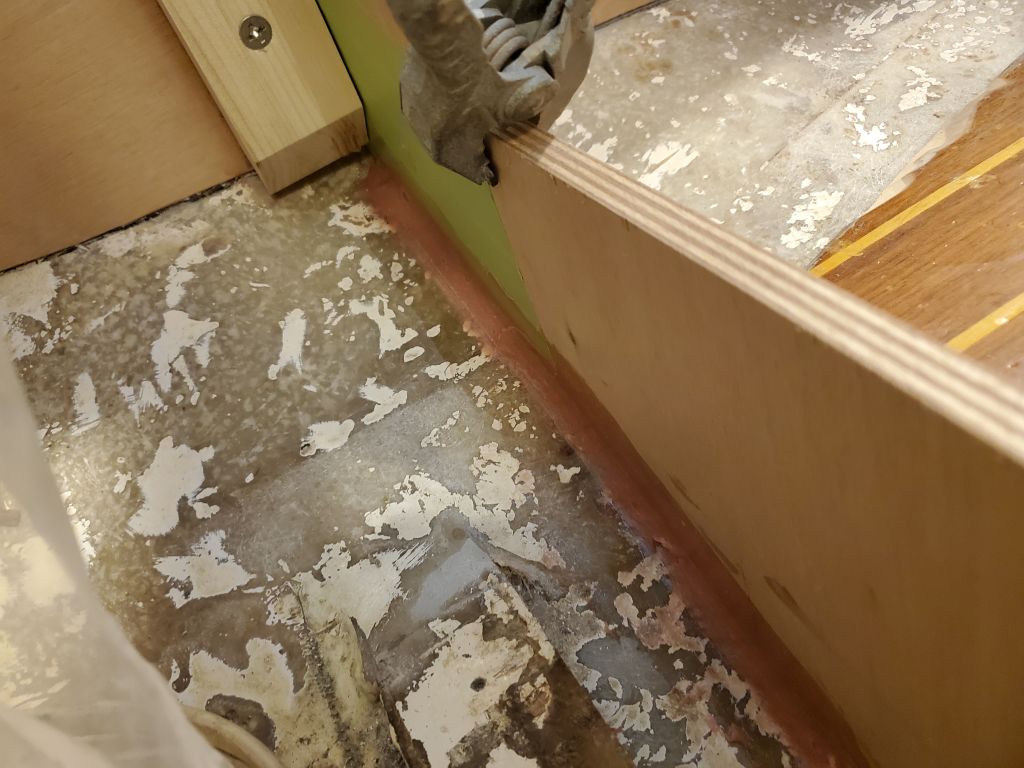
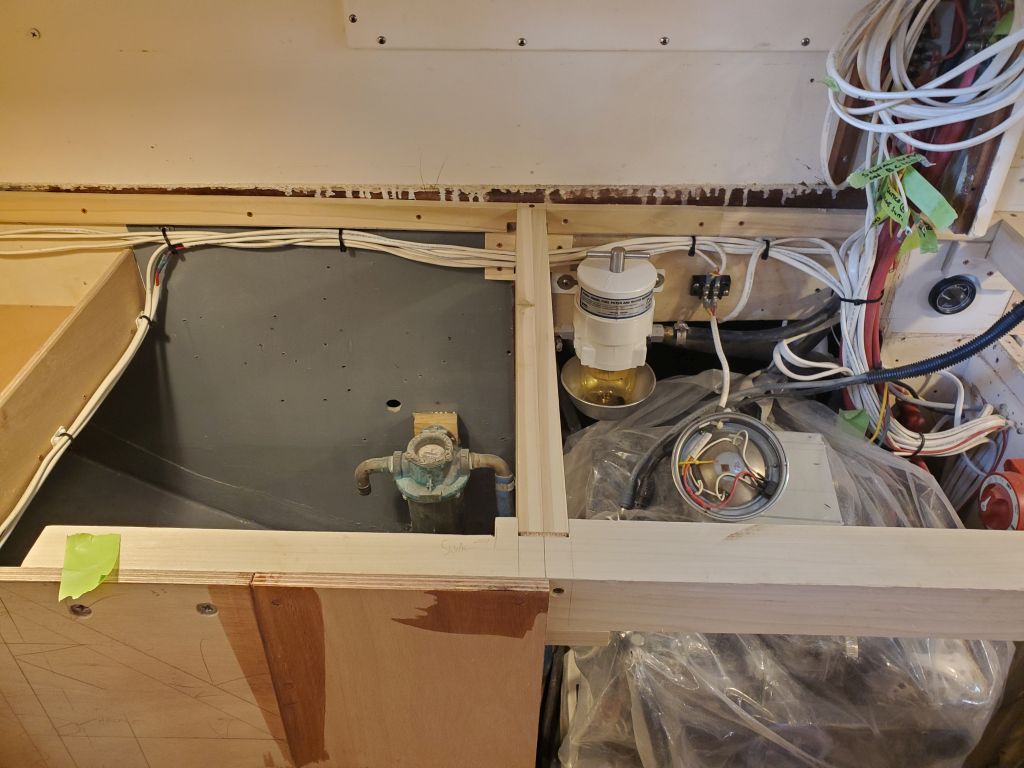
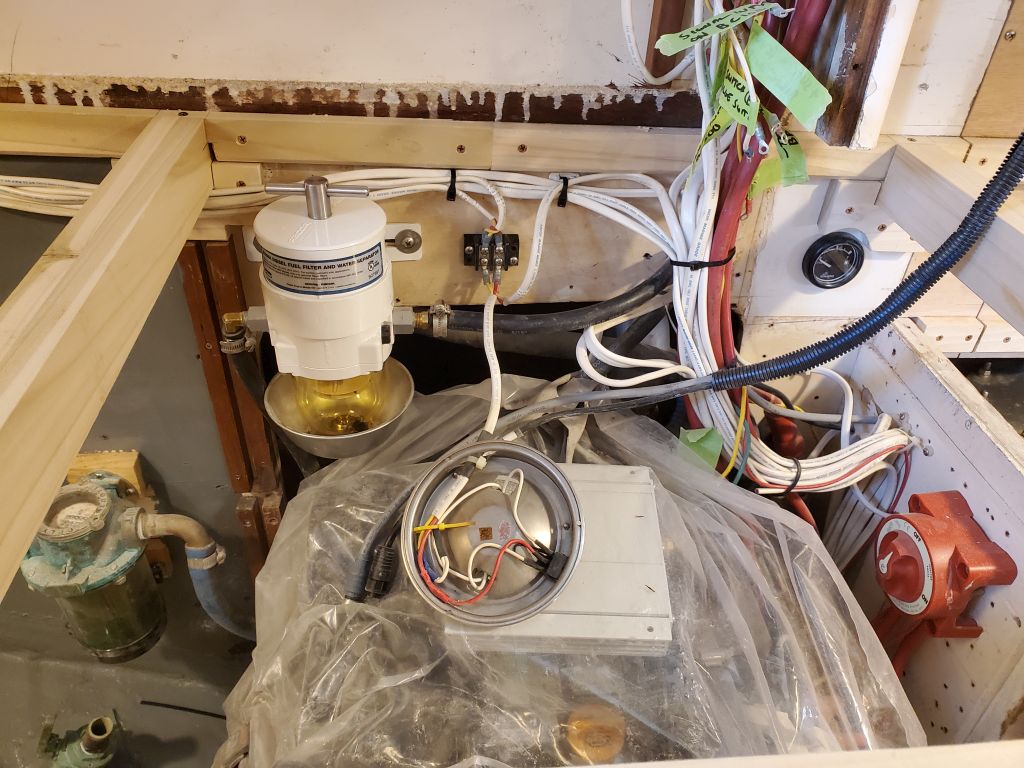
Making the port section of the galley removable for access to the fuel tank and surroundings had proved to be an ongoing challenge, since the entire space was something that I was conceiving even as it was built. It’s the nature of this work. So it wasn’t surprising that I found myself wanting to make a small change to the longitudinal panel defining the refrigerator compartment. As it stood, the panel was removable, but it was a tight and awkward process around my vertical galley support beam and with the overhanging bridgedeck, and as things had come together I decided to split the panel into two sections, with the post as the divider. This would make removal much easier in the future.
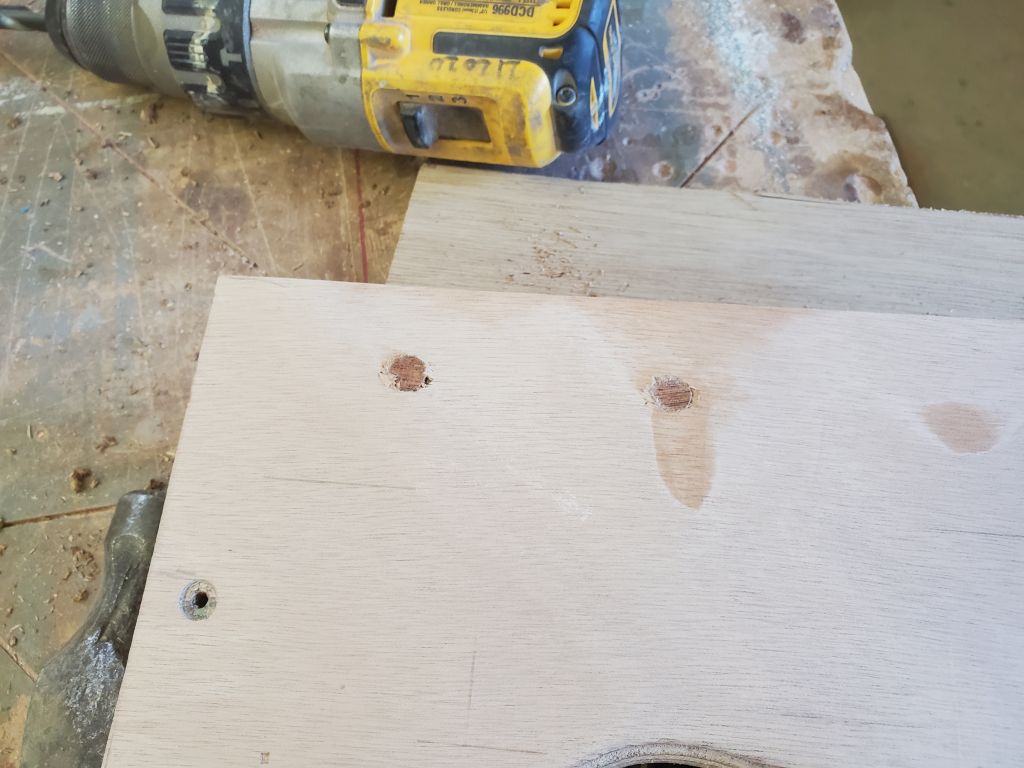
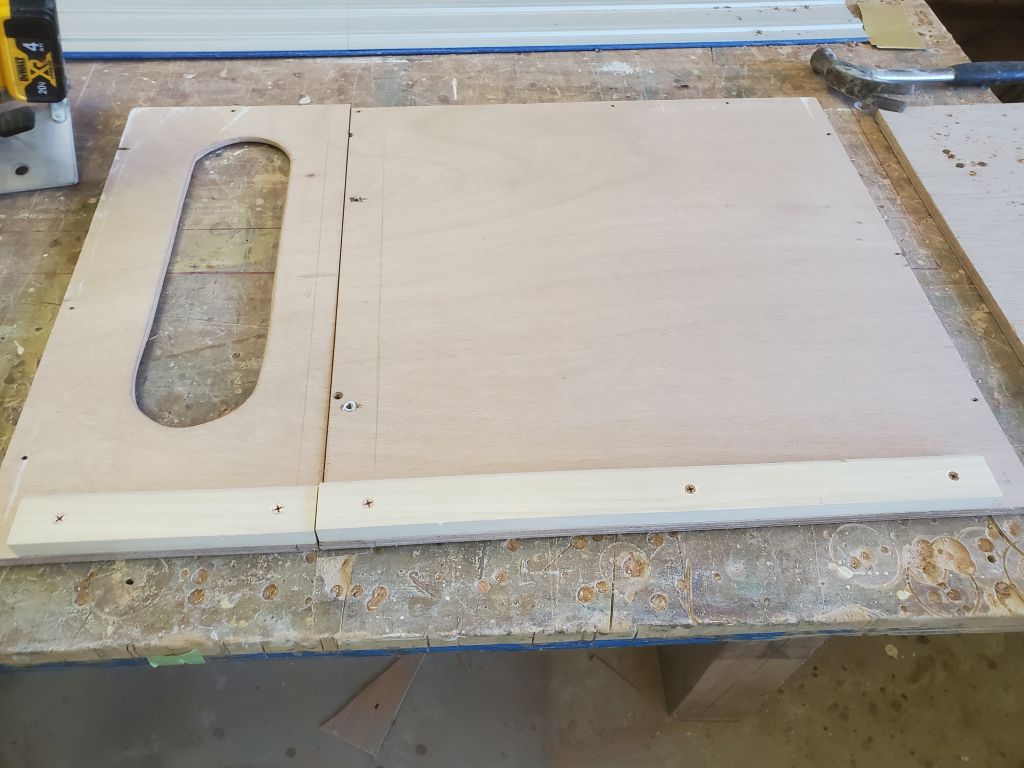
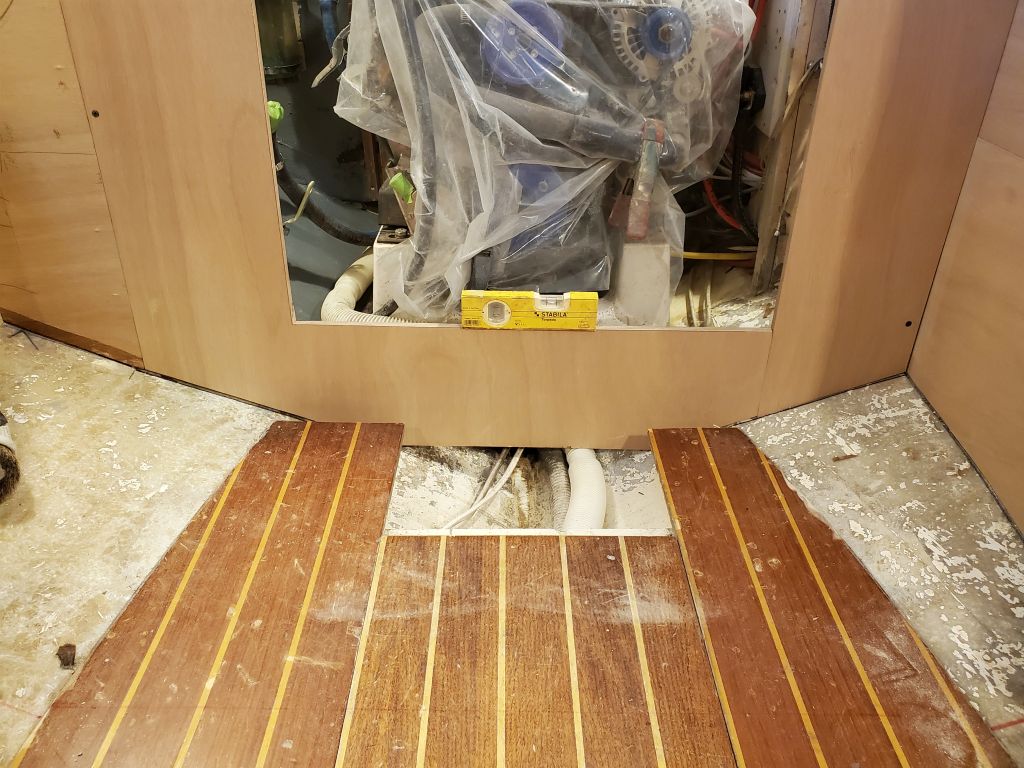
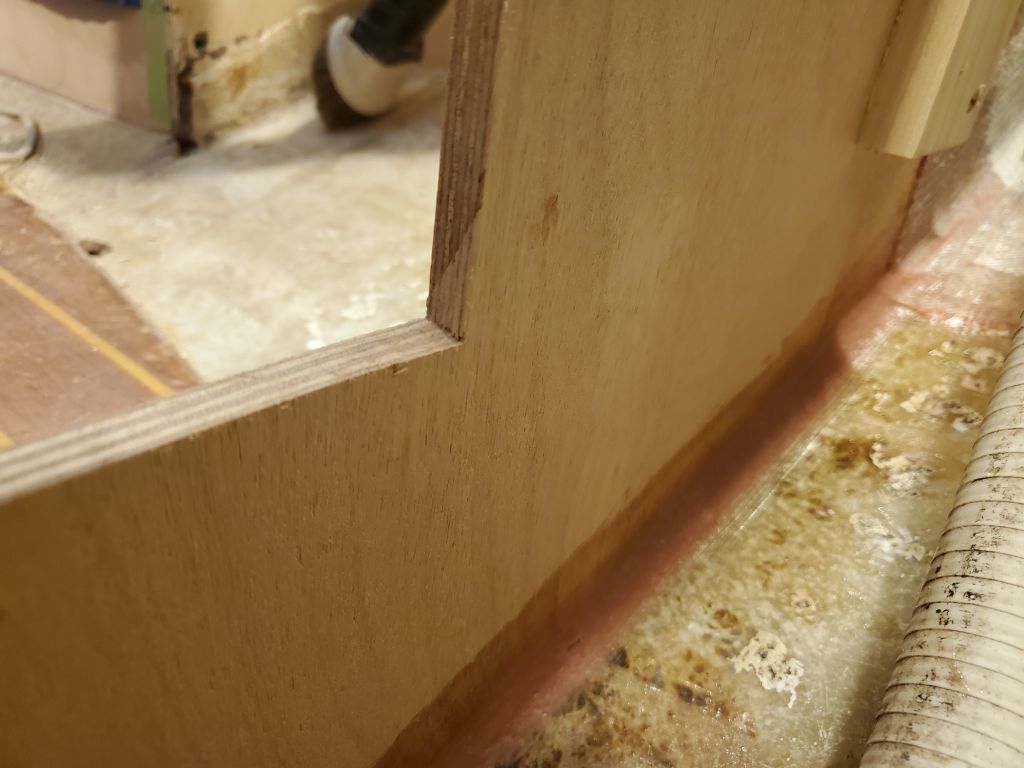
With the panel still in place, I marked the position where I wanted to make the cut–just aft of the two machine screws from the engine room securing the post to the panel–then removed the panel and cut it down on the bench. While I had it there, I plugged the bolt holes leftover from my initial galley cross beam concept, then cut and installed support cleats on the inside upper edge to help support the countertop above. Then, I reinstalled the panels as before, except for adding three new screws into the forward side of the small after panel where it met the vertical support post. The end result was just as rigid and strong as it had been before, but now it would be easier to remove these sections when and if necessary. Finally, since I thought I was done with access to the wiring chase beneath the area, I reinstalled the refer floor.
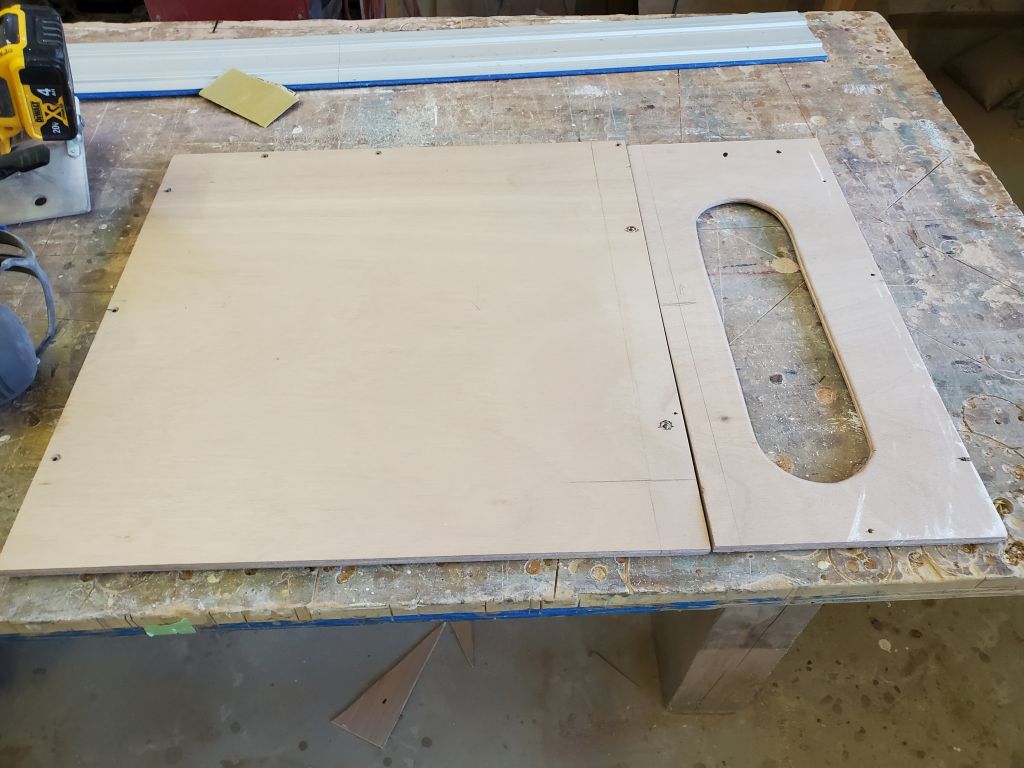


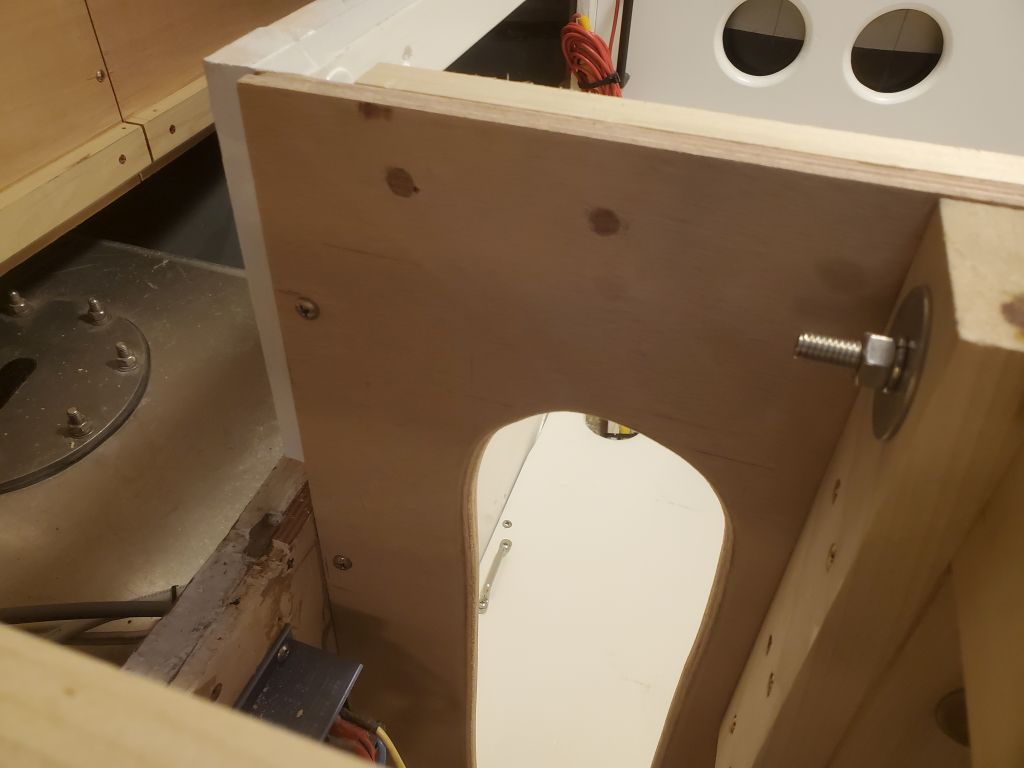
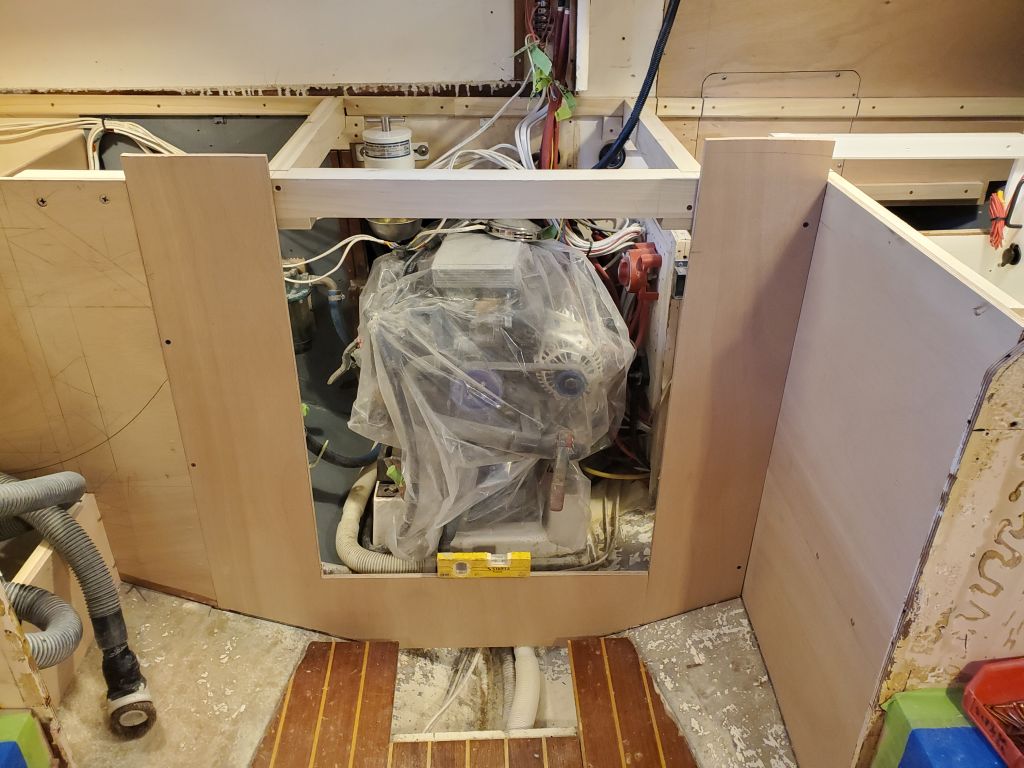
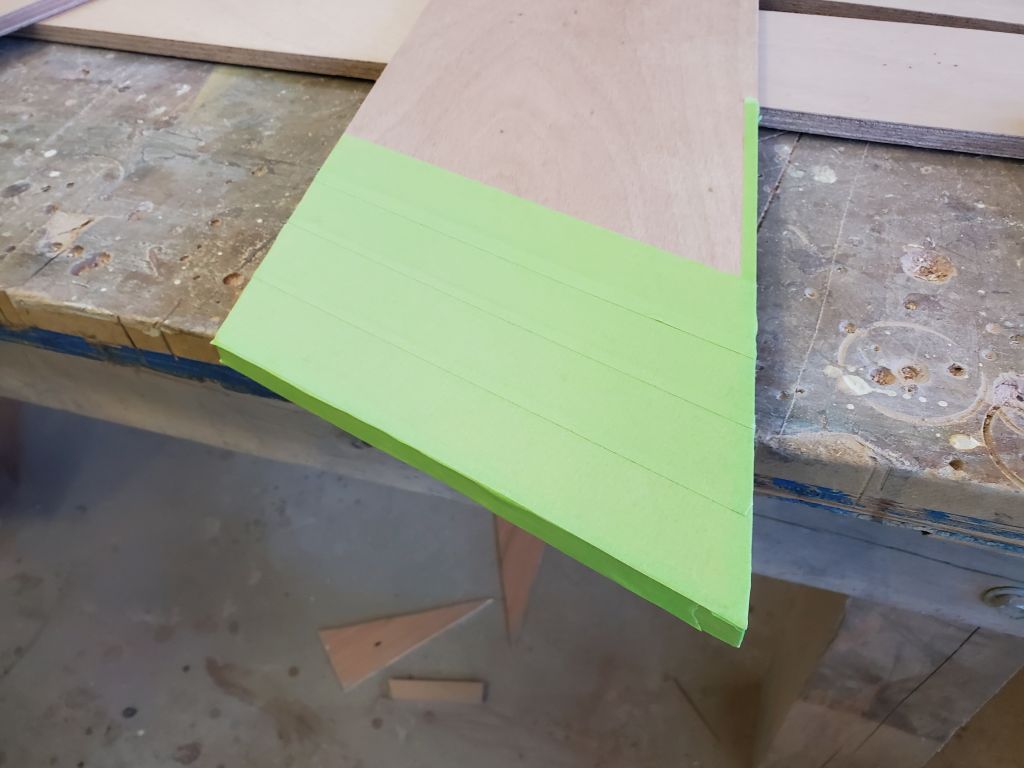
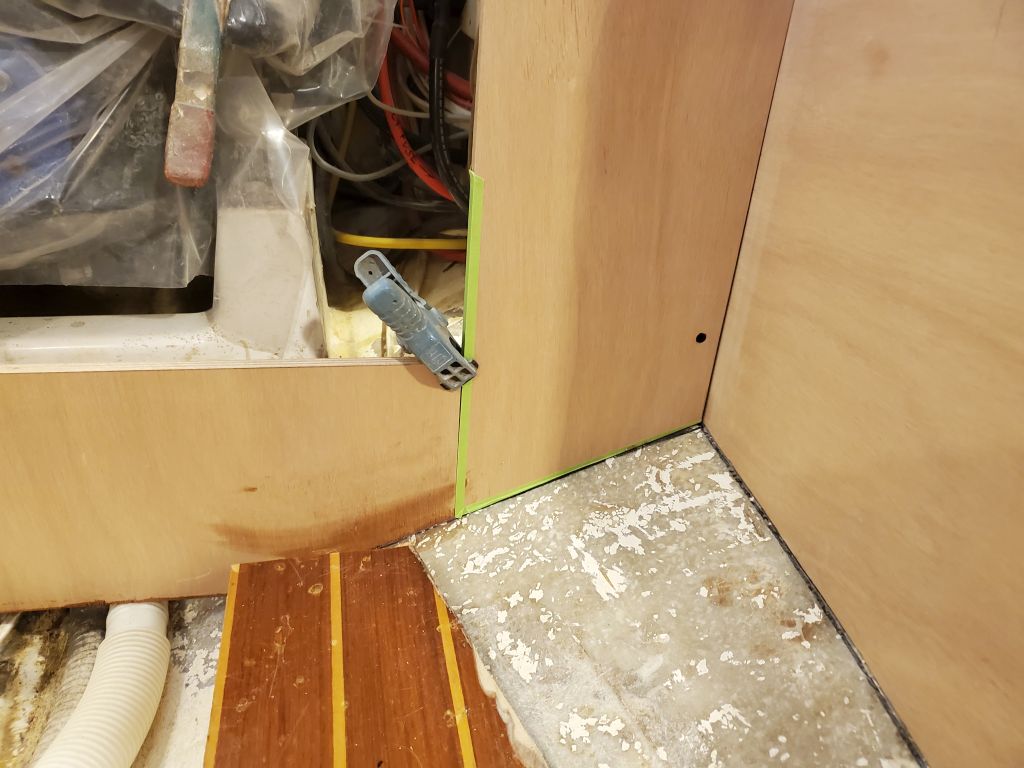
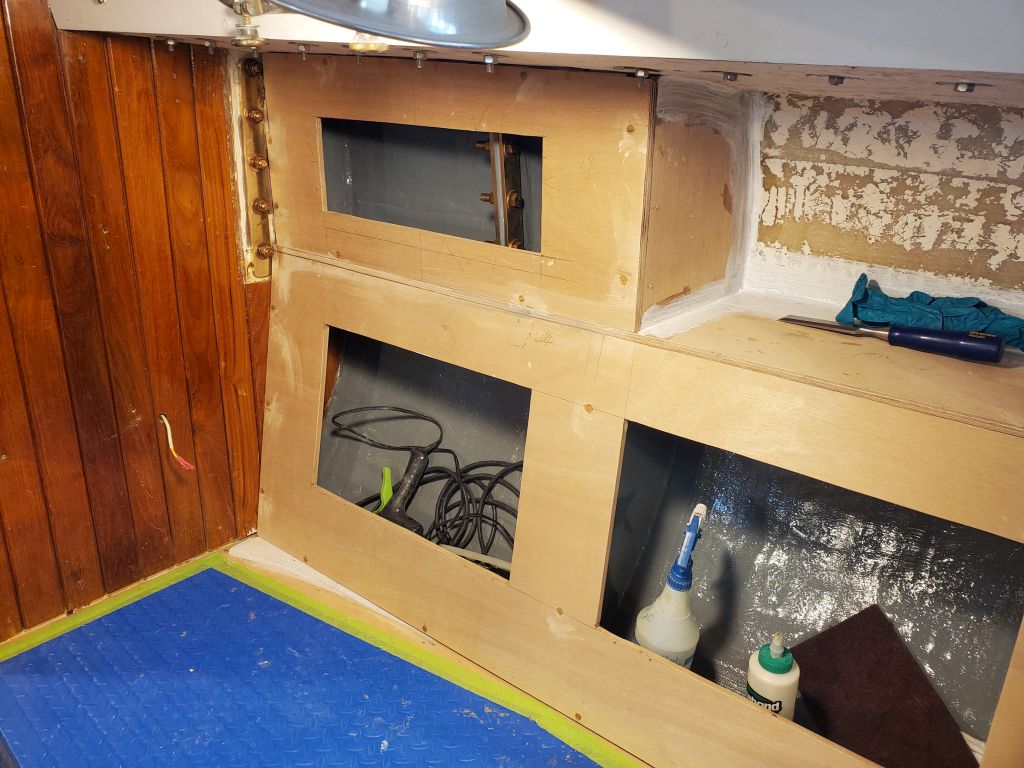
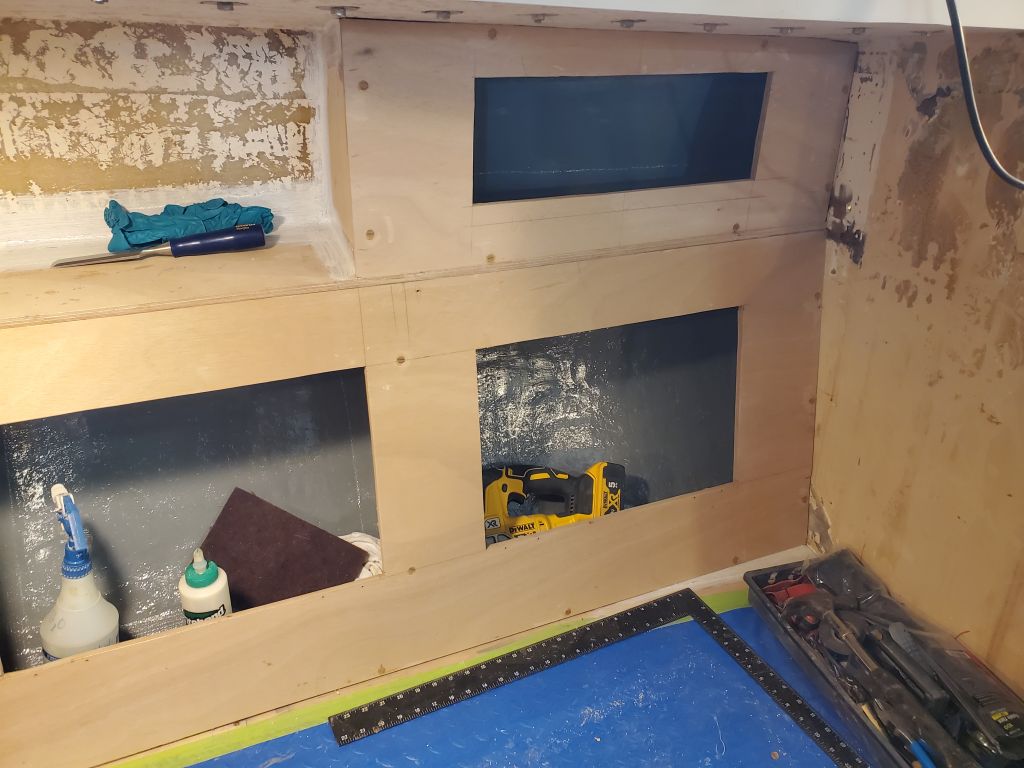
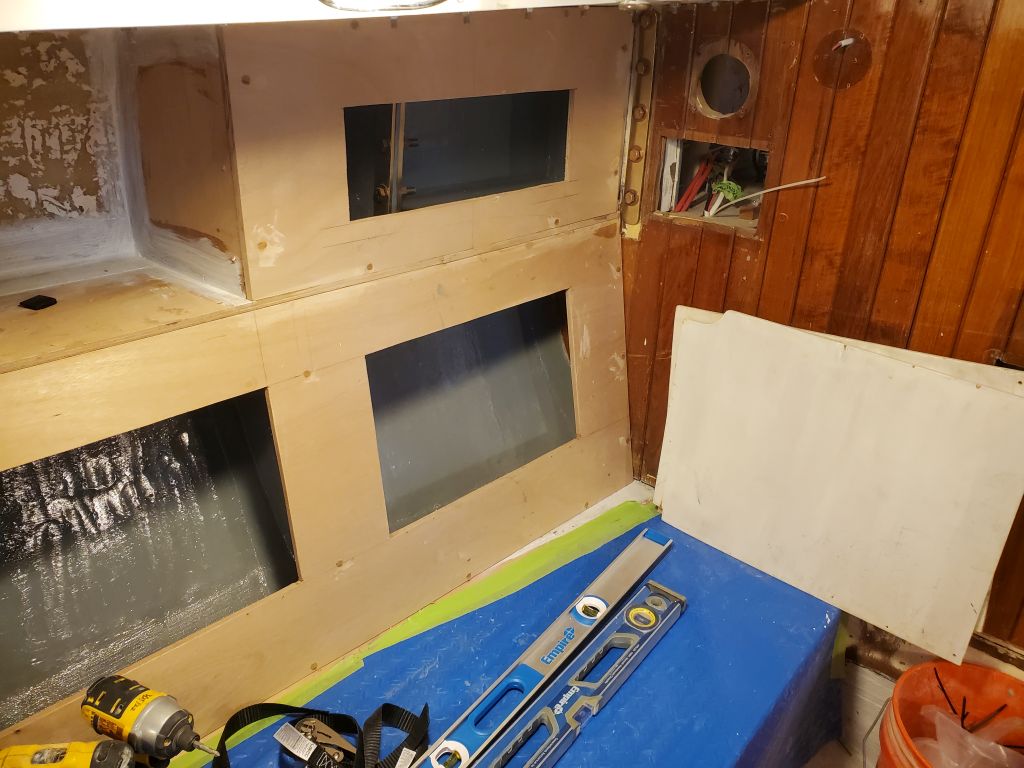
Using the thin plywood patterns I’d recently made for the front of the engine room, I cut two new panels from 12mm plywood: the starboard panel incorporated the short section traversing the engine opening itself, with a separate, smaller panel to port. To support and secure the seam between the new panel and the existing bulkhead on the starboard side, I installed a wide cleat with glue and screws from behind. Then, with temporary fasteners, I secured these in place to check the fit; I’d left the top edges intentionally long so I could mark the proper height in place. In keeping with the removable port galley concept, the narrow panel on the port side would also remain removable should the post and lower section of the refer/wiring compartment ever need to be removed for access.
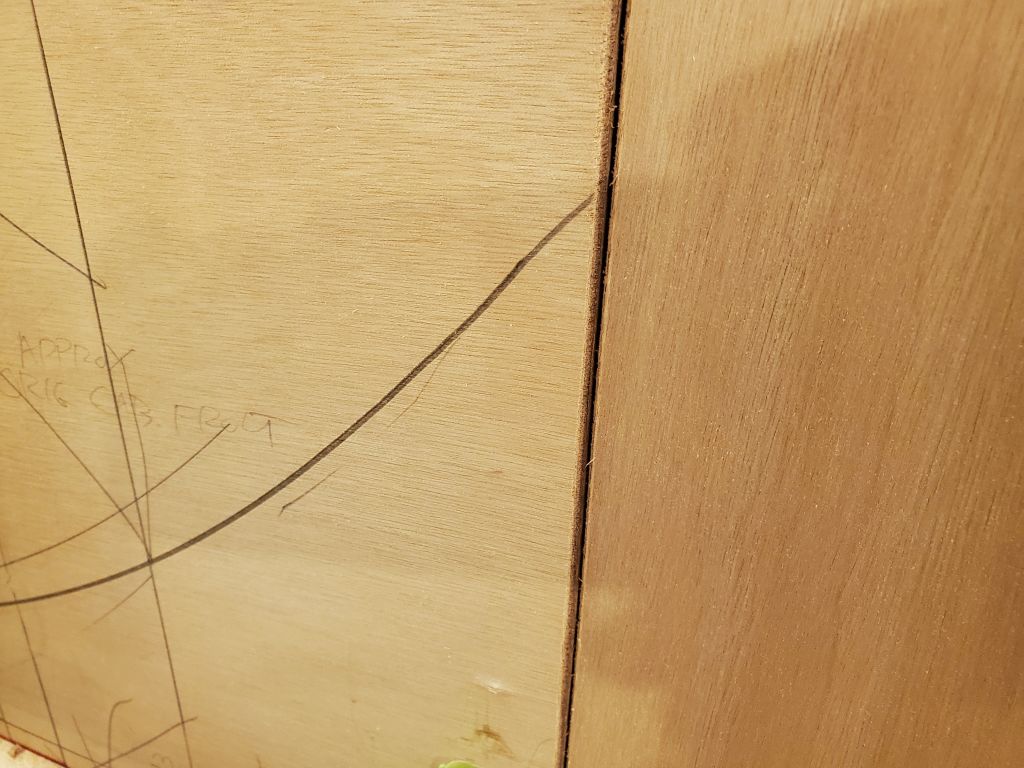
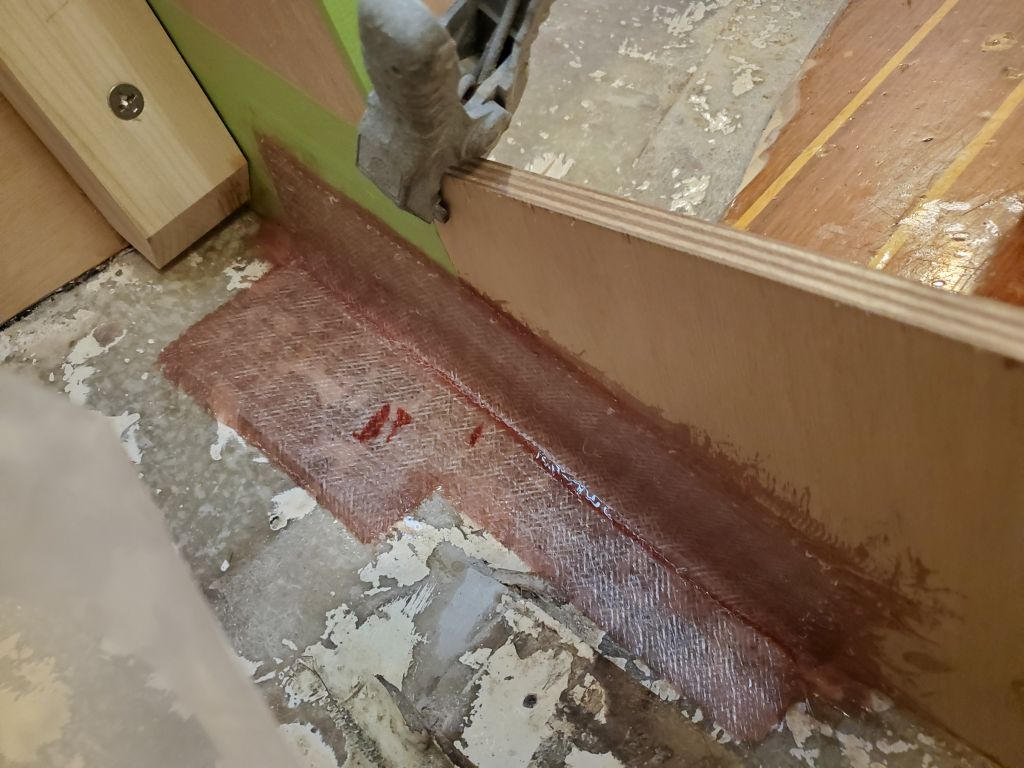
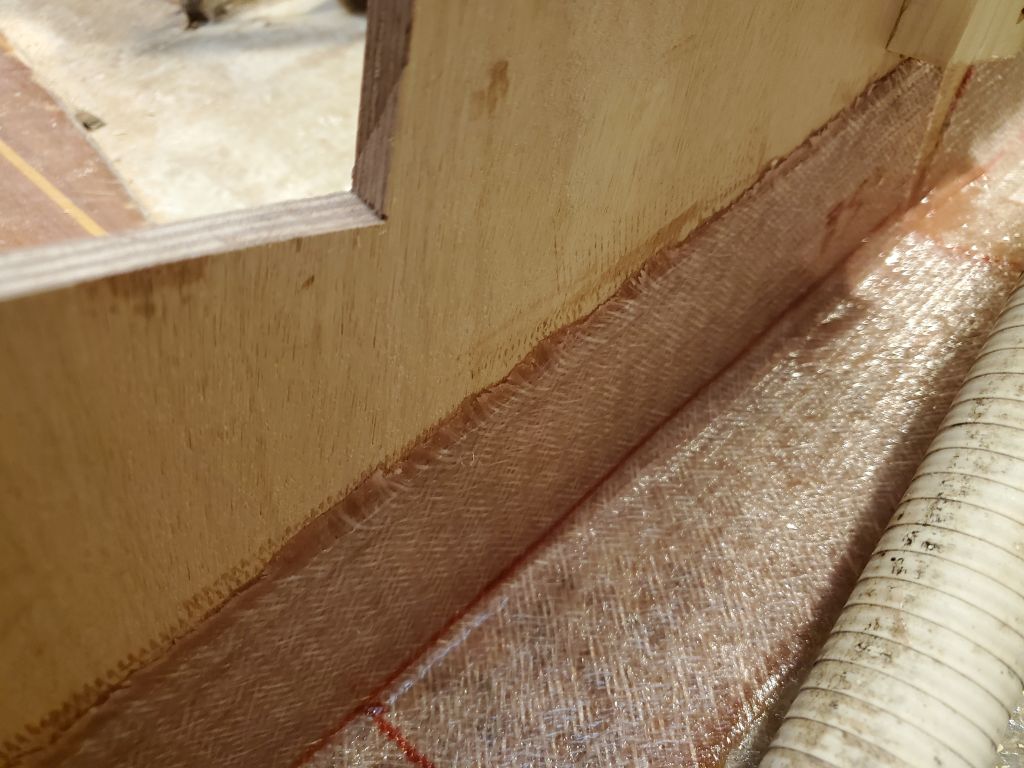
After marking the proper height of the panels, and making marks on the hull for alignment later, I removed them for final trimming and preparations for installation. The L-shaped starboard section would be permanently affixed, but the port section would remain removable (though actual need to remove this panel would occur seldom, if ever). To help secure the lower edge of the removable section, as well as tie it in with the bottom section running across the engine space, I planned to install tabbing from the engine room side, but in such a way that it wouldn’t bond to the plywood of the removable section. For this, I applied masking tape over the edges and back side of the panel, which would give me the mold release needed. At the flush seam on the starboard side, I sanded a small chamfer on each piece to form a little V-profile when the sheets were abutted, which would give a place for epoxy filler to smooth the seam. Just before installation, I coated the bottom edges of the plywood with epoxy to protect them where they met the hull.
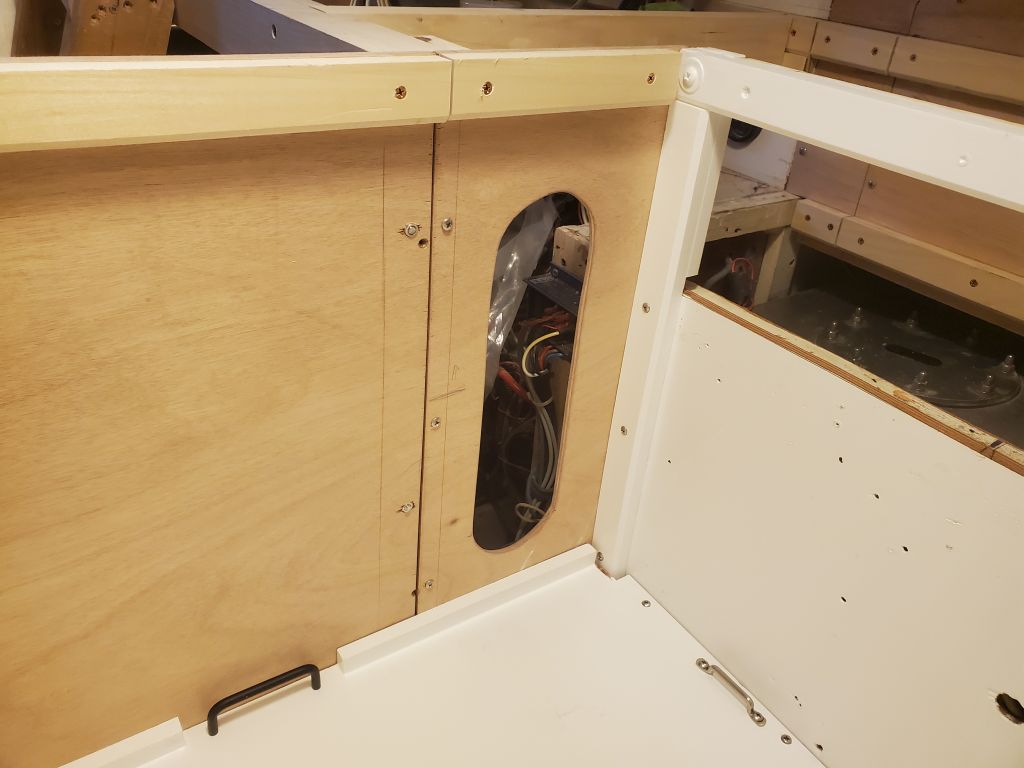
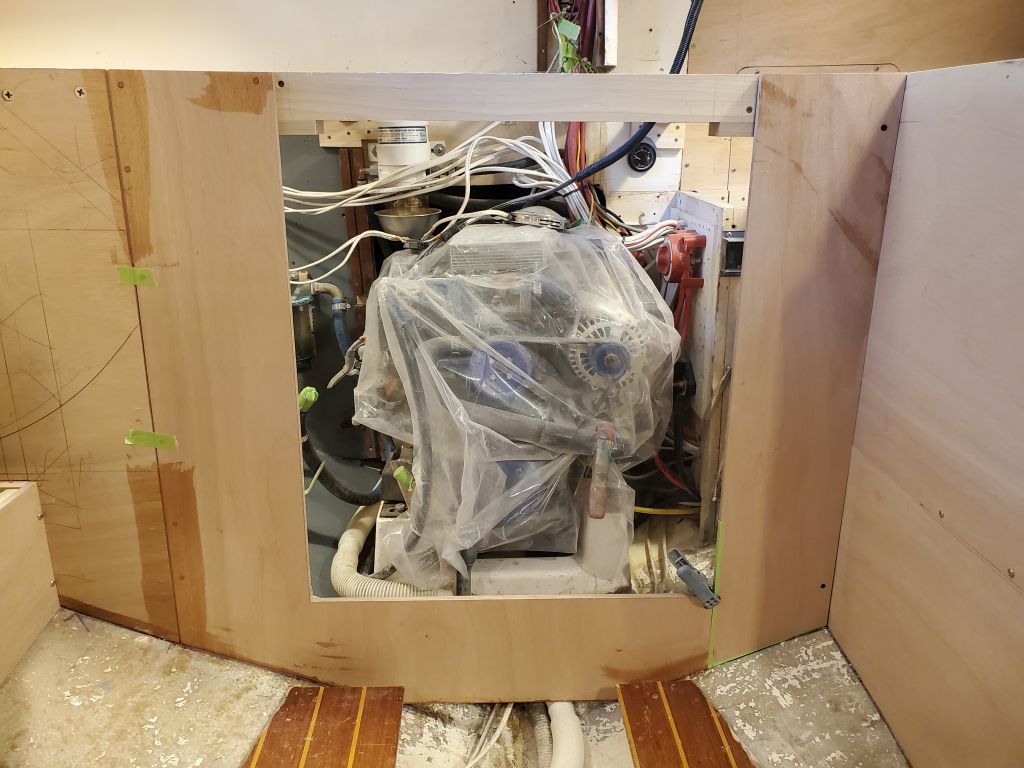
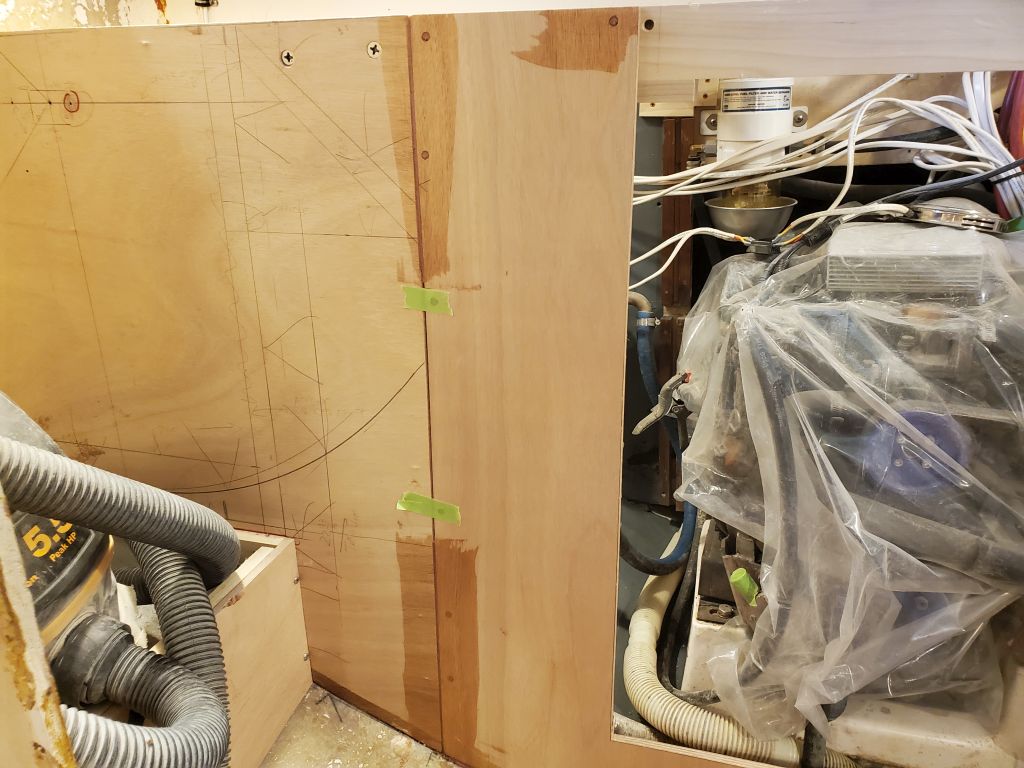
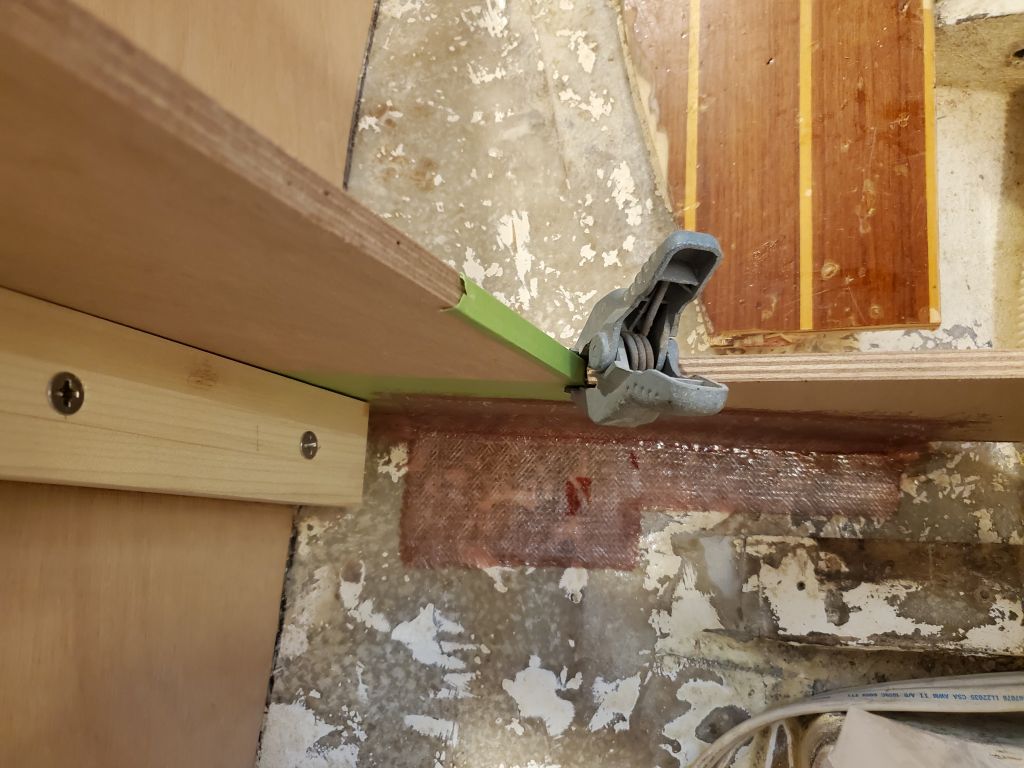
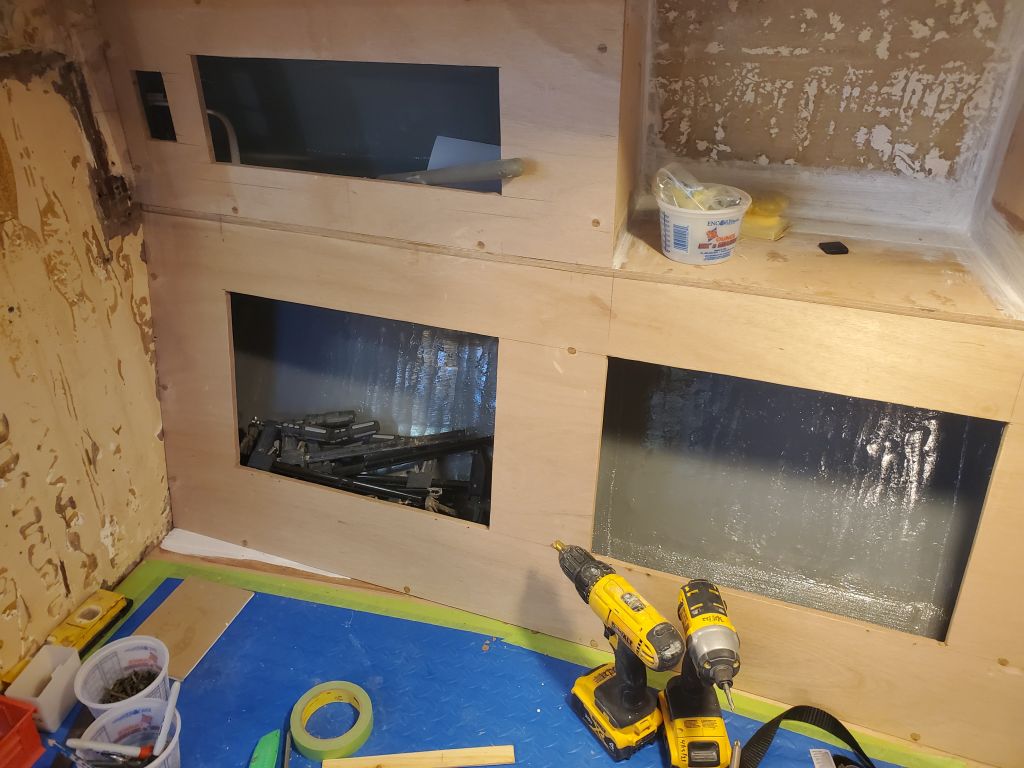
For final installation, I secured the starboard panel first, with epoxy to bed against the hull and waterproof glue and screws to secure it to the cleat on the vertical seam. I put a couple temporary screws in the section where I planned to cut the access door later (the door opening would be somewhat larger than my mockup, as large as possible in the given space), and some permanent screws as needed to secure the piece to the cleats. I installed the port panel dry, with just a couple temporary screws.
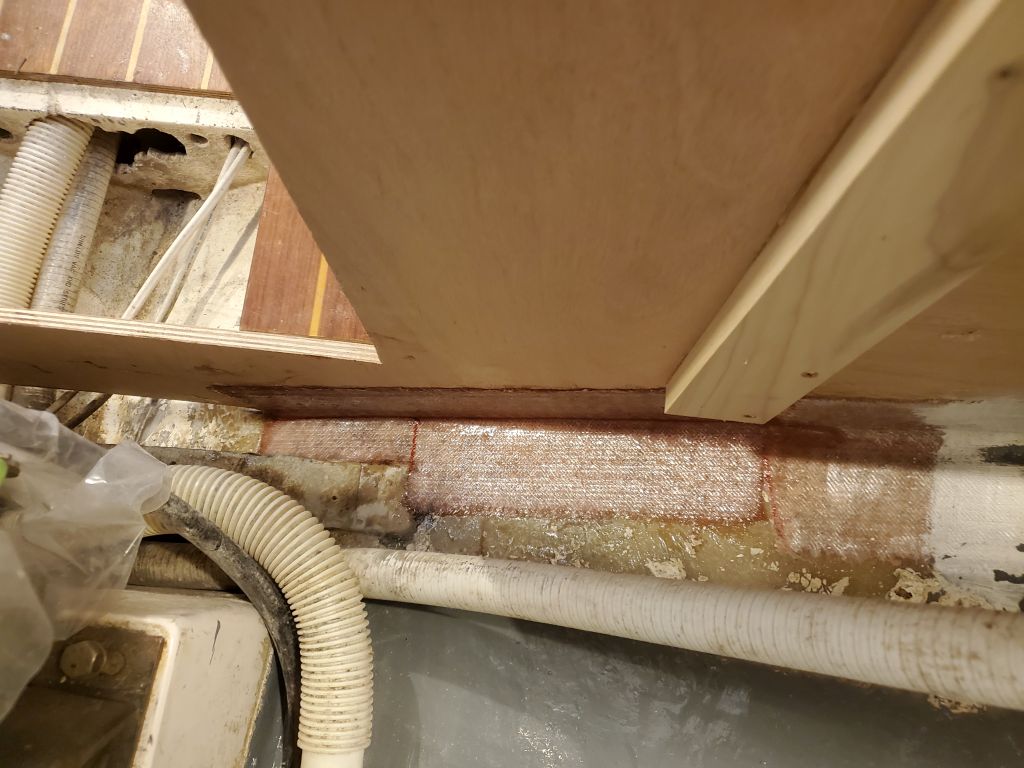
Once the panels were firmly in place, I applied epoxy fillets to the joints where they met the hull, then installed tabbing set in epoxy resin to finish things off. (I’d previously sanded and cleaned the faying surface on the hull for this.) I applied the fillet and fiberglass right over my tape-protected port bulkhead, trusting that the part would release later once the epoxy had cured overnight.
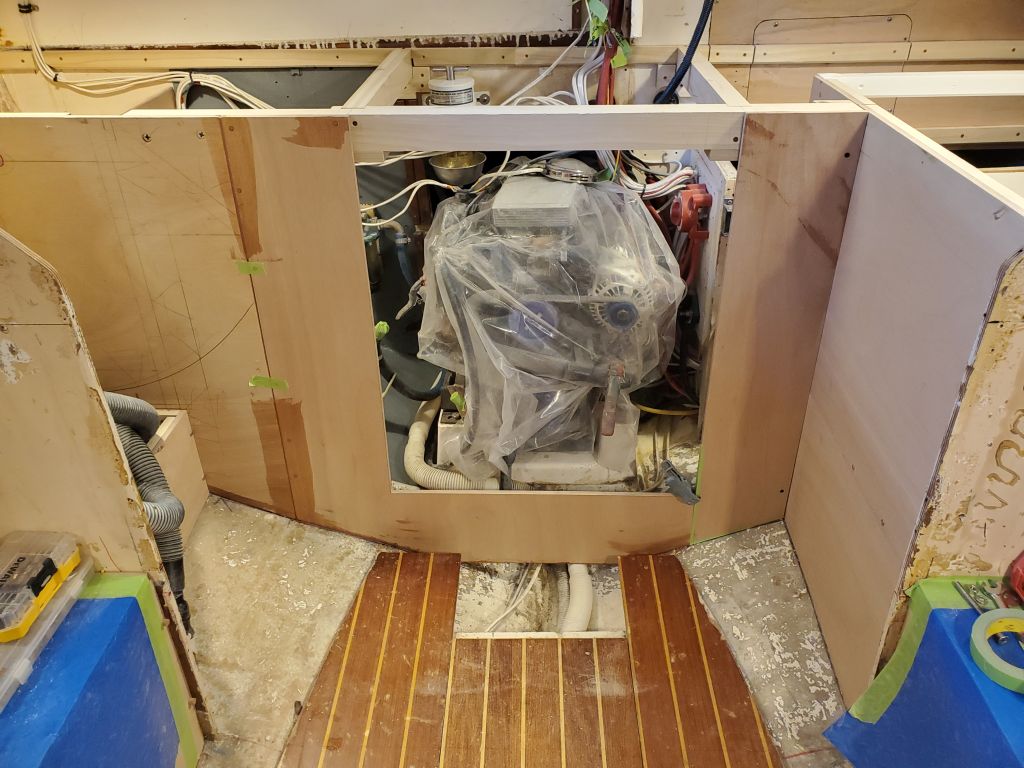
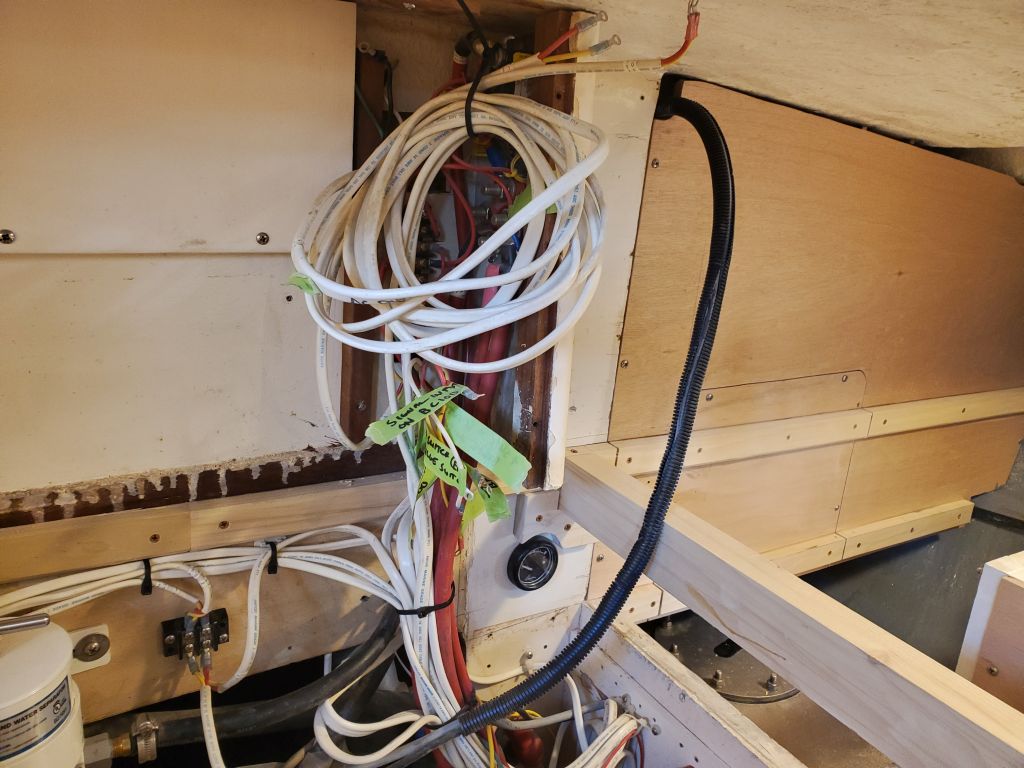
With the engine room/galley front finally in place, I took a moment to re-secure the wiring through the engine room, which mounting I’d partially disconnected during the installation of the support beams earlier. I also led the wiring for the AC outlet and propane controls–which in the original galley had been mounted in front of the stove–back up to the aft end of the engine room near some existing wiring for eventual installation in a new upper galley cabinet face there when the time came, as the galley as it had finally come together didn’t leave adequate or user-friendly room for these installations in the panel beneath the sink, particularly since increasing the size of the locker door opening was paramount, and actually the new location would probably be better in all ways anyway. I also mounted a terminal block feeding the engine room light to the aft bulkhead; the light would get installed on the underside of the countertop once complete.
To round out the day, I chiseled away the excess bungs from the settee cabinets. These cabinets would soon be sanded in preparation for priming and painting.
Total time billed on this job today: 7 hours
0600 Weather Observation: 17°, clear. Forecast for the day: Mostly sunny, 39°