


January 10, 2024
Calliope Girl 40
Wednesday
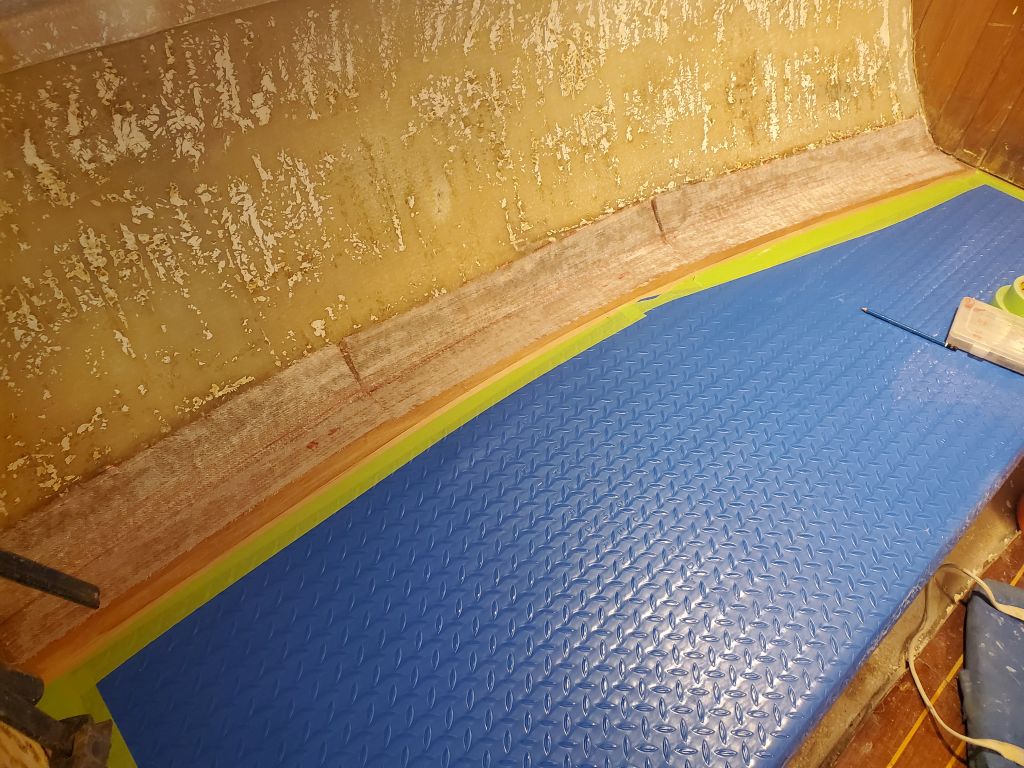
To begin, I quickly and lightly sanded the fresh fiberglass tabbing on the settees, readying the area for whatever came next.
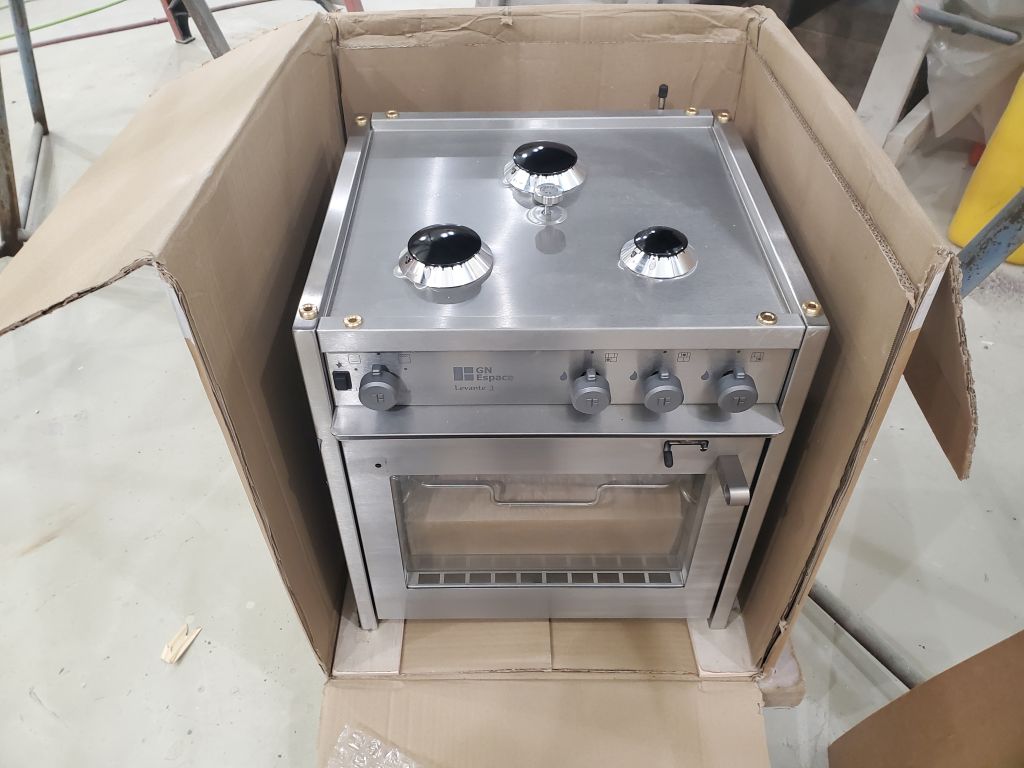
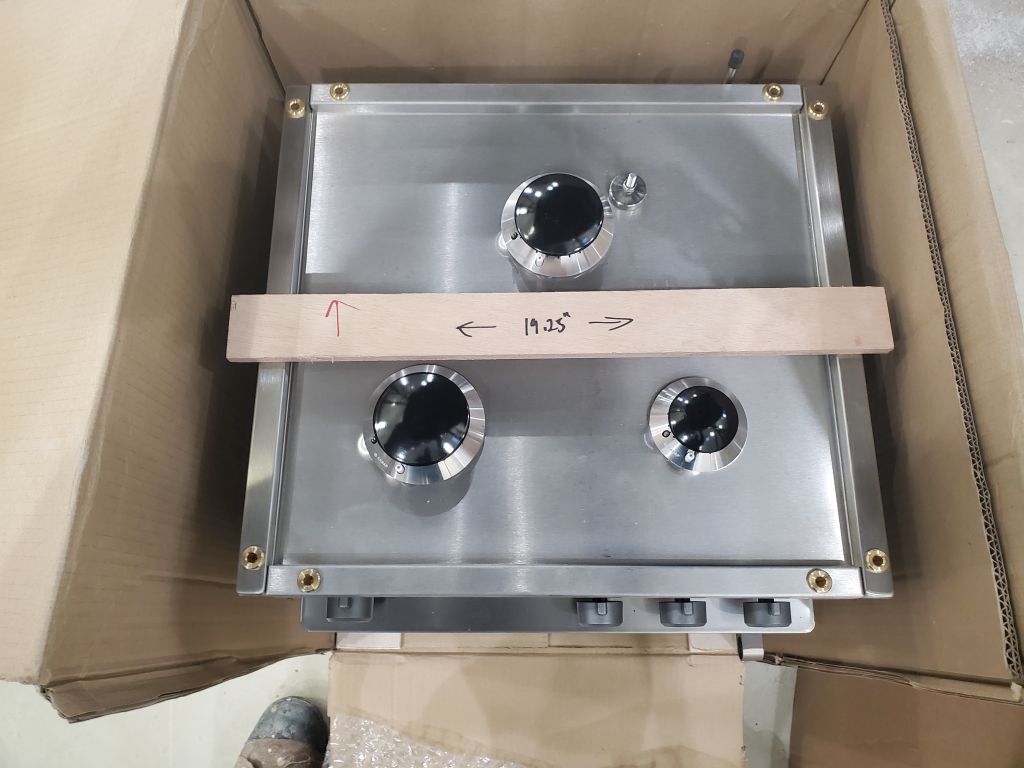
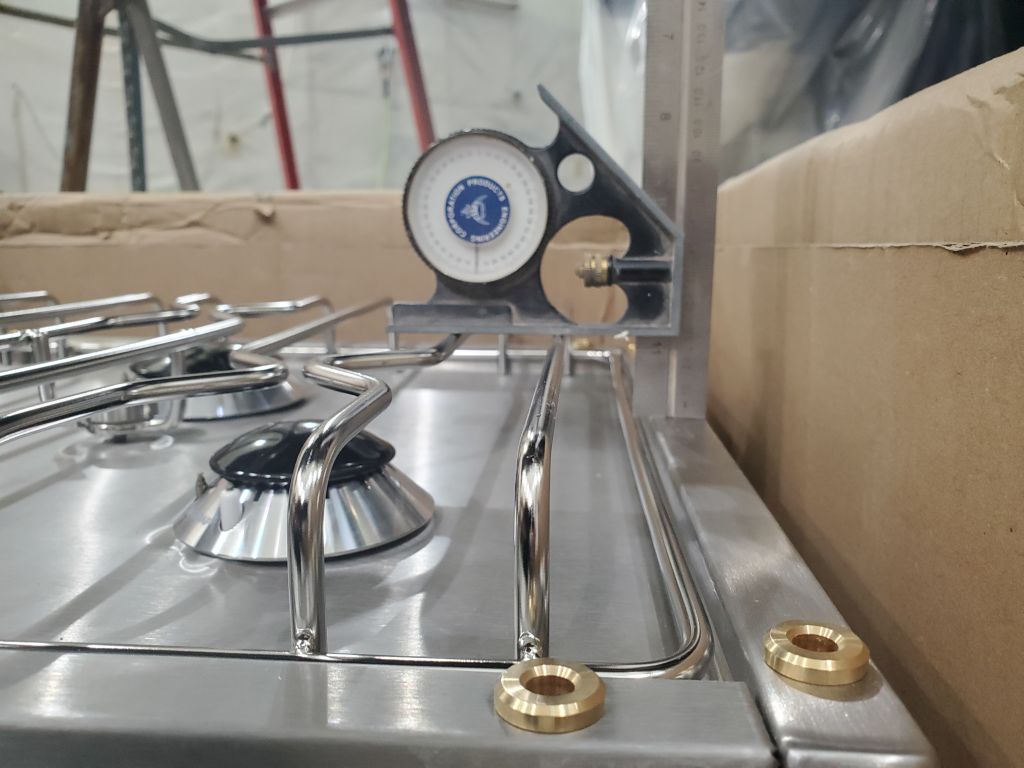
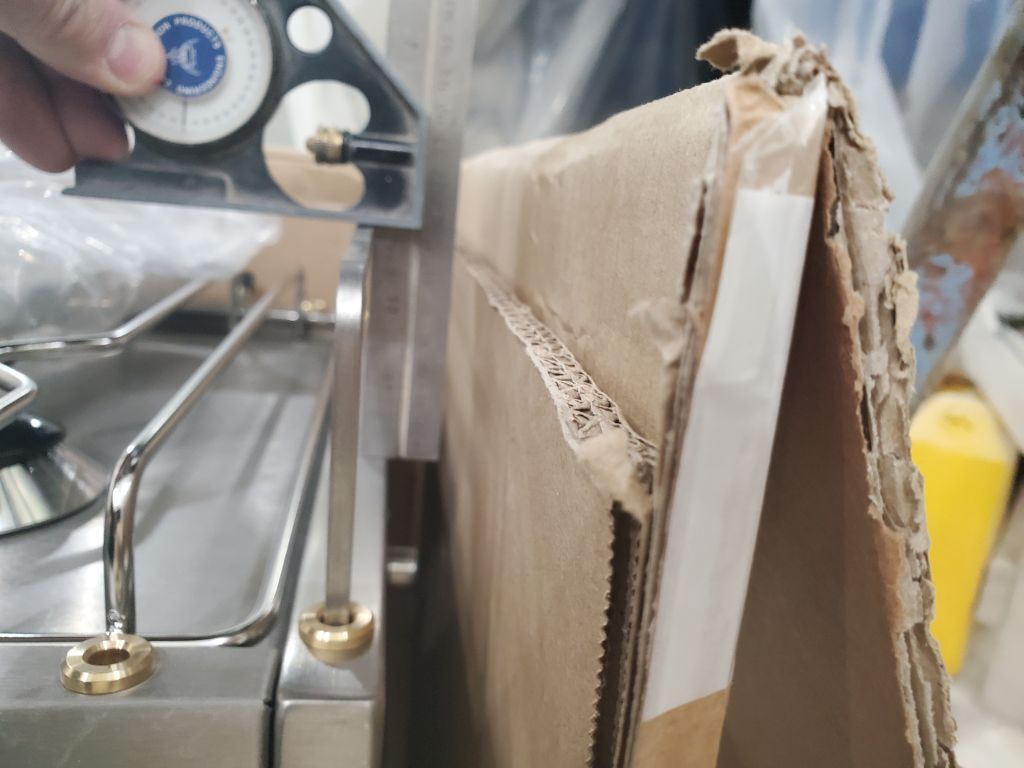
With the actual stove, I confirmed various measurements from the drawing and to ensure my layout so far would fit the actual stove. I also measured the additional height of the stove grill, which fitted over the burners, and the removable pot clamp holders that fit in all four sides of the stove. These added 1-3/16″ and 2-15/16″ respectively to the height of the stove itself. Consulting with the owner, and looking at various images of these stoves installed in other boats, we decided that the stove should be mounted with the top of the box itself flush with the countertop. This gave me information that I’d need to work out some initial layout.
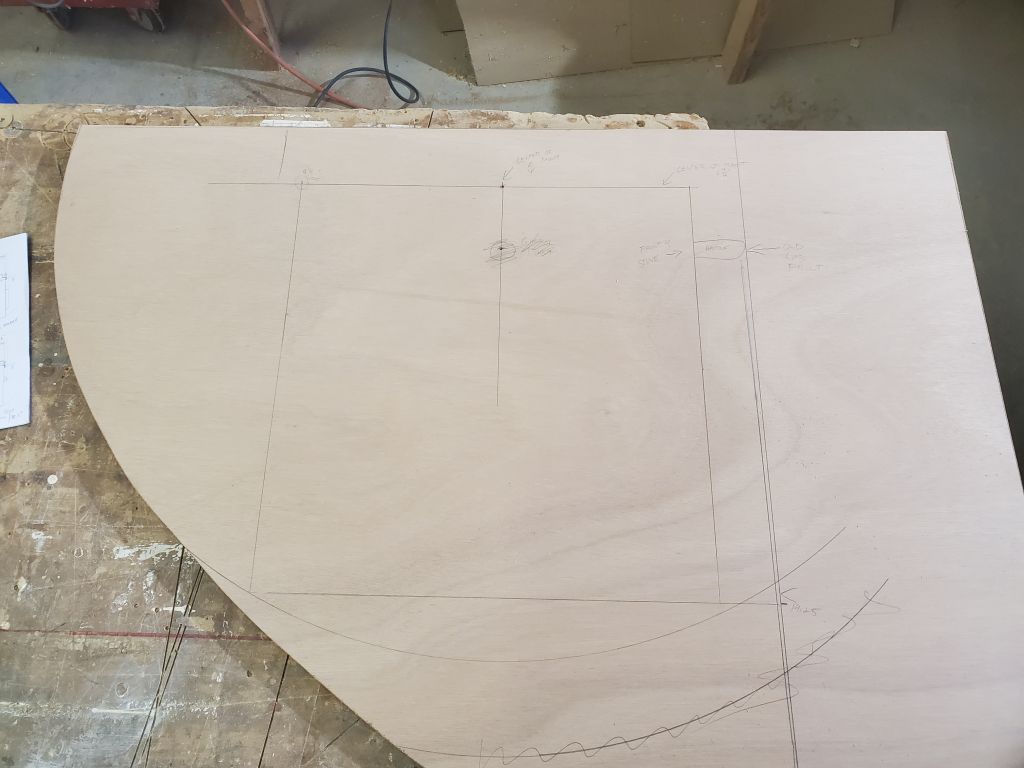
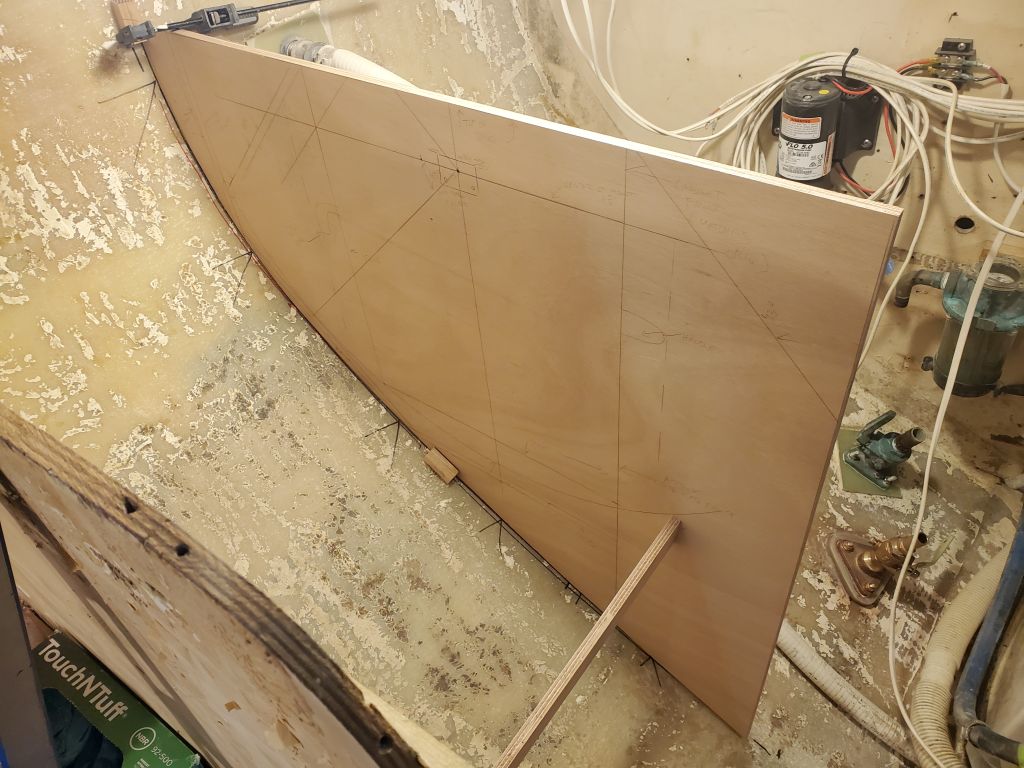
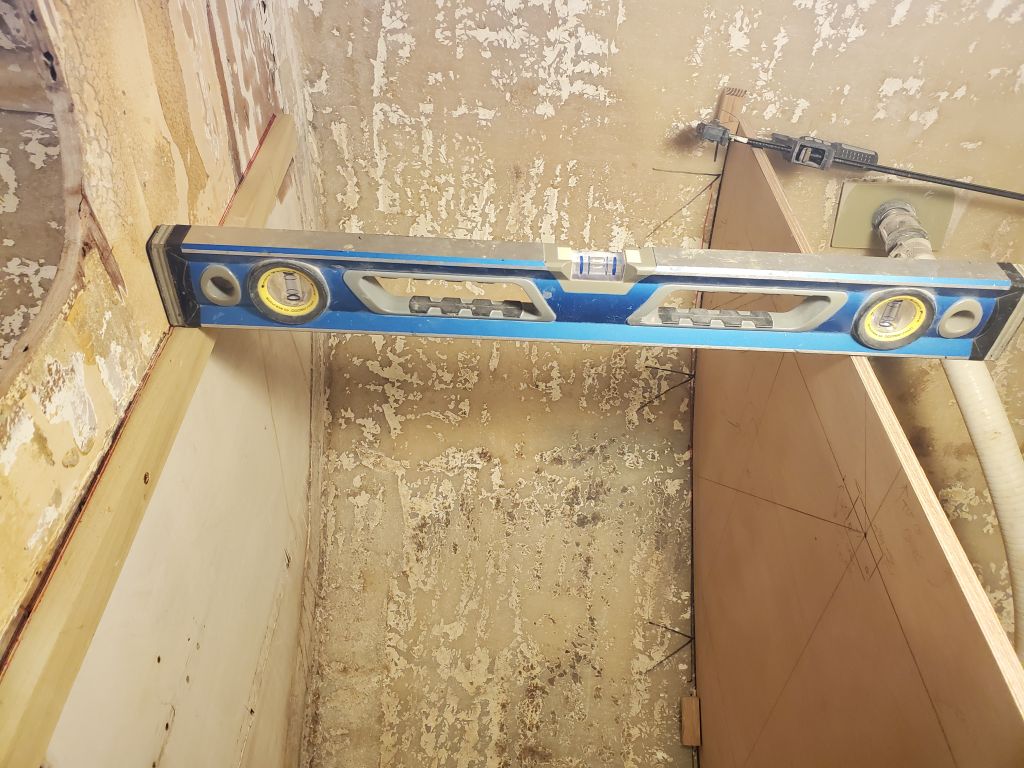
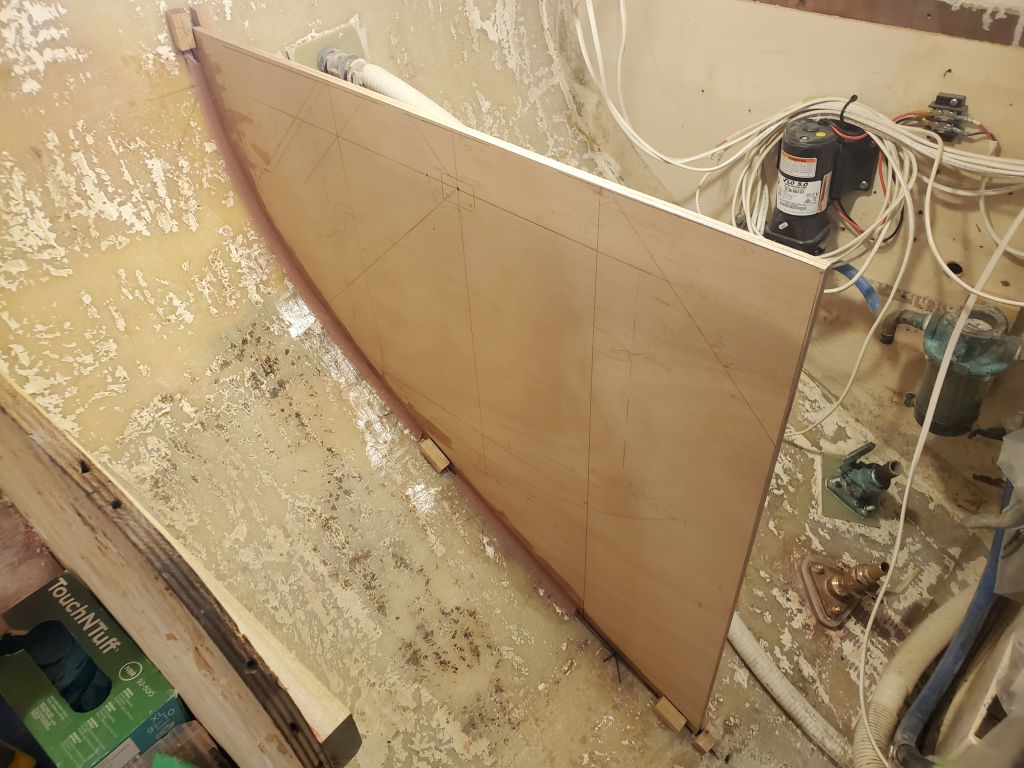
I trimmed the bulkhead blank to the level and plumb lines I’d marked when it was in the boat–the outermost of the two plumb lines, which was in line with the edge of the forward bulkhead. I could trim this further back later, though since the face of the cabinets was likely to continue in this same plane all the way across the engine room and to the port side, ultimately the location of this seam wasn’t that important, unless I incorporated it into a fully-removable panel. These unknowns would make themselves clear enough in the near future.
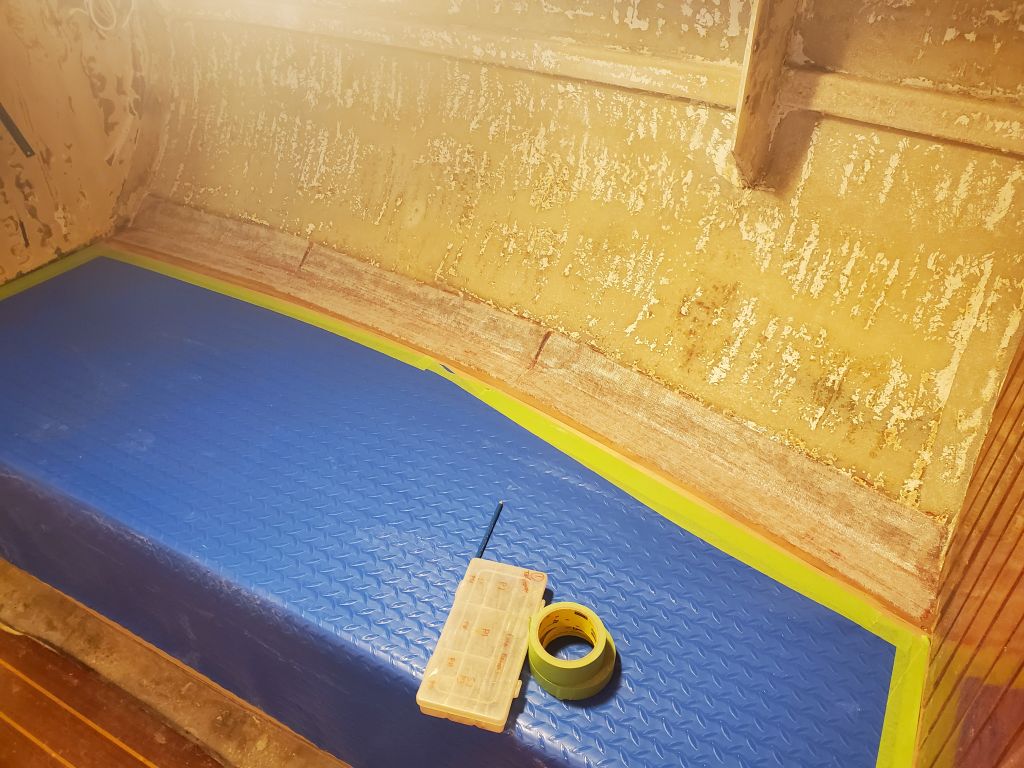
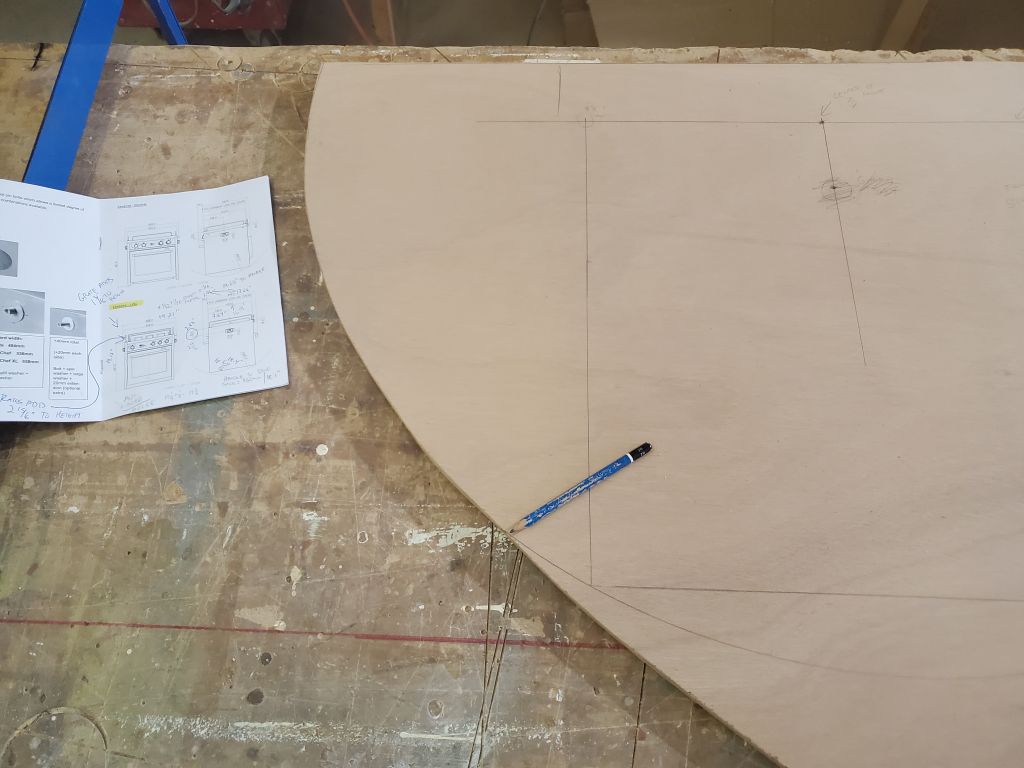
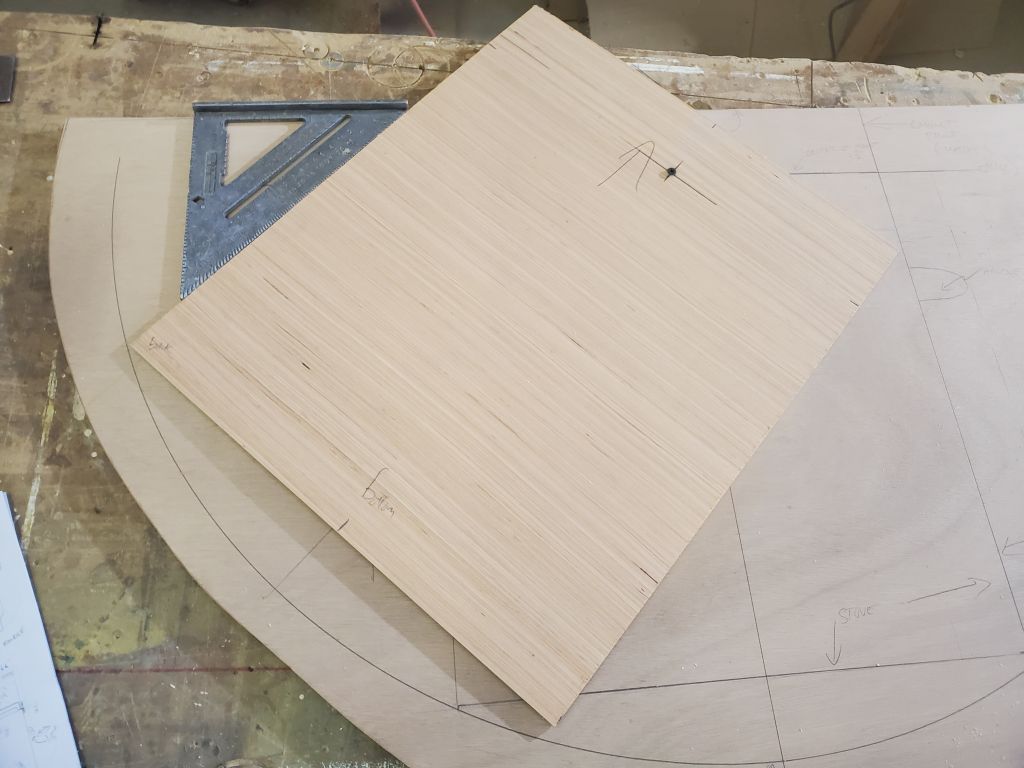
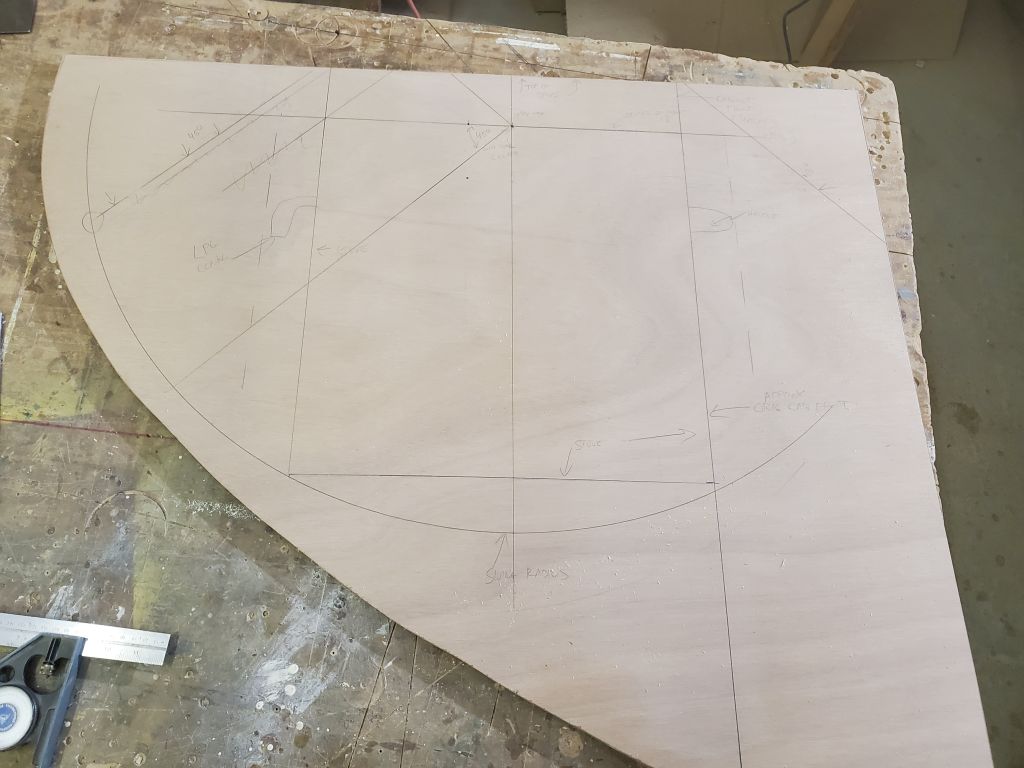
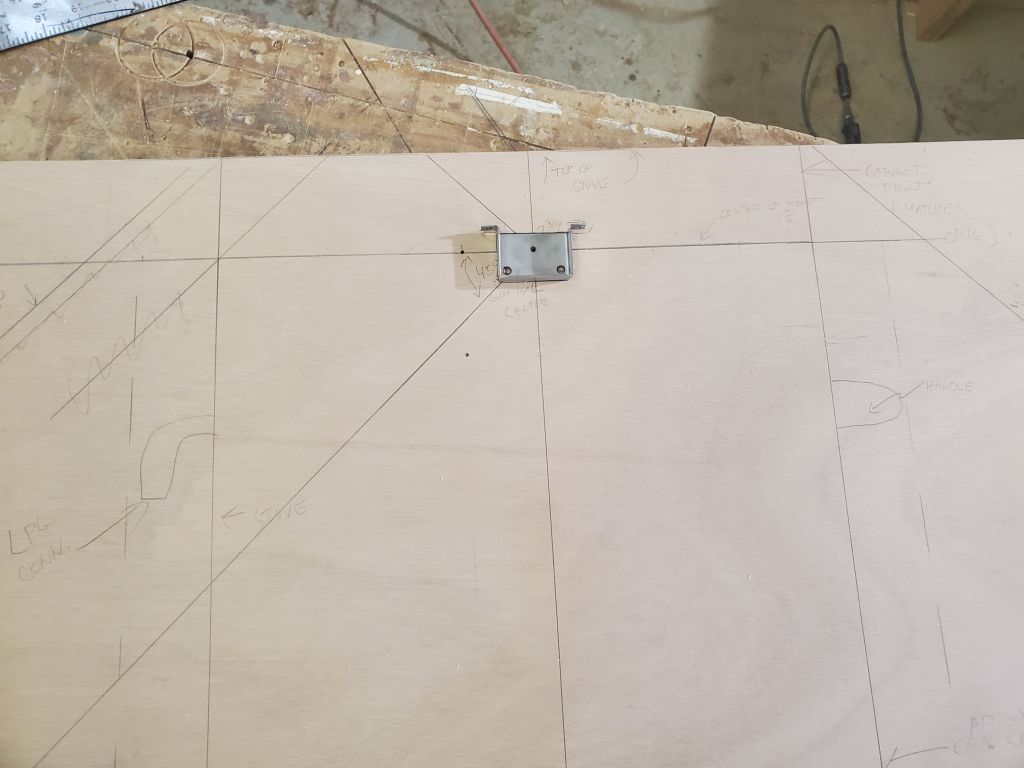
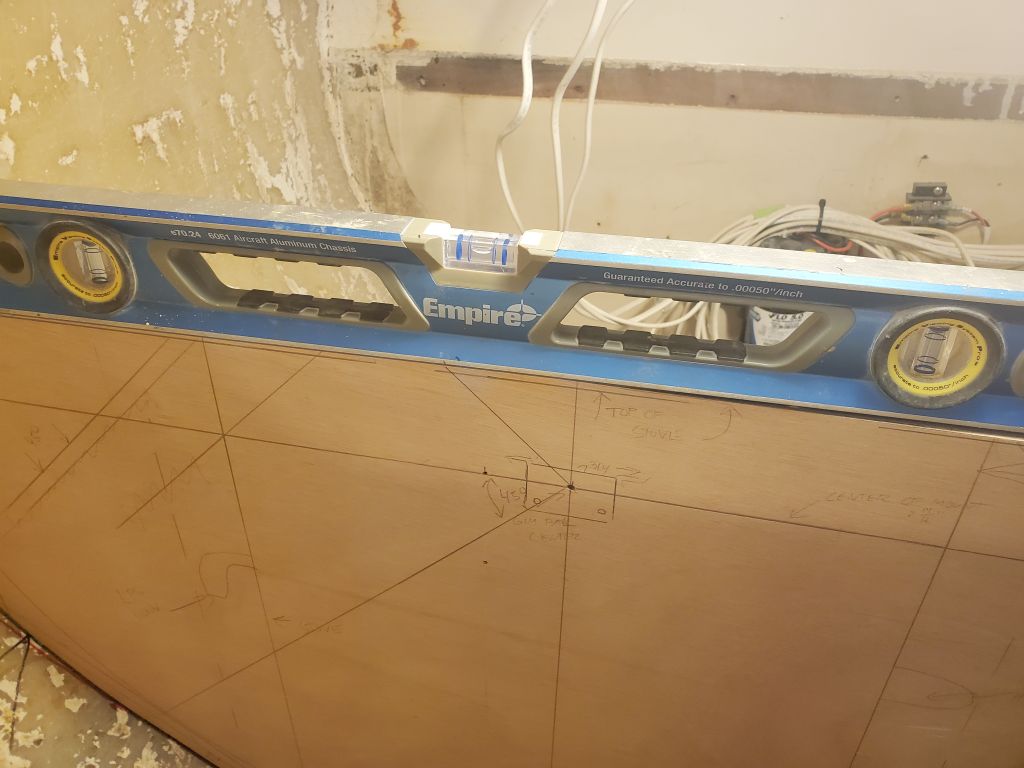
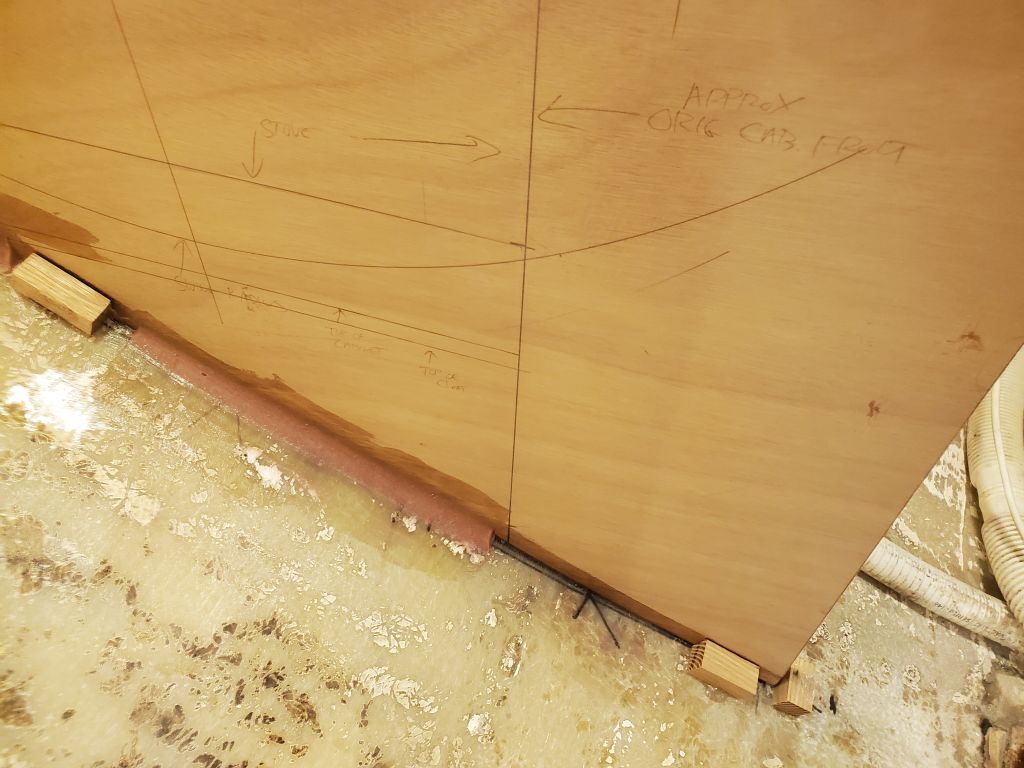
From here, following the information in the stove measurements, I worked out an initial layout, keeping the entire stove–including the oven door handle (2″ proud of the stove front) behind the second vertical line demarking the original cabinet front. One has to start somewhere. I measured and laid out the gimbal center, along with the dimensions of the stove itself, and used a shop-made “compass” to strike the swing radius (just over 18″) on the panel. In this location, I quickly found that the radius ran out before the outboard edge of the bulkhead, meaning the stove would hit the hull long before it reached an adequate swing. The pencil in the final photo points to the spot where the radius ran out.
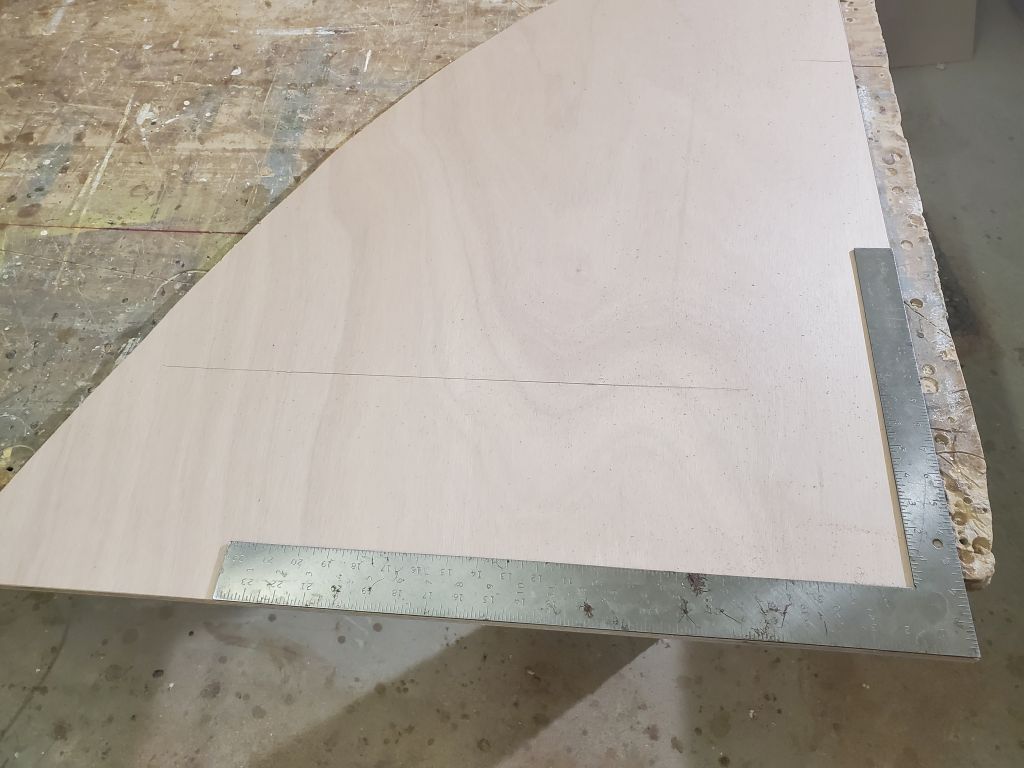
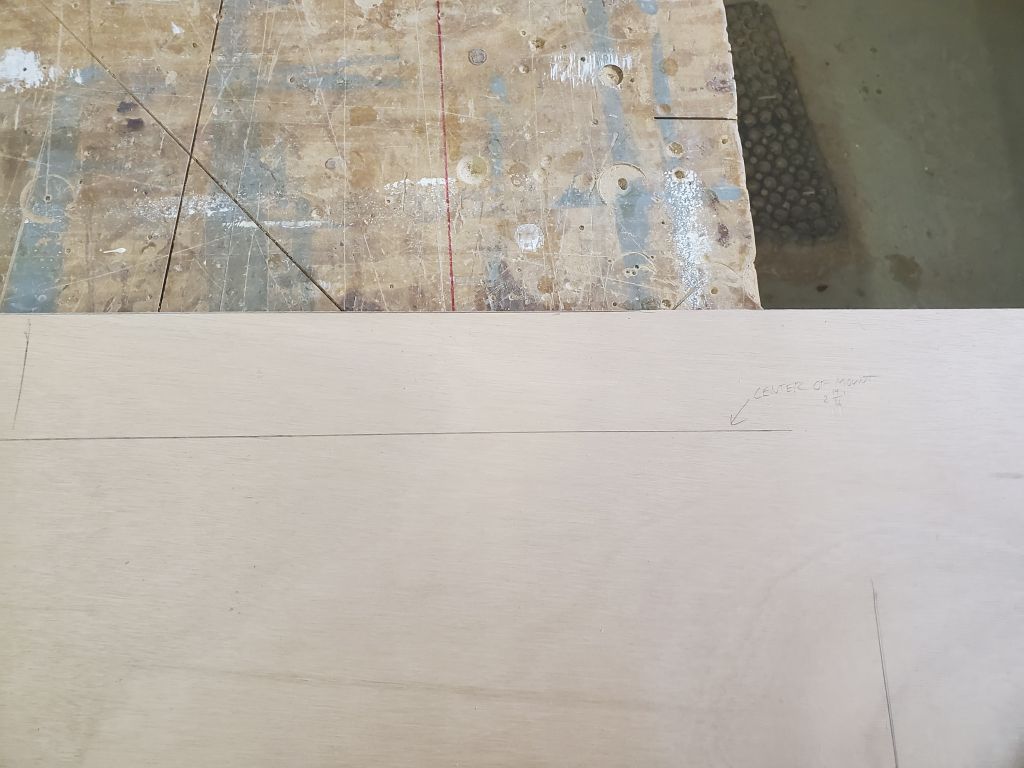

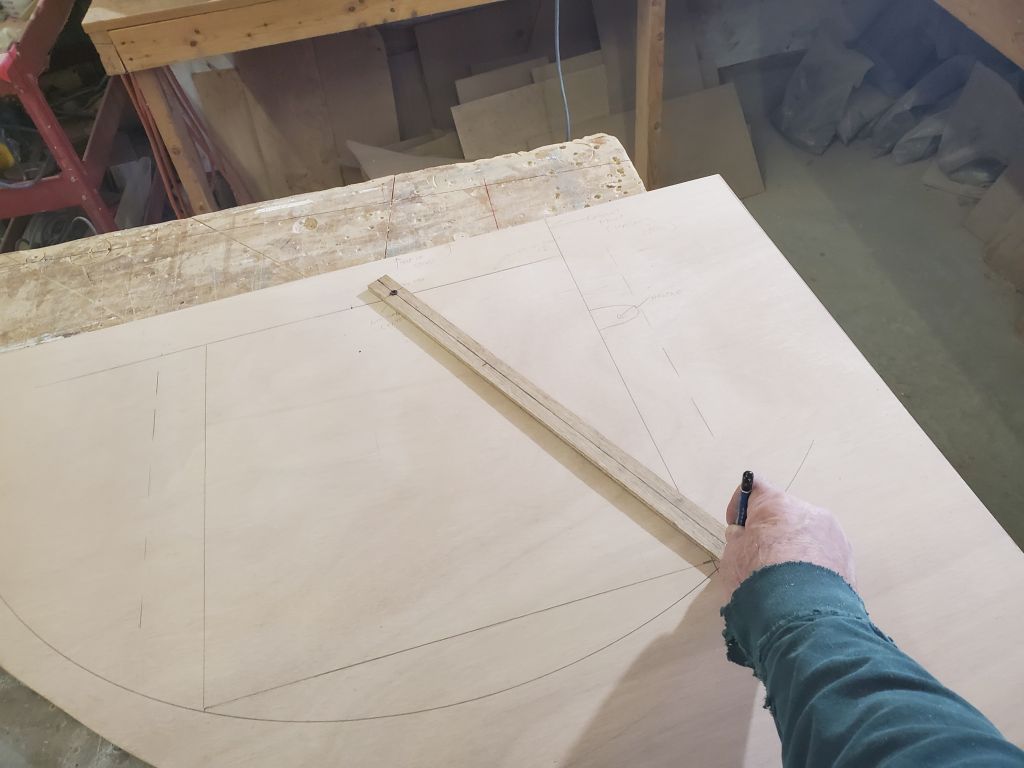
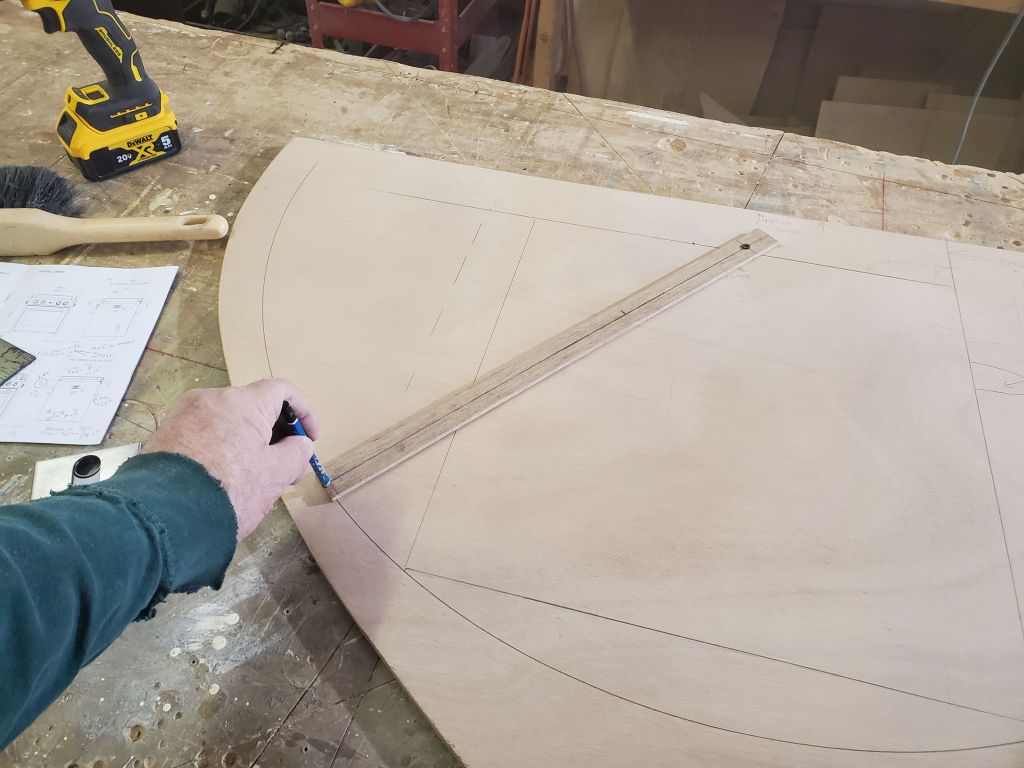
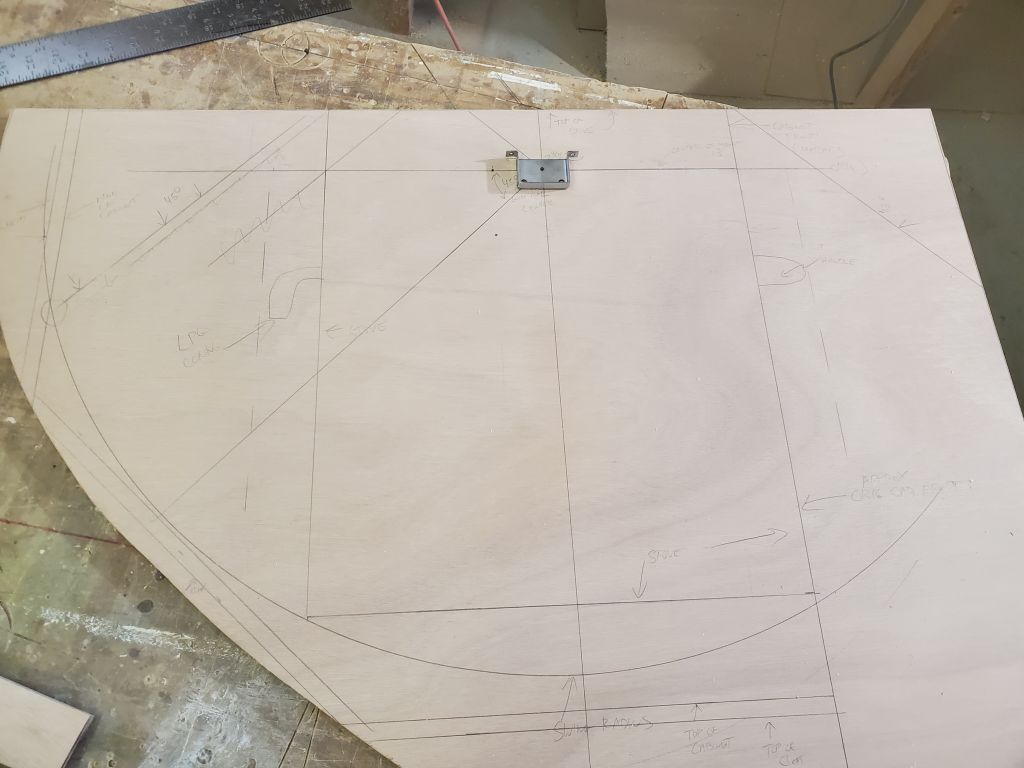
This posed little problem. I sanded off the layout marks I’d made so far and started anew, this time with the front of the stove (not including the handle) moved out to the initial vertical layout line. I wanted to keep the stove as far outboard as possible to allow plenty of room to work between the companionway ladder and the stove, and to allow swing room inboard when underway. In this new location, 2″ further inboard, the stove fit pretty well. The swing radius cleared the hull at the outboard edge of the bulkhead, with just enough room to build some supporting cleats and panels to close off the space. To figure these locations, I made a simple template of the stove that I “gimbaled” at the pivot point, and swung it to 45° in each direction, which seemed a reasonable maximum gimbal to provide for, and used this mark to locate the outboard vertical bulkhead of the space. When the stove was swung to the max in the inboard direction, the base of the unit stayed nearly within the limits of the space defined by the forward bulkhead face, which would keep the stove clear of the companionway and even allow some access to the galley countertop beyond. This layout confirmed that the stove would fit and swing properly in the given space (the forward end of the space, in the boat, was a bit deeper so no issues there), and while I might slightly manipulate the final location once the new bulkhead was in place and it was time to finish off the opening, I knew that it would fit as hoped and intended, and this basic layout was easier on the bench.

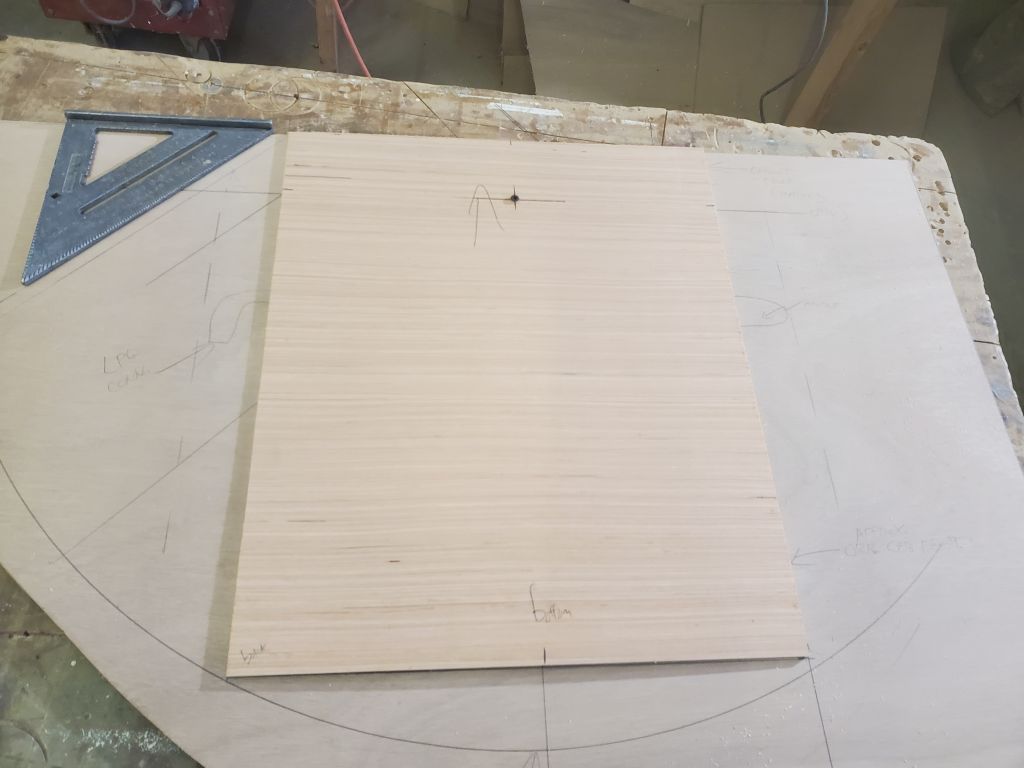
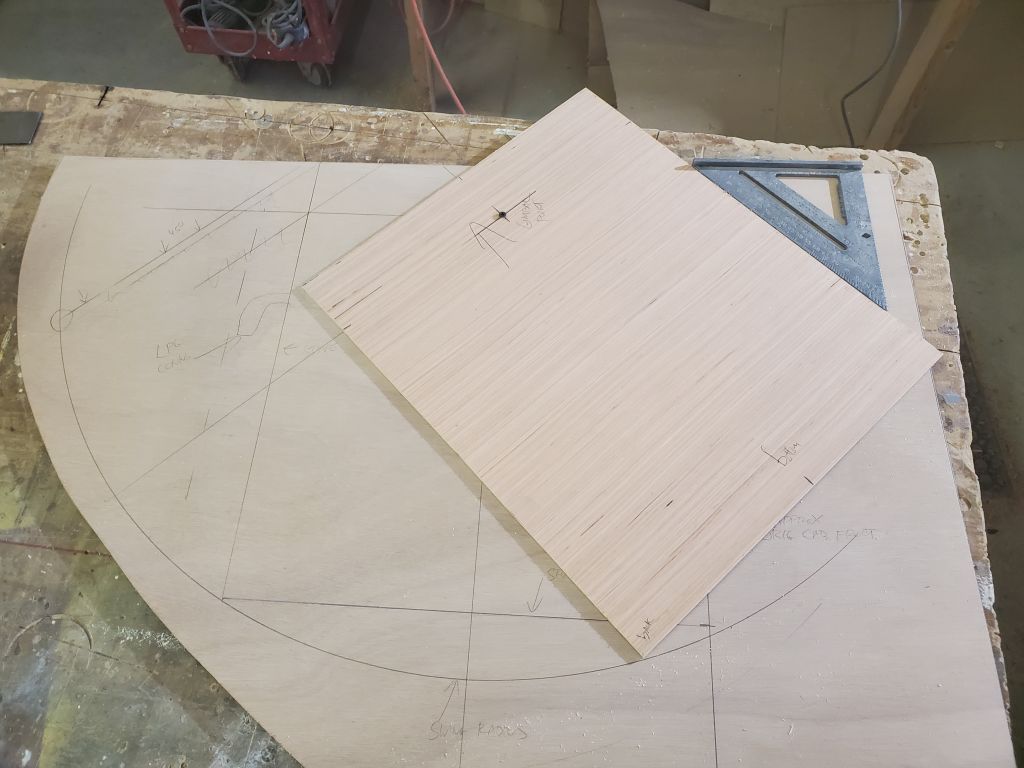
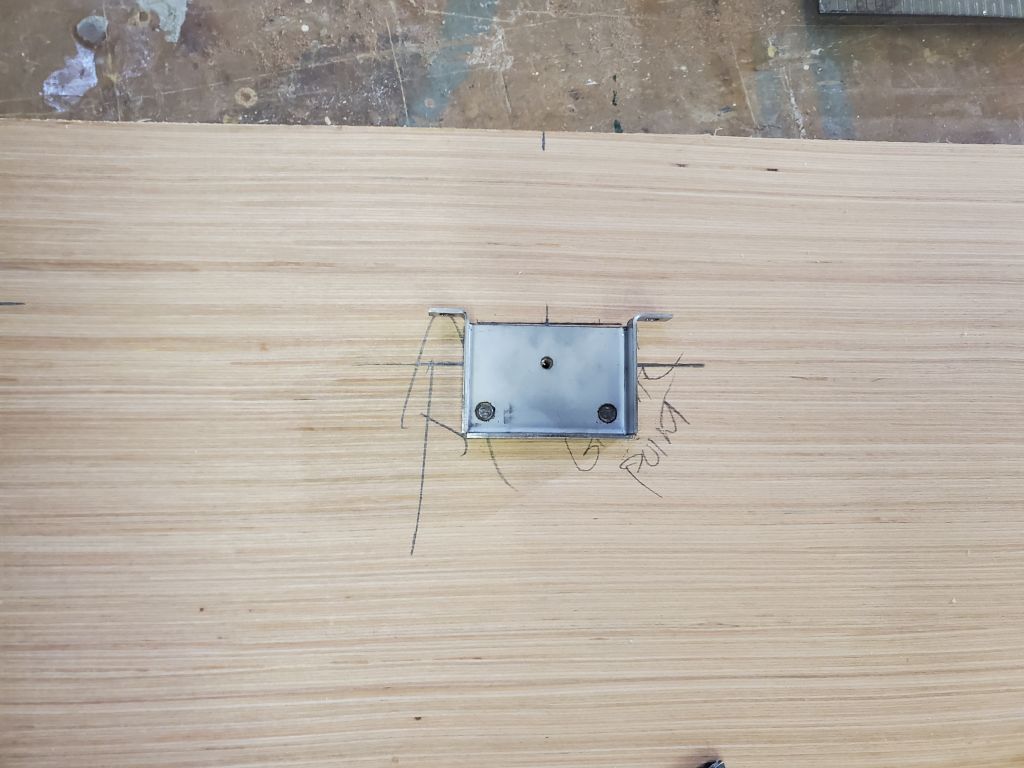
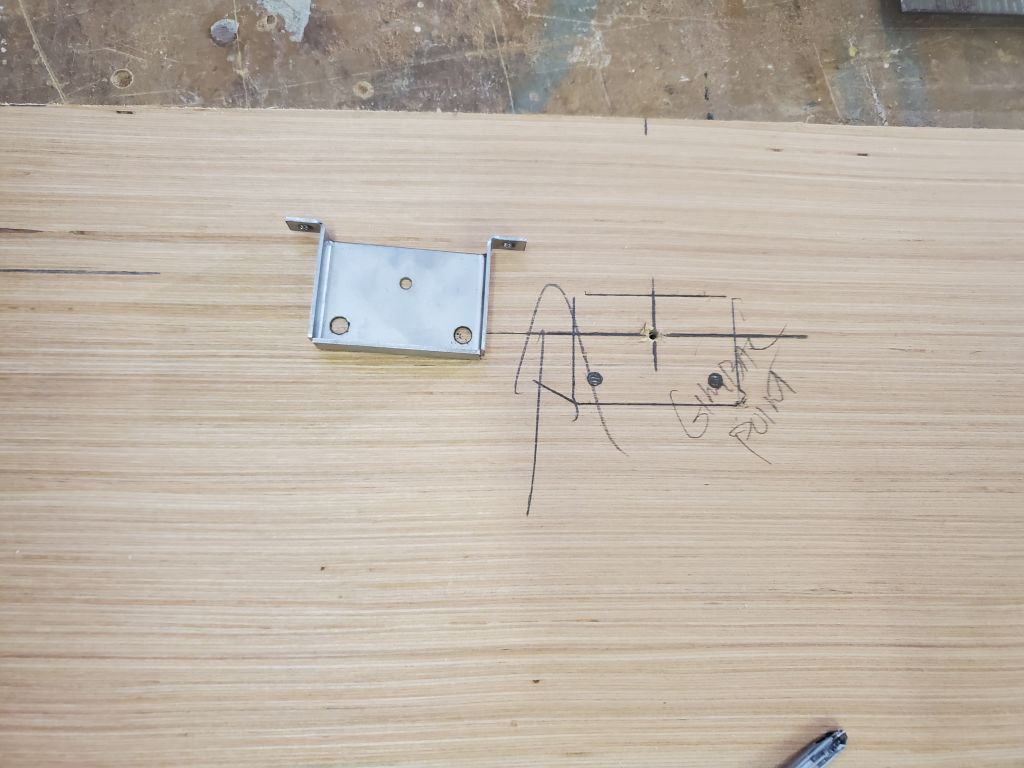
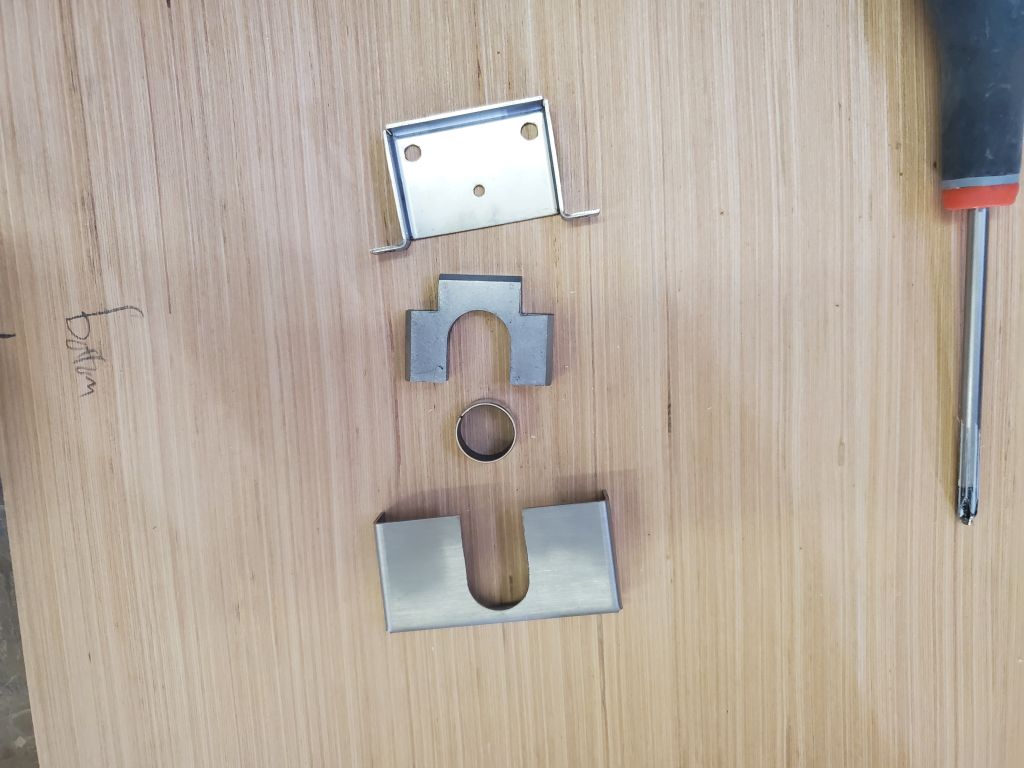
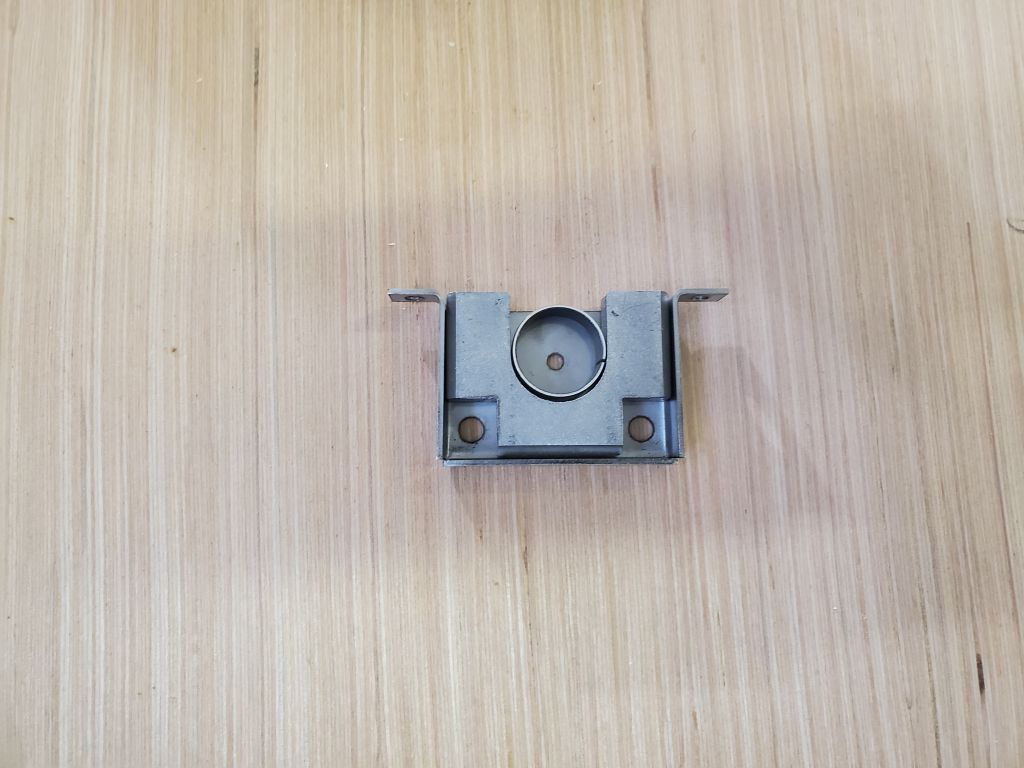
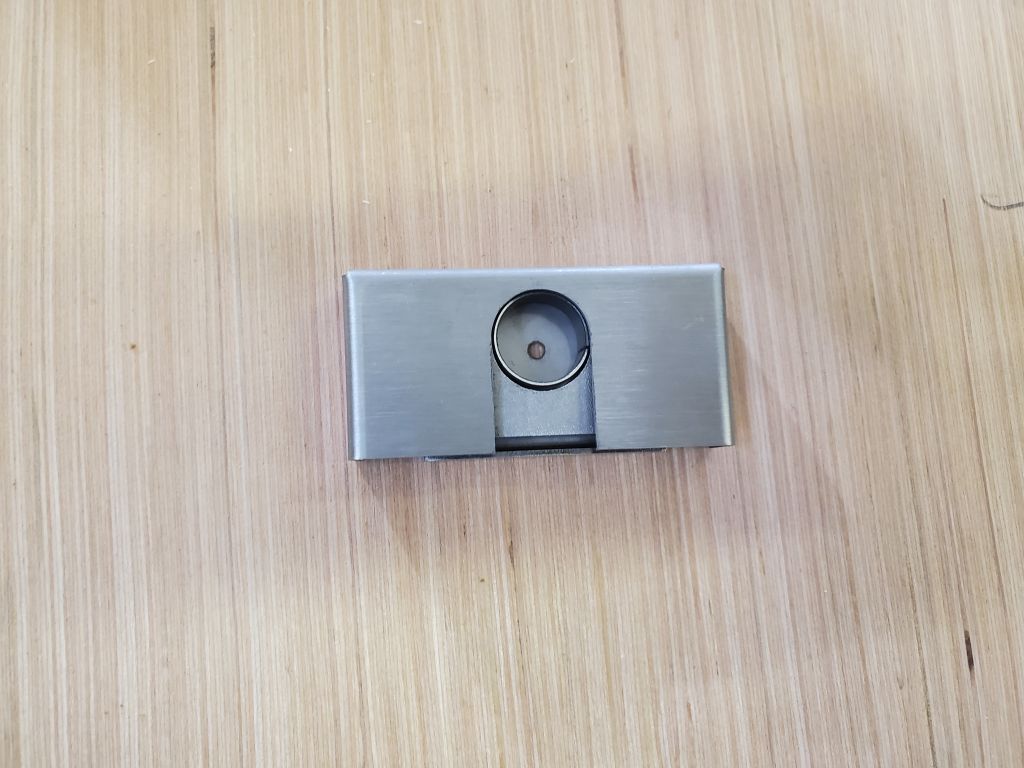
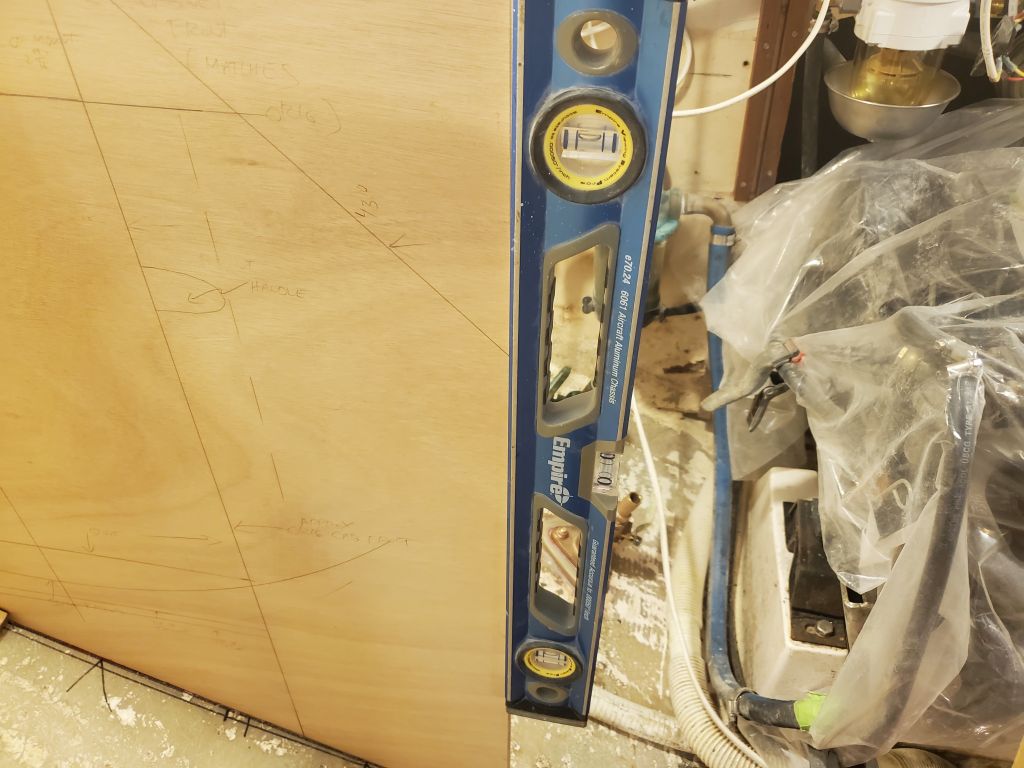
The stove template would come in handy later for locating and mounting the actual gimbal hardware, so I made some layout marks on the template, as well as on the new bulkhead, using the actual hardware.
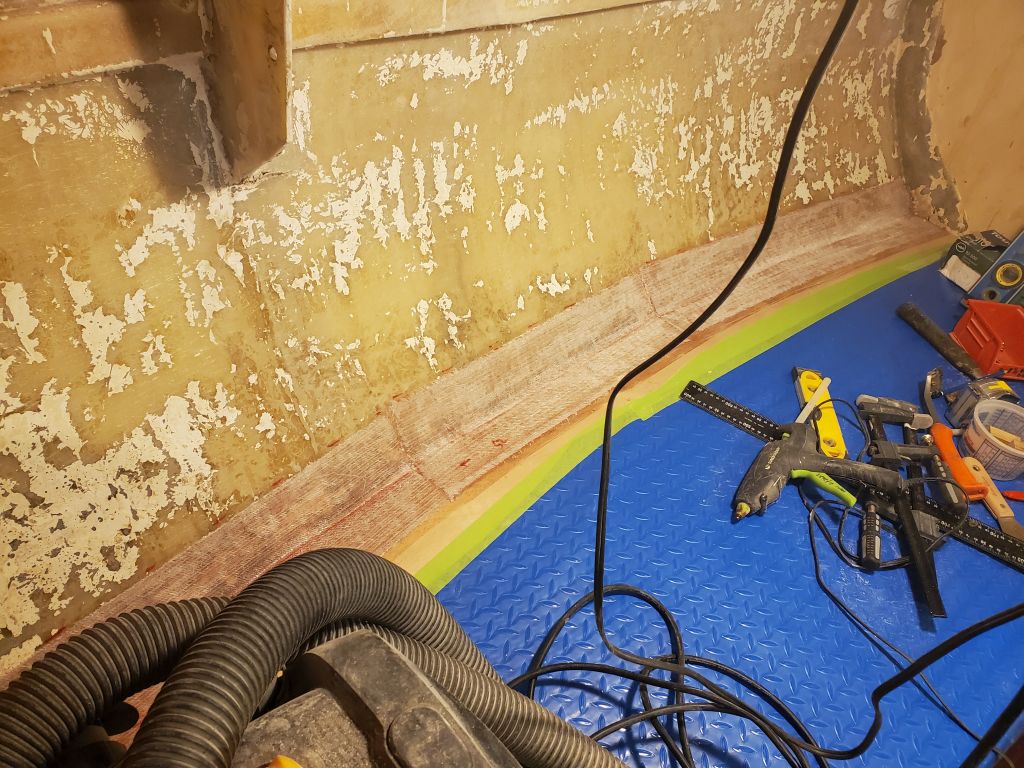
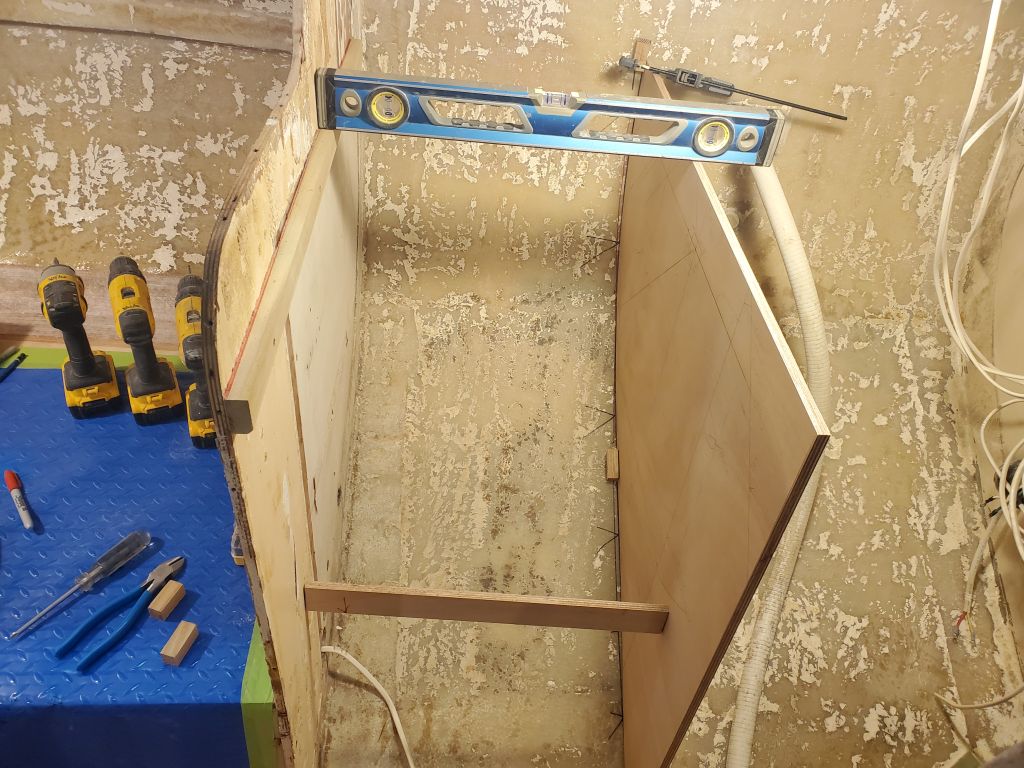
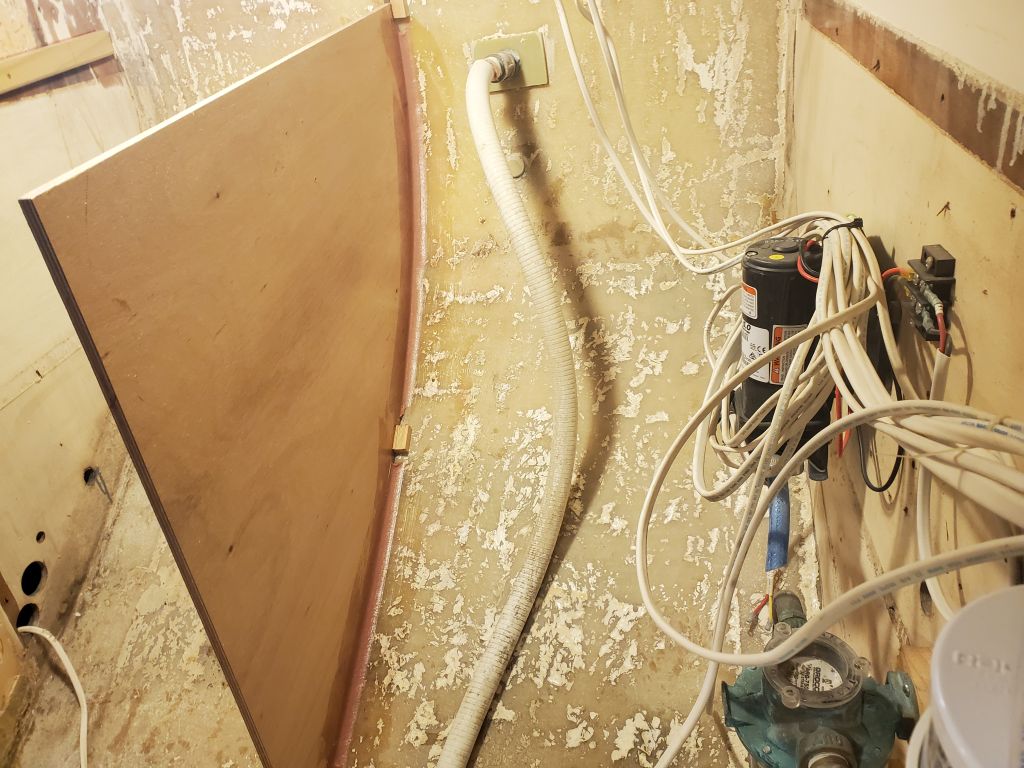
Now I brought the bulkhead into the boat and set it up in its final position, secured with hot glue blocks as needed, and level and plumb as required. Once the position was finalized and repeatable thanks to the glue blocks, I epoxy-coated the edge grain of the plywood and installed it with epoxy fillets on both sides, leaving space around the glue blocks for now. I stopped the fillet short on the forward side as the remaining section of the bulkhead would be exposed, and I didn’t plan to tab that portion (the back side, however, would be fully tabbed).
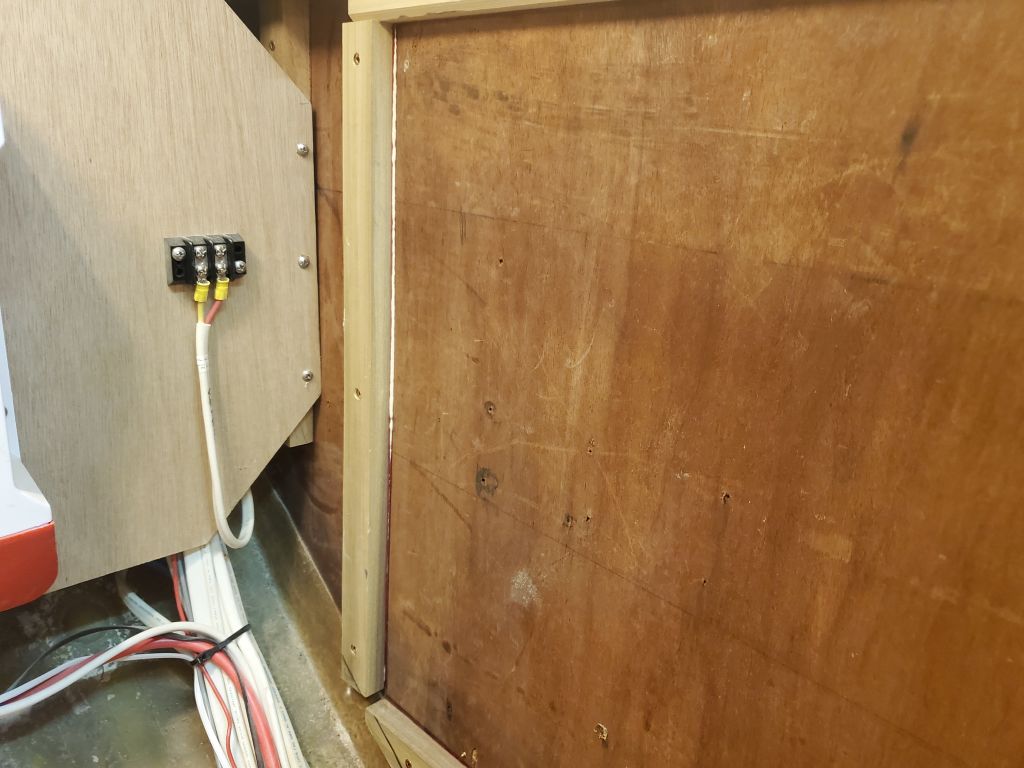
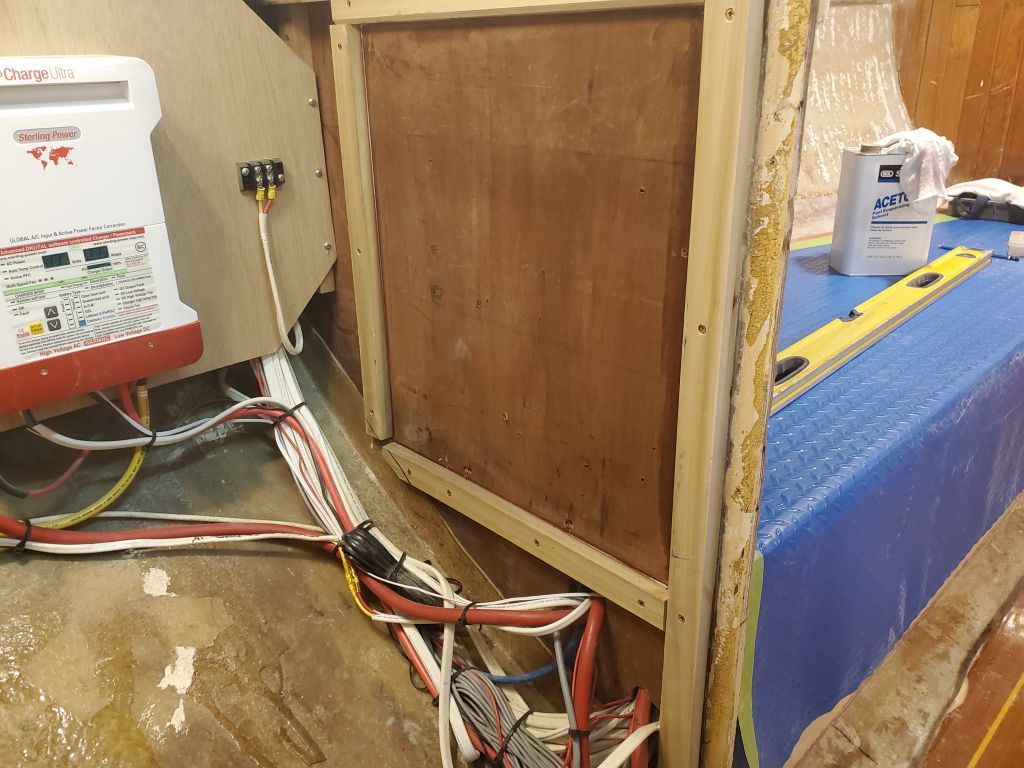
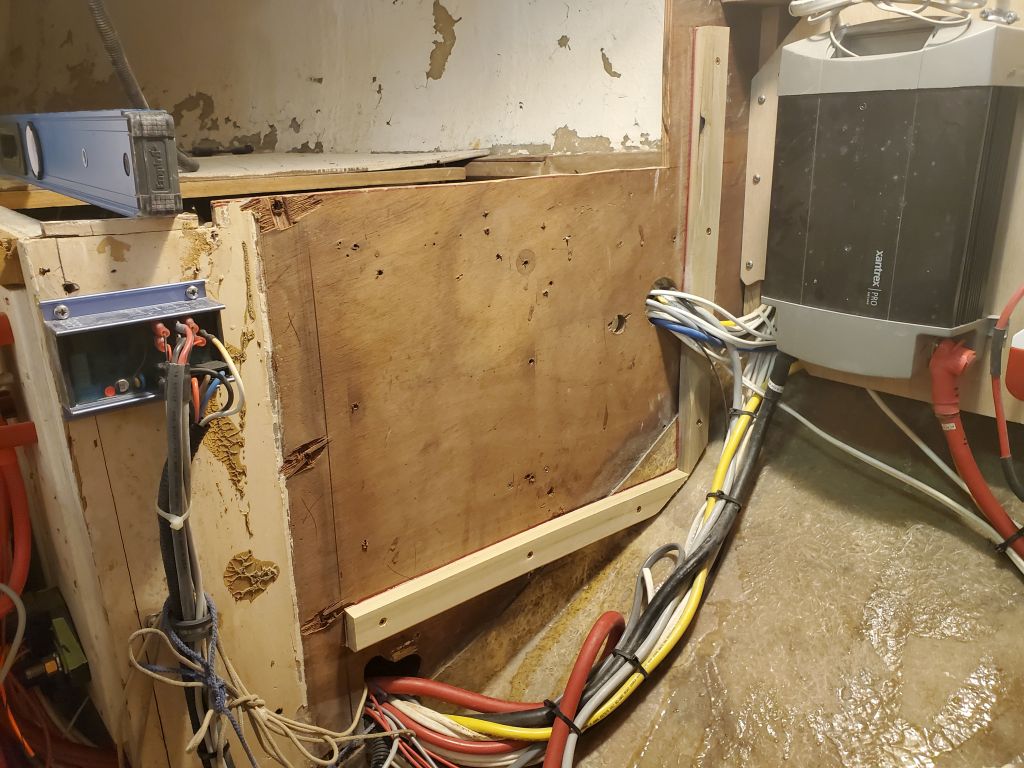
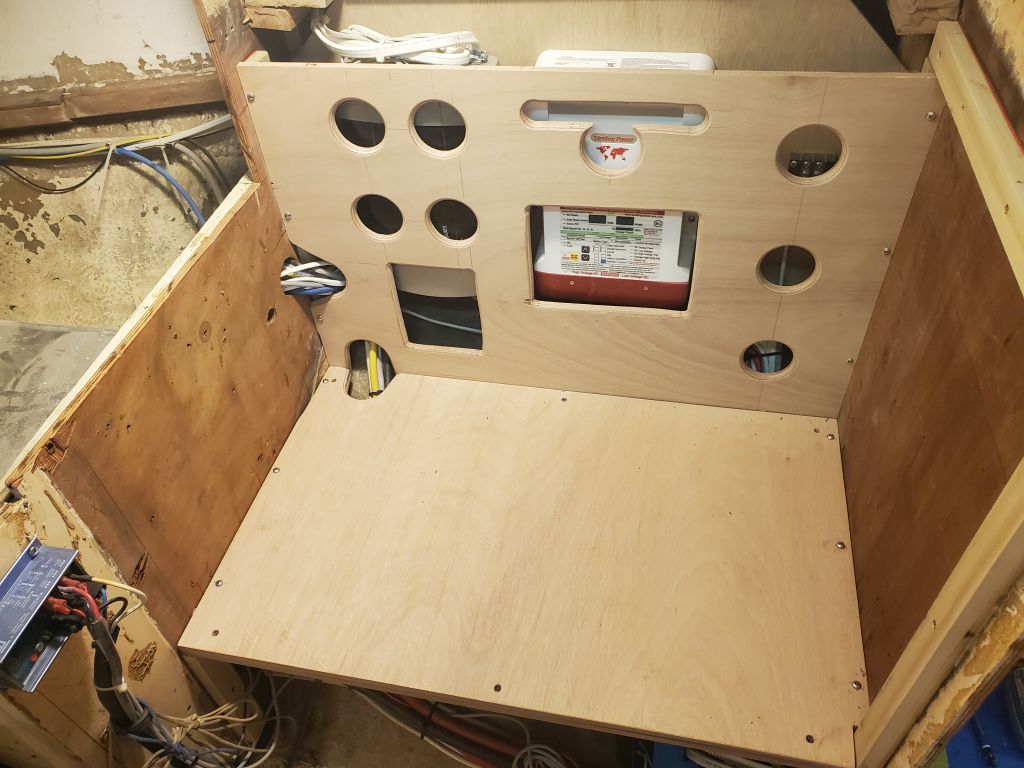
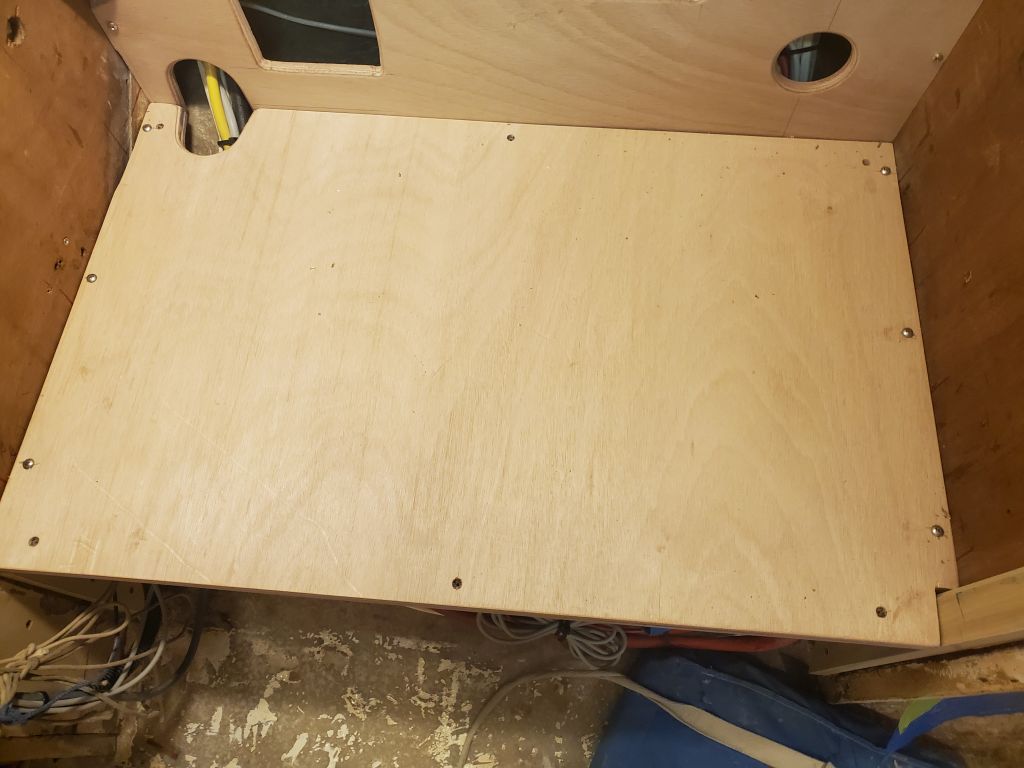
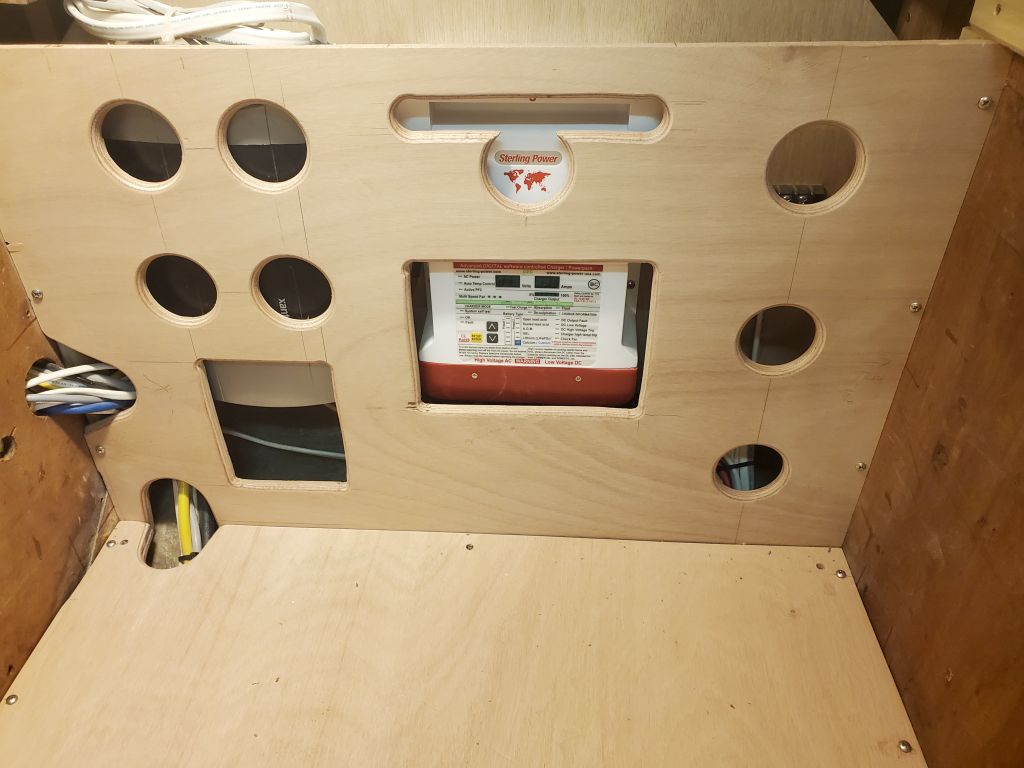
With a bit of time left in the day, I cleaned up the two panels from the refer space on the port side, adding an additional ventilation slot to accommodate a duct on the battery charger behind, then permanently installed all the support cleats in that space with glue; I’d set them up dry till I was happy with the overall configuration. I added a short vertical cleat on the aft side to support a new vertical panel that would close off the bottom of the space and also provide some support for the transverse galley bulkhead extending across to the stove. Then, I temporarily installed the floor and back panels with exposed screws, as both these panels would remain removable in the final construction to allow access behind. Sometime later, I’d remove and paint these panels, but for now I wanted them in place so I could continue the galley construction.

Total time billed on this job today: 7.5 hours
0600 Weather Observation: 42°, rain and wind. Forecast for the day: Rain and windy, 48°